-
Posts
1,244 -
Joined
-
Last visited
Content Type
Profiles
Forums
Gallery
Events
Posts posted by MrBlueJacket
-
-
The pedestals are F0876 and F0877.
There's more than one way to sequence the hull. My plan is to attach the bulwarks next, then paint their inner surfaces. Then paint the outside of the hull, then attach the copper plates. After that, put the model back on the building board and do the decks.
-
- thibaultron, BETAQDAVE, russ and 5 others
-
 8
8
-
-
Nice job! Especially the scribed deck plates, nice and even.
-
-
- Altduck, GrandpaPhil, thibaultron and 5 others
-
 8
8
-
On June 9, 2018 at 2:44 PM, Jim Rogers said:
Have you ever tried a Rockwell Sonicrafter for the initial rough carving?
No, I have not.Looks like a useful tool, however.
-
- Tim Curtis, Zarkon, BETAQDAVE and 6 others
-
 9
9
-
-
-
Next on deck is the Mary Taylor
- thibaultron, Canute, Tom E and 1 other
-
 4
4
-
- Jim Rogers, coxswain, ccoyle and 7 others
-
 10
10
-
As you can imagine, we also get a lot of these requests at BlueJacket. I have started referring people to this thread. Thanks, Chris for laying it out so clearly.
Nic
- ccoyle, Ryland Craze and EJ_L
-
 3
3
-
Hi MIke,
For people that buy our kits, we offer a toll-free help line, it's in the paperwork with the kit. Staffed by Charlie Cook, he gets rave reviews from all that talk to him.
Also, you can call our shop anytime and talk with one of several modelers who can also help you. I have built the Large Friendship myself and can offer help.
Nic
-
- russ, GrandpaPhil, lmagna and 7 others
-
 10
10
-
I looked this up after our discussion in the shop - very nice job indeed!
-
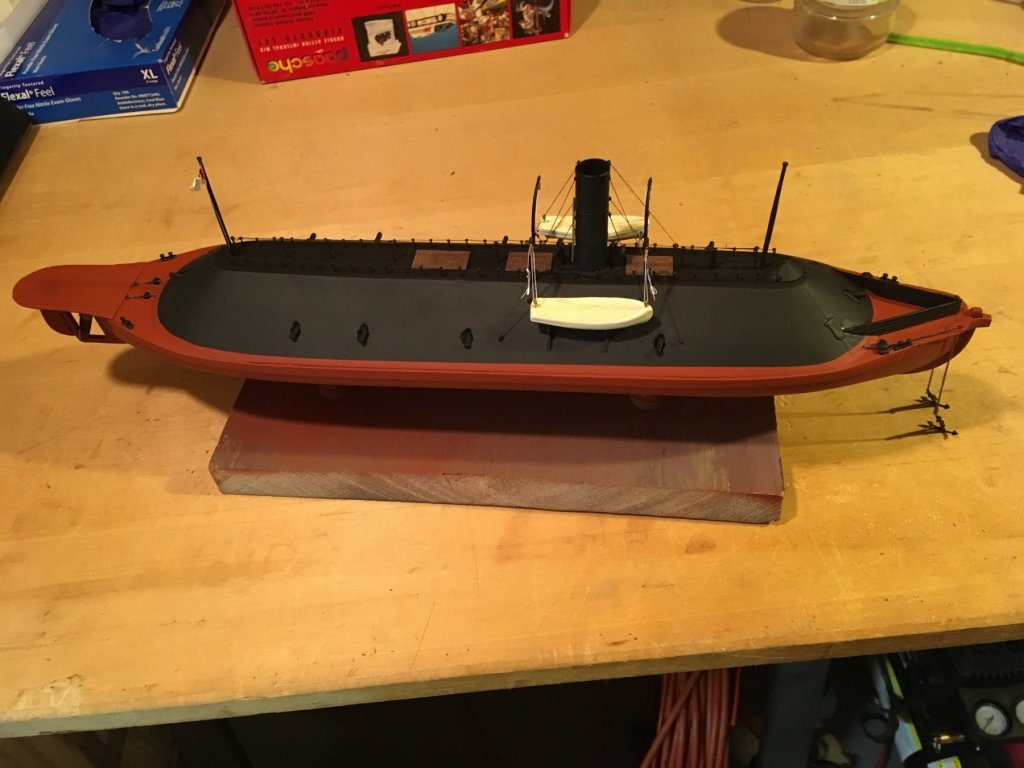
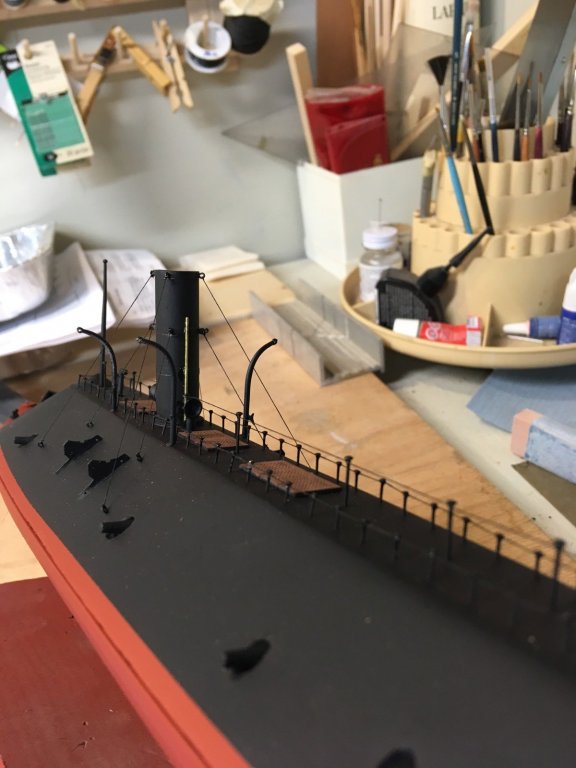
So this build has been occasionally sidelined by other projects, but progress is made. Here's a shot of the railing and awning rigging completed:
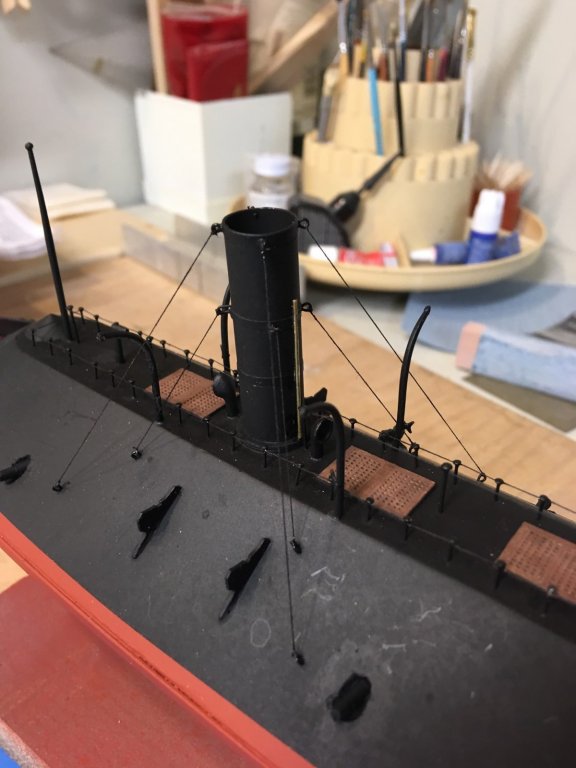
ANd a better view of the stack guywires and steam vent:
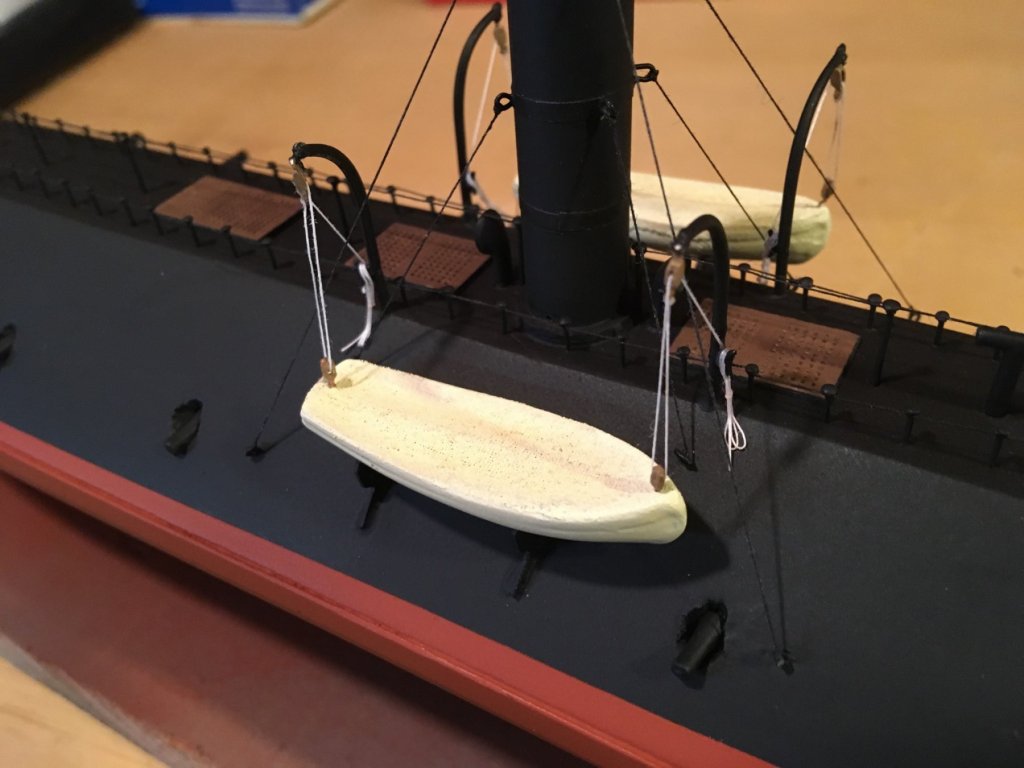
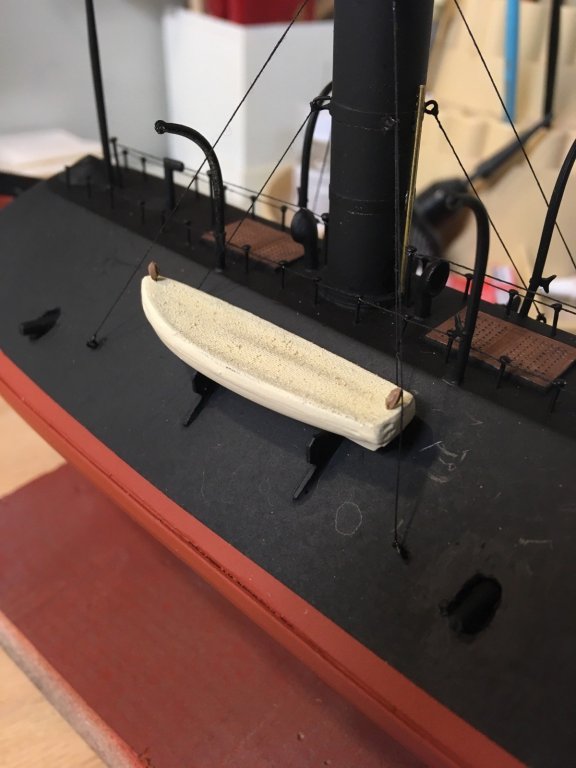
I've also done some work on the lifeboats as you can see:
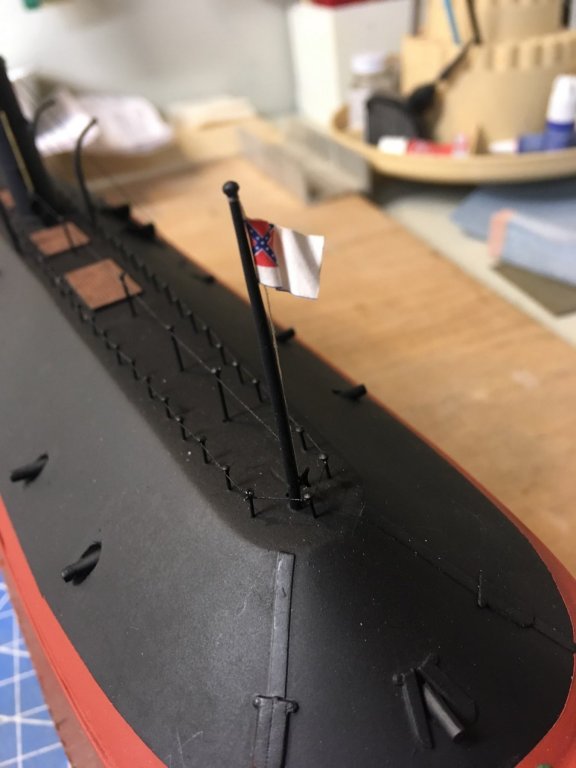
And finally, it's close enough to done that I feel OK with raising the flag:
-
- Landlocked123, hexnut, Canute and 5 others
-
 8
8
-
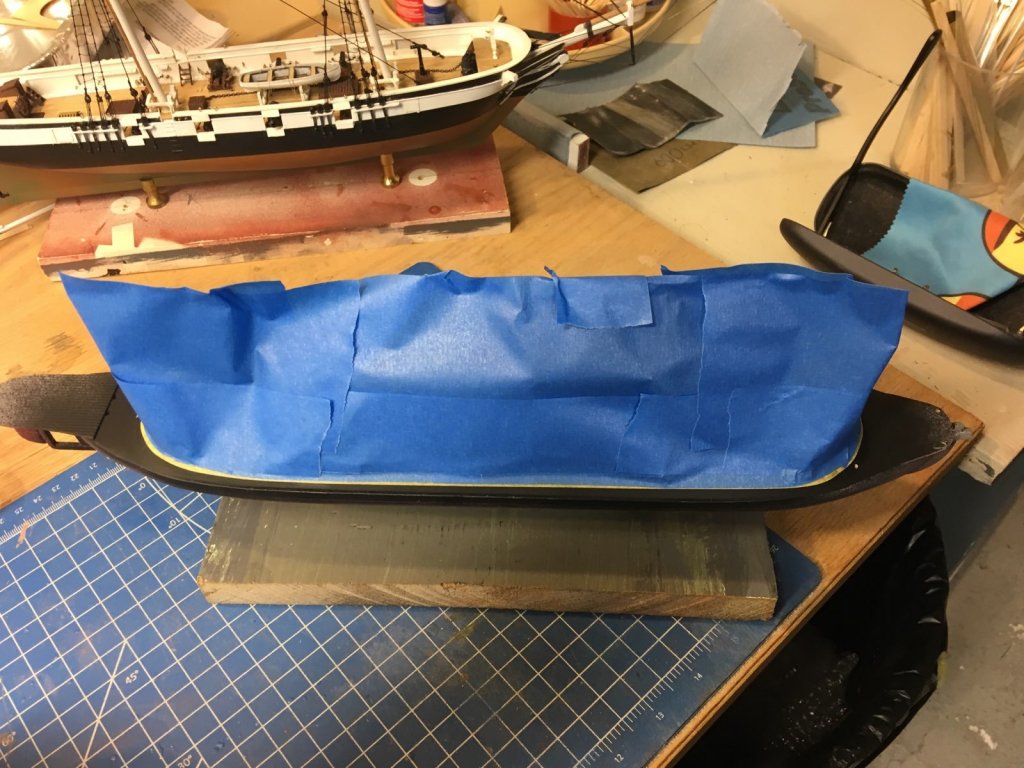
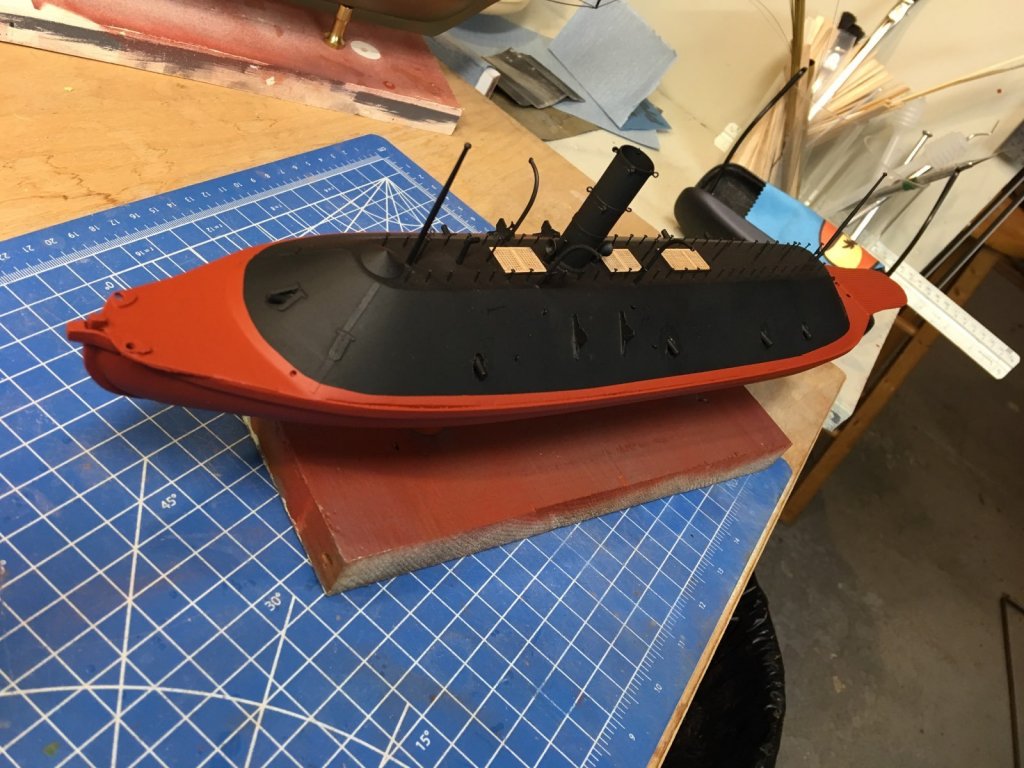
So I am on again with this "on again - off again" project. This past w/e I masked off the upper hull to paint the underside. The Virginia's waterline extends above the flat portion of the deck by 1/8" or so. The masking was a challenge. I used Tamiya 6mm masking tape for the first time, it is really great stuff. Very thin, clings around raised lips, and easy to pull off cleanly.
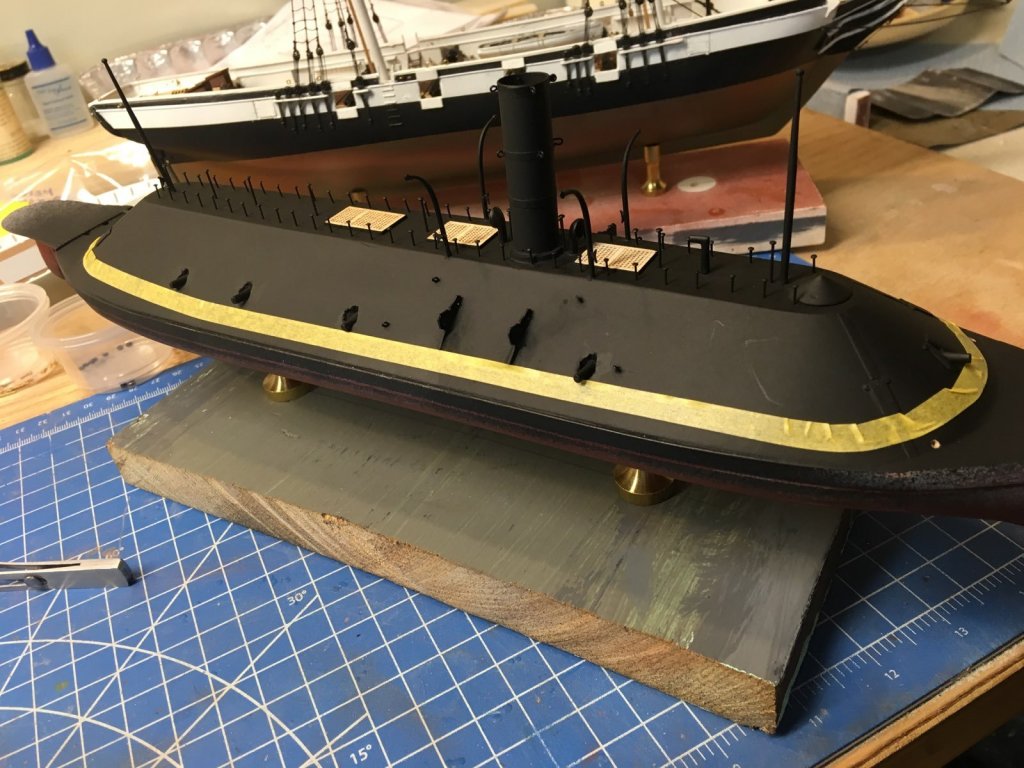
Next comes the blue painters tape to protect the black upperworks of the model.
And after spraying and pulling off the tape (deep suck in of air) a perfect paint line!
- coxswain, Canute, thibaultron and 3 others
-
 6
6
-
17 hours ago, GrantGoodale said:
I really would love it if other kit manufacturers would try to build the model from the kit. Every so often, I come across something that makes me wonder - did they actually try to do this?
I was hesitant to start a build thread, since we are a manufacturer. I asked Chuck (admin for MSW) and he said to go ahead, just don't make it a sales pitch. When the Virginia is done, I will be working on the Mary Taylor pilot boat.
- mtaylor, Canute, thibaultron and 2 others
-
 5
5
-
16 hours ago, jhearl said:
This is off-topic, but I'm curious - whatever happened to your build of Wyoming?
Cheers -
John
We never started to build the Wyoming, but it is in our kit development schedule. I expect it to come out in about 1 1/2 to 2 years. It wioll be 1/8" = 1' scale, and be 55 inches long.
Nic
-
- GrantGoodale, Ryland Craze, Canute and 8 others
-
 11
11
-
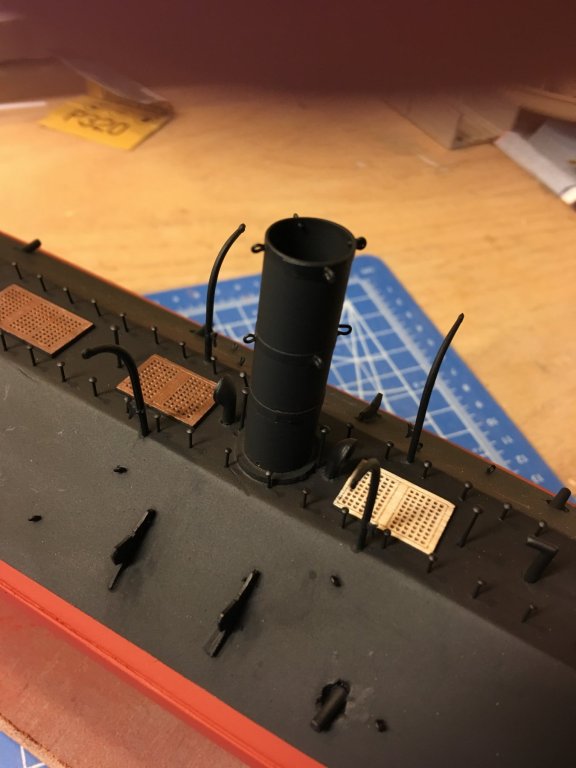
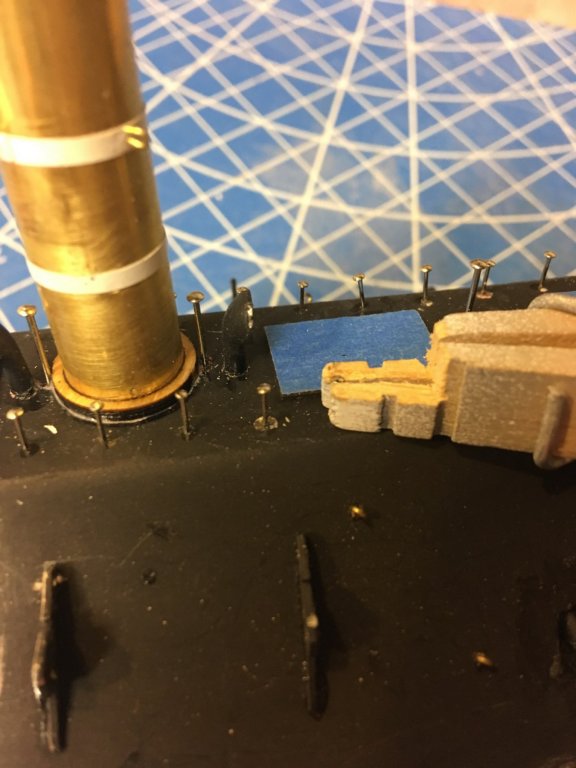
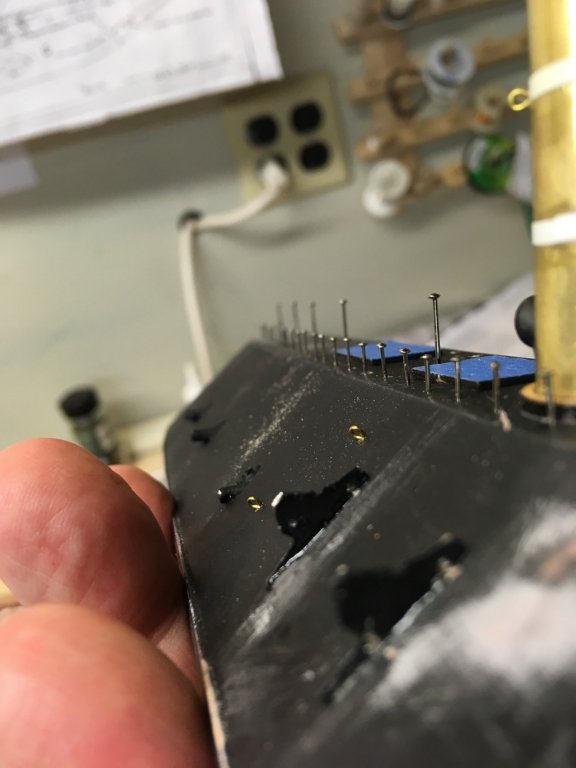
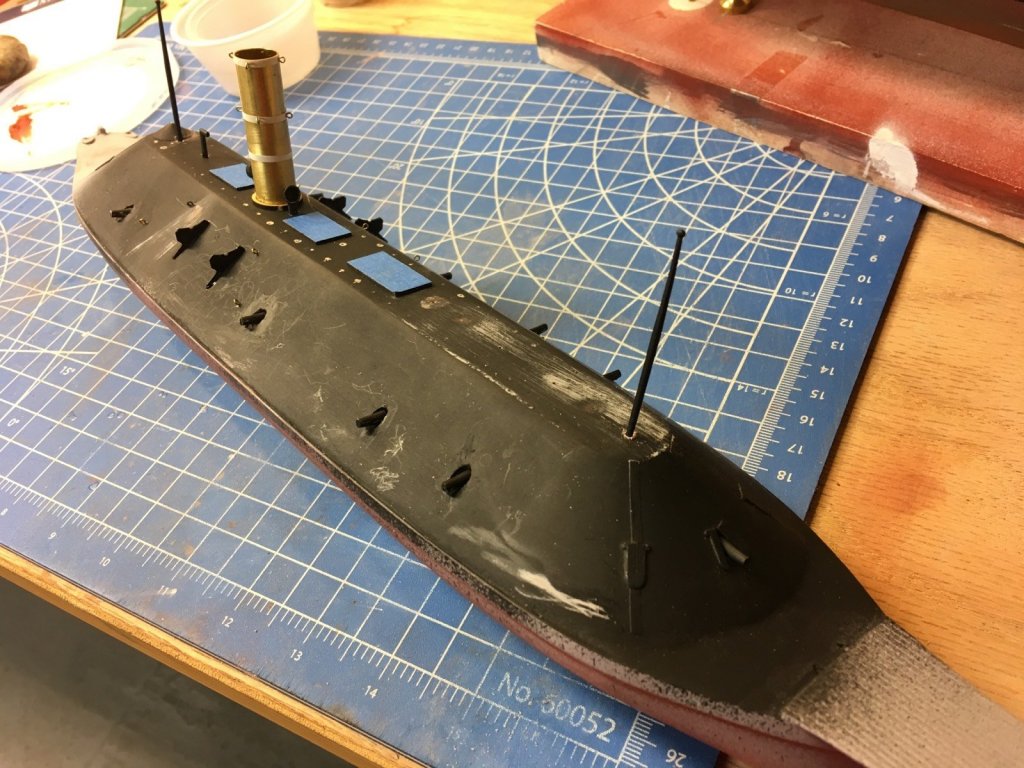
So after a month of not working on the VIrginia, I am back at it. Drilled the holes for all the top fittings and stanchions, masked the grates, installed some parts and the boat mounts, guns are in, and also the eyebolts for the stack supports. Starting to look like something!
You can see that all the primer/prep work yeilded a nice smooth finish that will take the finish coat of paint nicely.
- thibaultron, bob porter, coxswain and 7 others
-
 10
10
-


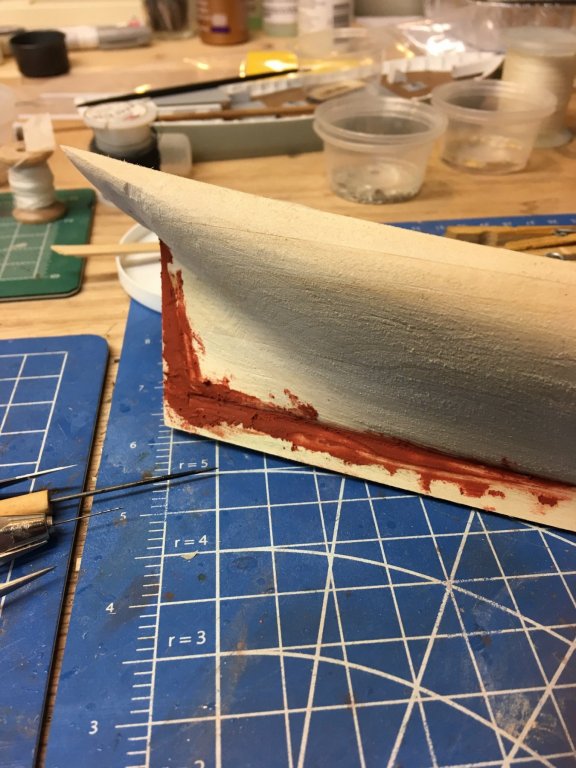
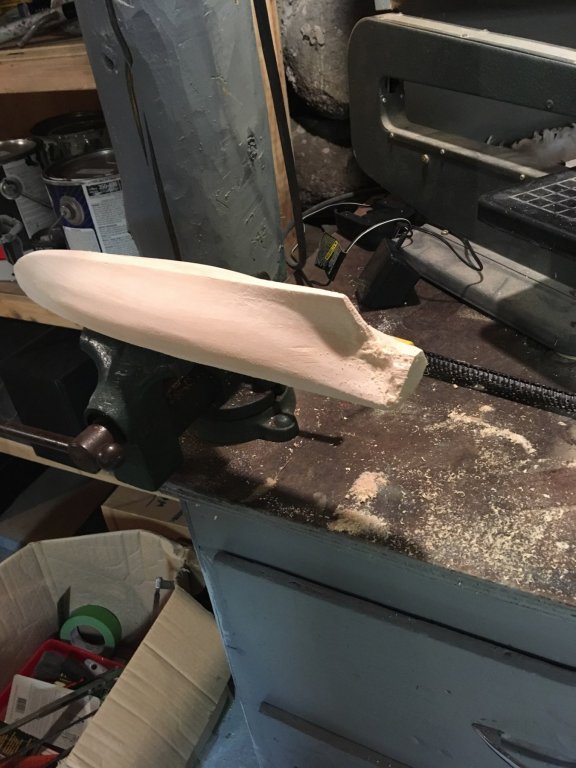
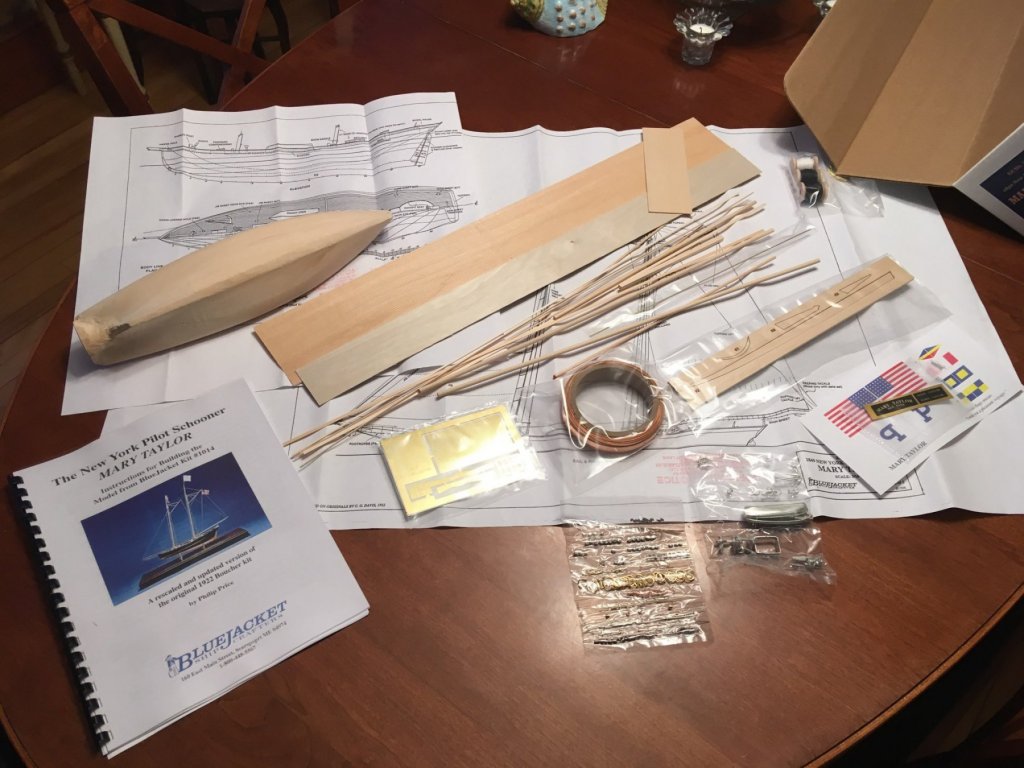
Mary Taylor 1850 by MrBlueJacket - FINISHED - BlueJacket Shipcrafters - Scale 3/16" = 1' (1:64) - NY Pilot boat
in - Kit build logs for subjects built from 1801 - 1850
Posted
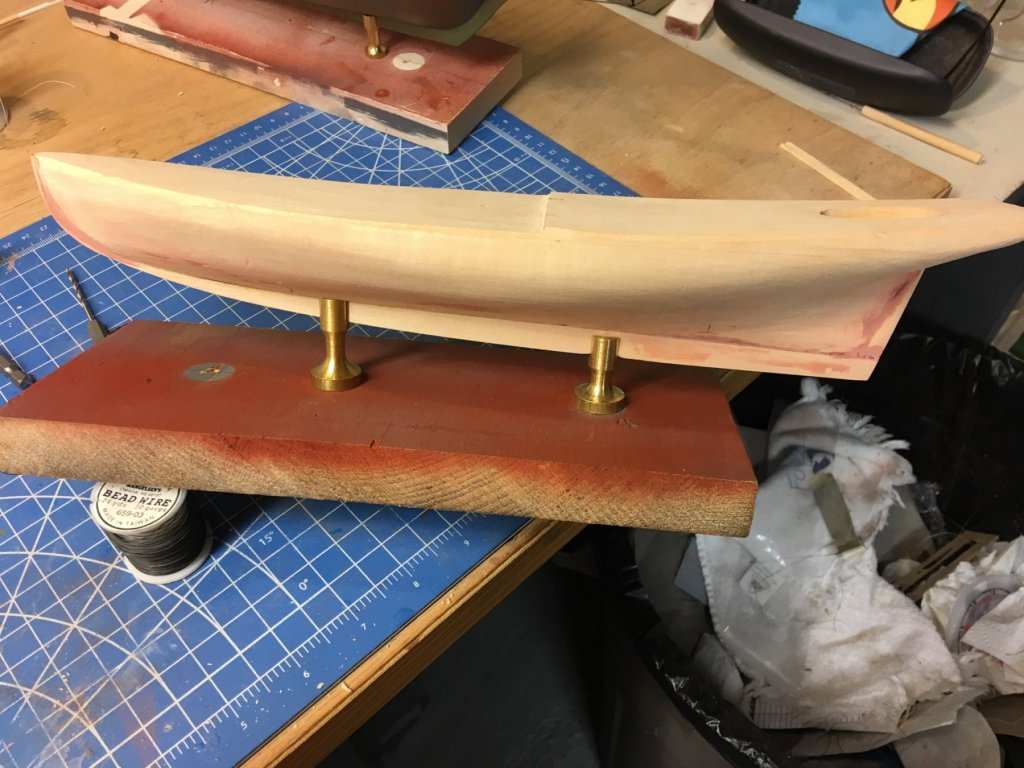
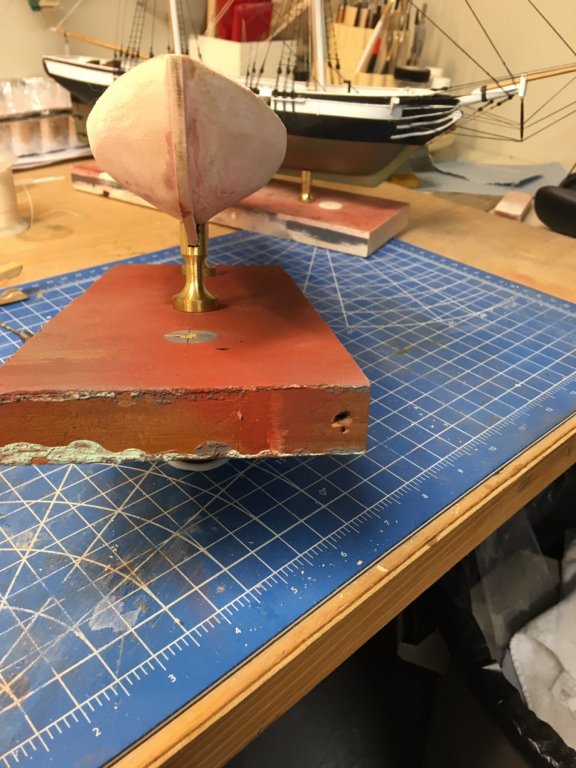
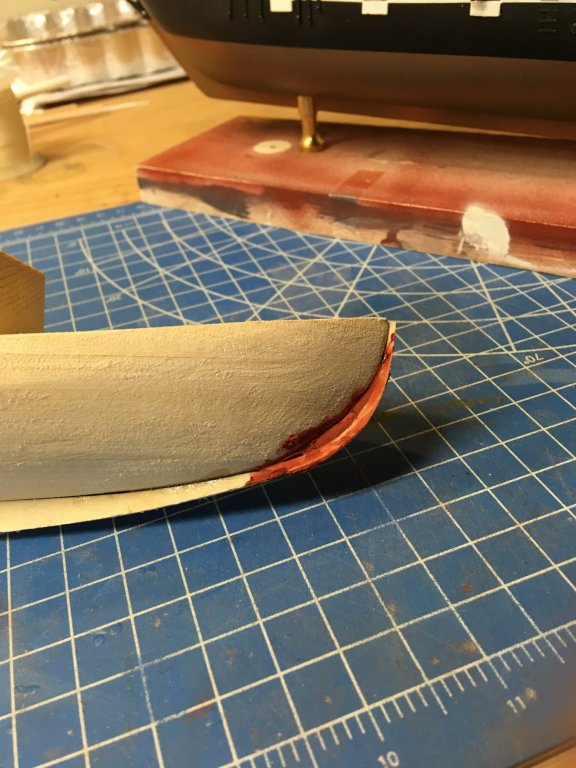
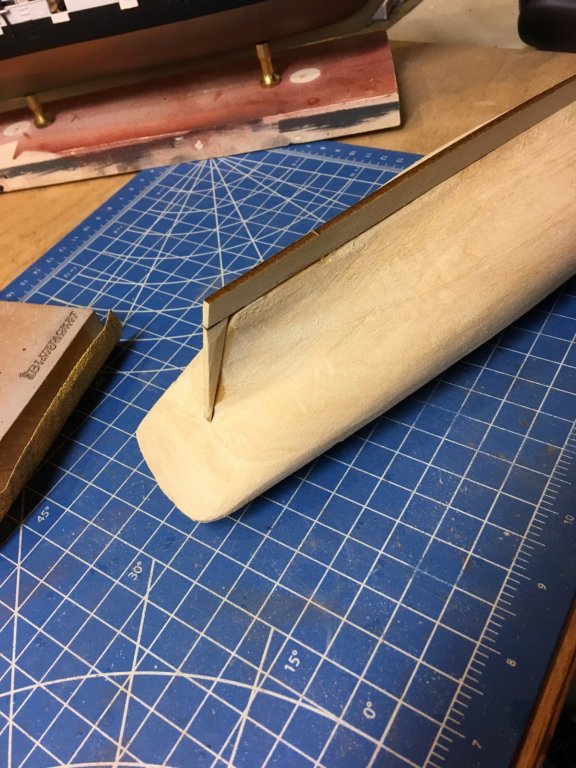
So to attach the bulwarks, you have to cut in a rabbet around the top of the hull. I started with a piece of masking tape, which I then outlined with a pencil. That gave me a good reference to cut a 1/32" groove.
Next is to chisel down from the deck to the groove, forming the rabbet for the bulkhead to attach to. You don't have to be super neat, the inside edge will be covered by the bulwark and the decking. I used a sharp (new) #17 chisel blade.