HOLIDAY DONATION DRIVE - SUPPORT MSW - DO YOUR PART TO KEEP THIS GREAT FORUM GOING! (Only 13 donations so far - C'mon guys!)
×


Old Collingwood
-
Posts
12,098 -
Joined
-
Last visited
Content Type
Profiles
Forums
Gallery
Events
Everything posted by Old Collingwood
-
 Lots of good advice there from both Kop and Jack, photography is one of those hobbies that tend to leave your pocket rather empty if you let it. OC.
- 467 replies
-
- 7
-

-
- mikasa
- wave models
- (and 1 more)
-
I think it would be appropriate for all of us at some point. OC.
-
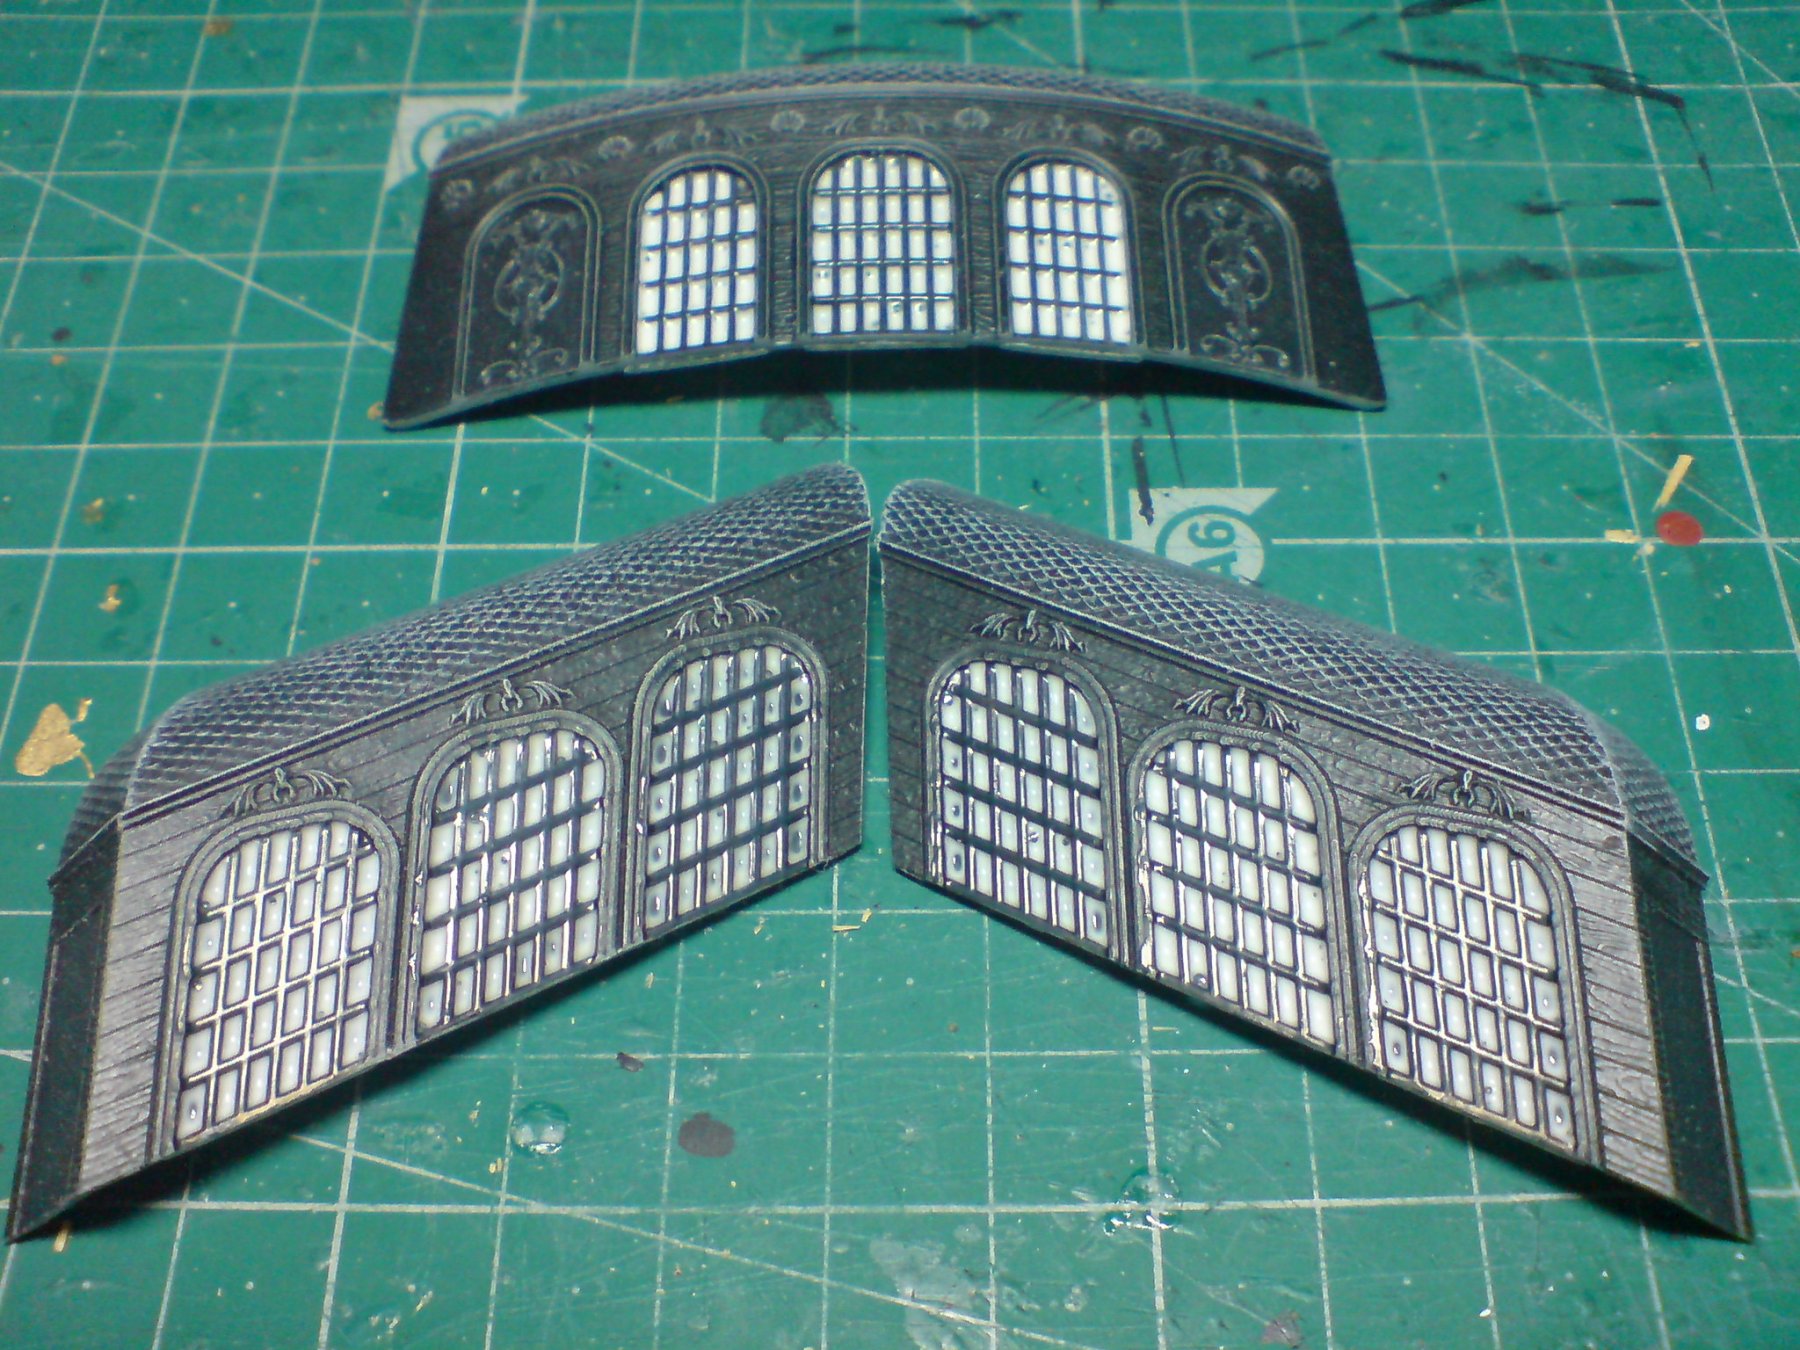
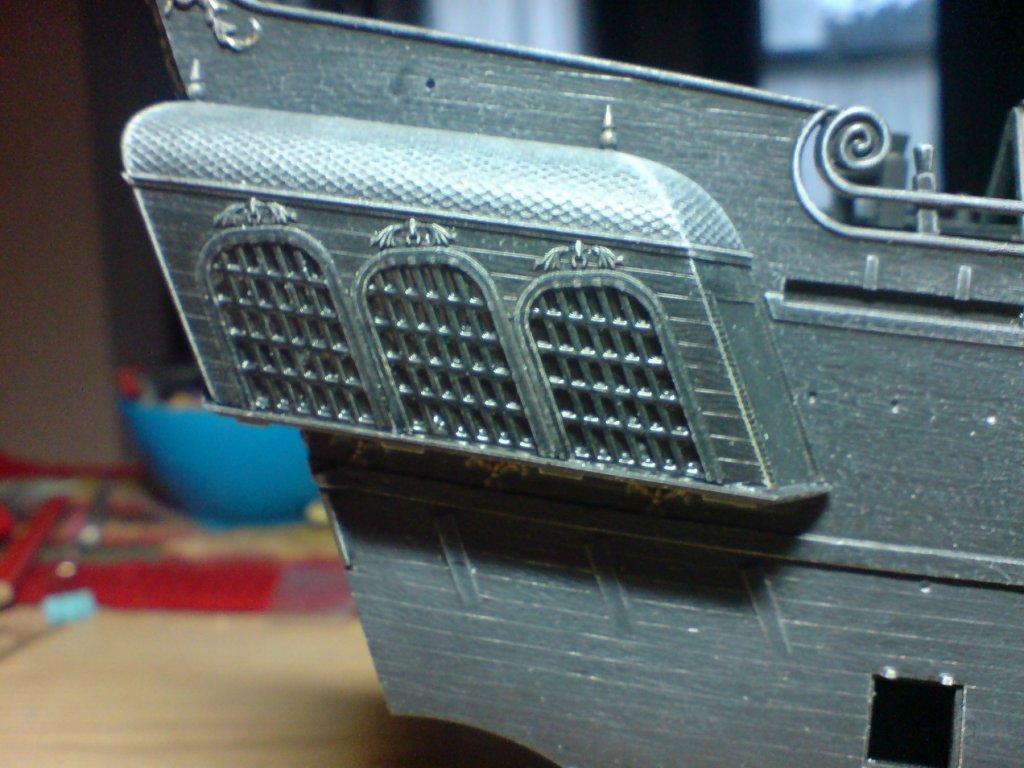
Hiya carl, the pva was straight out the bottle un diluted, I kept the windows flat and just filled each window to the top and let it set over night, that way it cleared to a nice see through film but strong enough to stay there. No lighting im affraid as I have sealed the cabin up now, its one of those tricks and challenges where if you hold the ship upto the light and look through the windows you can see the shadows of the furniture - makes it intriguing that way. OC.
-
Thats a nice case - should display your work superbly. OC.
- 467 replies
-
- 4
-
-
- mikasa
- wave models
- (and 1 more)
-
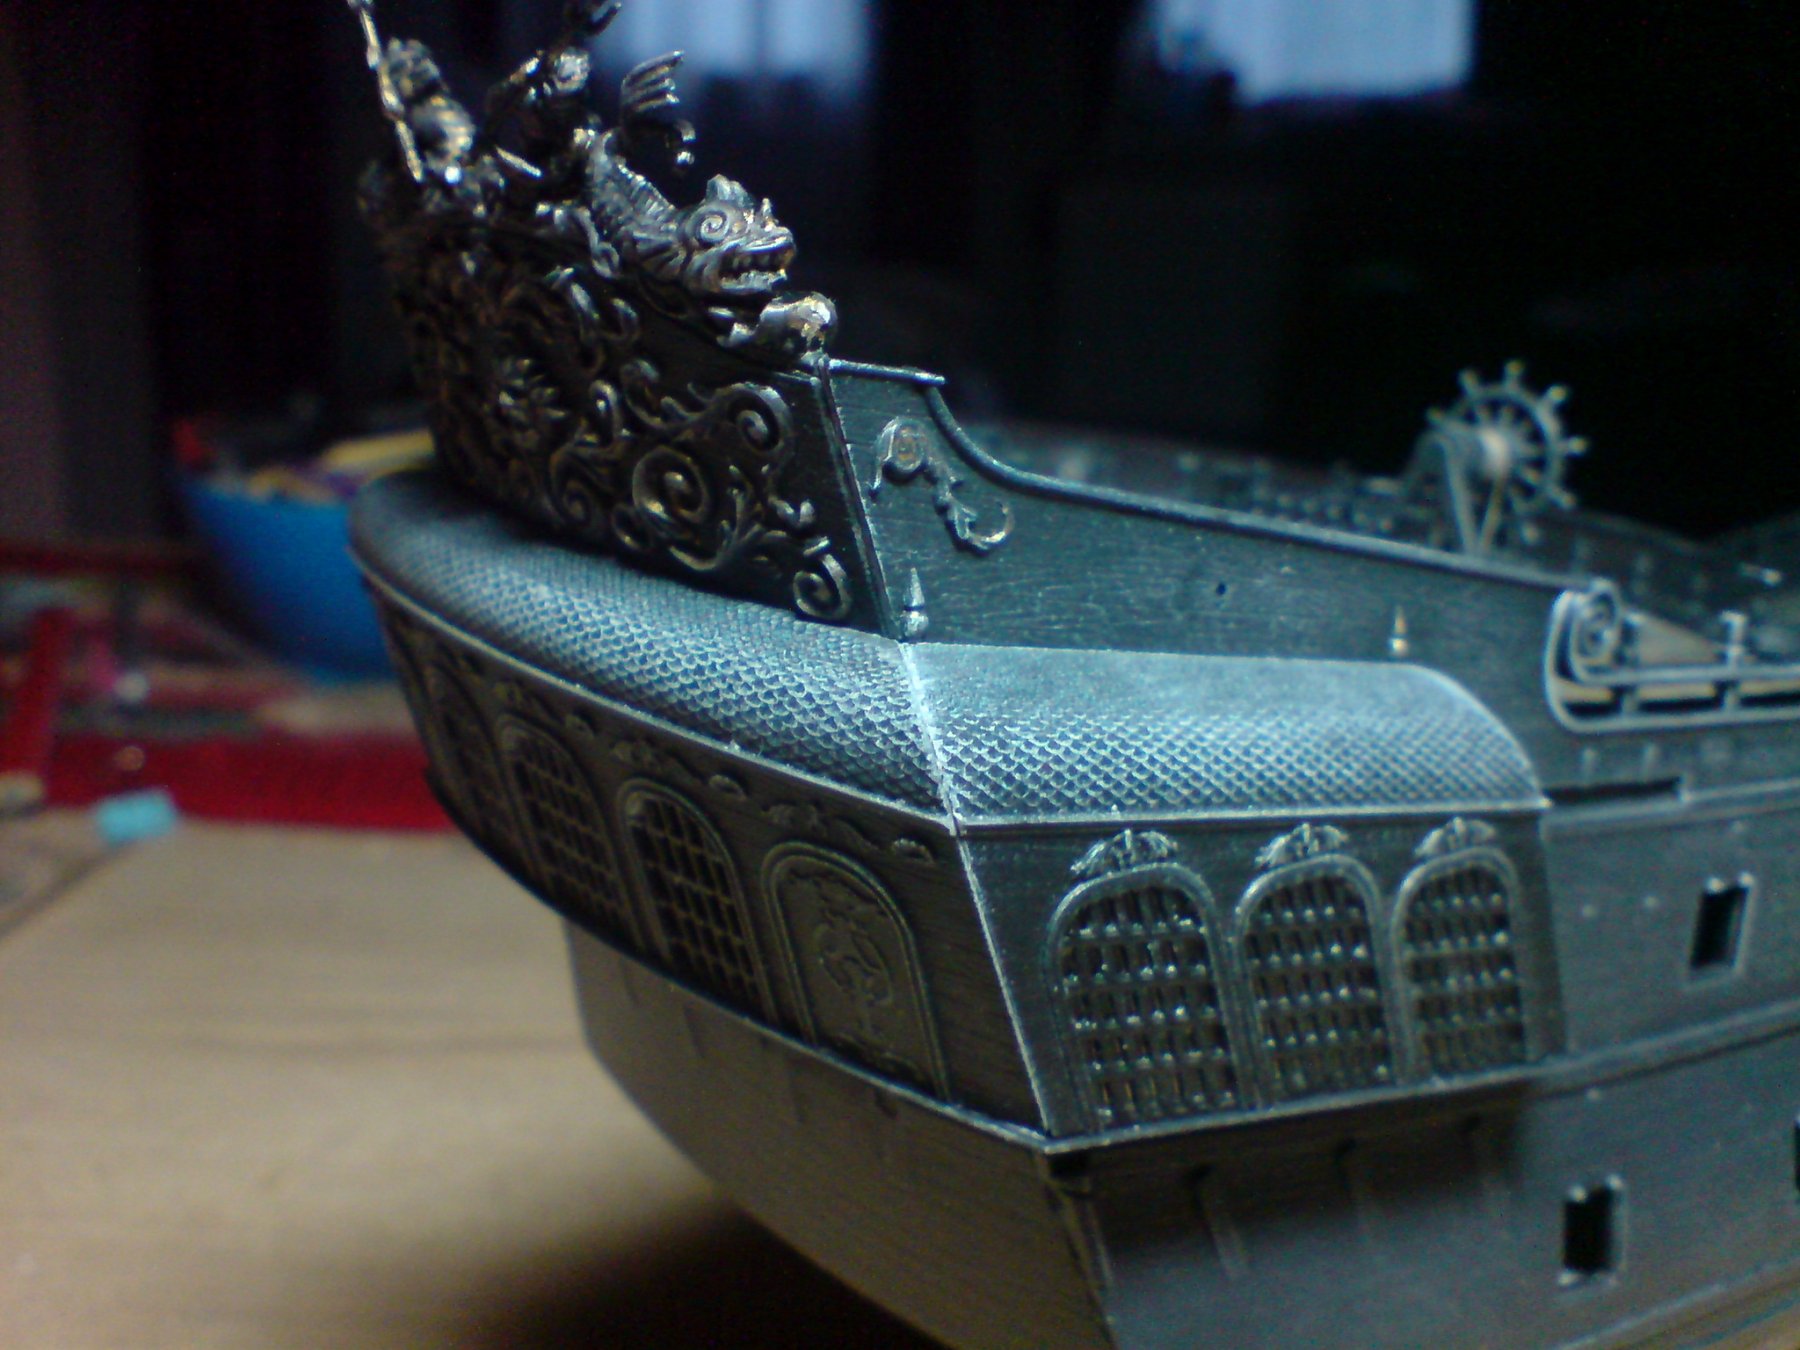
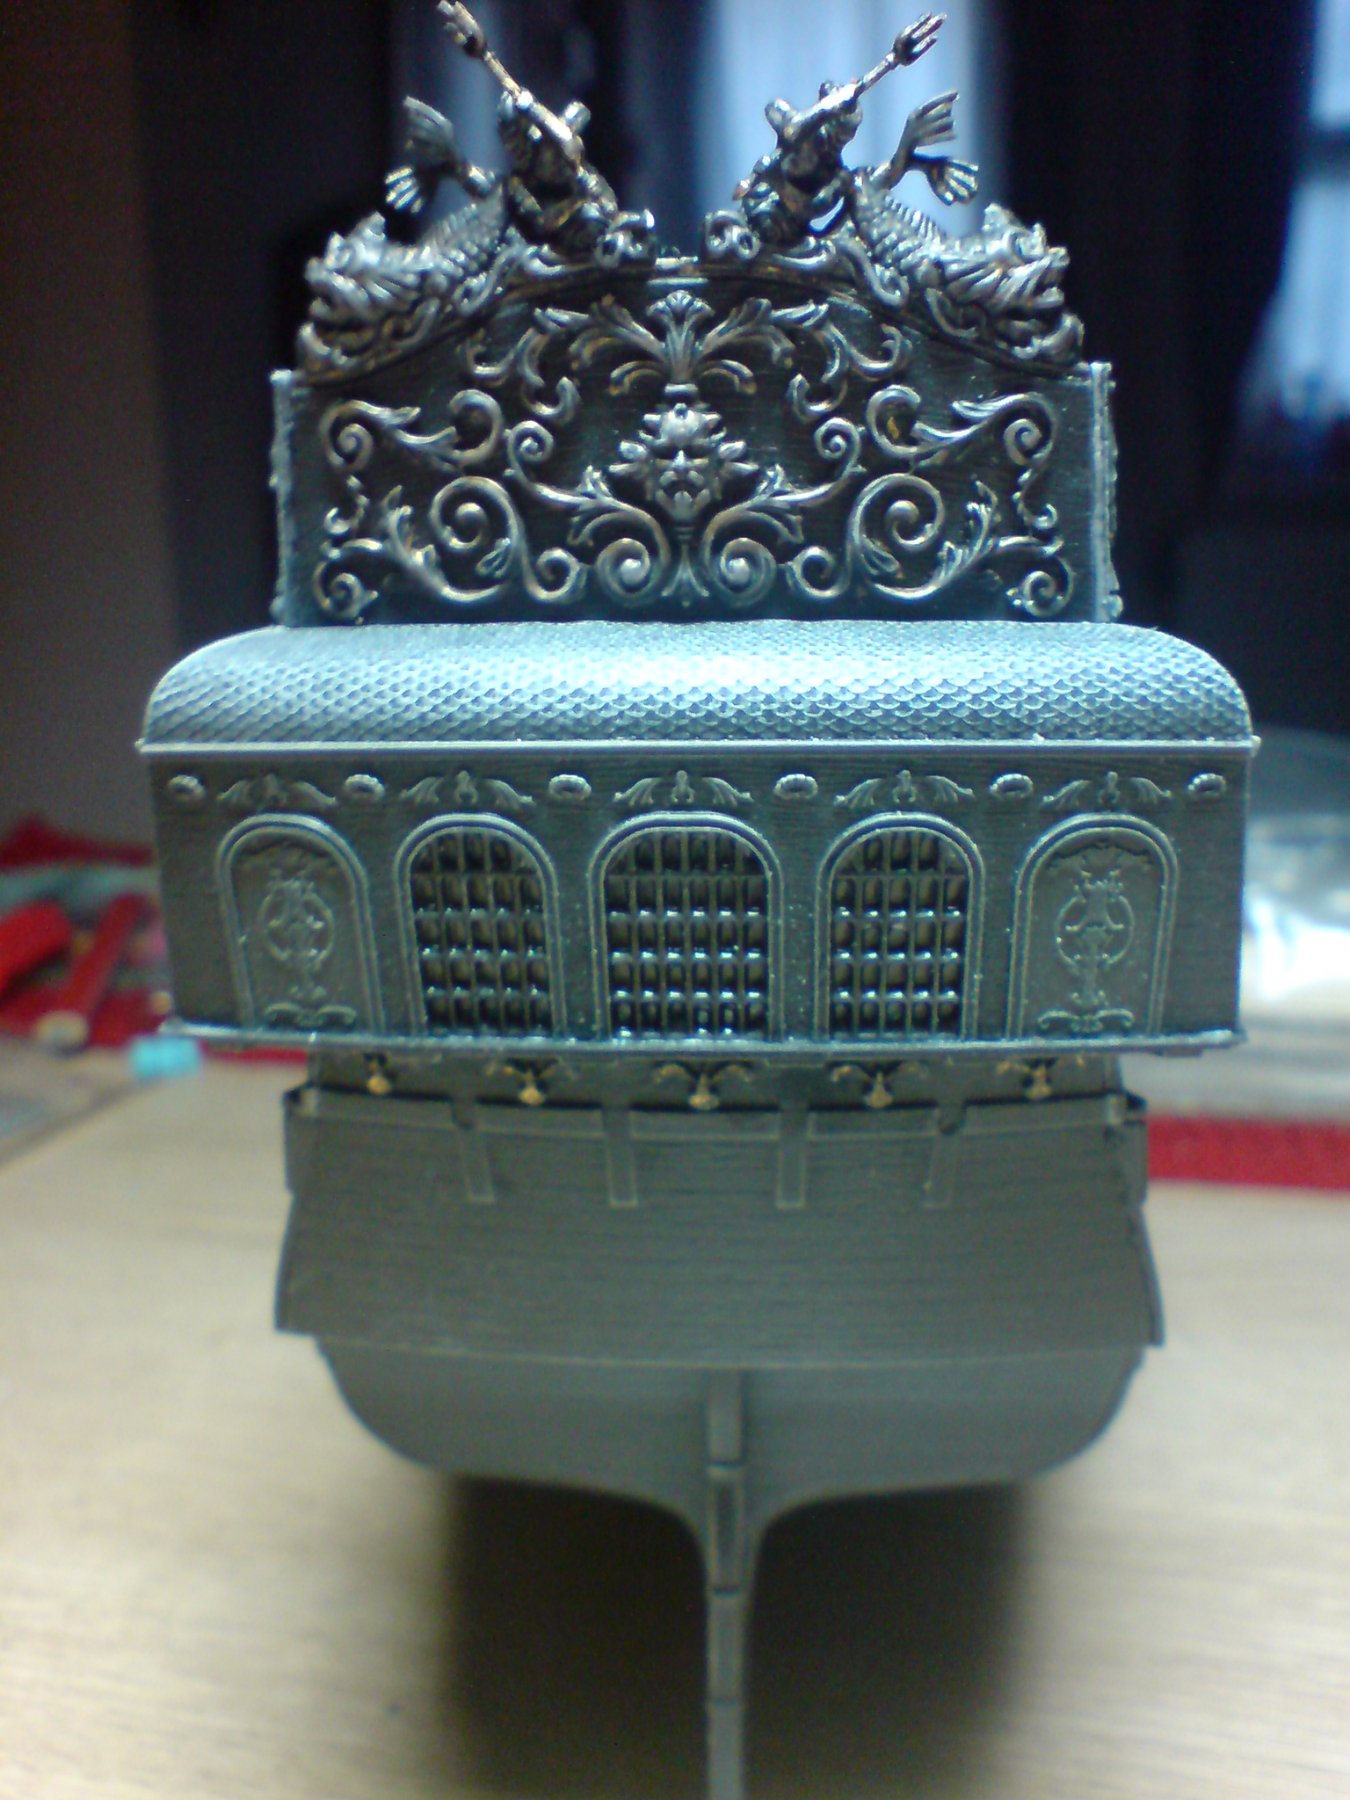
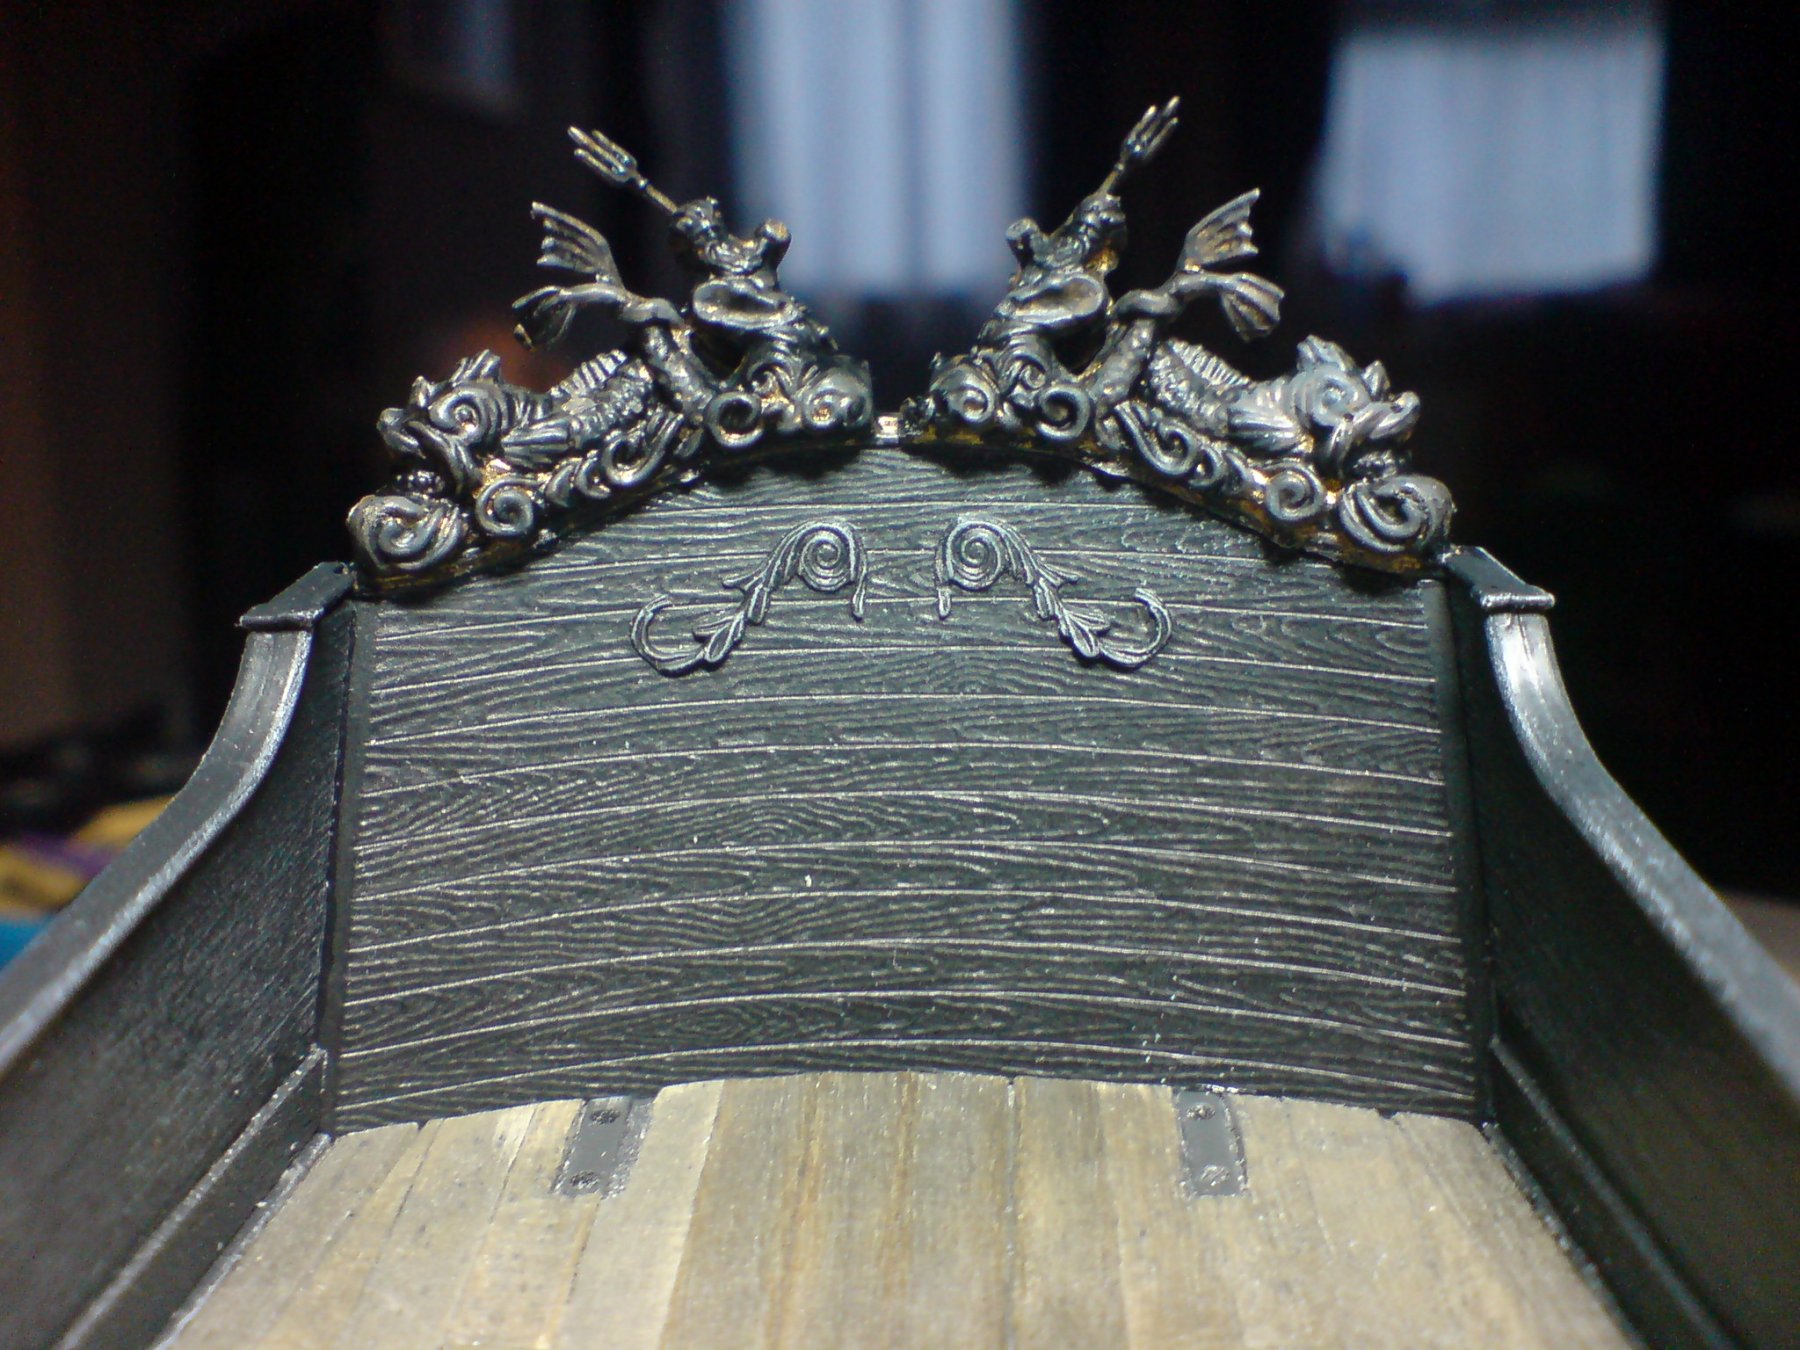
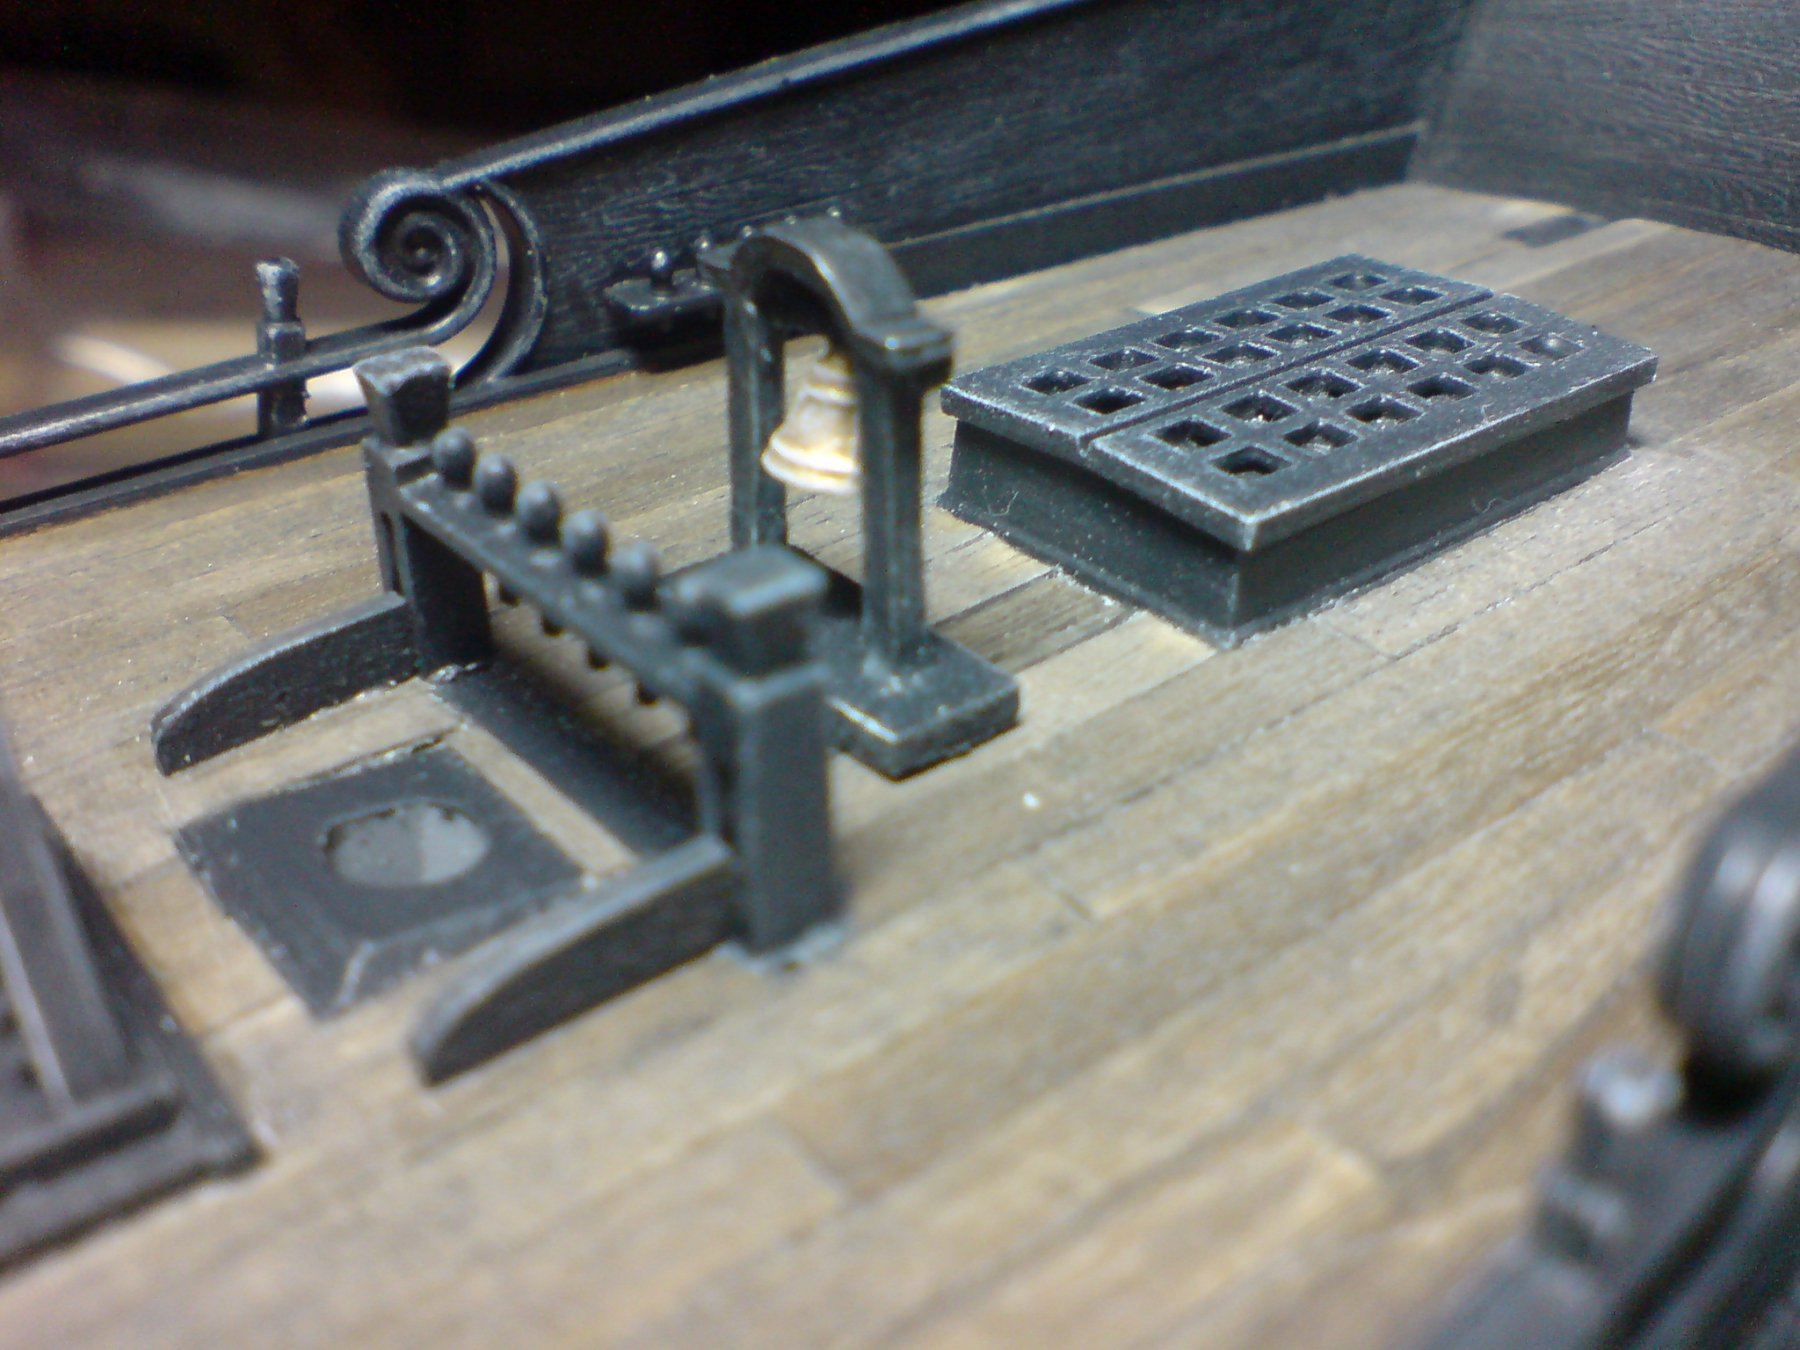
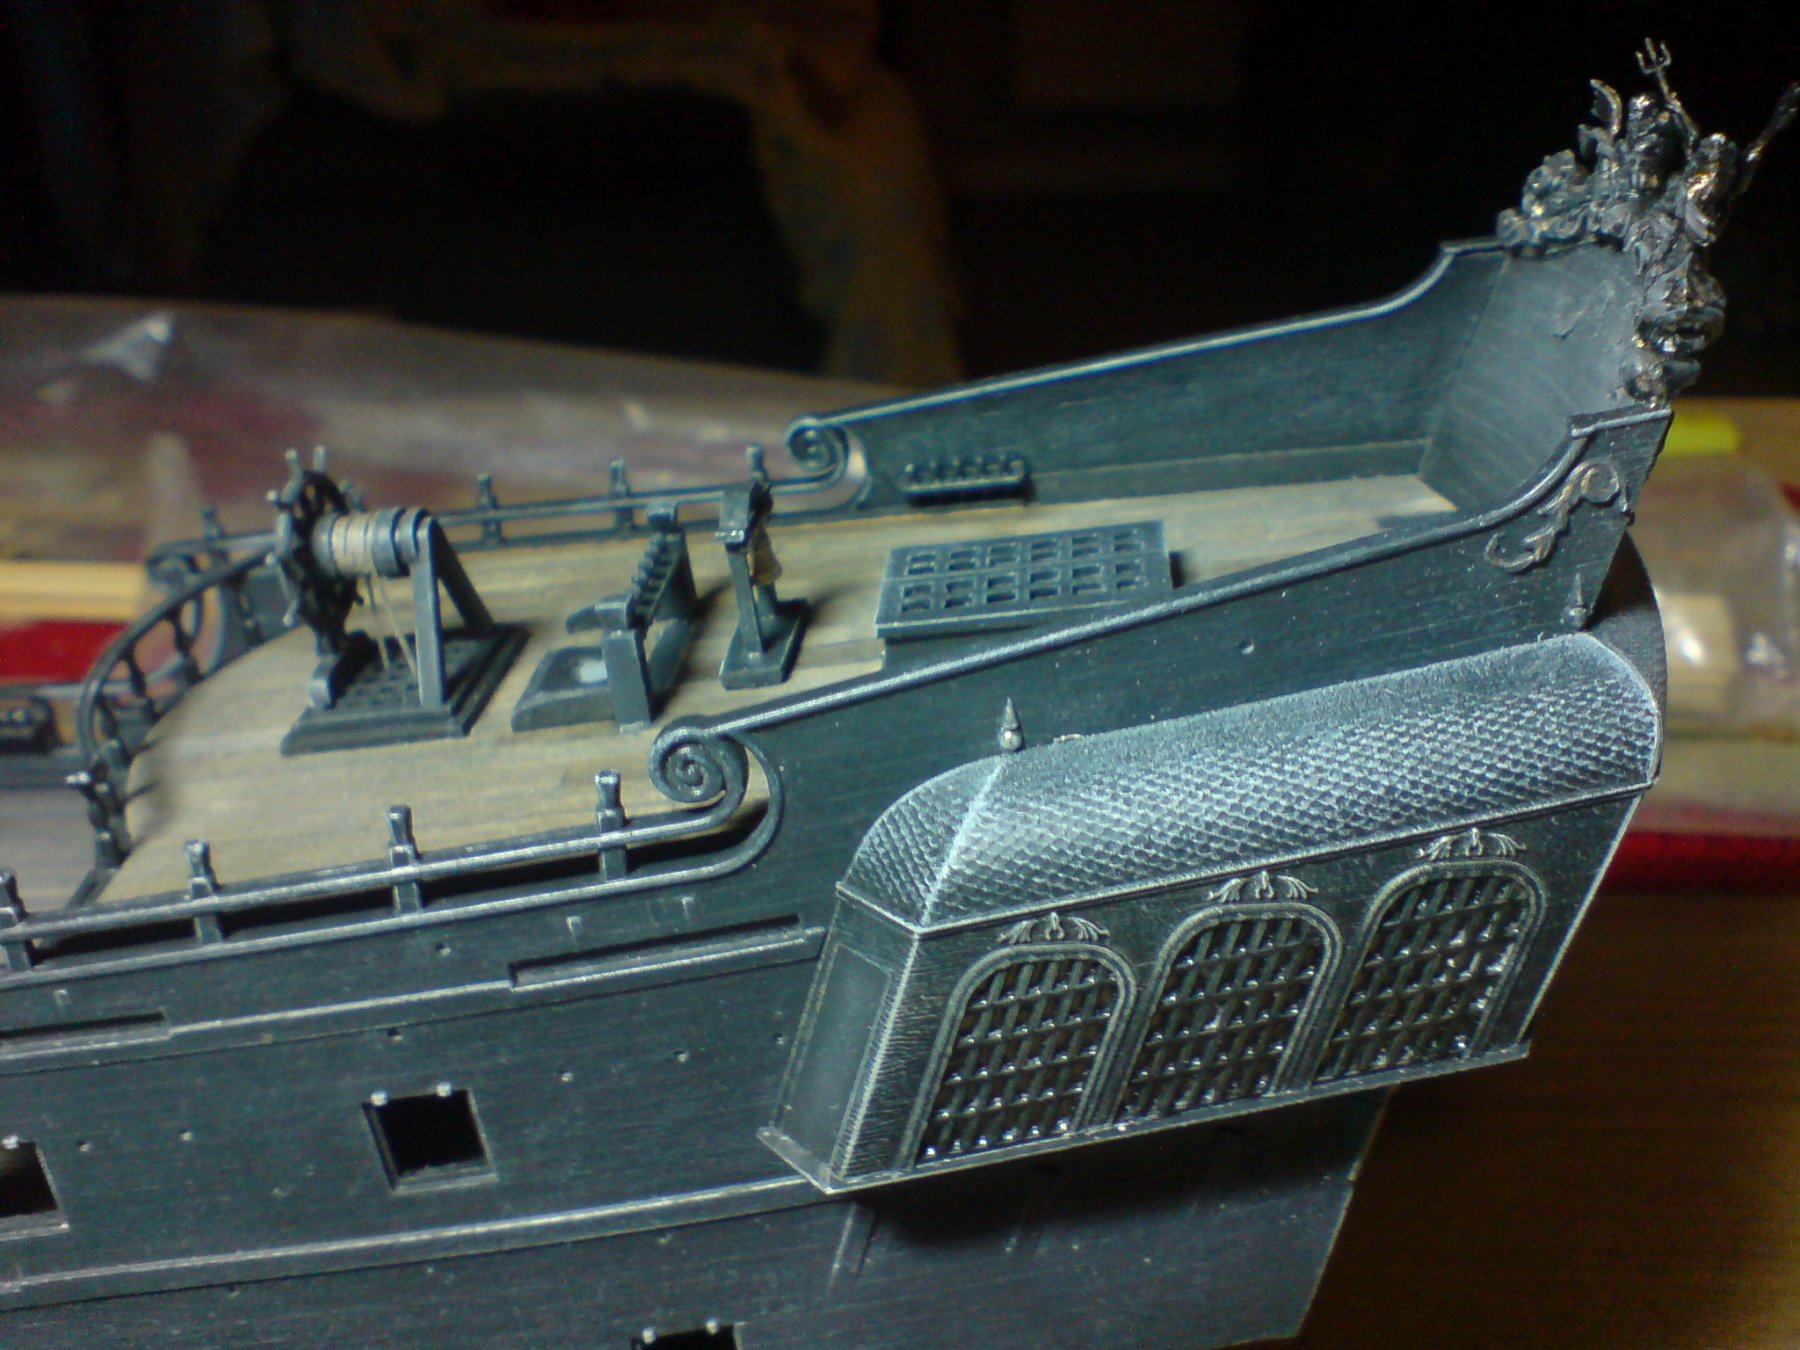
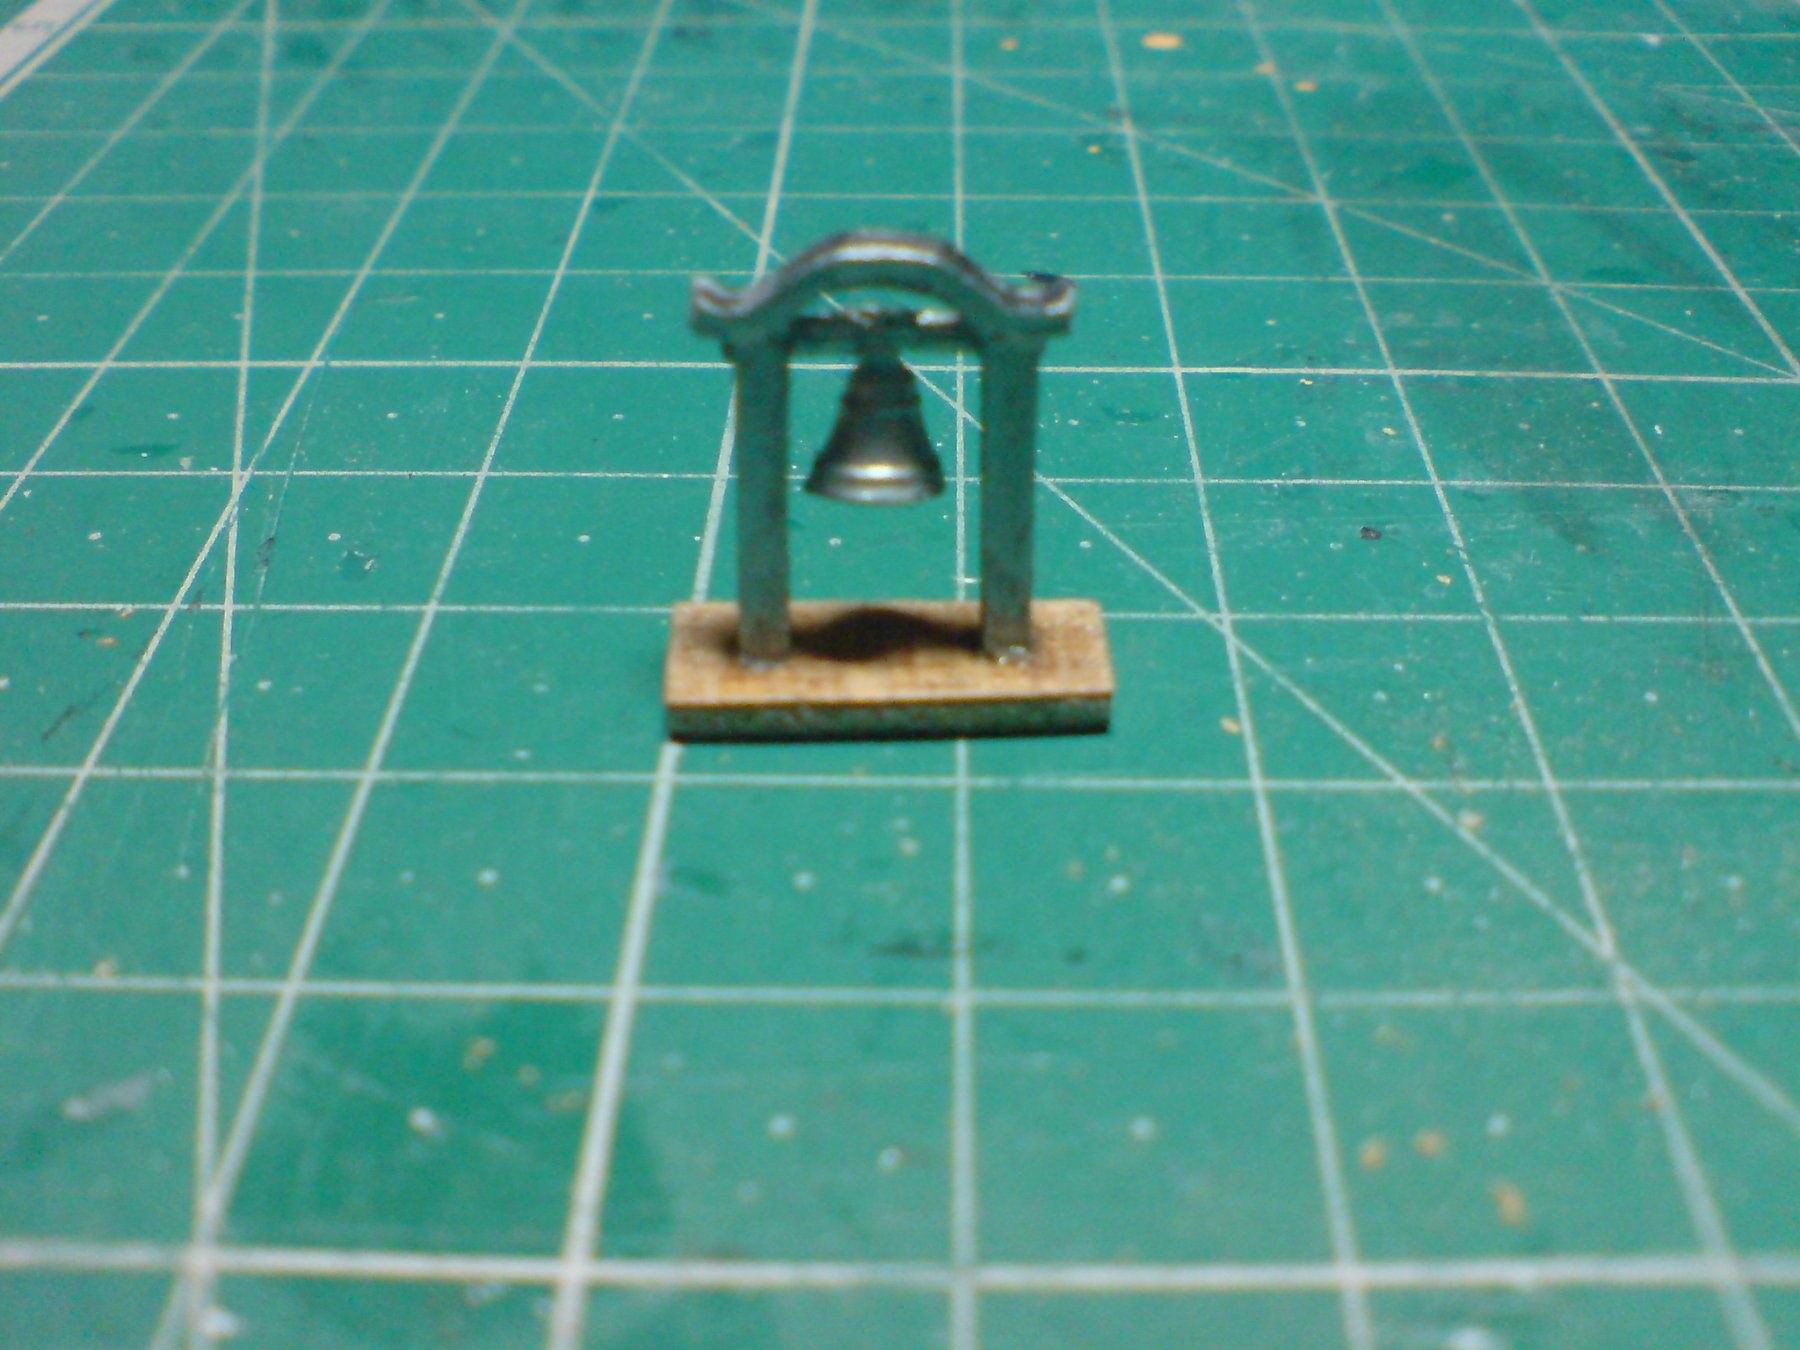
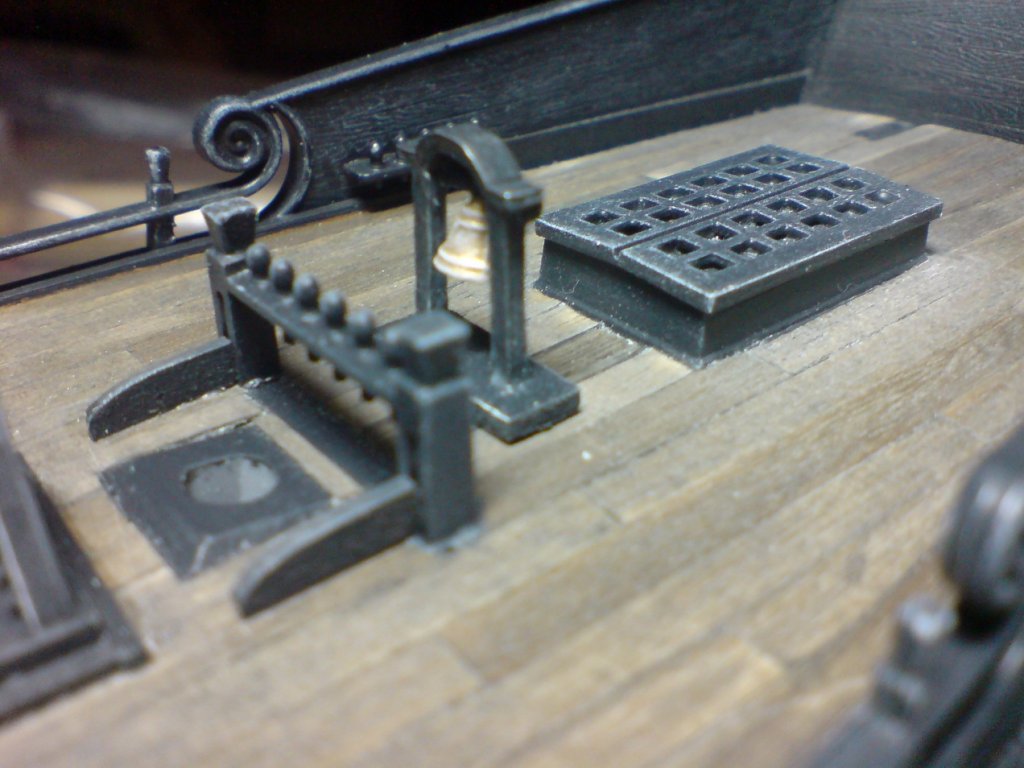
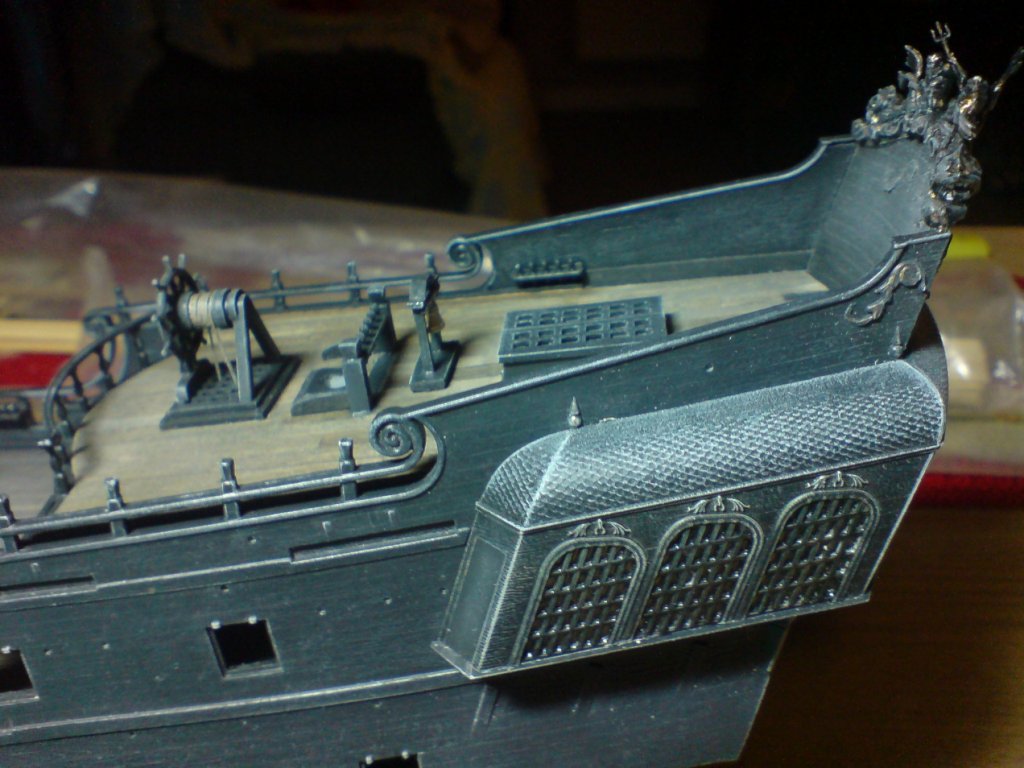
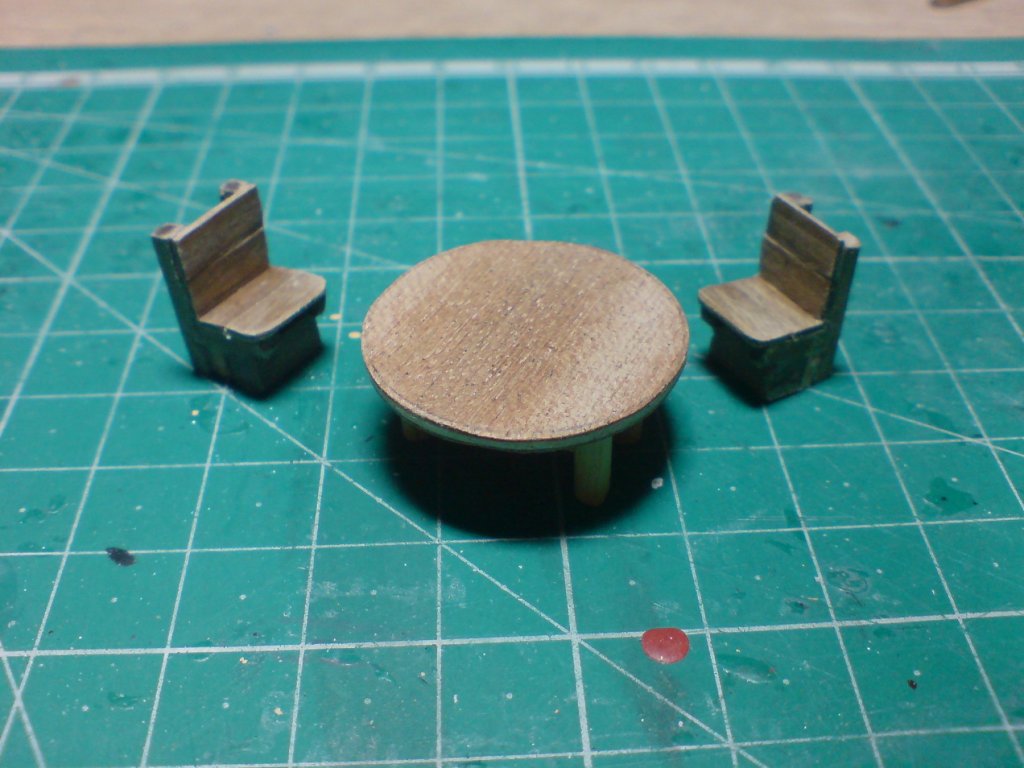
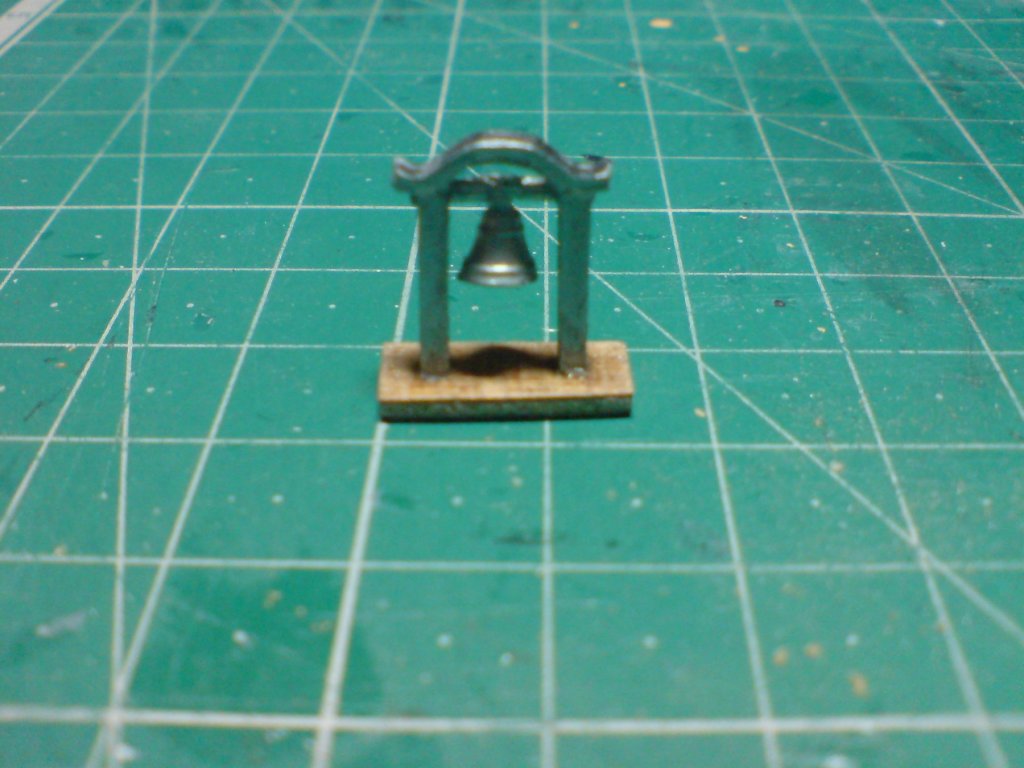
Evening all, thank you so much for all the likes and comments, I spent another good afternoon on the pearl, I painted the furniture and the cabin floor, then when dry I glued them inplace, next was the rear upper bulwark with the decorative figurework, this was glued inplace. Next was the cabin windows assembly, I had to cut off a trim that was stopping the assembly from fitting tightly, after doing this I carefully glued the assembly inplace. I also finished working on the belfry - I painted the bell with some brass paint and the frame in my usual black/brown, then when dry I dry brushed some white over it to shade it, then glued it inplace Here's the pics -


-
That looks Amazing lou, lets foreget about boat building and chat dolls house building - bet we would be popular. OC.
-
Thank you sincerley, I think we also get pleasure from putting little pieces into our builds - even if they are not visible or hardly seen, kind of adds that extra something to our builds. OC.
-
Lovely work as usual jason - very high standard, such an inspirational place to visit is Vic, you can almost feel the spirits of Nelsons crew. OC.
-
You wont see it through those windows, even the table will just be a murky shadow, Im leaving it at a table and two chairs. To give an idea how much can be seen through the windows - in the pic of the windows above, the table I built is just behind it - its shadow is just visible. The admiral (who'm I am building the pearl for) wants me to build her a dolls house - I will have to do a build on that also when I finish the pearl. OC.
-
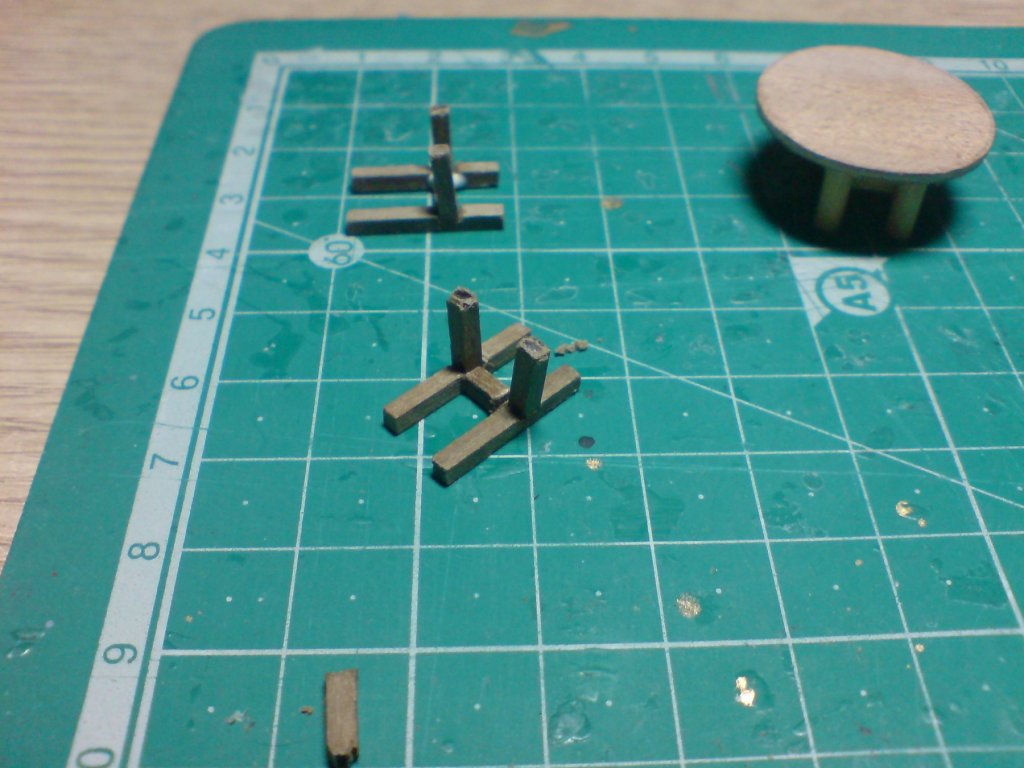
Hi there all, remember I filled in the windows with PVA - it set well and gives a nice impresion of period glass, I also decided to construct two high back chairs form bits of scrap, they will look ok as shadows through the cabin windows, I have also been working on the ships bell and bellfry. Lots more to do but loving all the bits and pieces. OC.

-
Loving the sails mate makes her really stand out. OC.
- 171 replies
-
- 3
-
-
- krabbenkutter
- authentic models
- (and 1 more)
-
Yes mate its gorillas wood glue, I find it very strong at glueing most things aslong as they inlcude part wood being attached. OC.
-
Great work mate - very tidy planking. OC.
-
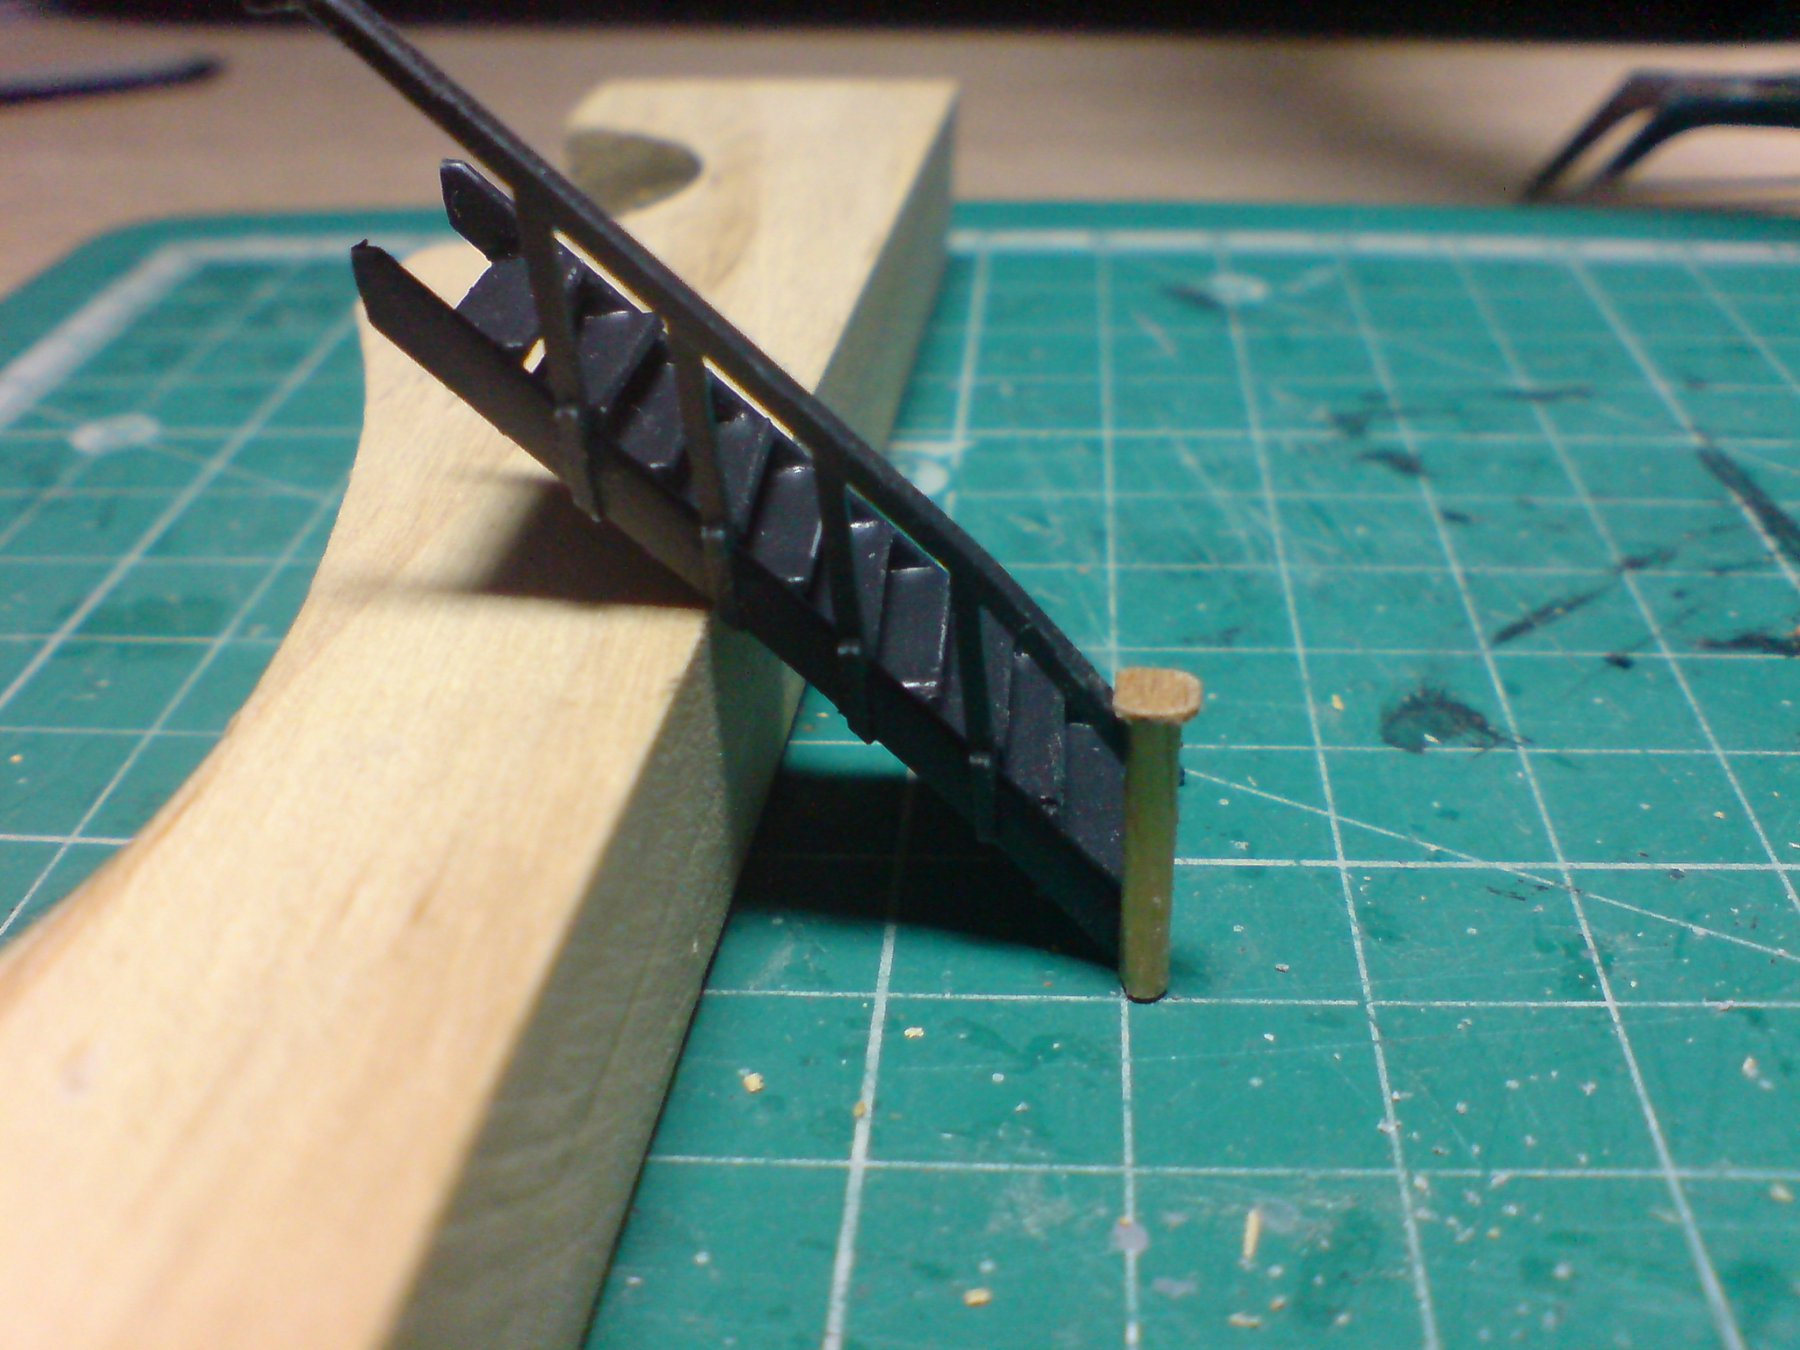
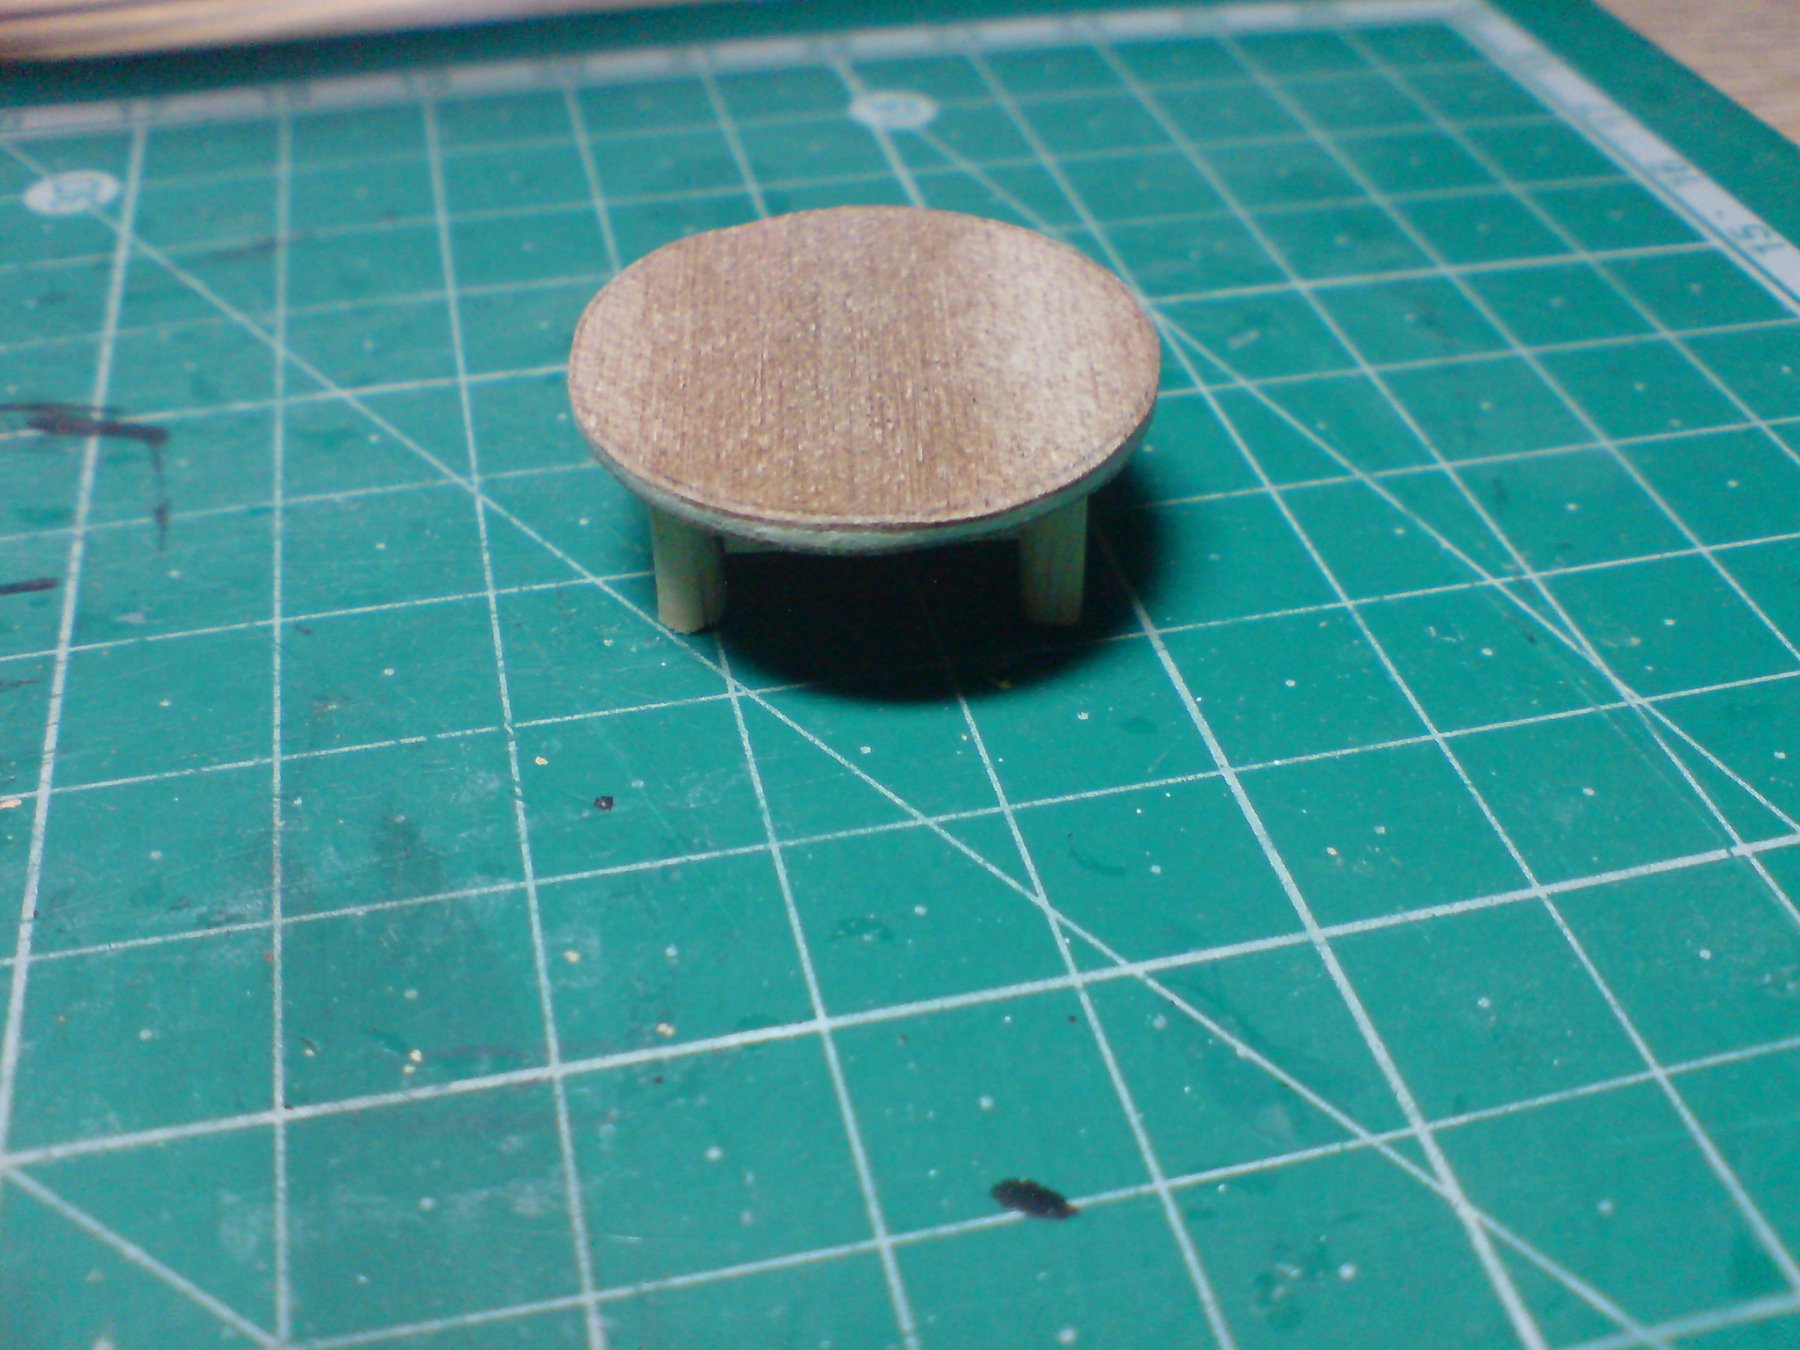
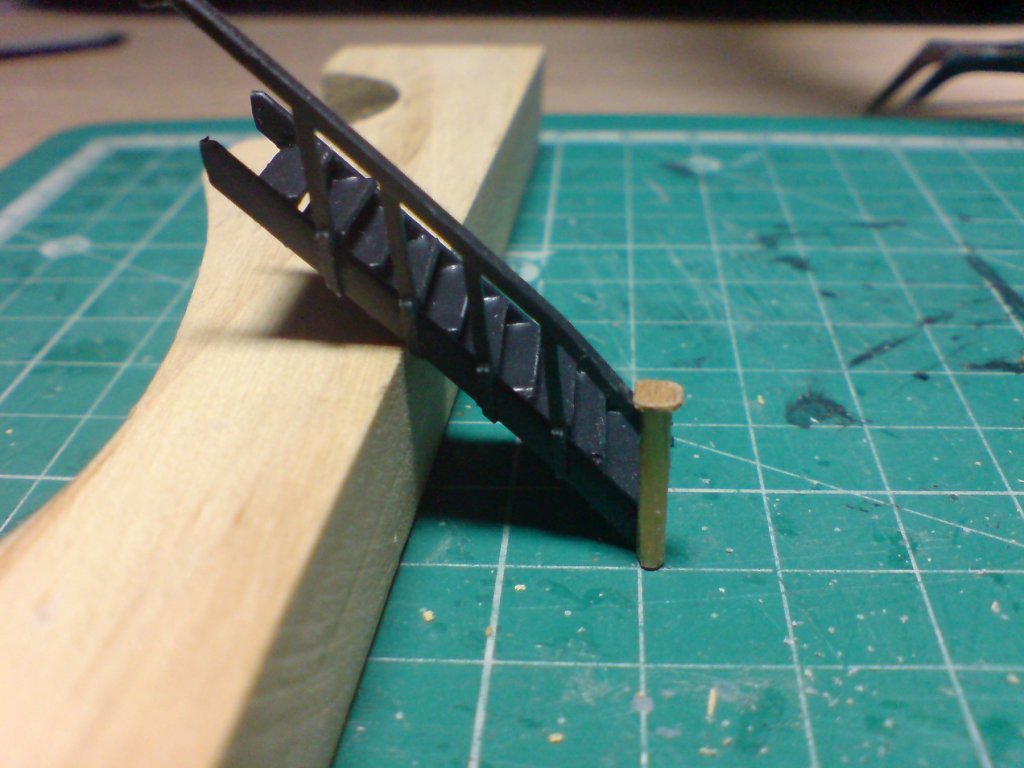
Evening all, another good day, I started off by putting in the rear glazing in the form of clear plastic sections, then I filled in the windows with pva to create an old windows look, then I have re worked the staircase bottom post, I made it from wood dowel it was attached to the staircase side and rail, then I have put top caps on the posts. As I said I have decided to put some furniture inside the cabin as it may be seen (shadowy) through the windows - so I have made a 6ft round table. A few pics today. OC.


-
Evening all, not much of an update (not in the photo sense anyway as I dont have any new ones at this stage) but what I have done is - added the remaining sections of water channel strips all the way along both sides from bow to stern, and painted them the same color as the bulwarks, I have also re shaped the bottom post at the bottom of both staircases as they were too long and needed thicker posts. I have also started constructing the rear frame for the rear and side cabin windows, I have decided to have a bash at creating a small amount of cabin furniture - just a table and couple of chairs, the idea is even through stained windows (PVA) I should still be able to see some shadows of furniture. Well thats where I am at the moment. OC.
-
Did I read that right ...........cough cough cough, we couldget fifty lashes for doing that, not off Mr Sparrow (as long as we gave hin rum -ofcourse) OC.