HOLIDAY DONATION DRIVE - SUPPORT MSW - DO YOUR PART TO KEEP THIS GREAT FORUM GOING! (Only 13 donations so far - C'mon guys!)
×


Old Collingwood
-
Posts
12,098 -
Joined
-
Last visited
Content Type
Profiles
Forums
Gallery
Events
Everything posted by Old Collingwood
-
 Thank you so much mark, I am quietly pleased with what I have done - kind of a rewarding feel. OC.
 -
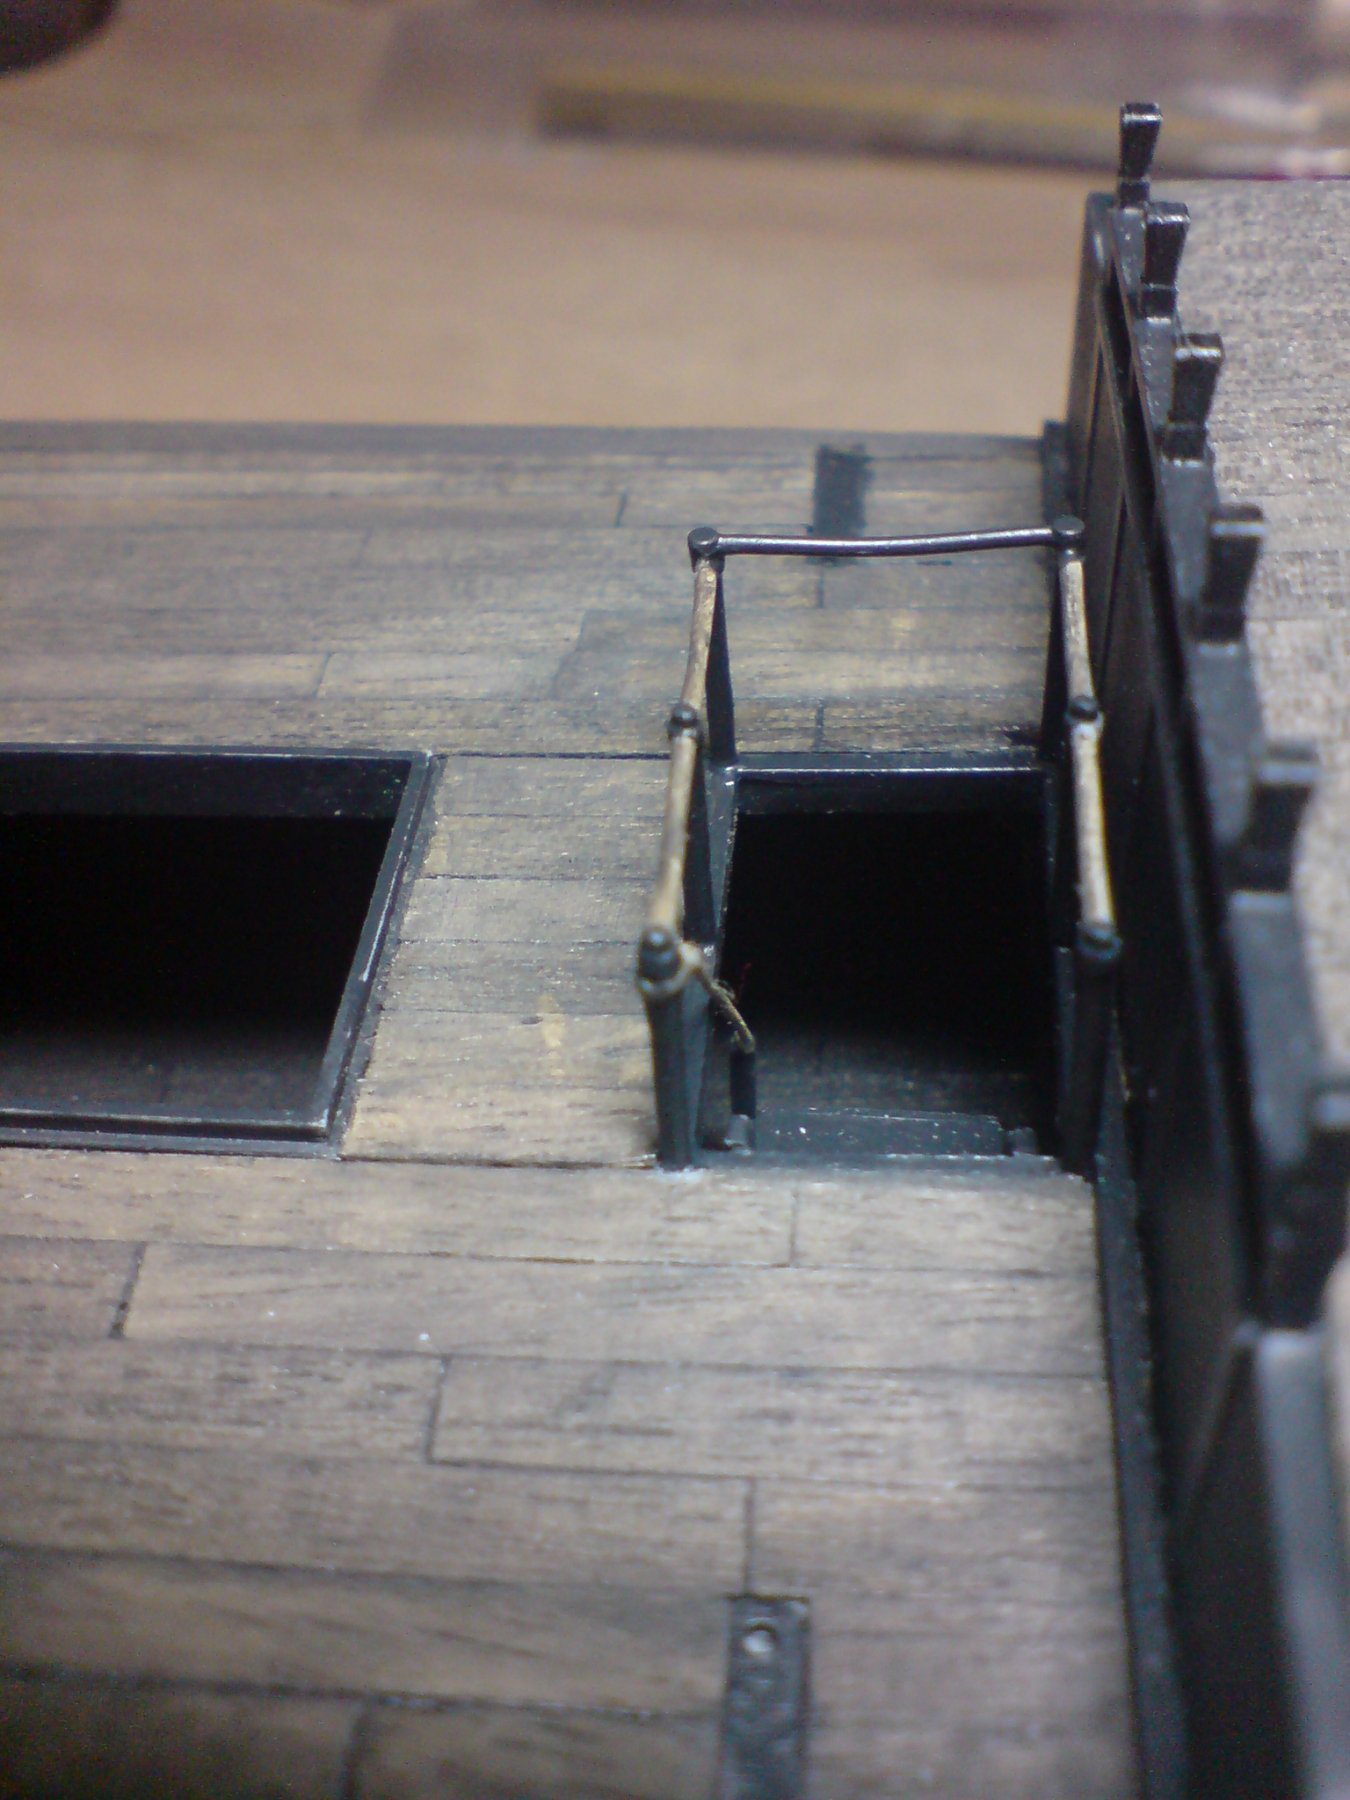
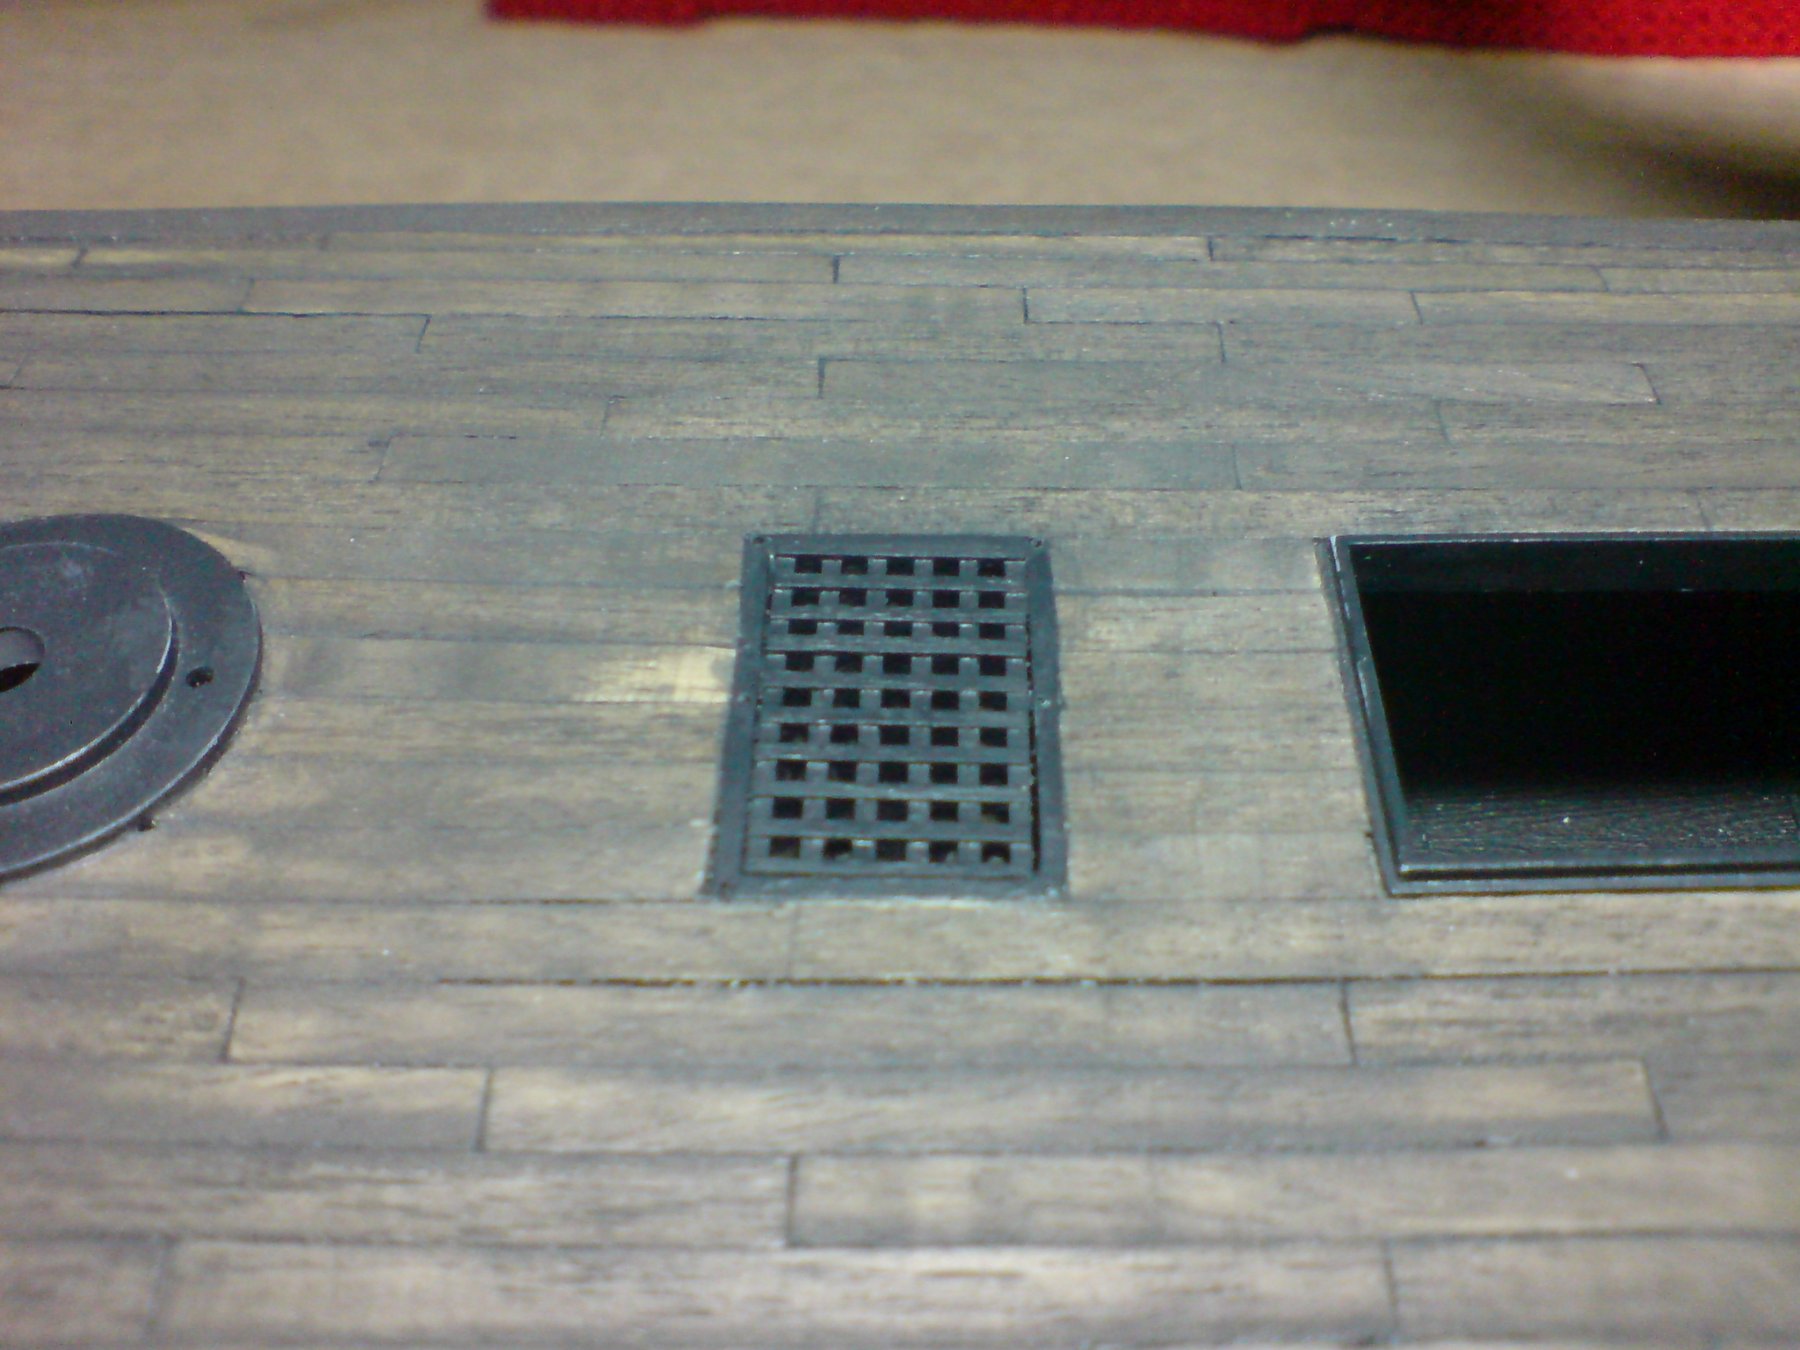
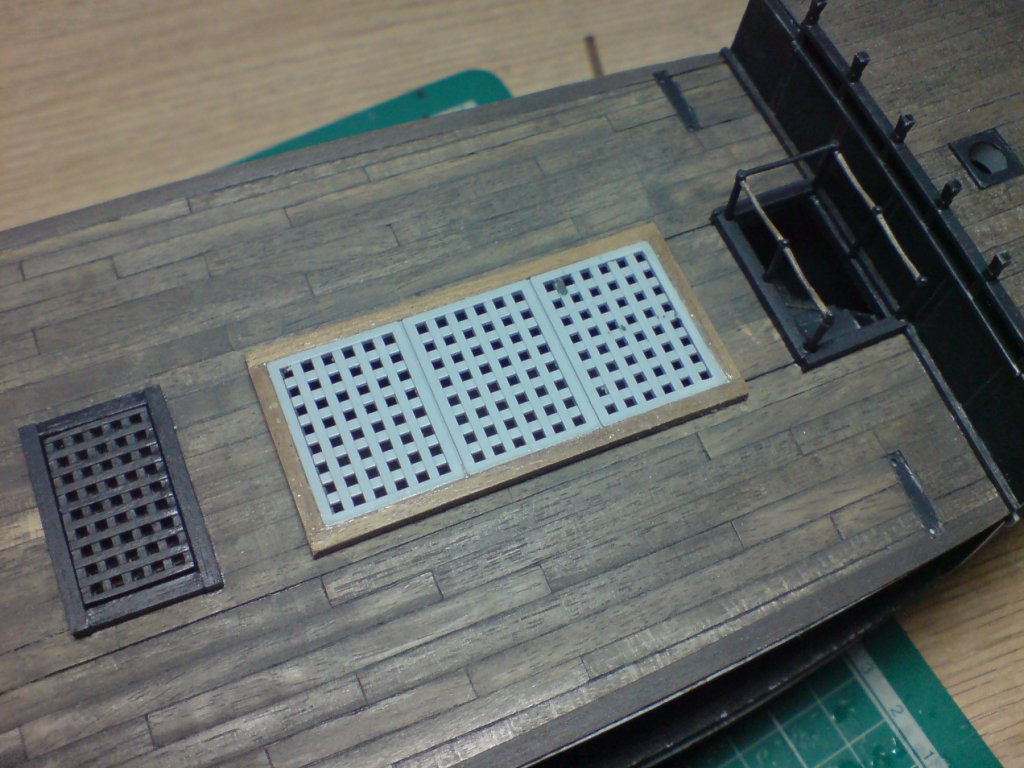
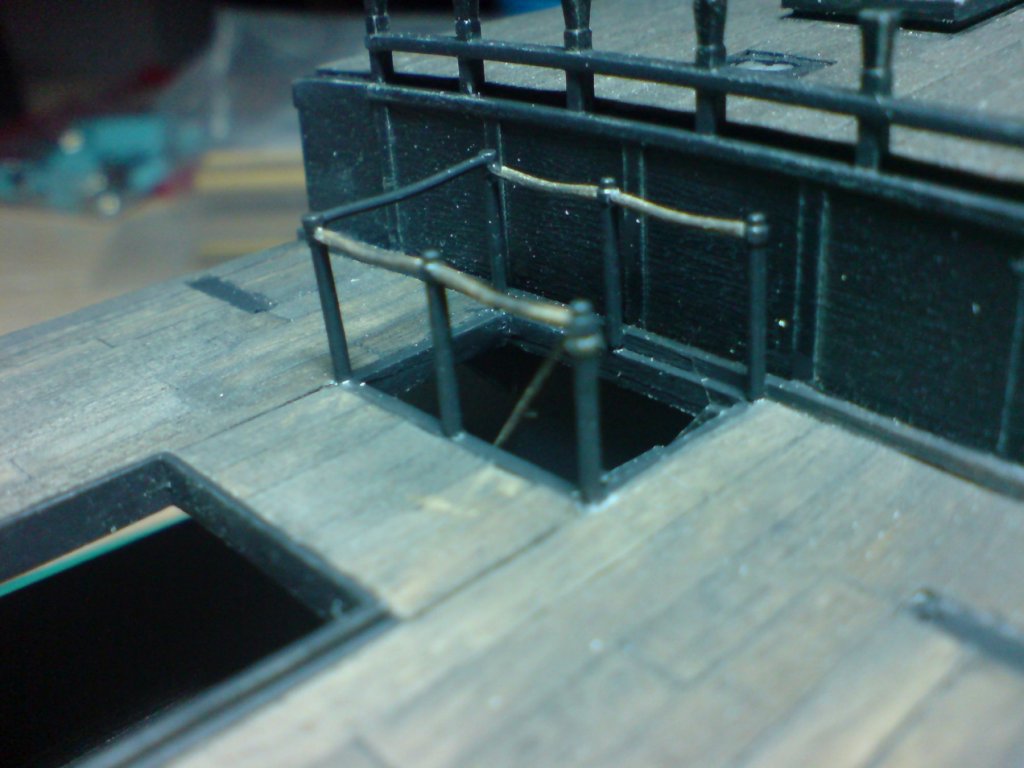
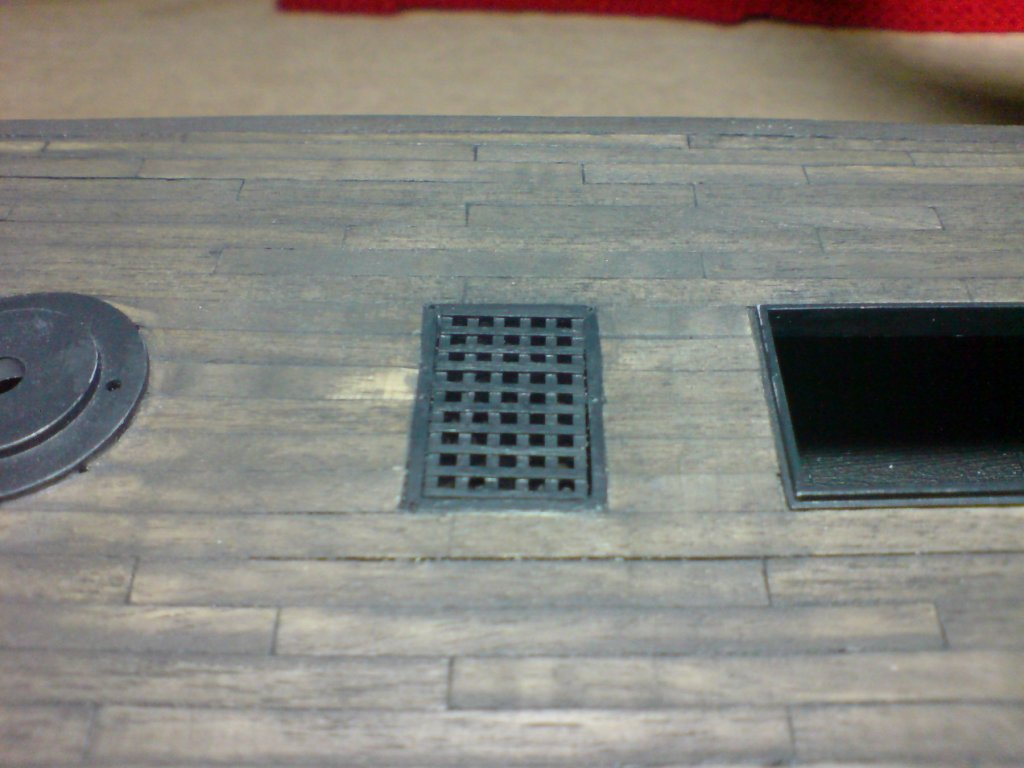
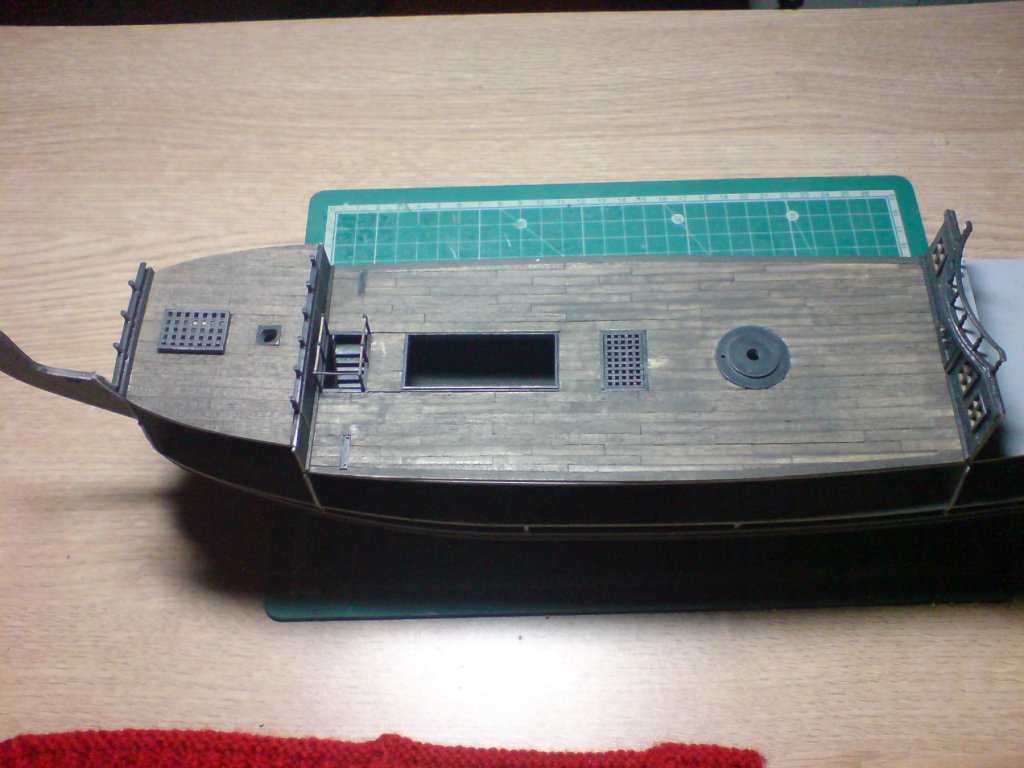
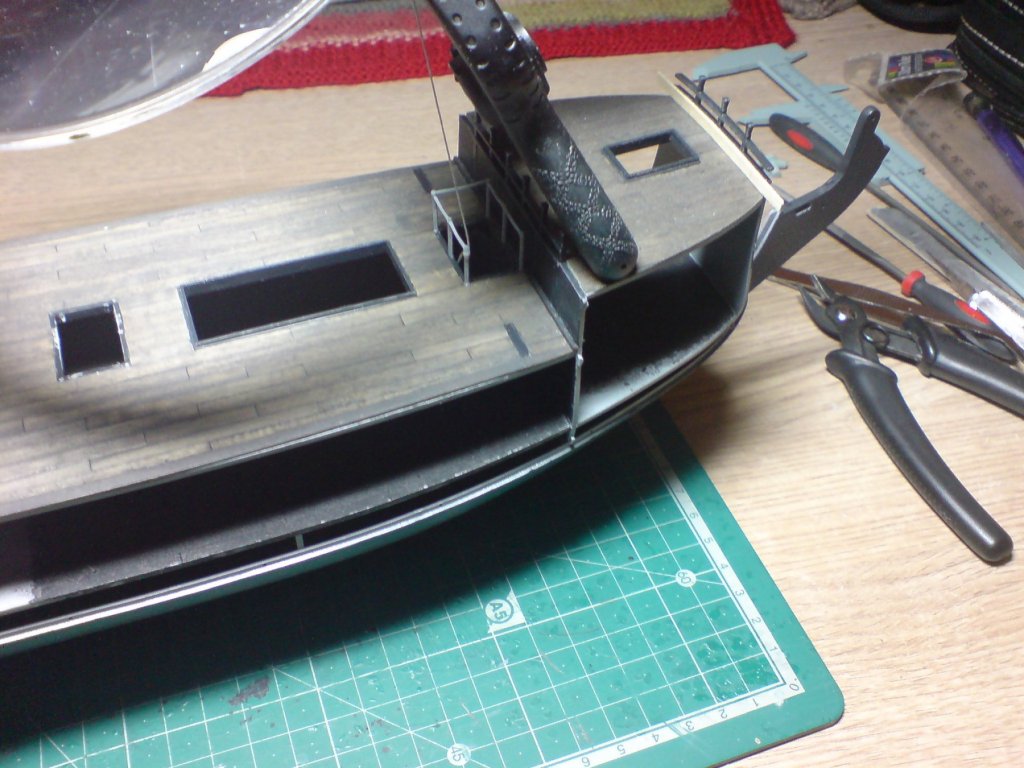
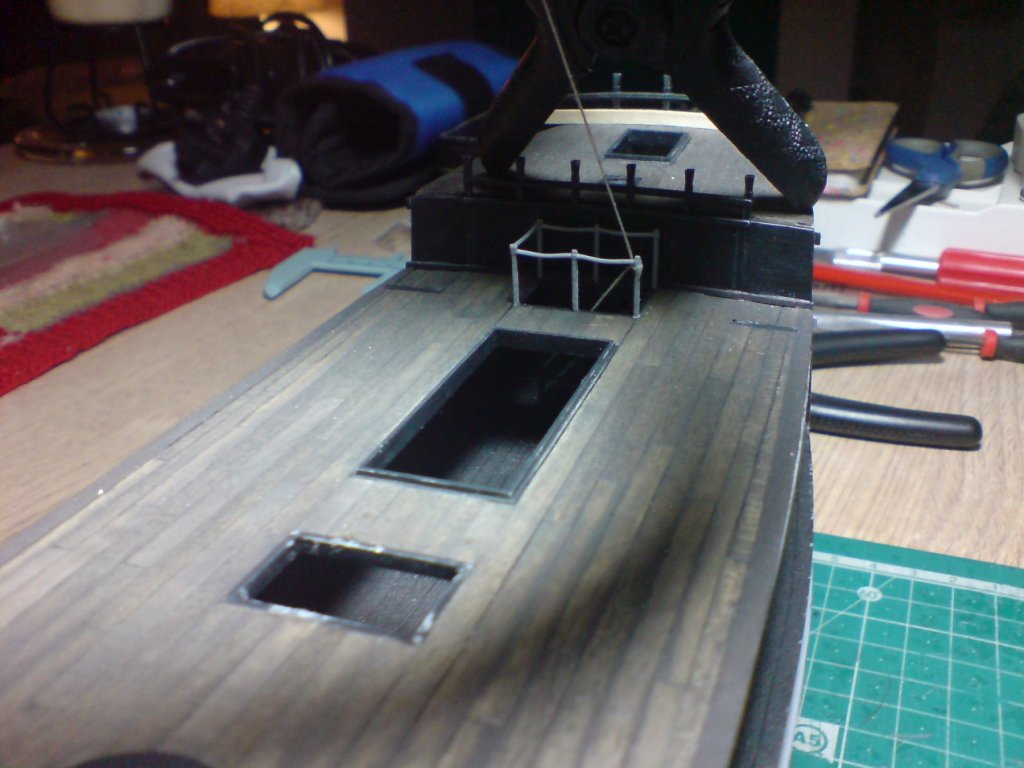
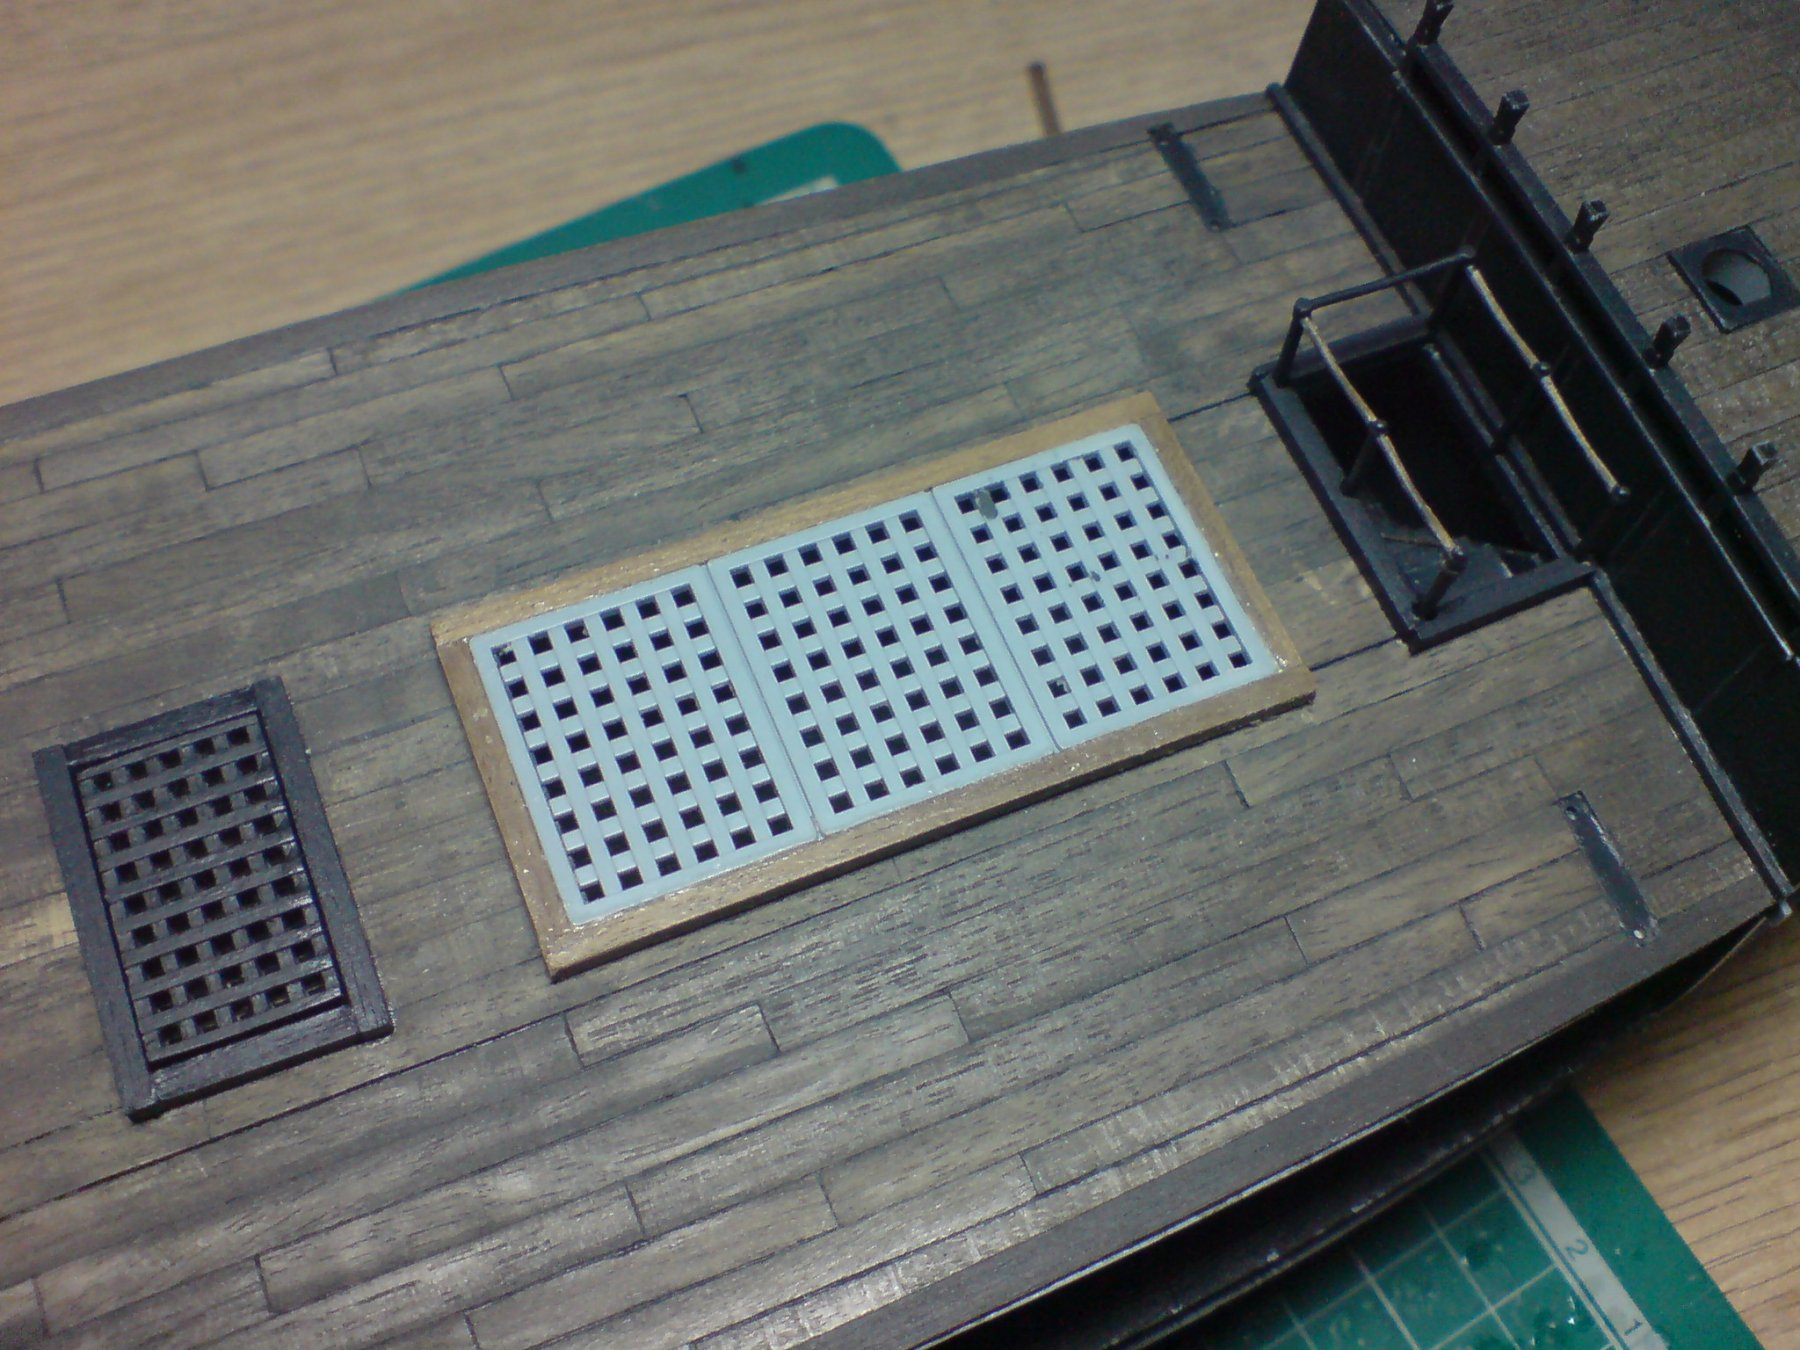
Evening all, so I got a few hours on the pearl after a day of aircraft spotting and photography, any way the ladder hatchway was re done using some 2x2mm framing - I decided to attach the frame to the deck that way it leaves a slight gap between the grating and frame, this inspired me to then construct some combing around the hatchway with the ladder already open, this was tricky as I had the rope stachions to cut around, I did this by making the combing in three sections, and filing a cut out with my fine needle files (think I used my 2mm box file). After these combings had set I applied a couple of coats of the fadded black/grey paint. I then turned my attention to the main gratings section - this is a kit part in plastic, but it looked a little narrow and flat compared to the others, so I boxed it in with the same 2x2mm and set it aside to set. Here are a few pics of the progress - OC.
.thumb.JPG.f2476dc21806a8360a85698ab1a7ec47.JPG)
.thumb.JPG.bb2390423d09f9e42682c6e50c81fffe.JPG)
.thumb.JPG.a1b9184d26d055f6021b81353cff9b47.JPG)
.thumb.JPG.8029932ae3a4d95bd5c0ea85db7579de.JPG)
.thumb.JPG.08d5a5db32f60ce0cb2e89842dc2df87.JPG)
.thumb.JPG.667d45443122299bc485d699a536c5b1.JPG)
-
Thanks lou, I've lifted it now (it was bugging me so I went downstairs and popped it from underneath - no damage) I will build a frame 2x2mm tomorrow (after my aicraft spotting and photography from the back garden - of course) and fit it around the grating - like I did on my Greyhound build - I just wasn't thinking - brains gone to sleep I think. OC.
-
Not sure how that would work on the actual ship as the ladder hatch grating was just a temporary cover - put in place with the hand rail/ropes removed for action stations I assume, its only lightly glued so it can be popped out from under and a slight combing added, what I could do is to build a frame around the grating and sit it ontop of the lip so its raised a couple of mm. OC.
-
Thanks mate, I have never used pastels - I always seem to work by the slowly slowly ethic when it comes to trying new techniques. OC.
-
So much very fine work kevin - you are doing her so much credit. OC.
- 1,319 replies
-
- 5
-

-
- caldercraft
- Victory
- (and 1 more)
-
Will be following - have me seat/popcorn and beverage at the ready, this could be a good candidate for the HMS Interceptor from Pirates of the Caribbean. OC.
-
Evening all - another good day doing bits and pieces, I started by trimming the ladder rope that had been attached, I then painted the rope and simulated rope in a dirty sand color and the posts the same brown/black color, I then painted and fitted the forecastle deck grating, and also constructed a grating to cover the mid ships ladder hatchway. A few pics showing the progress. OC.


-
Evening all, thank you all for the likes and views, its great being back in this section, right - I decided to attack the ladder rails that go around the deck cut out, I decided to use the kit parts as they are fairly well formed, I also attached the ladder rope that comes up from lower down, this was tied and glued with a bit of pva. Here are a couple of pics. OC.
-
She's been put in here folks - as I thought it was more appropriate due to her being of a kit origin. OC.
-
Great work denis, I know keeping busy with something to disstract you is a help, and with the dentist - "Oh boy do I know abit about teeth problems" I have suffered all my life if not tooth then Abscess problems causing my whole side of my face to blow up and the Pain - "Throb throb". OC.
.JPG.526ea202014d479604546089de383610.JPG)
.JPG.11aac2ea9a9795b98cd419217e814df7.JPG)
.JPG.b79e5f84cff0d8746395f6120c077d81.JPG)
.JPG.d786f98248242fa59a4ccc8d9c1334f2.JPG)
.JPG.c1e1e92a3f5e0e81ed4660dc8ed6dece.JPG)
.JPG.e5ae6e7613b4c7af1785785ed4b1e59c.JPG)