HOLIDAY DONATION DRIVE - SUPPORT MSW - DO YOUR PART TO KEEP THIS GREAT FORUM GOING!
×


Old Collingwood
-
Posts
12,097 -
Joined
-
Last visited
Content Type
Profiles
Forums
Gallery
Events
Everything posted by Old Collingwood
-
 I hope your are keeping up mate - I will need a crew soon hope your ship shape my hearty...... OC.
 -
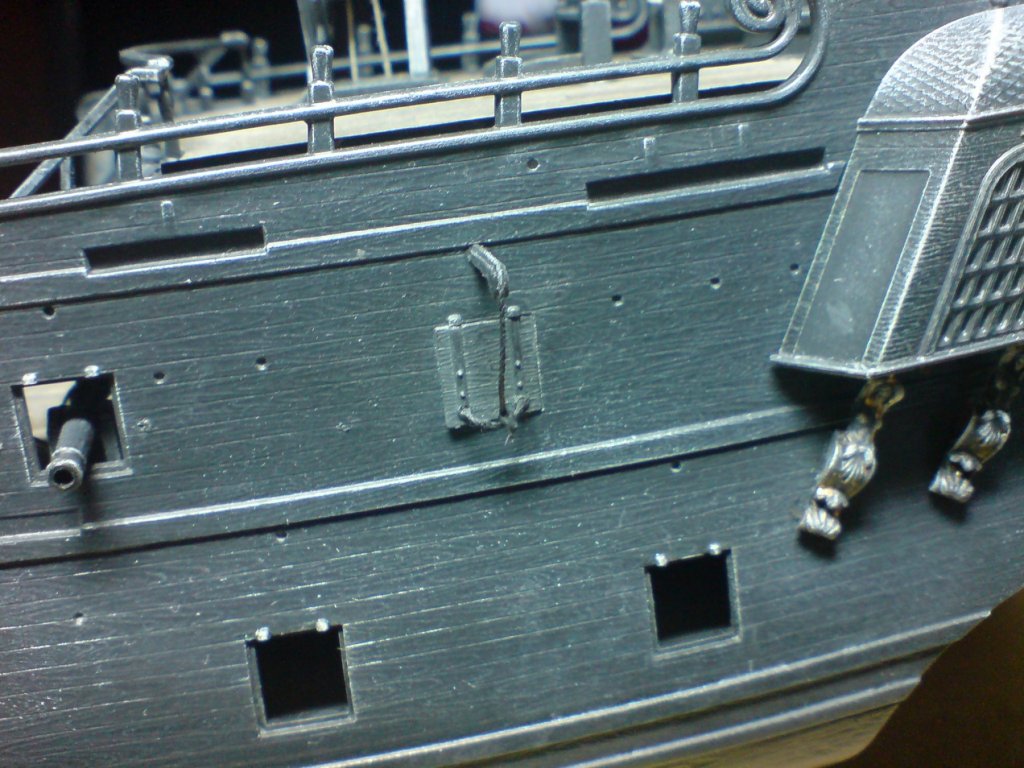
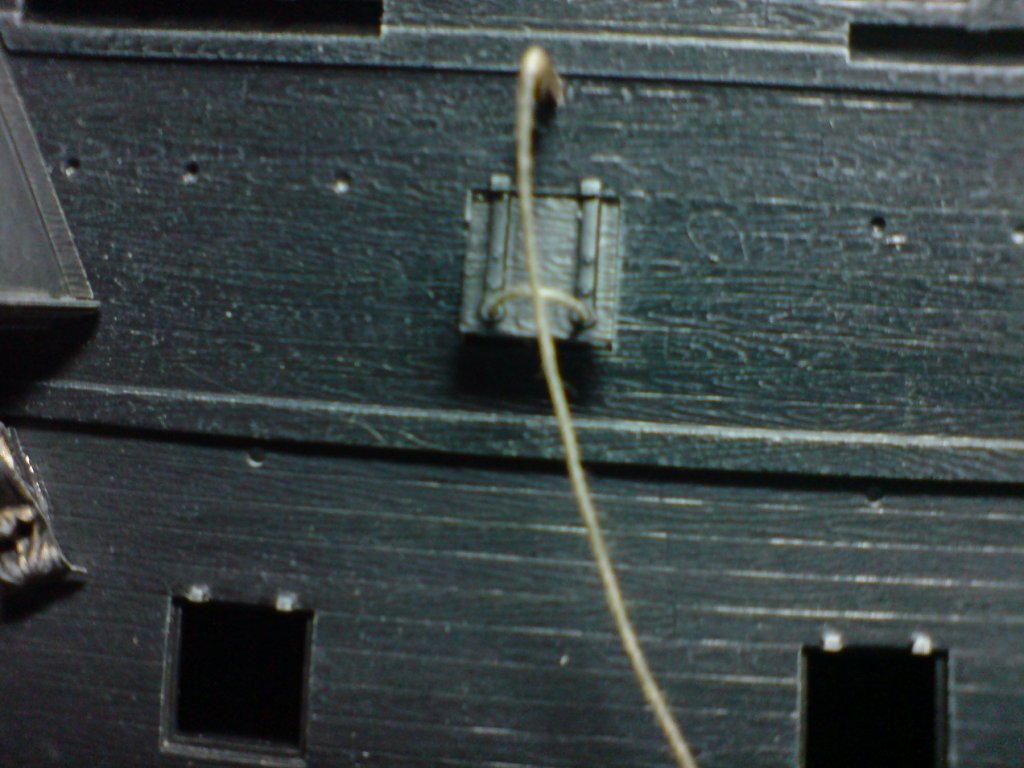
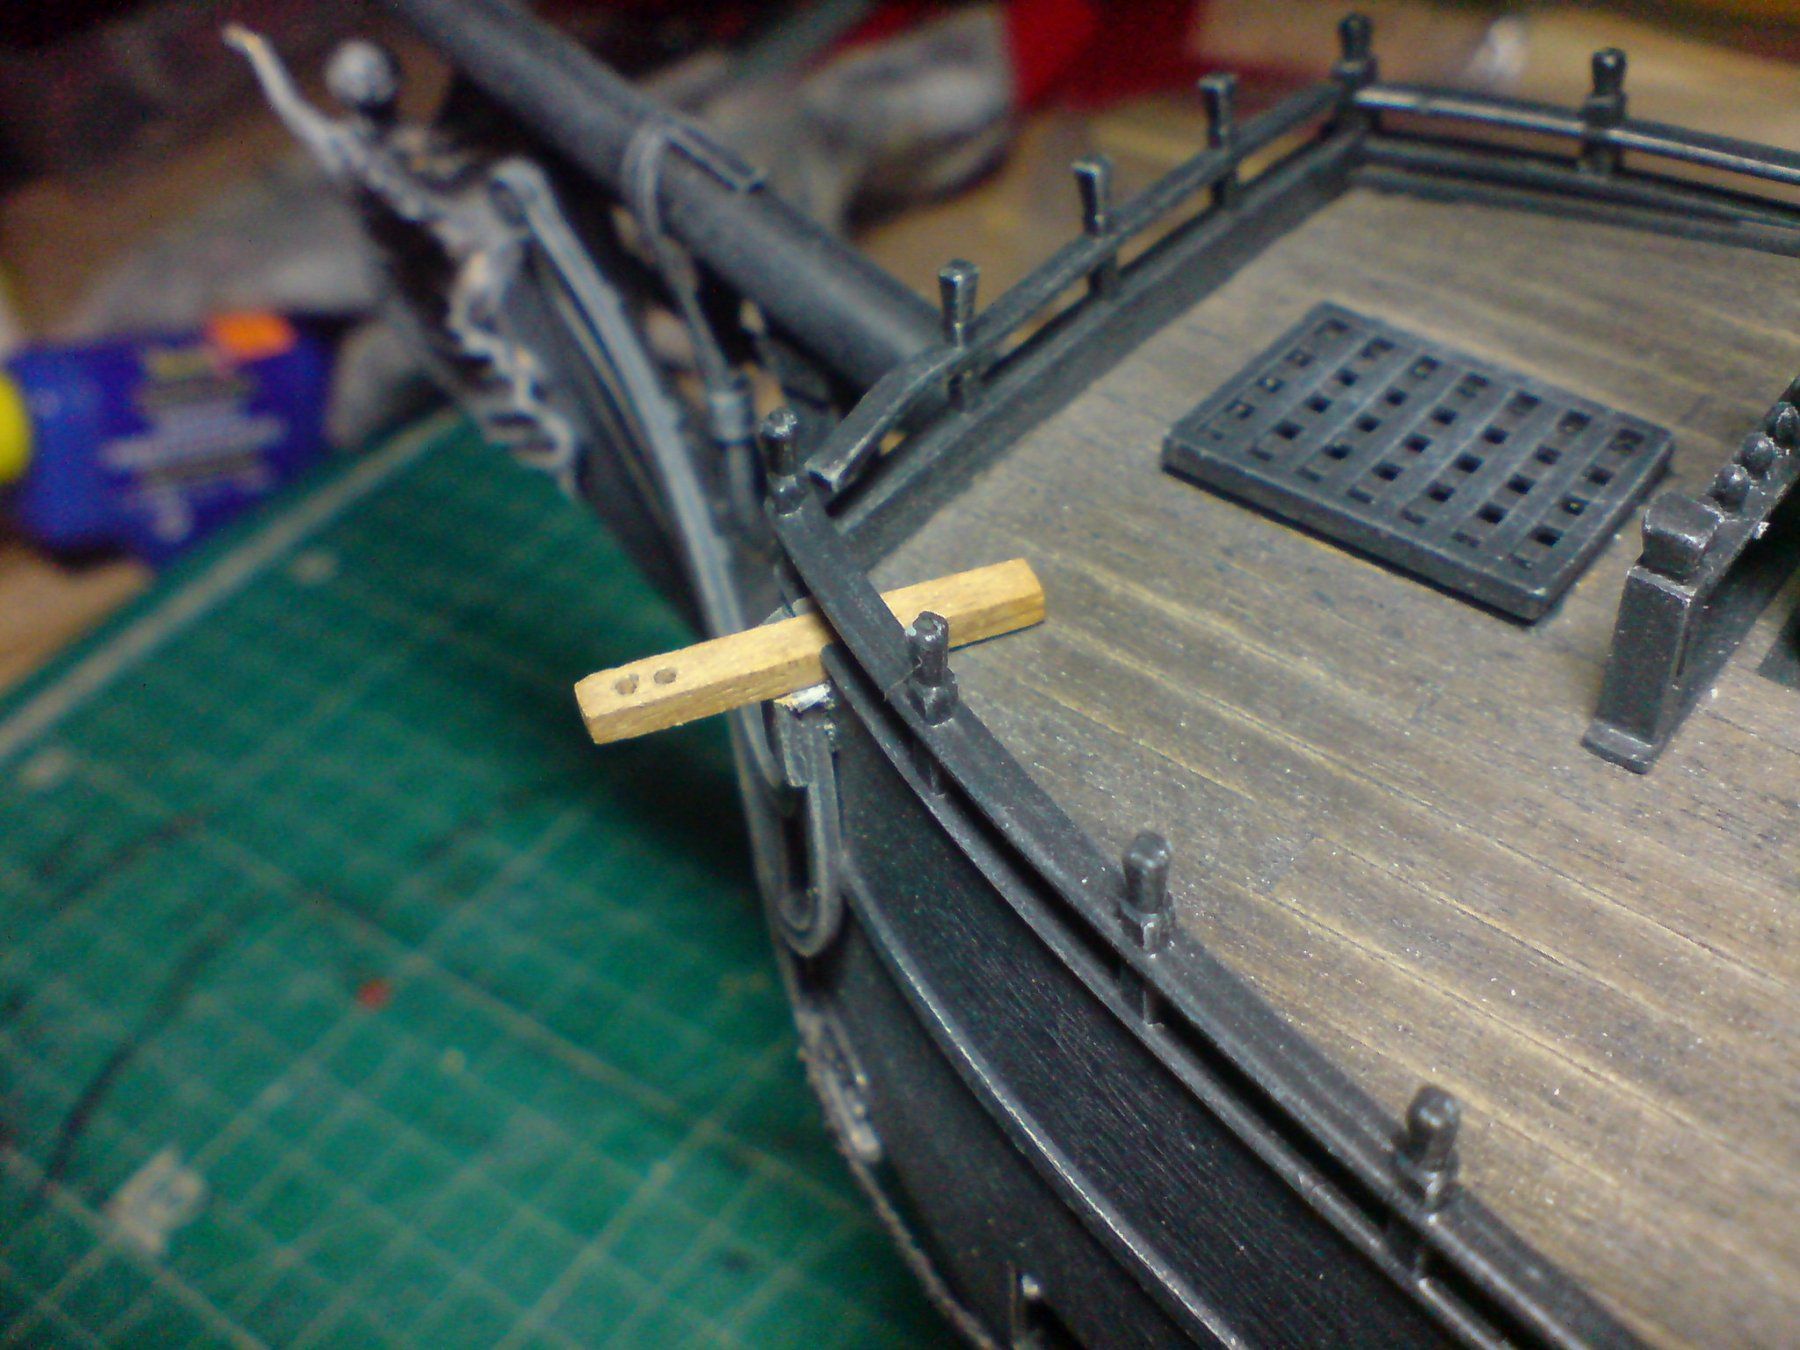
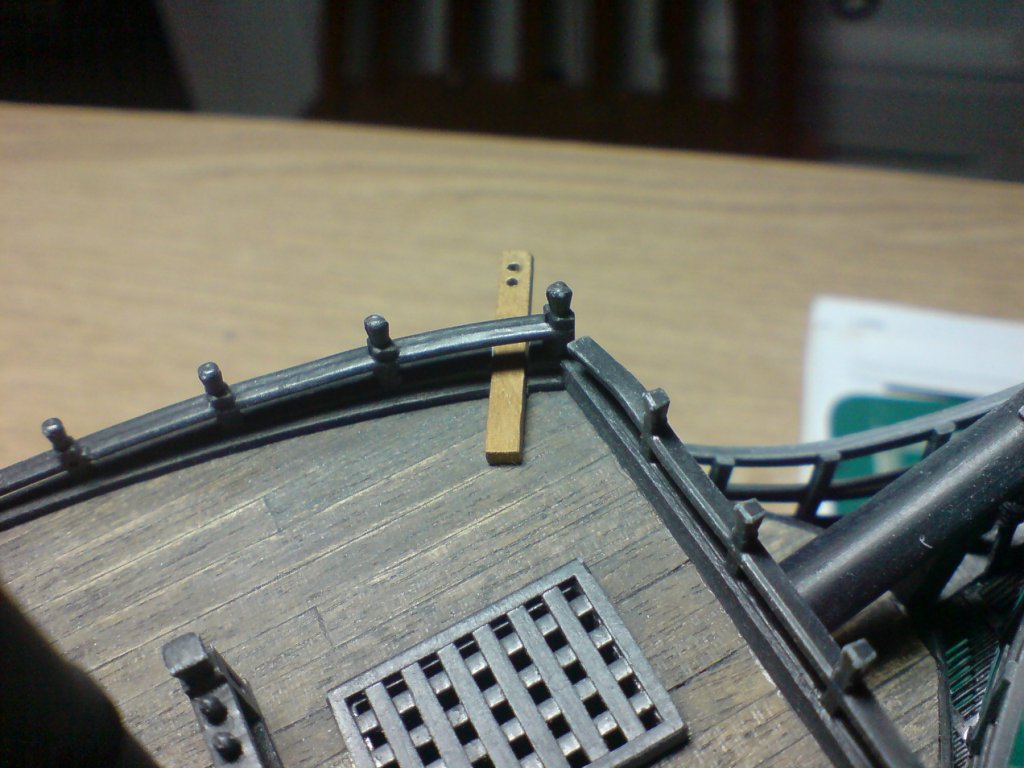
Evening all, thank you all sincerely for all the likes and replies, today I had a break from the canon building and started work on the catheads, in the kit these are plastic and attach to the outside of the hull, but I decided to make them from wood stock 2 x 2mm, these sit on the deck of the forecastle deck and protrude through the railngs there, first I had to file away a square cut out in the hull using my box file, I kept testing with the timber till I got a flat cut out. Then I cut the timber to length and drilled two holes in the end for the anchor support ropes. Here's the pics - OC.


-
Excellent - you could almost do an "Under Siege" scene with the baddies arriving by chopper. OC.
-
I used (later stages anyway) gaitor PVA glue, I applied a small amont with a thin dowel or sharpened tooth pick to the area, then placed the part with tweezers and moved into place using a small dowel/tooth pick type thing. OC.
- 140 replies
-
- 6
-

-
- the sullivans
- trumpeter
- (and 2 more)
-
It deffinatley helps to heat up the enamel paint to force dry it, I used to work for a cycle manufacturer and when we painted the frames with enamel paint it was (in effect) backed on with heat on a slow moving track with heaters either side blasting hot air at them - hence why I use a hairdryer on full and hot setting. OC.
-
I painted enamel (humrol) on all my brass effect parts, and just forced dryed them with a hairdryer then did acrylic washes over it and dry brushed highlighting again with acrylic - straight after the enamel, with no lifting or reacting of the different mediums. OC.
-
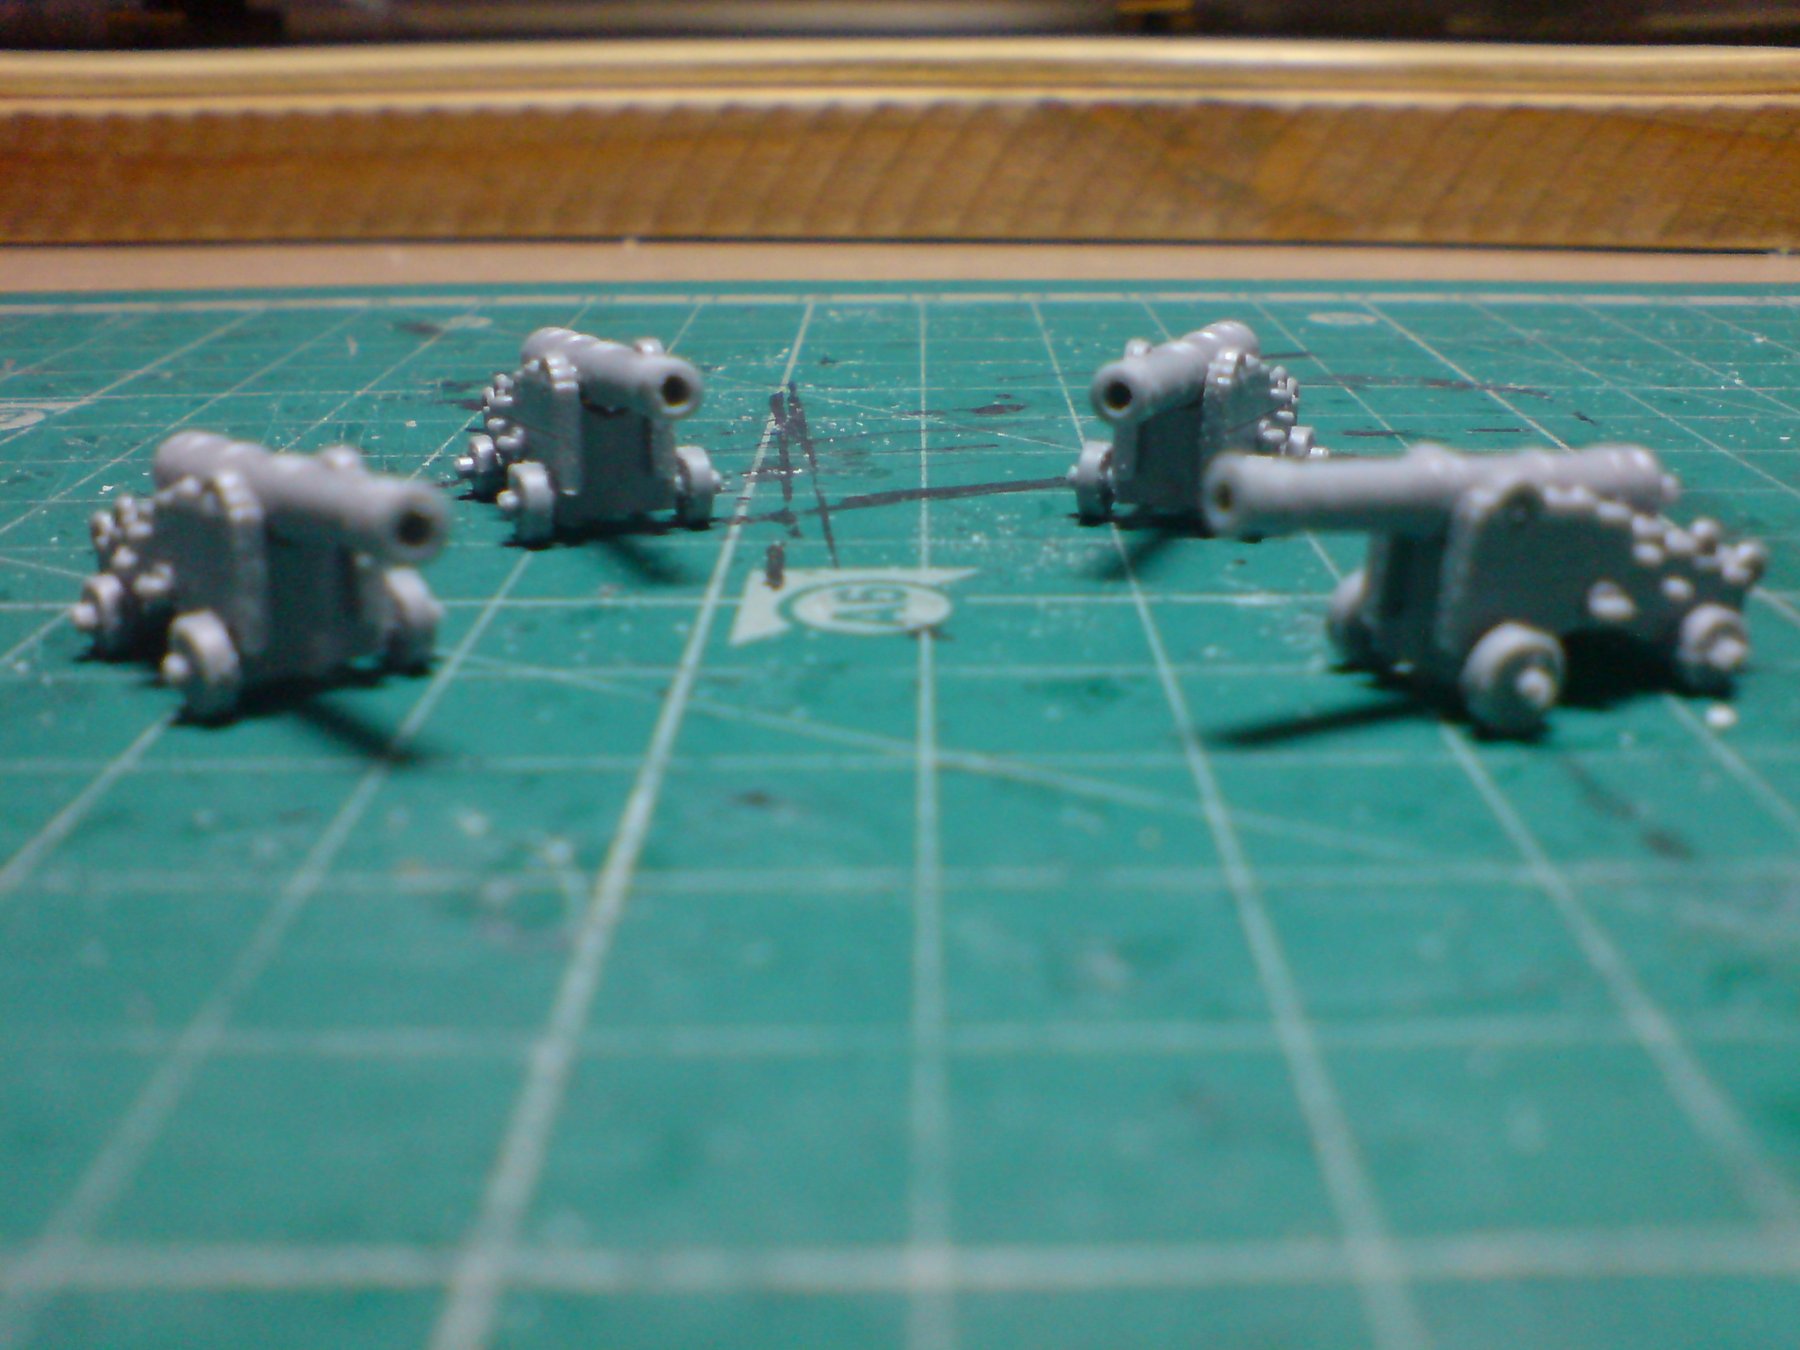
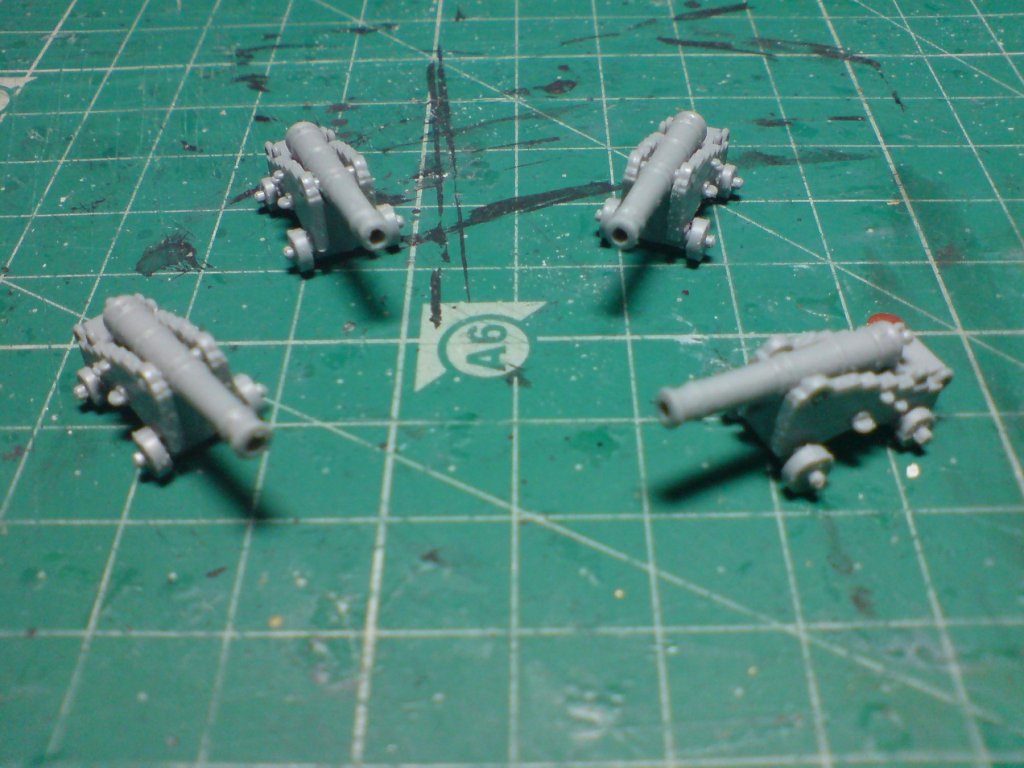
Hi all, not much to report really - I have duly started on the rest of the canons, so four more have been made prior to painting and weathering. OC.

-
So job for tomorrow (must keep the momentum going its for the wife) do I make and install the ten canons on the top deck, or continue with the lower gun deck port covers and ropes (as these are being closed) Decisions - decisions. OC.
-
I had a few of those days as a kid trying to build and paint my first models - my late farther was less than understanding though, normally got a right back hand for it. OC.
- 122 replies
-
- 4
-
-
- tamiya
- King George V
- (and 2 more)
-
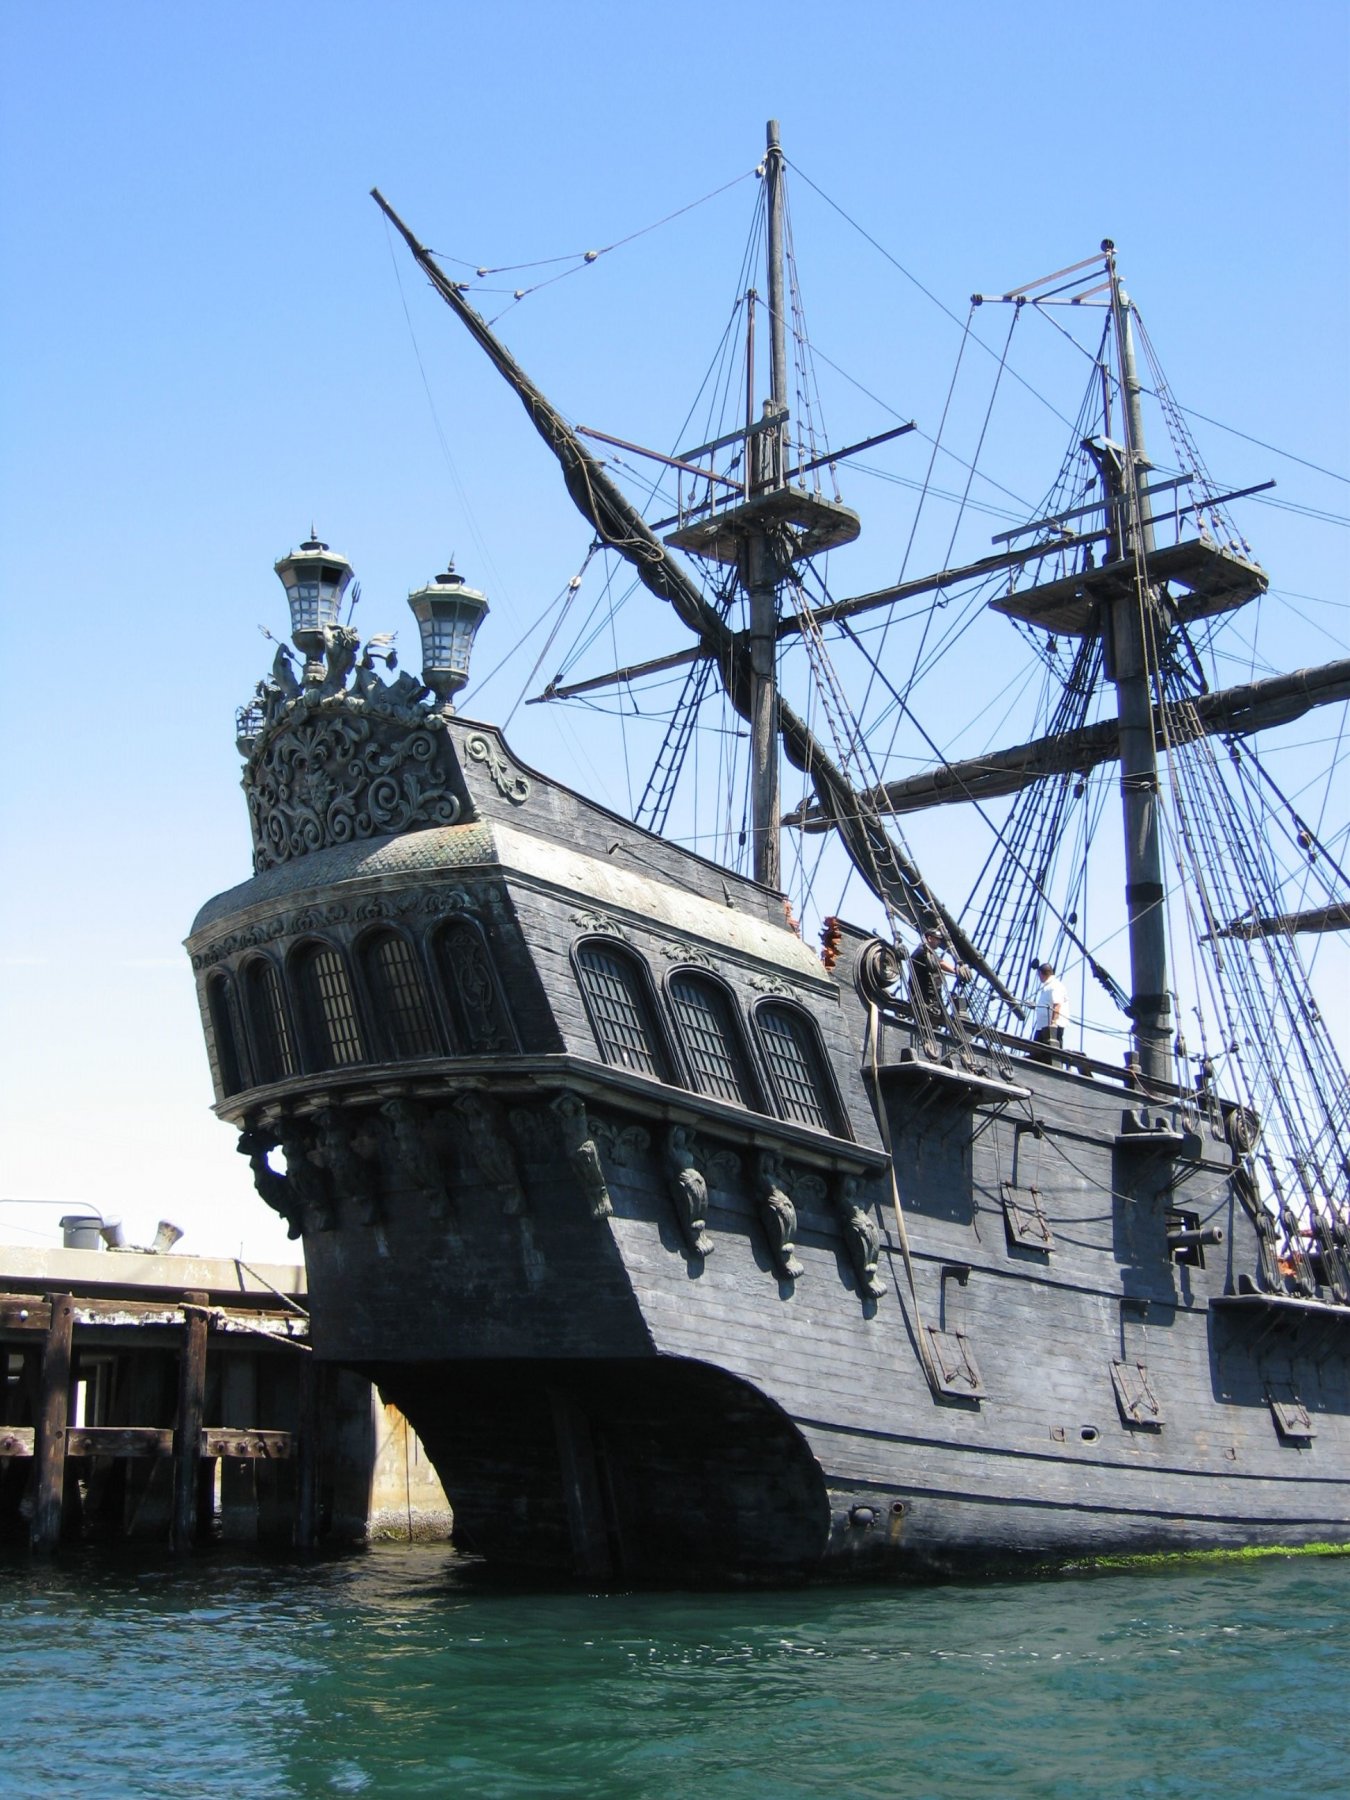
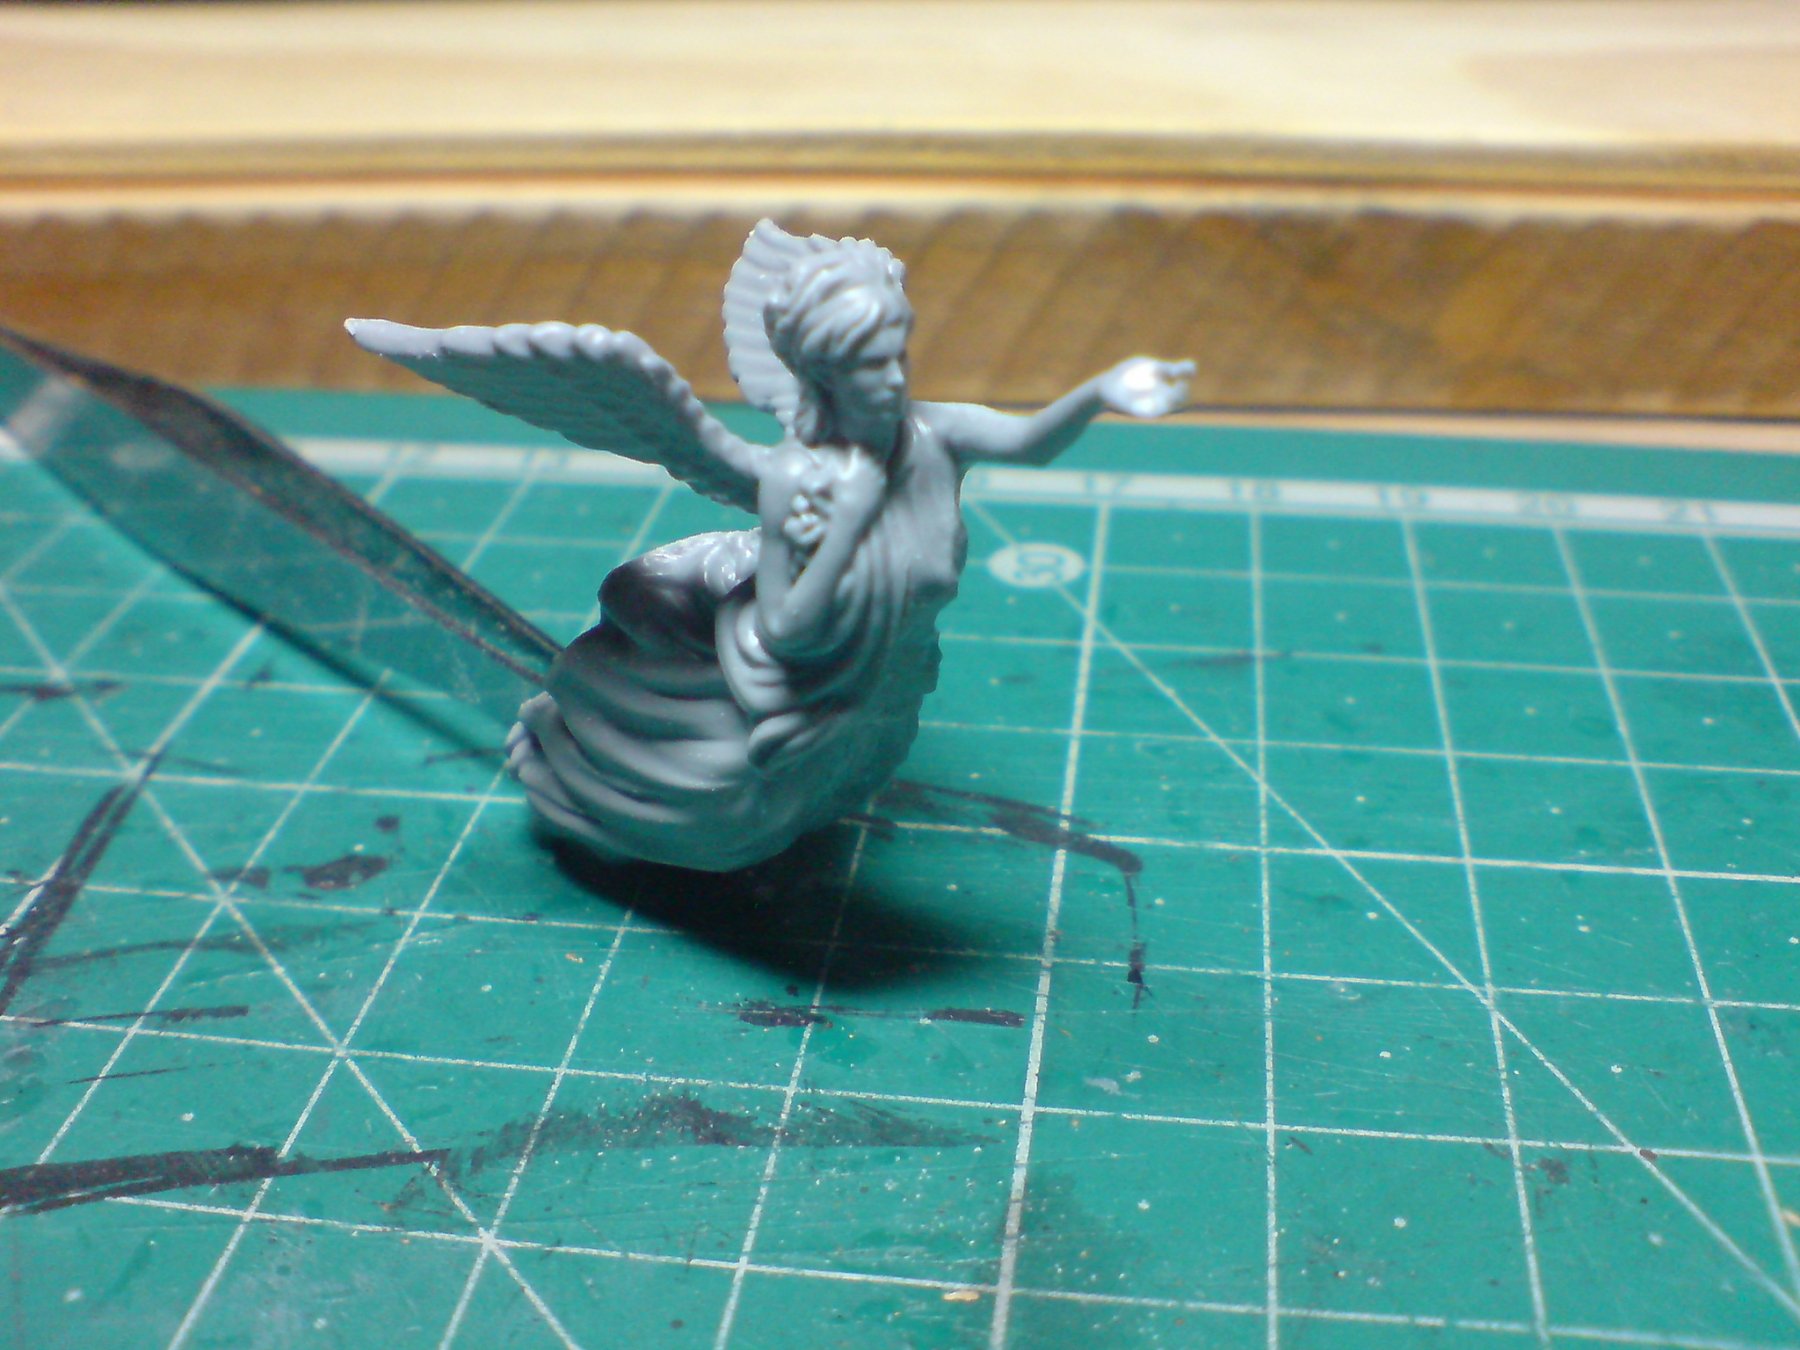
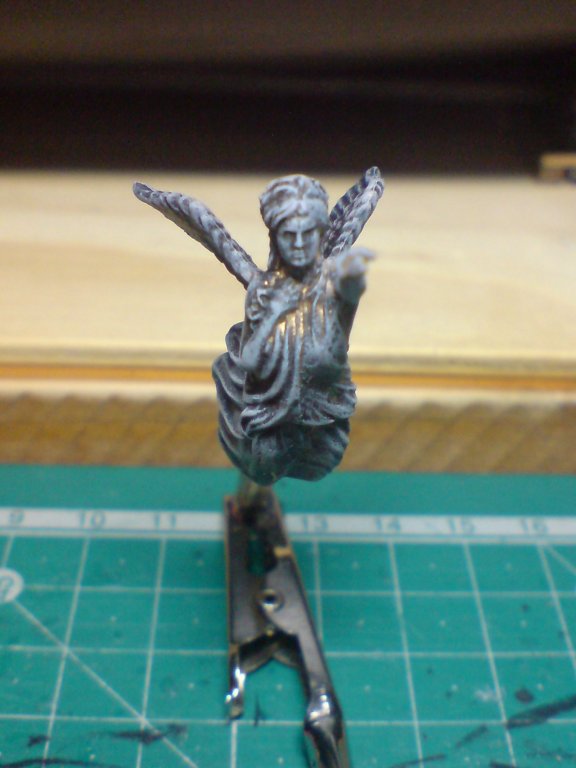
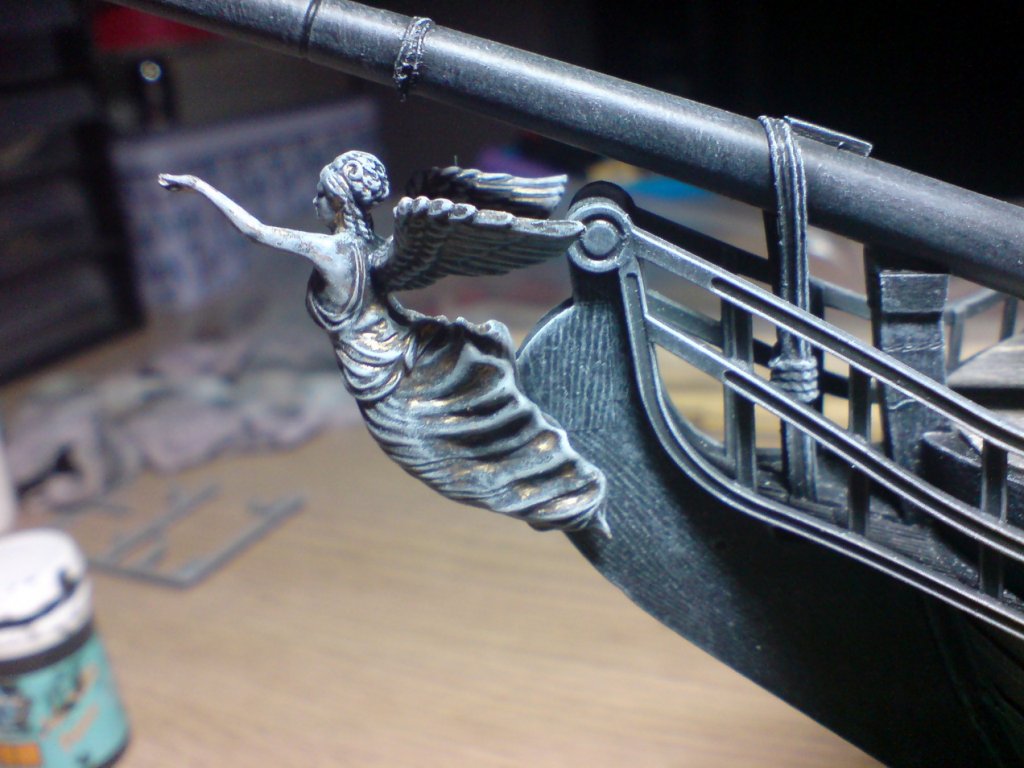
Thank you sincerely, I am trying to make her as ghost like as possible (for the wife) OC.
-
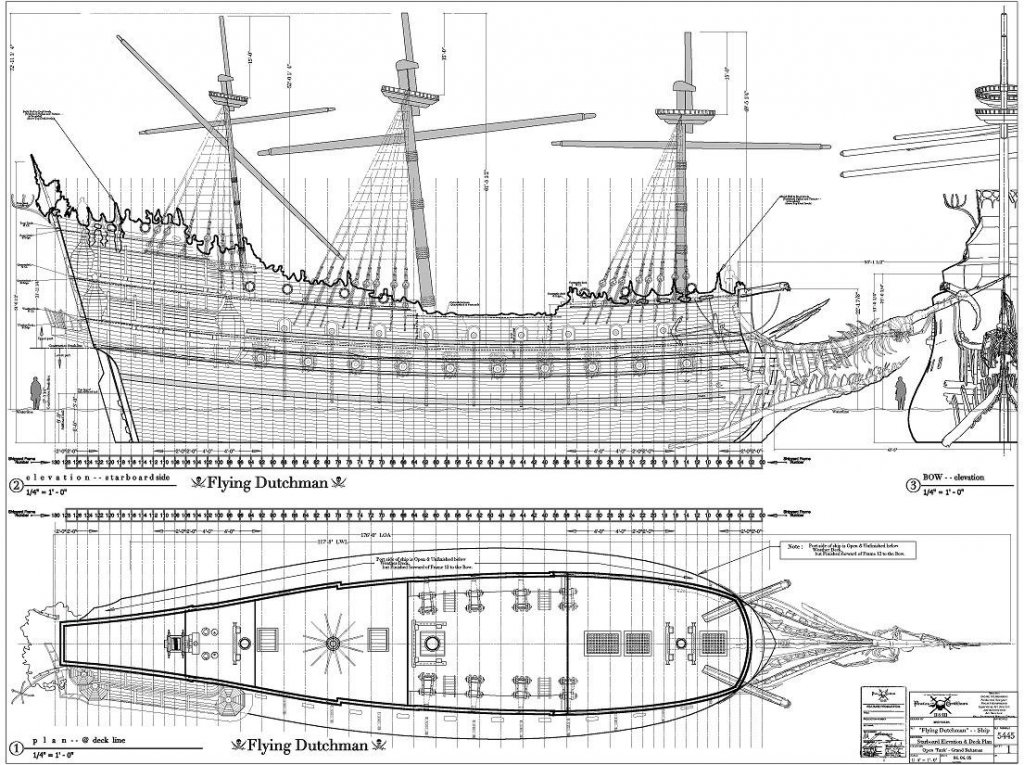
Would love to get this kit in the future and build her as the Flying Dutchman - Pic curtosy of the net. OC.
-
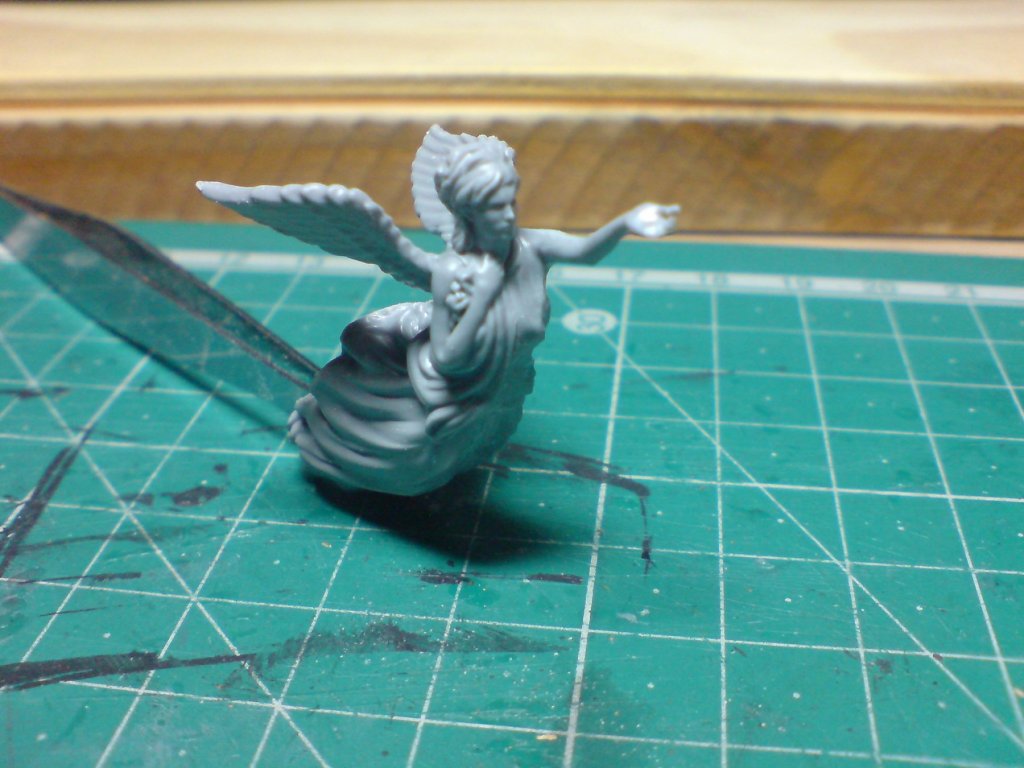
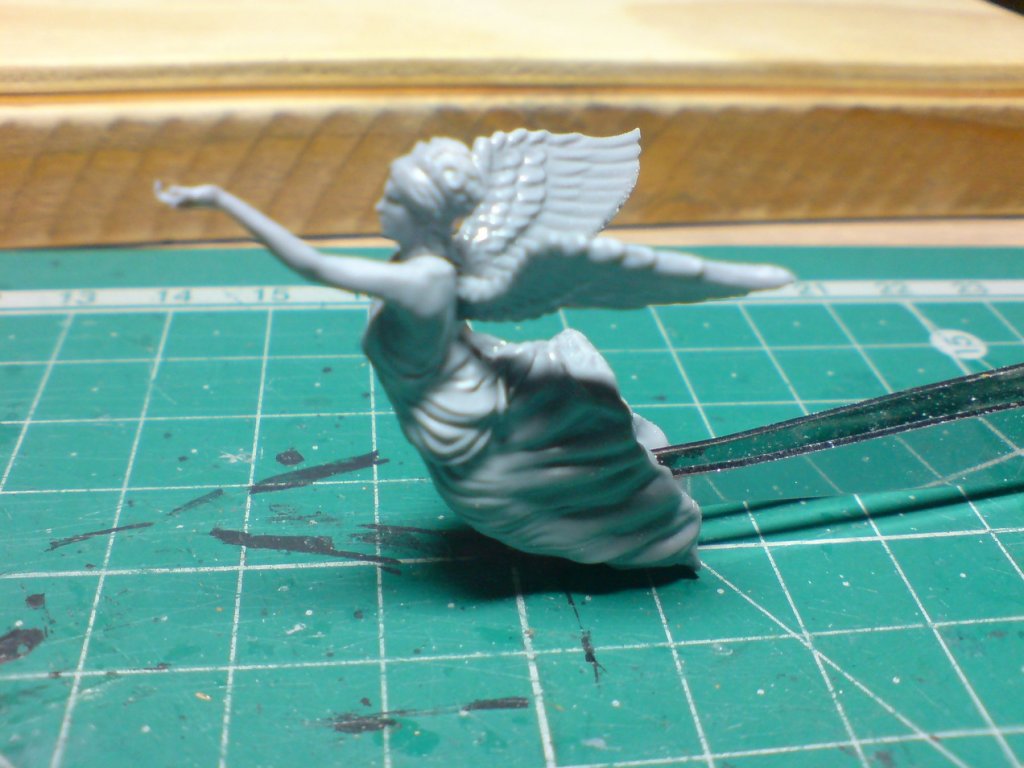
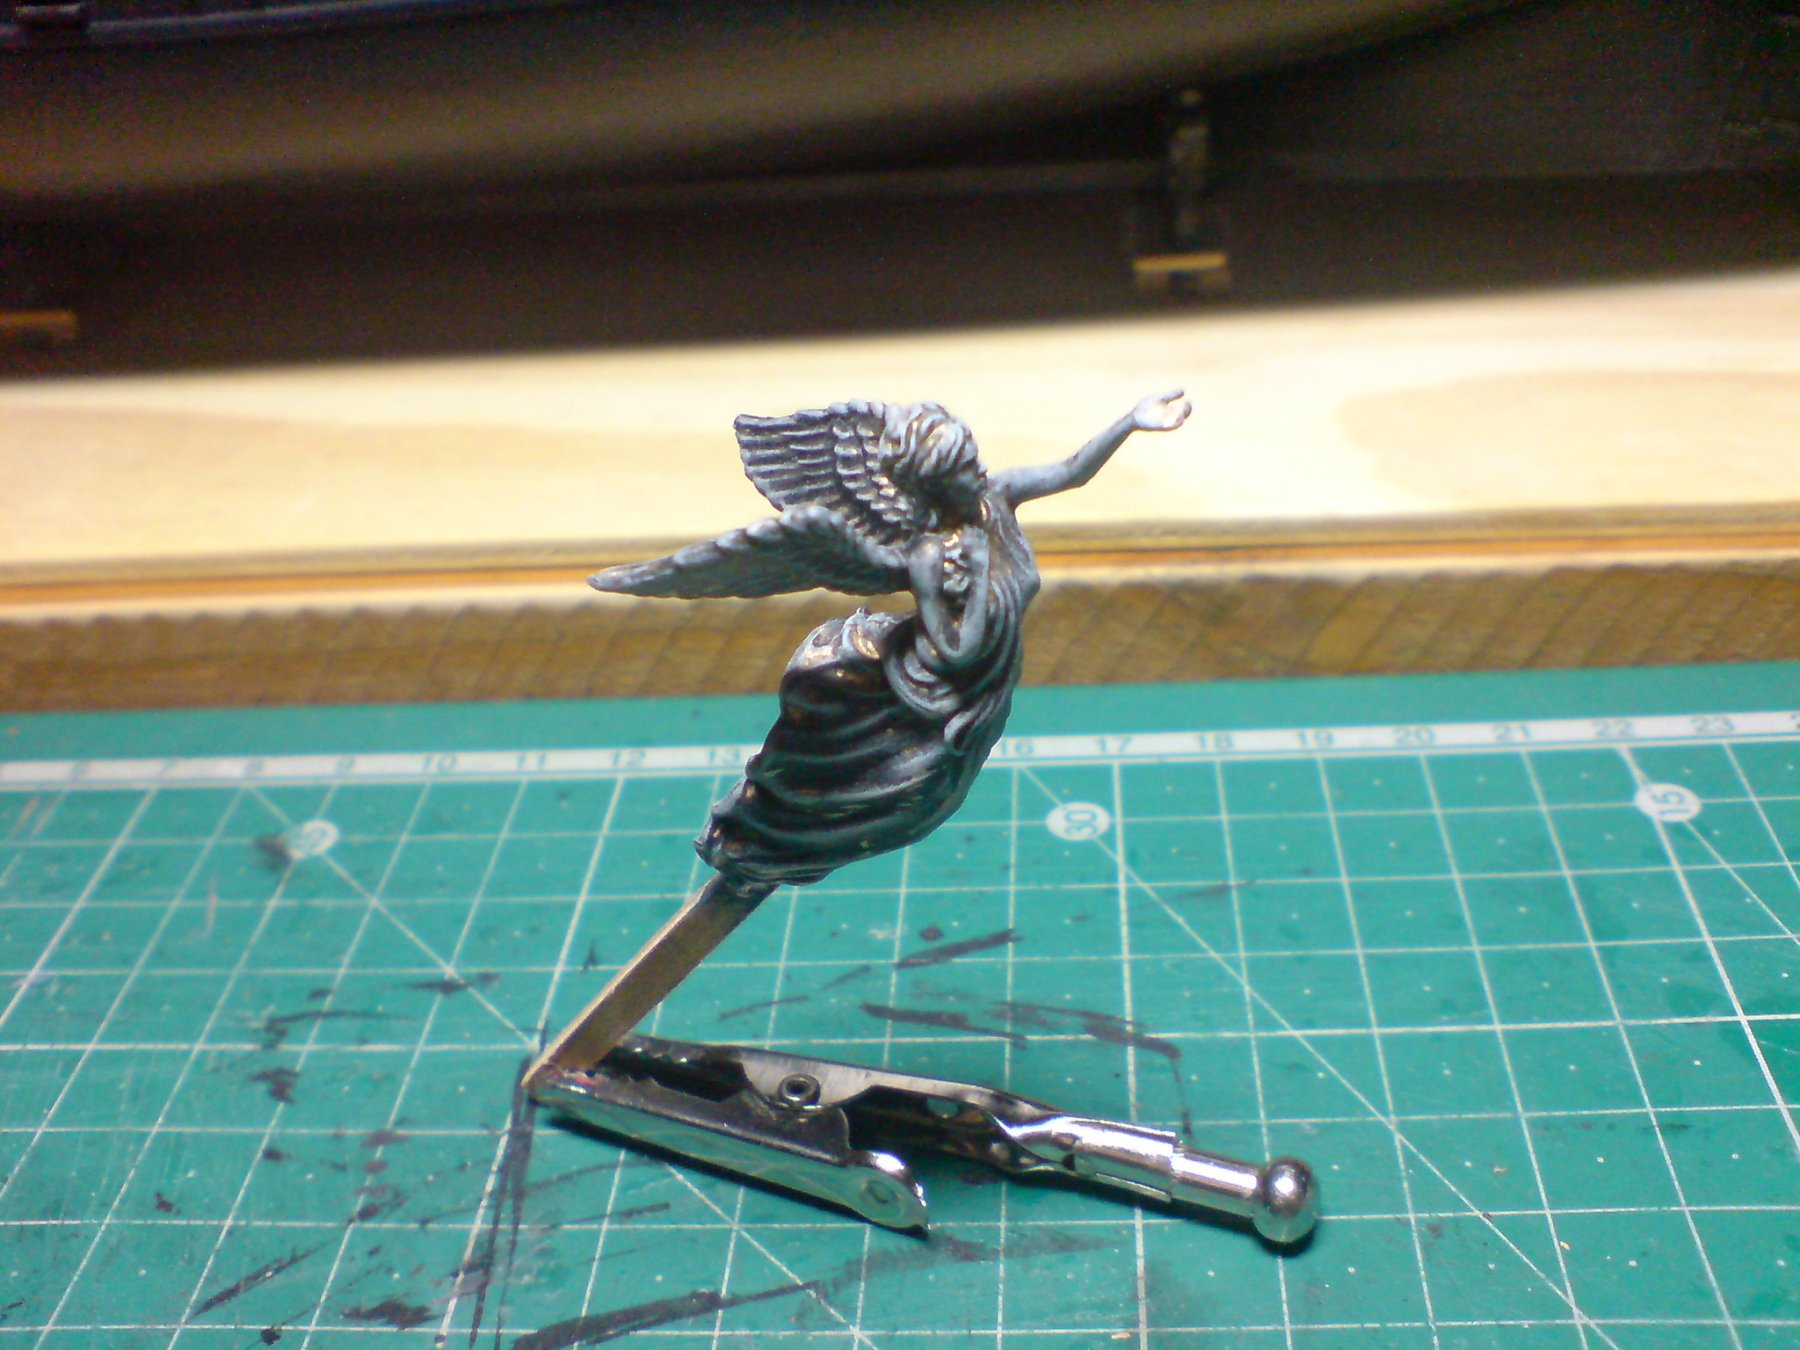
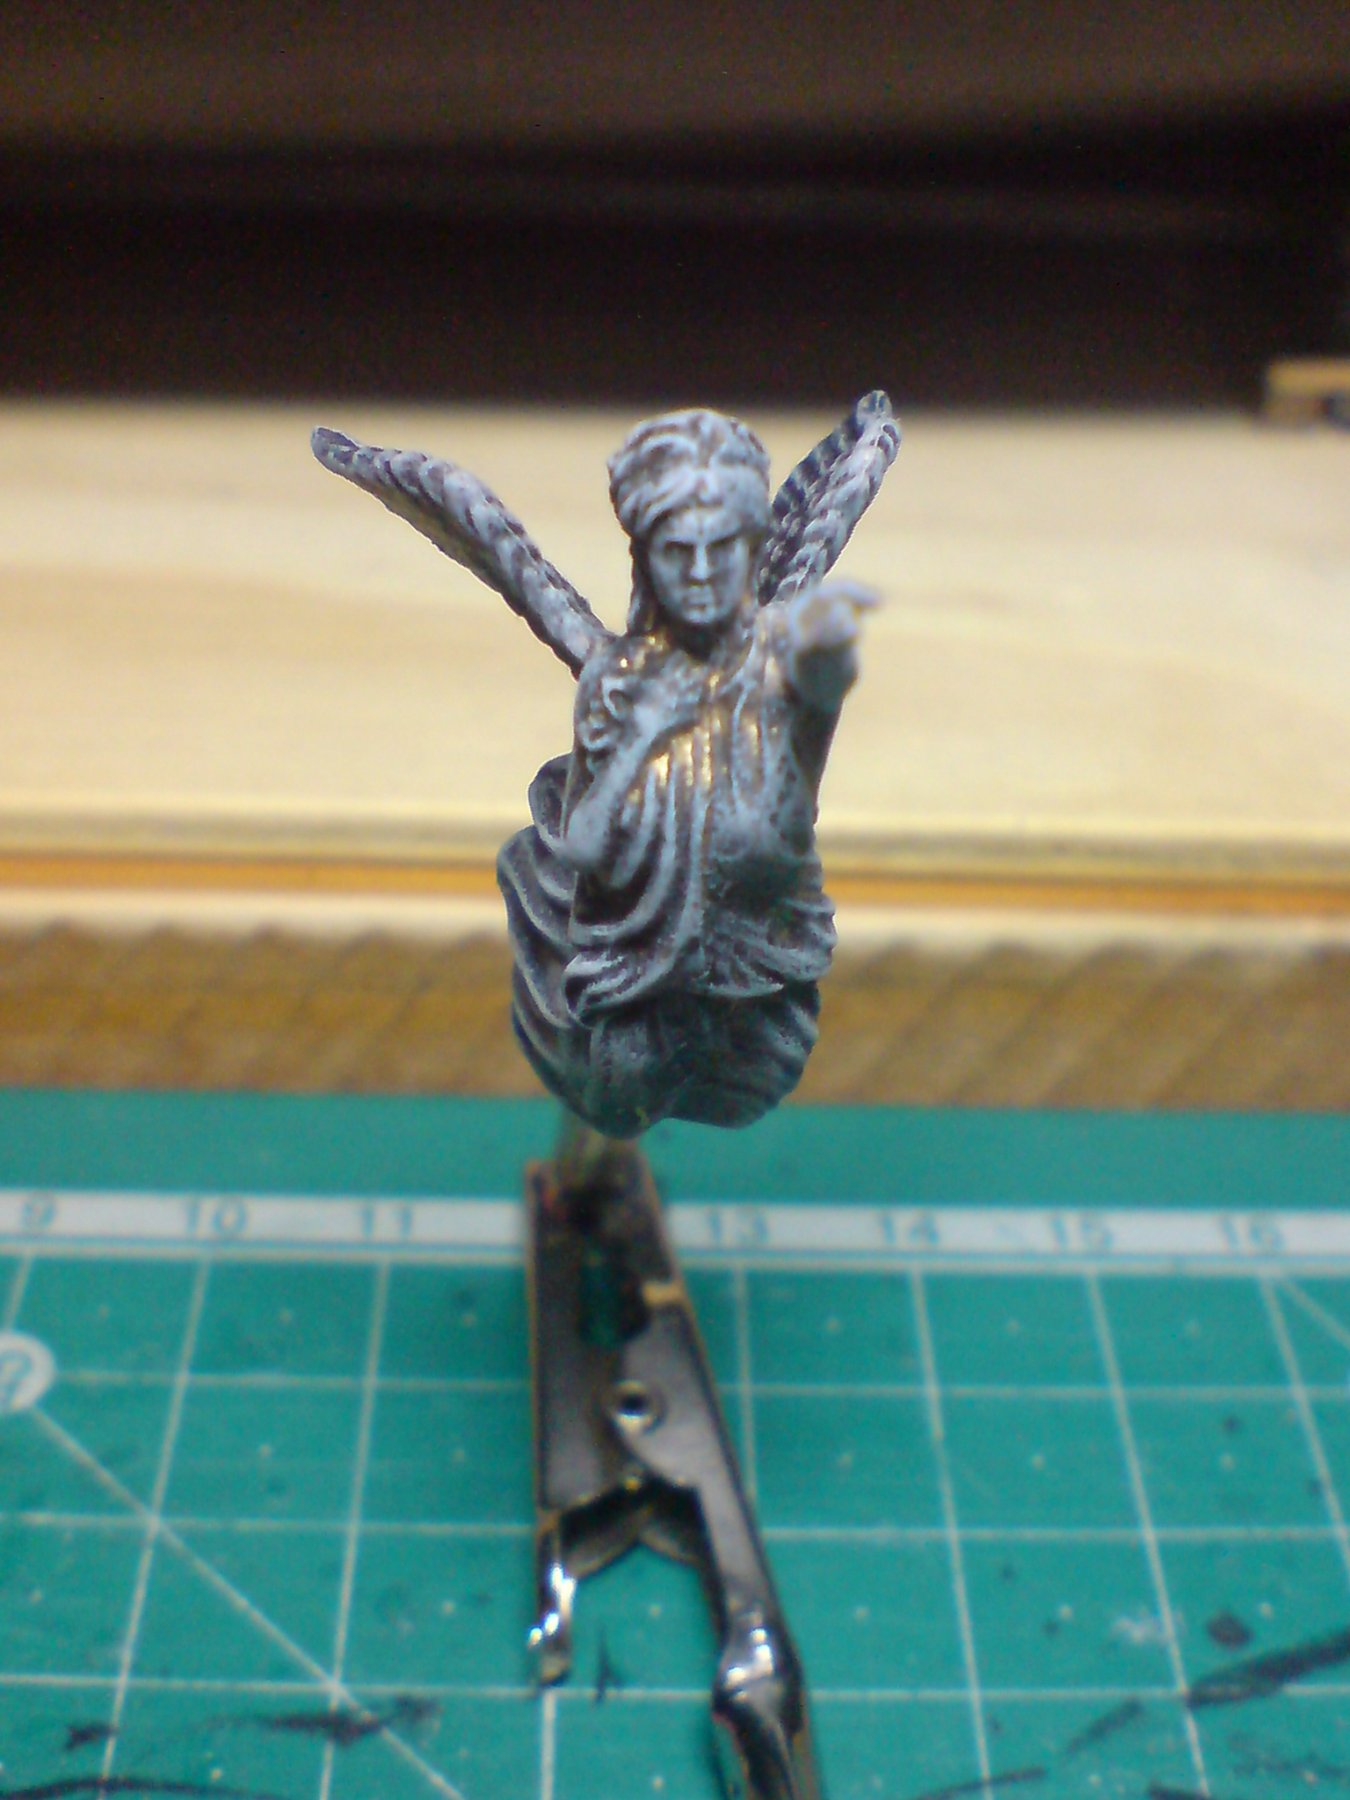
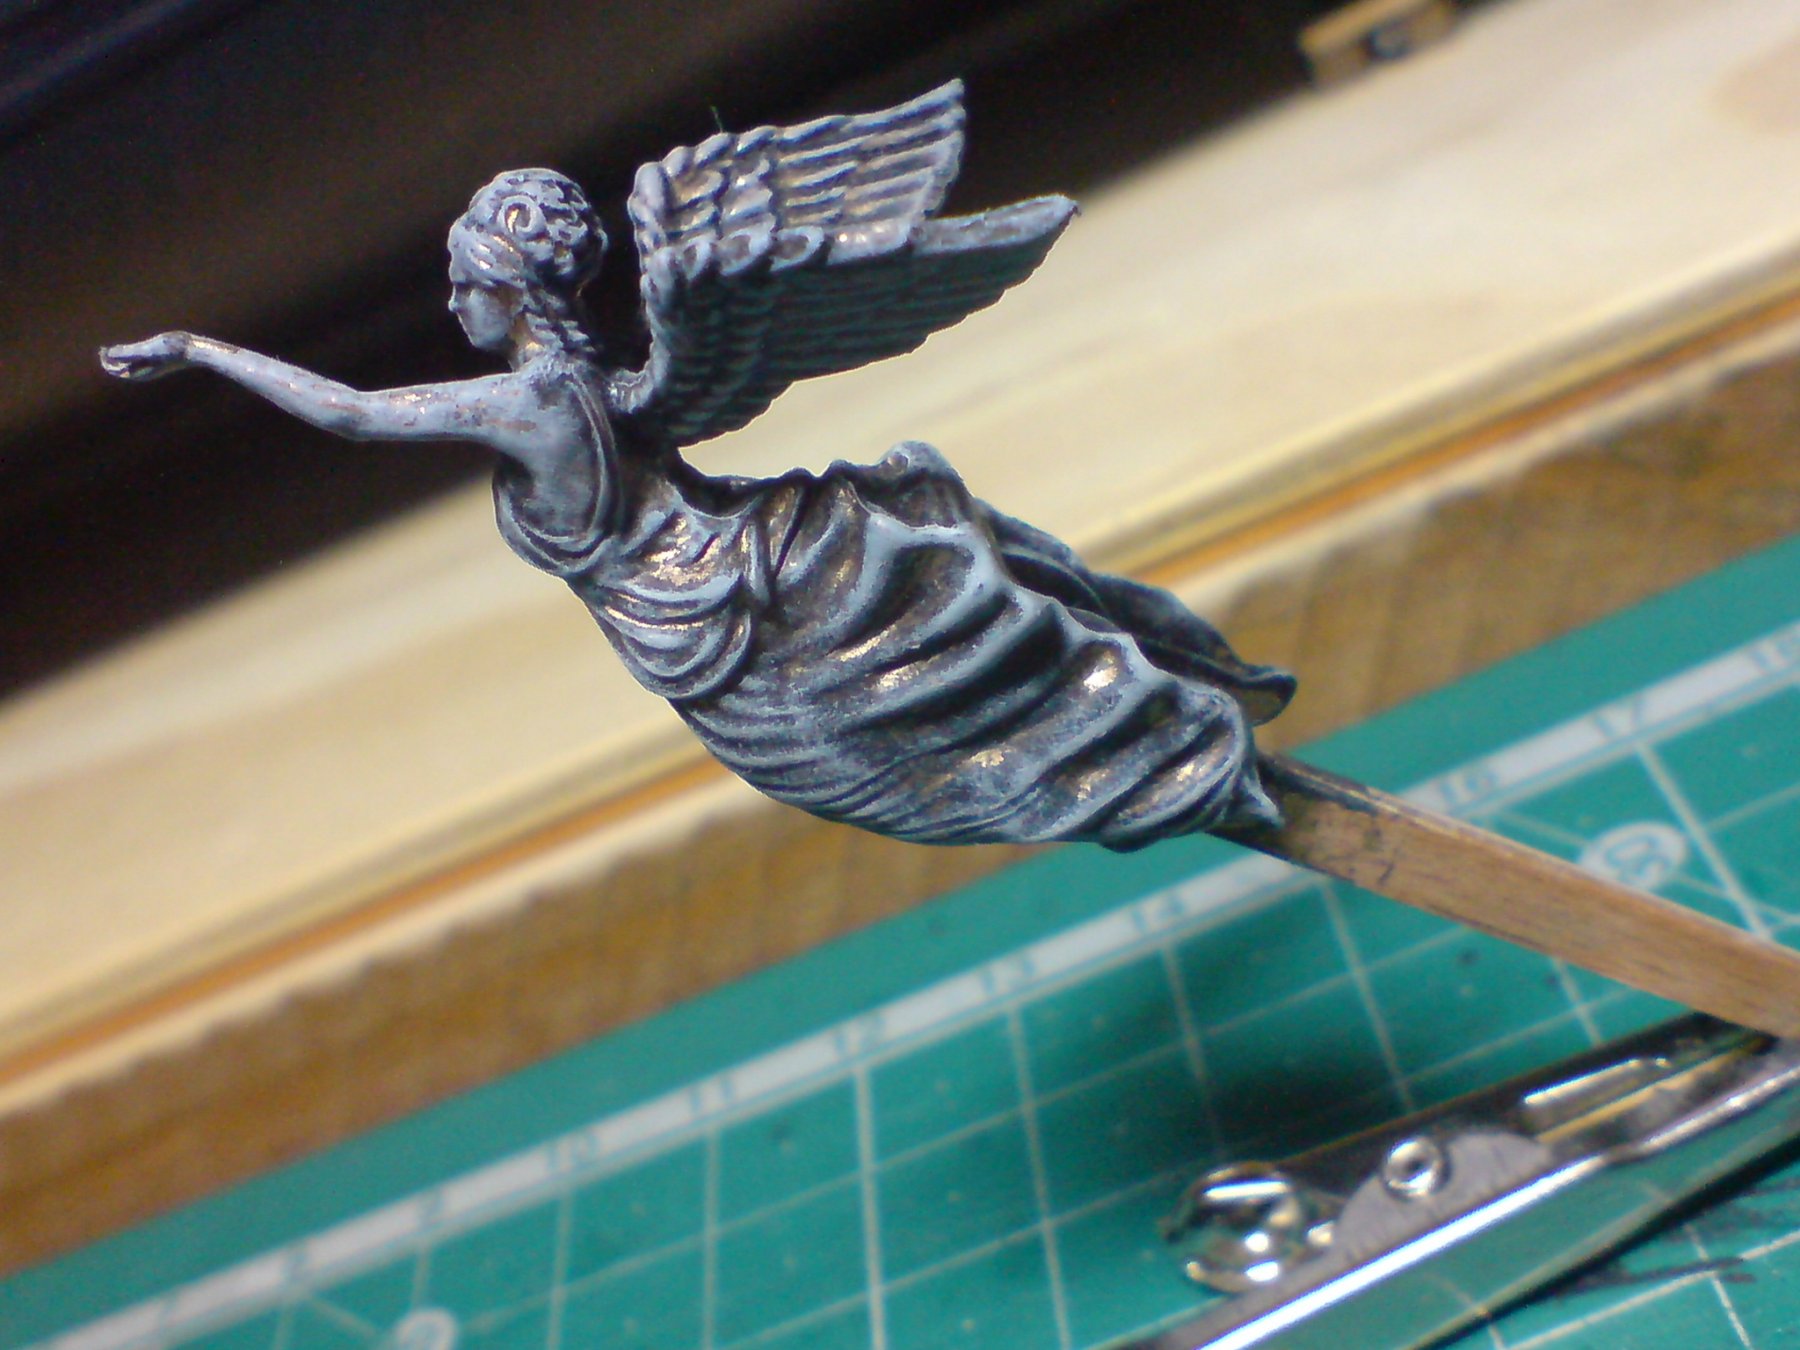
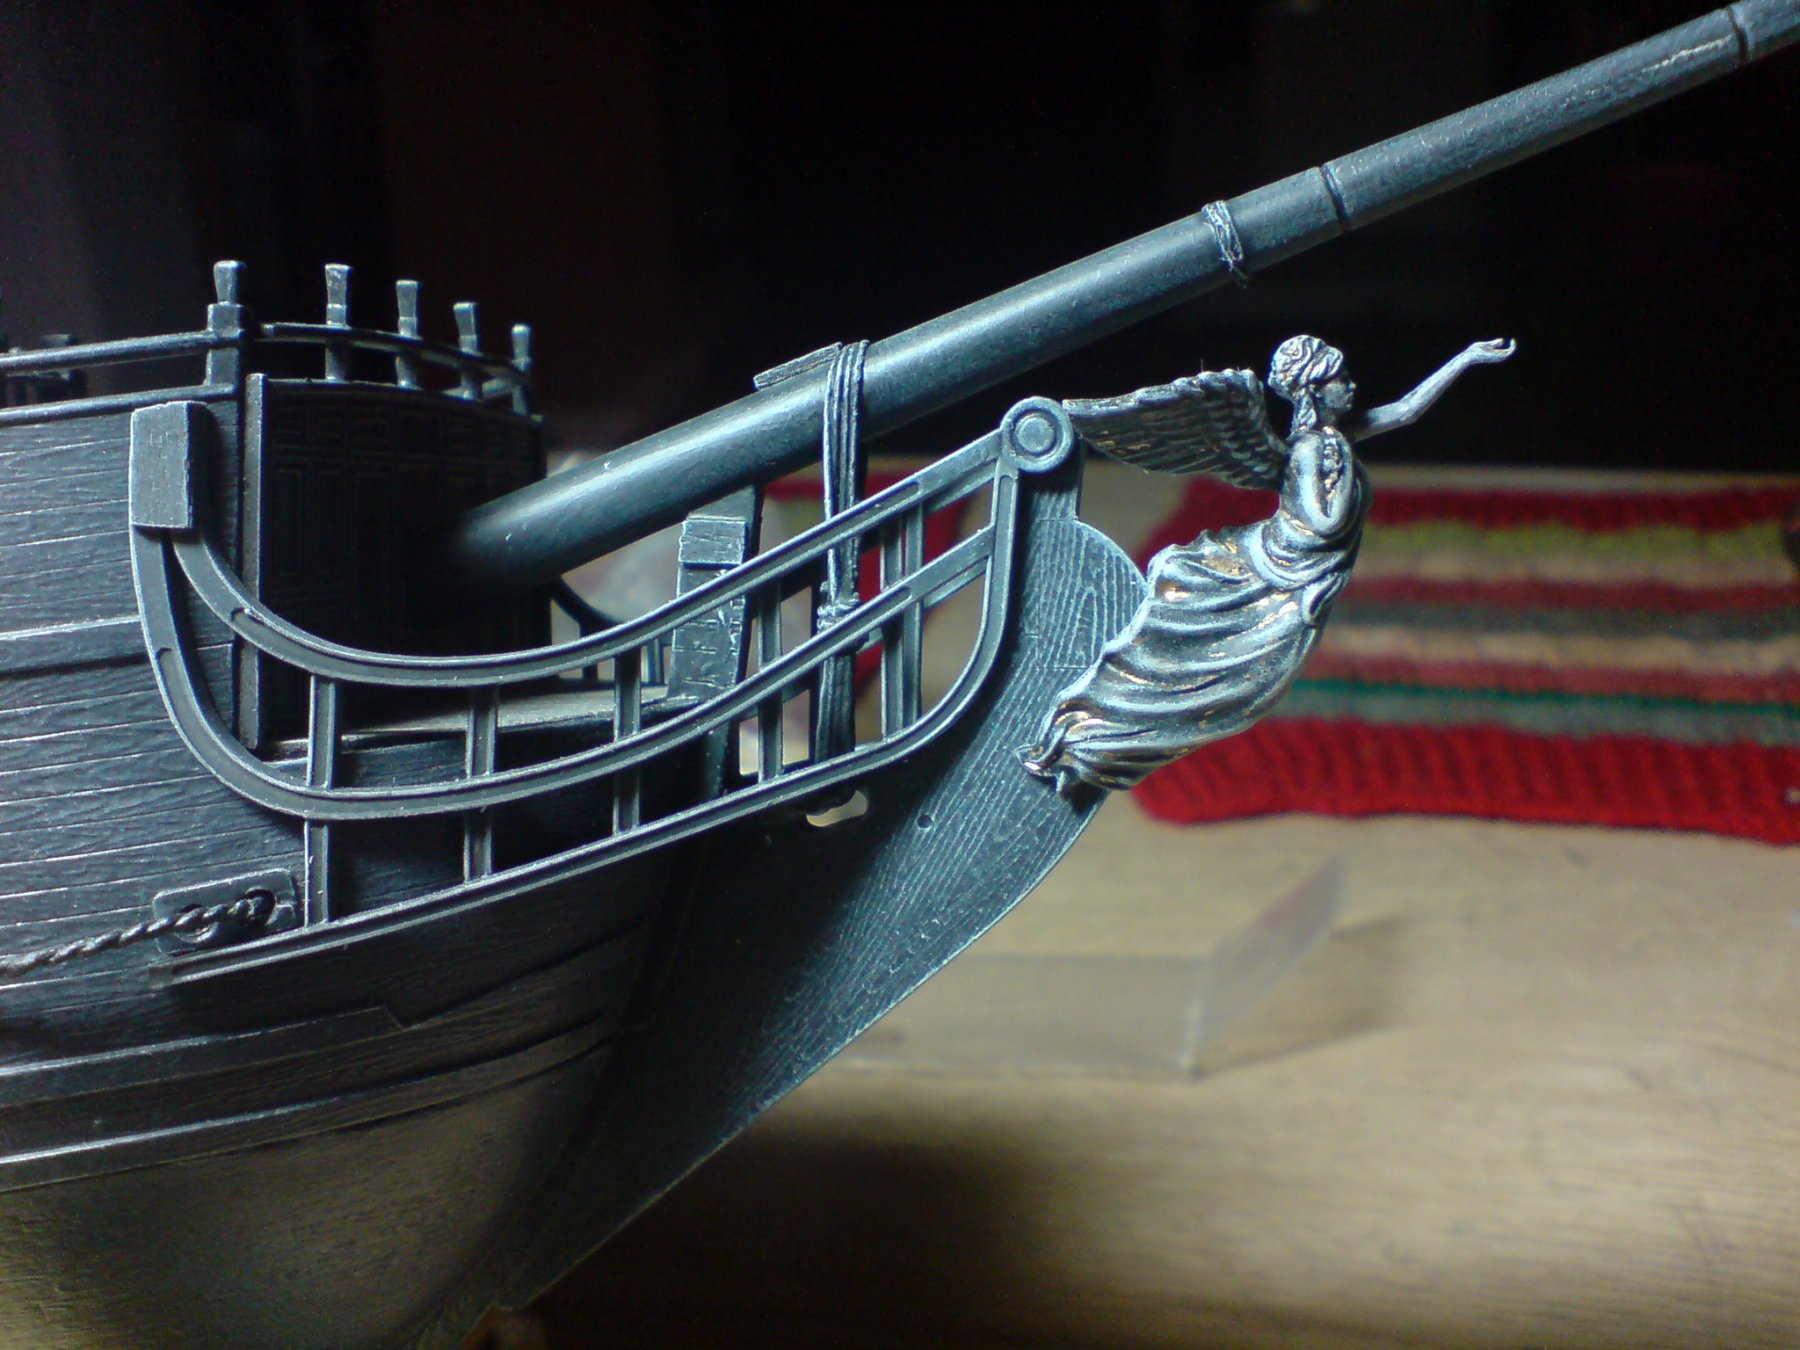
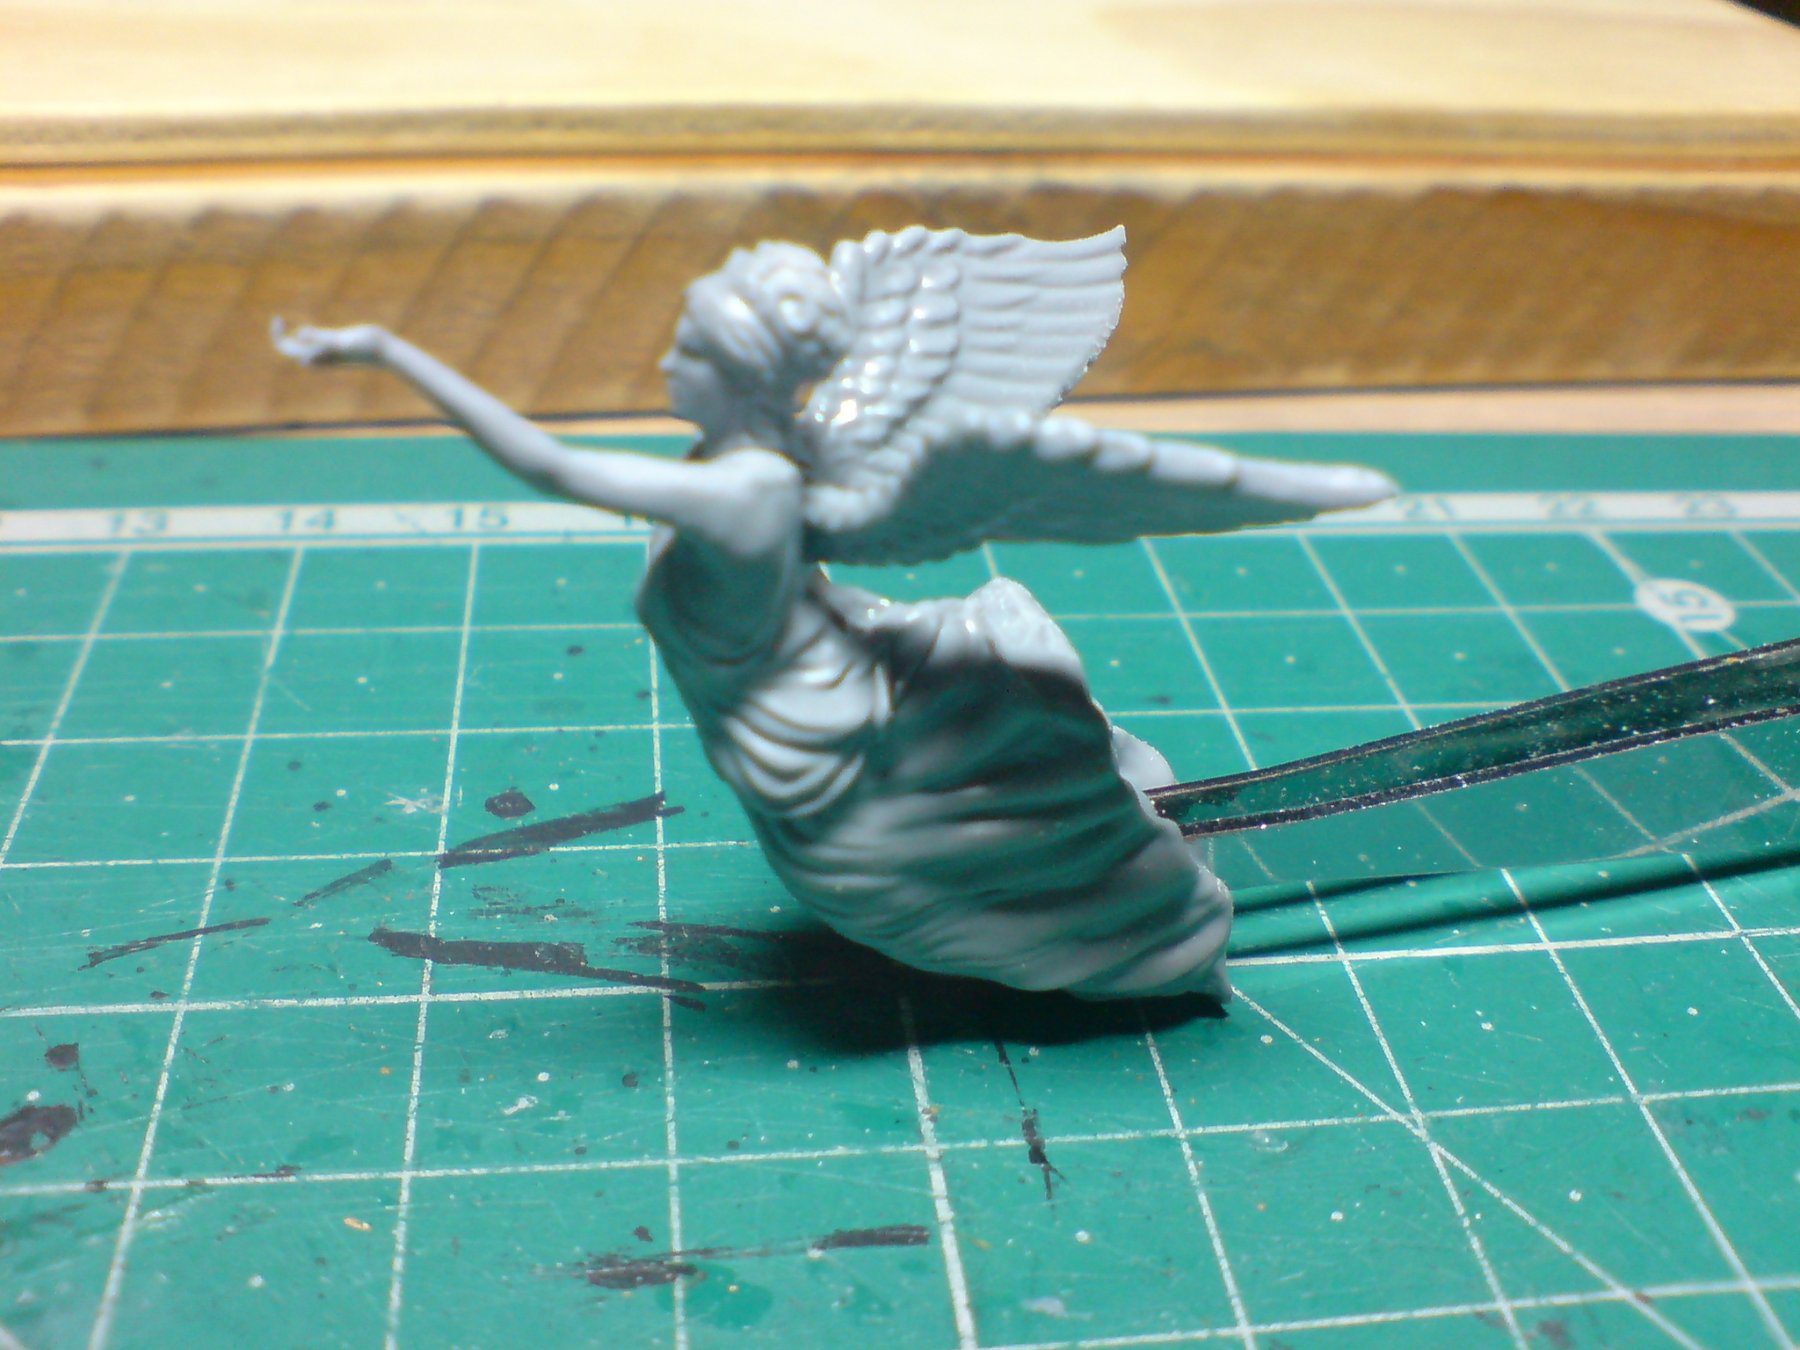
Evening all, thank you again for all the likes and comments - like everyone else it really inspires ones building, so last time I had assembled the wicked wench, it was now time to weather her same as I had done with the other brass bits - first I applied a coat of enamel brass, this was force dried then I used a diluted black and brushed that over into all the nucks and crevices, again force dried that last I applied a dry brush of white to highlight and age the lady. Here are the pics including her fixed in place. OC.


-
Hang on! was the Airfix 1/24 the huge one with that sliding canopy? if so thats the one I ment when I was young my late farther took me to my first airshow and there was a Harrier GR1 flying there, he then took me to a model shop and treated me to the Airfix kit and duly did most of the building of it as I was about 8 then. OC.
-
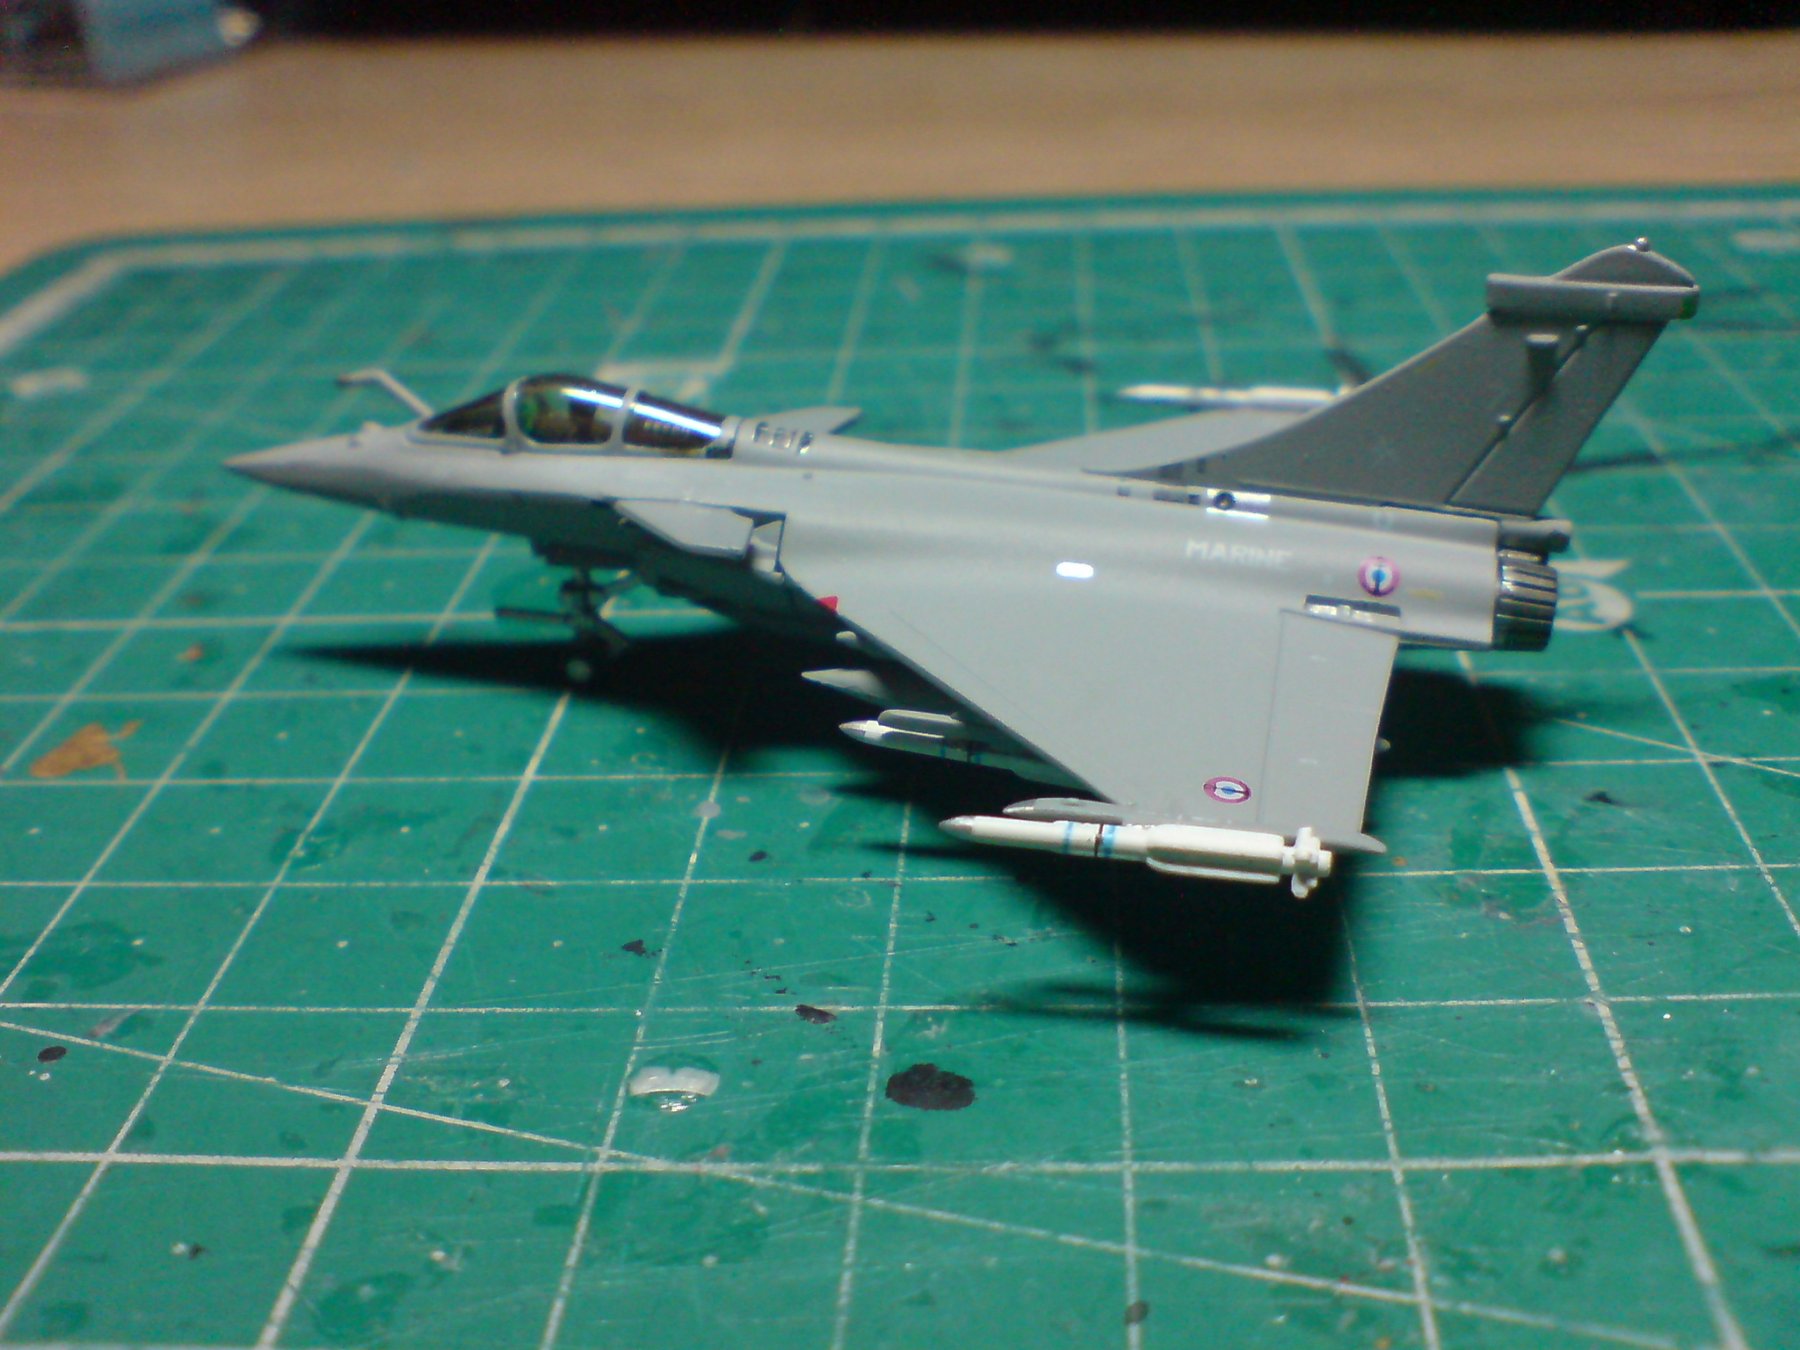
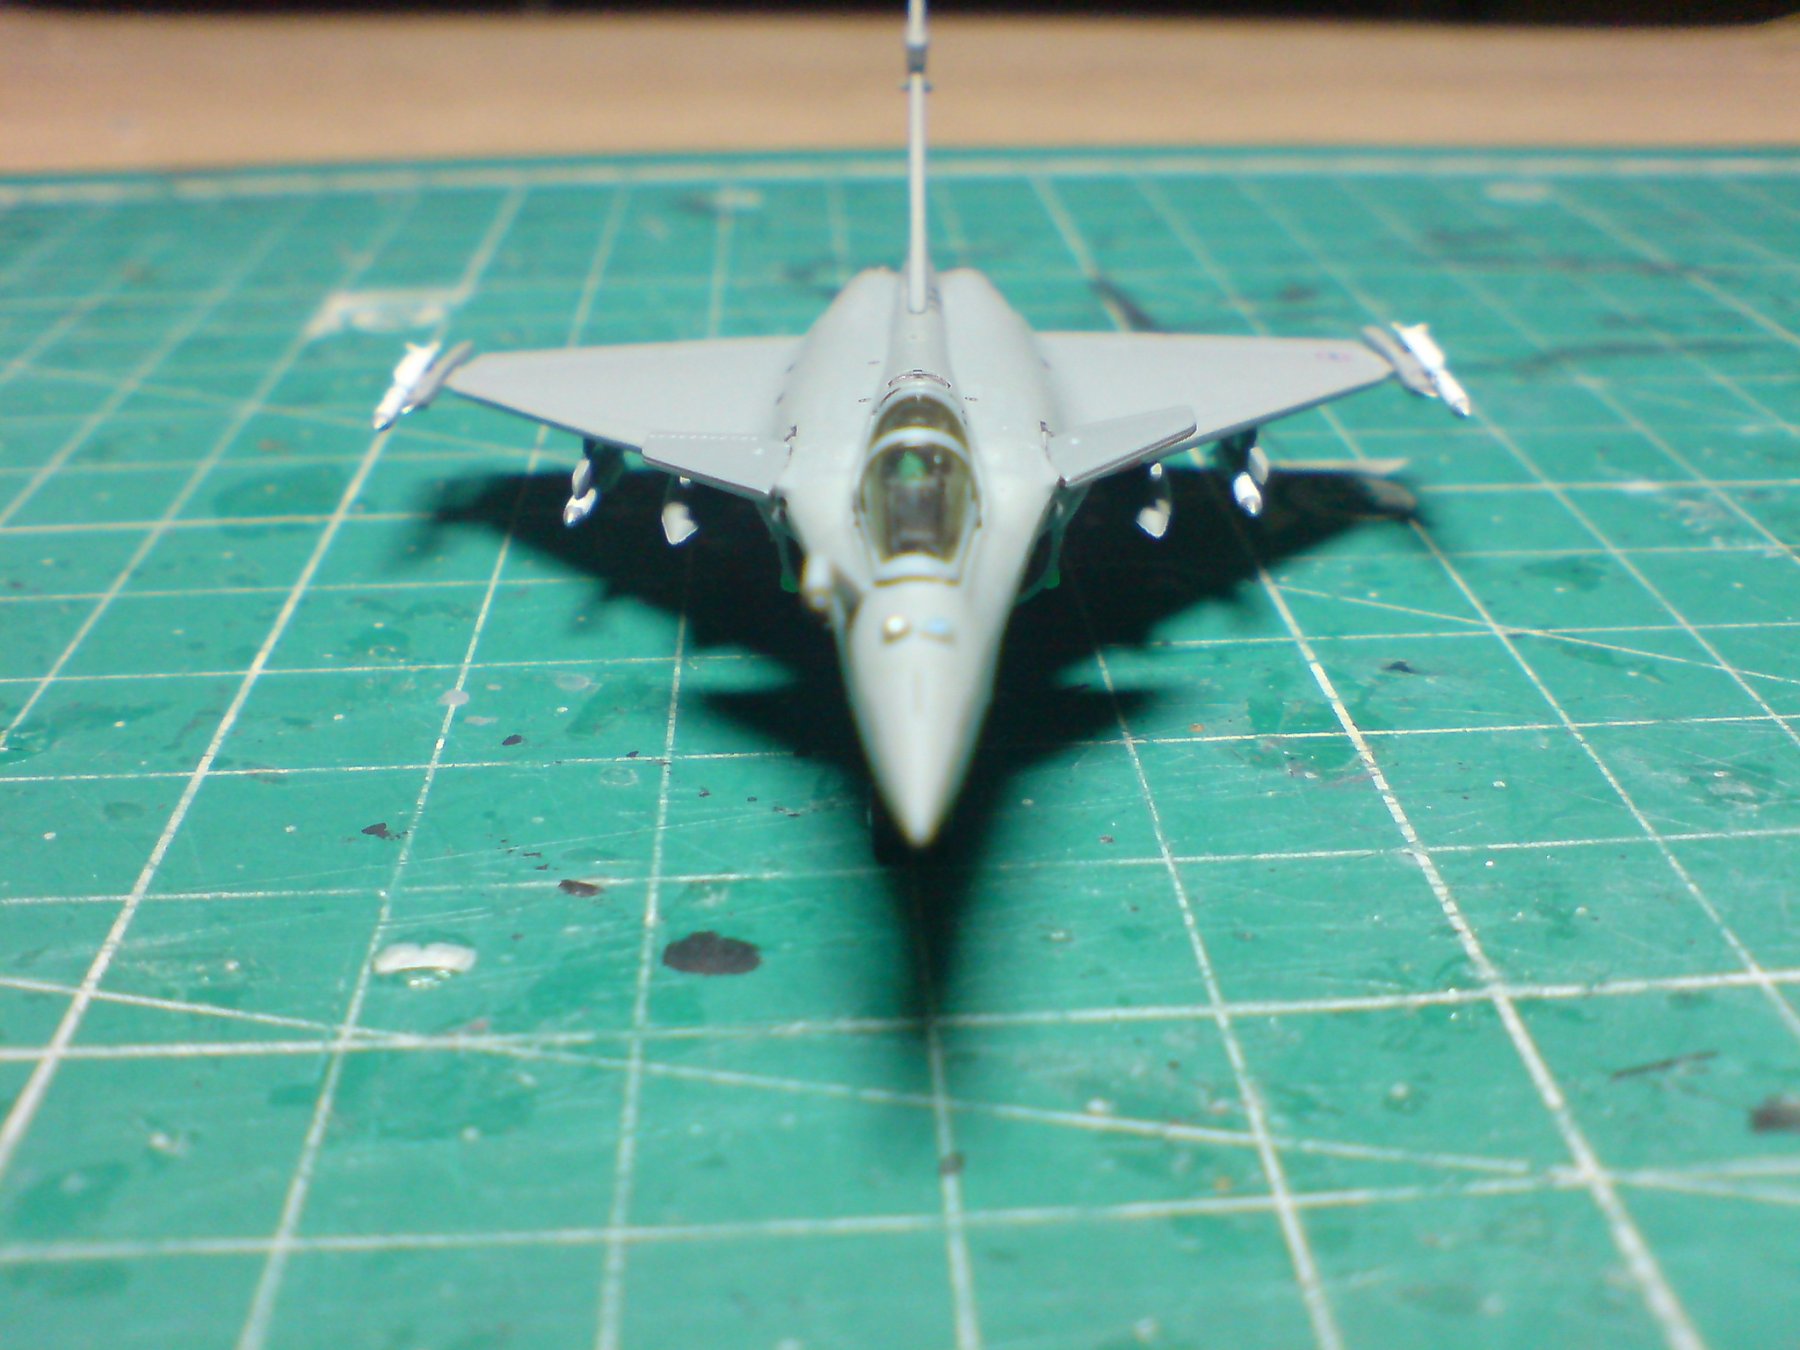
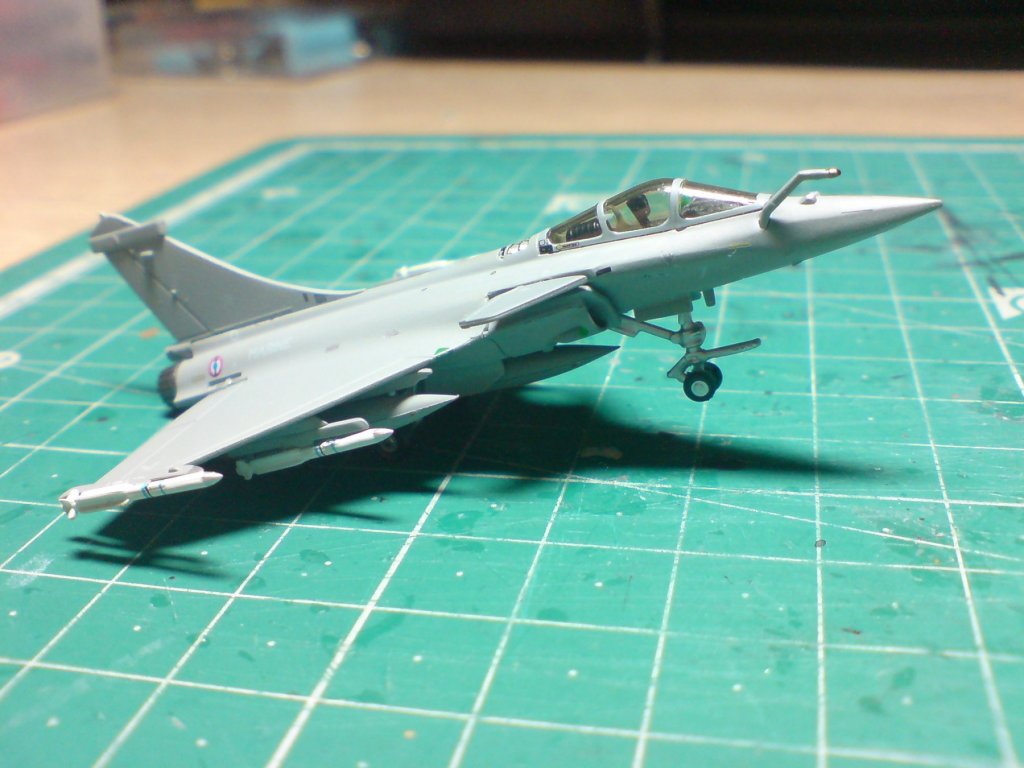
Oh and I now love collecting these - OC.


-
Very interesting - the only a/c I ever built in that scale was the Airfix Harrier GR-1 and Tamiya F-16. OC.
-
Welcome back mate - now she is looking the business, really sharp details and very tidy paintwork. OC.
-
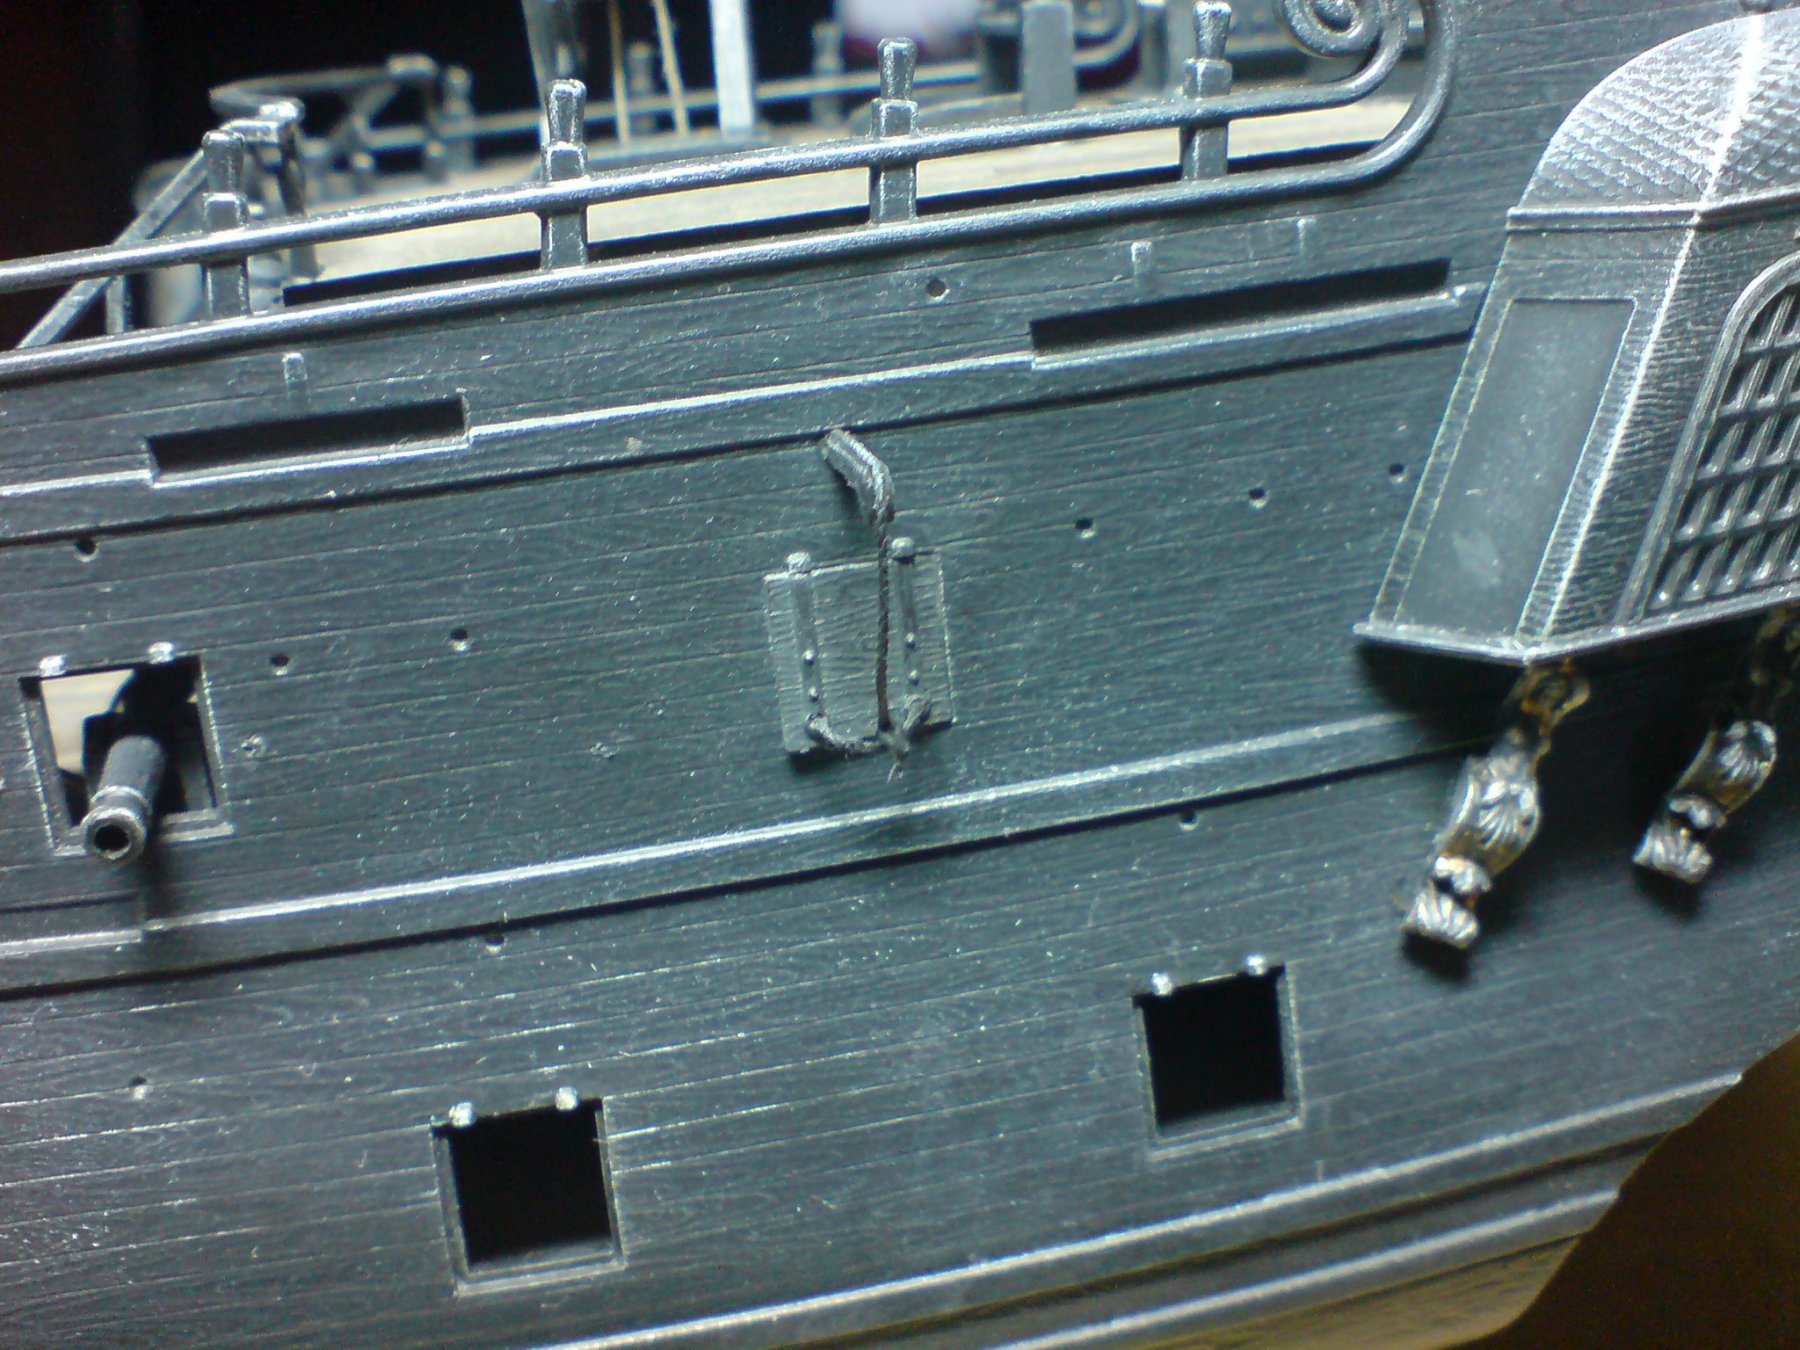
Good day all, abit more progress today - I have been working on the two main deck port covers, I cut the two covers from the fret, then fed the rope through and glued the ends at the back, when set I trimmed the ends then glued it to the openings on the hull, after it had set I as able to tie a knot where the two sections of rope meet, after adding a blob of pva and heated with the dryer - I then trimmed the end. I then painted and weathered the lid/bracket/rope. Then it was the turn of the other side - same procedure, but this time I have left the port lid slightly open, the ropes have been attached in the same manner - just waiting to tie them. I have also neen lucky enough to get a replacement figurehead (the good lady wicked wench herself) I have joined the two halves together and cleaned her up slightly - just waiting on some brass paint and weathering the same as I have done to the rest of the brasswork. A few pics - OC.