Old Collingwood
-
Posts
12,106 -
Joined
-
Last visited
Content Type
Profiles
Forums
Gallery
Events
Everything posted by Old Collingwood
-
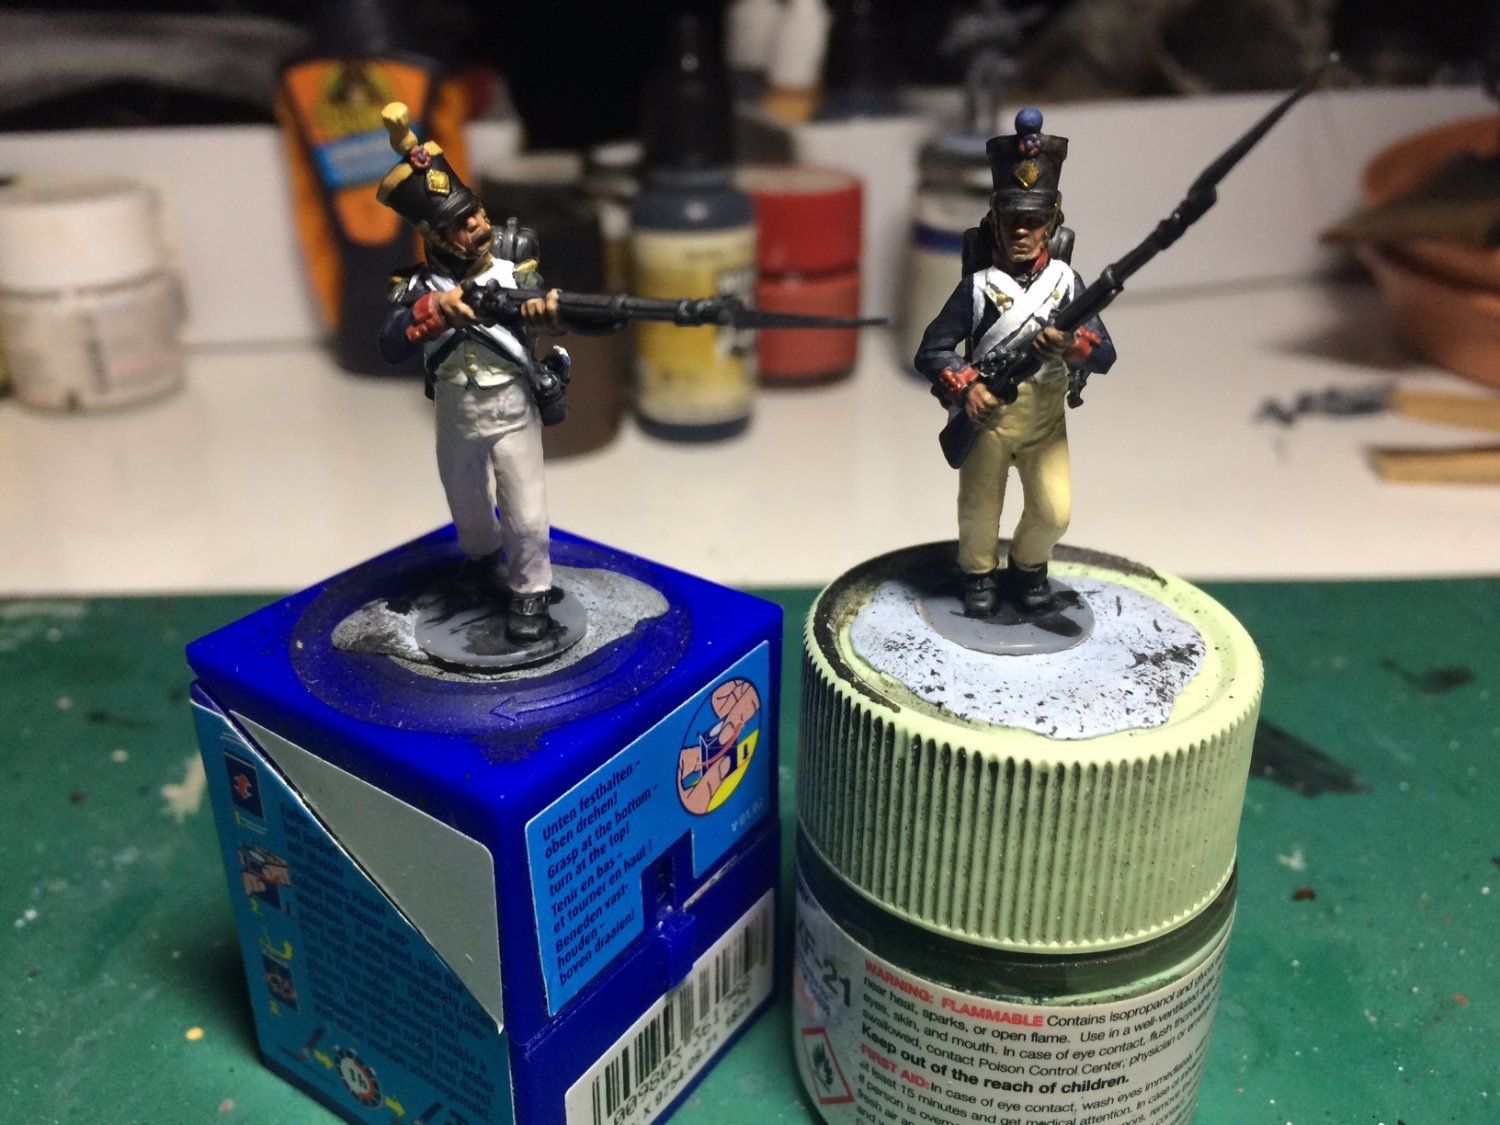
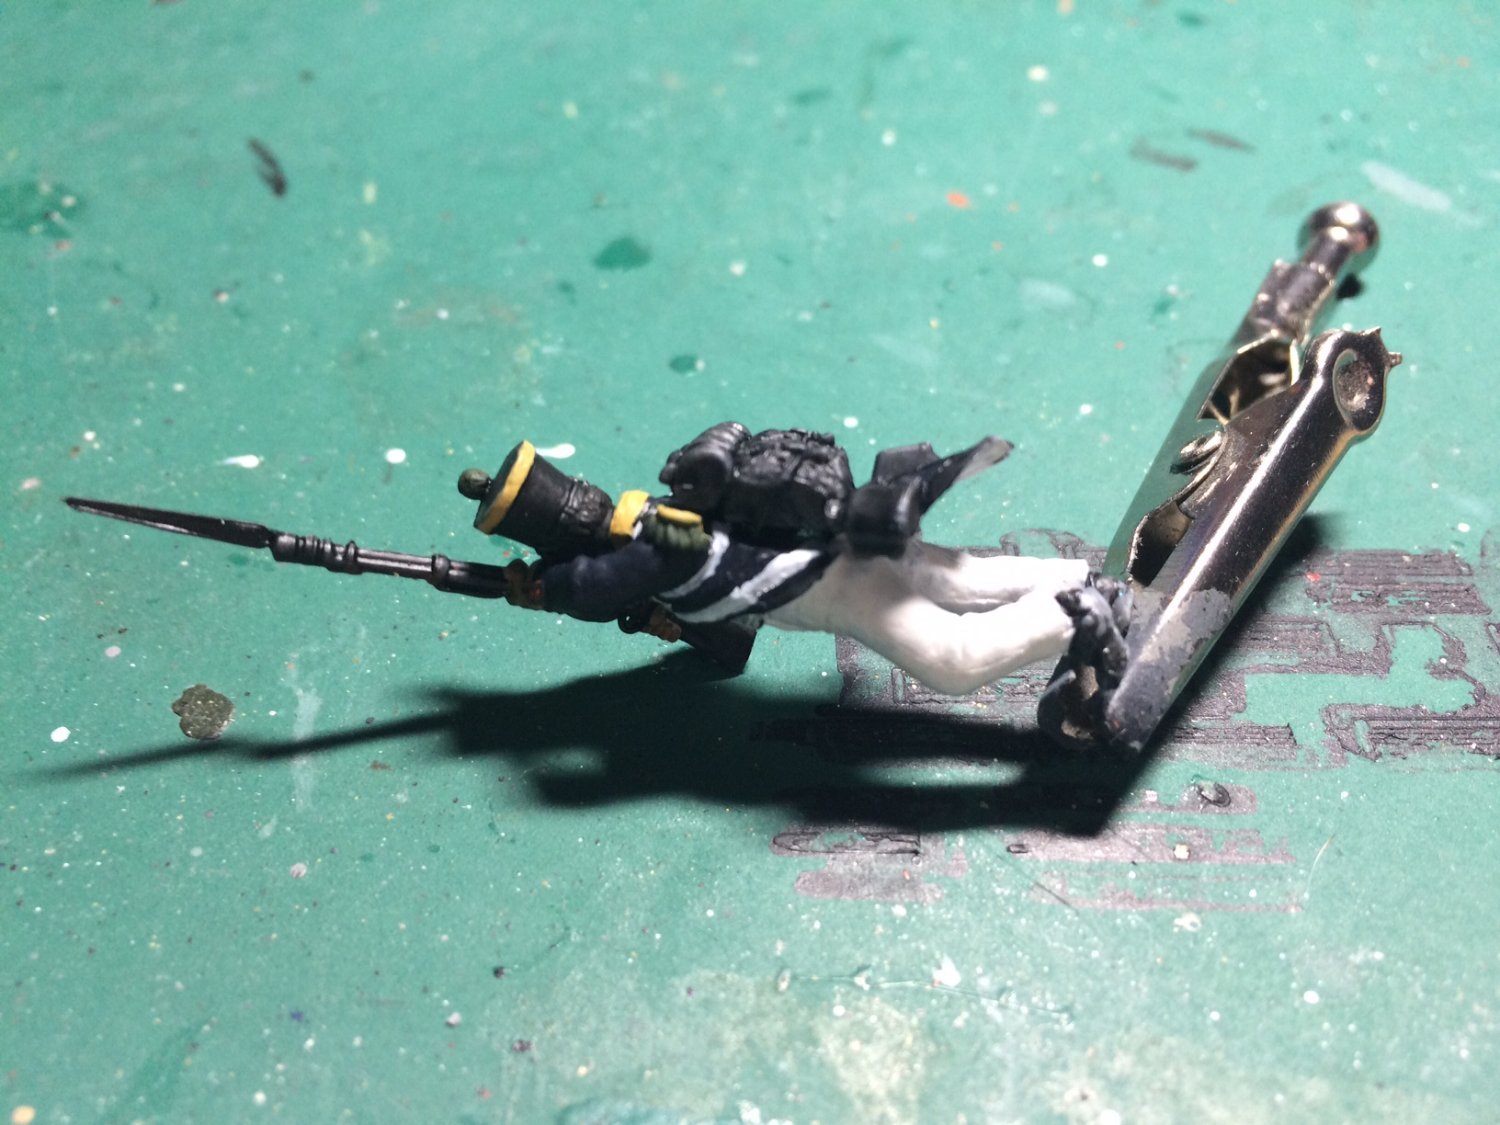
 Evening all, right thats Three more 54th Ligne done apart from some weathering and airbrush top coat. OC.
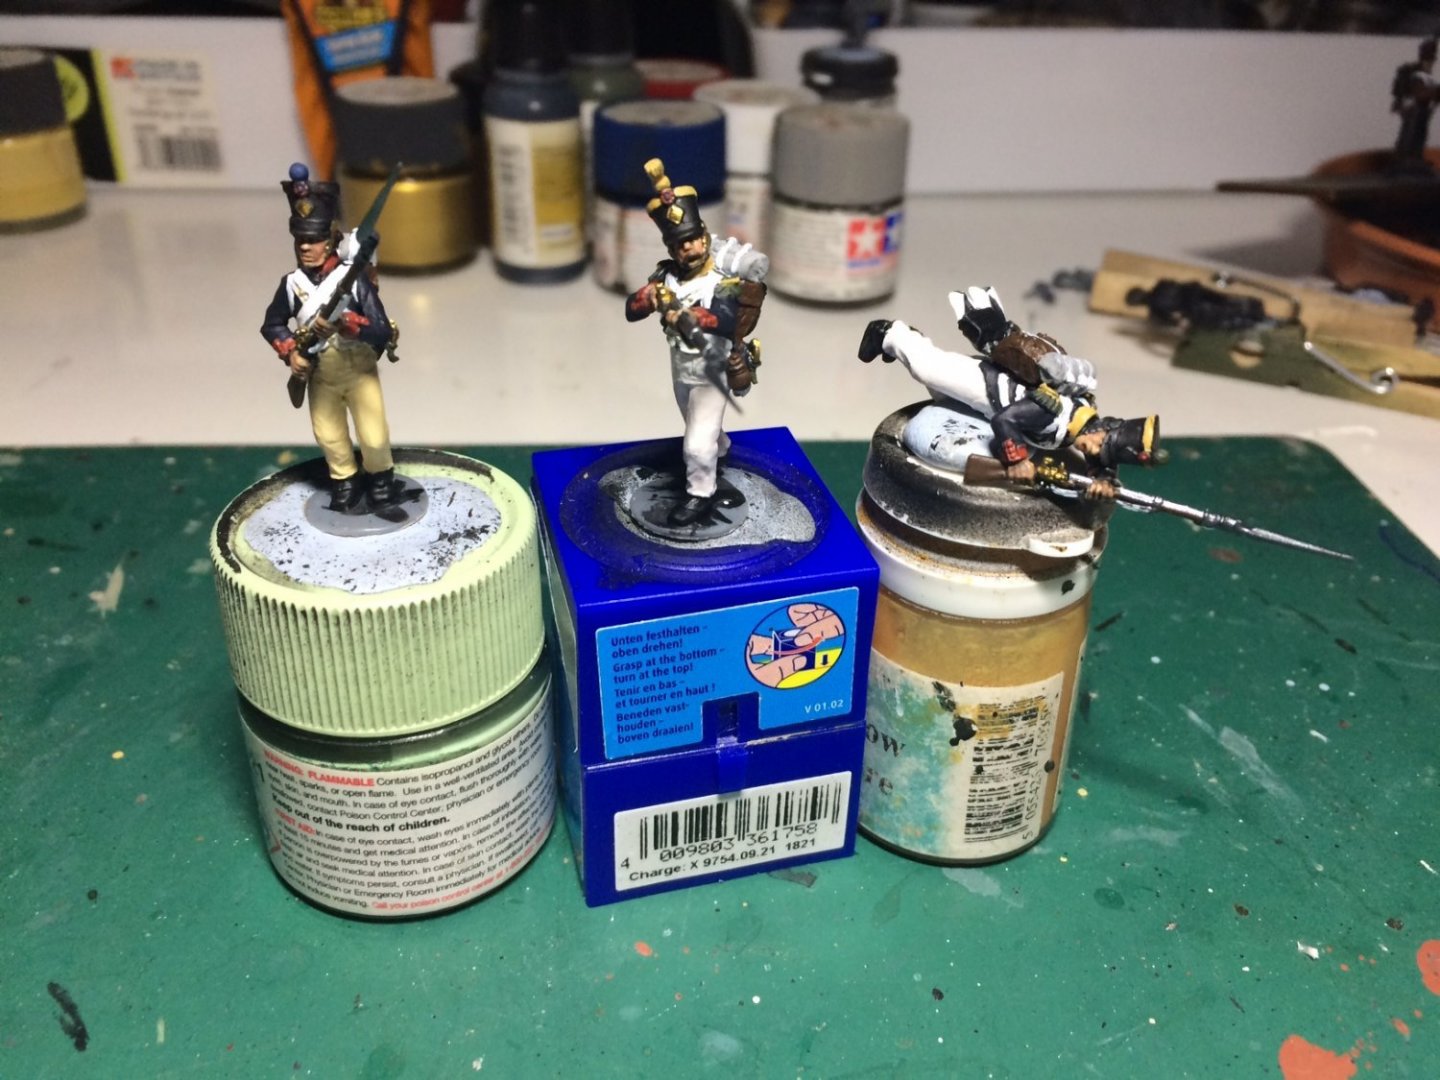

-
Just thought I would draw your attention to another masterpiece like your own, you guys are incredible what you do. OC.
-
M3 Lee Tank by CDW - Miniart - 1:35 Scale - FINISHED
Old Collingwood replied to CDW's topic in Non-ship/categorised builds
Bit cramped in there compared to modern. OC. -
Thank you so much Andrew. OC.
-
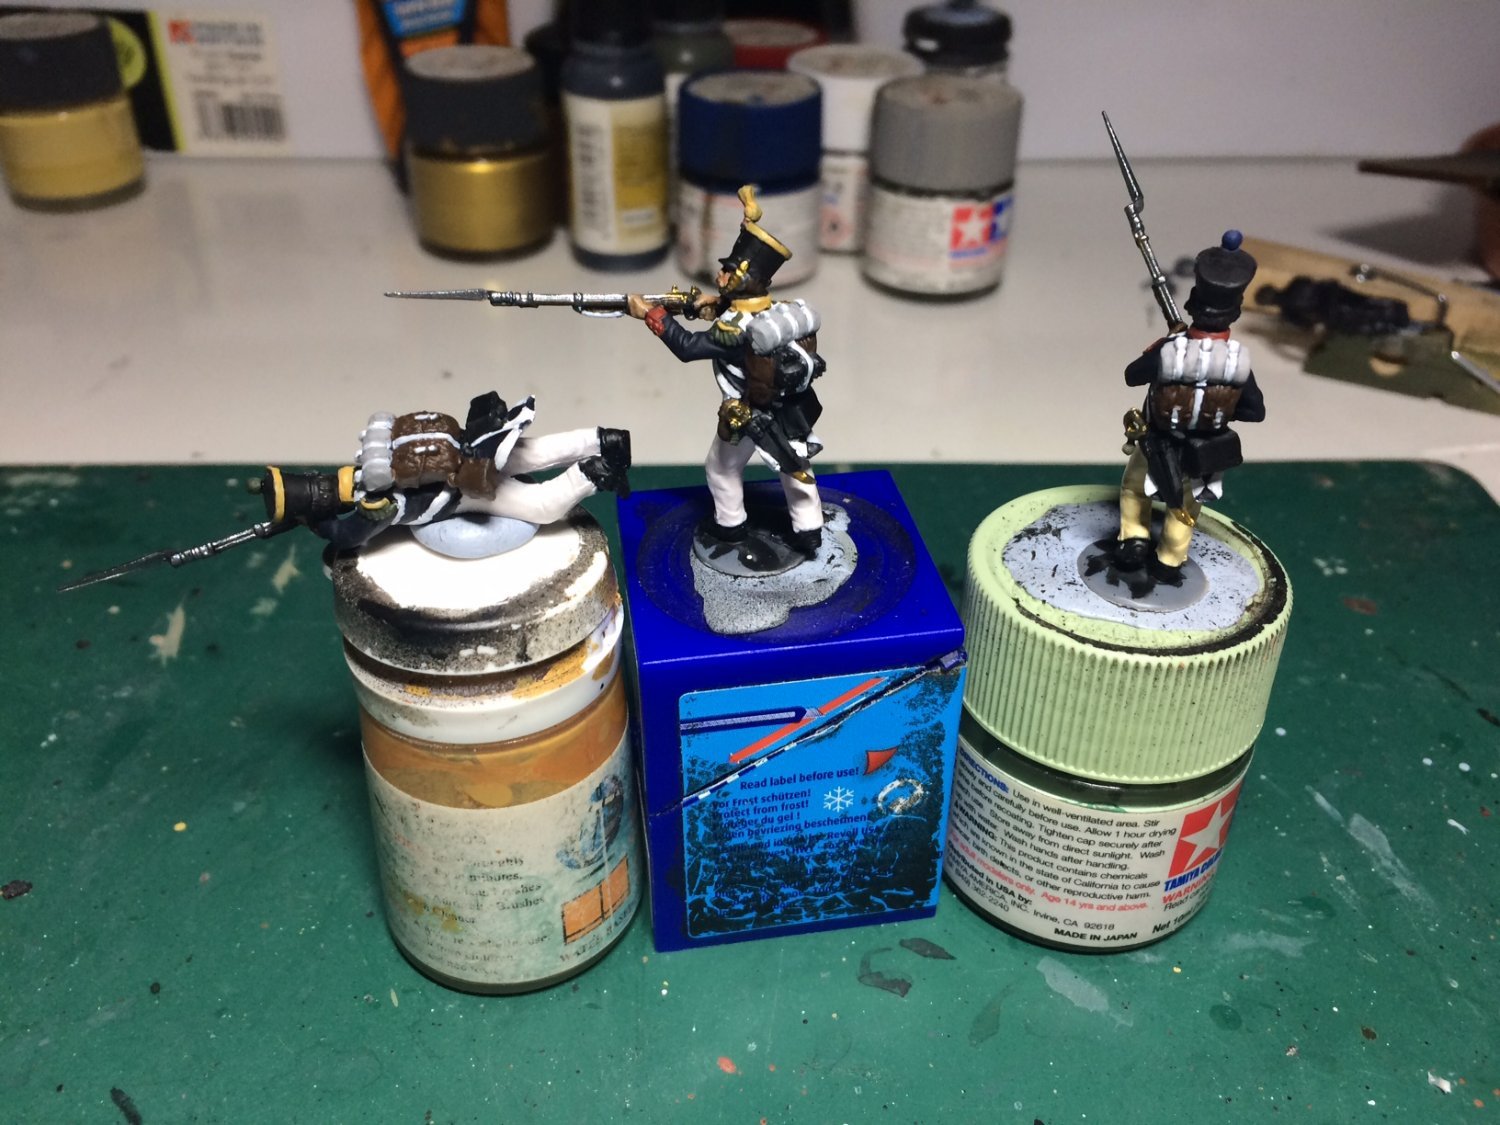
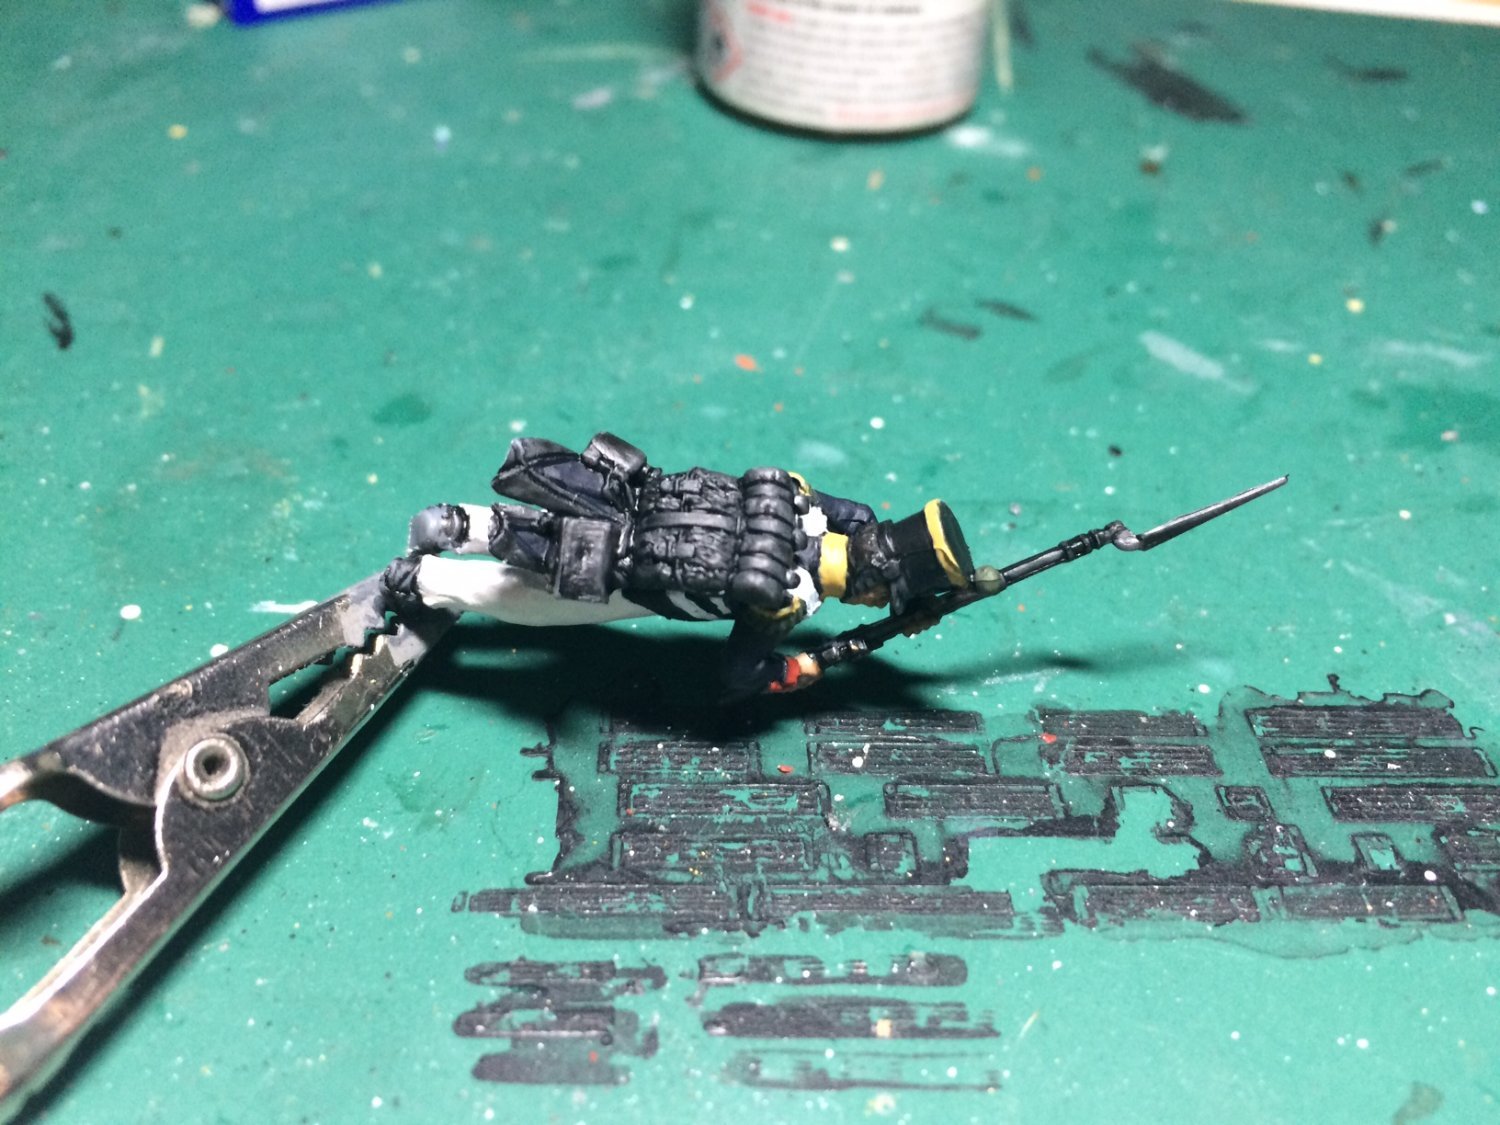
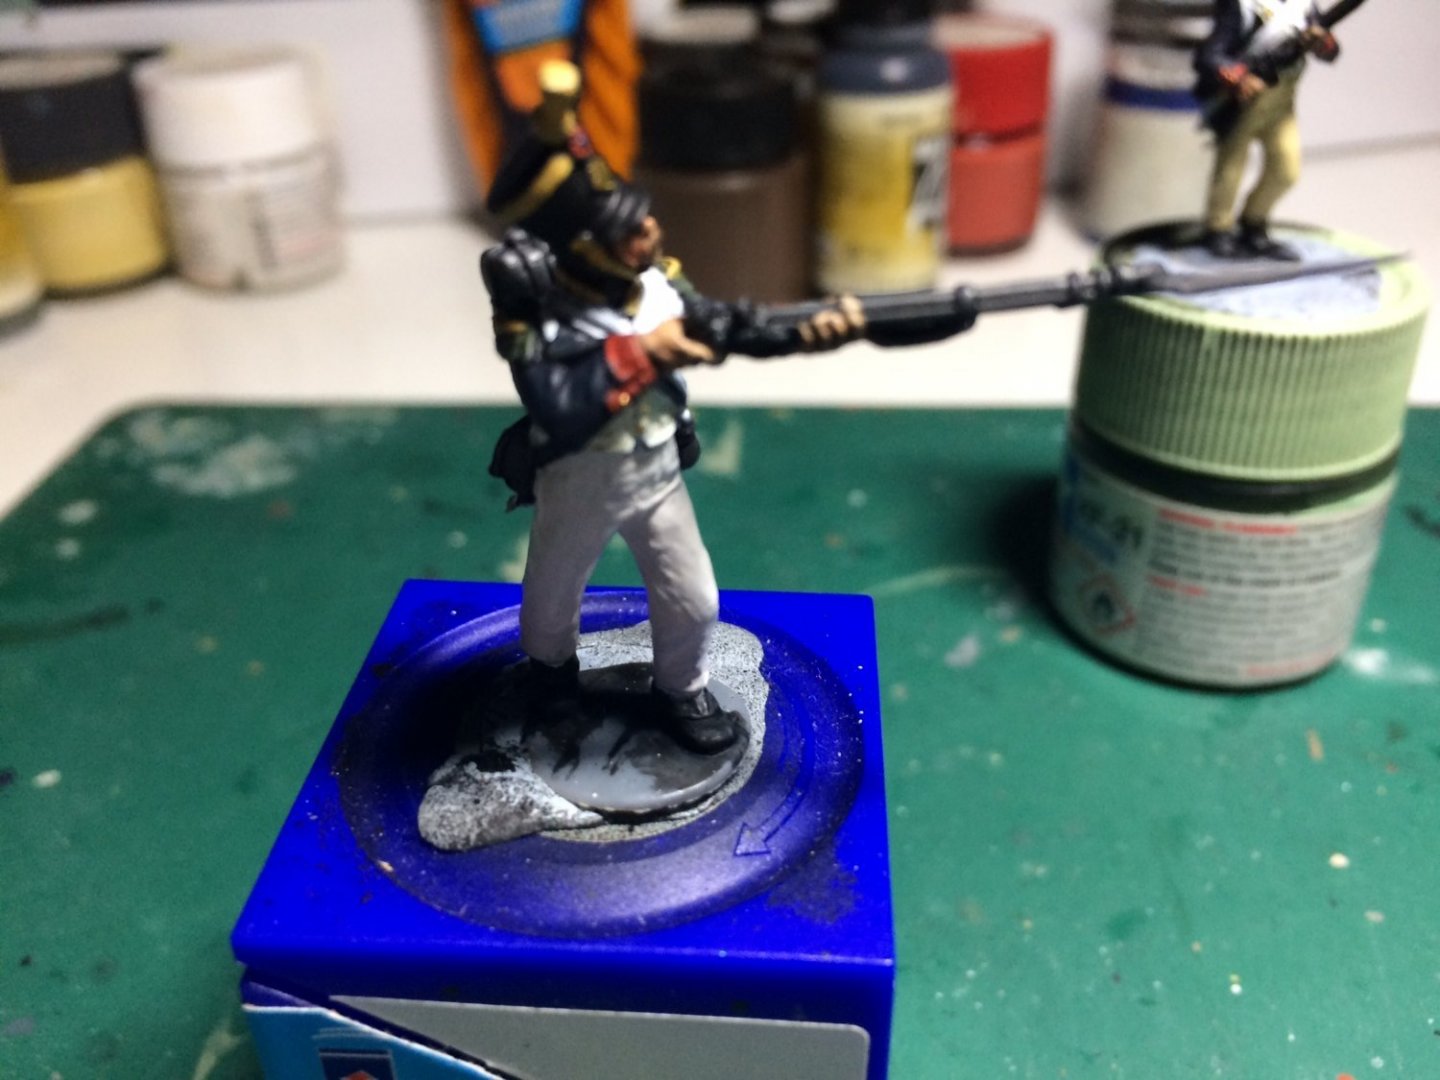
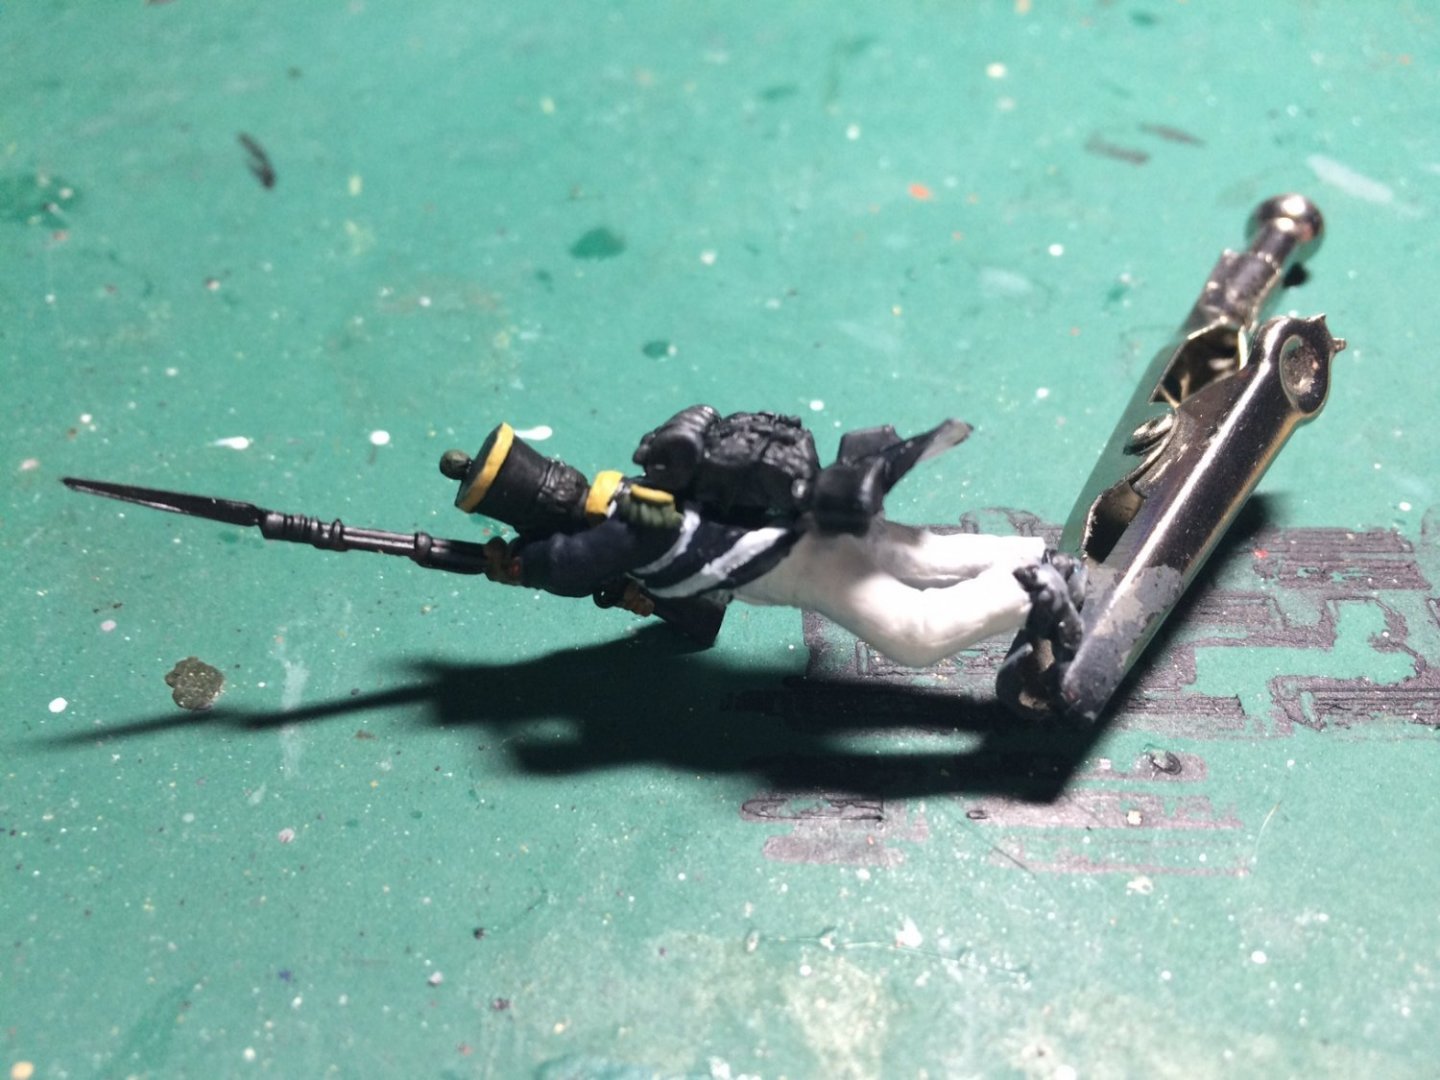
Evening all, more paint being applied to these Three French dudes One is a Fusilier and the other a Voltigeur - epaulettes, collors, cocarde, Shako plaques, buttons and trousers - including a dead Voltigeur. Three hours work just to this amount.. OC.


-
I contacted the company and told them it blew up in transit lol, I think it will be a rather unusual dio - probably not many made like mine will be. OC.
-
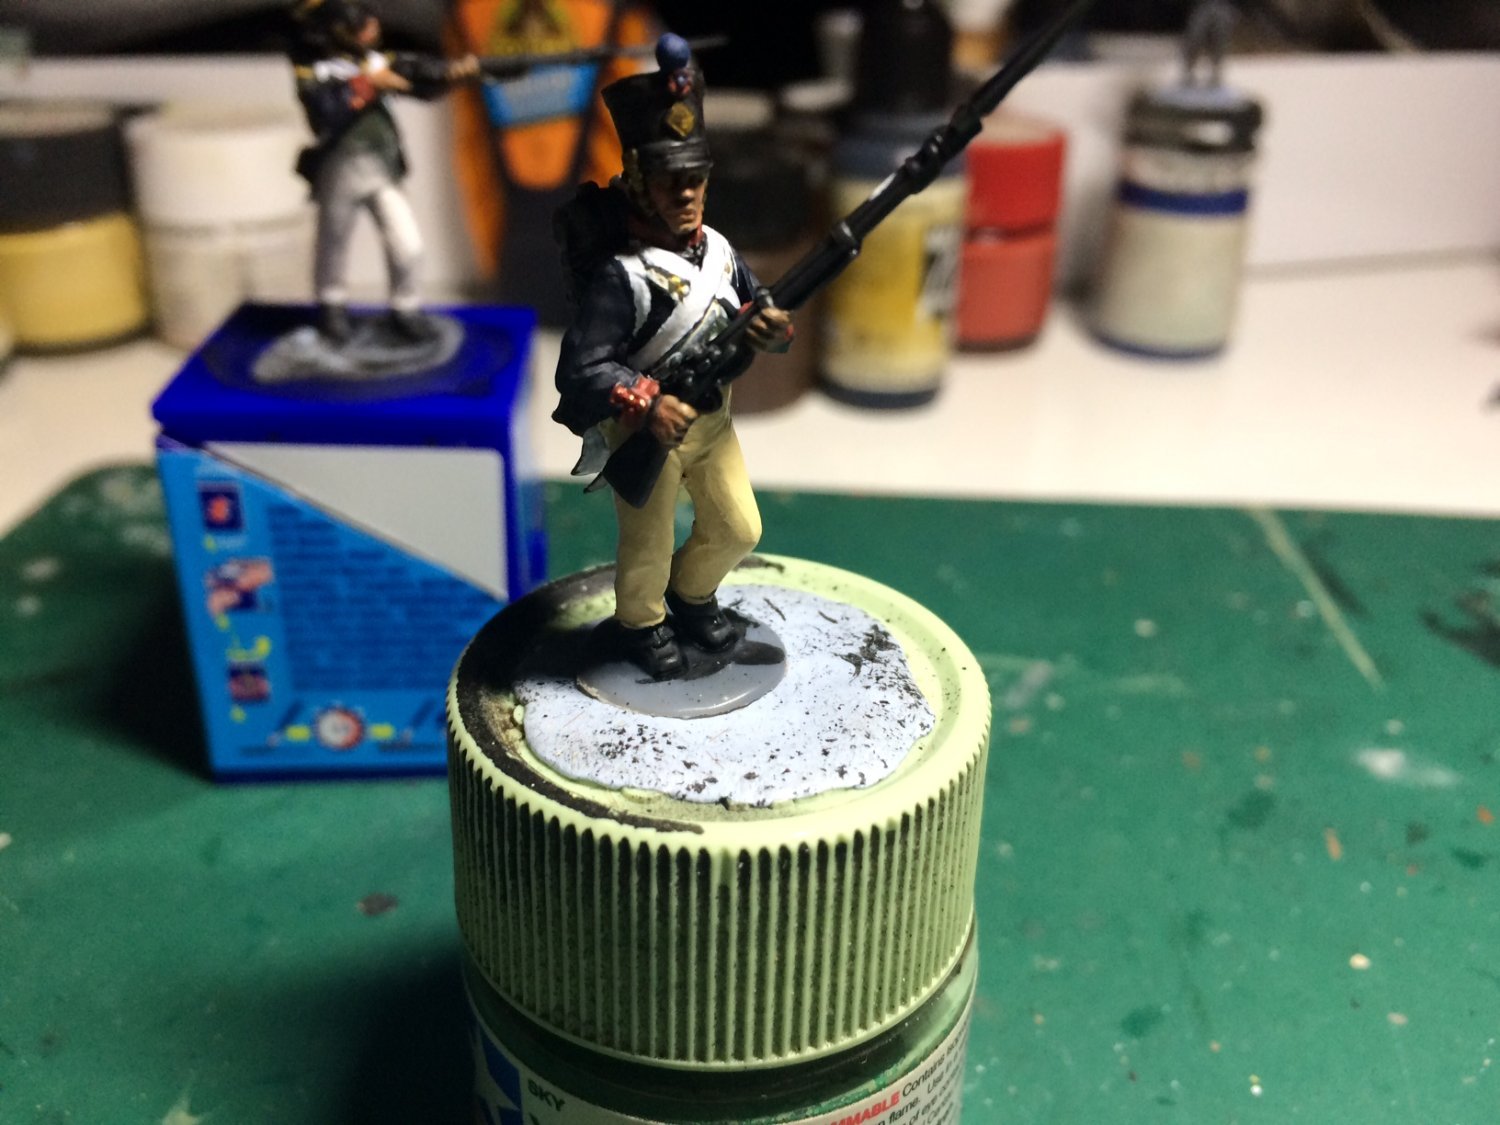
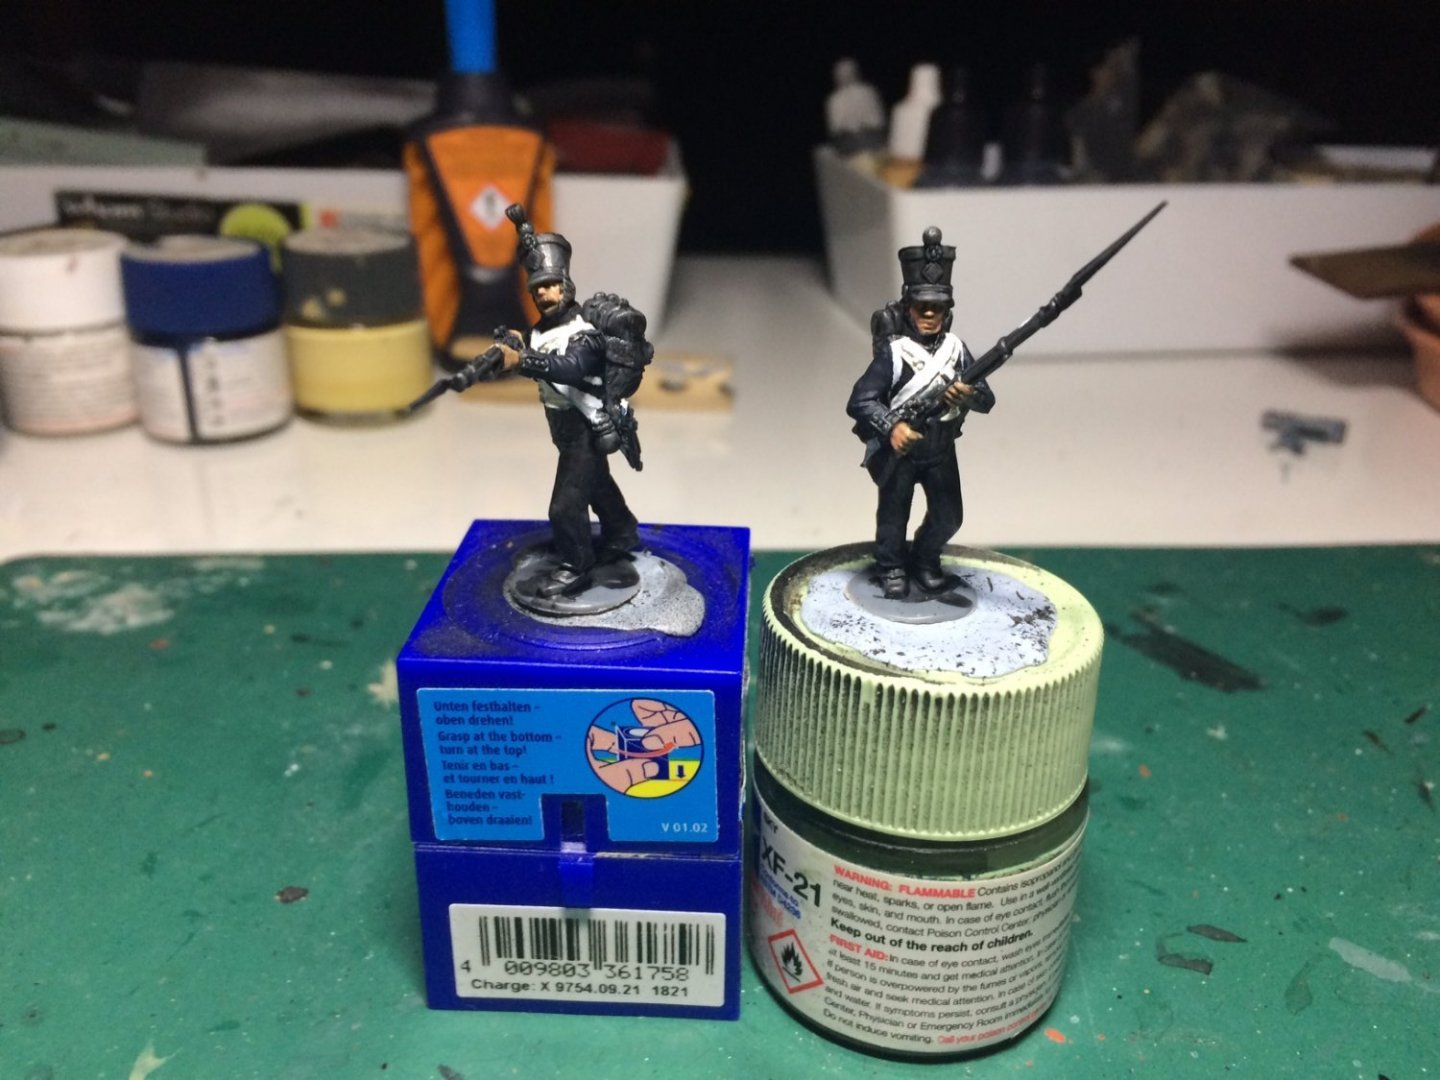
I'm back folks - work on a couple more 55th Ligne French. OC,
-
Thank you kindly, yes you are right - I will space them out a little further apart. OC.
-
Excellent work Chris. OC.
-
It will be well worth it though - got some real potential to be a Stunner. OC.
- 48 replies
-
- 4
-

-
- New Jersey
- Tamiya
- (and 1 more)
-
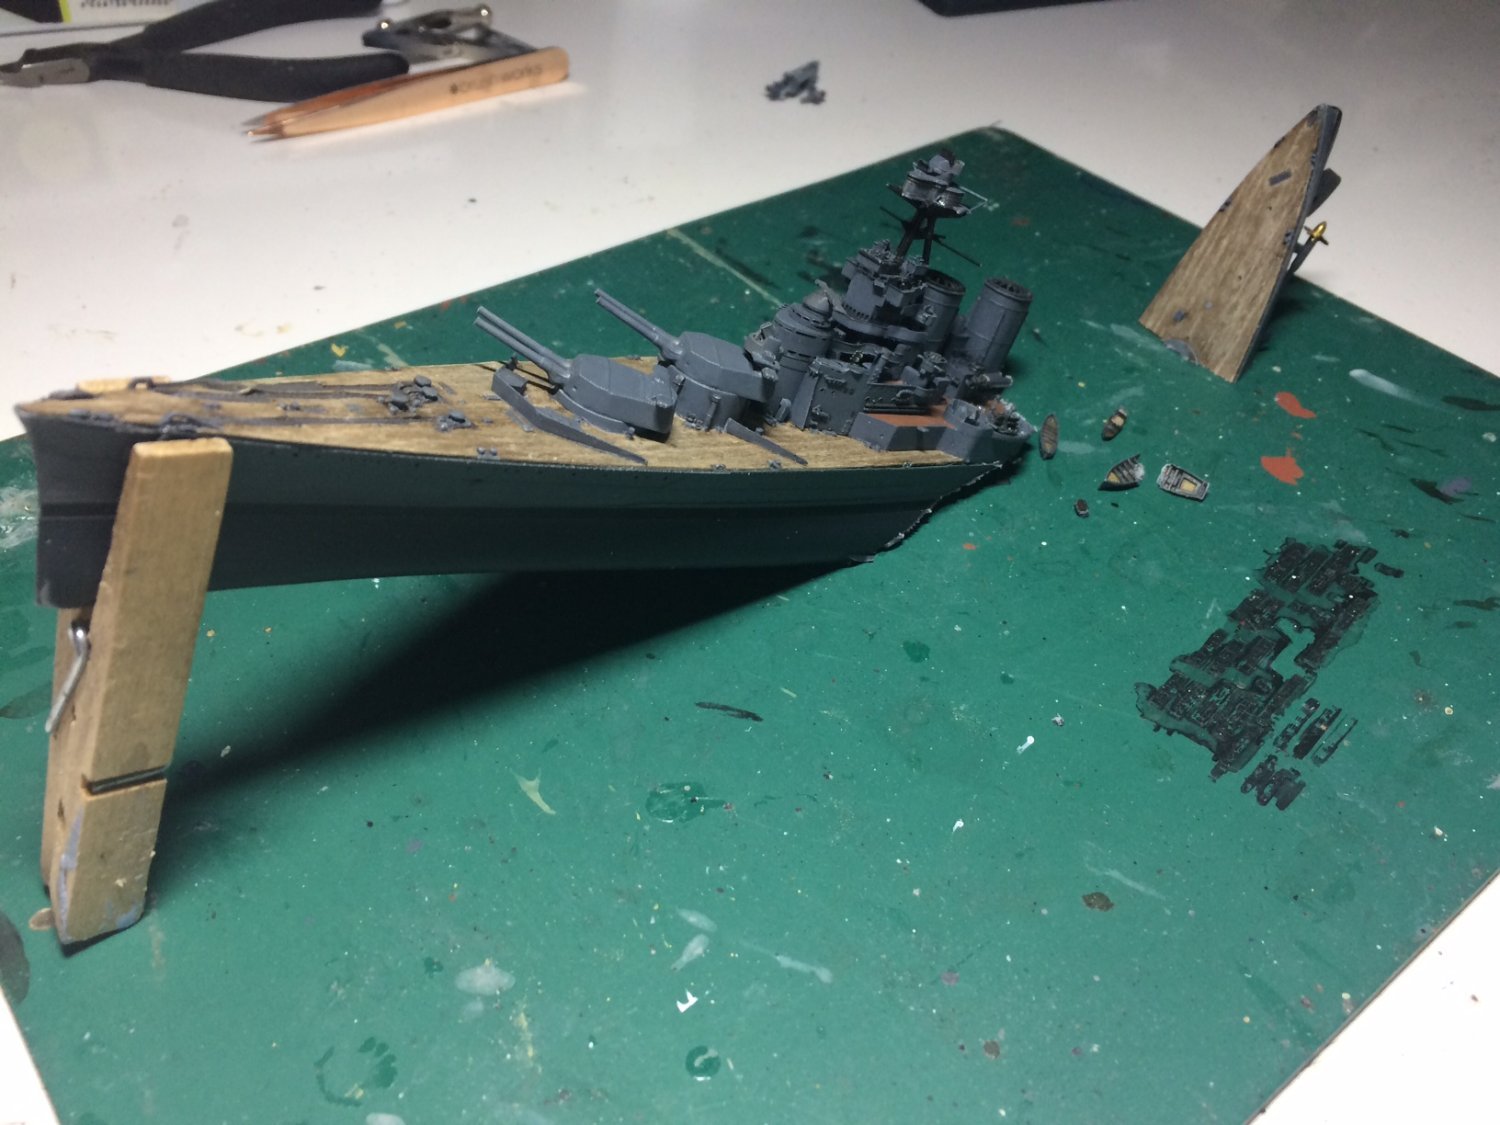
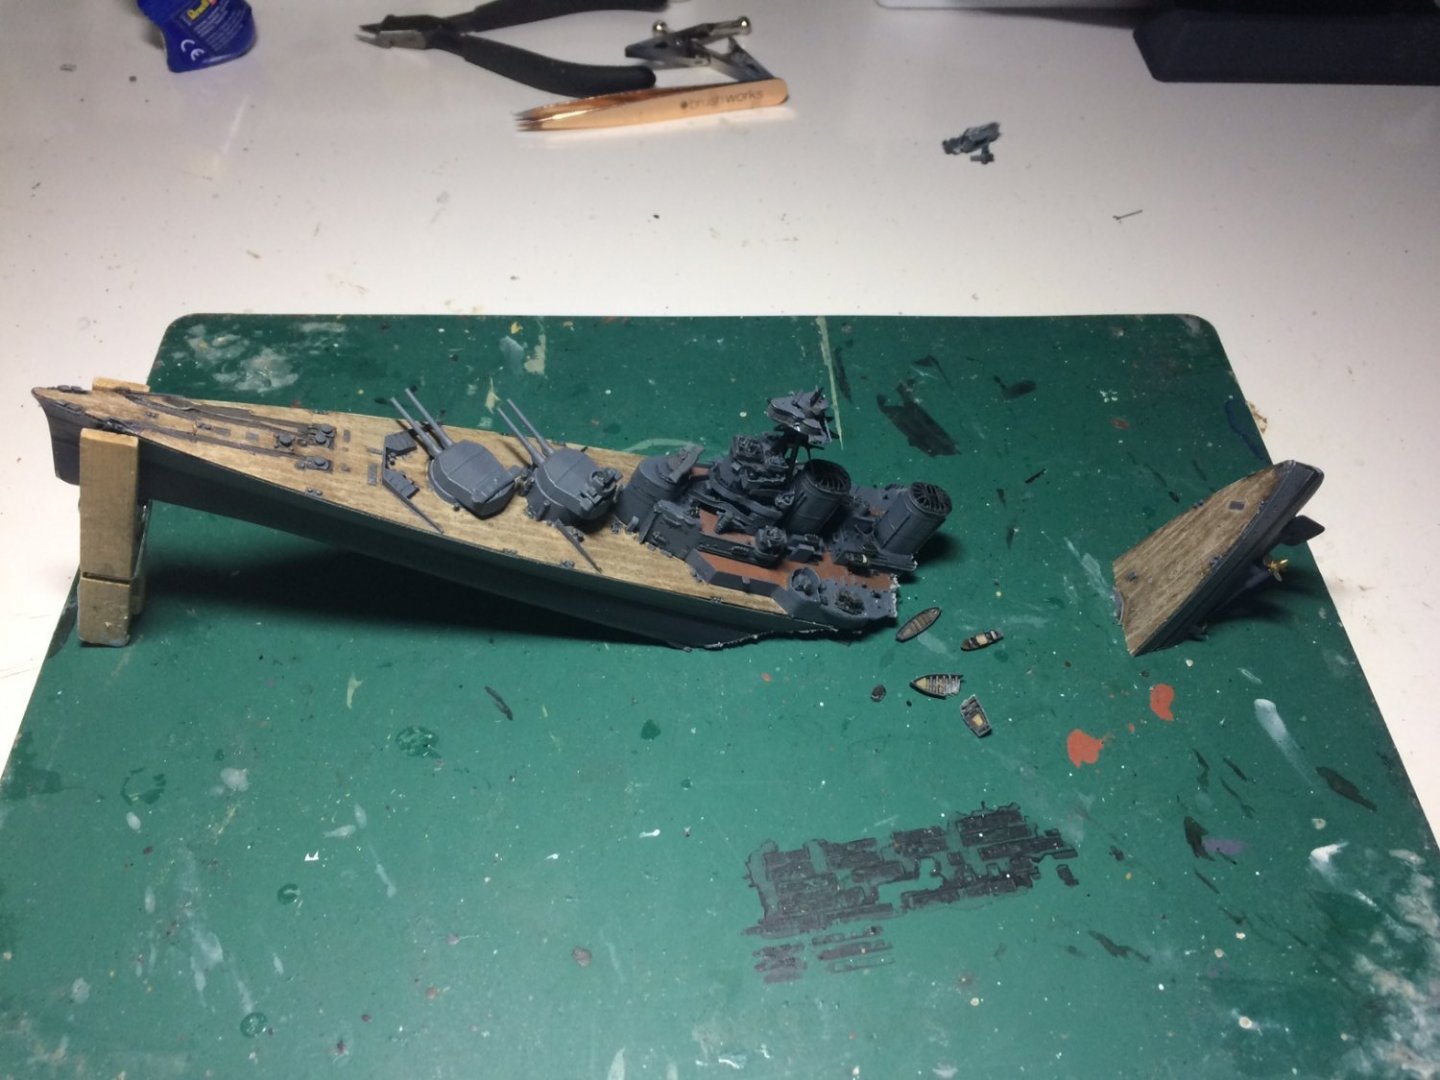
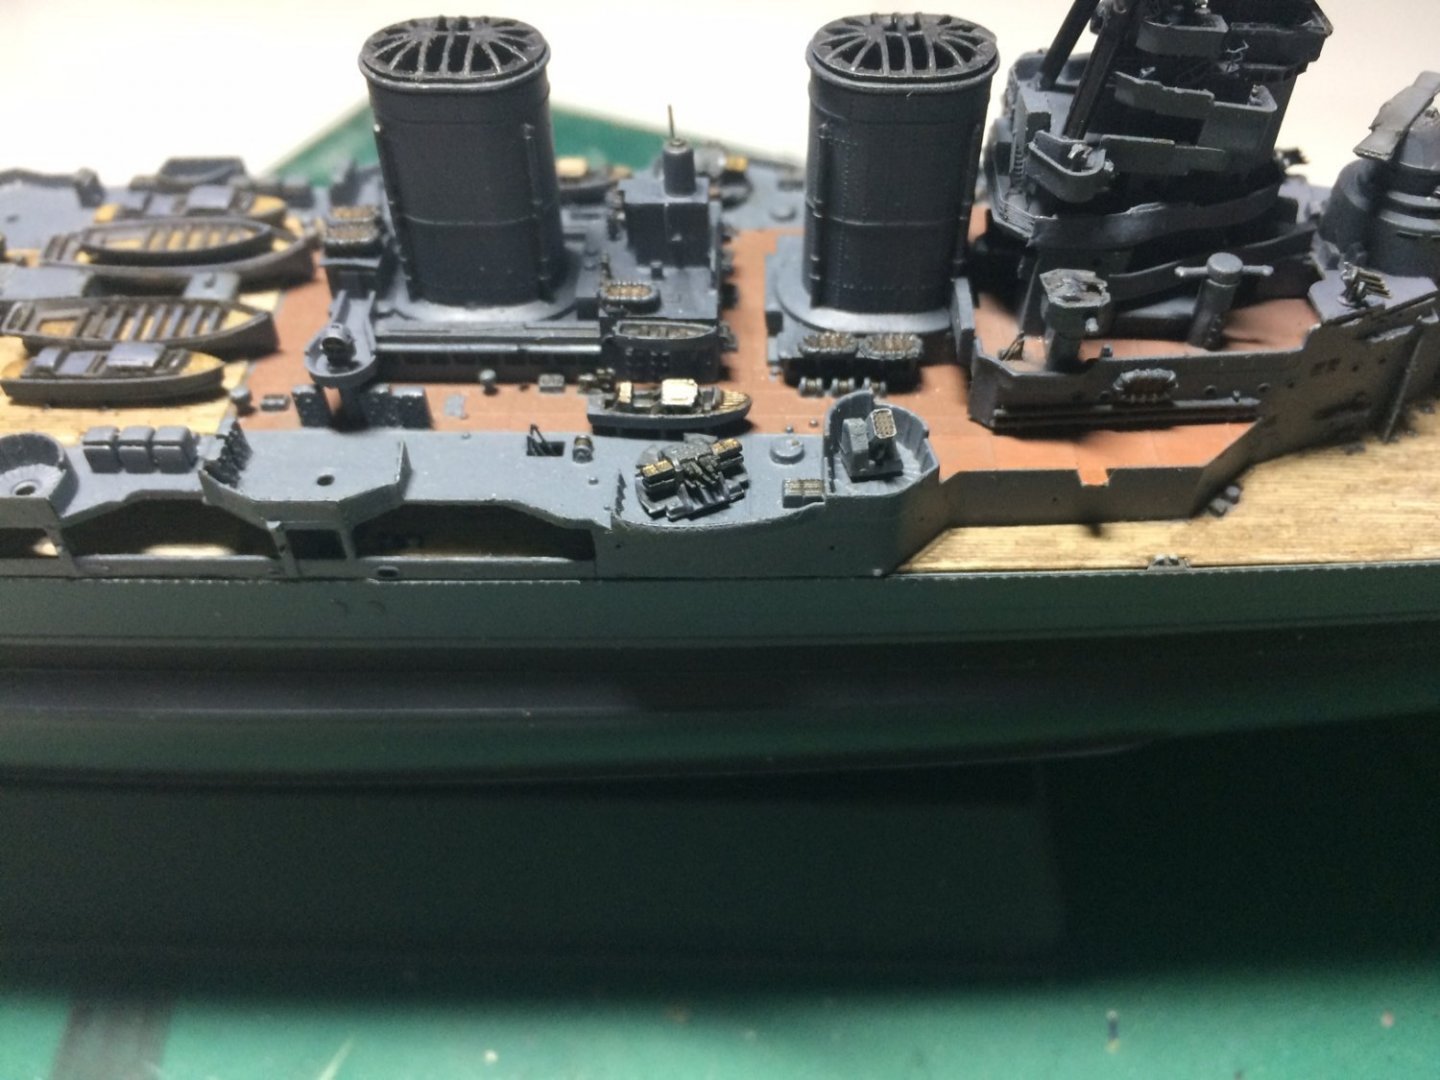
Right then folks - front vents added then painted, then the "gulp gulp stage" - out came my hacksaw then after marking Two pencil lines, I started to cut away. So here are the Two ends placed dry roughly where they will be, there will also be some debri flaoting around - rafts boat bits etc. OC.

- 510 replies
-
- 15
-
-

-
So nice😃 OC.
-
M3 Lee Tank by CDW - Miniart - 1:35 Scale - FINISHED
Old Collingwood replied to CDW's topic in Non-ship/categorised builds
That is looking smart Craig - lots of fine detailing in there. OC. -
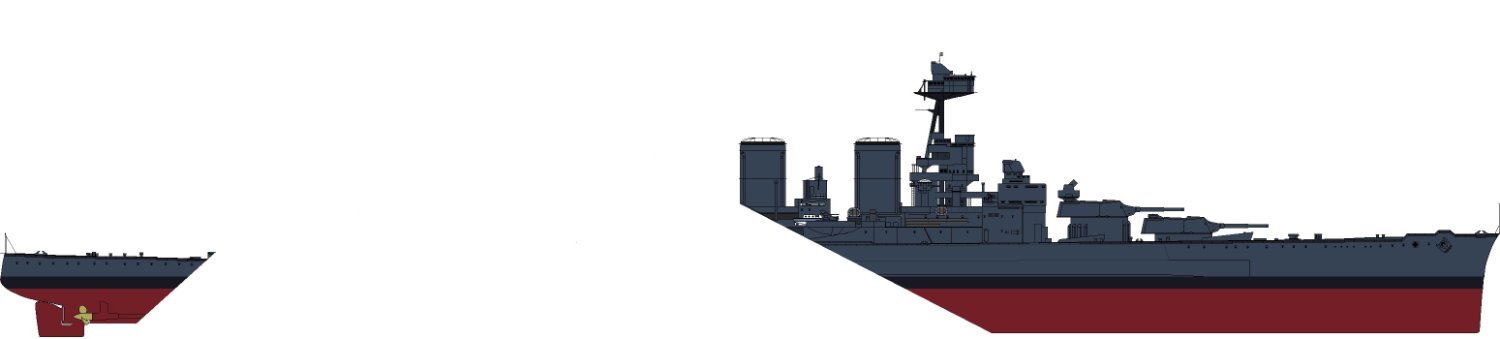
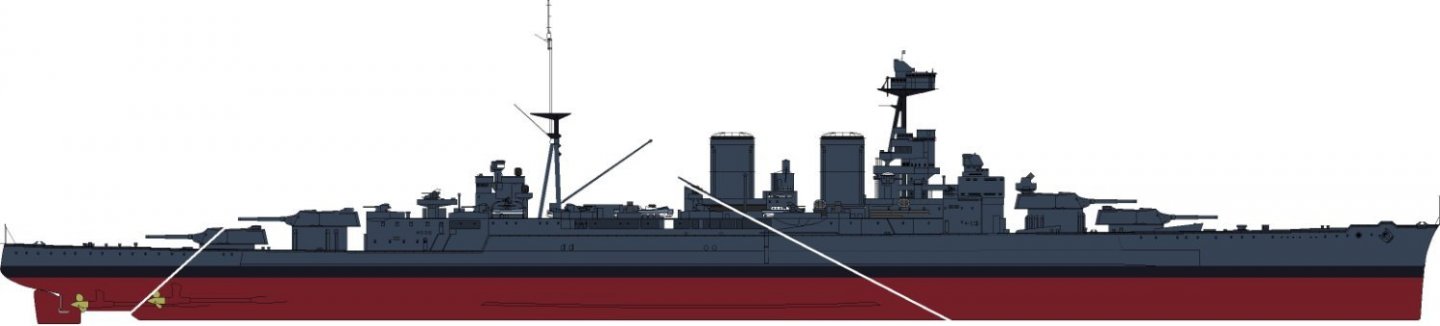
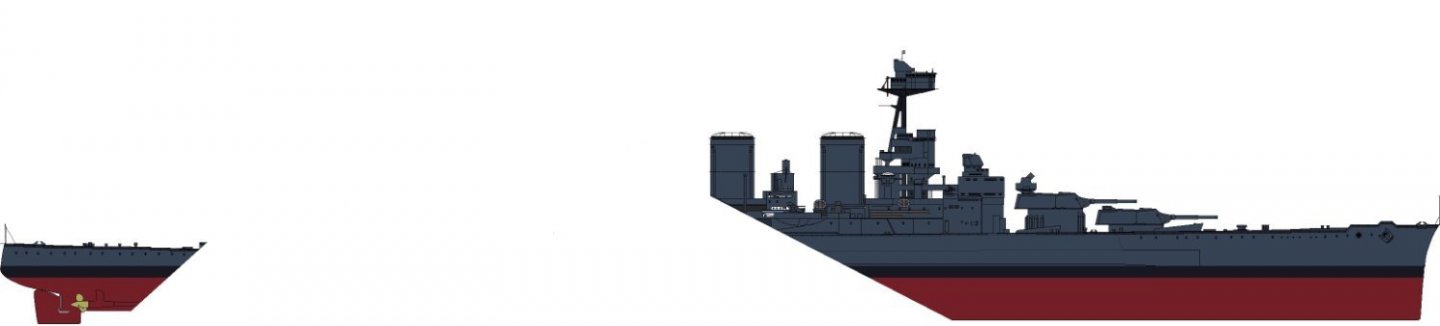
So, I have just been doing a wee bit more doodling in paint - next stage of this is to add a few more vents around the conning tower then the flag staff supports at both ends (the flag staffs would have been removed and stowed as would the rear ladders and forward ones. Then it will be "Saw Time" I will make the Two cuts as shown in these Two diagrams that I borroed of the internet the doctured in Paint - I will then put the Two sections aside till I come up with a suitable base. They show incorectly the Red hull bottoms. OC.
-
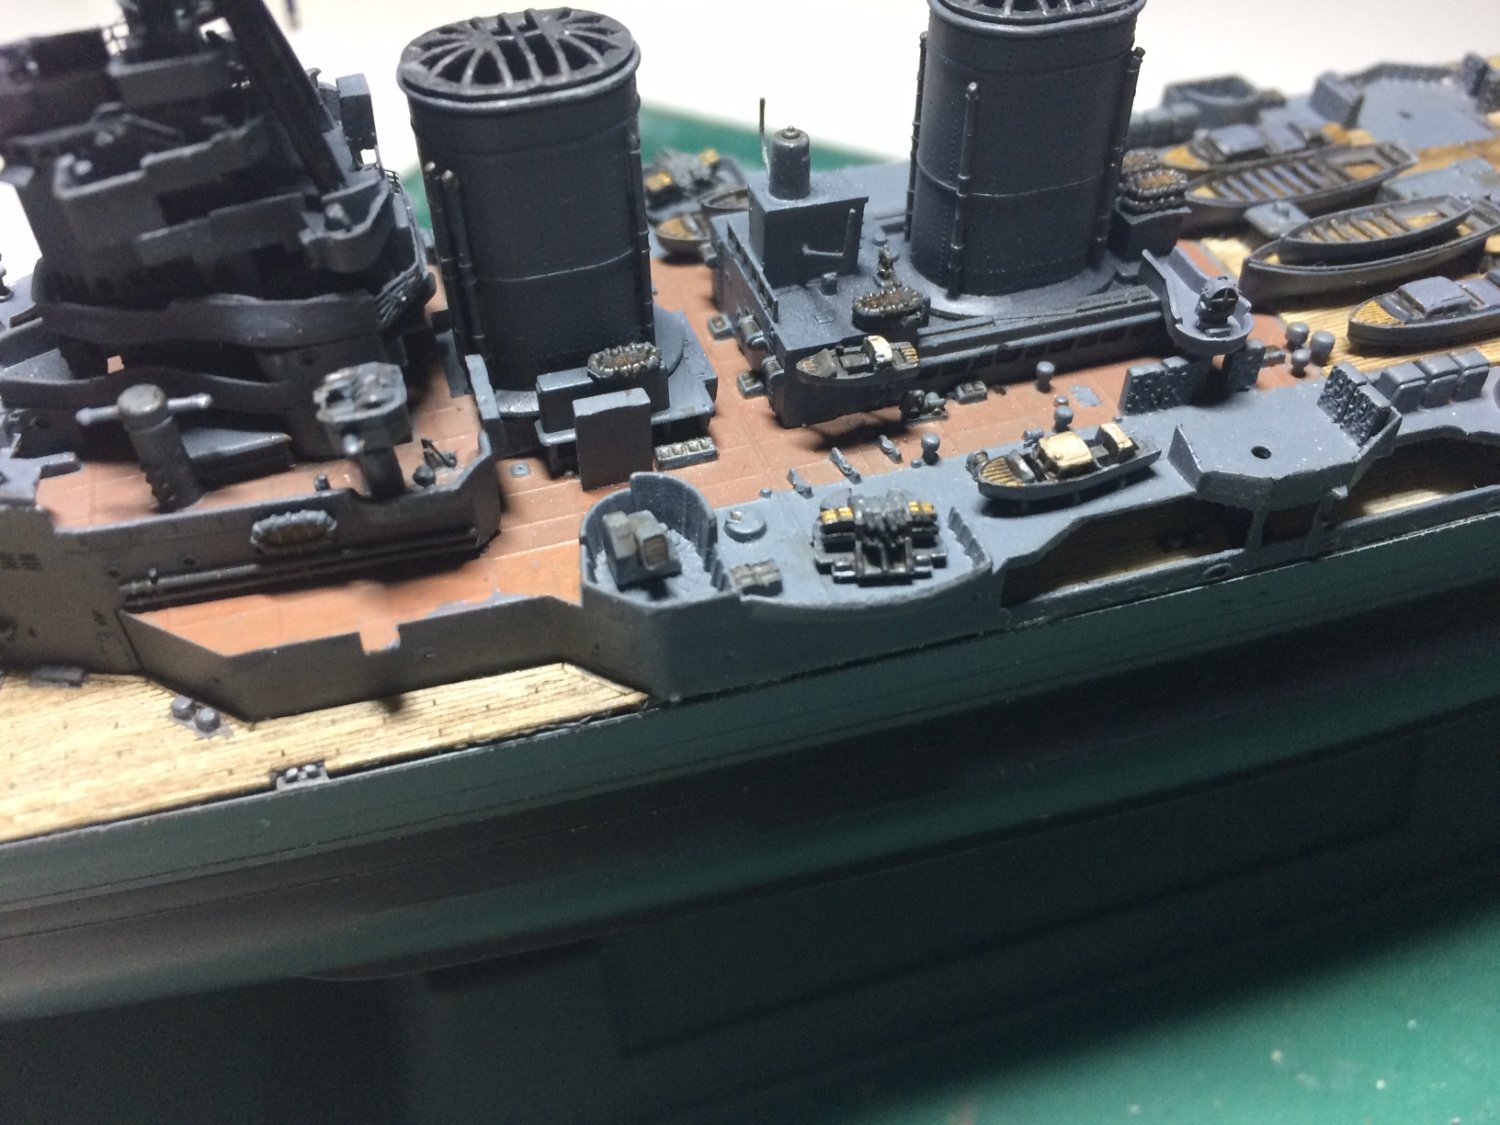
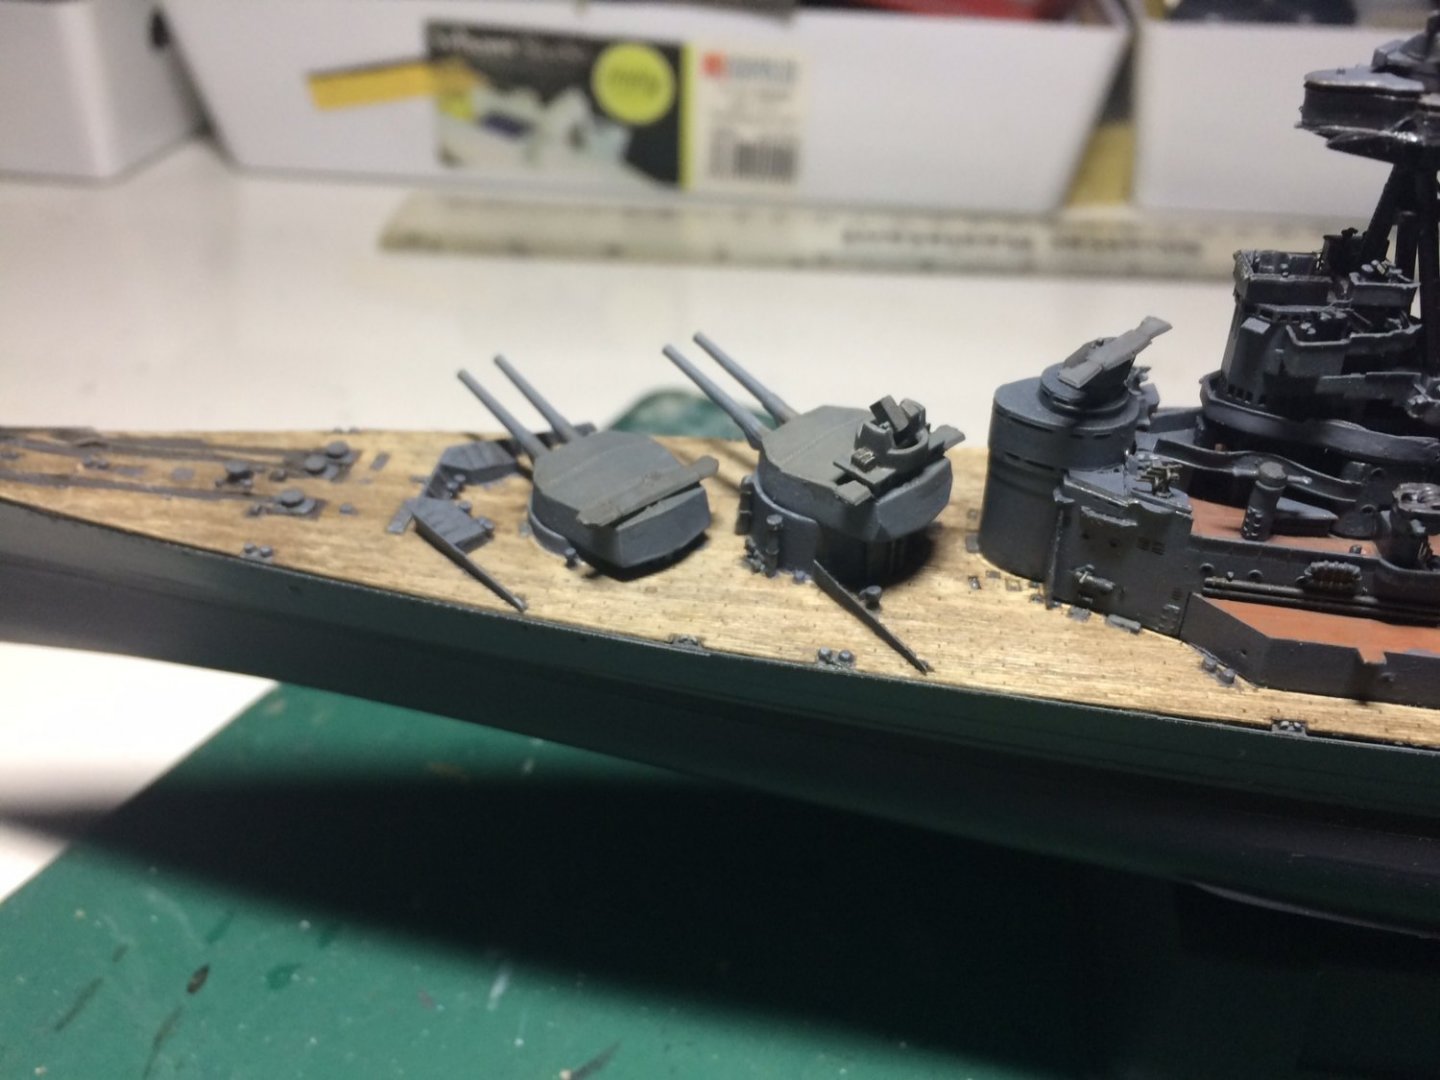
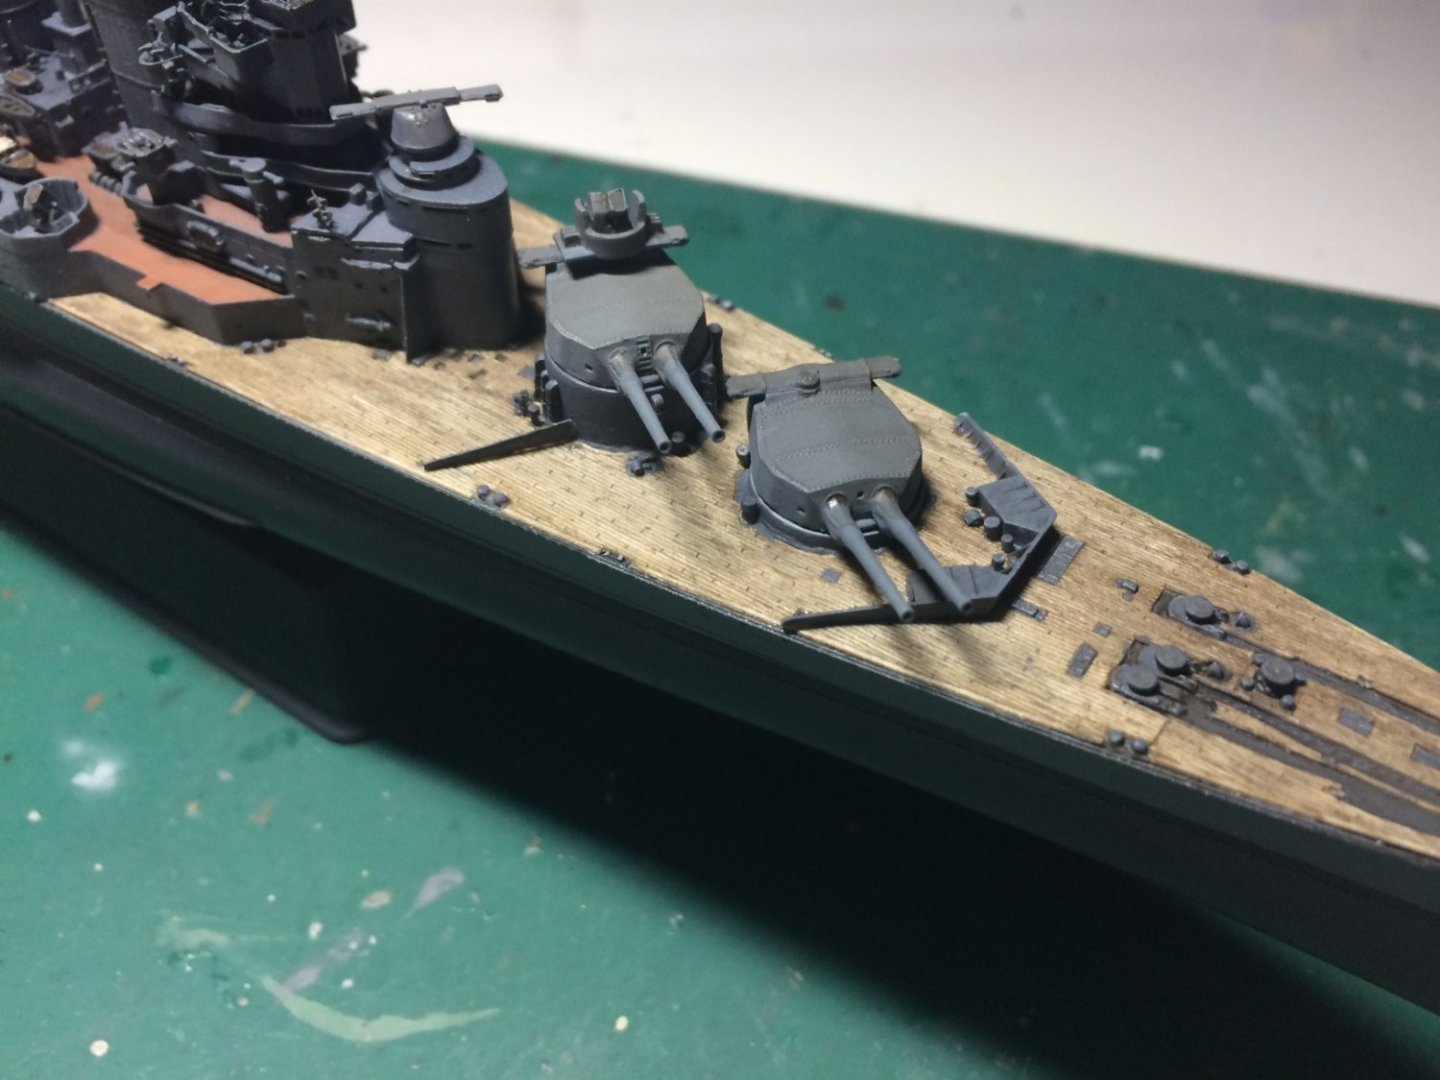
Evening all, got a good bit done today, I got the airbrush out and layed a few coats on both forward turrets they were then glued down, I then added some paint to the Pom Poms and other firrings - before adding a we bit of a wash. OC.

-
Had a think about your hanger problem - could part of it be riding hight on the decking? as this happened to me on my Warspite build (and that was in 1/350 scale) I had to trim a bit away to let part of the superstructure sit flat on the deck. OC.