HOLIDAY DONATION DRIVE - SUPPORT MSW - DO YOUR PART TO KEEP THIS GREAT FORUM GOING! (Only 75 donations so far out of 49,000 members - C'mon guys!)
×


Kevin
-
Posts
7,012 -
Joined
-
Last visited
Content Type
Profiles
Forums
Gallery
Events
Everything posted by Kevin
-
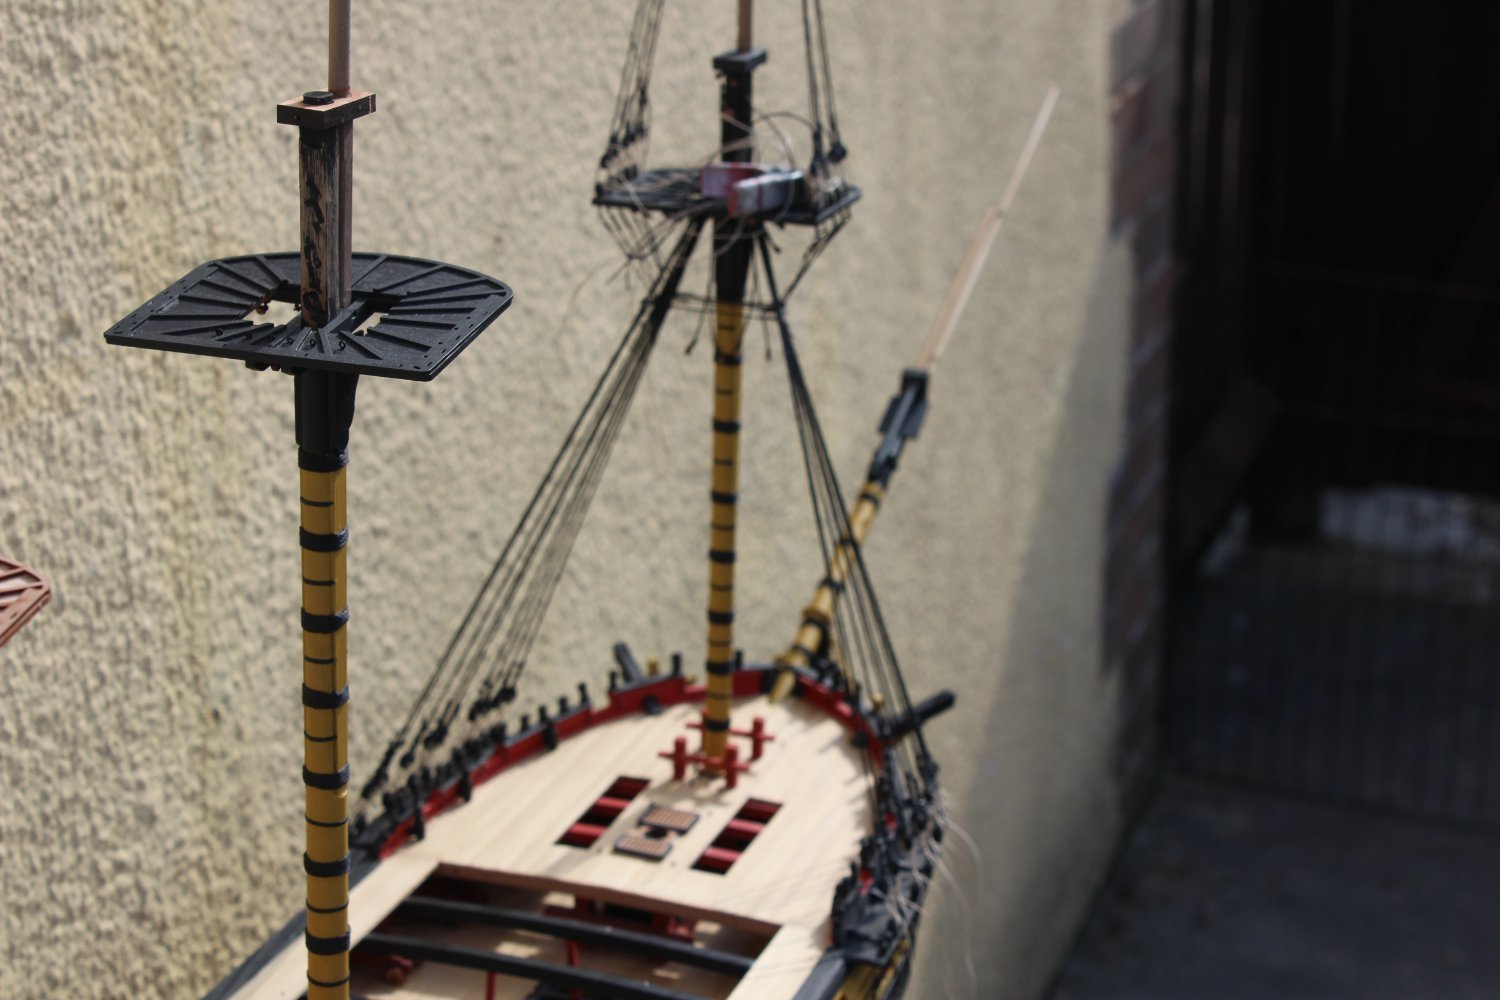
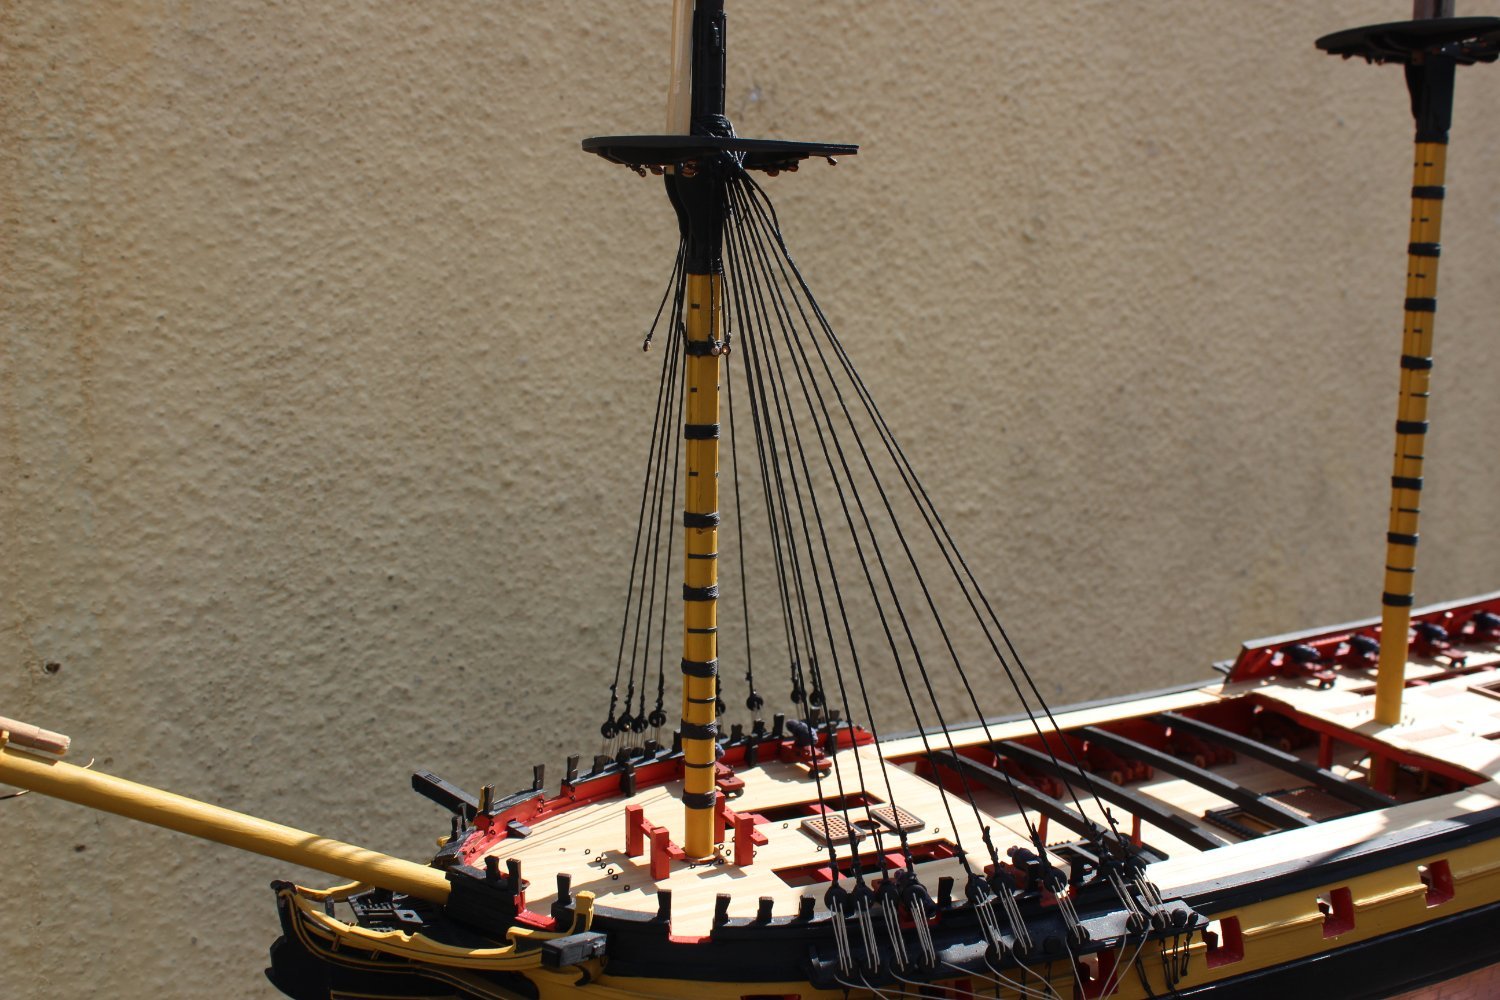
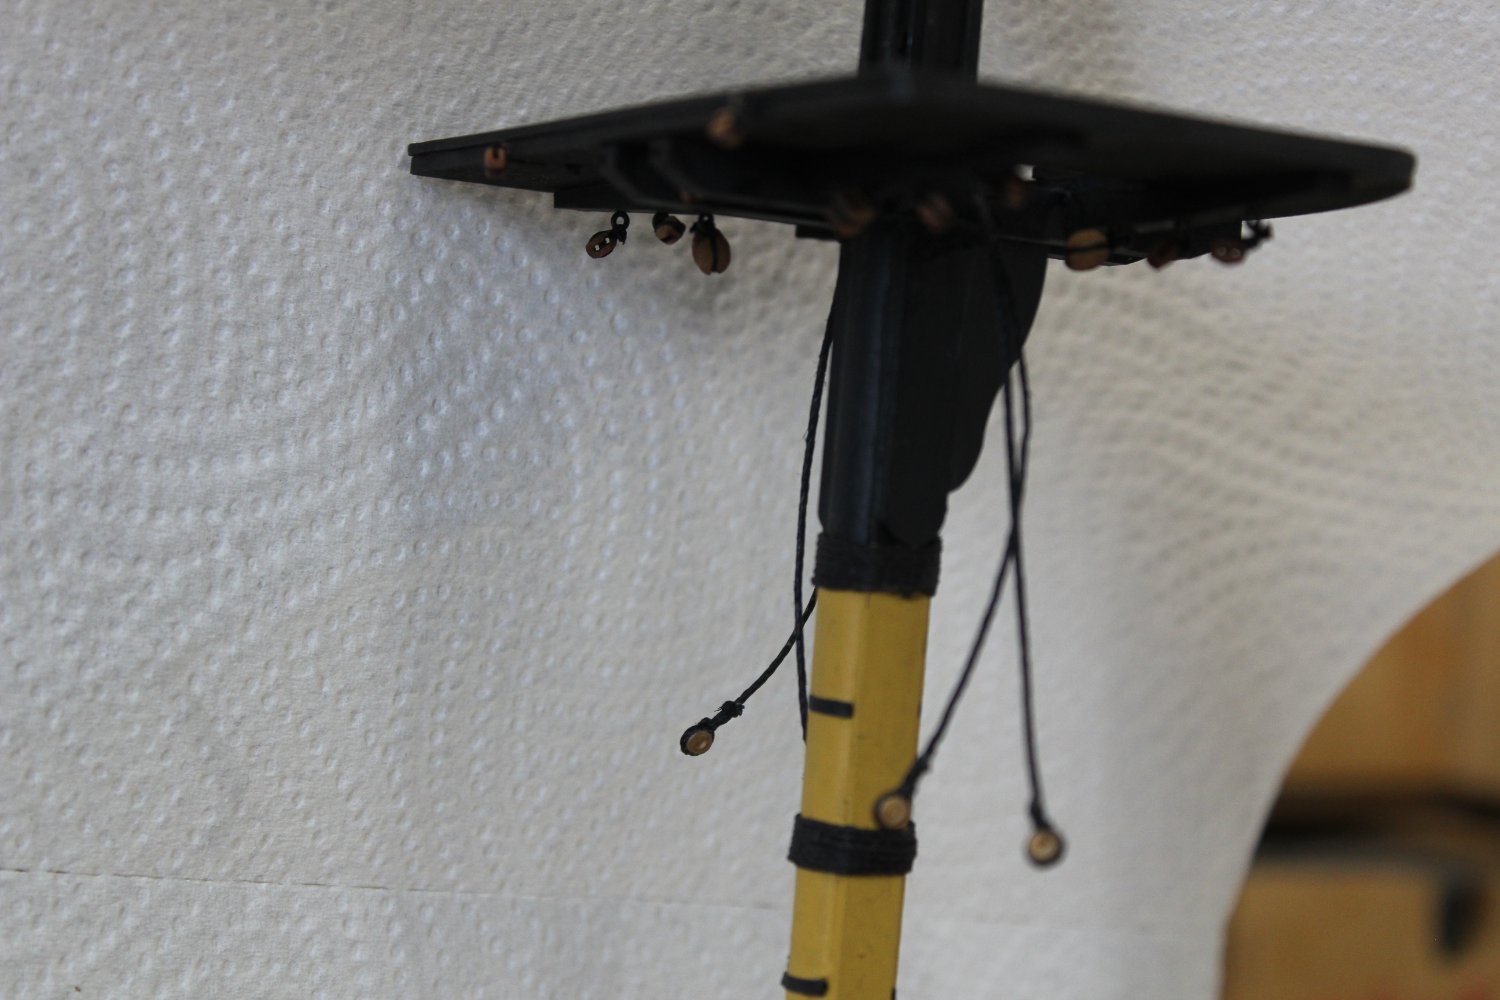
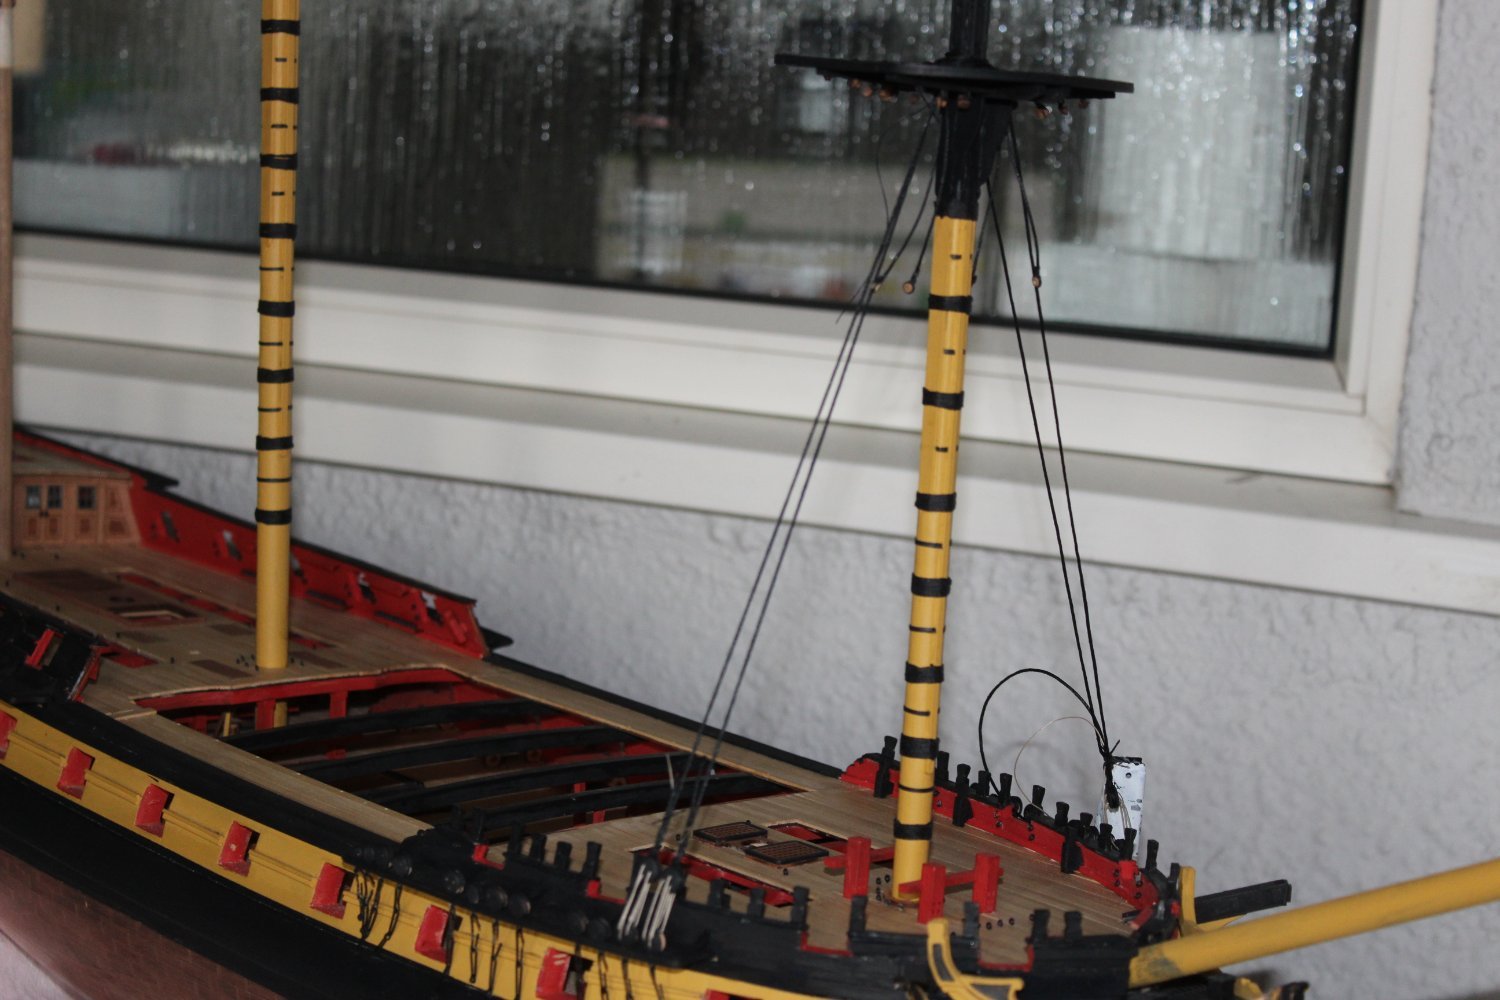
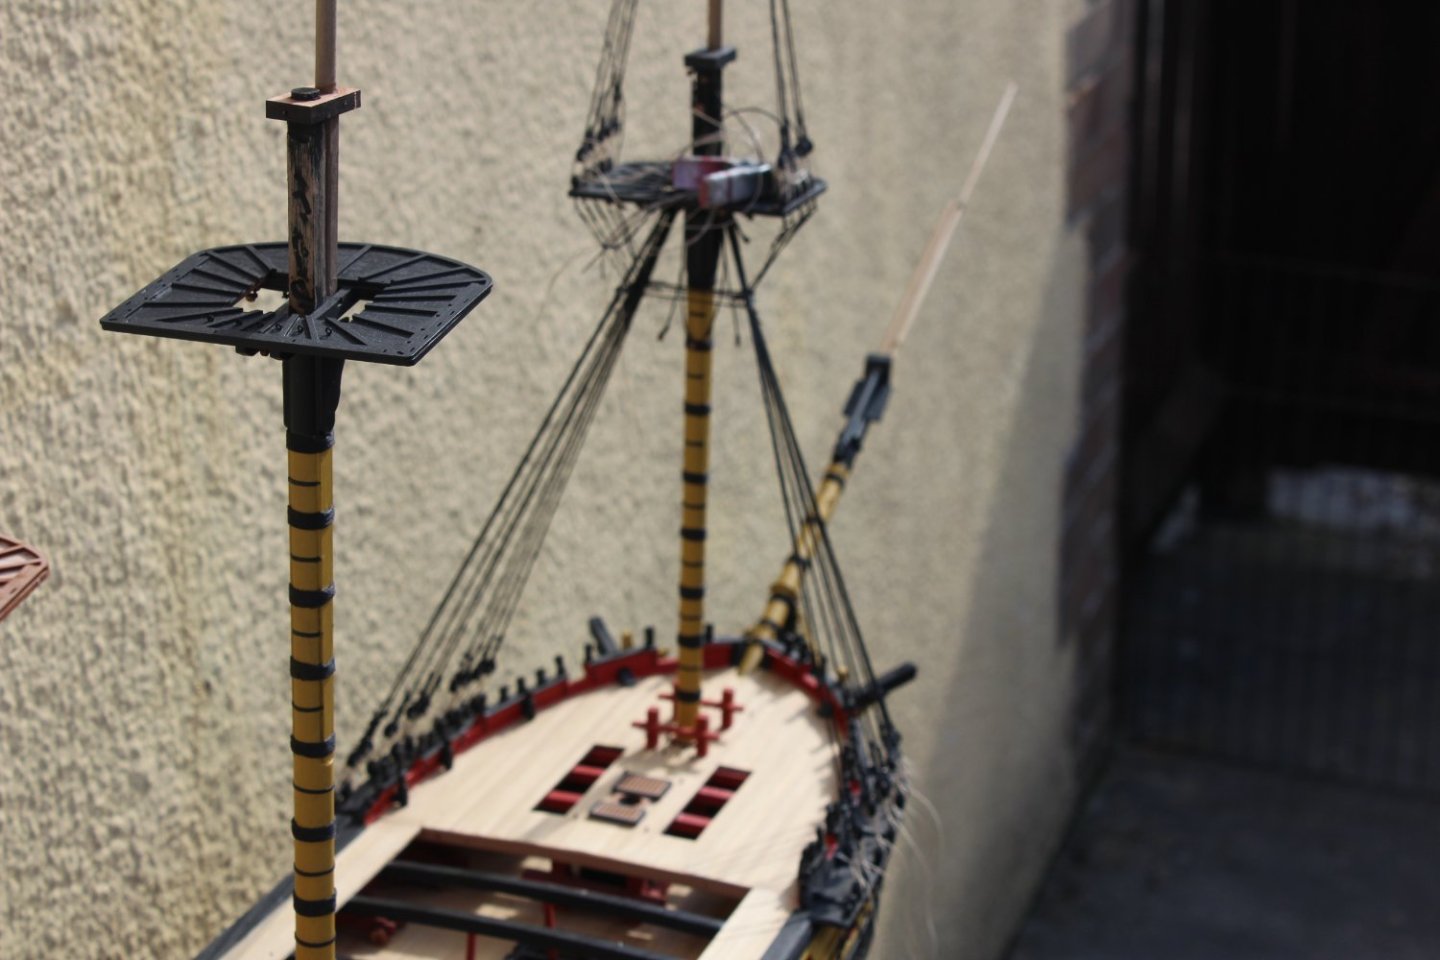
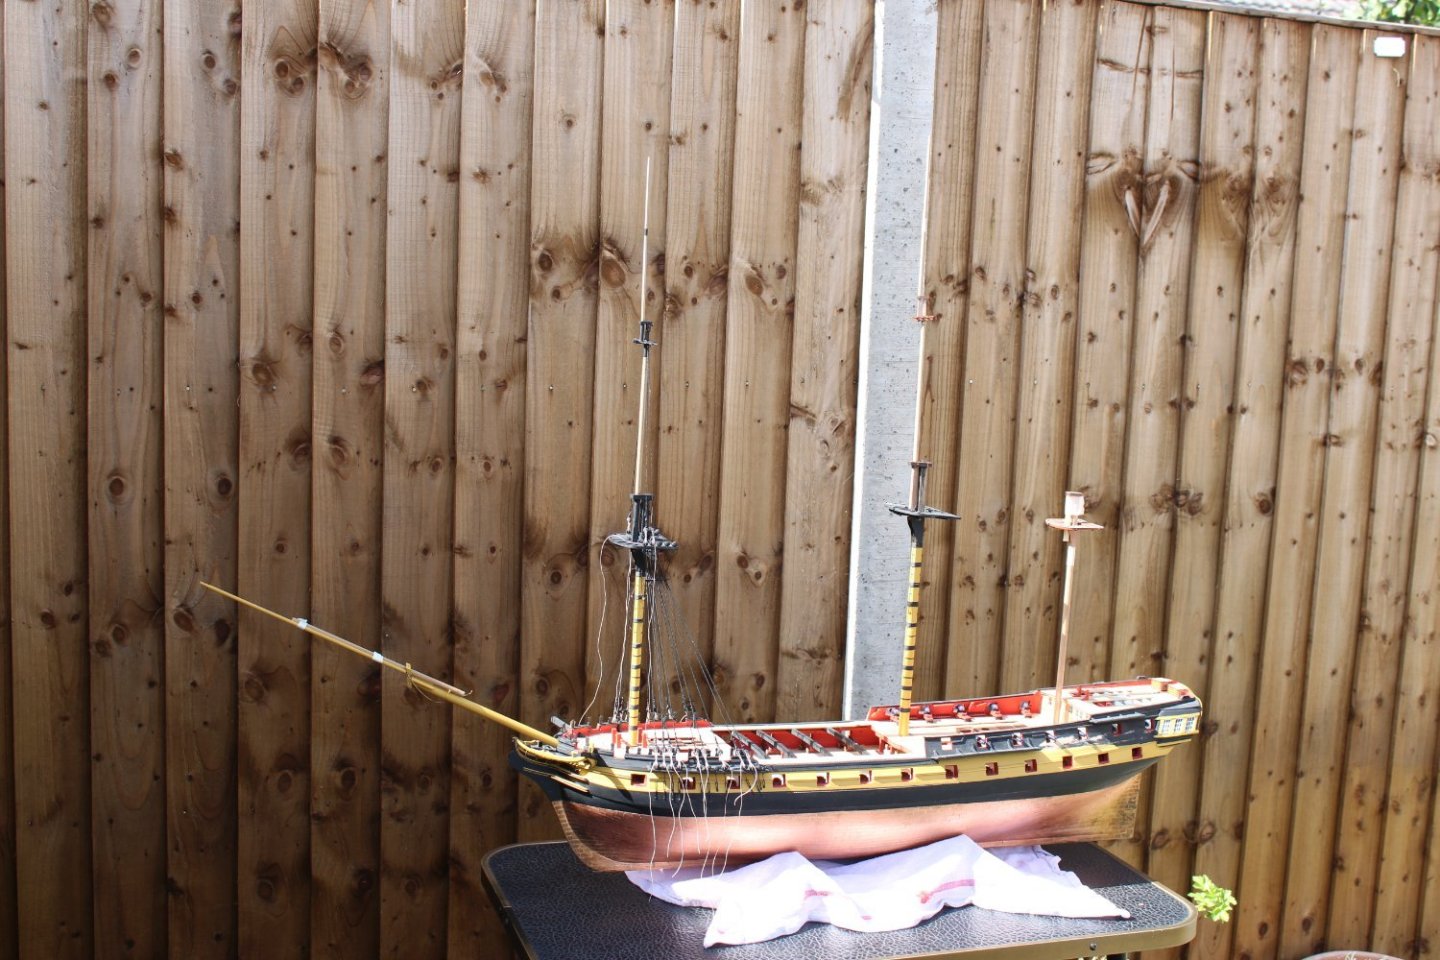
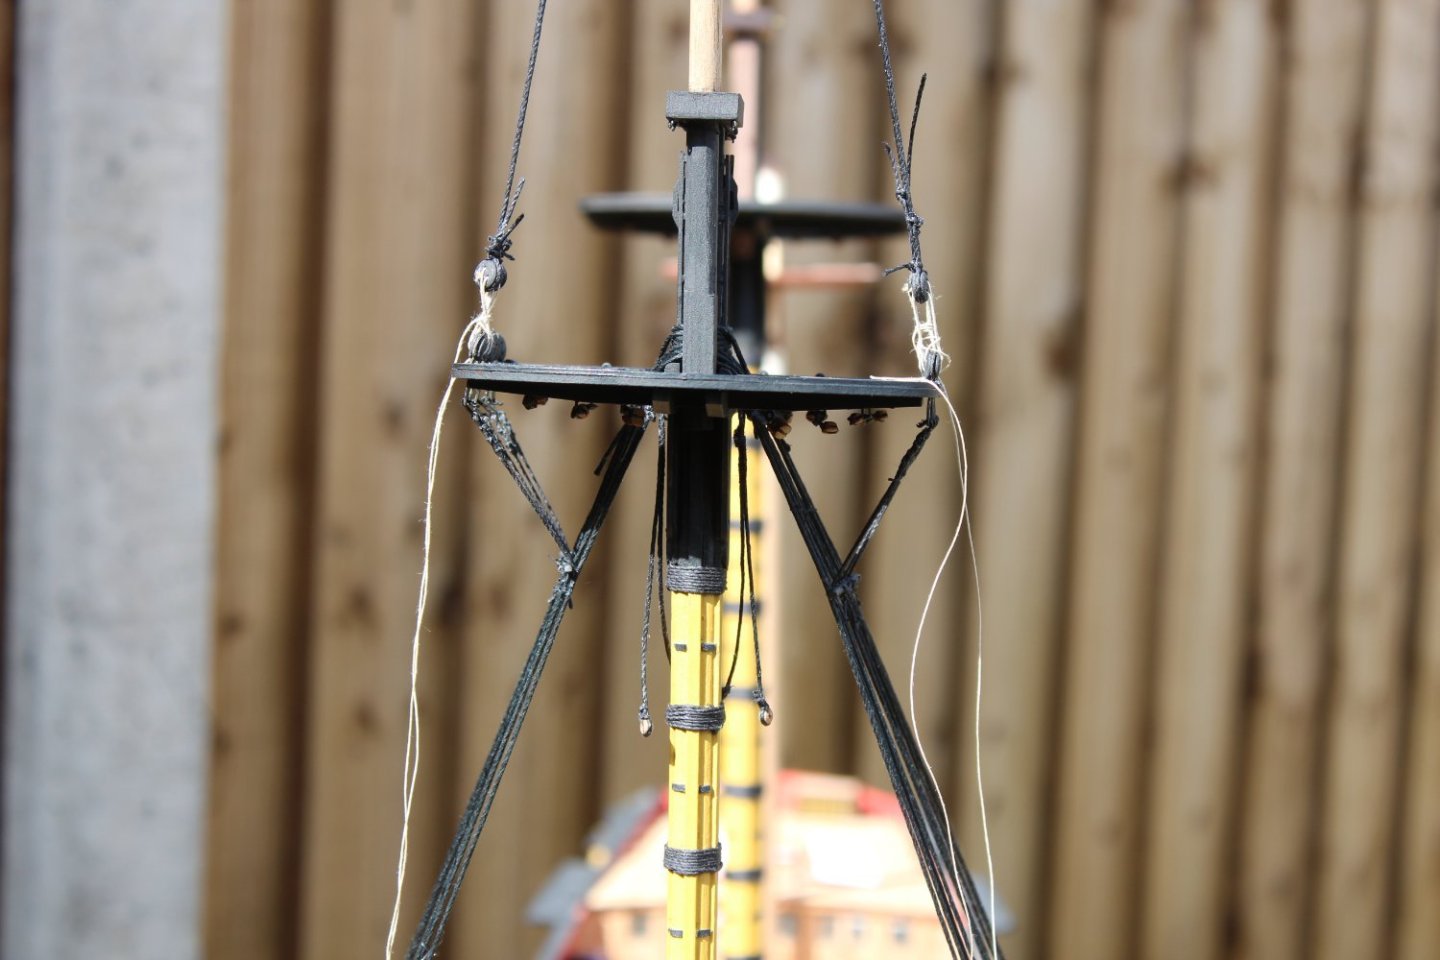
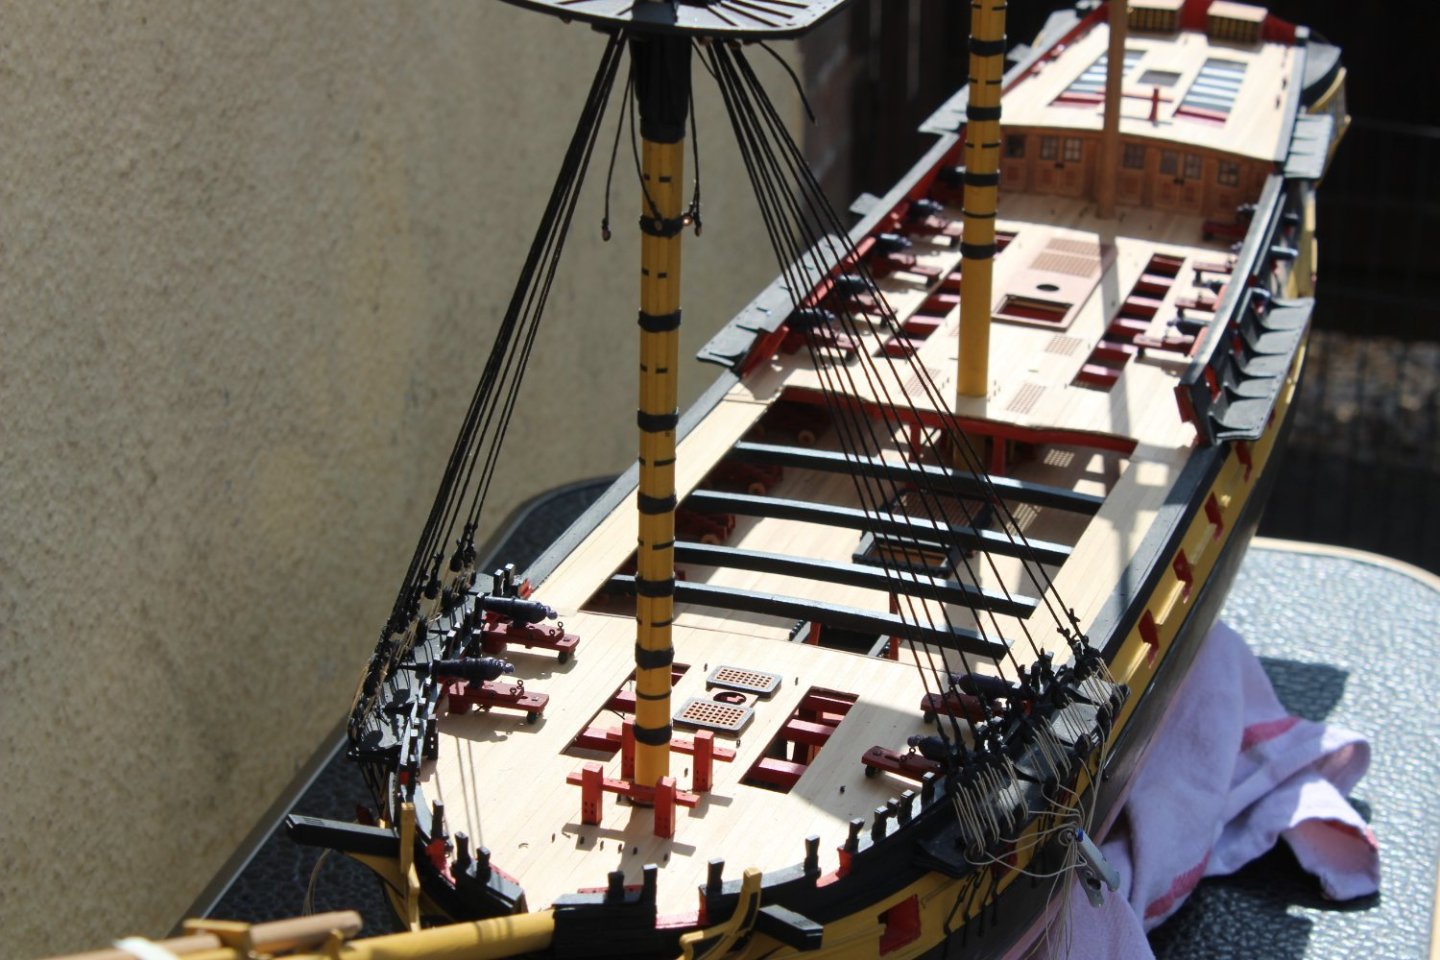
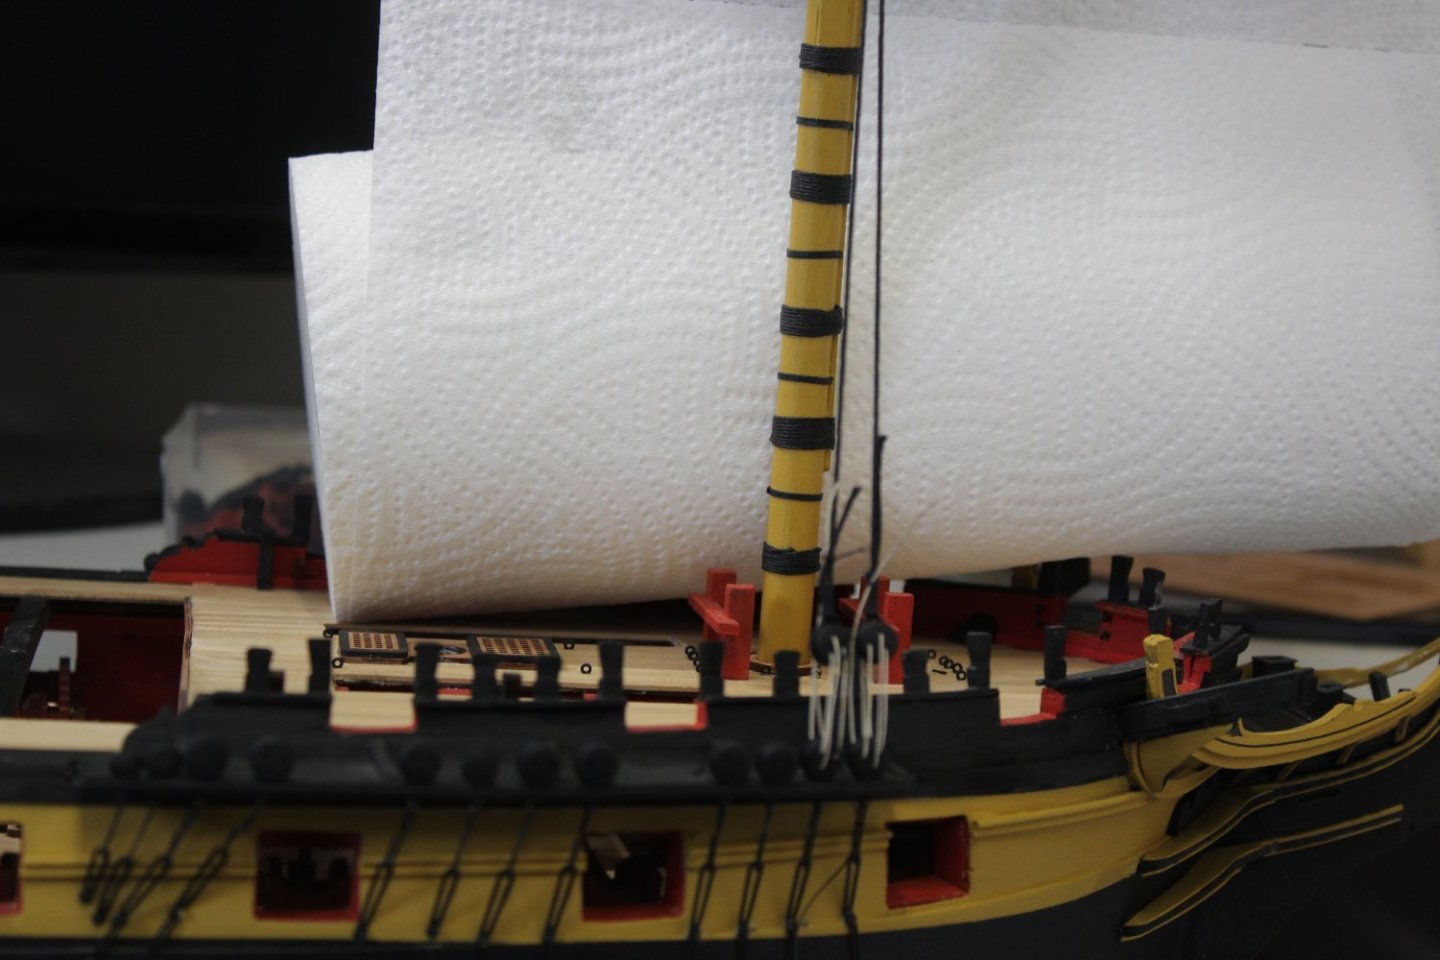
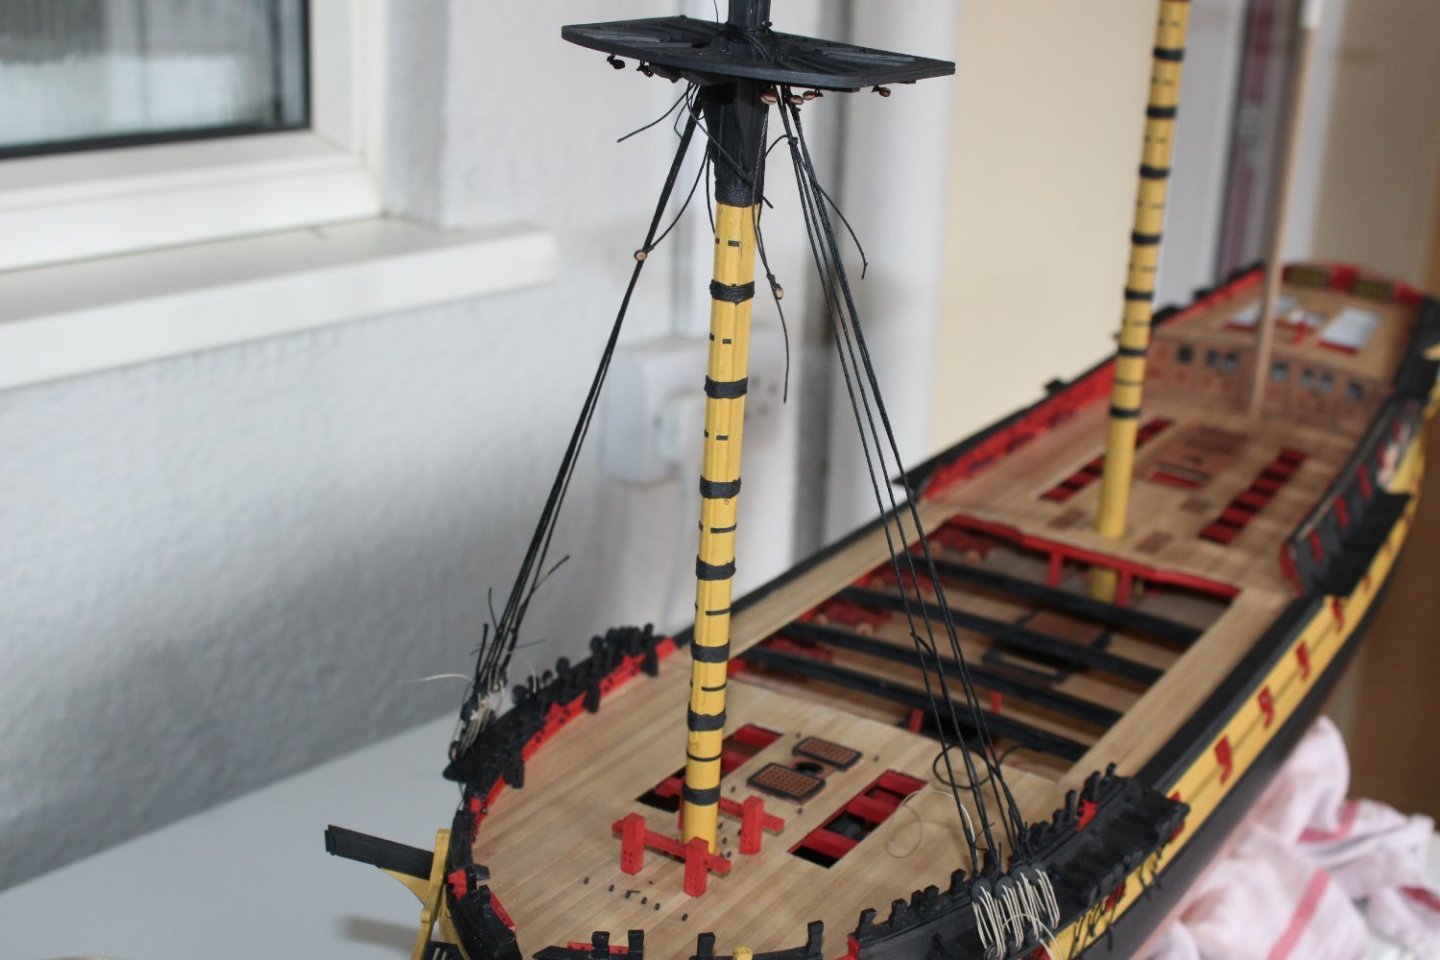
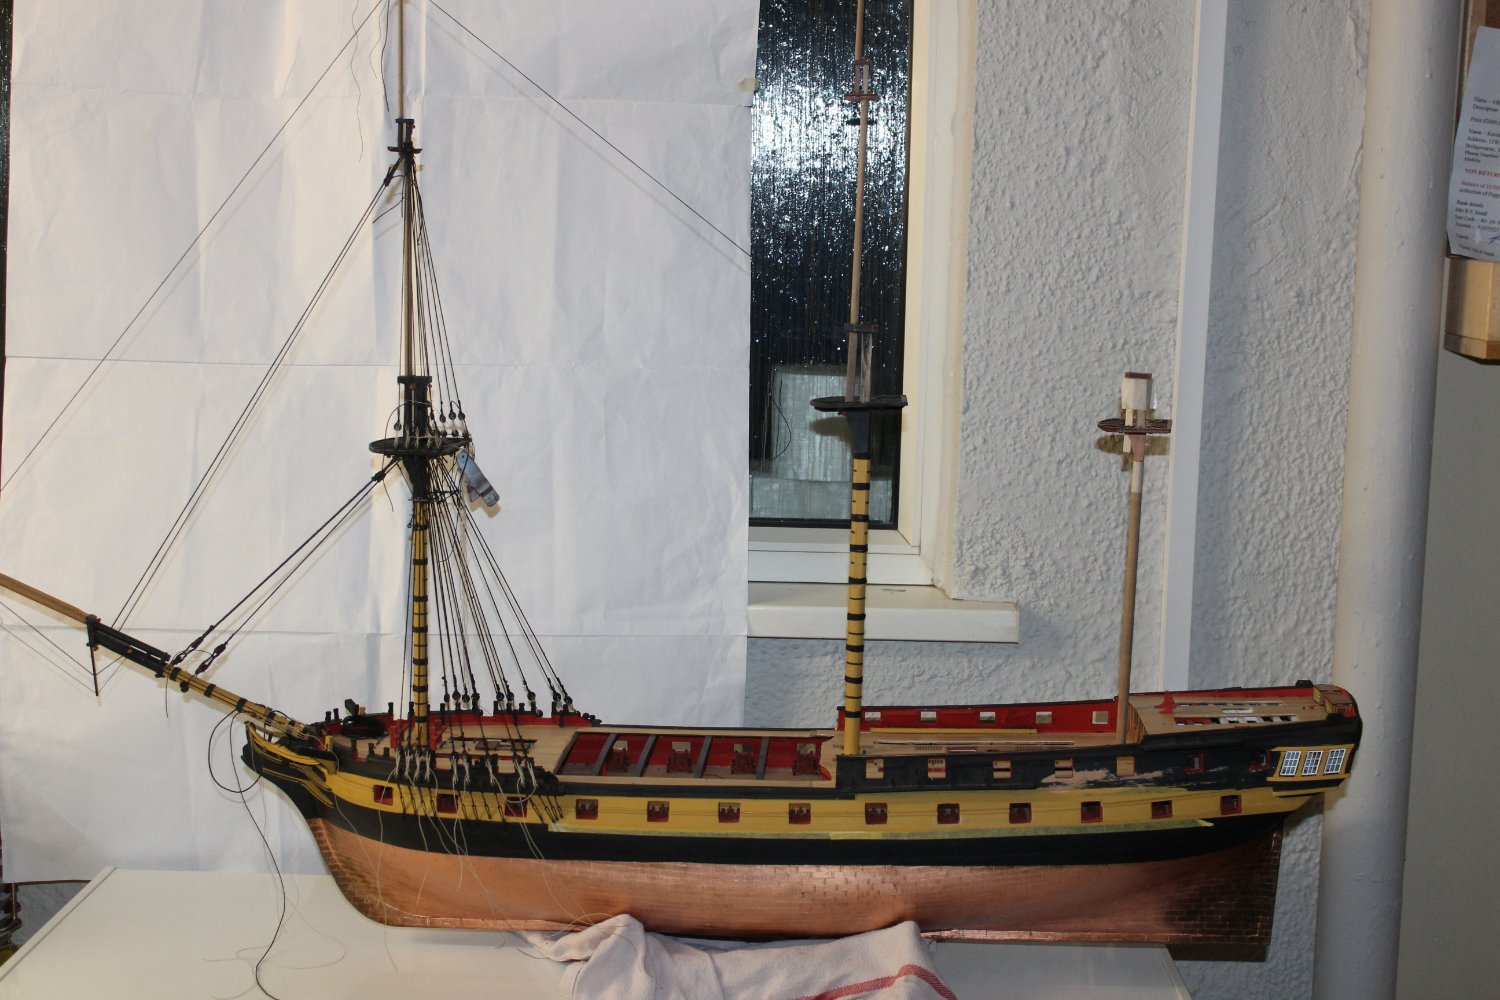
 good morning everyone thank you for comments and likes day 204-7 apologies for not interacting with the forum much recently, lots going on in the background, nothing at all bad, just busy before you all laugh at me about my way of rigging this build, i vowed i would start at the front and work aft, most lines are still just temp and still to be fixed into position, today the foemast mast yard will be mad up, then hopefully get the ratlines done it might all just bite me on the bum the line between the fore and main is a temp backstay as non are fitted
.thumb.JPG.3bac64cf6f4eff81a51ffbb61a1db59d.JPG)


- 443 replies
-
- 18
-

-

-
- Indefatigable
- Vanguard Models
- (and 1 more)
-
James works full time, im just sat at home retired
- 443 replies
-
- 2
-
-
- Indefatigable
- Vanguard Models
- (and 1 more)
-
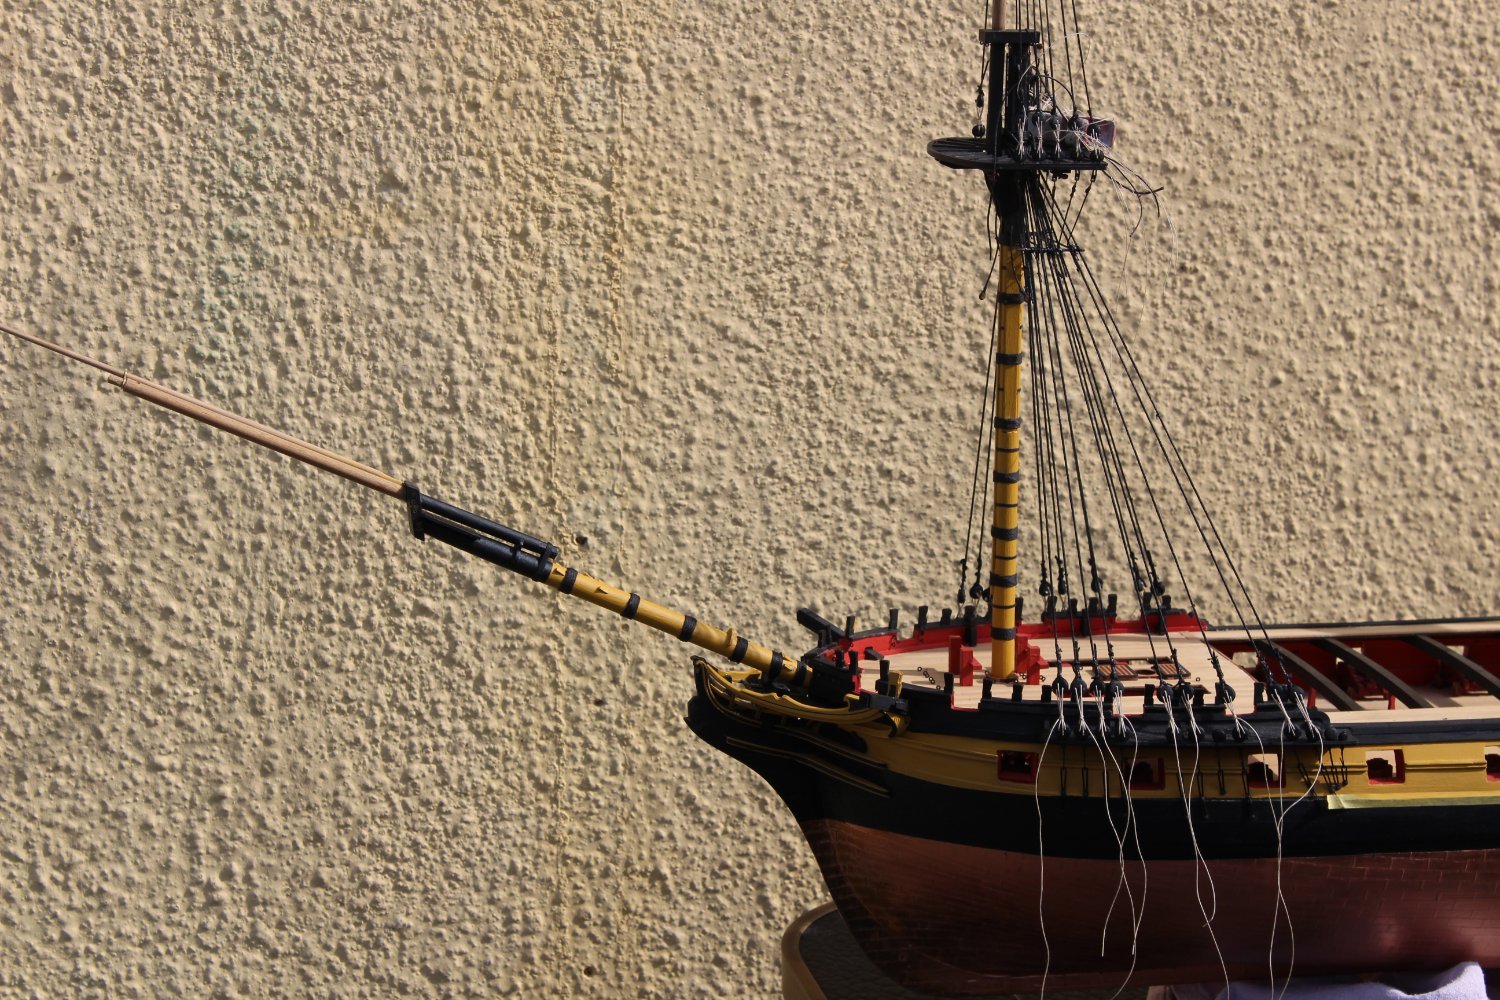
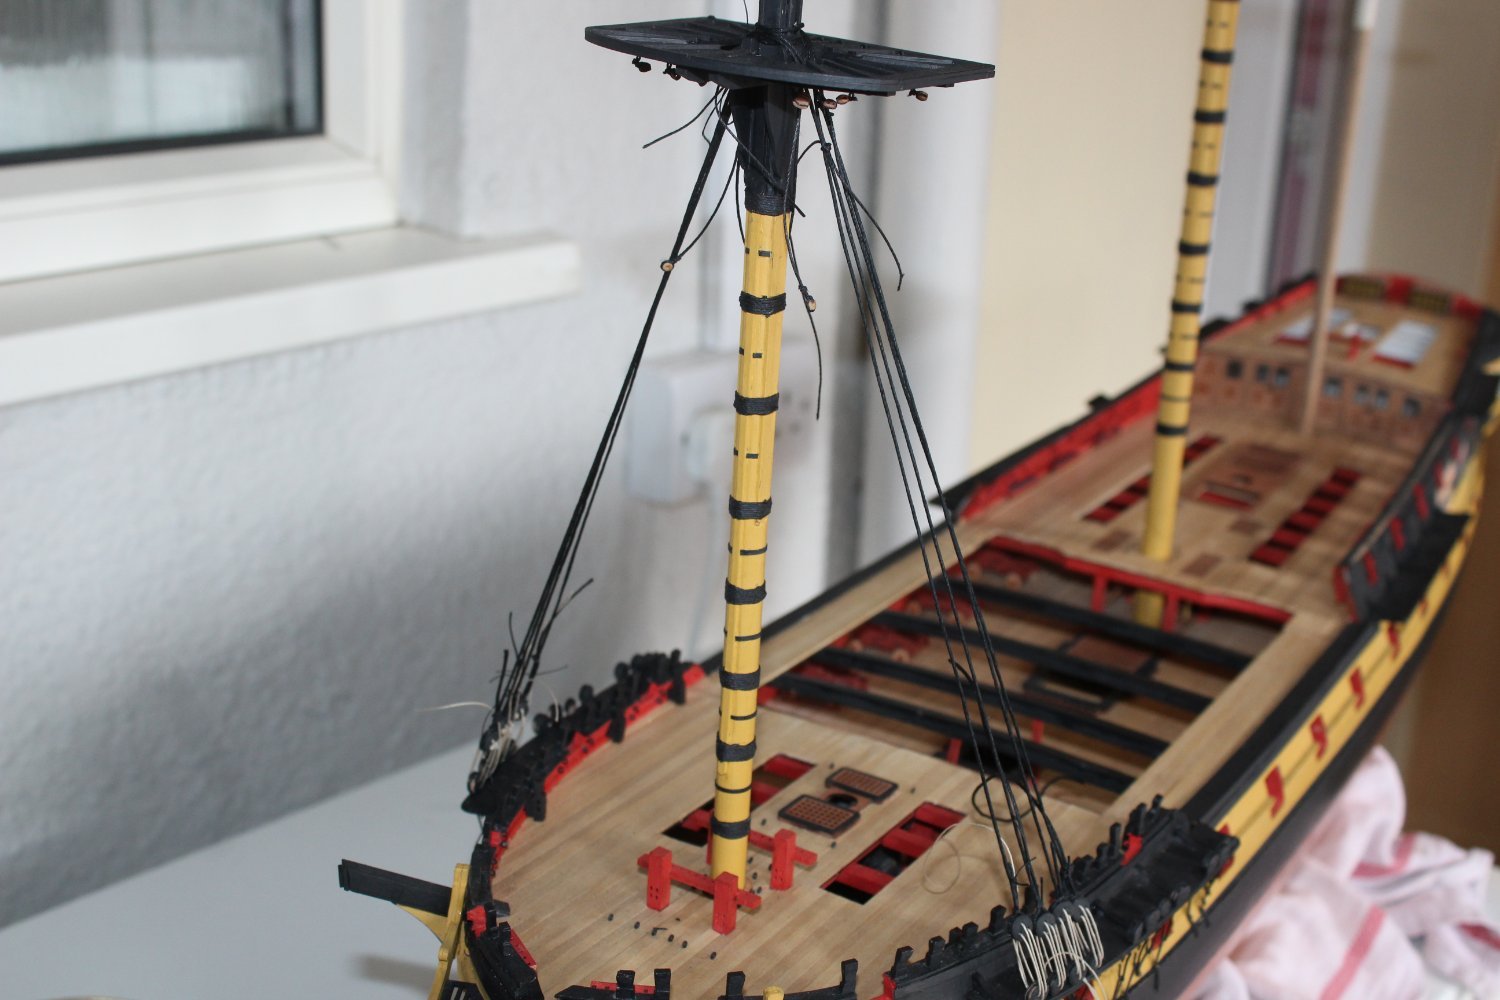
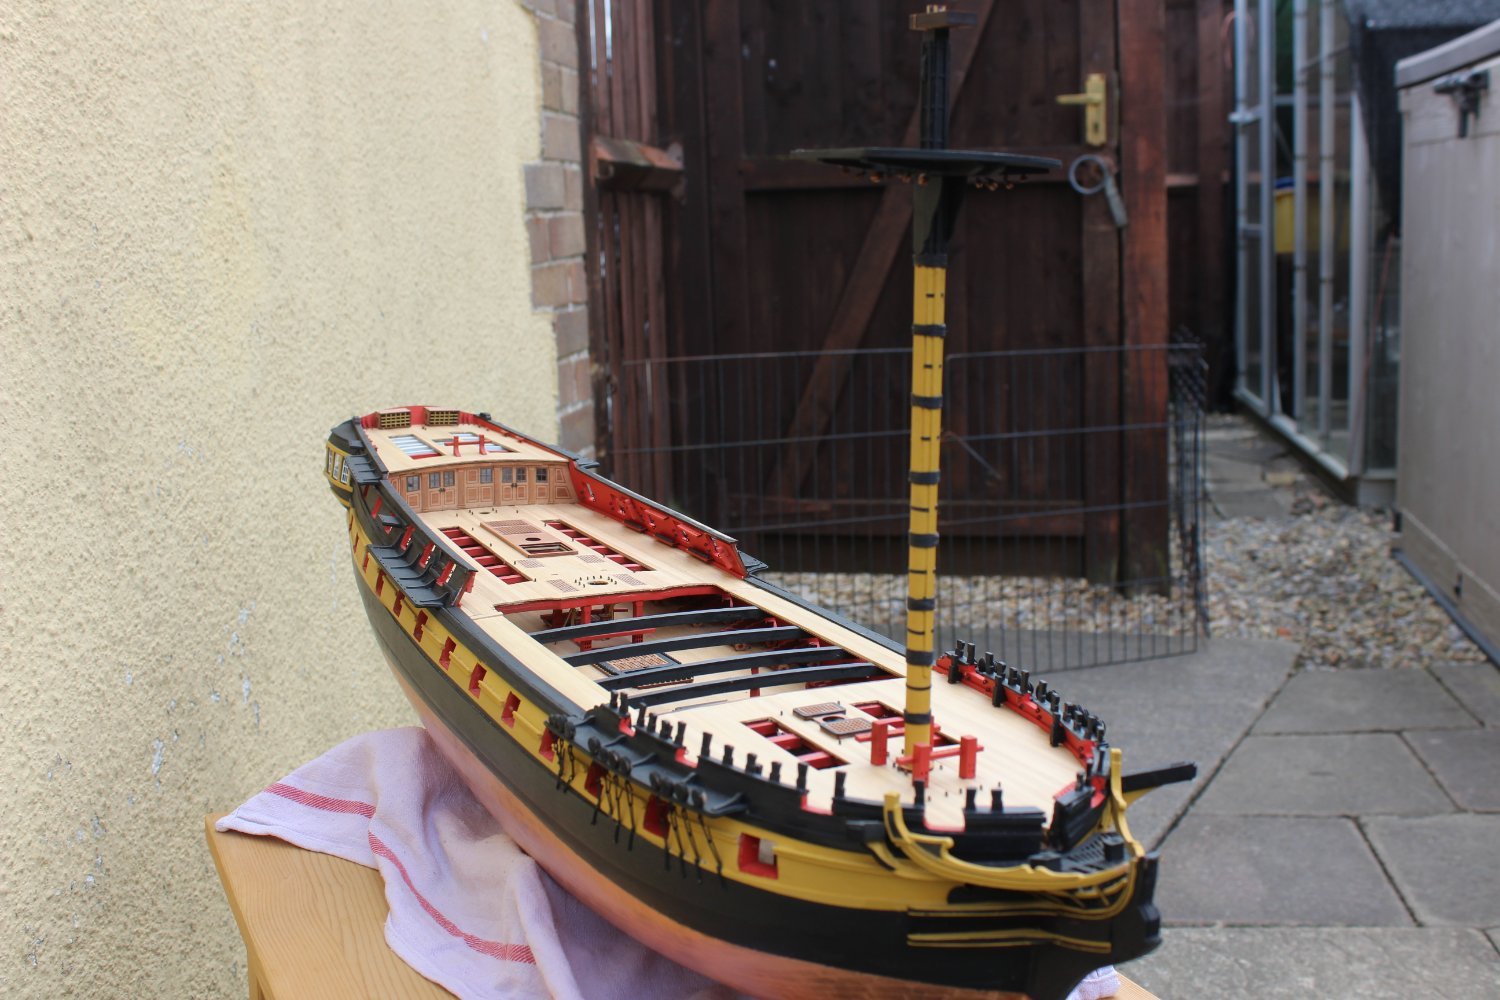
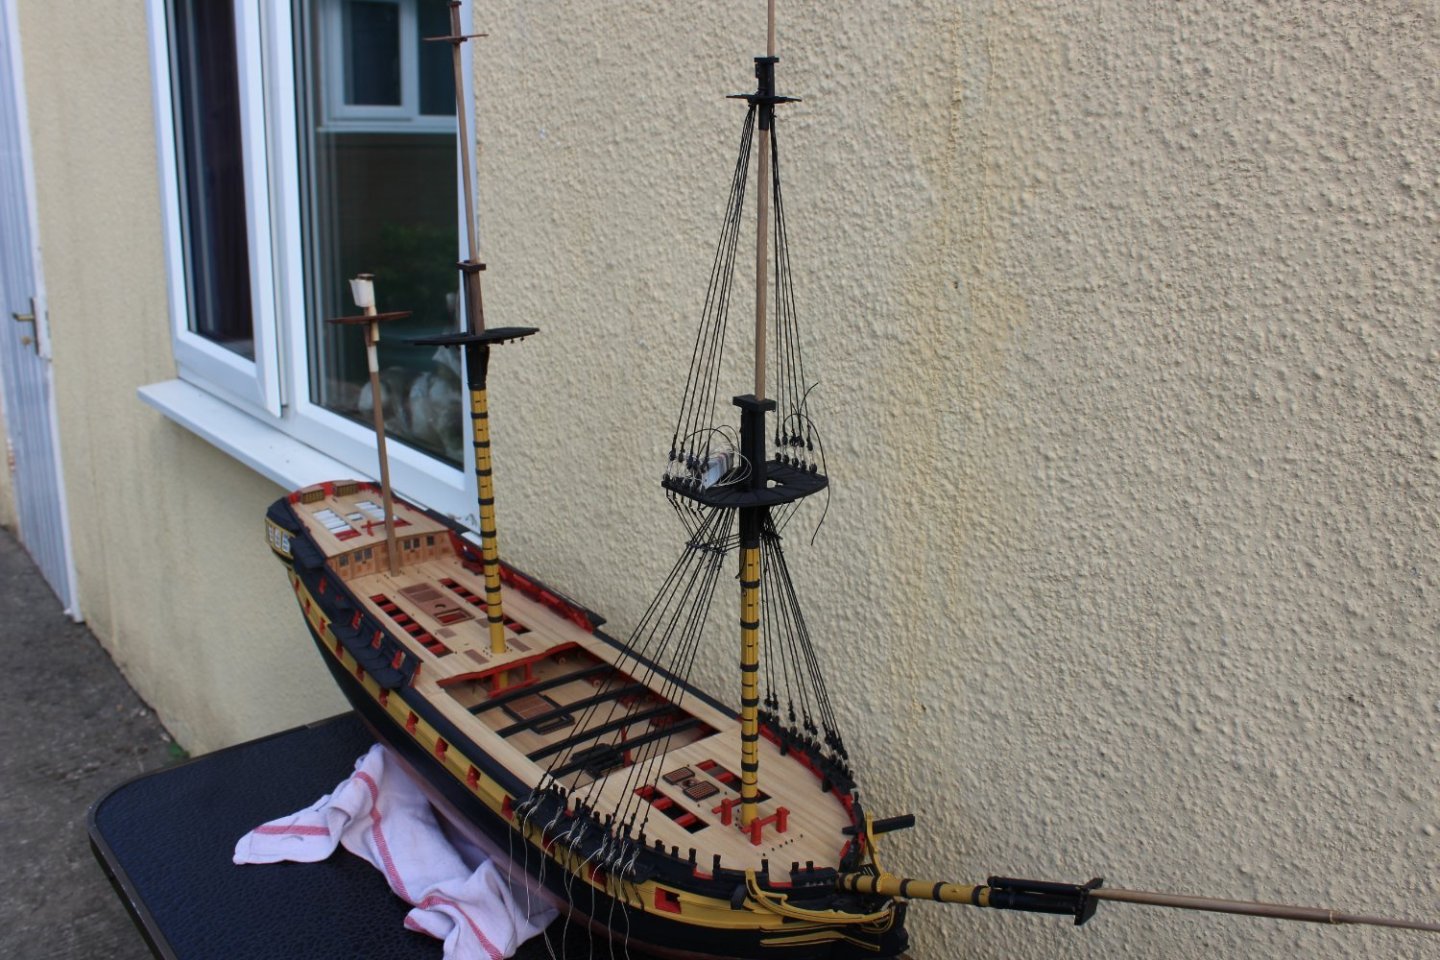
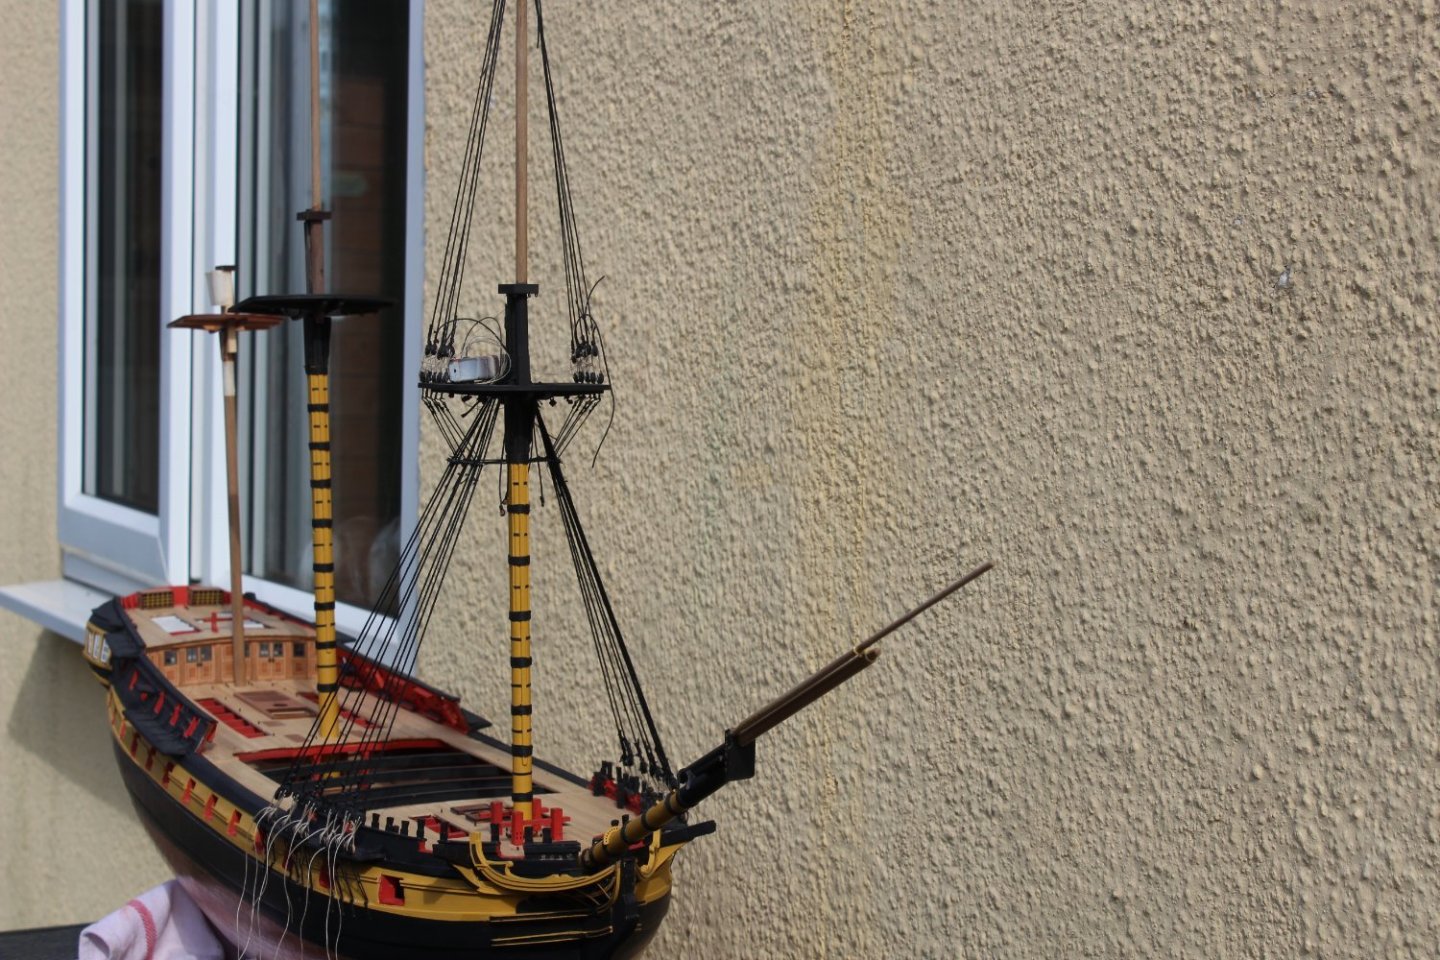
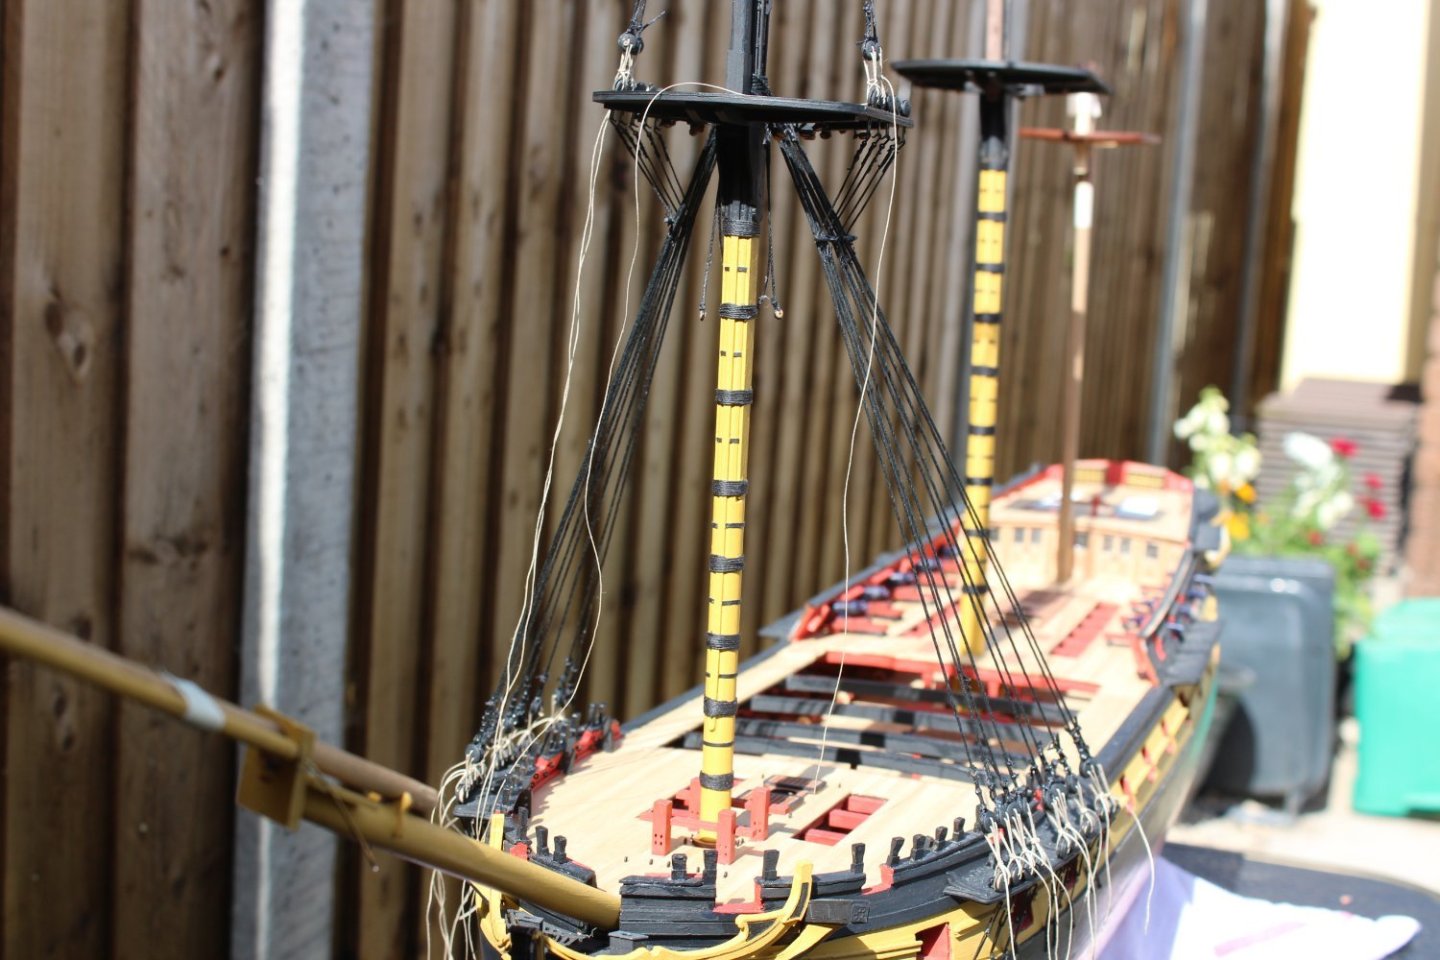
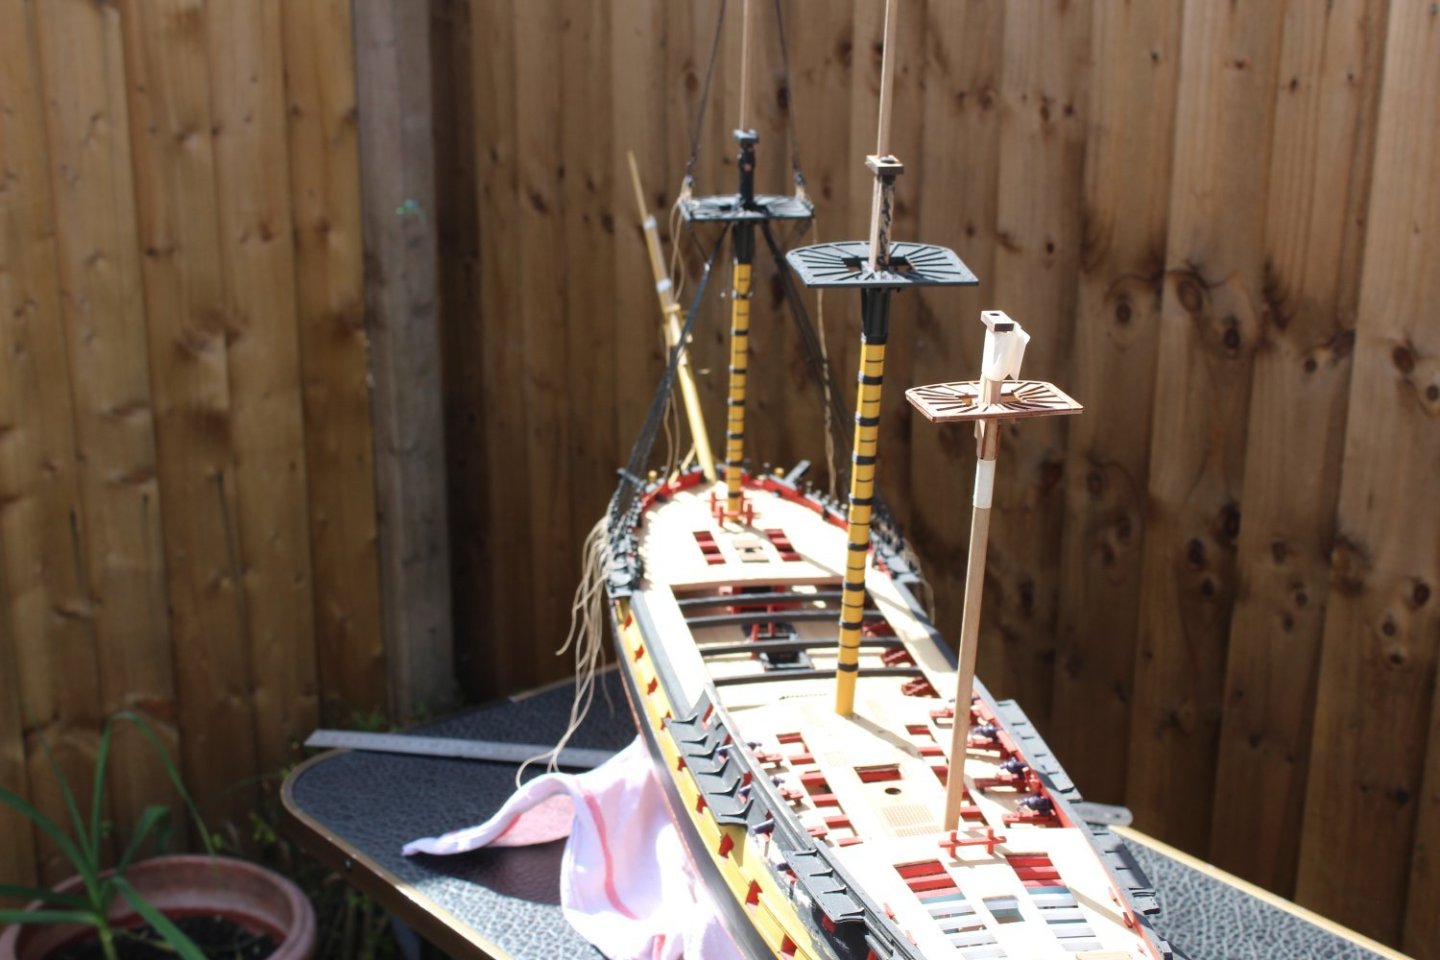
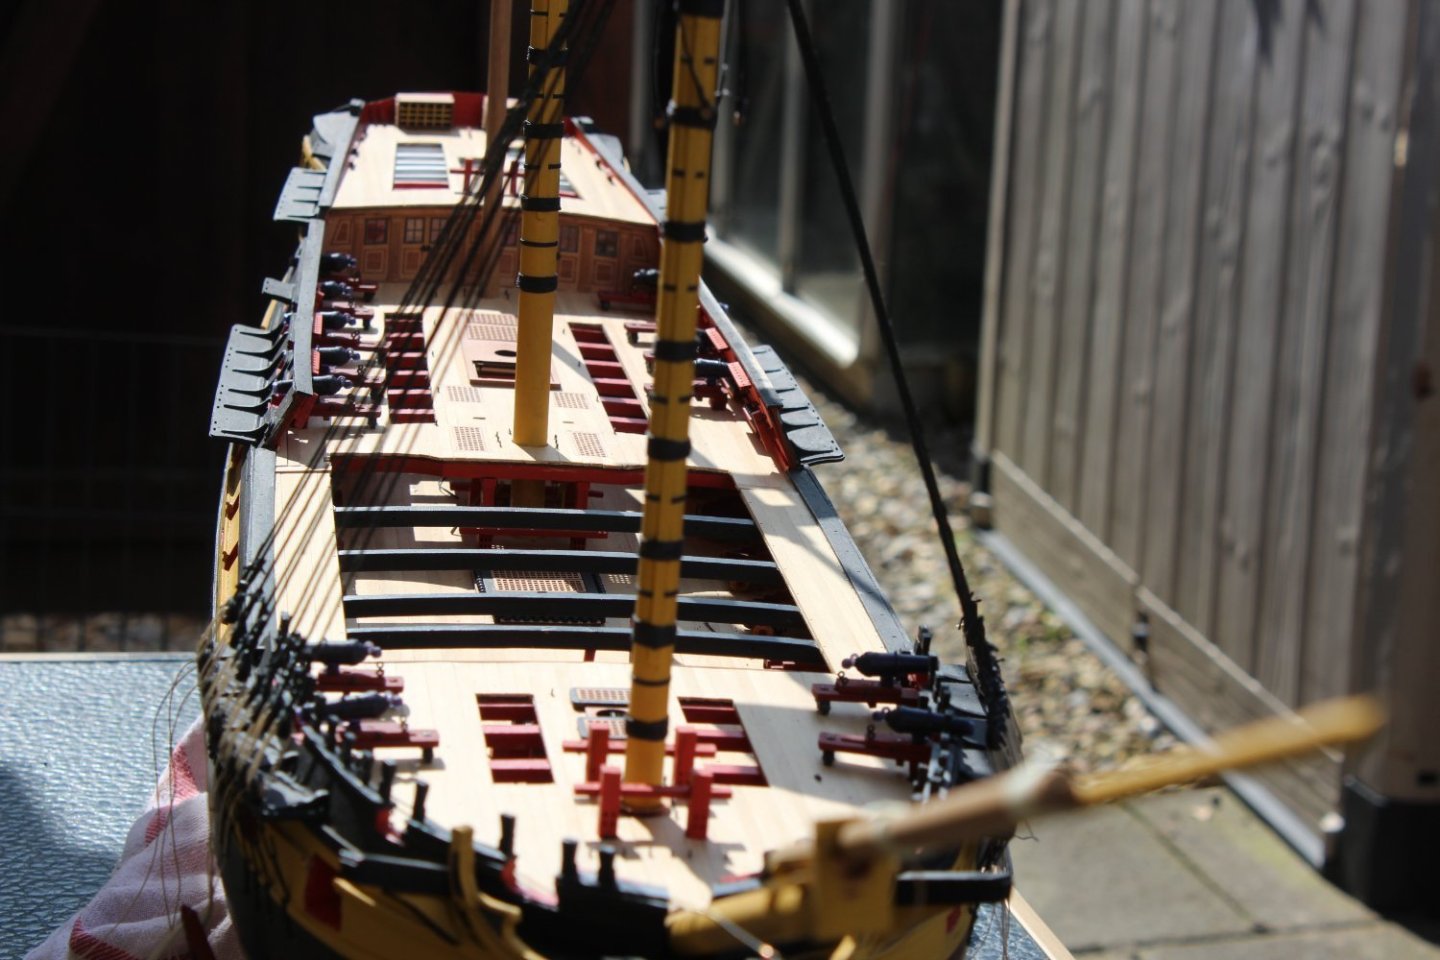
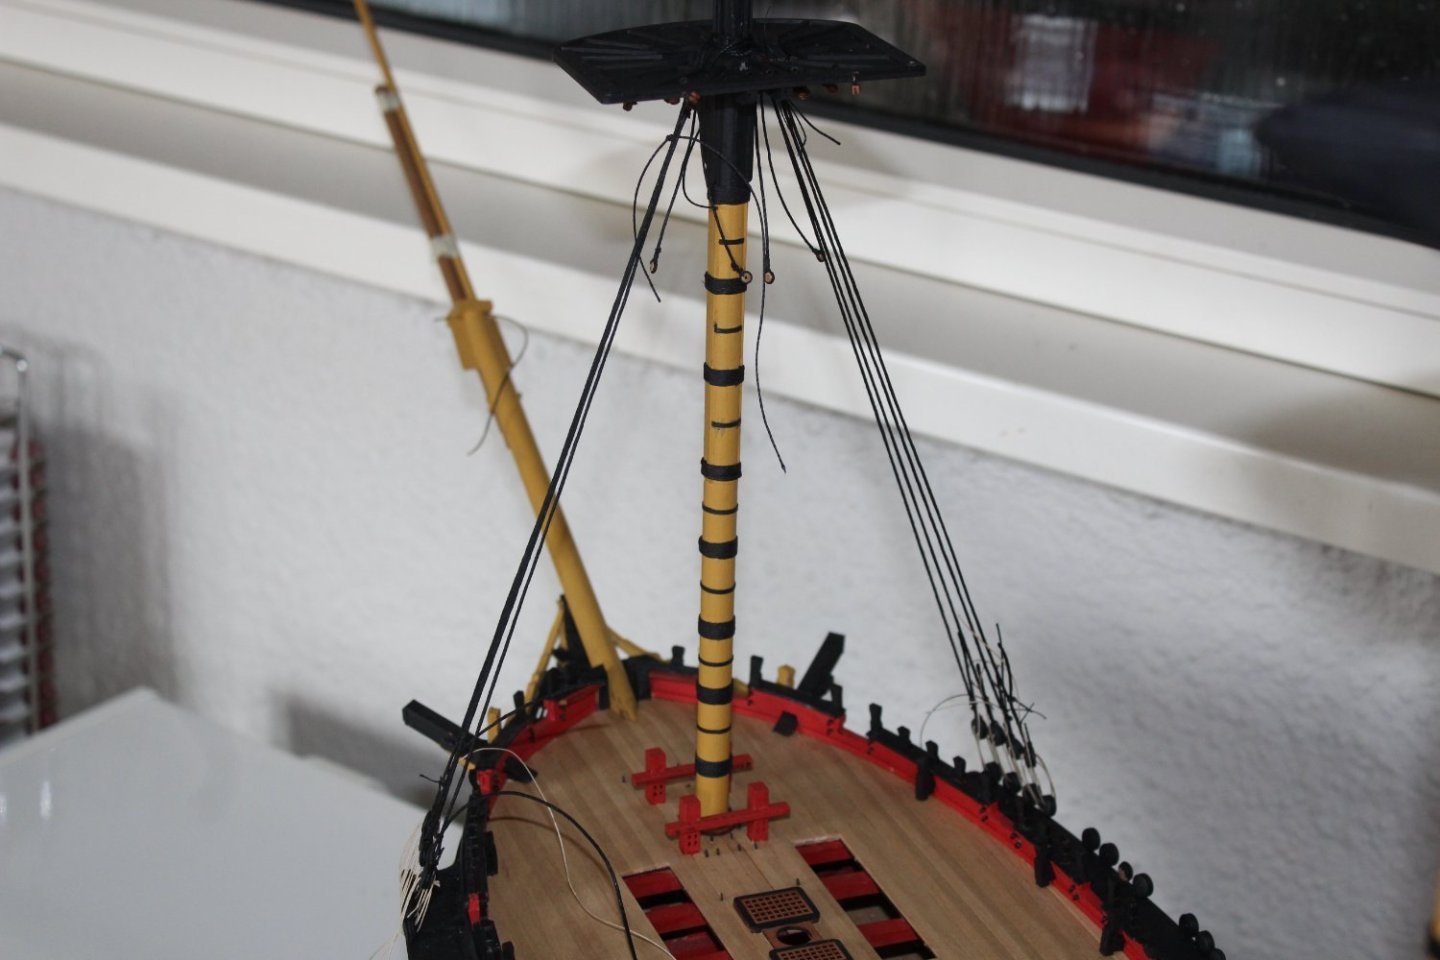
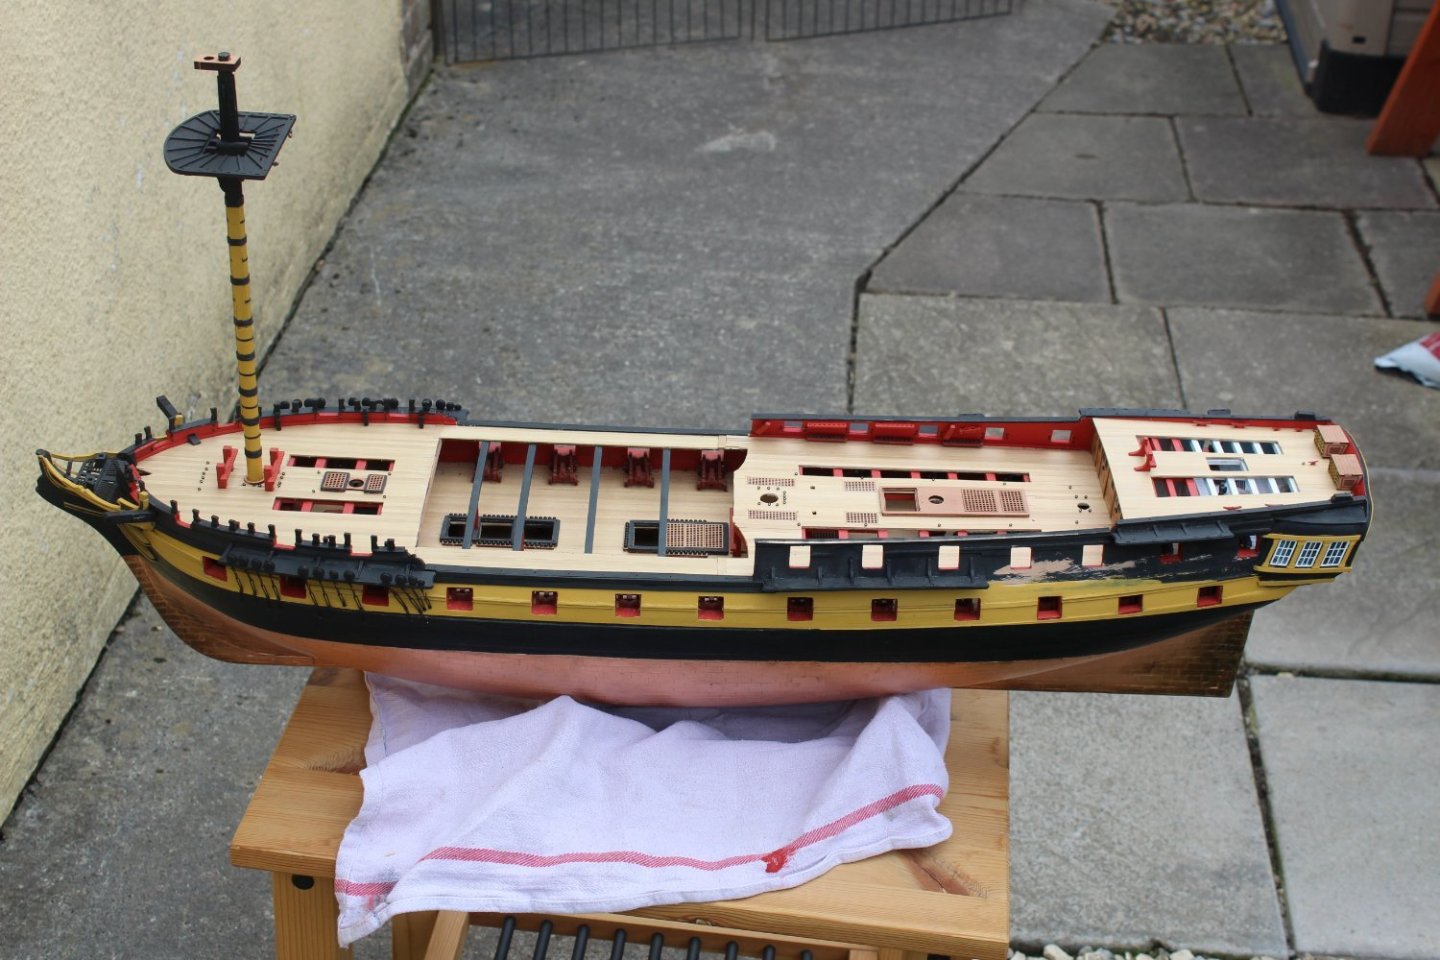
good morning everyone gardening, and puppy arrangements as well as PC gaming have got in the way of the Indy, never mind though its not a race, even though next build is planned LOL on table 201 -7 days when i put the Catharpin's in everything around the futtock staves looked bulky, so i redid the futtock shrouds and Catharpin's again and again it was 4 times before deciding to leave them, not brilliant but not looking quite as bad then made a decision that may bite me in the future, to go ahead a put the bowsprit on, as this was already made up and ready to go
.thumb.JPG.4f018ac01571620f5a34e833a1c44ec4.JPG)


- 443 replies
-
- 20
-
-
- Indefatigable
- Vanguard Models
- (and 1 more)
-
lovely to see an update
-
lovely to hear from you again, in my dreams i will finish her, in reality i doubt she will ever be advanced, my skill levels dont seam to be improving, maybe i should stop fooling myself and stick to kits
- 317 replies
-
- 3
-
-

-
- enterprise
- caf
- (and 1 more)
-
a little bit of thread drift, created by myself This is Apollo, a nearly 5 week old Show Cocker Spaniel and yes he picked me, will be coming home with us in 4 weeks

- 443 replies
-
- 12
-
-
- Indefatigable
- Vanguard Models
- (and 1 more)
-
i hope not to have a SD14 moment, that still brings tears to my eyes


- 443 replies
-
- 8
-
-
- Indefatigable
- Vanguard Models
- (and 1 more)
-
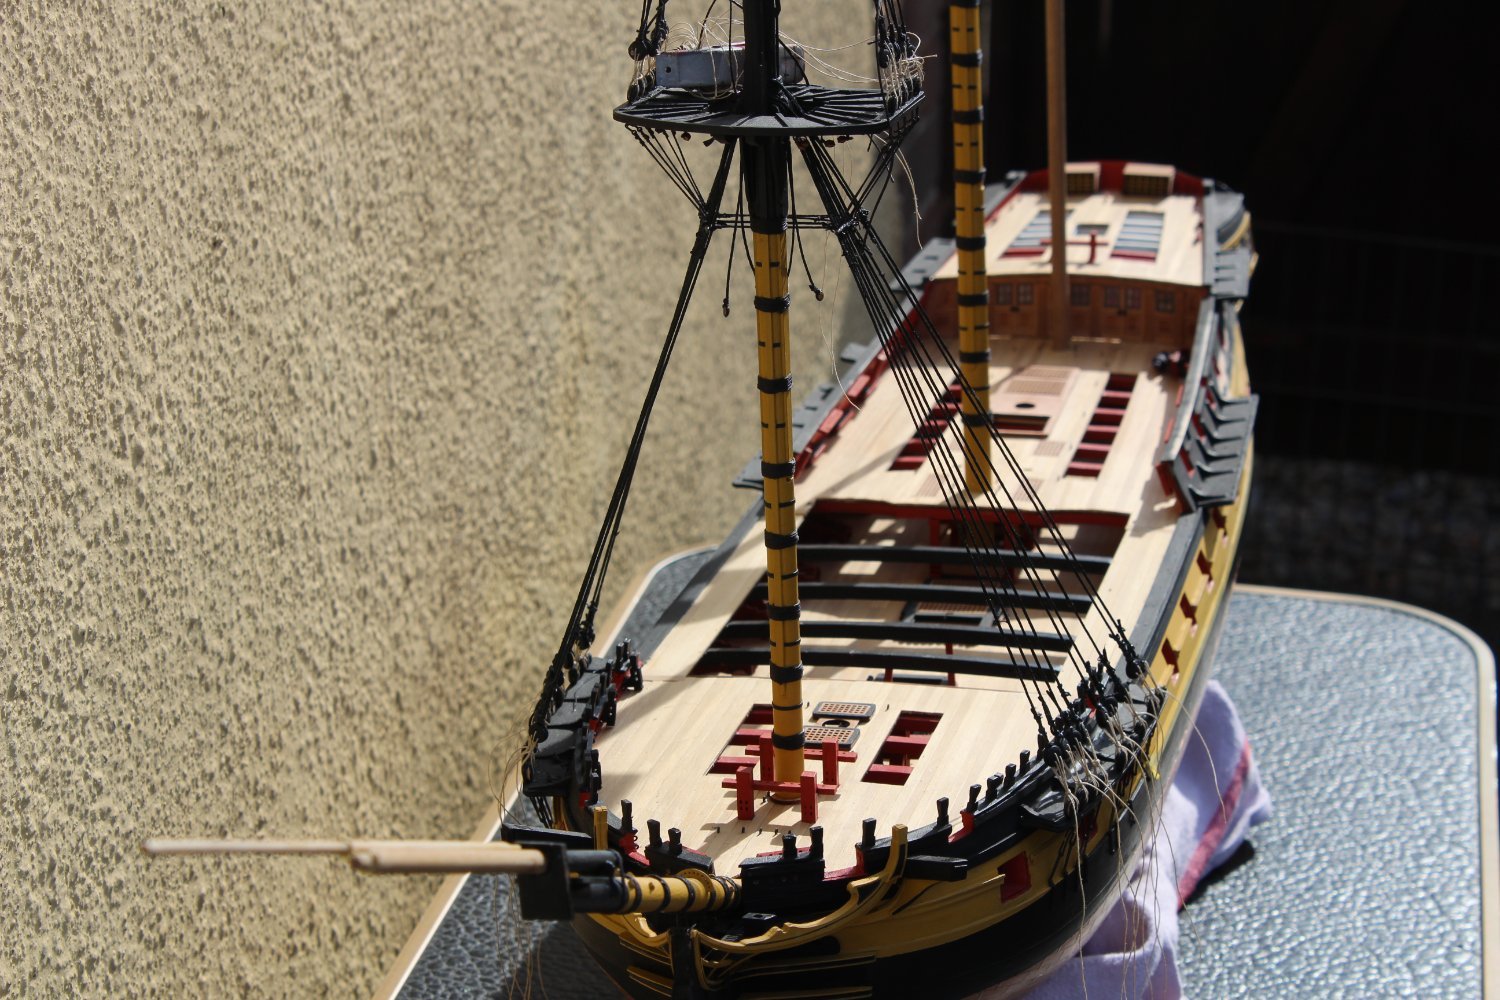
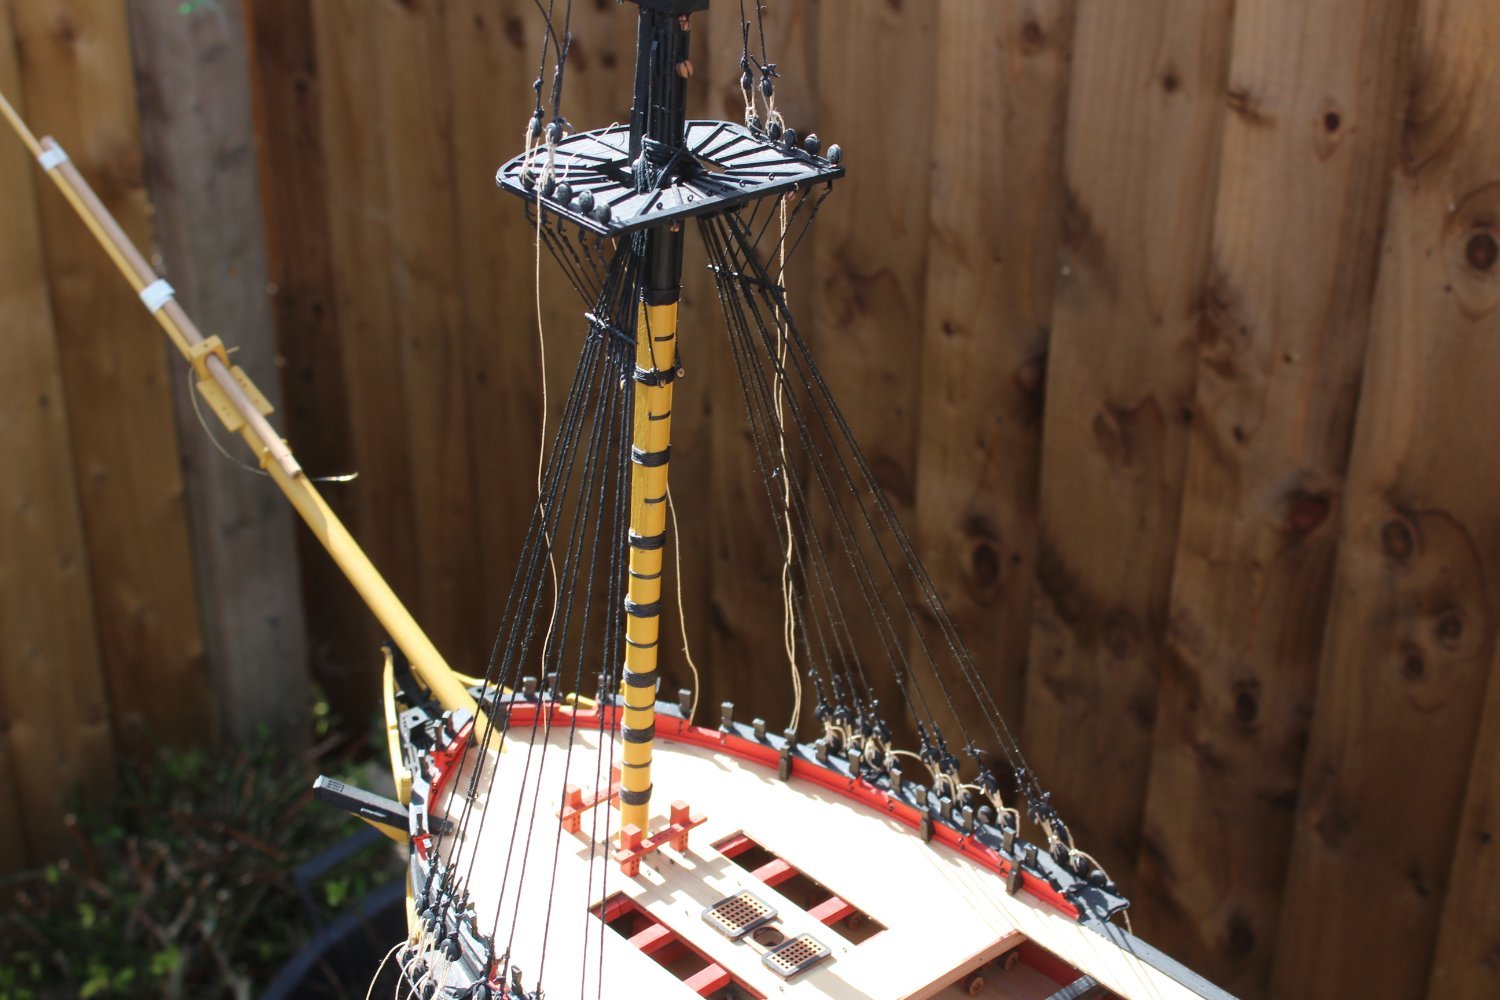
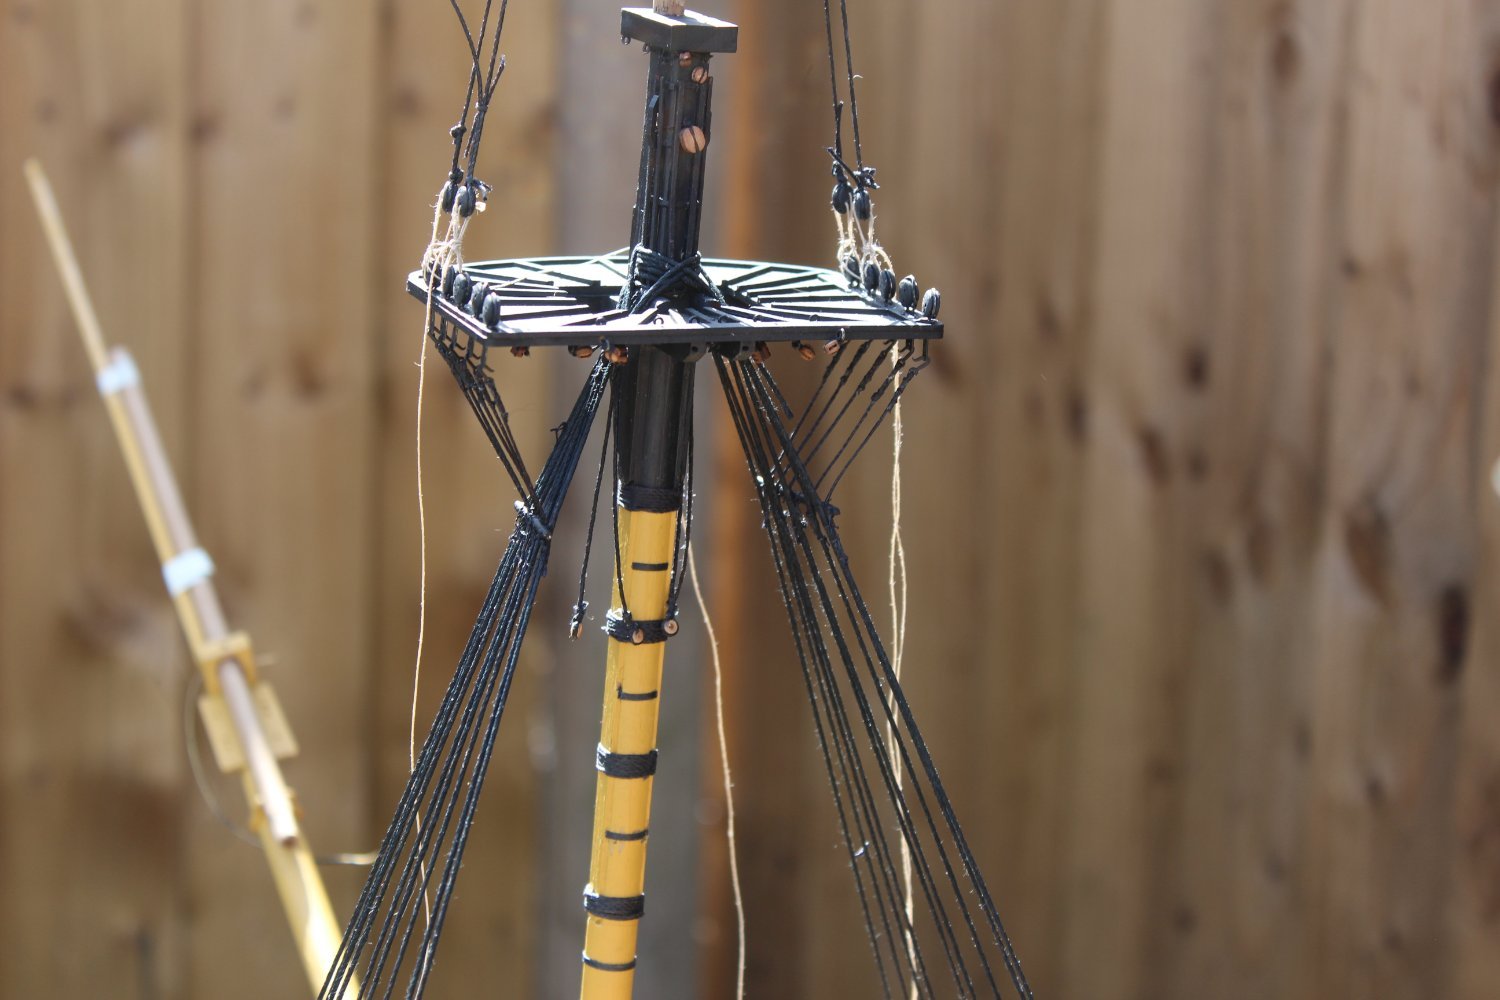
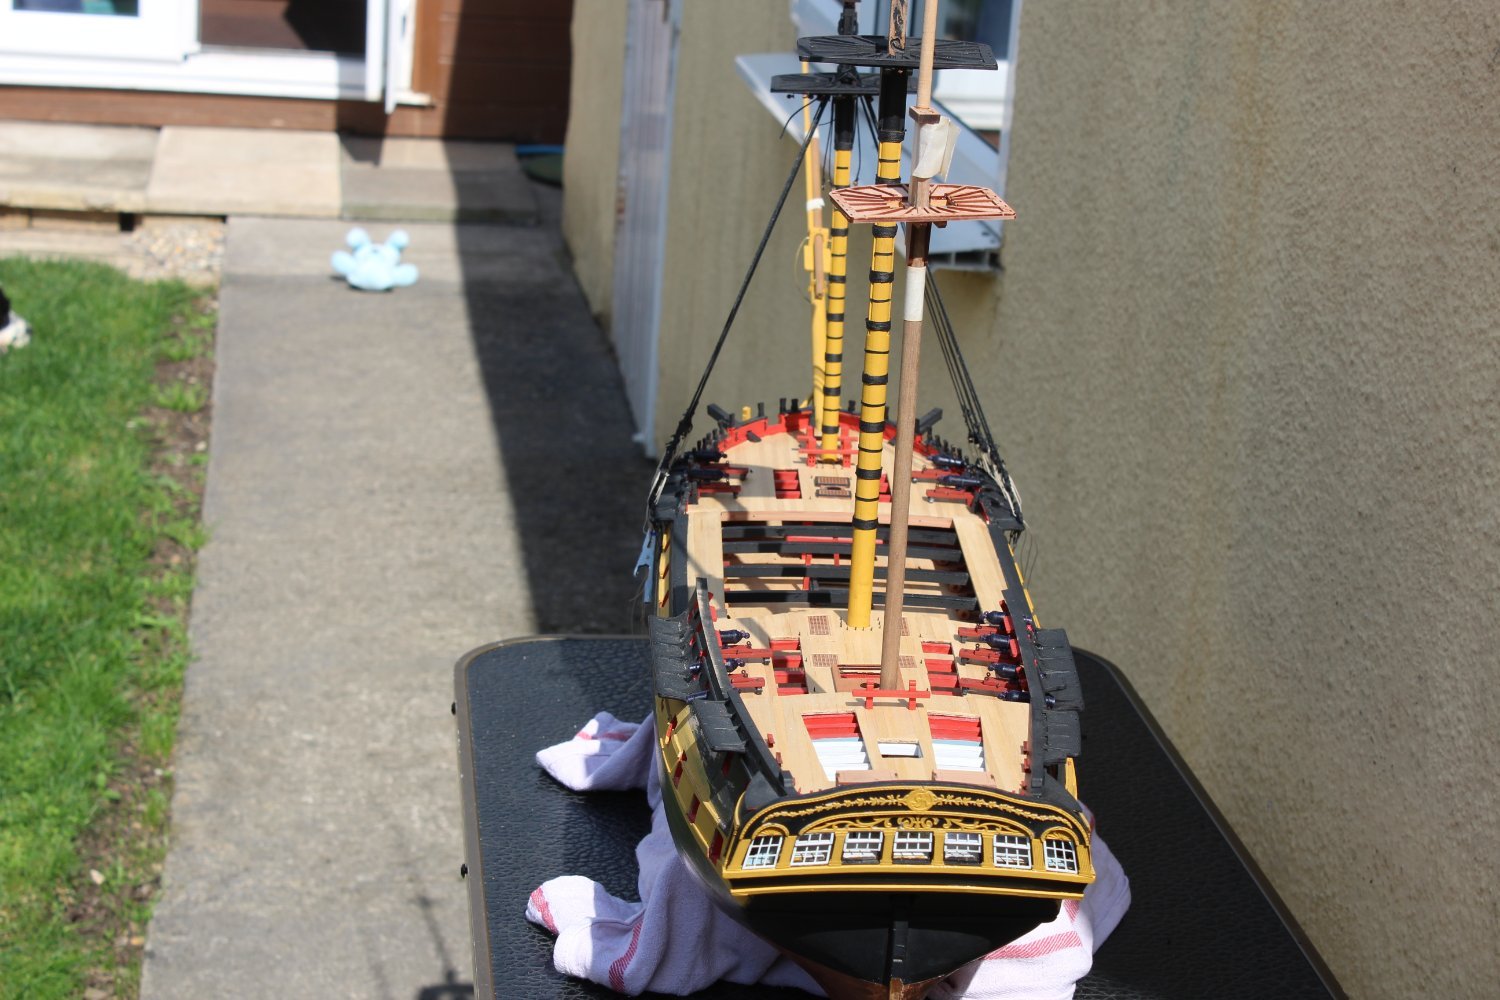
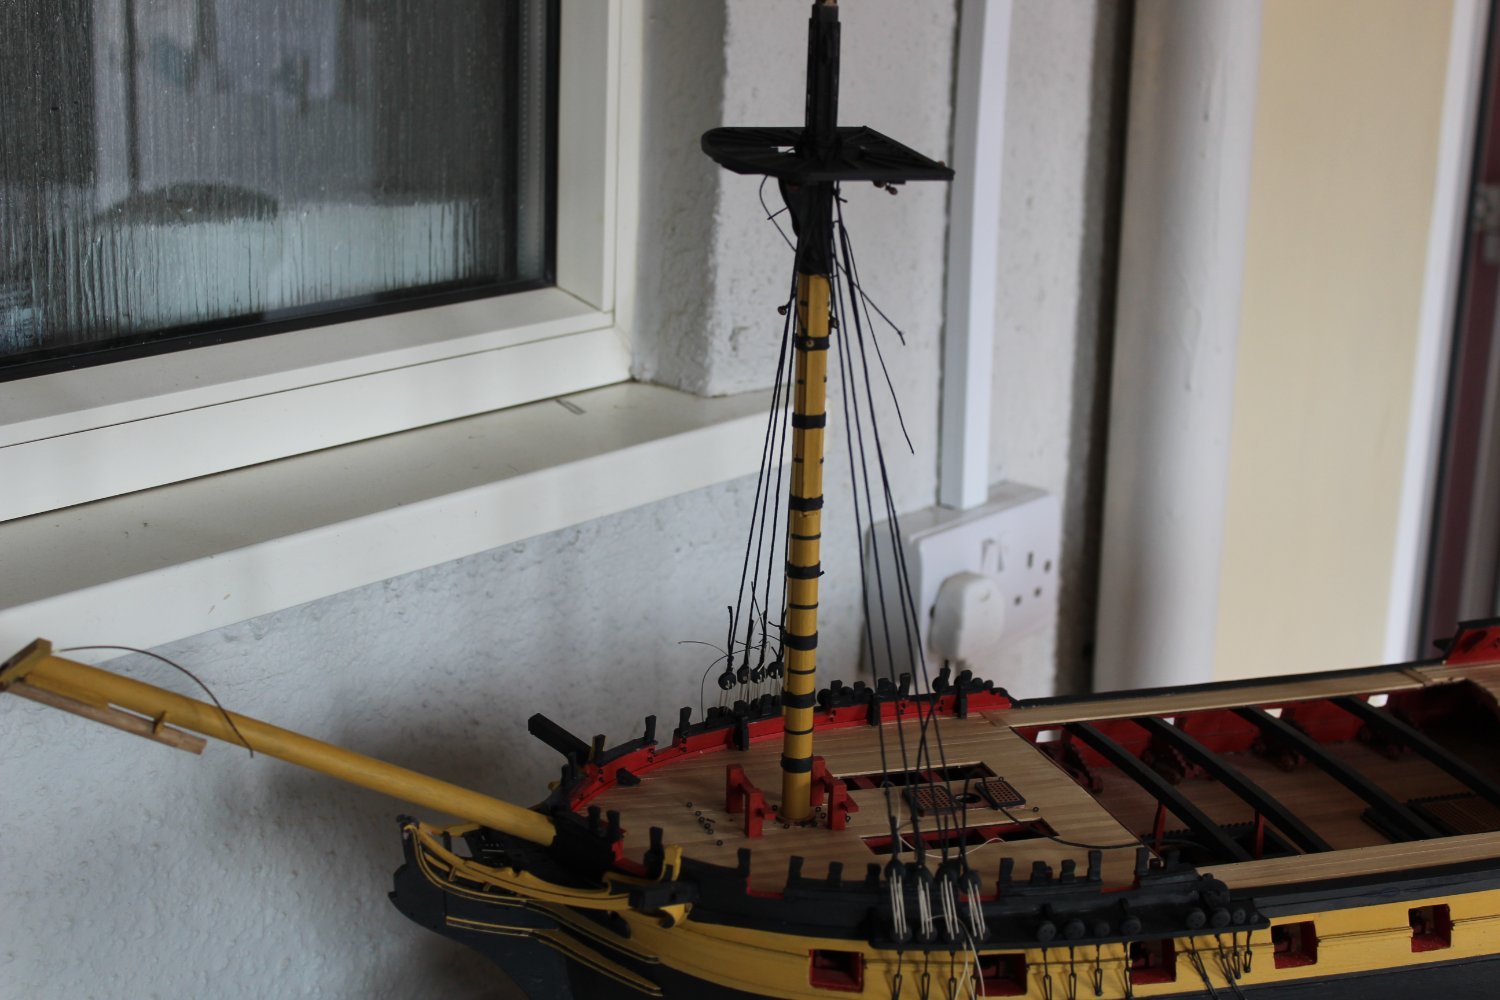
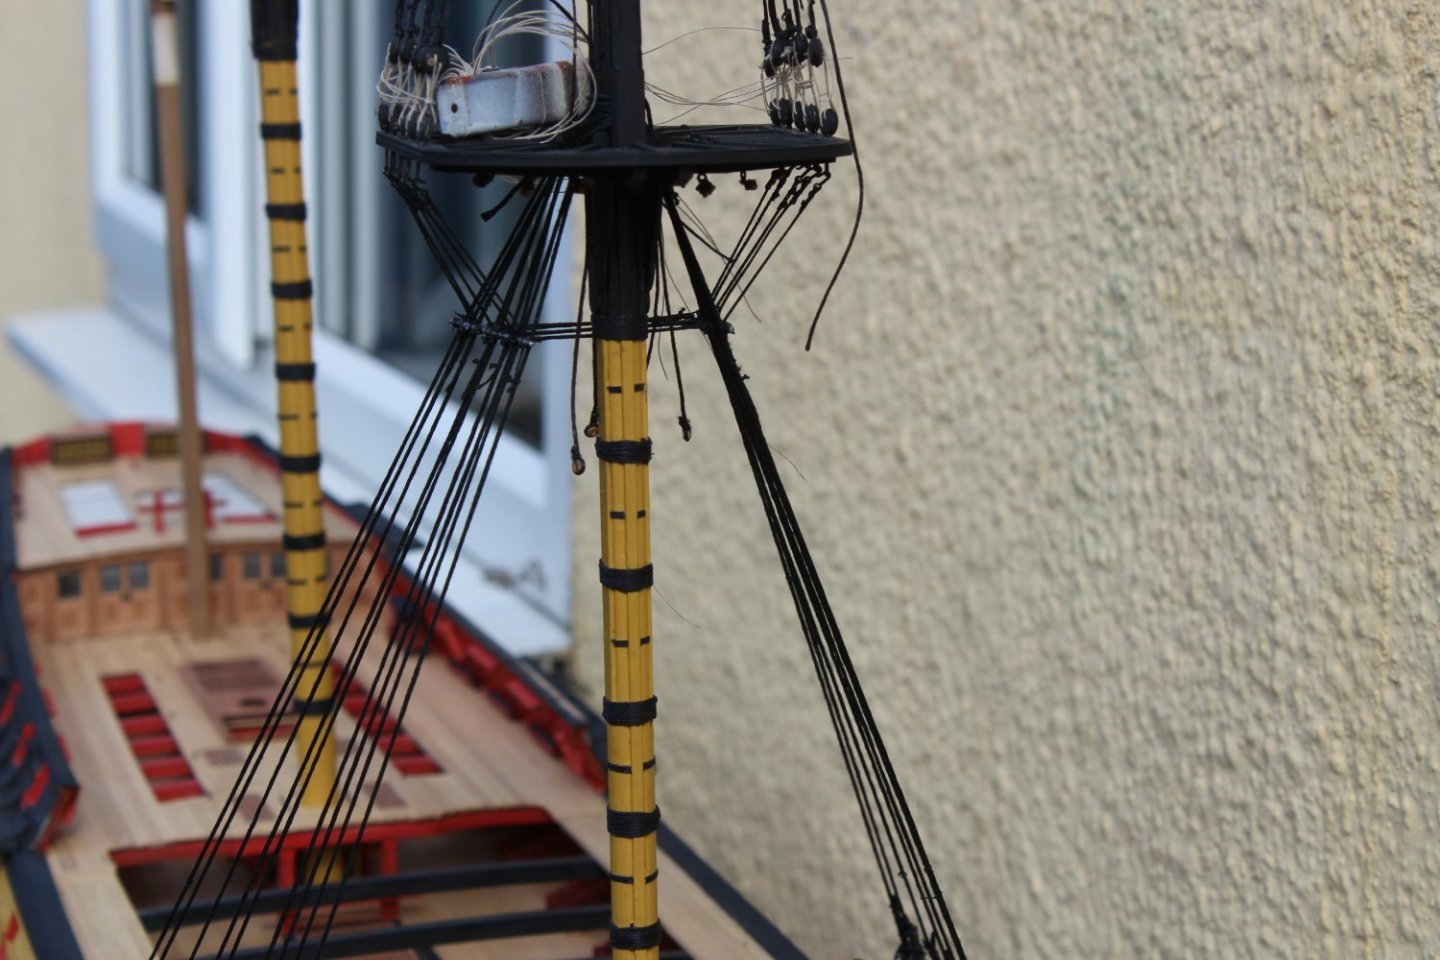
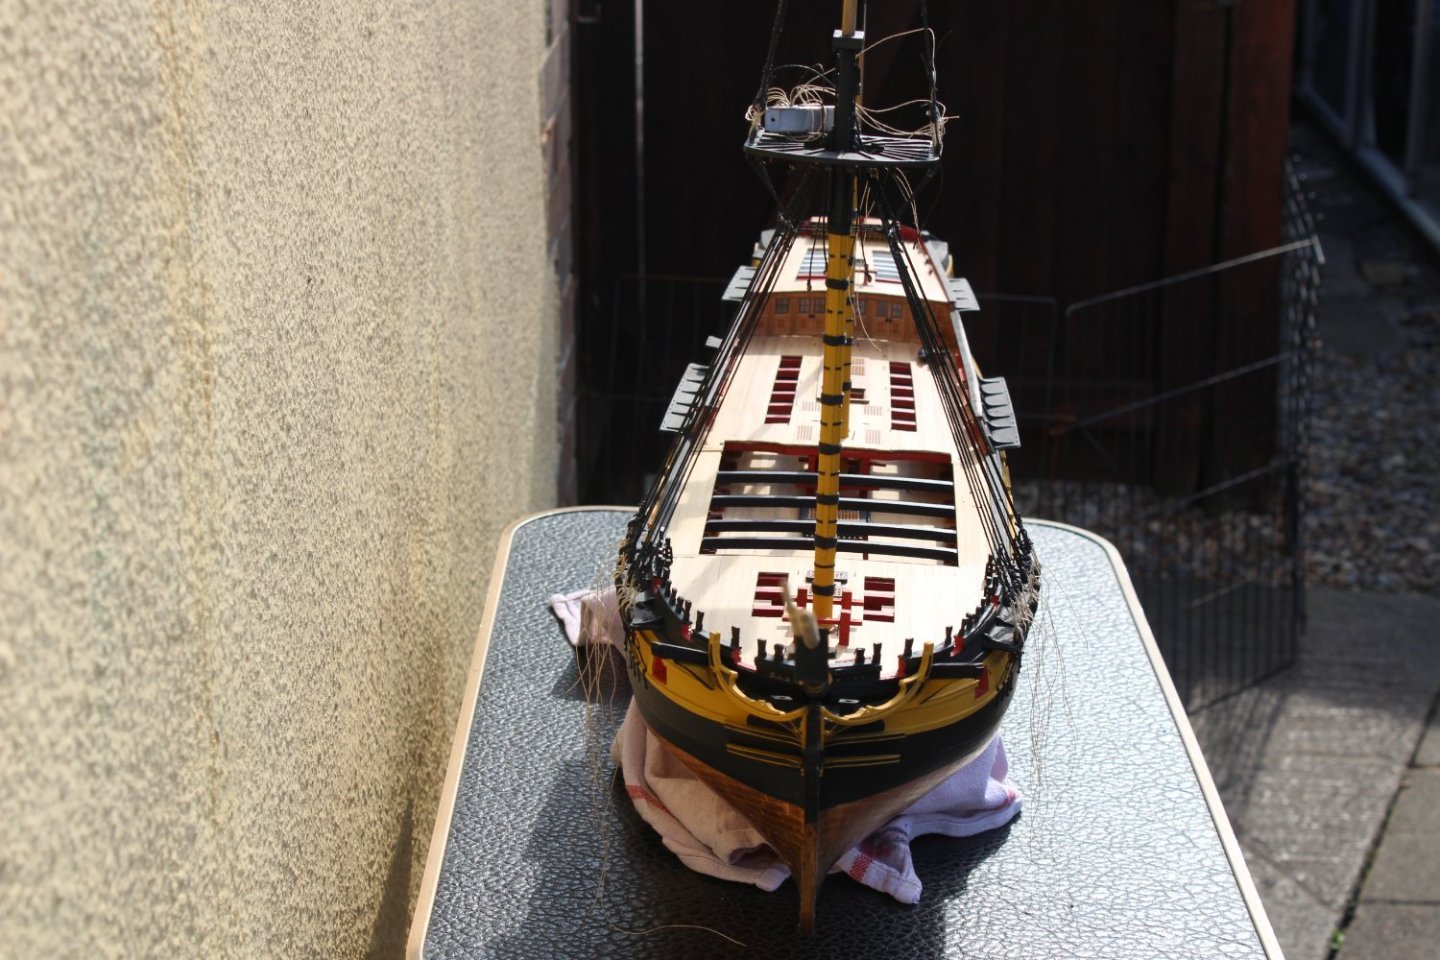
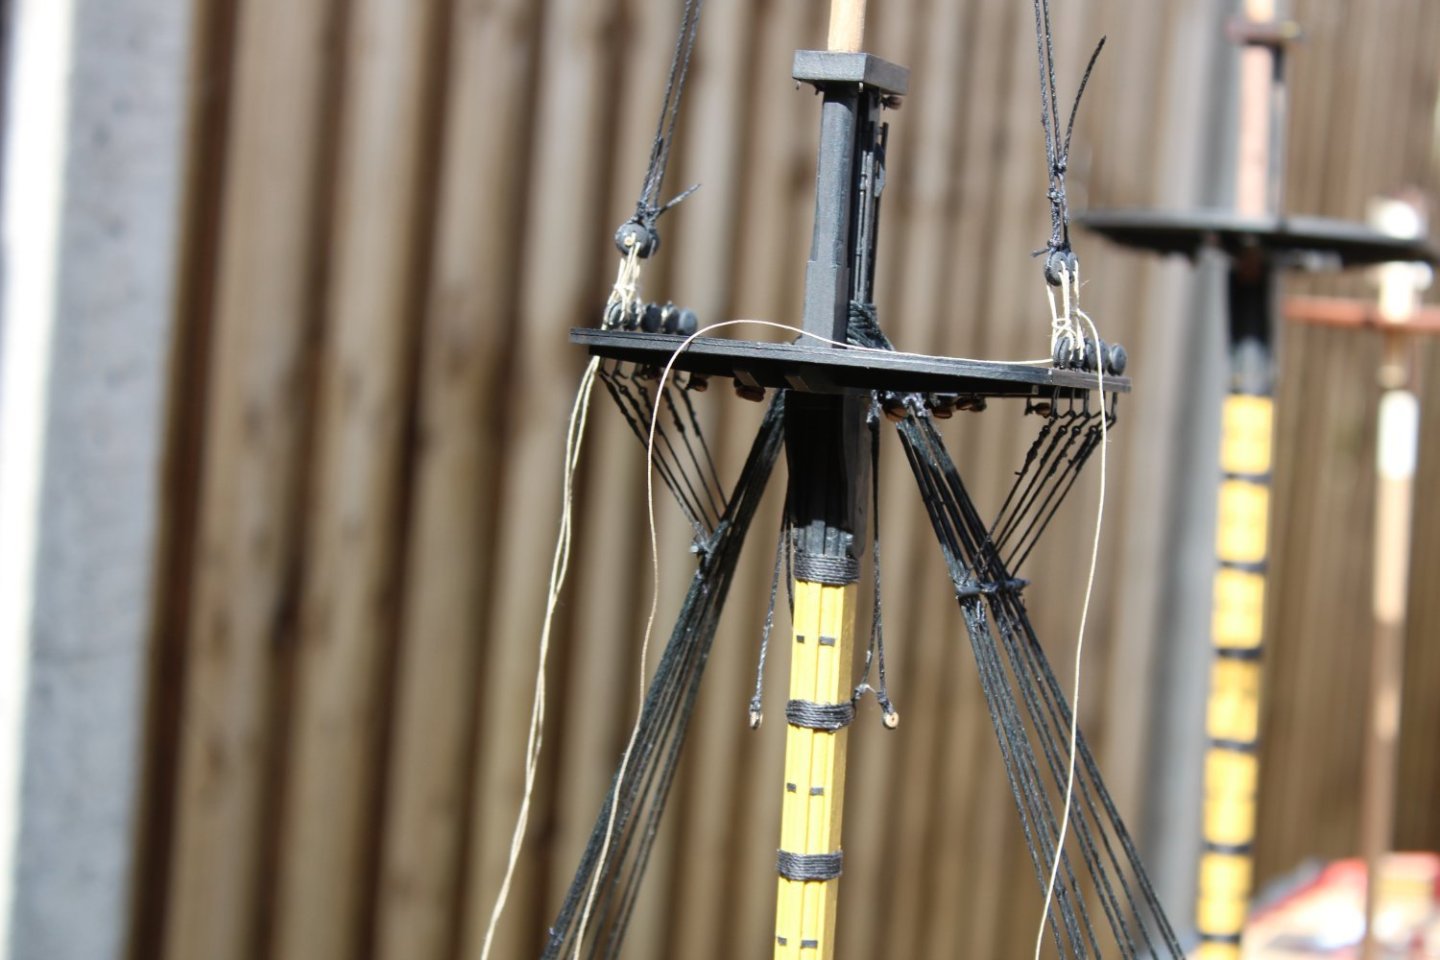
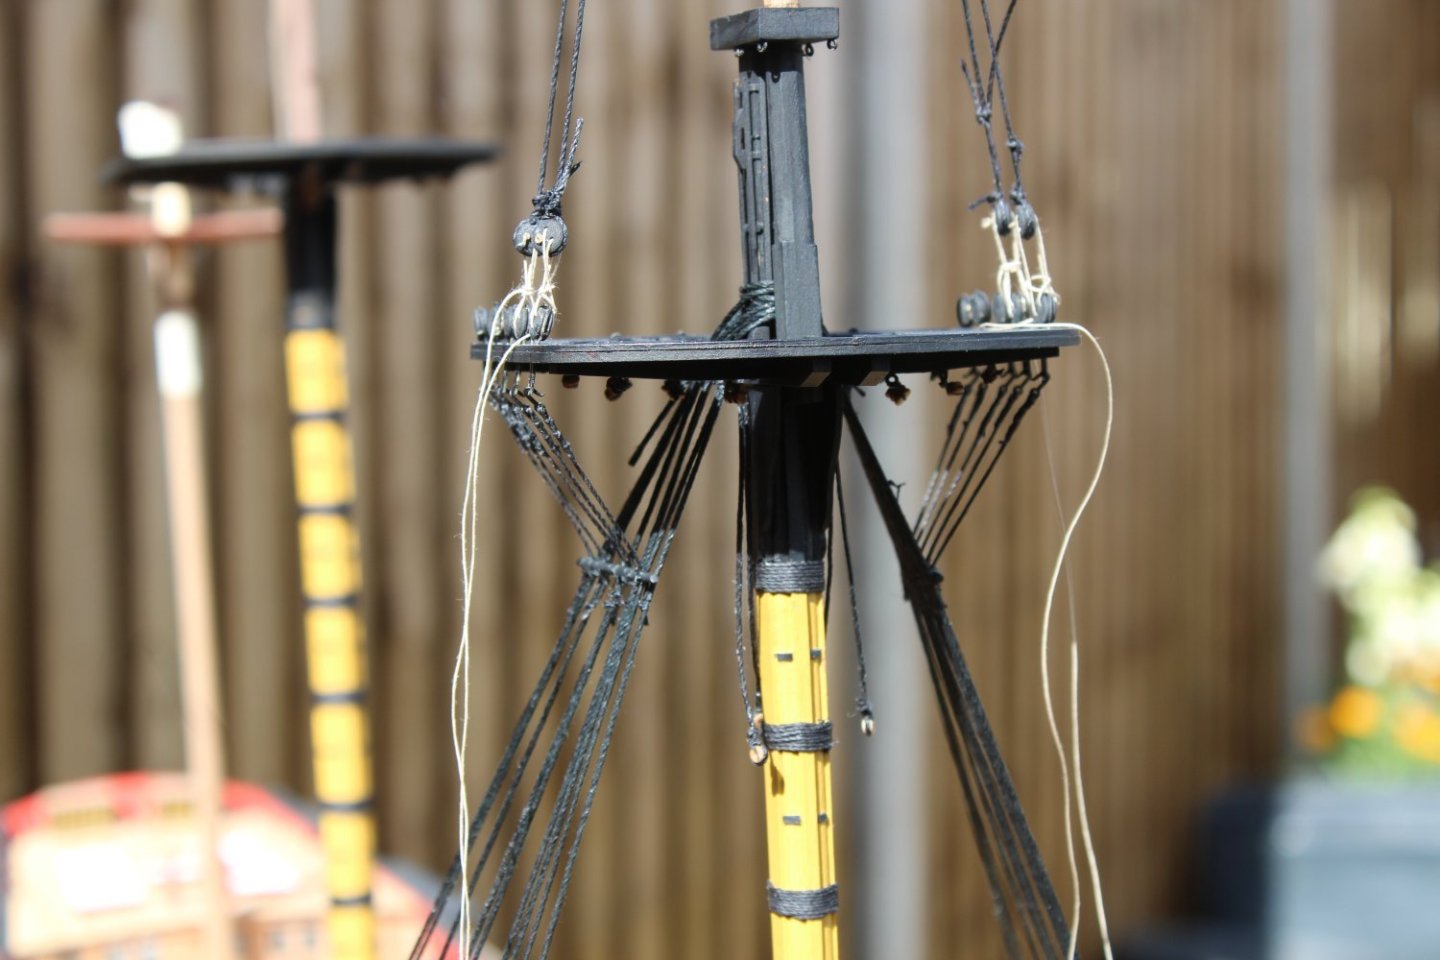
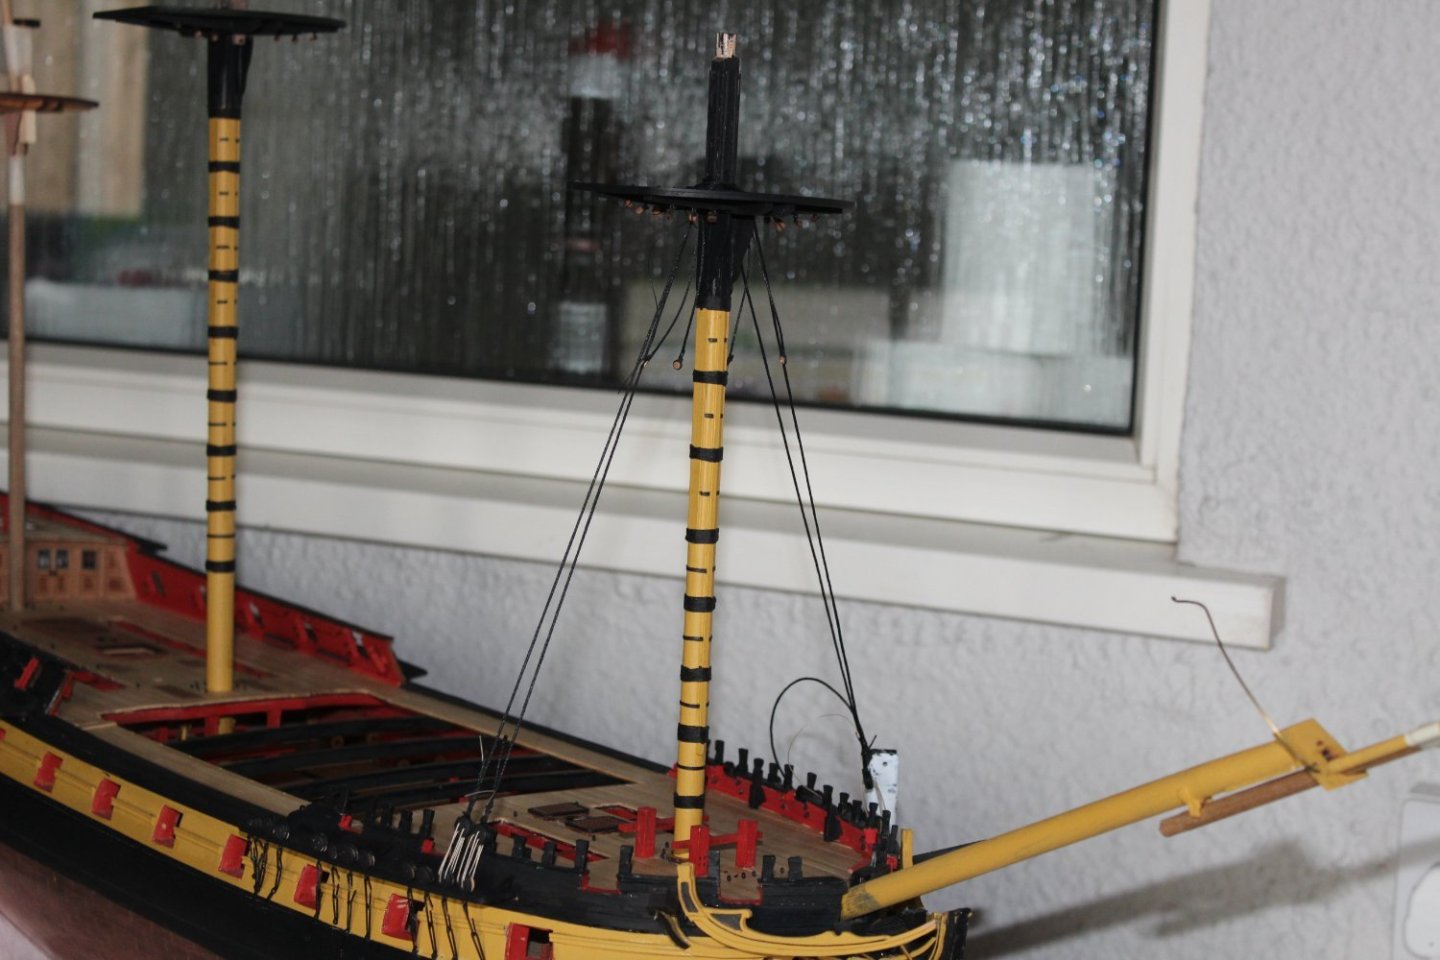
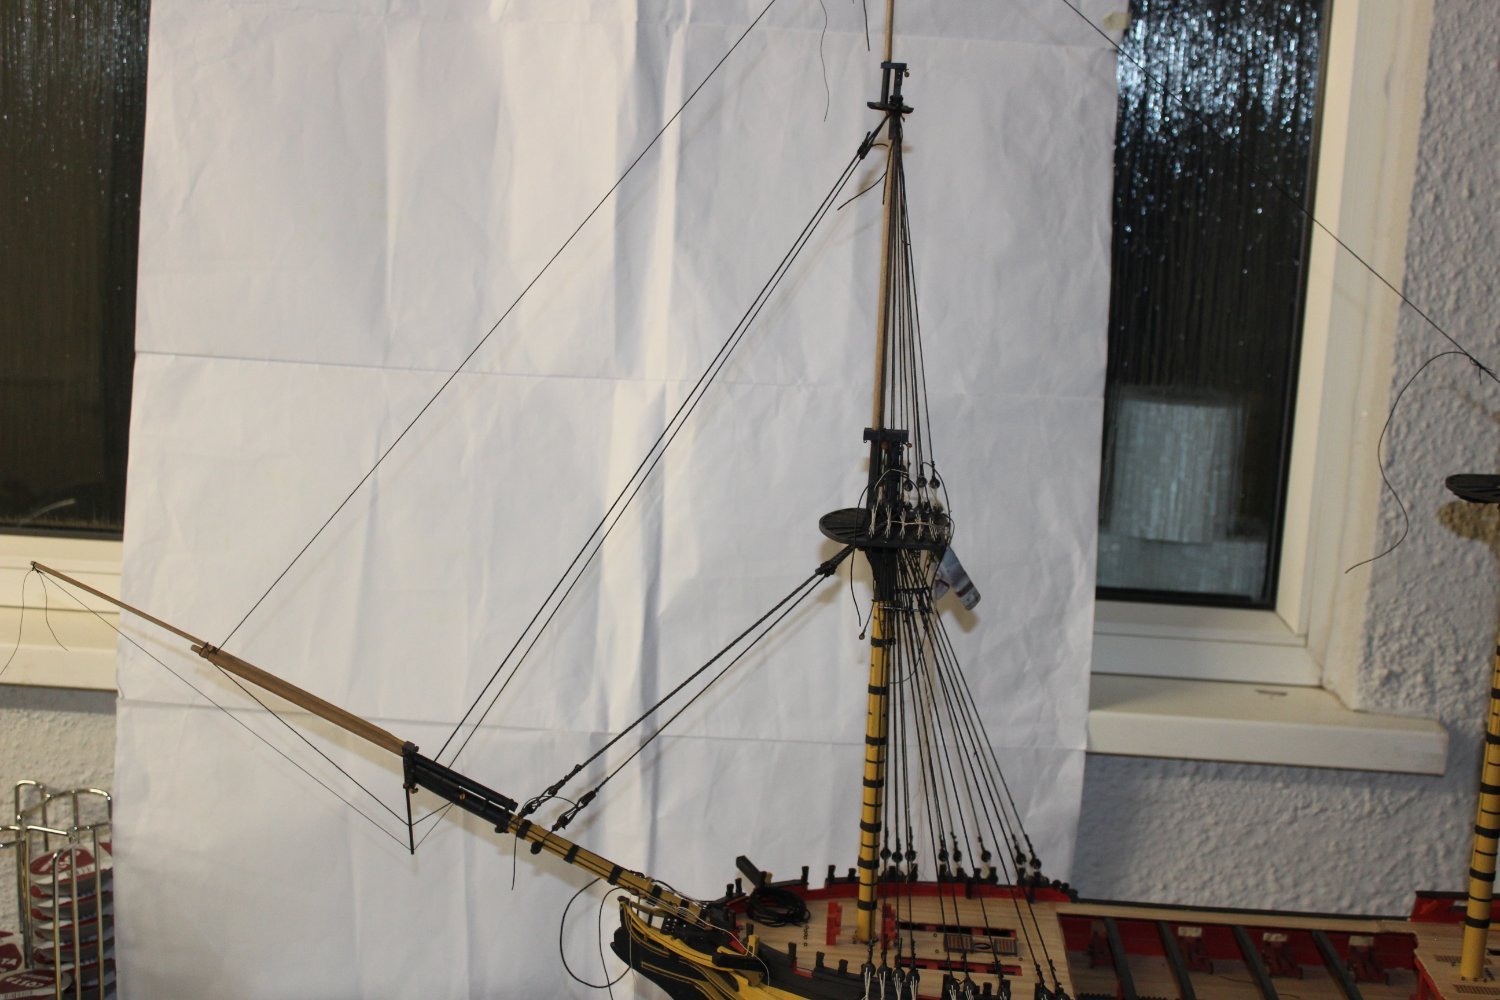
good evening everyone day 191 -6 foremast standing rigging with the lower shrouds completed onto the futtock shrouds, the deadeye assemblies are slightly different to that of the Caldercraft Victory in that the futtocks actually keep the deadeyes from pulling out rather than a catch that locks them into the channel the futtock staves are just a piece of 1mm brass rod


- 443 replies
-
- 16
-
-
-
- Indefatigable
- Vanguard Models
- (and 1 more)
-
thank you i did a better job on her than my currant build
-
i will avoid the boat building as long as possible
- 233 replies
-
- 4
-

-
-
- Indefatigable
- Vanguard Models
- (and 1 more)
-
lovely work, she looks so clean and tidy, you will soon be on to masting
- 233 replies
-
- 1
-
-
- Indefatigable
- Vanguard Models
- (and 1 more)
-
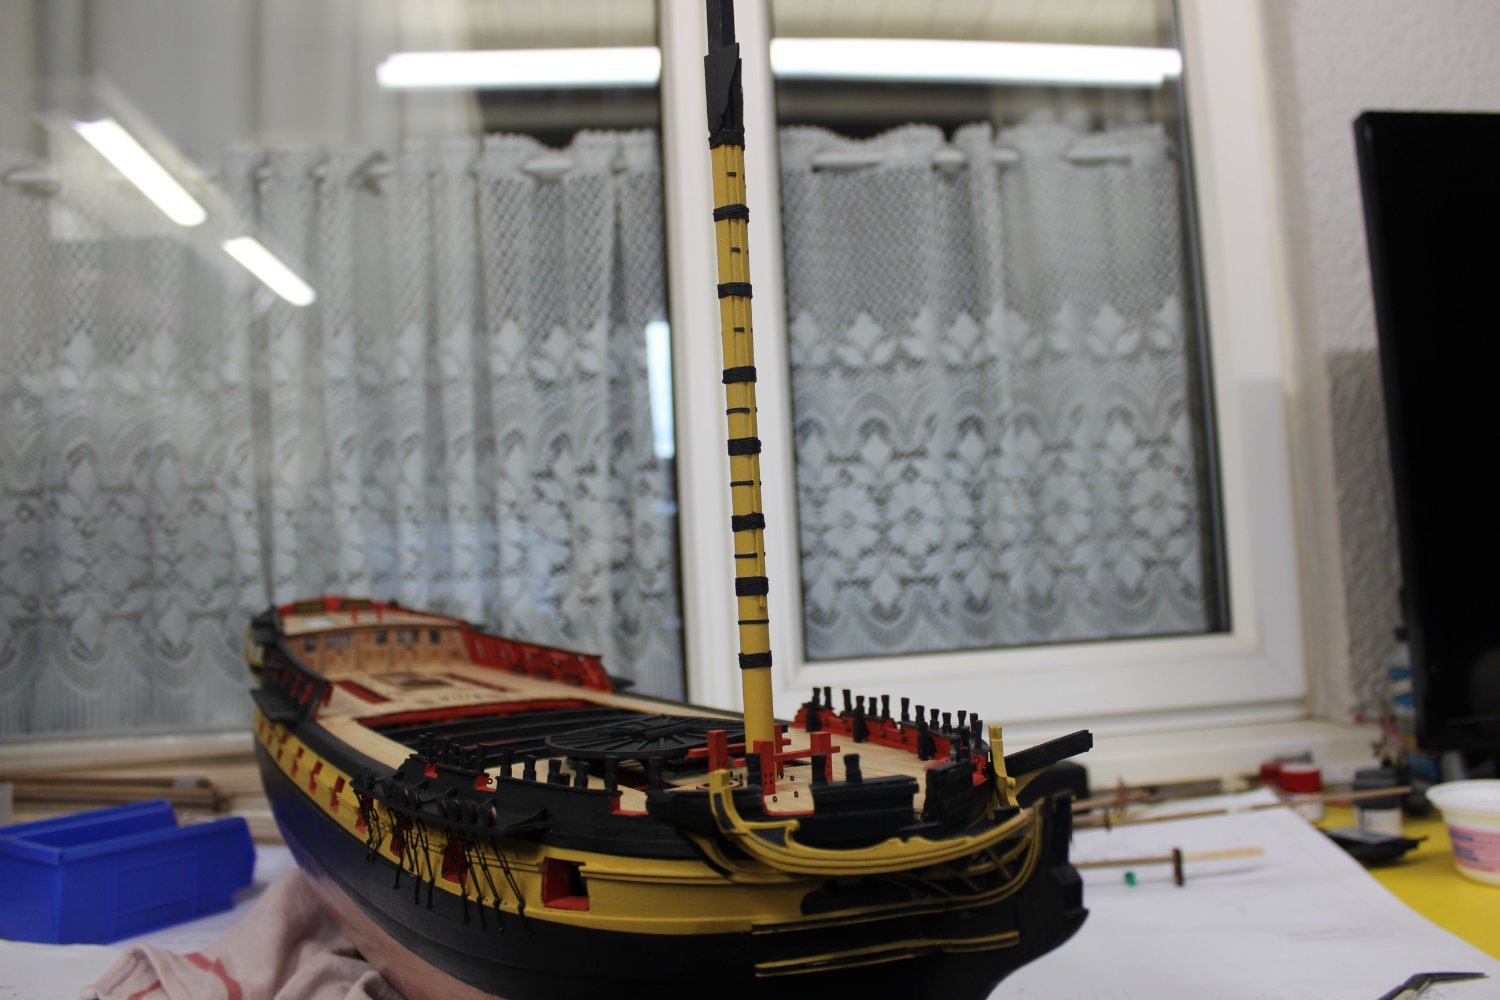
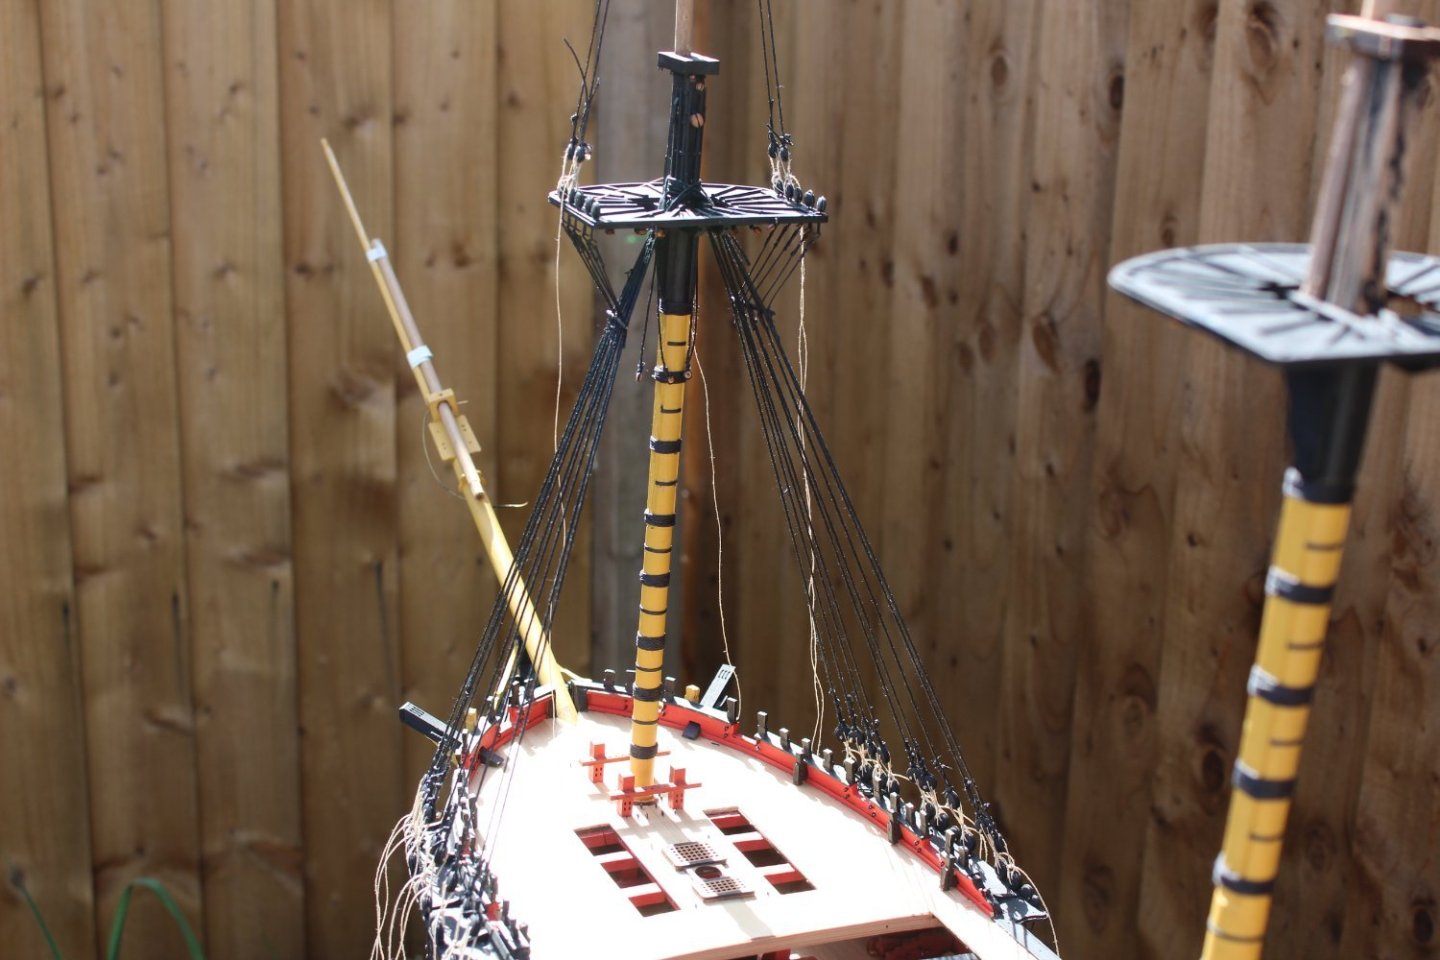
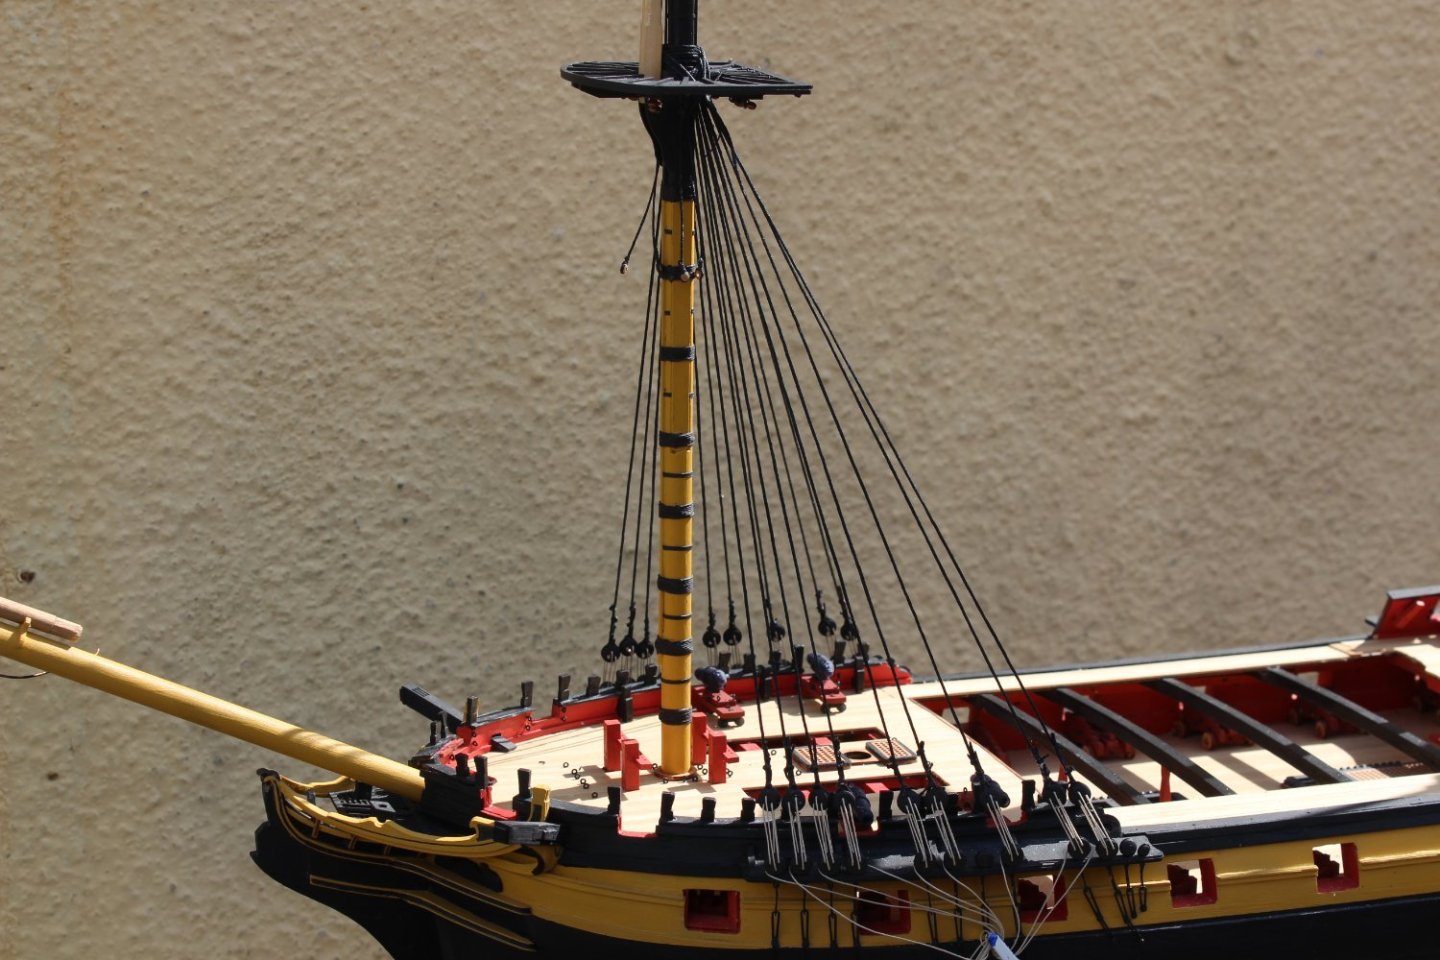
Good afternoon everyone foremast lower shrouds,


- 443 replies
-
- 14
-
-
-
- Indefatigable
- Vanguard Models
- (and 1 more)
-
just over two years and yr log has come alive again, will be great to see yr progress on her again
-
the grass scrub looks fantastic,
-
The boi last night when we told him a new puppy is on the way w believe this to be our next Puppy, aged 3 weeks, we have first pick of the litter boys, and from our daily updates this is the one we like, of course he may not like us

- 443 replies
-
- 5
-
-
- Indefatigable
- Vanguard Models
- (and 1 more)
-
thank you well apart from taking the boi out for an hour in the rain and spending an hour drying him
- 443 replies
-
- 3
-
-
- Indefatigable
- Vanguard Models
- (and 1 more)
-
looks like i have got another day off from the build, something to do with my Birthday today
- 443 replies
-
- 6
-
-
- Indefatigable
- Vanguard Models
- (and 1 more)
-
ty, i will do that, first though i will make up the required amounts of shrouds then reapply them, hopefully a lot tidier,
- 443 replies
-
- 4
-
-
- Indefatigable
- Vanguard Models
- (and 1 more)
-
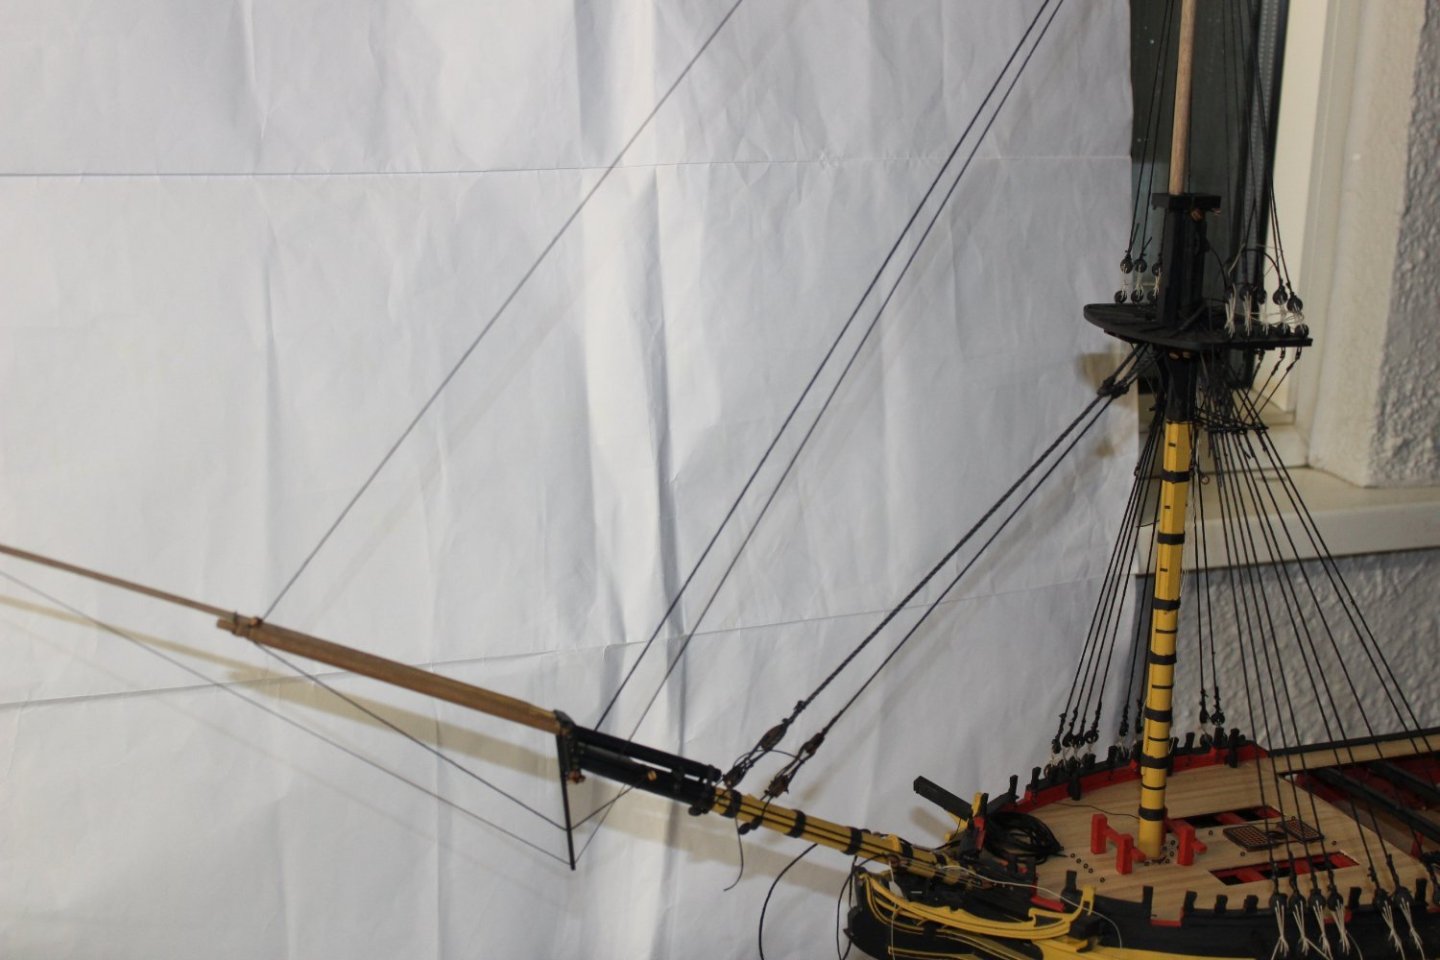
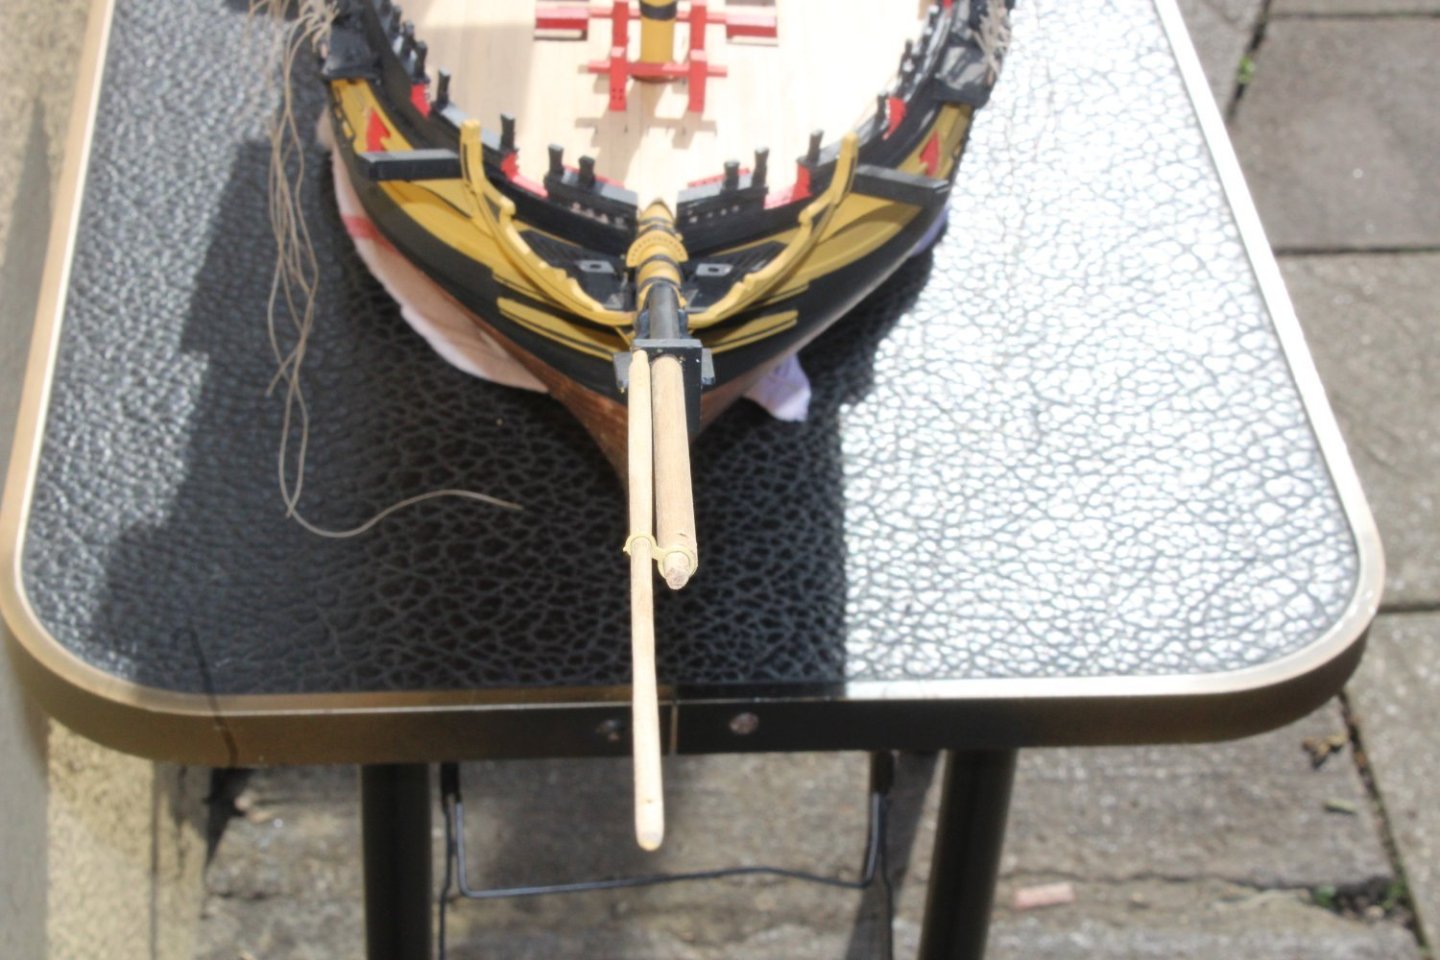
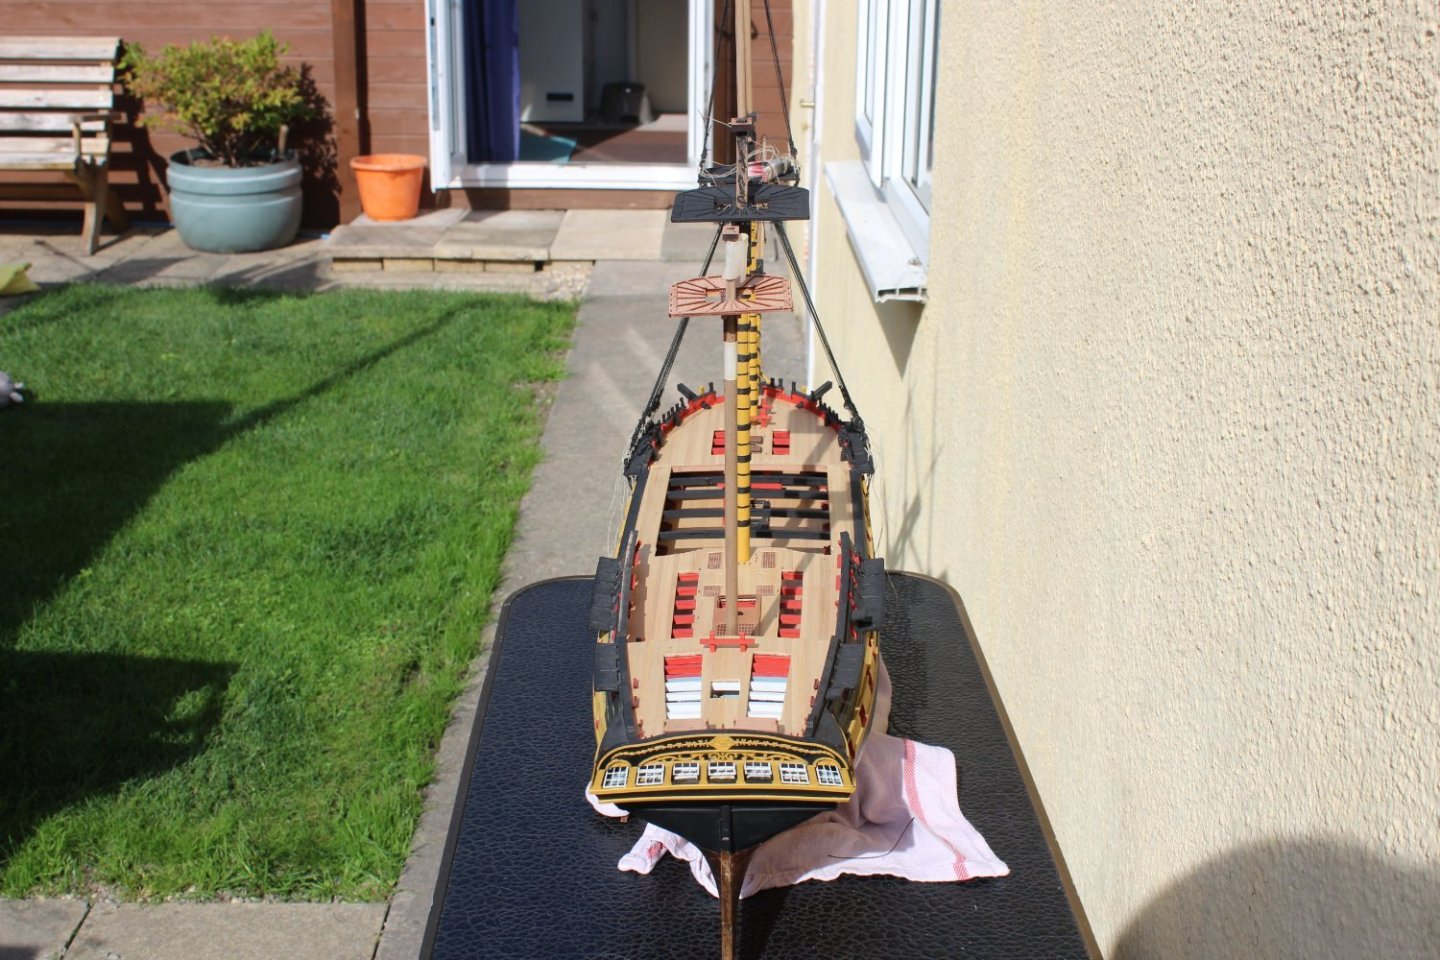
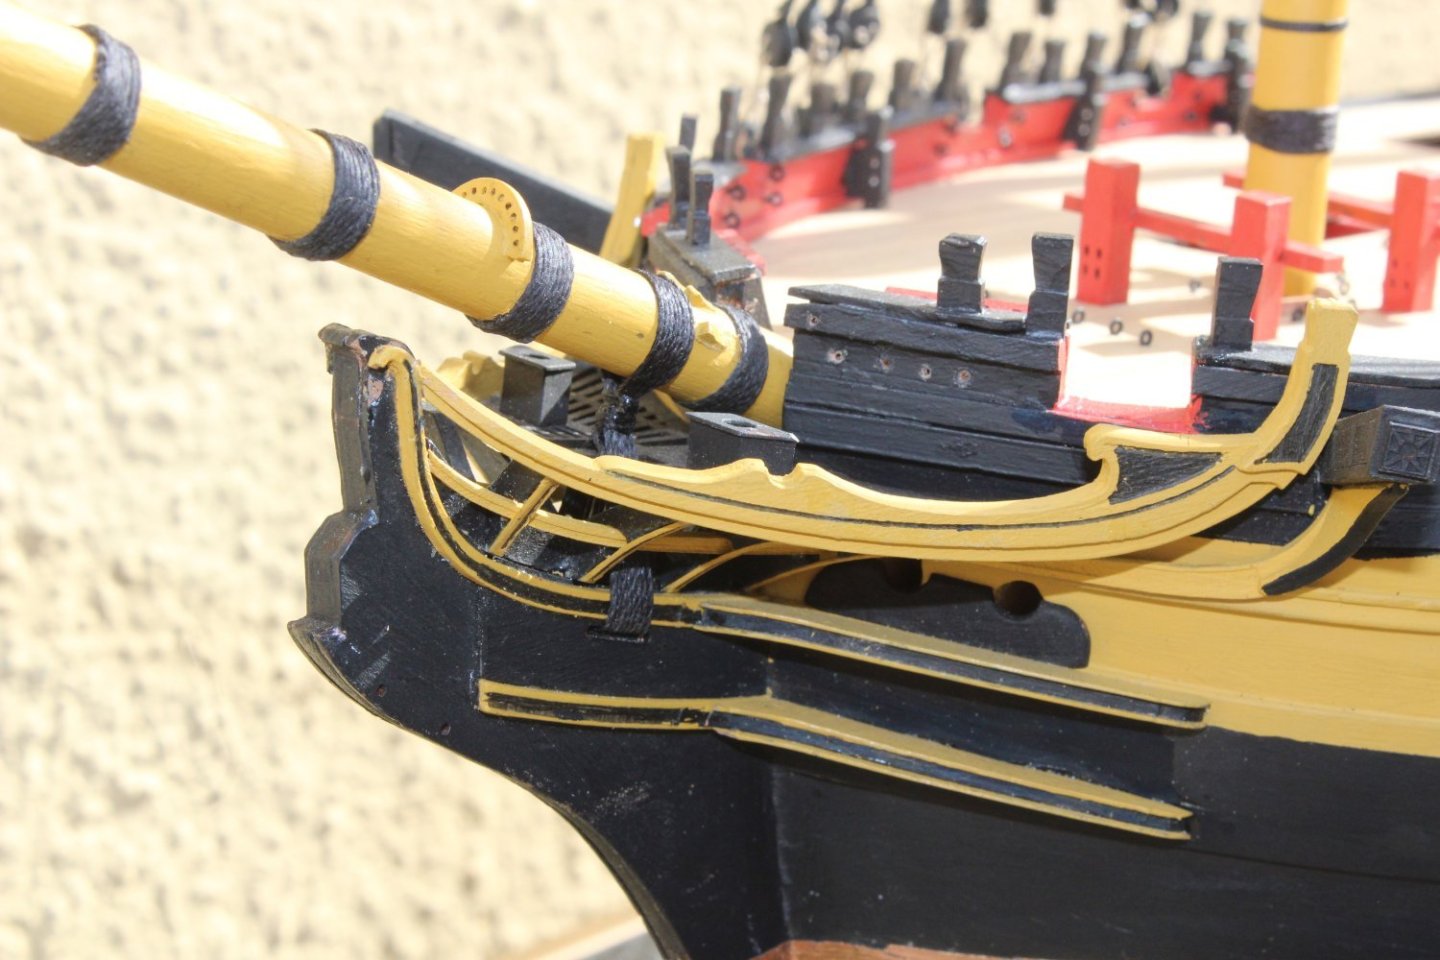
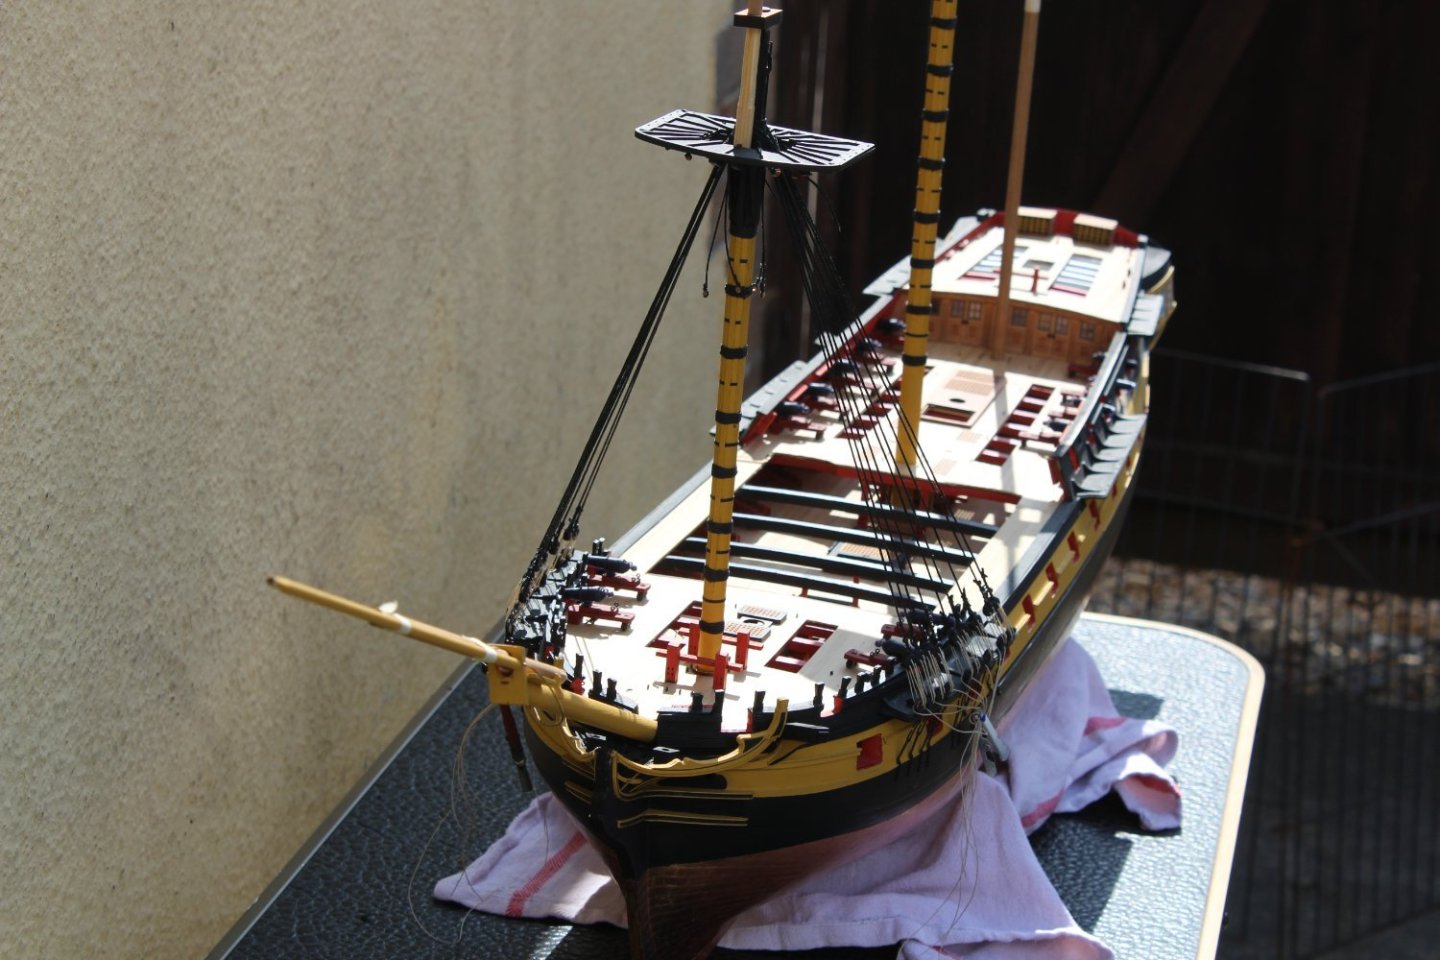
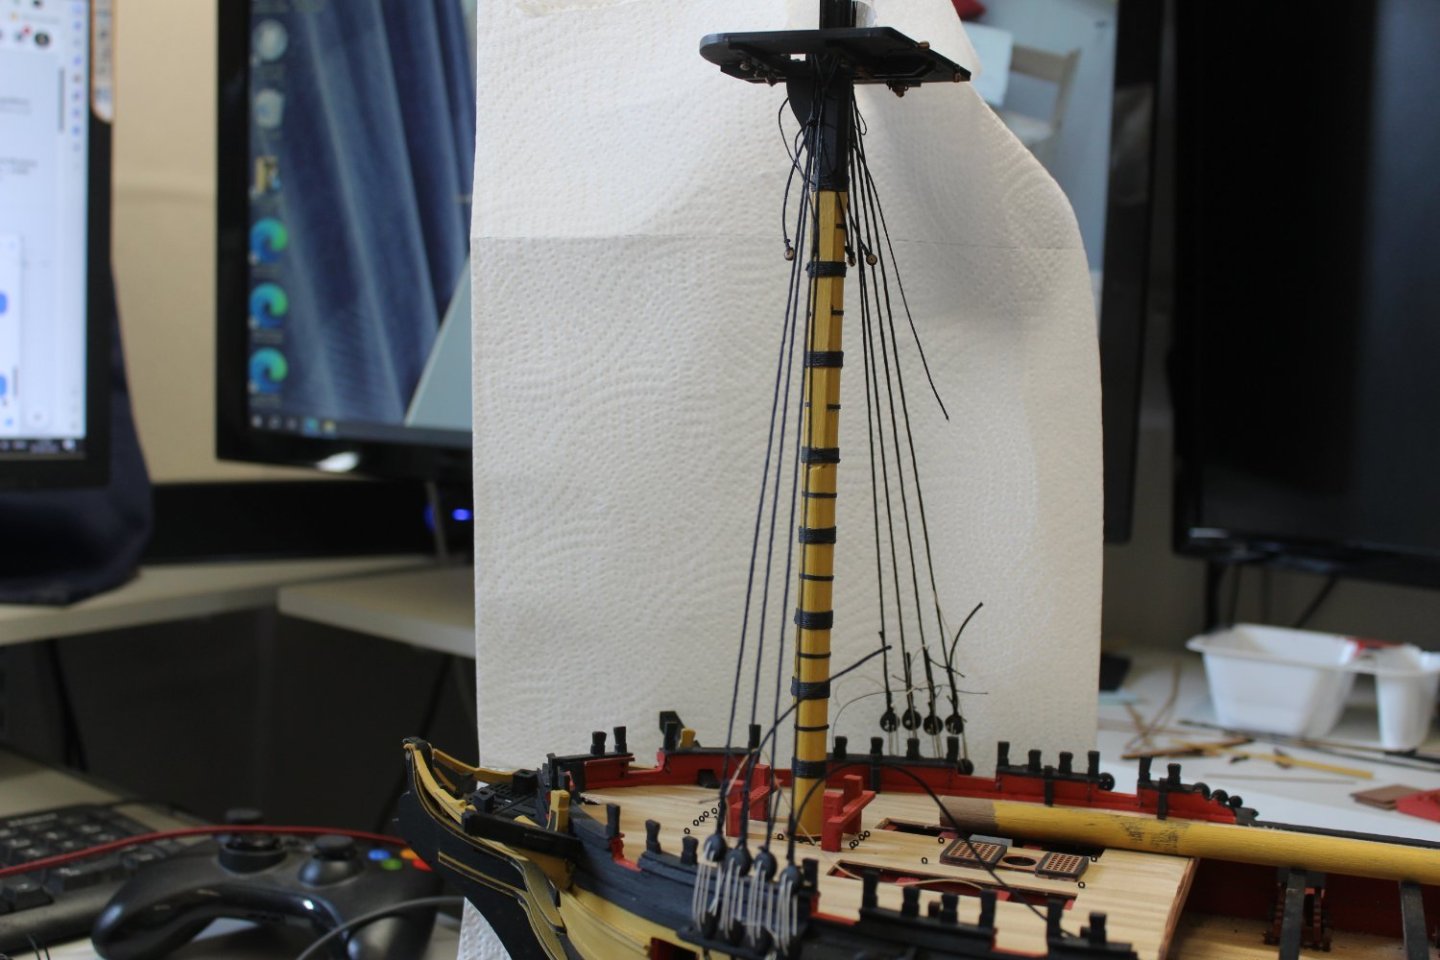
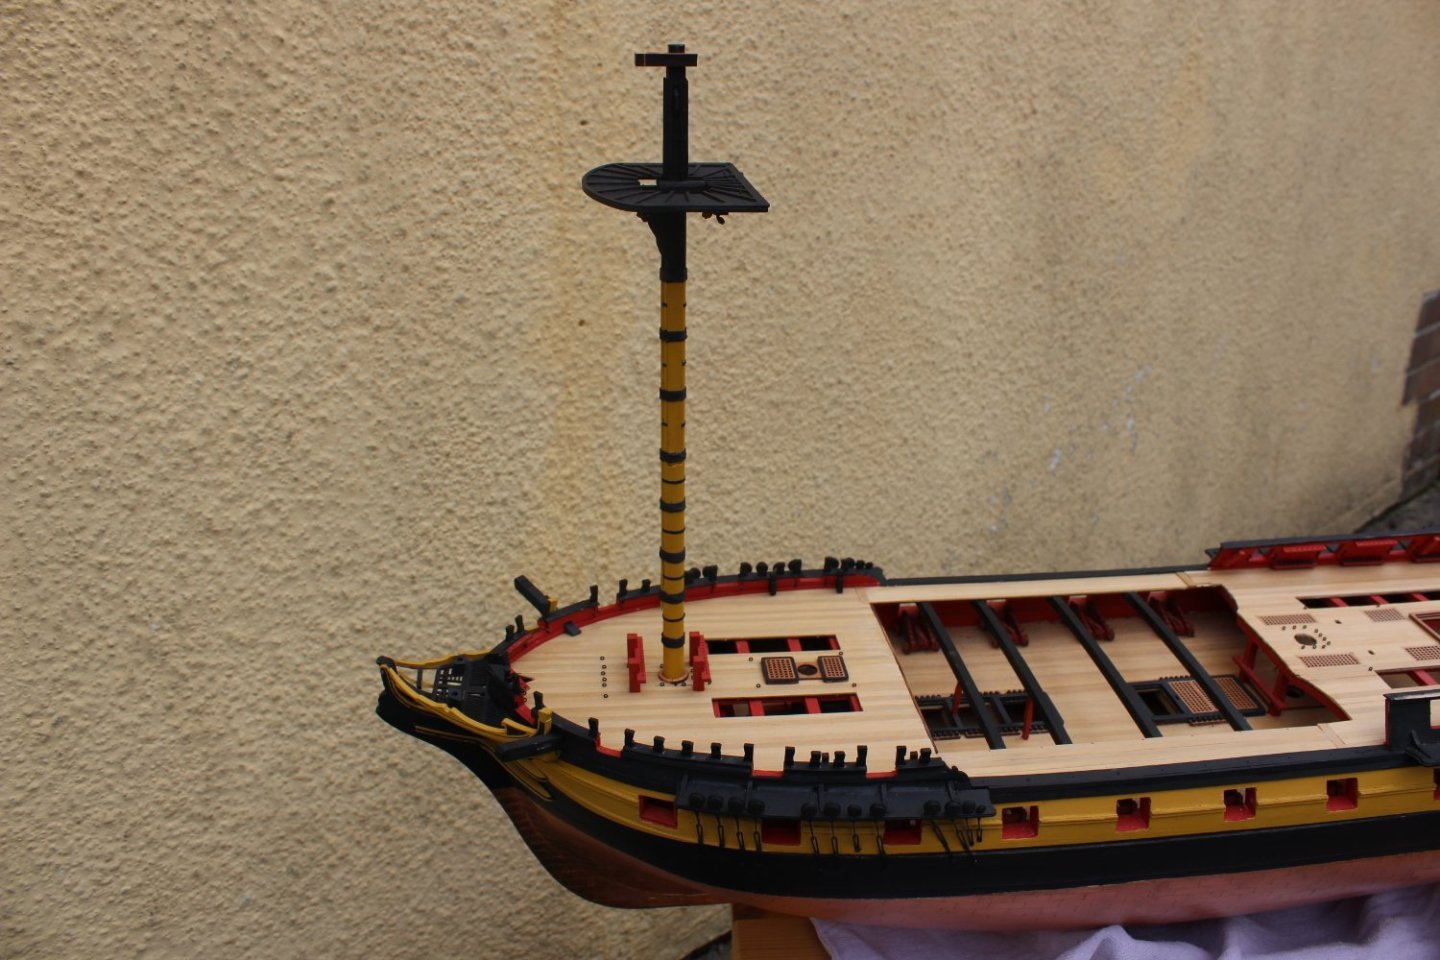
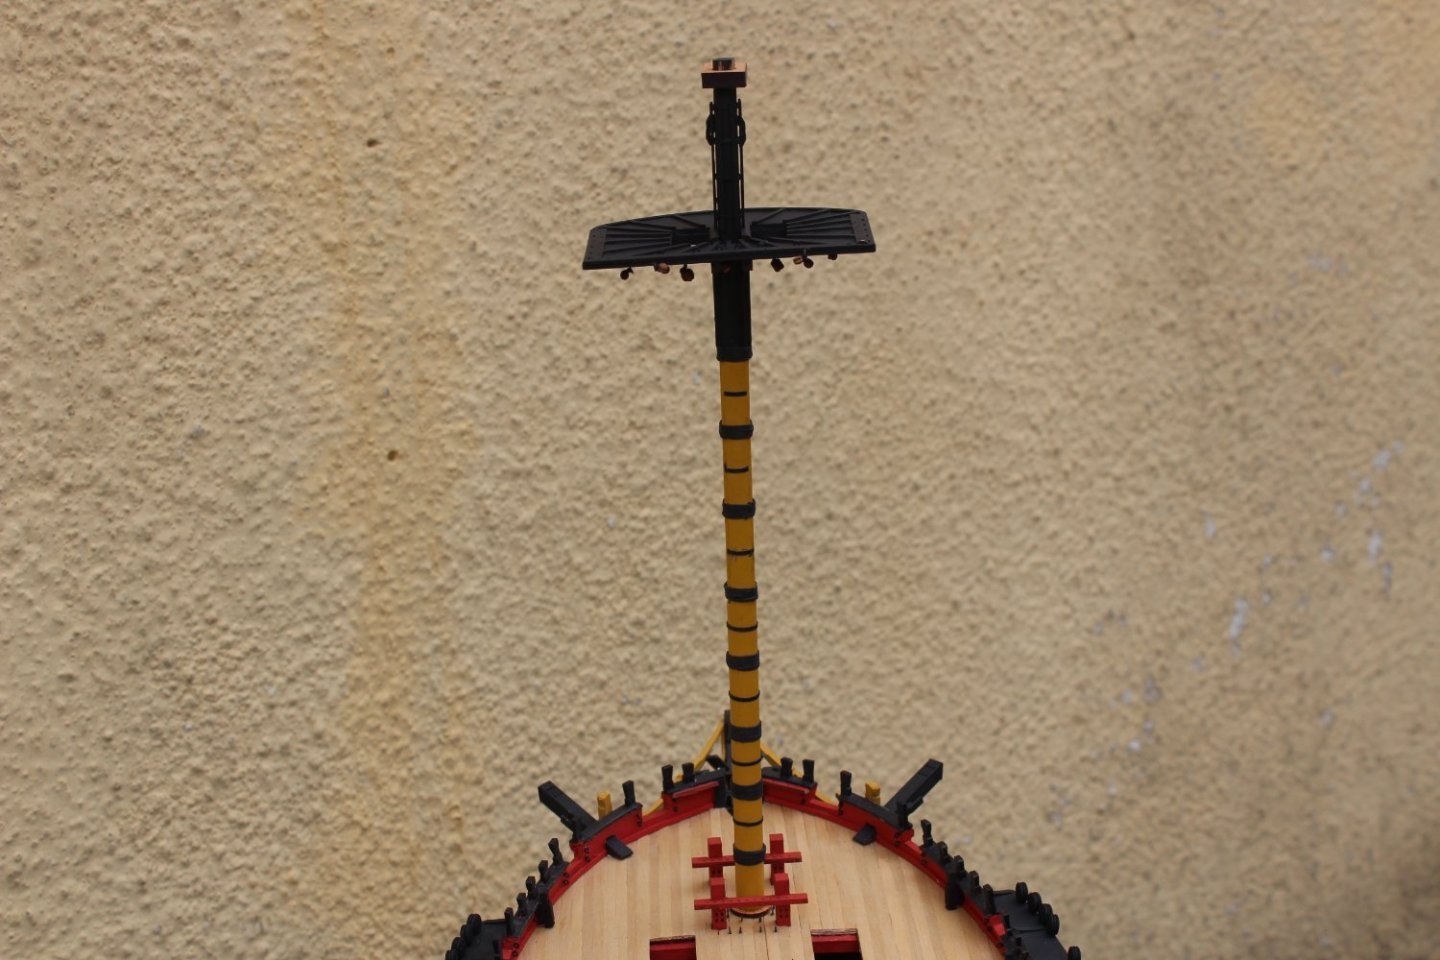
good evening everyone 184-6 good evening everyone i have slowly been tidying up the bow and making up the masts, so yesterday i decided to insert the lower foremast, and tapped it into position, which gave a lovely satisfying sound telling ,e it was down on the keel, a measurement check confirmed the it was 1.3mm black thread, and 0.5 natural for the landwards, lets start the rigging two pair of pendants in first with 1mm thread and 2.5mm Thimble first pair to stbd these will all be removed and tidied up before i go on with the build, i find deck fittings get in my way so these will be added at a convenient time


- 443 replies
-
- 14
-
-
- Indefatigable
- Vanguard Models
- (and 1 more)
-
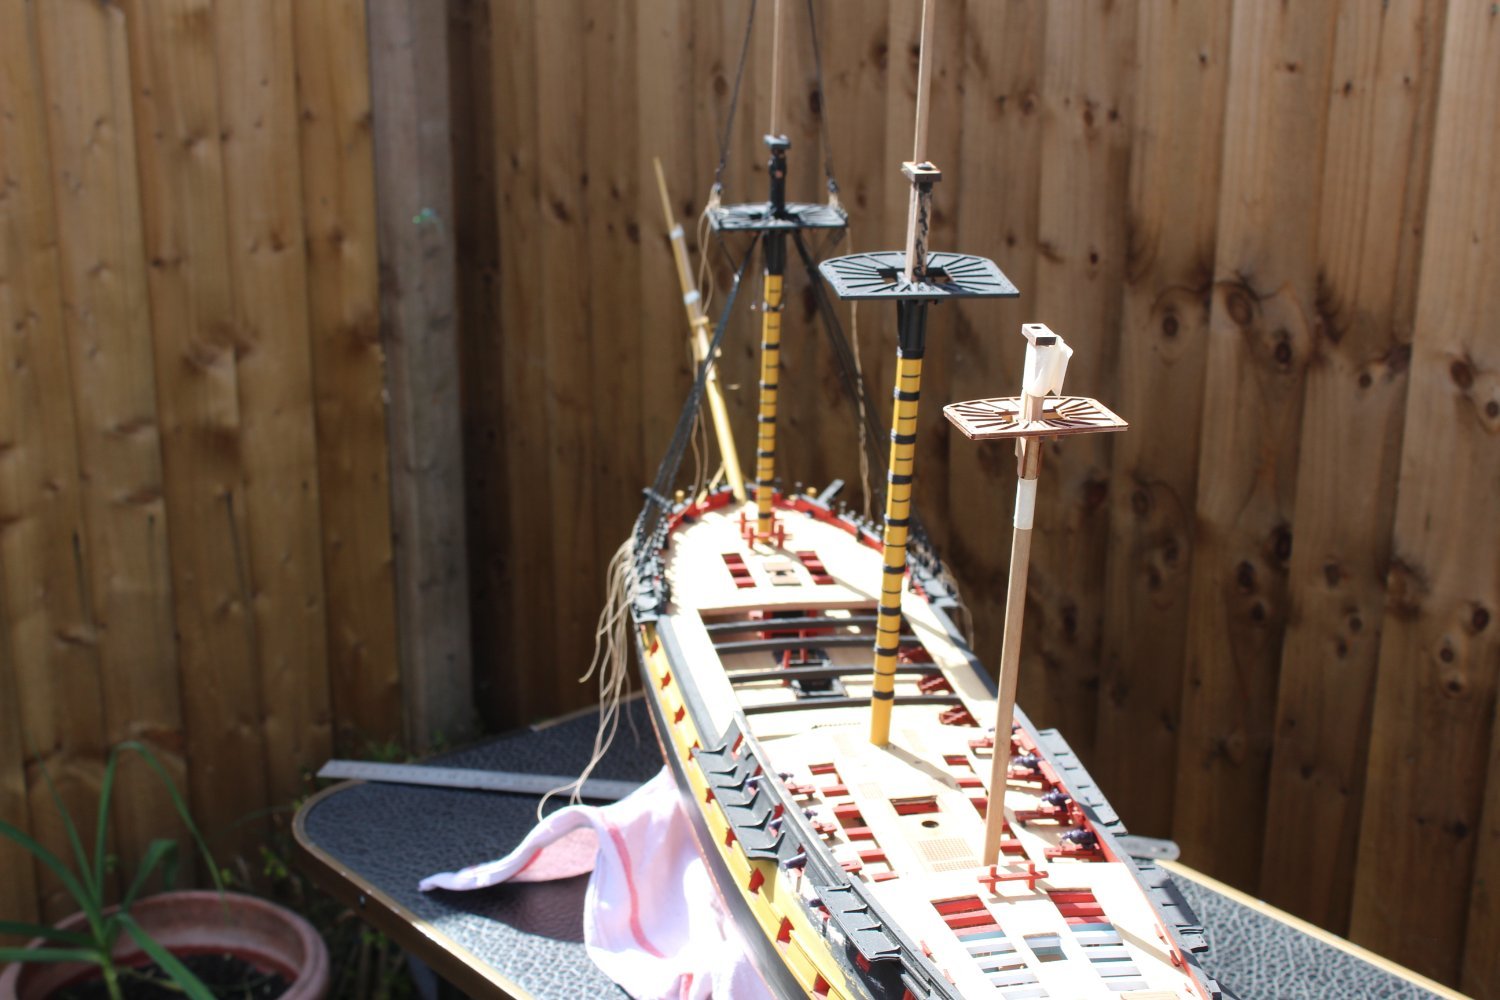
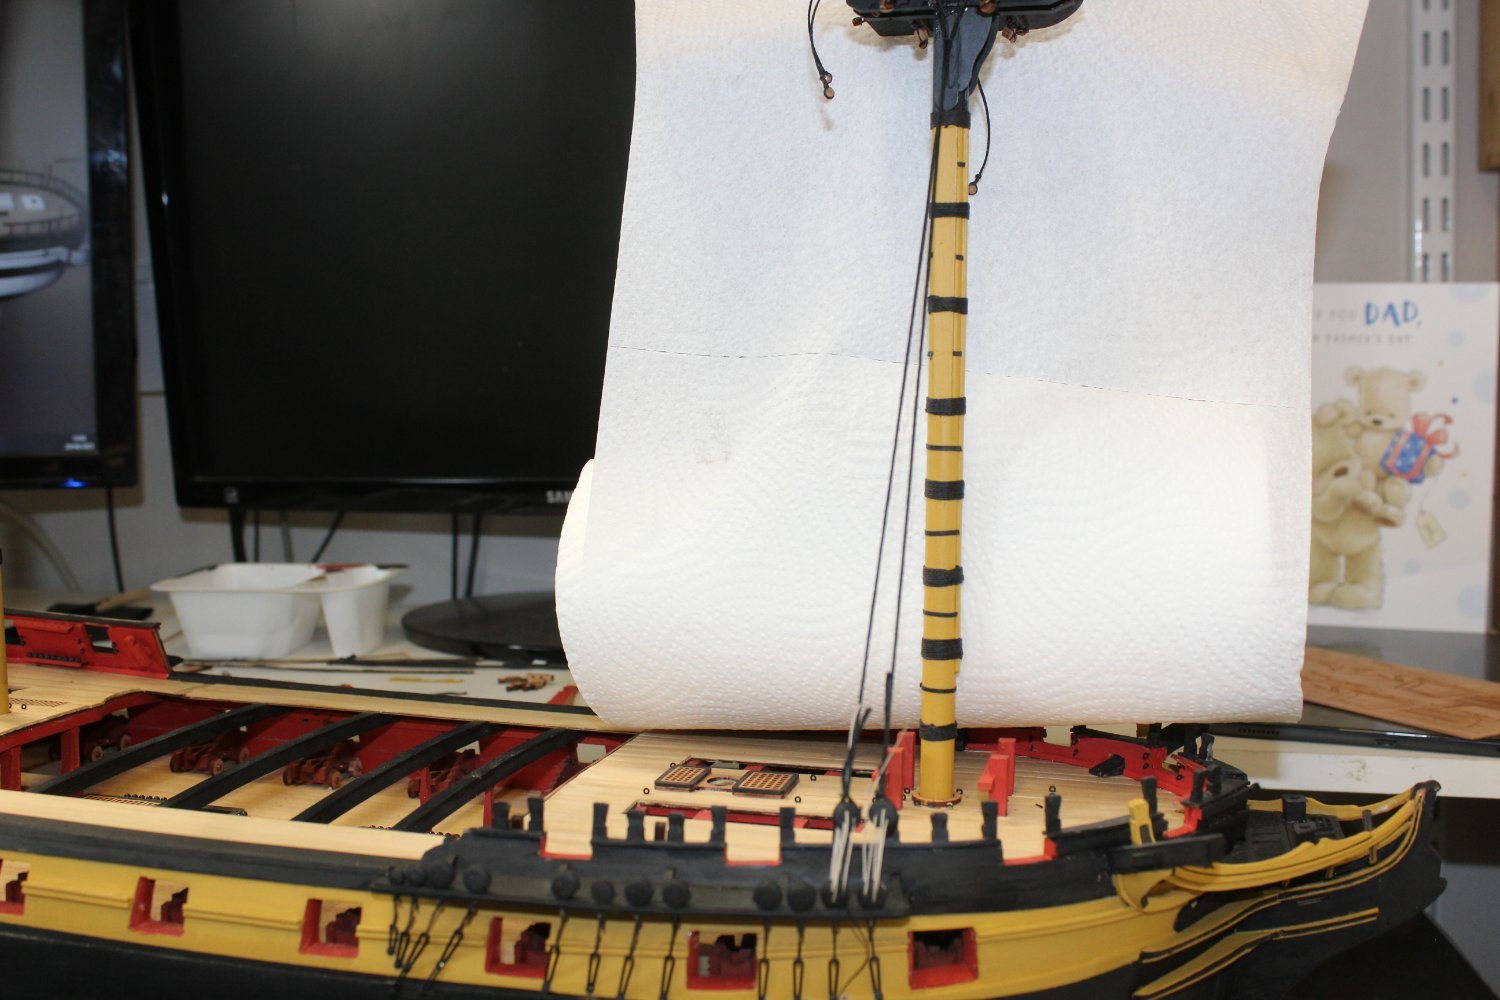
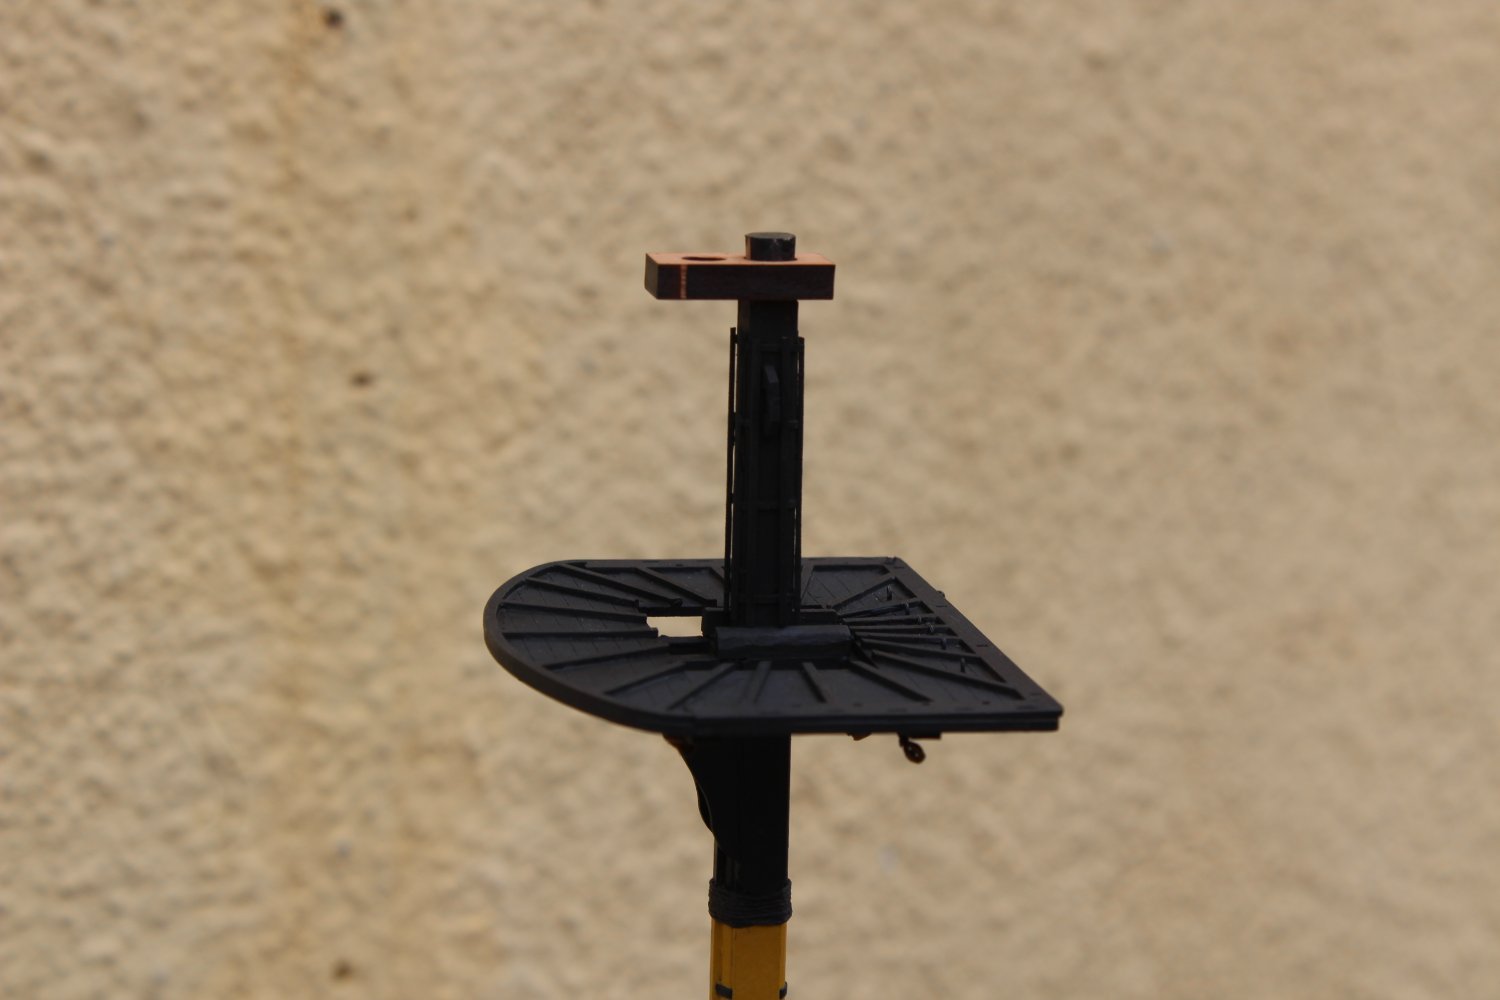
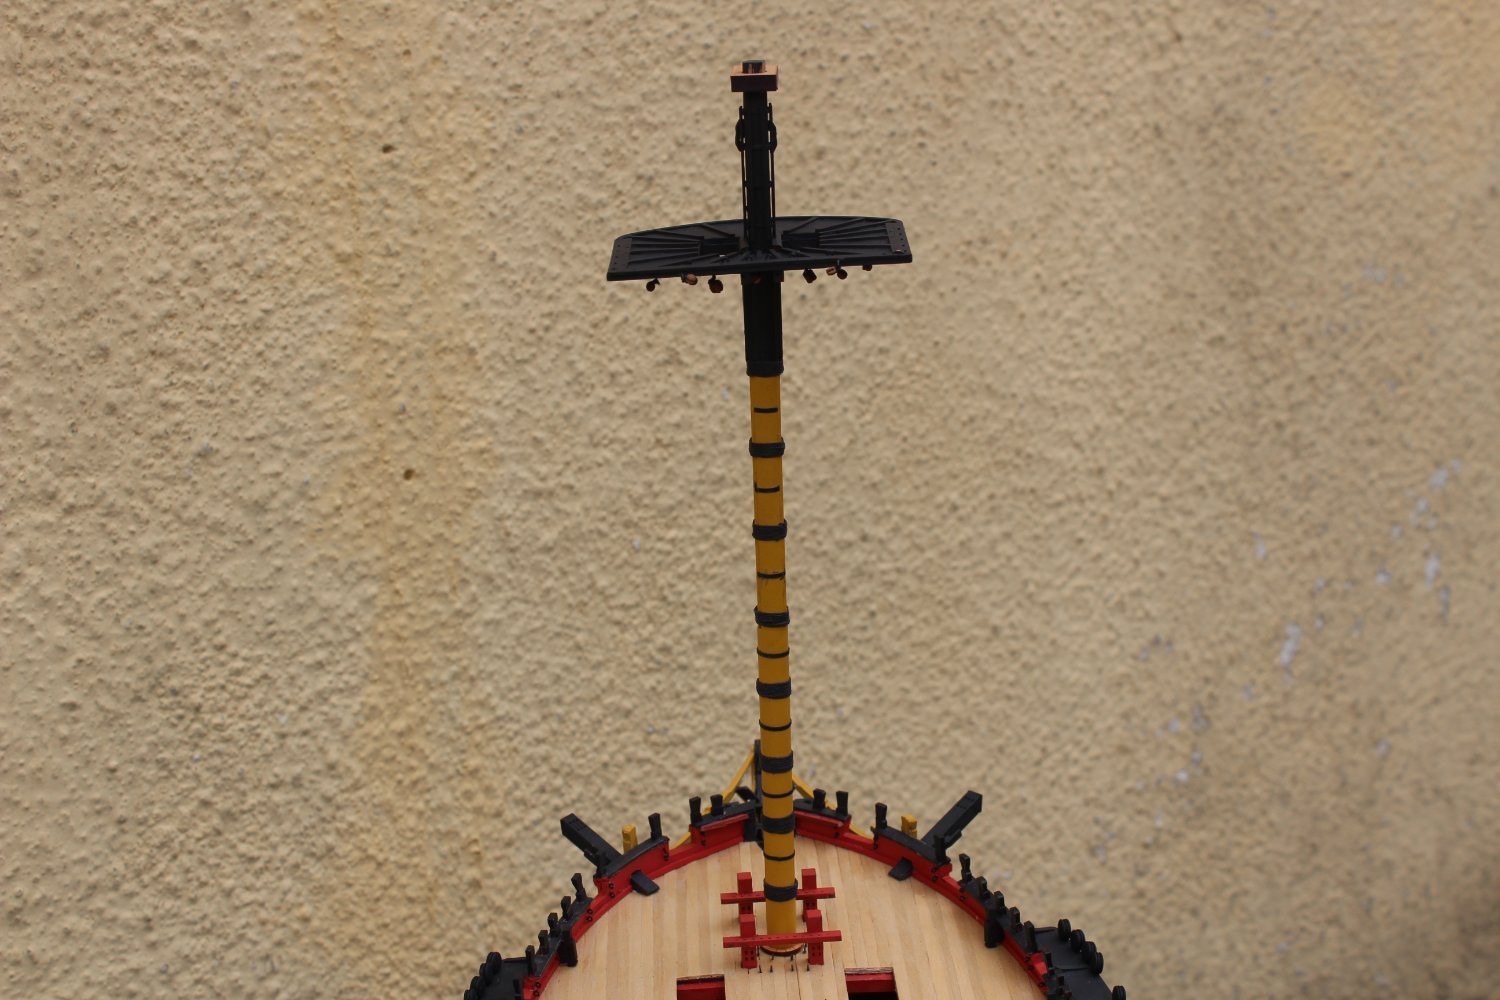
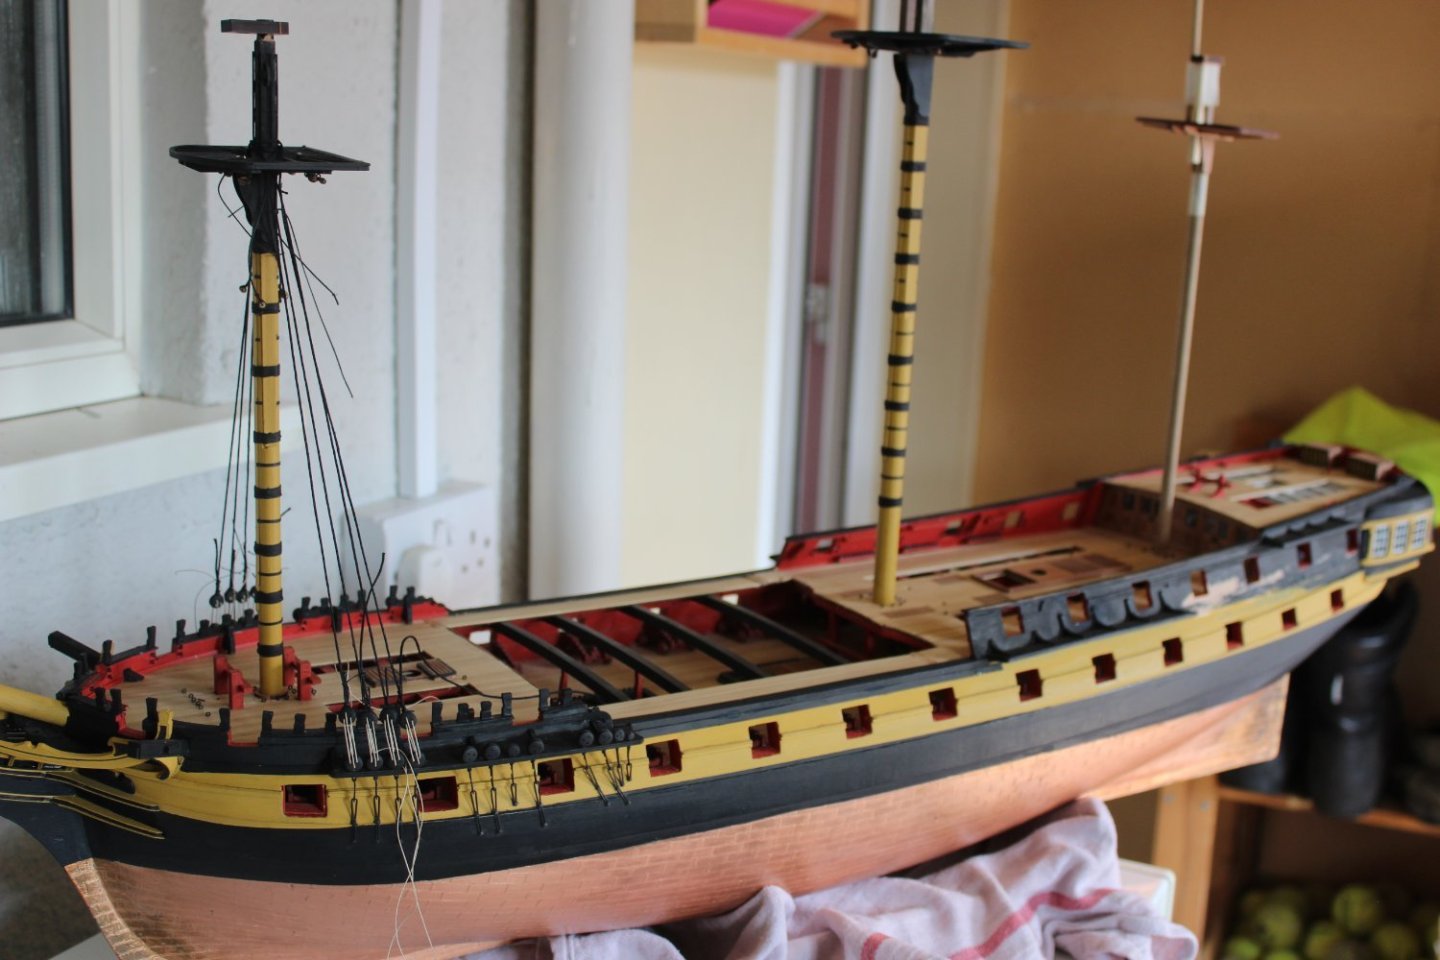
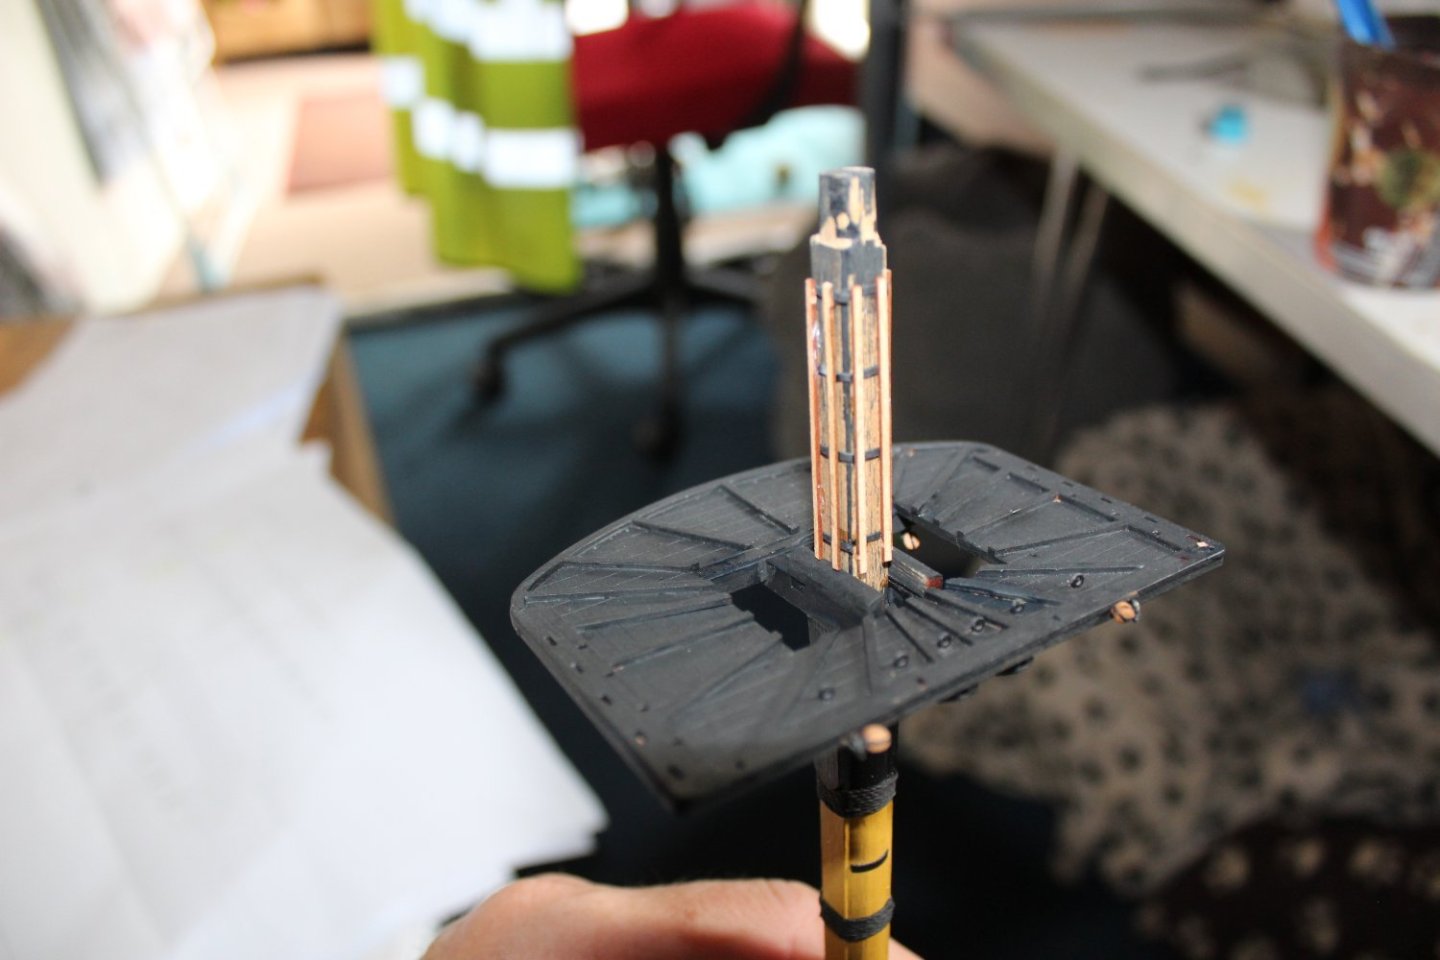
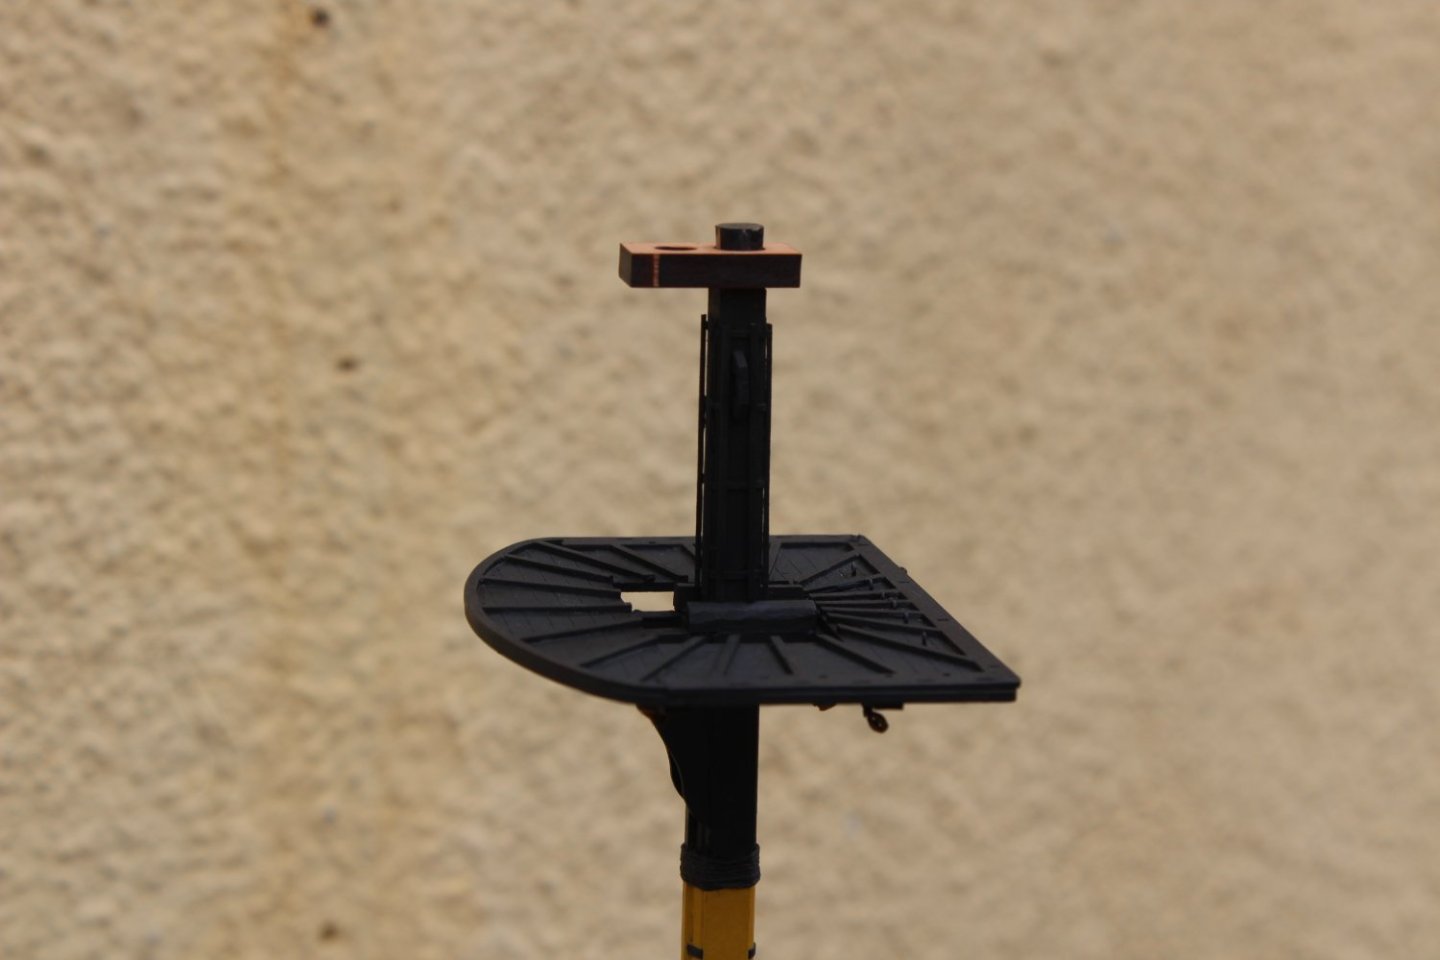
good evening everyone thank you for comments and like Foremast day 181 - 6 not a lot to say but oh so enjoyable, even the upper mast battens are included in the kit,


- 443 replies
-
- 20
-
-
-
- Indefatigable
- Vanguard Models
- (and 1 more)
-
lovely to see her back on the table, wish i had friends who abandon their RW, lol wish i had a friend
.JPG.0ef6c32fd19f8ed39b10f0ebe25af1d4.JPG)


.JPG.f37c832b54ce86e12ab84e1f9649d7d8.JPG)