-
Posts
217 -
Joined
-
Last visited
Content Type
Profiles
Forums
Gallery
Events
Everything posted by DavidG
-
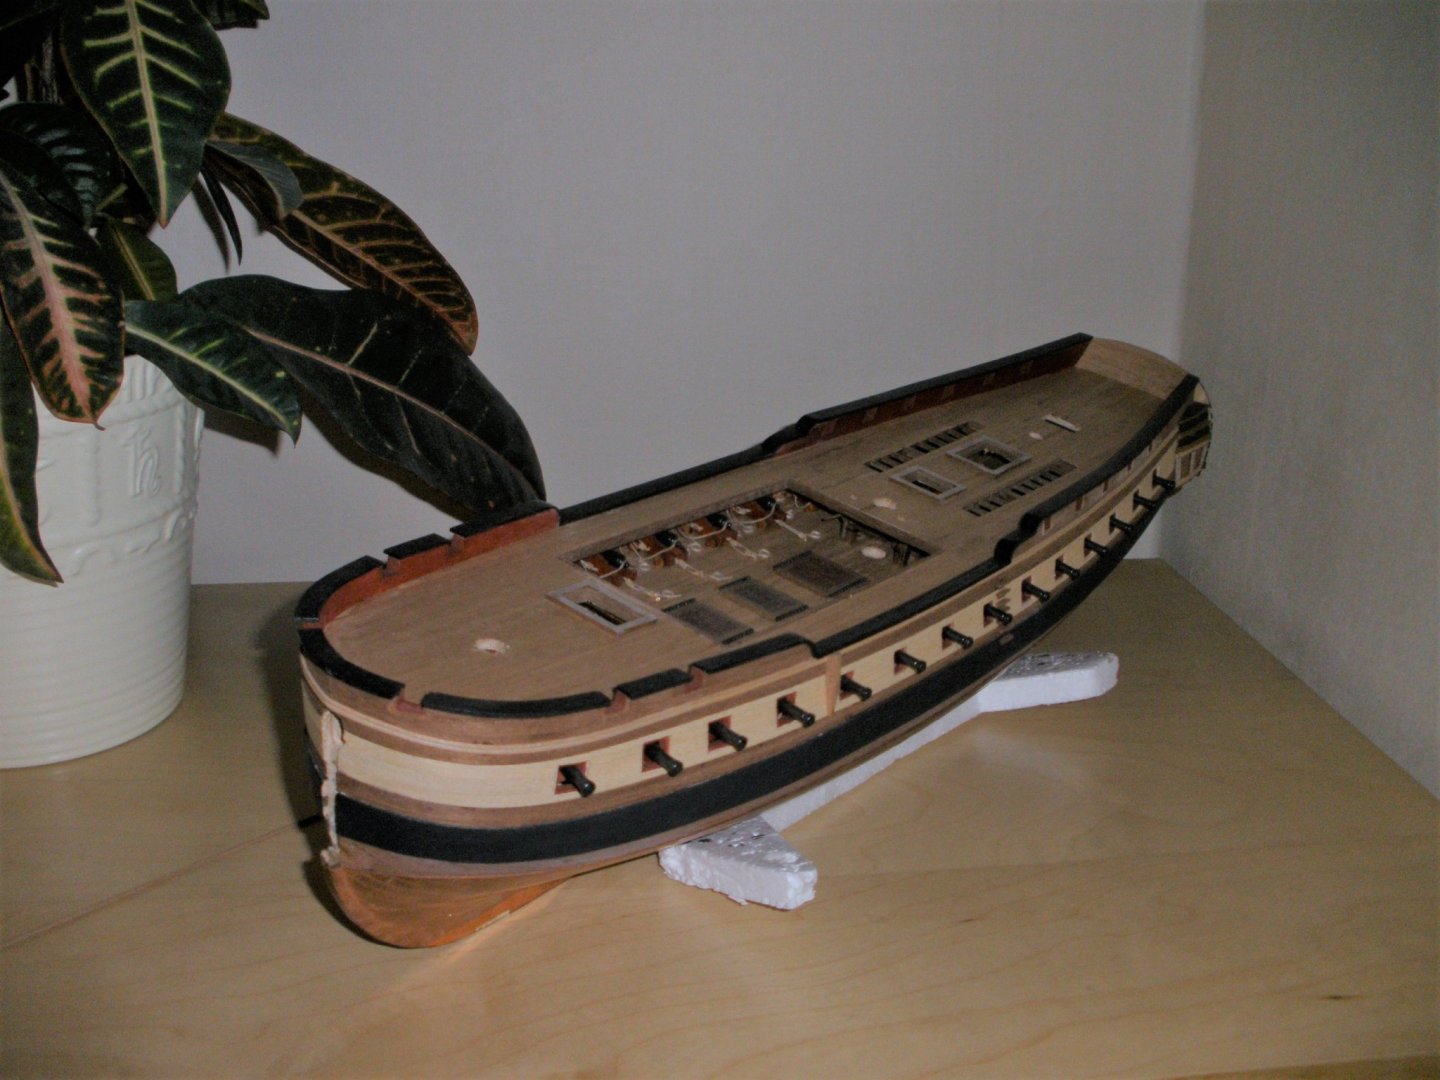
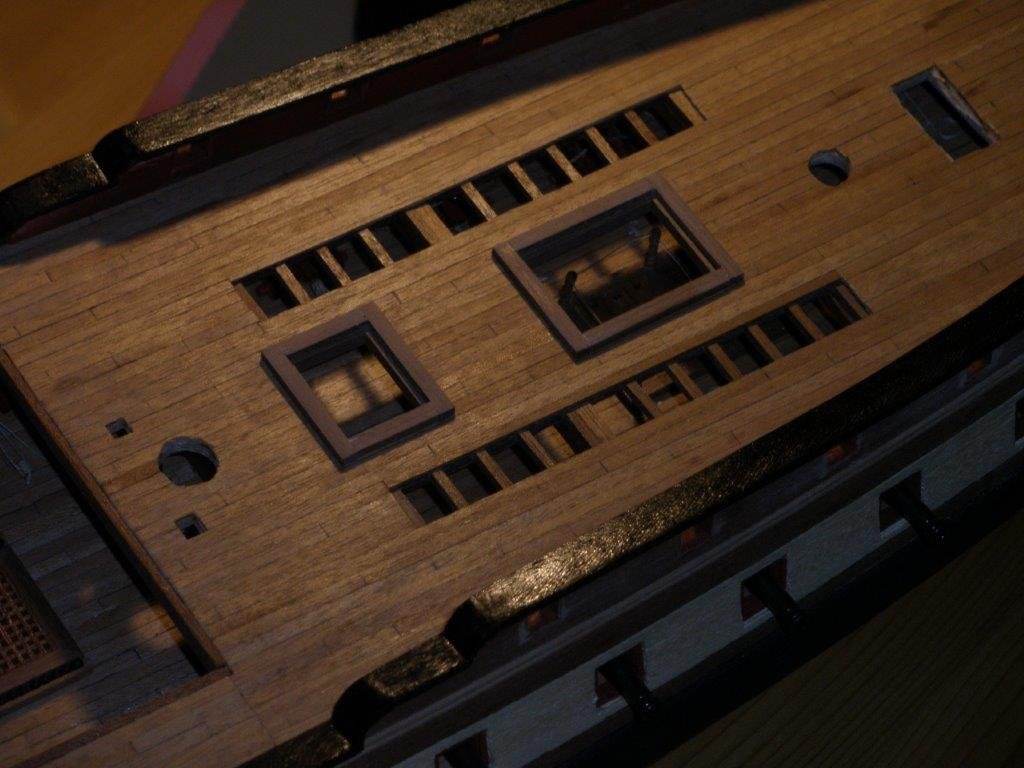
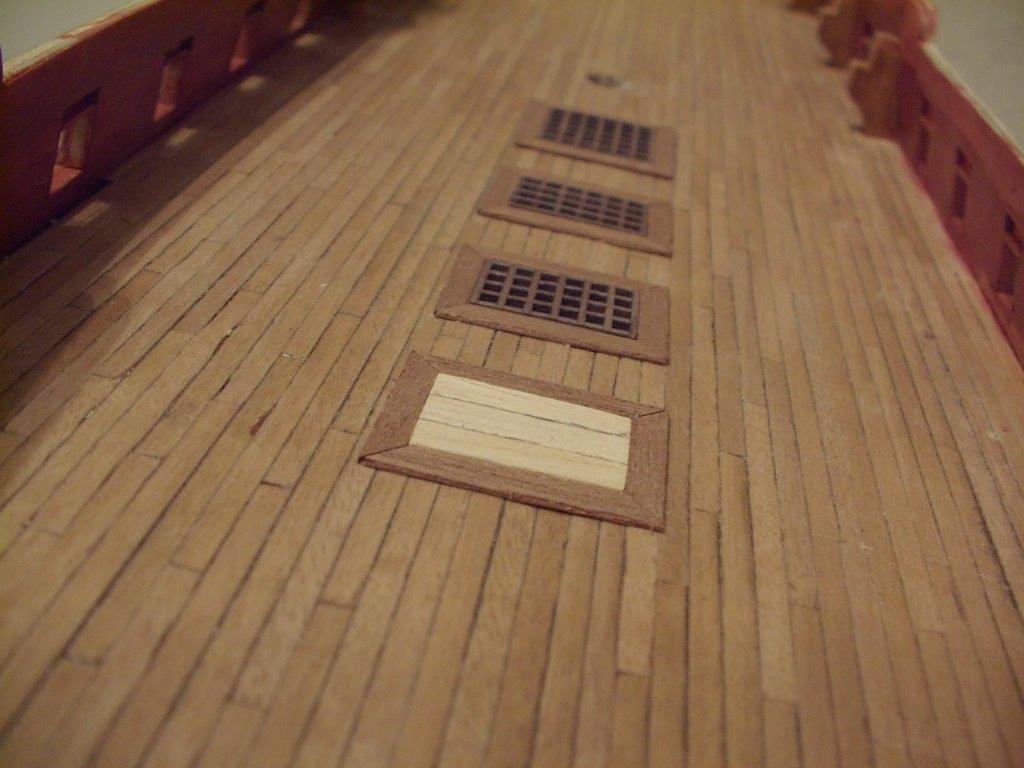
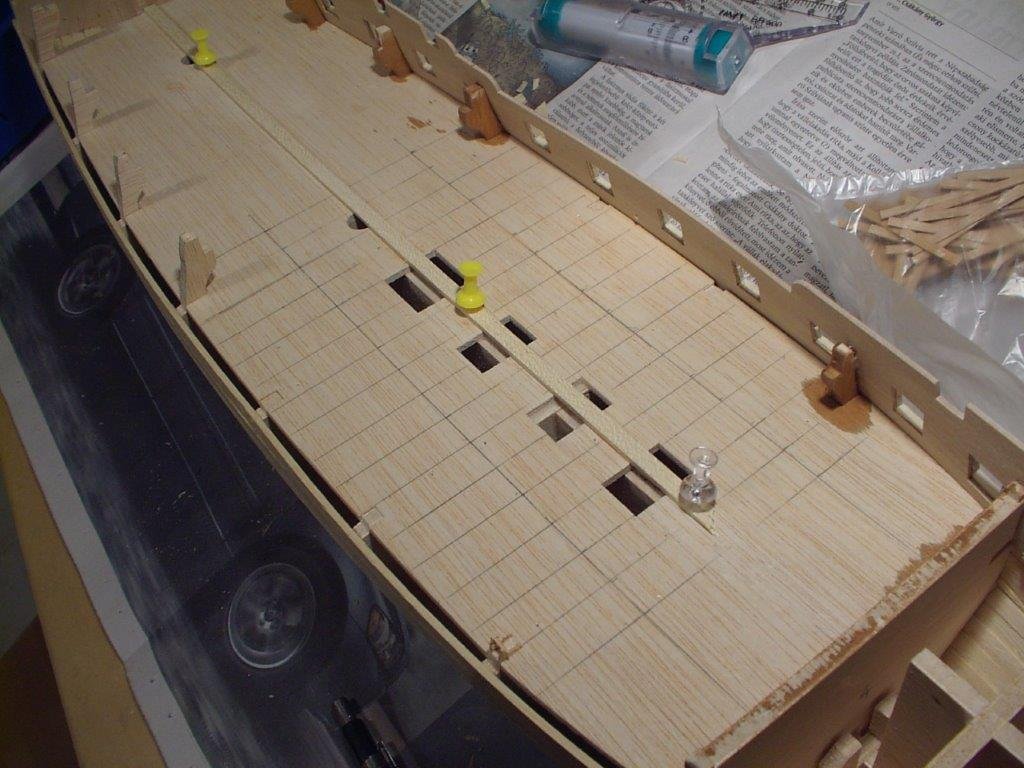
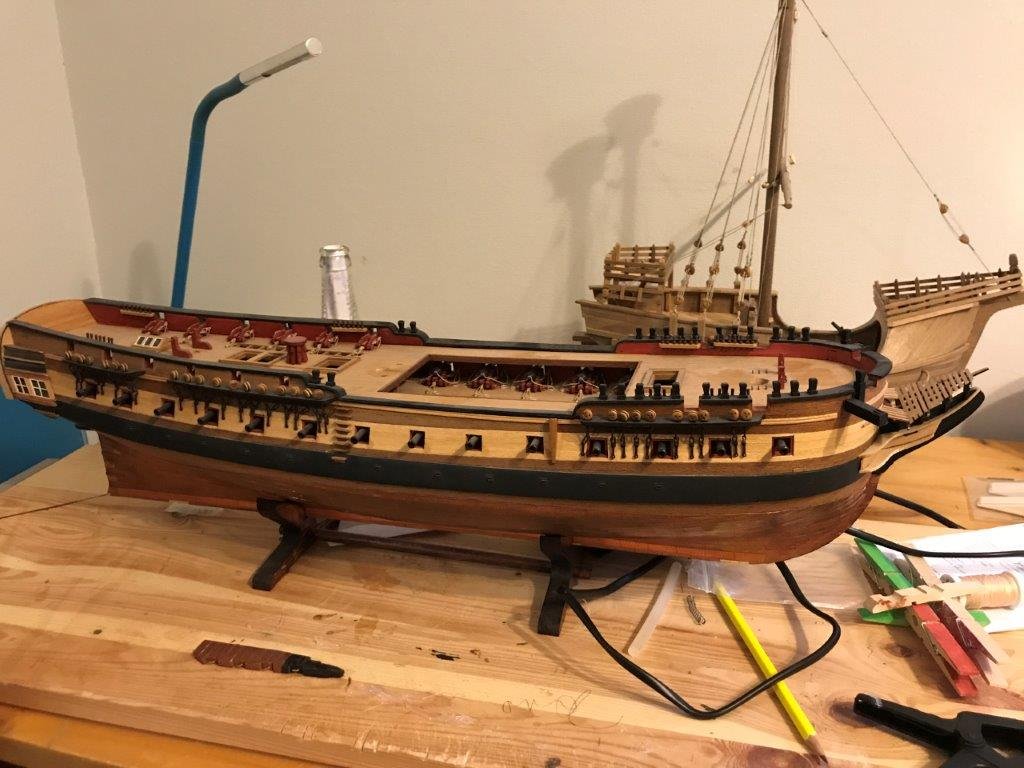
I don't have many photos from the later stages, but here is one with the upper deck is on. Good bye, details below I made an attempt to have as many holes as possible - left the hatches open and made some false framing on the deck, cut out a section of the ply and glued strips to the opening, then covered the joints with deck planking.
-
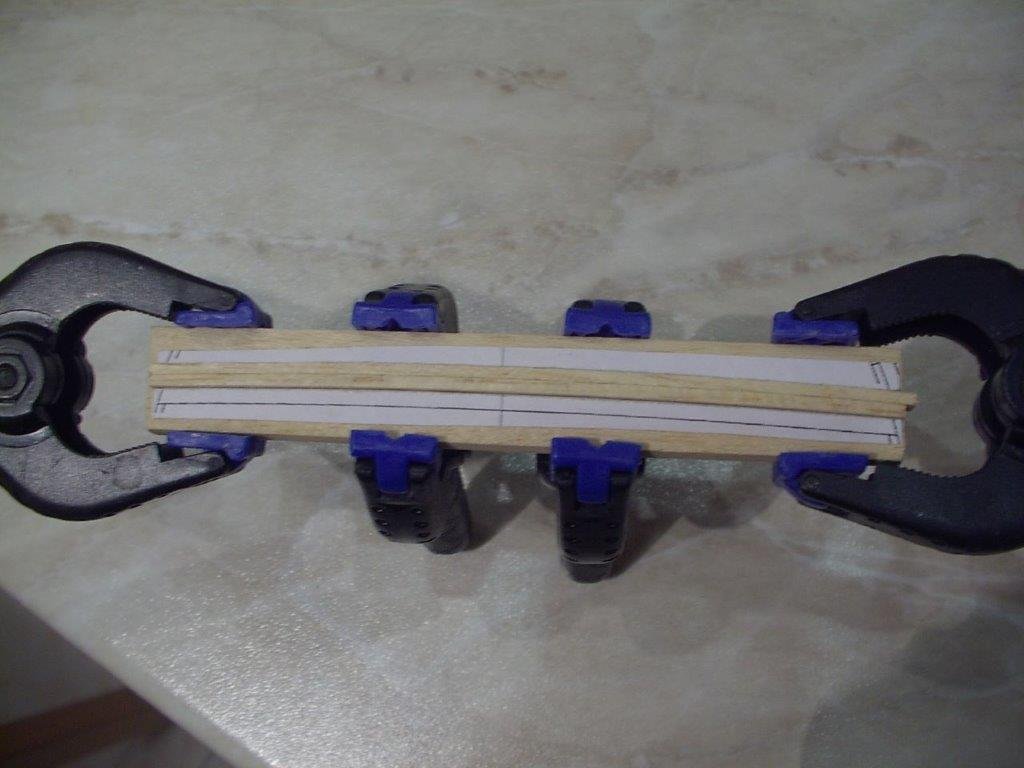
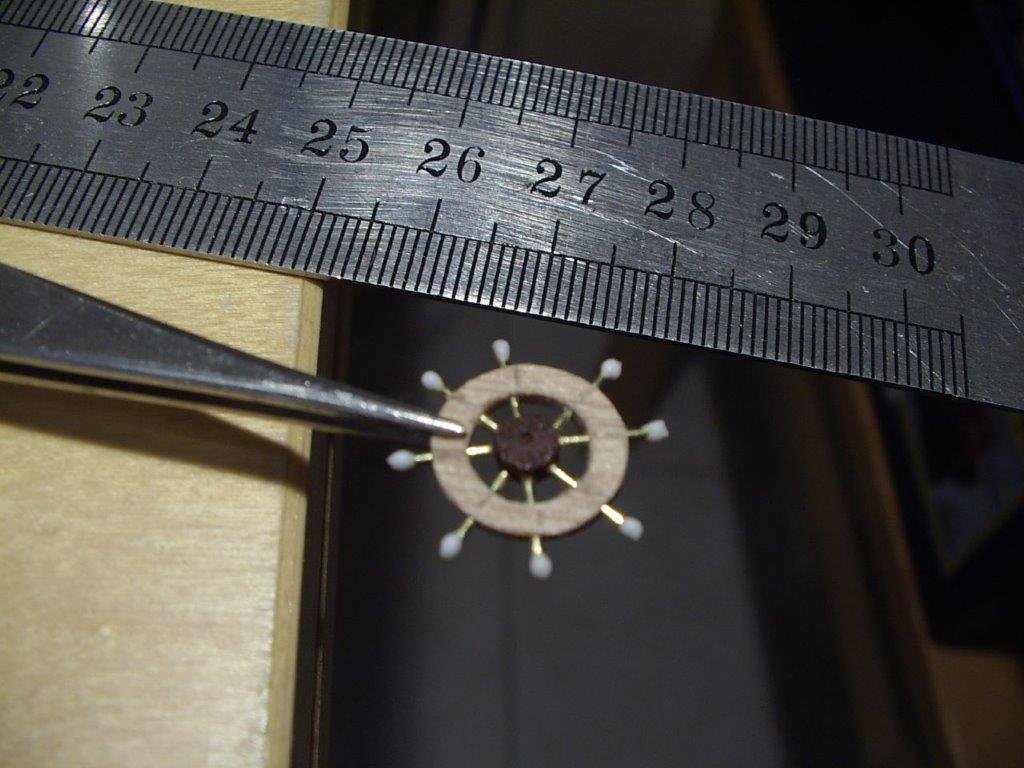
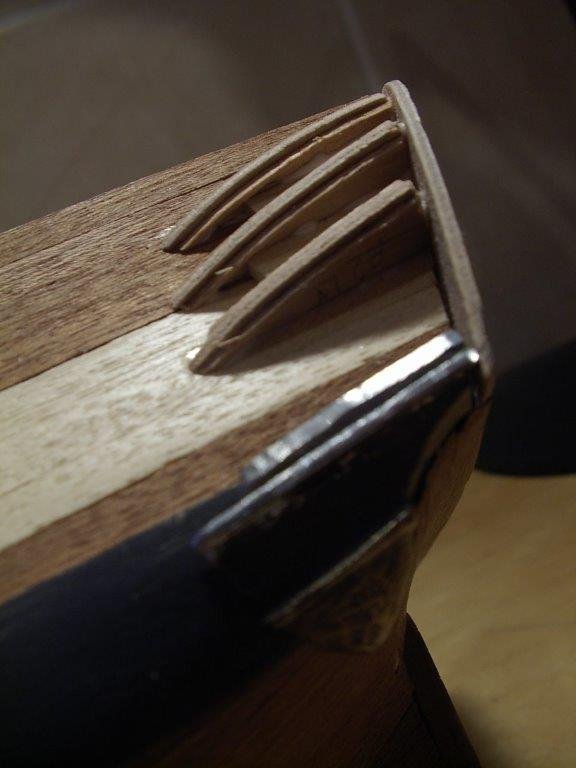
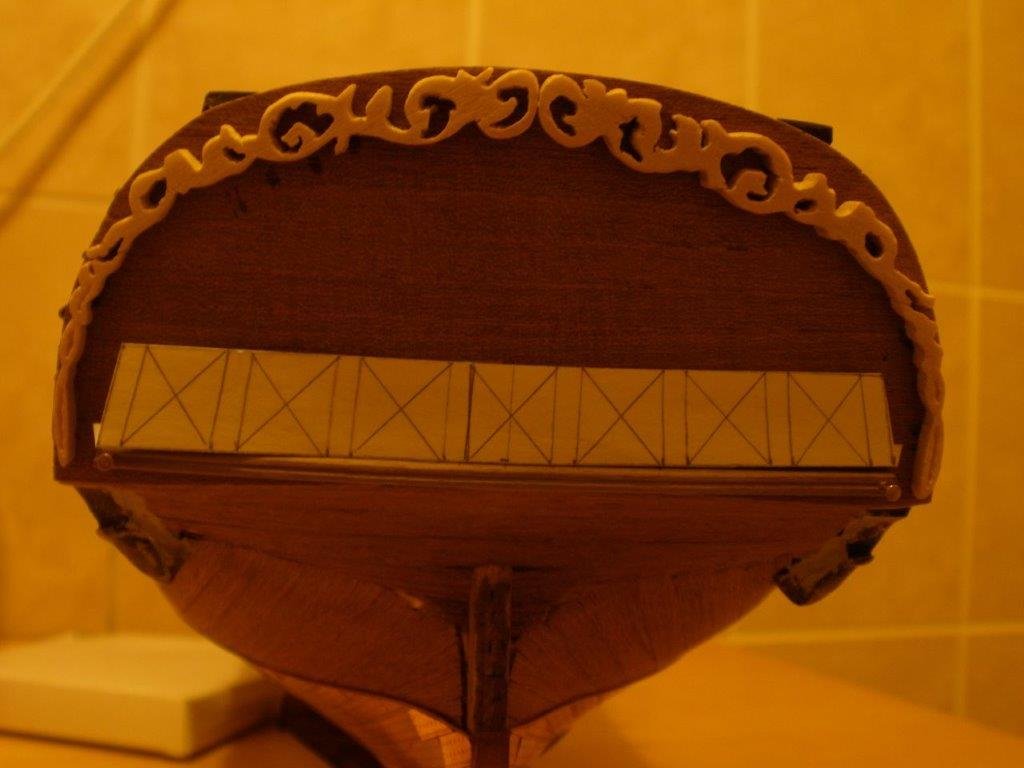
Failures.. I spent a lot of time on customizing the kit and tried out several ideas, some of them worked and others not. In this post I show some of my failures, as they are a natural part of model building. at least for me.. deck beams. the kit provides a flat upper deck, I wanted to incorporate a proper curve. The idea was, the laminated planking strips (glued and dried in a template) will save me from sawing out them individually. While the strips kept their curve, they were simply weak for the purpose. It would have been better to bend the whole ply deck separately before gluing on. I put these beams to the model, but the deck remained more or less flat. I also had an idea, I can build a better gallery of wood instead of the cast metal pieces. I took measurements from the castings and made some supports, with the intention of planking it later. The flow between the sections wasn't smooth though, I took this apart and I reverted to the castings later. ships's wheel.. Can't recall what did I think.. used cast Amati wheels at the end. stern.. I decided against the cast/ PE kit pieces. The decorative pattern was copied to a boxwood sheet, and I cut it with a hand saw. It took several attempts to have one which didn't fall apart immediately, and fixed it to the model. I recognized my limitations as I can't make it any better and moved to other areas. After ten years it's still there and still not satisfied. The current plan is the radically reduce it's thickness, maybe a little dome shape in section, to look like more a painted decoration than carving. To be honest, I saw way better examples of this stern using the well prepared kit piece, and this might be a final option if everything fails.
-
Diana by chriswi - OcCre
DavidG replied to chriswi's topic in - Kit build logs for subjects built from 1751 - 1800
Chris, nice to see another Diana being built. You did a very fine job. I especially like how the head turned out. And your stern looks very good as well. I have the same ship on my desk for 12 years now on and off, you made already much more progress than I did. Keep on the good work. -
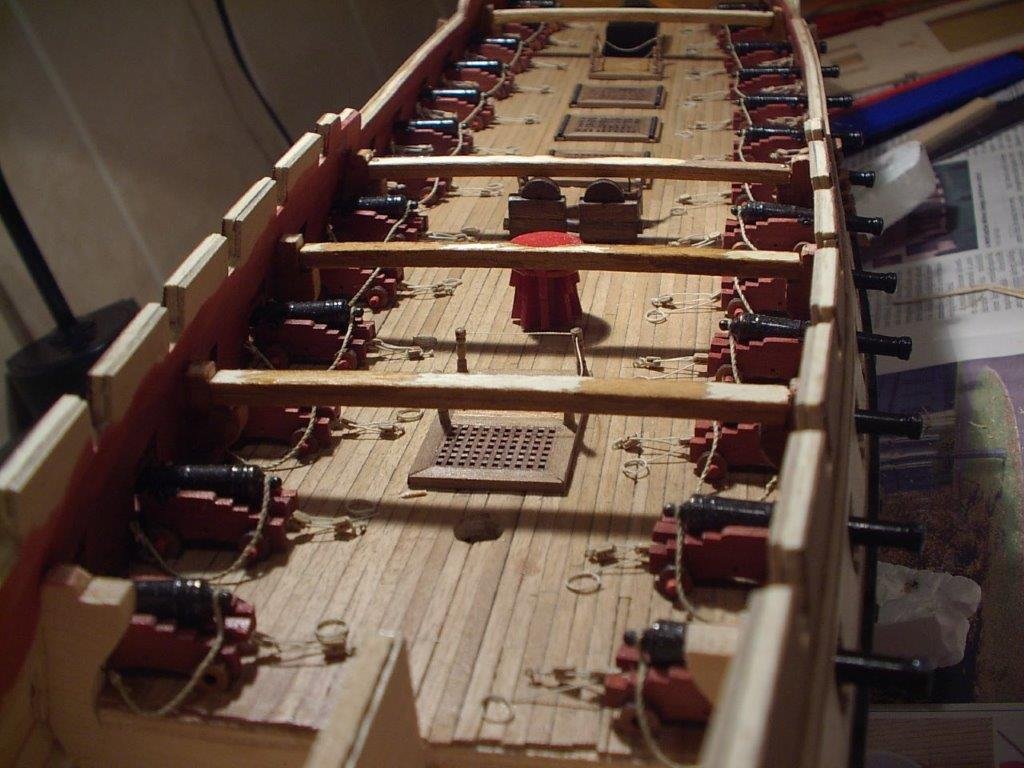
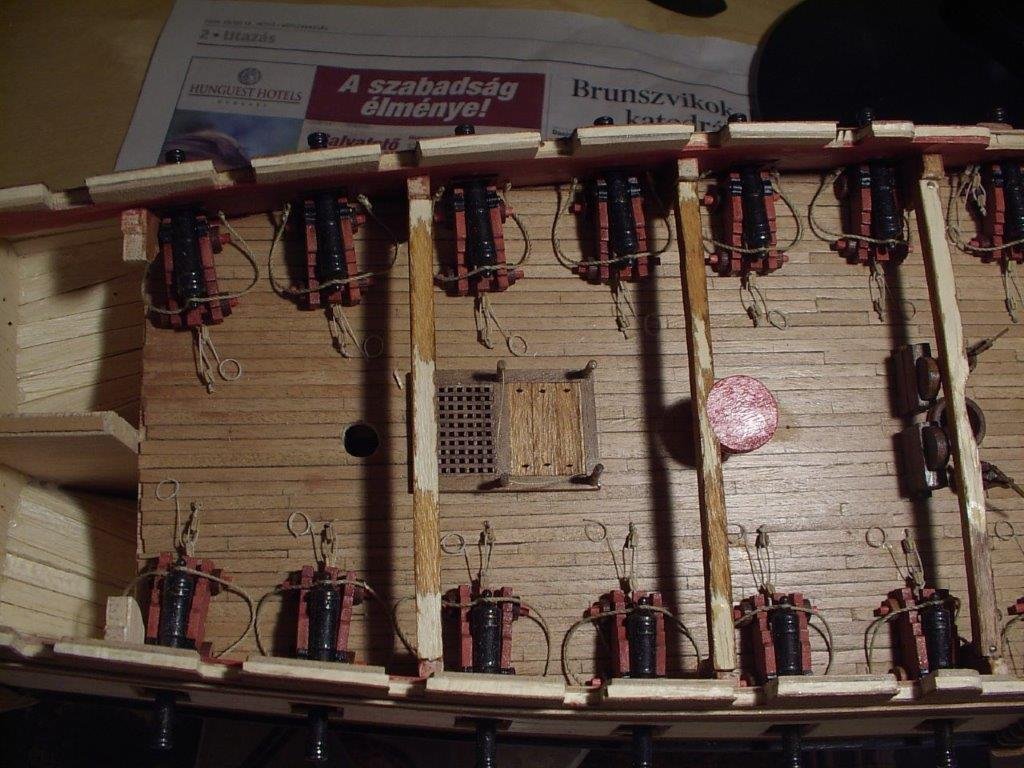
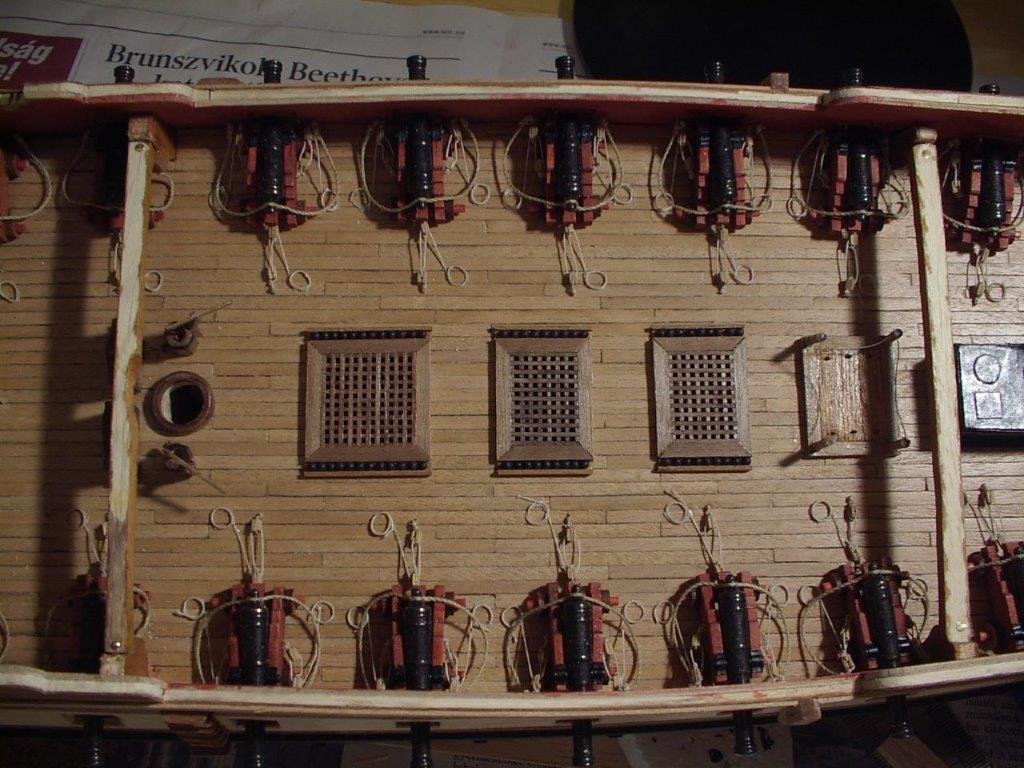
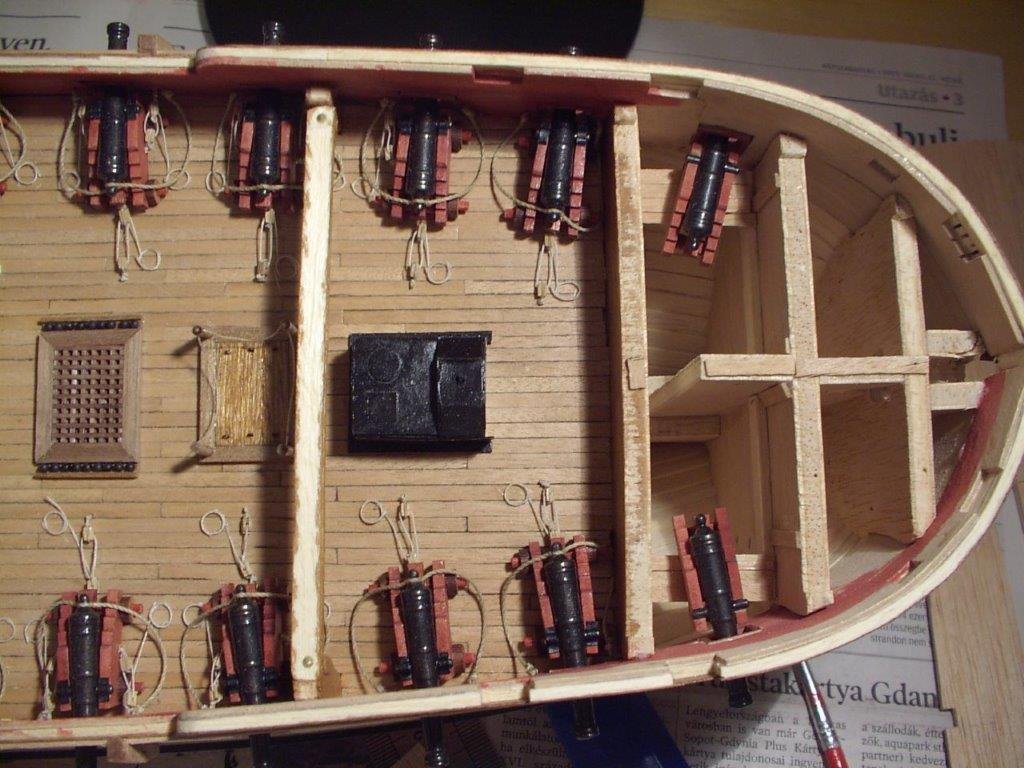
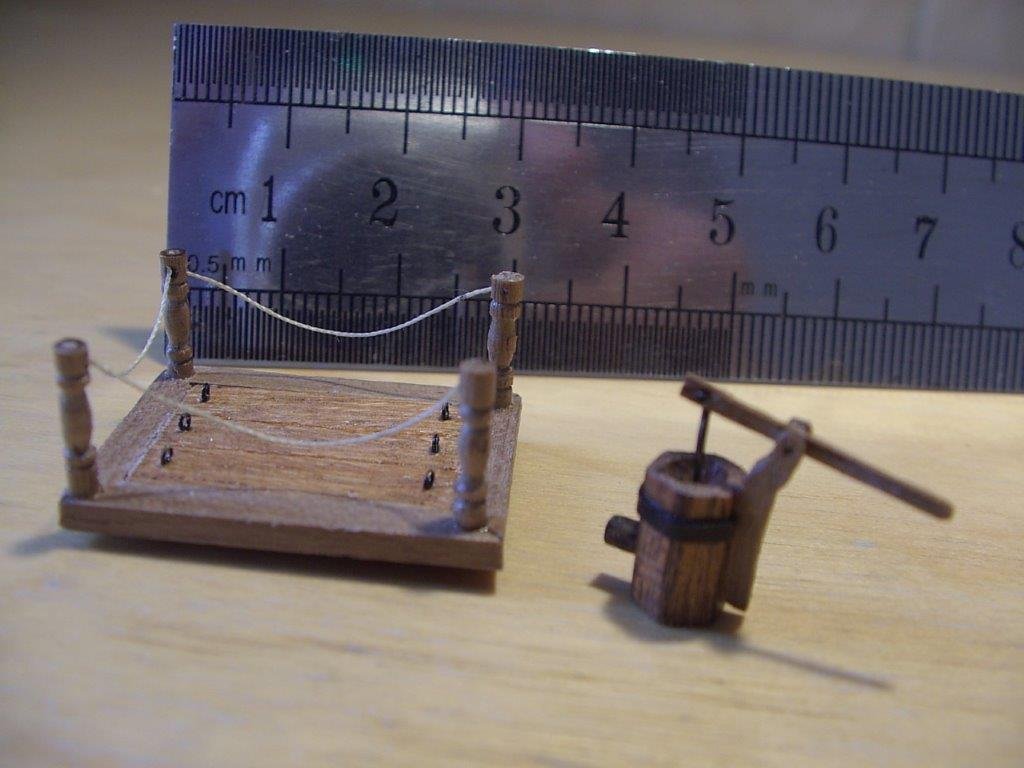
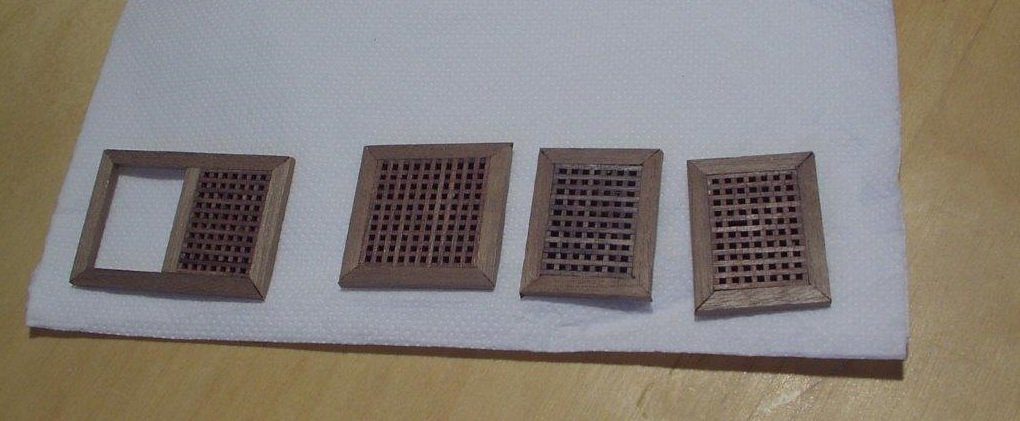
after having done two upgrades for the kit (guns + copper), I started to dislike some of the kit features. The gun deck seemed dull besides the the row of guns, so decided to add some furniture. My first adventures to scratch building parts. First remade the grating (these are the Amati ones): then I figured out, I can make a pump and other deck fittings.
-
thank you Chuck for looking in. you made a very valid point on the gratings - actually the same applies to most of the kit fittings. I replaced most of them over time, including the gratings, but this made the work very slow and broke up the flow several times. I just wonder on 1) how much other modeling I could have done without continuously removing and updating parts and.. 2) with this kind of time investment I could have built a better/ more authentic ship model. but for next time...
-
great find, good luck with the build. It is interesting, how little these Corel kits changed. I built one not so long ago (different ship), and apart from the box, everything was the same like yours above. The ply frames, decks, down to the design of the plan folder.
-
great work so far coming late into the diluted glue question... but I use the cut bottom of an ordinary beer can. there is a recess around it's circumference (where I put water) and a bump in the middle (where i put glue). this way they can be mixed on demand by a brush. after work I wash it and put away.
- 271 replies
-
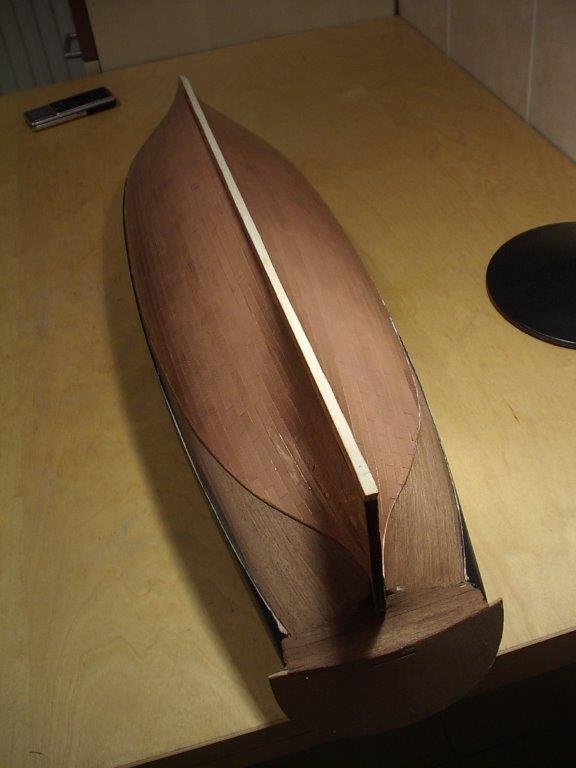
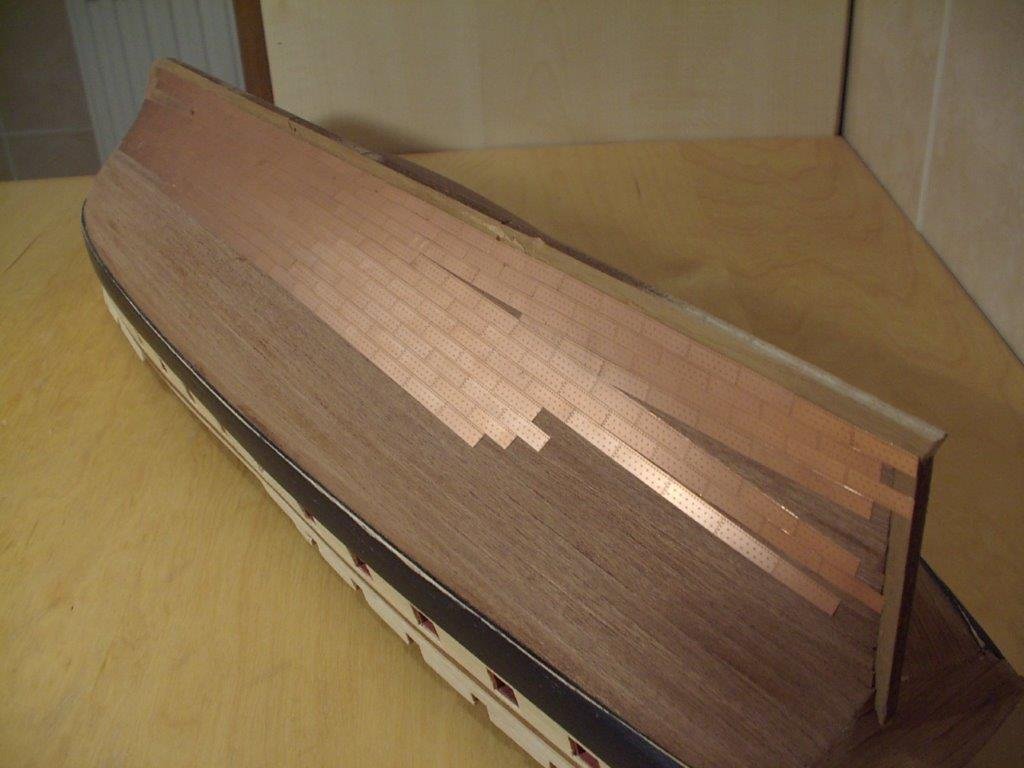
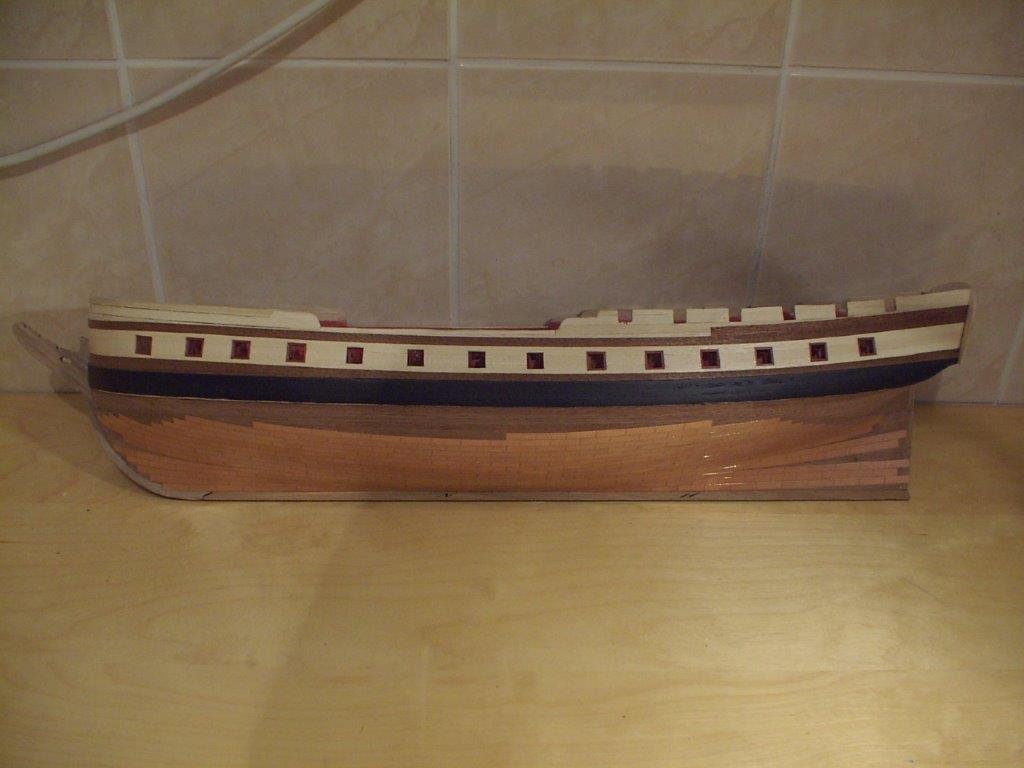
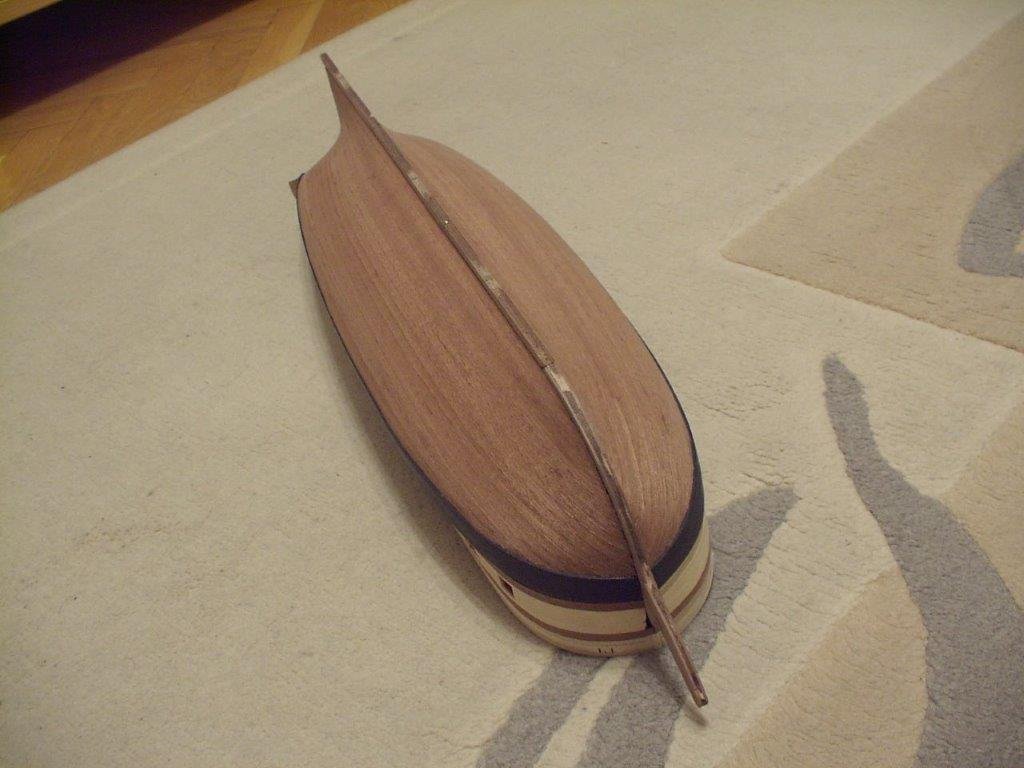
after I finished the basic rigging of the guns, started the coppering. from one tedious job to another.. this was my first (and so far the only) attempt on coppering a hull, but it came out just fine. I used the Amati PE plates, they can be fit in longer strips which adds to the alignment and speed. There is a thin styrene strip on the upper edge, painted copper.
-
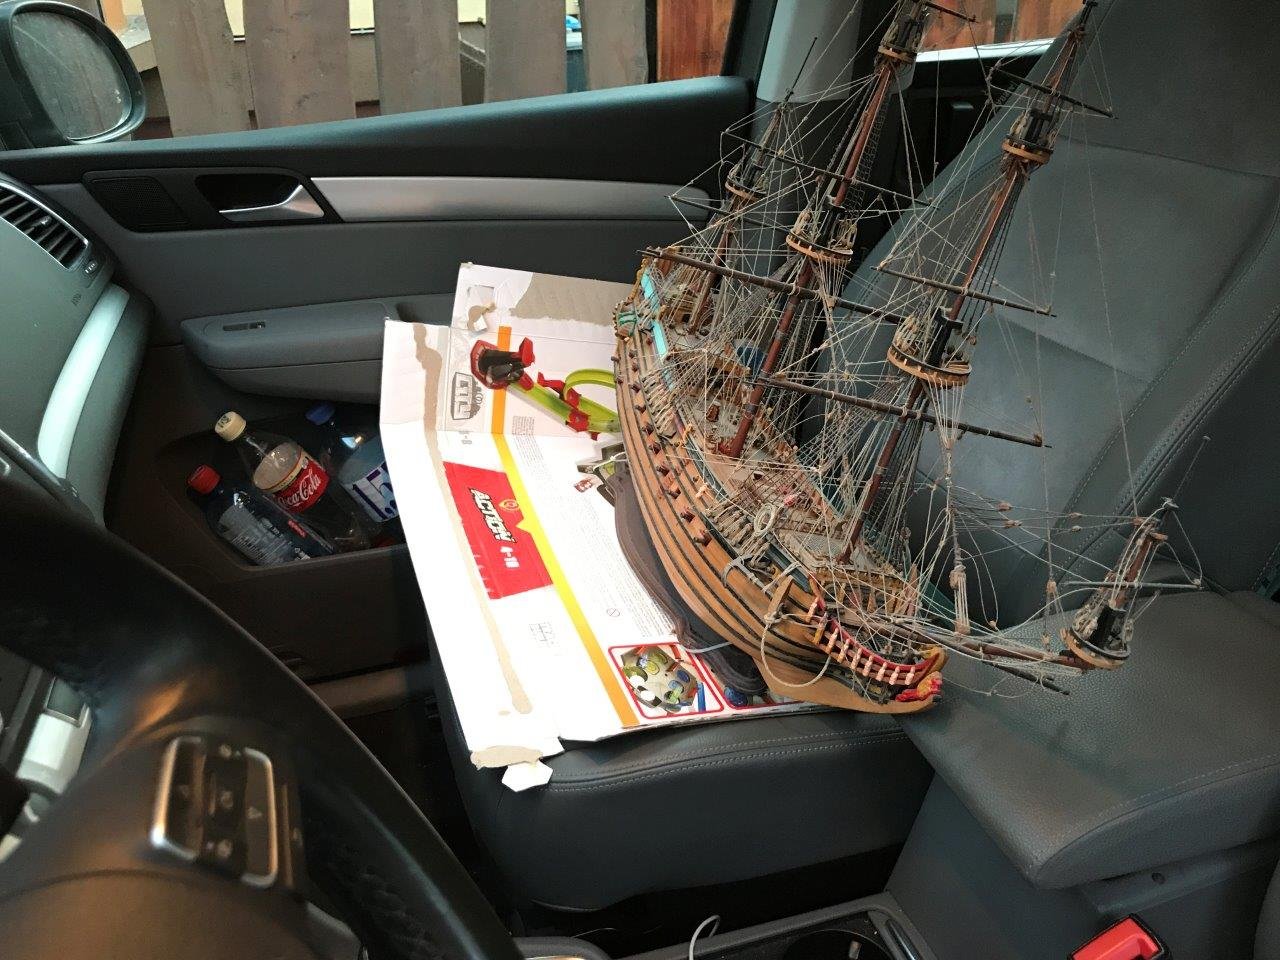
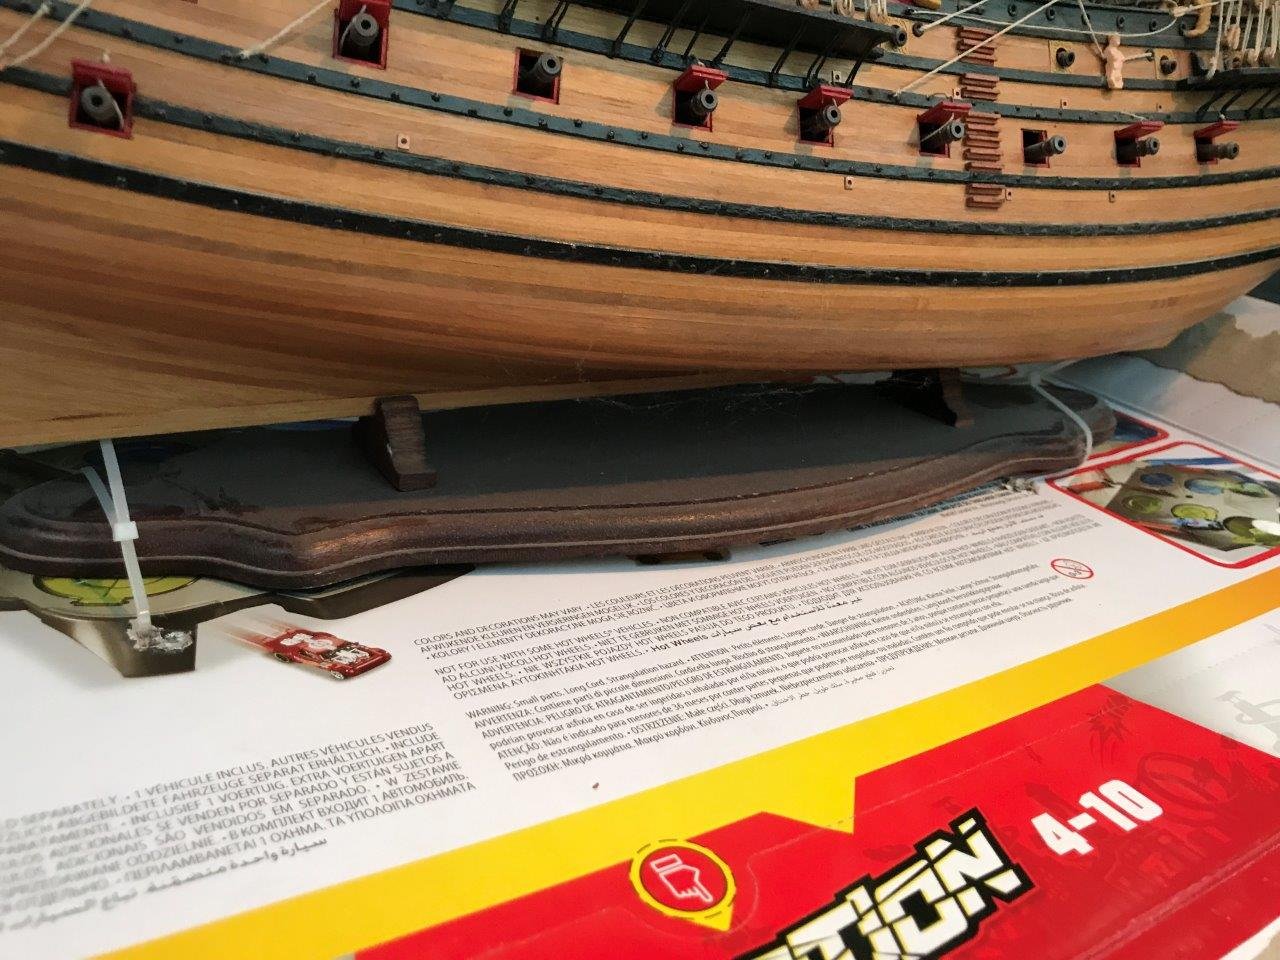
I recently had to move a model in a short, 15 minutes driving distance, and creating a proper crate was not considered as an option. Not being the safest method, I'm not recommending this to anyone, but here goes my solution. I used cable ties to fix the base of the model to a large cardboard sheet. This prevented the model from being capsized, and any movement was absorbed by the space around it. I drove pretty careful, and the mission was succesfully accomplished. The ship shows some damage, but this comes from being abandoned 12 years on a shelf, not the transport operation.
-
Coca by DavidG - FINISHED - Amati - 1:60
DavidG replied to DavidG's topic in - Kit subjects built Up to and including 1500 AD
thank you Rick. while I built this out of the box, there are several great examples of builders supporting their build with proper research, and correct the simplifications of the kit (like the upper bow planking, correct mast top, etc). Woody Joe makes a bit more elaborate version of the same ship (link) The kit is pretty straightforward to build, the only thing I would change is the installation of the deck beams, which are added in a very early stage in the build. The protruding beam ends are very difficult to nicely plank around. I see no reason to do that, the beams could be added once the second planking finished, with the rectangular openings left open during the planking. good luck to your build. -
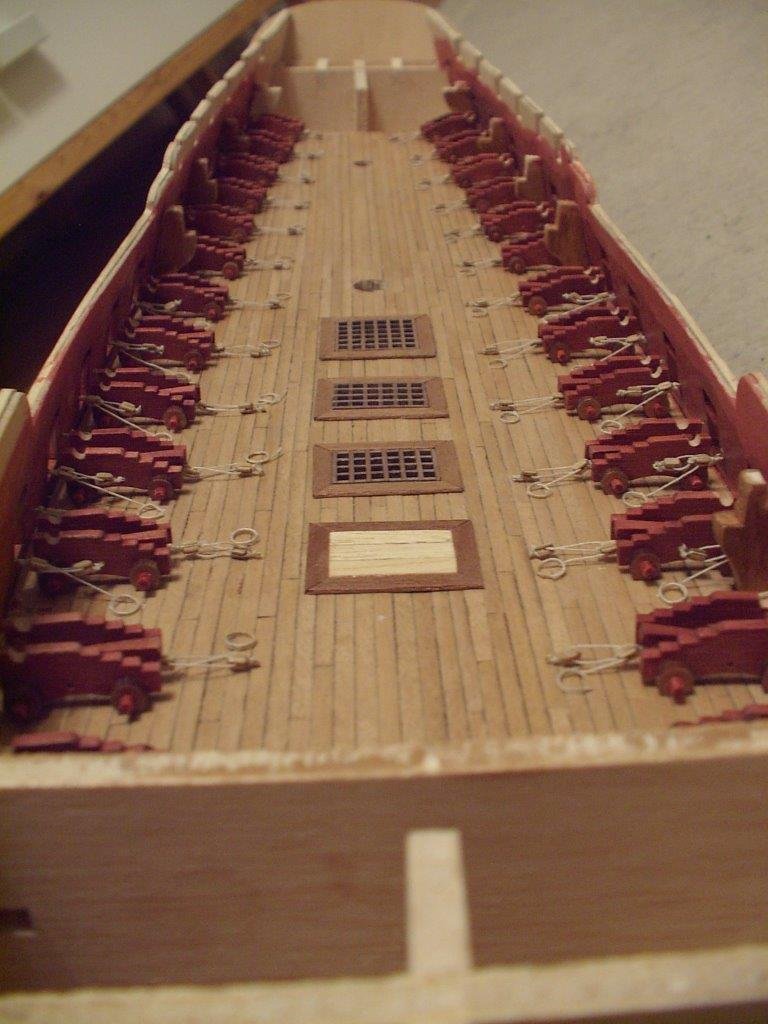
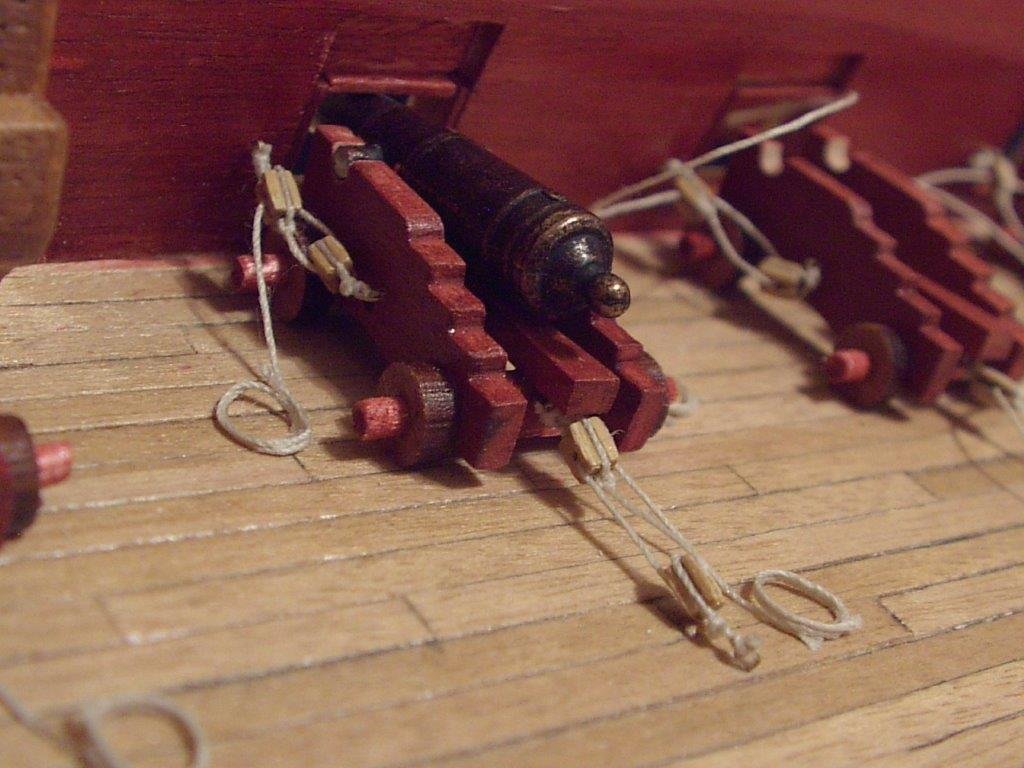
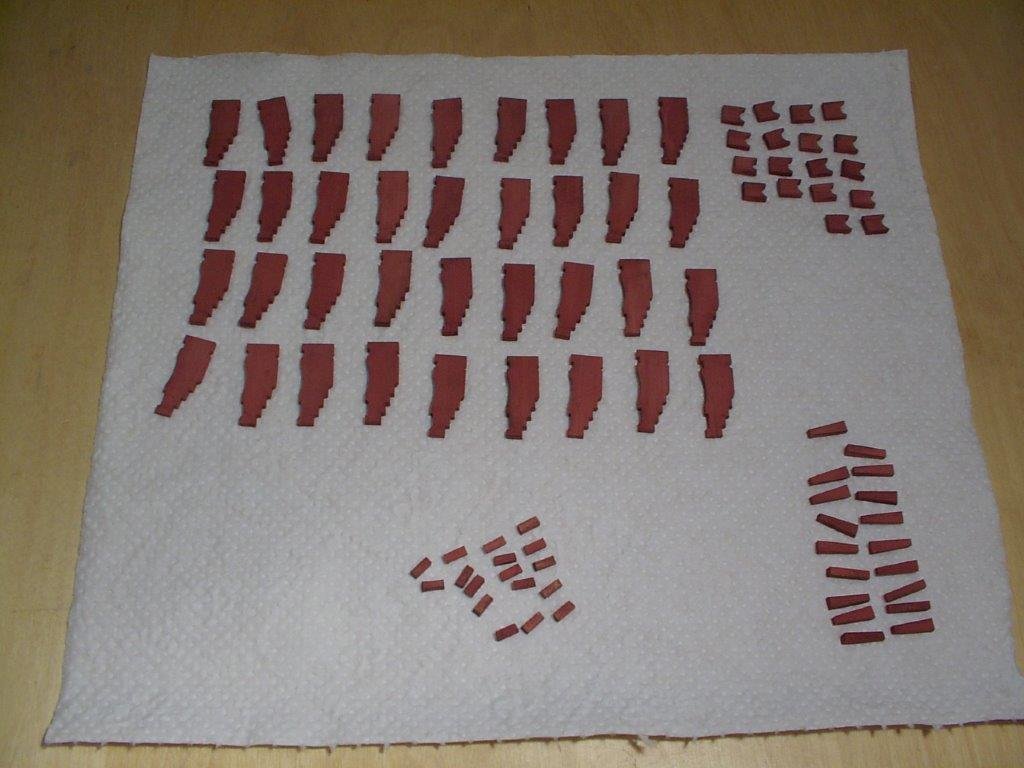
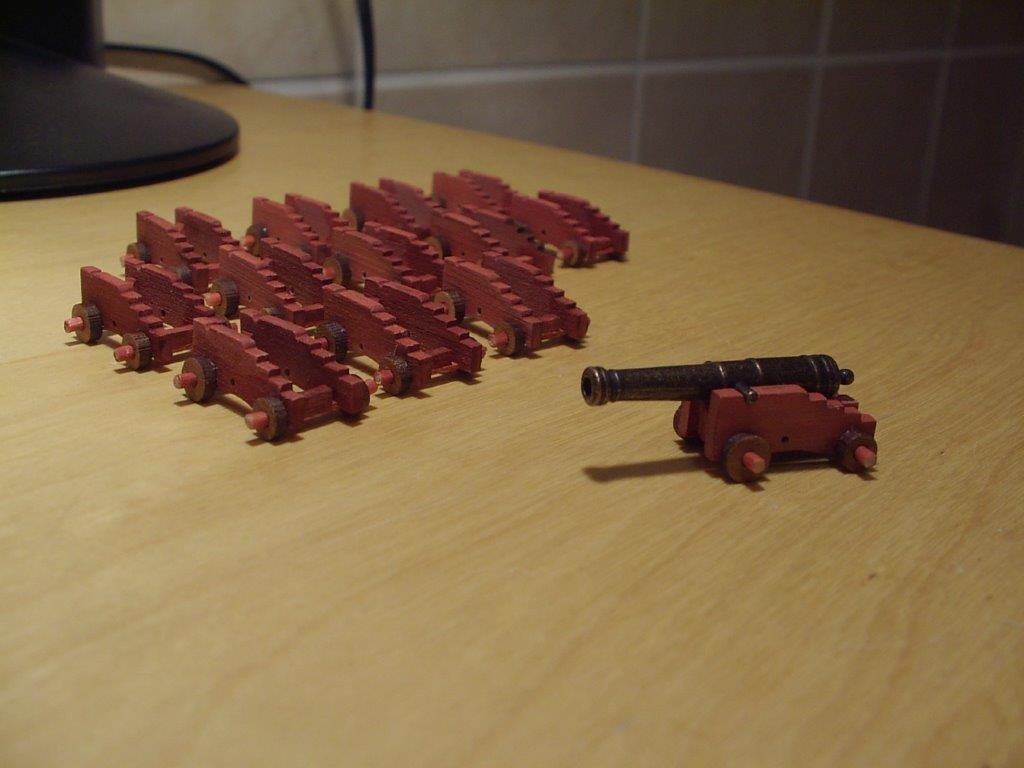
once I had the basic hull set up, started working on the guns. I planned to populate the gun deck will carriages (instead of dummies) throughout. A very fiddly job, but I was enthusiastic about it. I purchased aftermarket cannon kits (they are made of pear) and after sanding, staining assembled them. I also changed the barrels to stock Amati items, I wanted to have them uniform, and they were just the right size. A barrel is test fitted for checking height: I fully rigged the visible guns. The barrel is only a temporary fit here, they will be painted black and the breeching rope added. I used 2mm blocks for this.
-
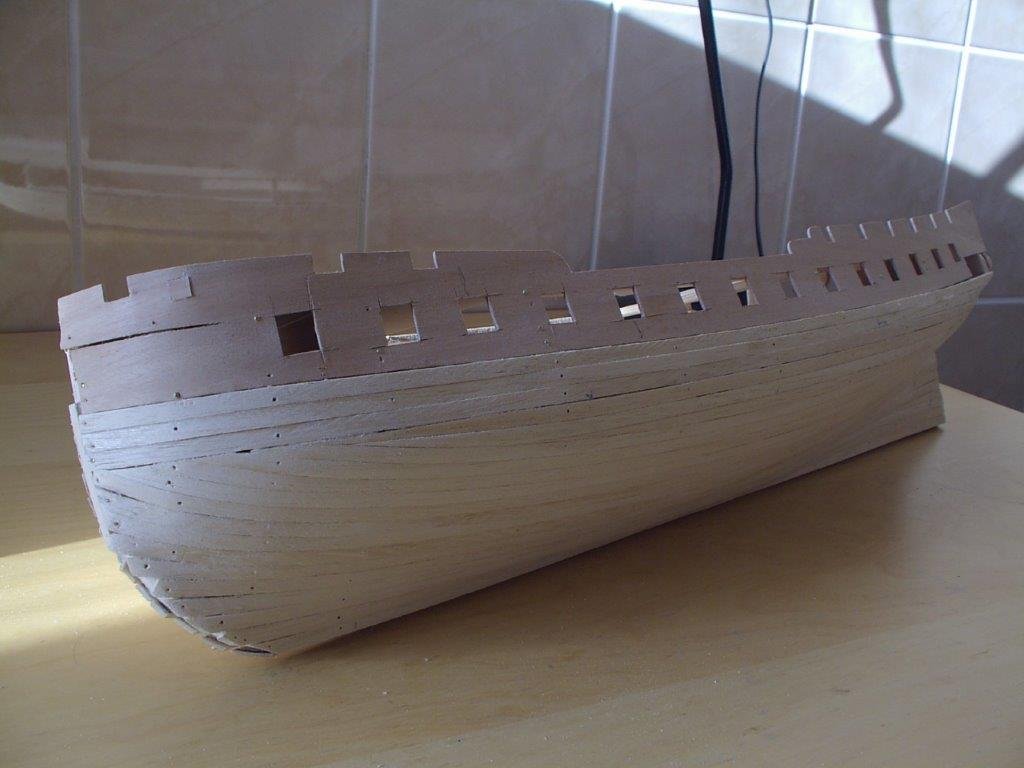
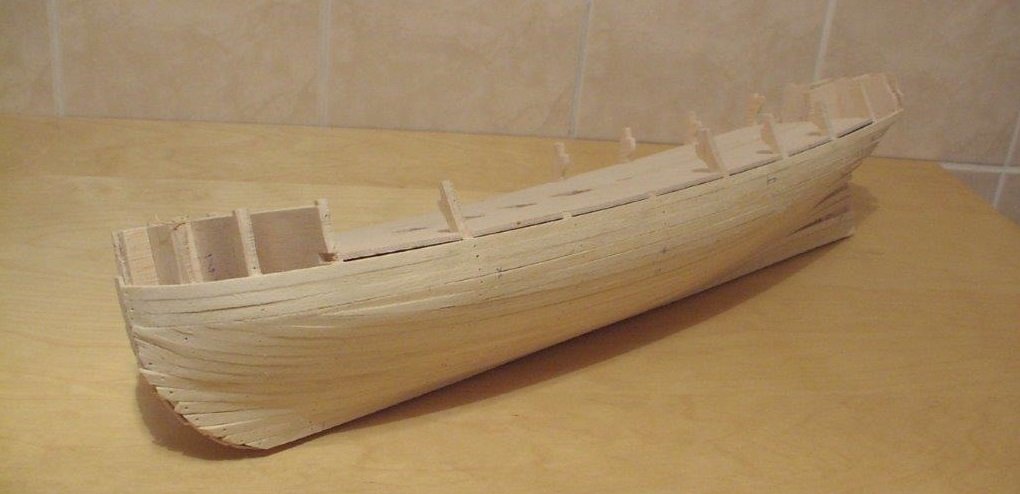
Having the hull shape and the gunports ready, the second planking can start. I never had such an easy planking job like this. The hull shape is very friendly. In addition, the strips are so thin, like paper, it's really about just gluing them side by side. There is large grain, the reddish color makes it typical kit look - but at least easy to work with.
-
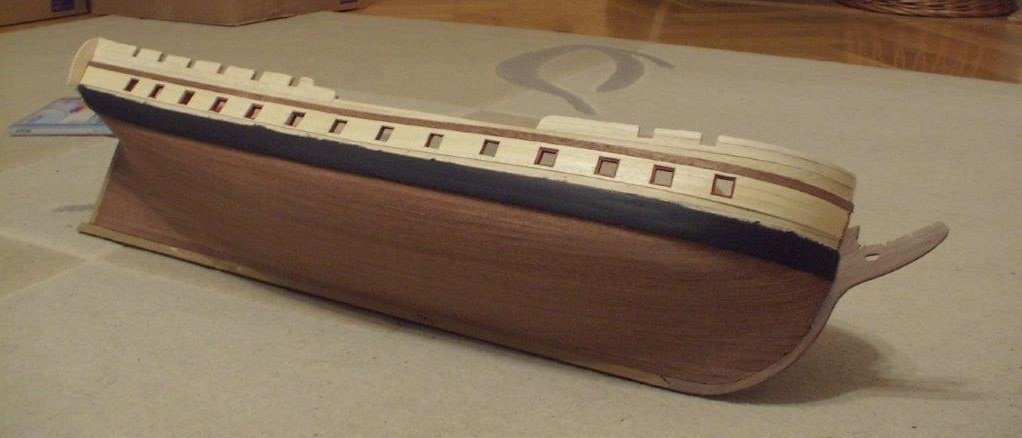
and here are some recessed ports, with future lids. Inspired by the painted models, I used the second planking material to show a light stripe over the gunports, and planked dark above and below. This is the final cover - it's a pity, there is so much visible grain. the wales are also built up using first planking strip. At the end the wales come out smooth but I recall an endless loop of filling/ sanding/ painting to reach the final stage.
-
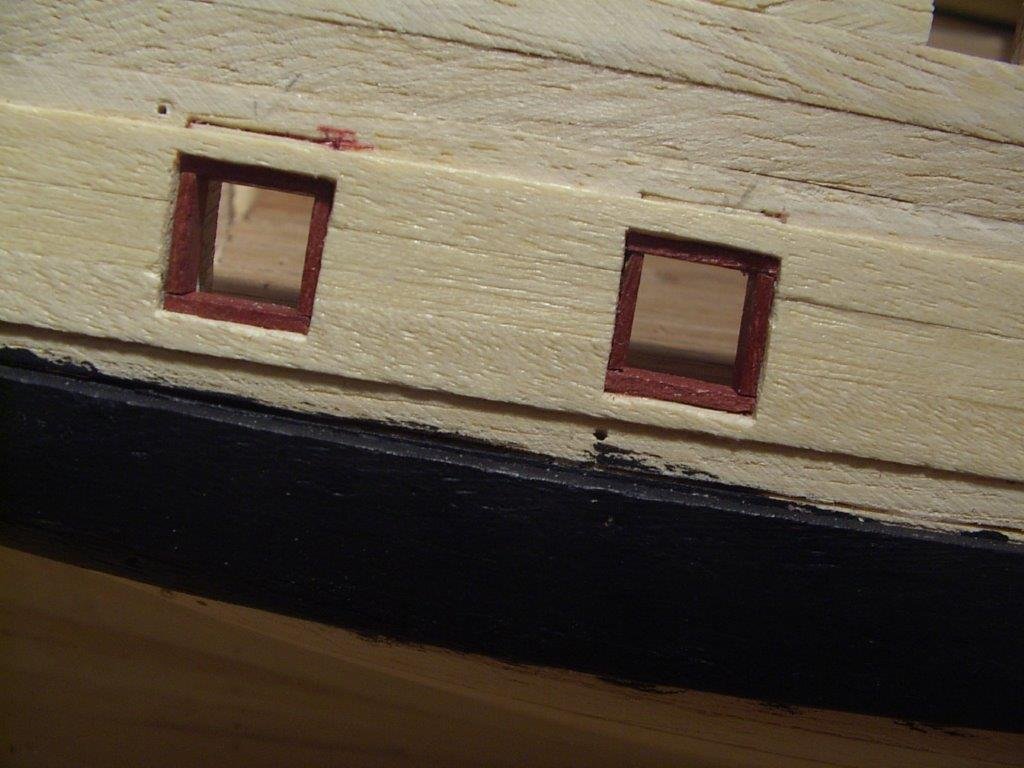
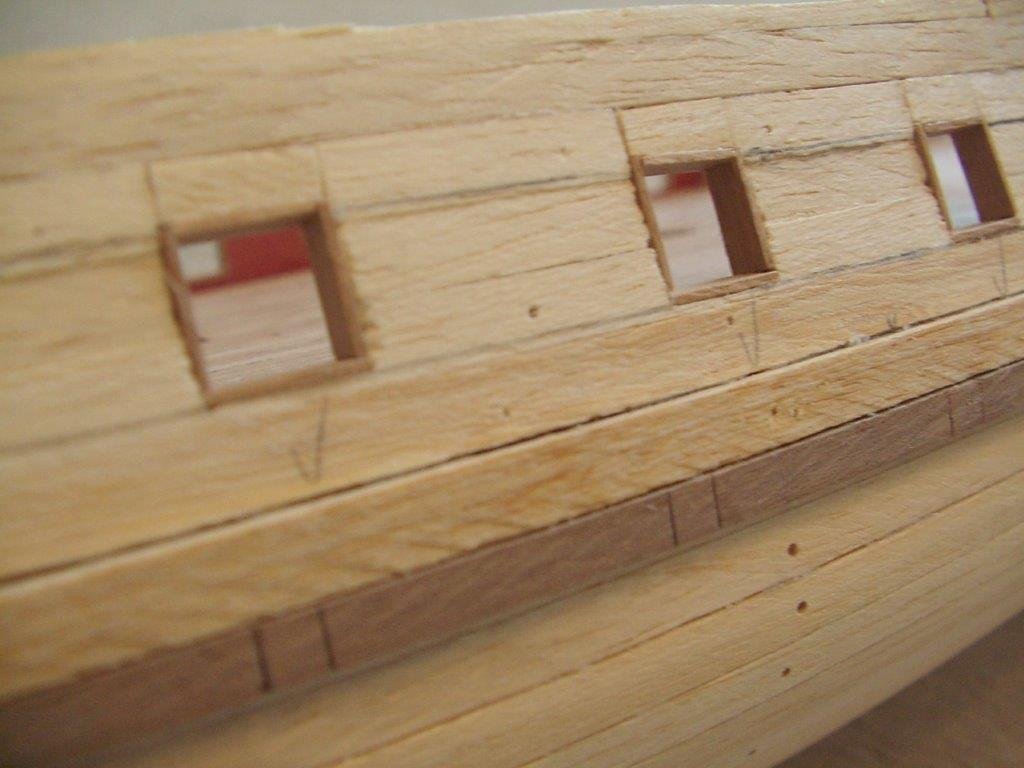
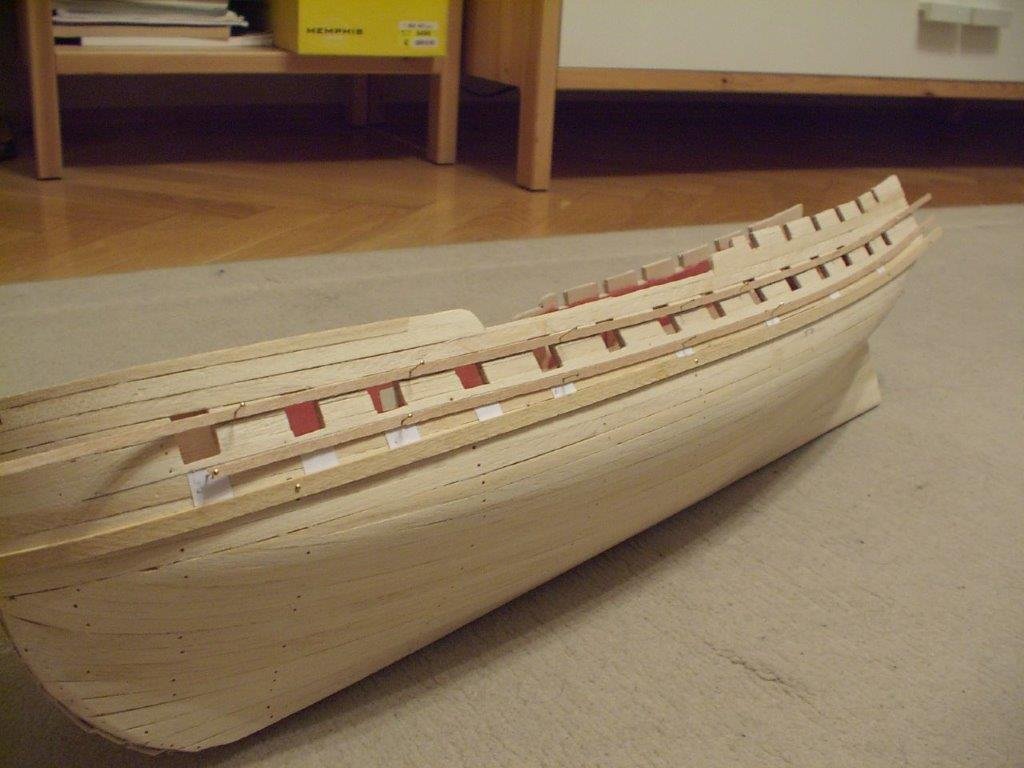
the bottom of the ports are cut, and filler pieces inserted to the upper edges. finally the gunports can be framed. the example below is a port without lid. I had some spare strips for this, but soon I had to order more material. The wales are buing built up. The upper wale strip (first planking) was installed originally as temporary one for the gunport positioning, but it is the right size and the bending qualities were better than the thick walnut (?) one, and choose to use it for the wales.
-
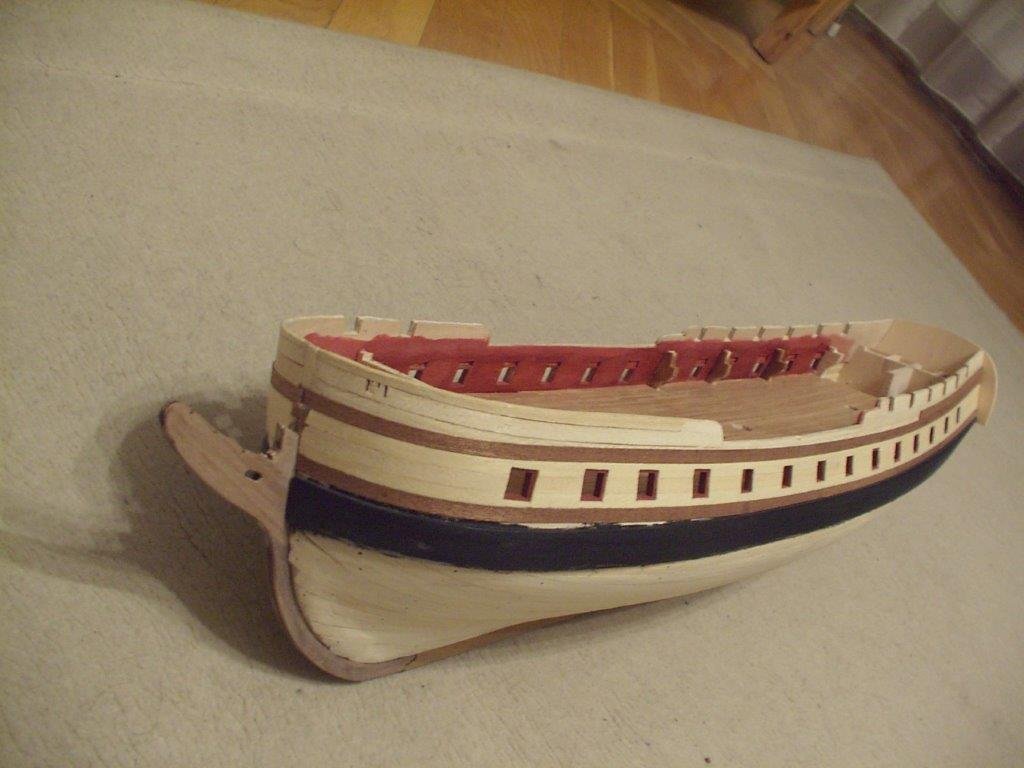
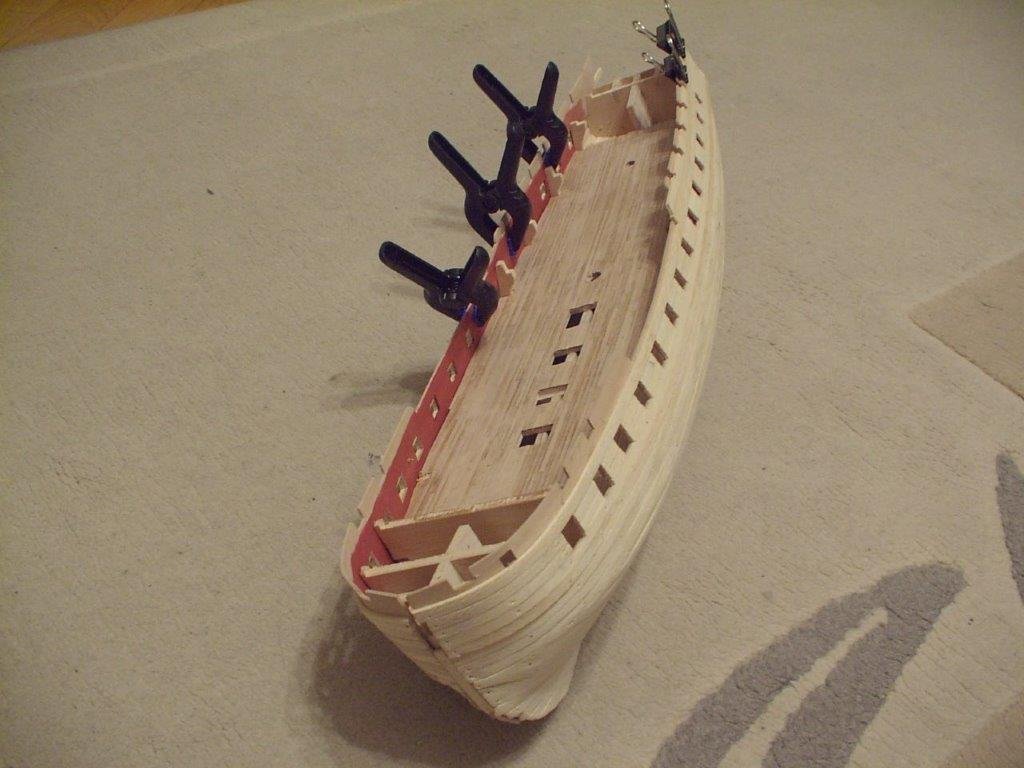
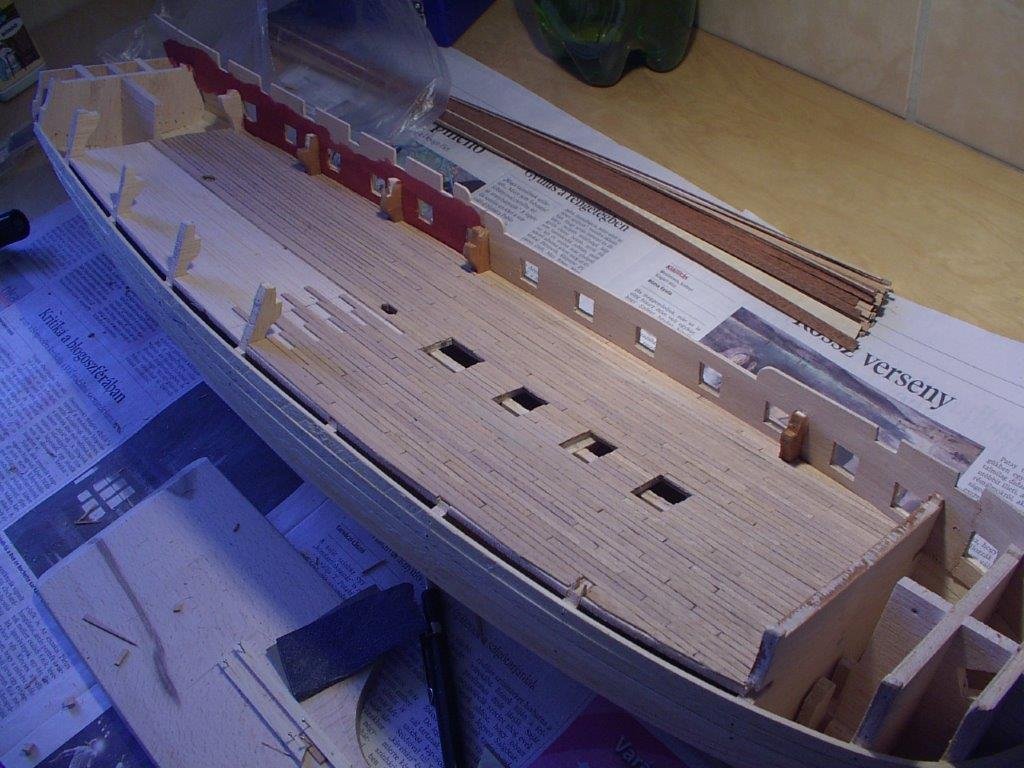
finally both bulwarks installed and the gundeck planked. The red color is an ordinary water based €1 wood stain from the hardware store, but worked very well for this model. I wish I still had a jar of it, unfortunately now out of production. further investigation revealed the first mistake (many more will follow...). The kit originally designed with dummy gun barrels on the gundeck (except for the middle four), and their height under the closed areas are relatively unimportant. Not so with my planned carriages - now all of the ports are too high. The white paper templates mark the correct height from upper edge of the wale, the thin planks are the correct lower and upper edges. Let's correct all the 28 of them.
-
the first bulwark piece in place. again, the fit of the precut part was very good. it will be covered with first planking later. besides not using the metal gunports, I also decided, I will build the gundeck with actual guns. I planked the whole gundeck, even it will not be visible. the deck planking material was pretty poor, unevenly cut and very brittle. A good scraping helped a bit.
-
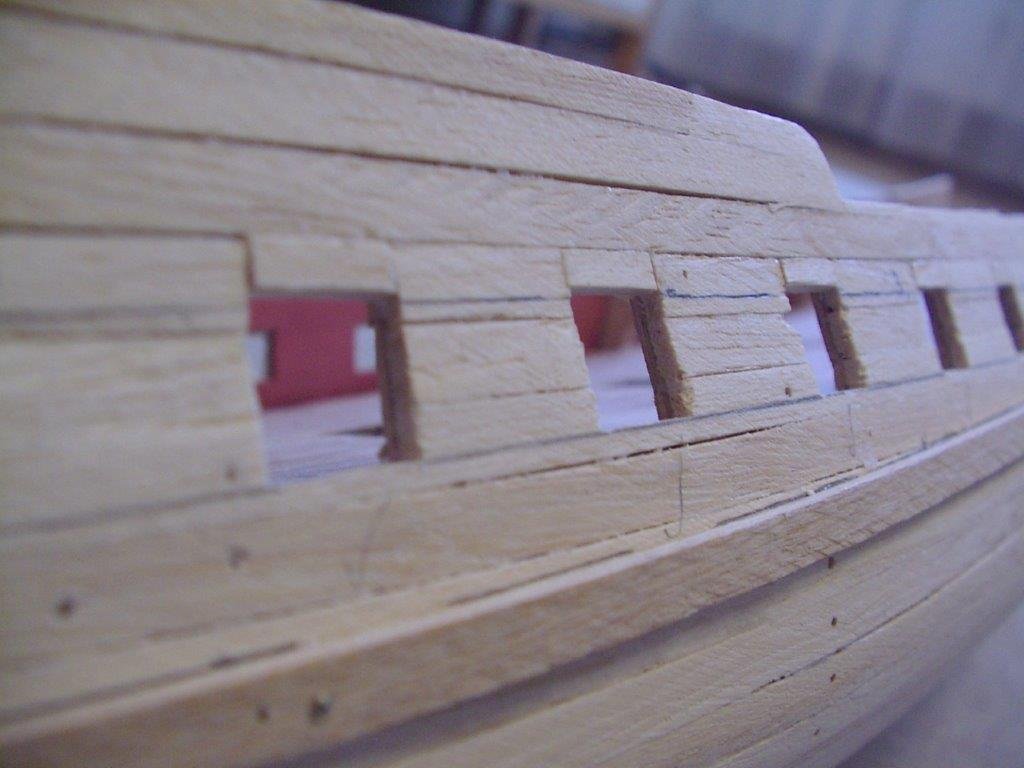
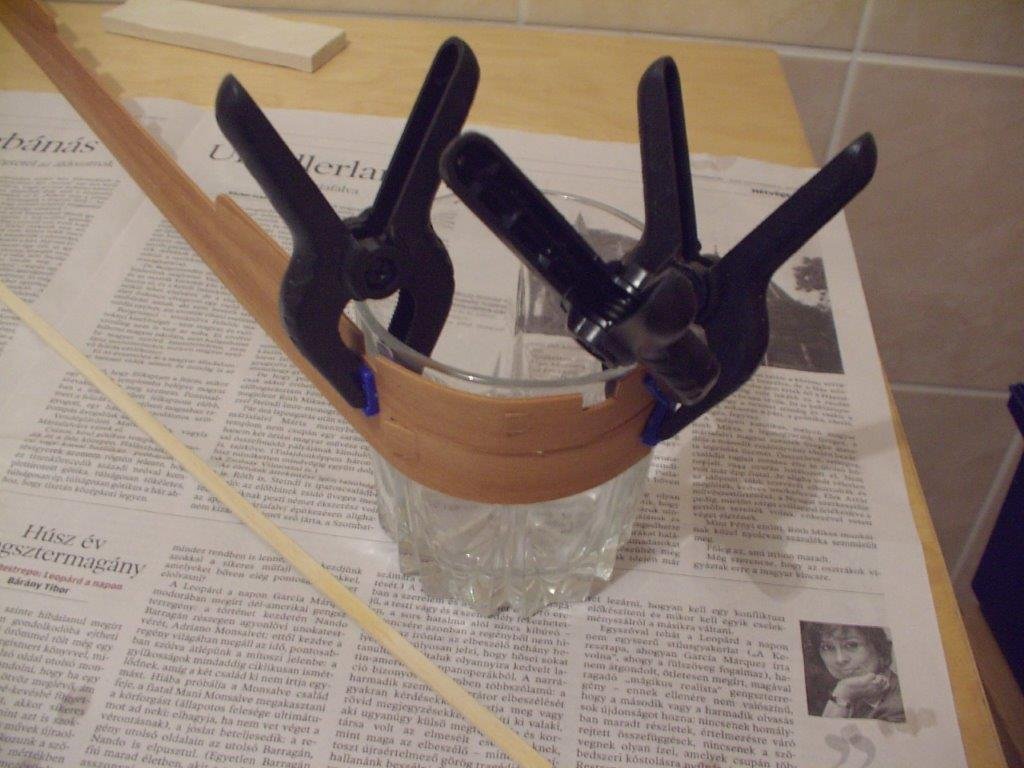
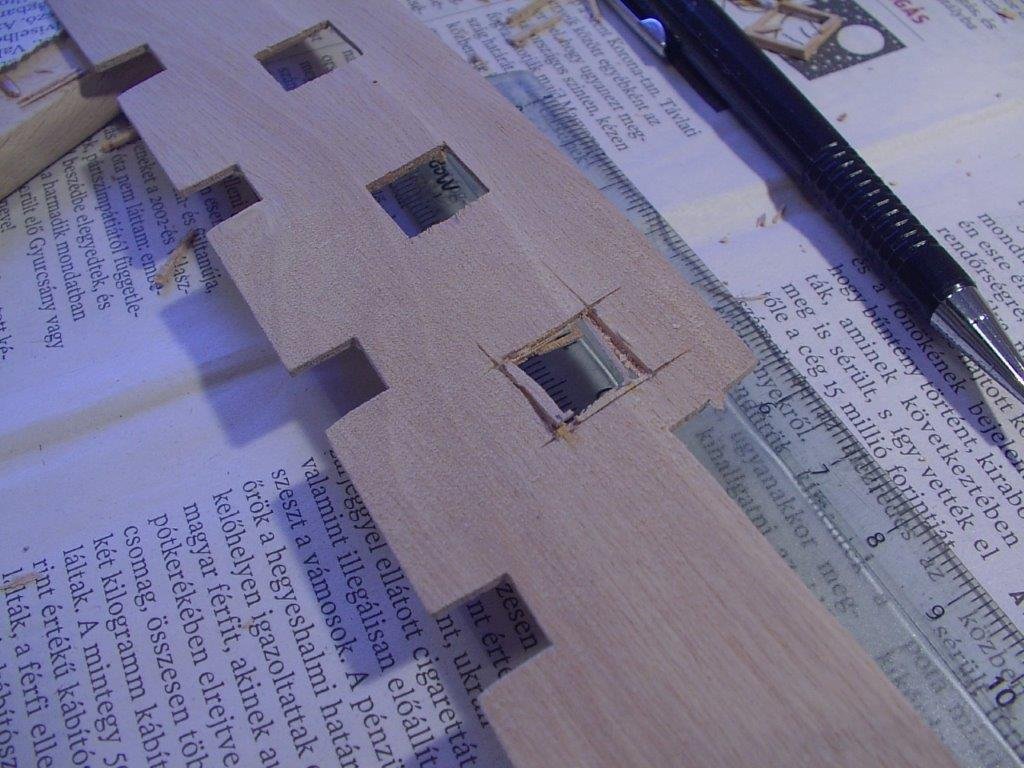
the kit provided cast metal gunports, which I decided against in favor of wooden lining. for this reason, I had to enlarge the gunport openings. and here is my sophisticated bending device, I still use different sizes of glasses and pots for bending. the soaked template stays on the former overnight.
-
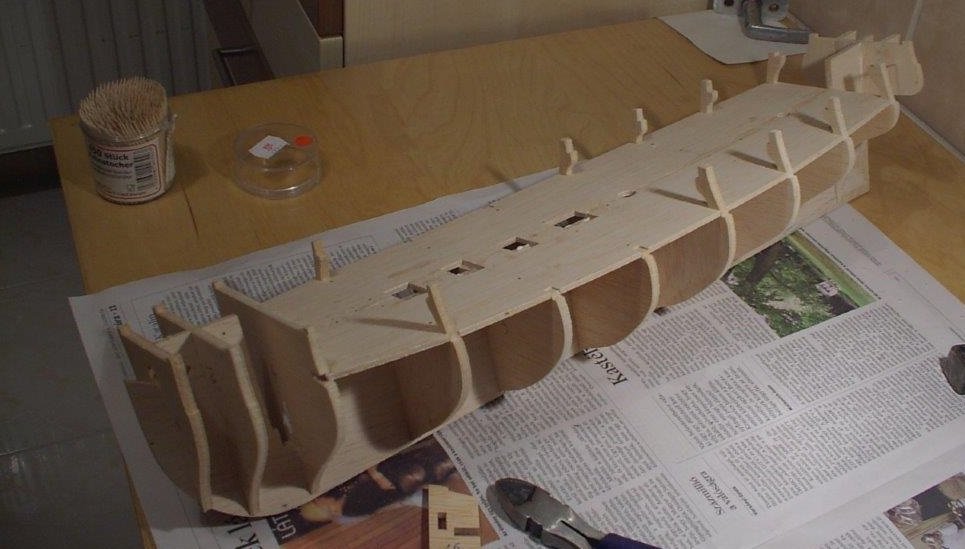
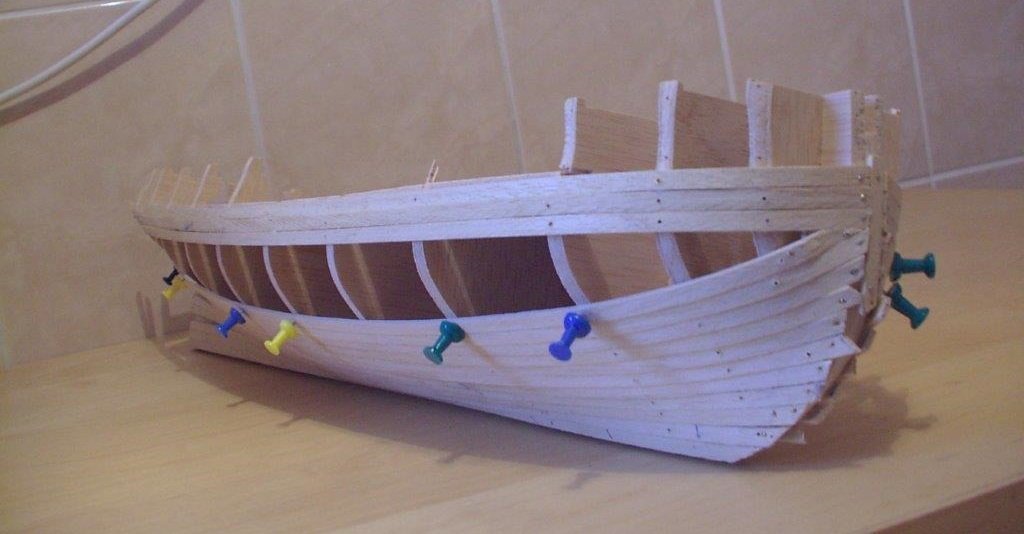
the basic hull takes shape quickly. the fit of the precut parts was perfect. the hull shape is not difficult either, so no issues with the first planking. the frames are made of a very light and soft plywood, having a balsa core - parts can be chipped off by fingernails. the first planking is 2 mm, rather rough basswood, but bends easily and provides a lot of room for future sanding. a precut prow piece will be added later, a vertical strip acts as a placeholder during planking. the bulwarks will be built up by a gunport strip, so the planking doesn't take too long.df
-
after finishing my small Coca model recently, I decided to move on with my Occre Diana, I started 10 years ago. This was the period where I discovered forums, ship modeling books, I purchased the recently released Vanguard kit (still unstarted) and prepared myself to build a better quality model than my previous efforts, which may exceed kit offerings. I shortly learnt, the Occre kit provides ample room for customizing. This is not an expensive kit by any means, and we got what we expect - a well designed hull shape, average (or less) quality materials and loads of generic fittings. I started the build out of the box, but changed concept already in the early stages. My usual sequence was to build a step by the kit, then deconstruct what I have done and replace to an improved version. Then go to the next stage and repeat. But how an improved feature should be made? I found it pretty difficult to answer - the provided plans are more assembly instructions, and I had no specifics about the actual ship (well, proper research was not in my plans anyway), so I used the resources I had. I drew a lot of inspiration from the design of the Vanguard kit, the Anatomy of Ship Diana book (which is a different, British ship) and pictures from the forums I liked. The result therefore not a specific ship, but (in the best case..) a generic frigate. Anyway, I try to resurrect this project and finish it to a reasonable standard. The plan is to add the missing parts to the hull, make the masts and rig the ship. In the 10 years passed, I saw a lot of wonderful models built here, and I have questions, wheter a feature I liked by the time is acceptable for now. There are several parts to change, but still not decided if I want to contuine the build/destroy loop. If I want to finish this in a reasonable time, some compromises most probably had to be made. This is the actual status, on my working desk - the first task is to dust it off. I will post the sequence, how I got this far.
About us
Modelshipworld - Advancing Ship Modeling through Research
SSL Secured
Your security is important for us so this Website is SSL-Secured
NRG Mailing Address
Nautical Research Guild
237 South Lincoln Street
Westmont IL, 60559-1917
Model Ship World ® and the MSW logo are Registered Trademarks, and belong to the Nautical Research Guild (United States Patent and Trademark Office: No. 6,929,264 & No. 6,929,274, registered Dec. 20, 2022)
Helpful Links
About the NRG
If you enjoy building ship models that are historically accurate as well as beautiful, then The Nautical Research Guild (NRG) is just right for you.
The Guild is a non-profit educational organization whose mission is to “Advance Ship Modeling Through Research”. We provide support to our members in their efforts to raise the quality of their model ships.
The Nautical Research Guild has published our world-renowned quarterly magazine, The Nautical Research Journal, since 1955. The pages of the Journal are full of articles by accomplished ship modelers who show you how they create those exquisite details on their models, and by maritime historians who show you the correct details to build. The Journal is available in both print and digital editions. Go to the NRG web site (www.thenrg.org) to download a complimentary digital copy of the Journal. The NRG also publishes plan sets, books and compilations of back issues of the Journal and the former Ships in Scale and Model Ship Builder magazines.

