-
Posts
164 -
Joined
-
Last visited
About CaptMorgan
- Birthday 11/25/1956
Profile Information
-
Gender
Male
-
Location
Michigan
-
Interests
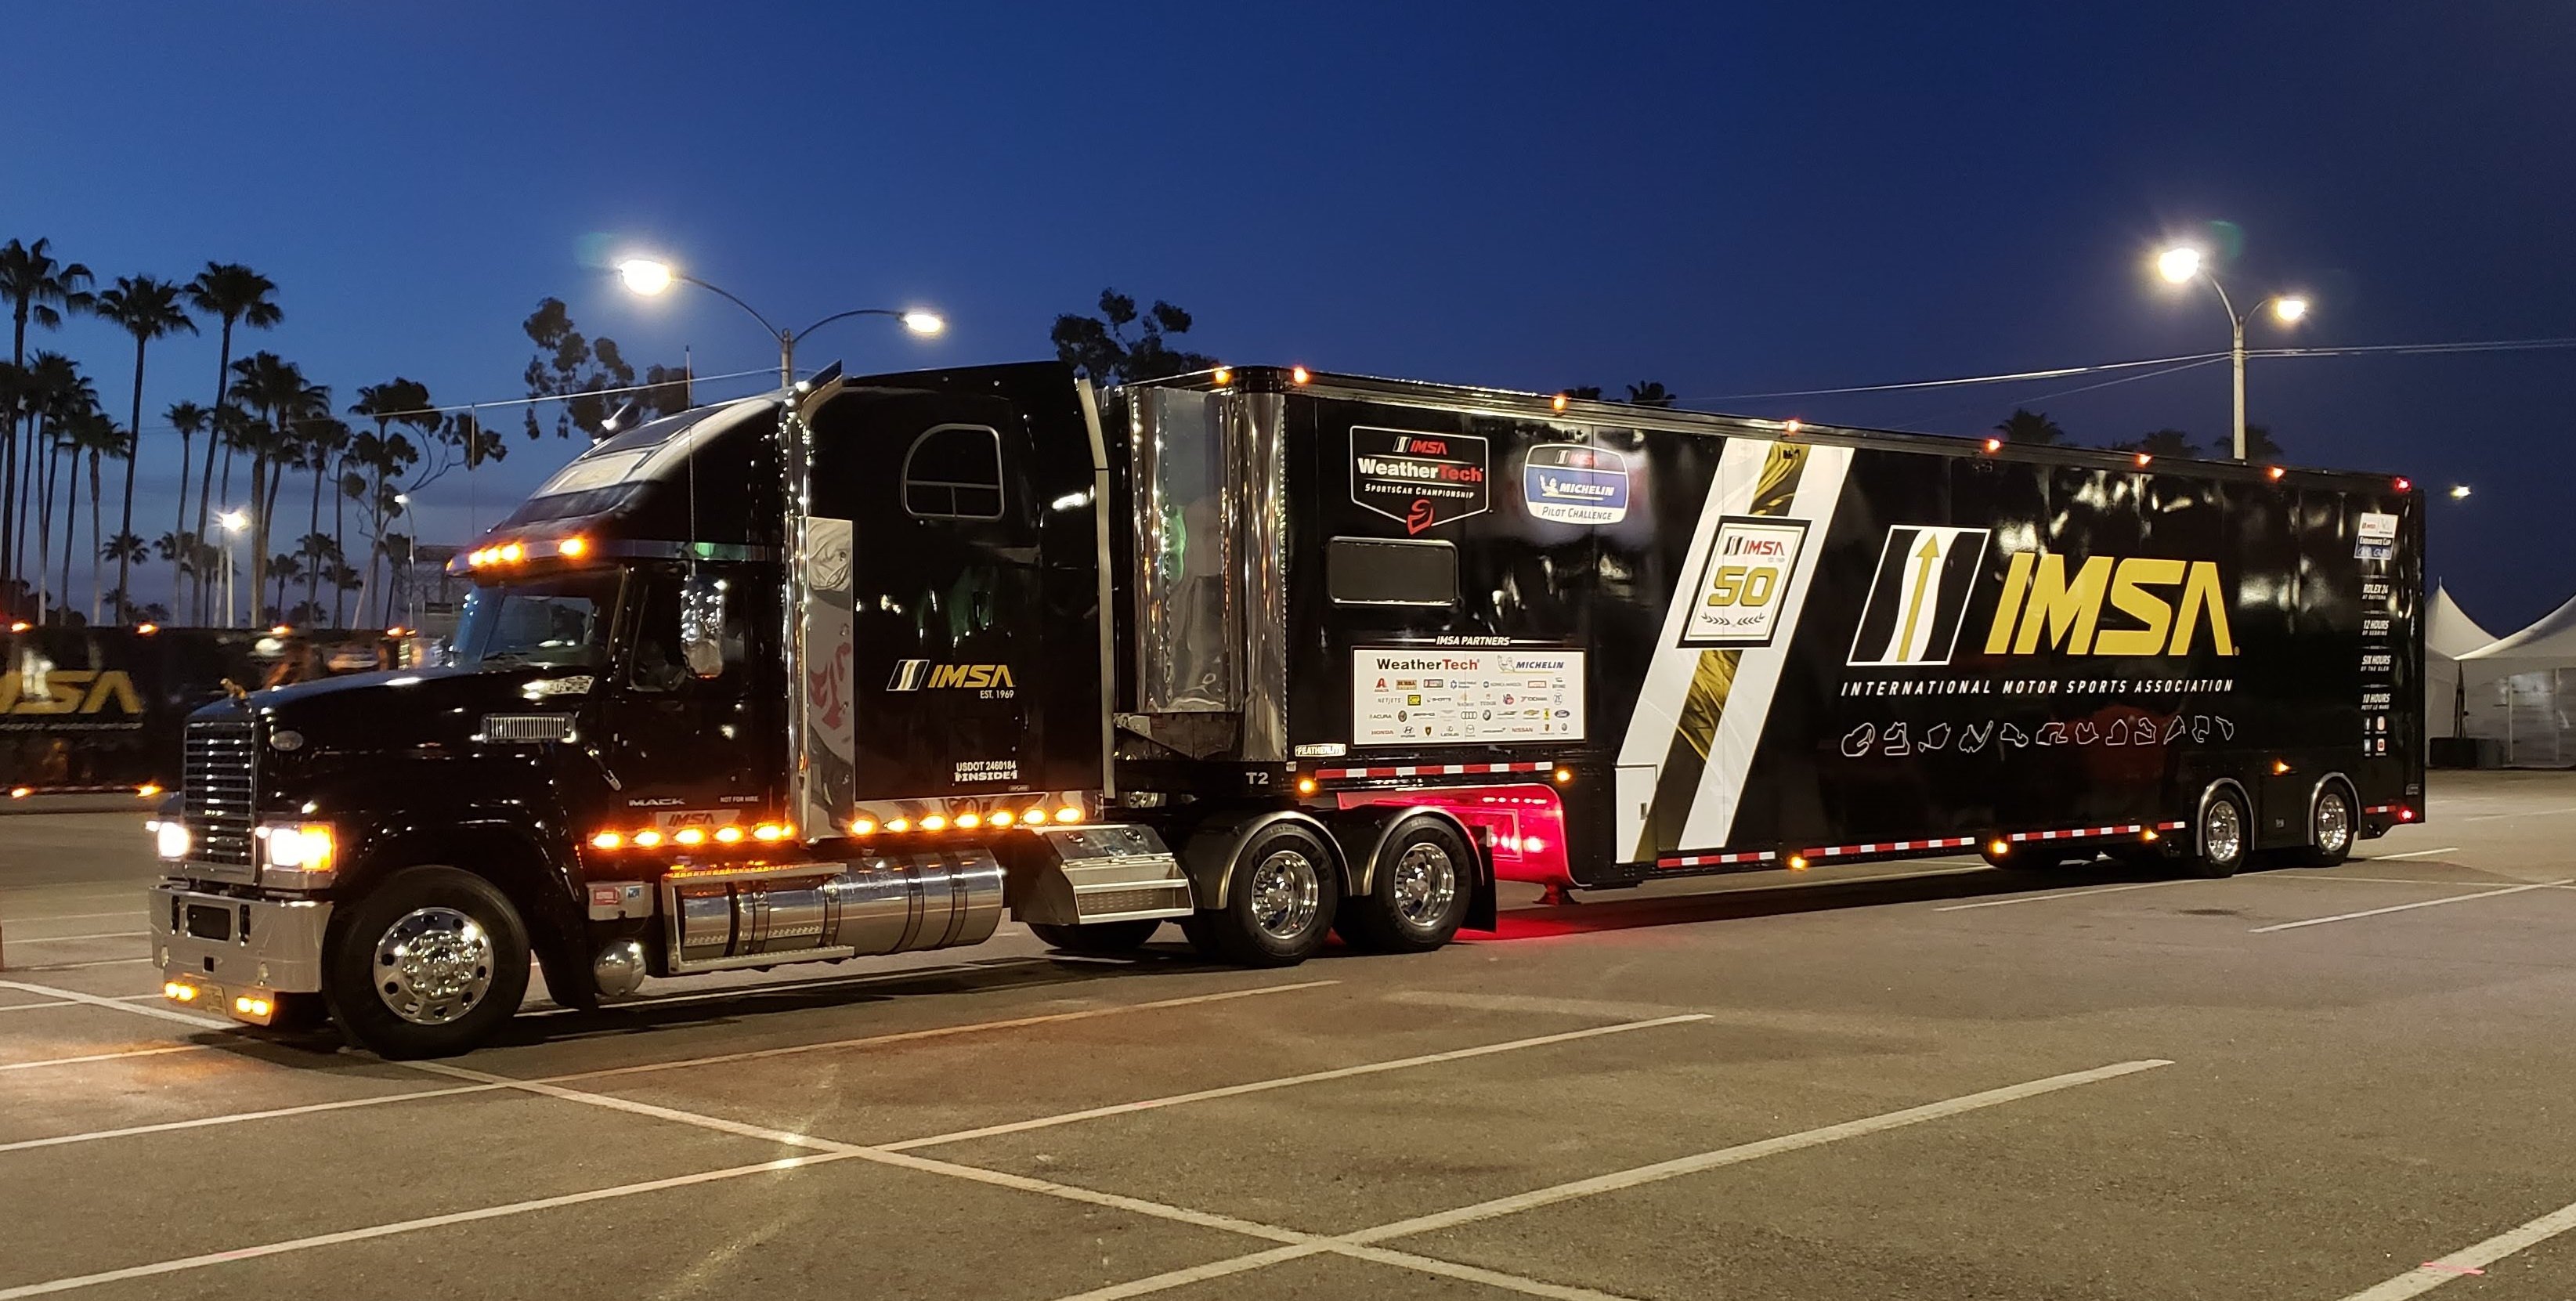
International Motorsports Association (IMSA) - a division of NASCAR - I drive truck for them.
Camping
Harley Davidson
And of course, trying to build model ships......
Recent Profile Visitors
-
 CaptMorgan reacted to a post in a topic:
HMS Portland 1770 by scrubbyj427 - 1:48 - 4th rate 50-gun ship
-
 CaptMorgan reacted to a post in a topic:
HMS Portland 1770 by westwood - Portland Scale Ship Co. - 1:48 - 50 gun 4th rate
-
 CaptMorgan reacted to a post in a topic:
HMS Portland 1770 by scrubbyj427 - 1:48 - 4th rate 50-gun ship
-
 CaptMorgan reacted to a post in a topic:
HMS Portland 1770 by scrubbyj427 - 1:48 - 4th rate 50-gun ship
-
 CaptMorgan reacted to a post in a topic:
HMS Portland 1770 by scrubbyj427 - 1:48 - 4th rate 50-gun ship
-
 CaptMorgan reacted to a post in a topic:
HMS Portland 1770 by westwood - Portland Scale Ship Co. - 1:48 - 50 gun 4th rate
-
 CaptMorgan reacted to a post in a topic:
Syren Ship Model Company News, Updates and Info.....(part 2)
-
 CaptMorgan reacted to a post in a topic:
HMS Portland 1770 by westwood - Portland Scale Ship Co. - 1:48 - 50 gun 4th rate
-
 CaptMorgan reacted to a post in a topic:
HMS Portland 1770 by westwood - Portland Scale Ship Co. - 1:48 - 50 gun 4th rate
-
 CaptMorgan reacted to a post in a topic:
Sloop Speedwell 1752 by baribeaujm (Jean-Marc) - Syren Ship Model Company - 1:32 Scale - POF Sloop
-
 FrankWouts reacted to a post in a topic:
HMS Winchelsea 1764 by Frank Wouts 1/48
-
 westwood reacted to a post in a topic:
Sloop Speedwell 1752 by Capt Morgan (Steve) - Syren Ship Model Company - 1:32 Scale - POF Sloop
-
 KARAVOKIRIS reacted to a post in a topic:
Sloop Speedwell 1752 by Capt Morgan (Steve) - Syren Ship Model Company - 1:32 Scale - POF Sloop
-
 Rustyj reacted to a post in a topic:
Sloop Speedwell 1752 by Capt Morgan (Steve) - Syren Ship Model Company - 1:32 Scale - POF Sloop
-
 Freebird reacted to a post in a topic:
Sloop Speedwell 1752 by Capt Morgan (Steve) - Syren Ship Model Company - 1:32 Scale - POF Sloop
-
 Ryland Craze reacted to a post in a topic:
Sloop Speedwell 1752 by Capt Morgan (Steve) - Syren Ship Model Company - 1:32 Scale - POF Sloop
-
 yvesvidal reacted to a post in a topic:
Sloop Speedwell 1752 by Capt Morgan (Steve) - Syren Ship Model Company - 1:32 Scale - POF Sloop
-
 davyboy reacted to a post in a topic:
Sloop Speedwell 1752 by Capt Morgan (Steve) - Syren Ship Model Company - 1:32 Scale - POF Sloop
-
 baribeaujm reacted to a post in a topic:
Sloop Speedwell 1752 by Capt Morgan (Steve) - Syren Ship Model Company - 1:32 Scale - POF Sloop
-
 Seventynet reacted to a post in a topic:
Sloop Speedwell 1752 by Capt Morgan (Steve) - Syren Ship Model Company - 1:32 Scale - POF Sloop
-
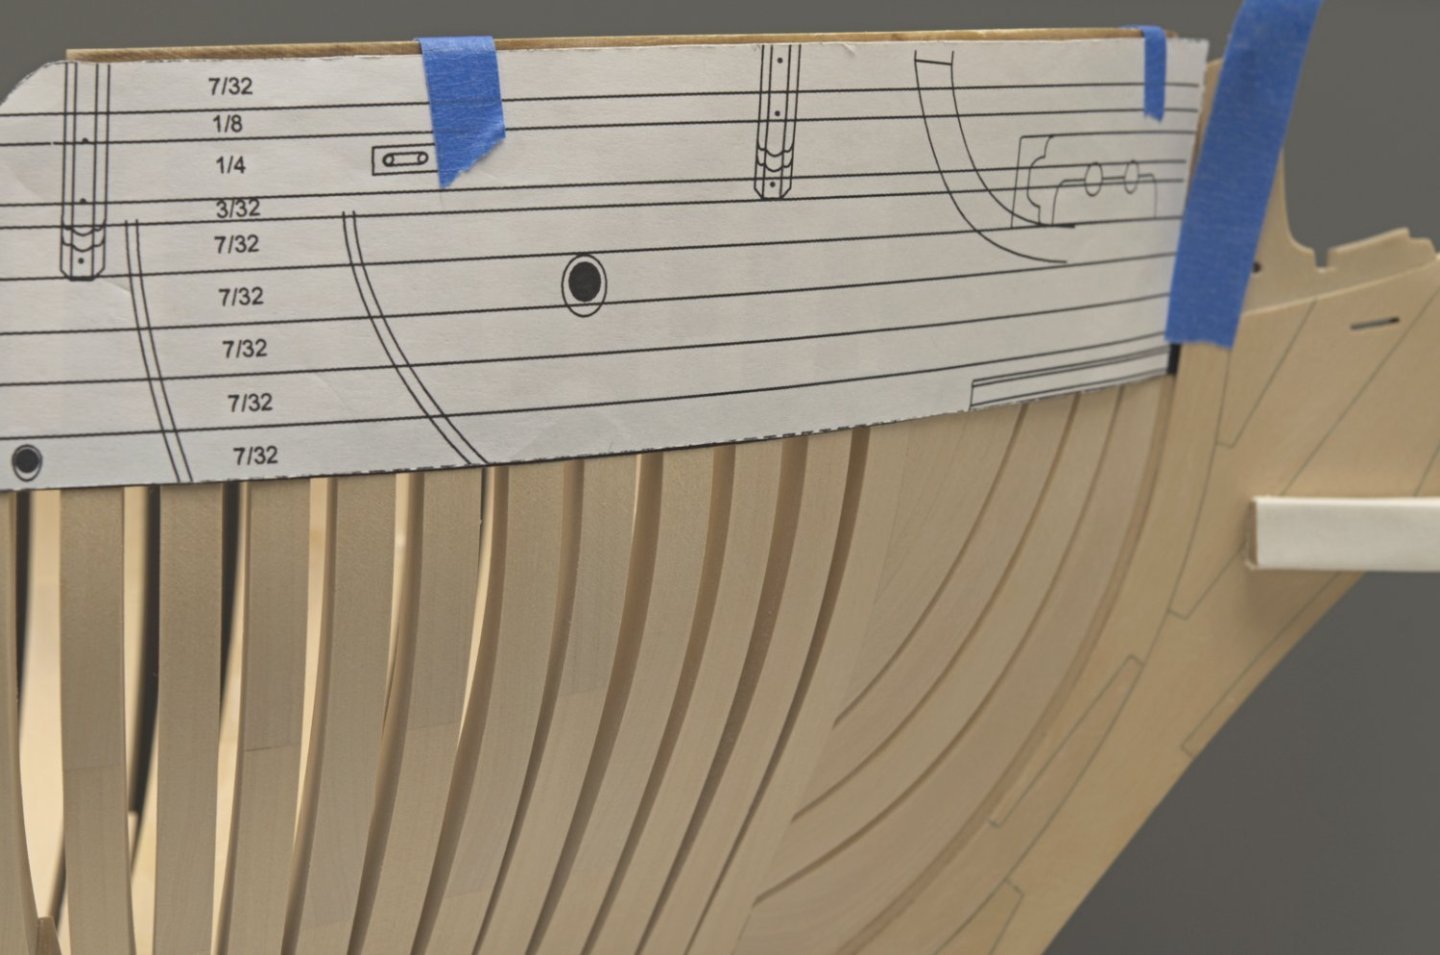
Hello everyone. Its been a while since anyone has posted any Speedwell progress. I have finished up Chapter 2 and everything seems to be progressing pretty good. I had to do my fair share of de-construction of the frames a few times but it's all squared up pretty good now. I do have a question. My plans show the top plank as 5/32 wide (above) and Chucks and Mikes (below) show it as 7/32. Not sure which is correct. Its going to be a while before I have to worry about that but it will make a difference when it comes time to cut the tops of the frames. Pretty much on hold now until Chapter 3 parts become available again. I missed the day that they were available on the website & they were gone before I could get one. Hope everyone is moving along out there... Steve
-
The sweep port and the gunport base have not been glued in yet so I can take them out to trim them before I glue them in. They were there to help with alignment. From everything I have seen so far those upper frame joints will be hidden by planking so I decided to not trim those. Hopefully I'm not wrong....
-
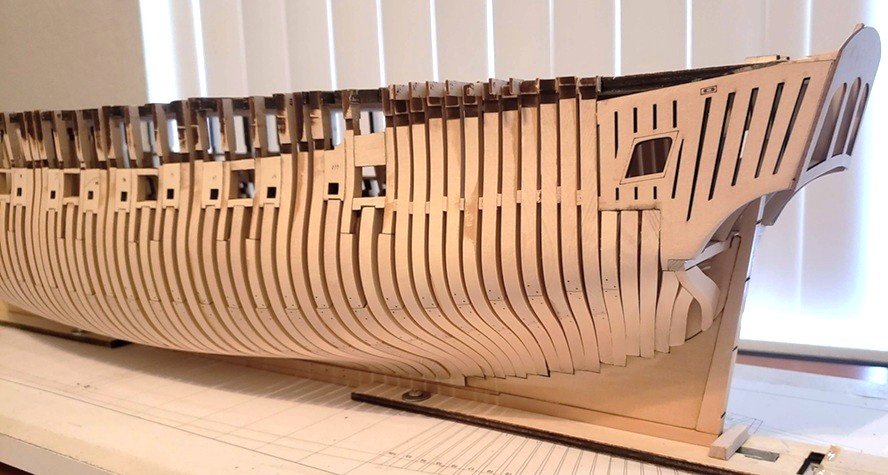
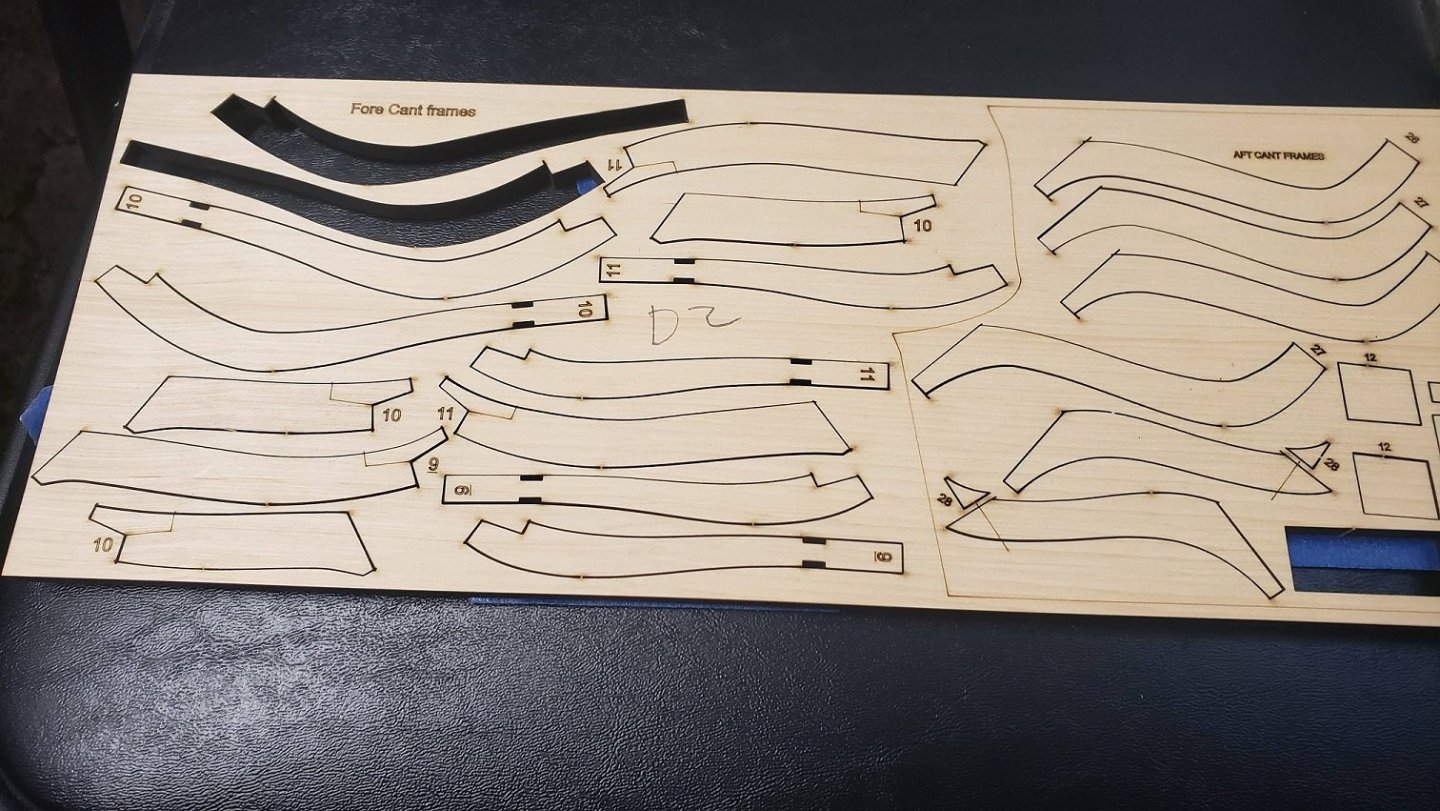
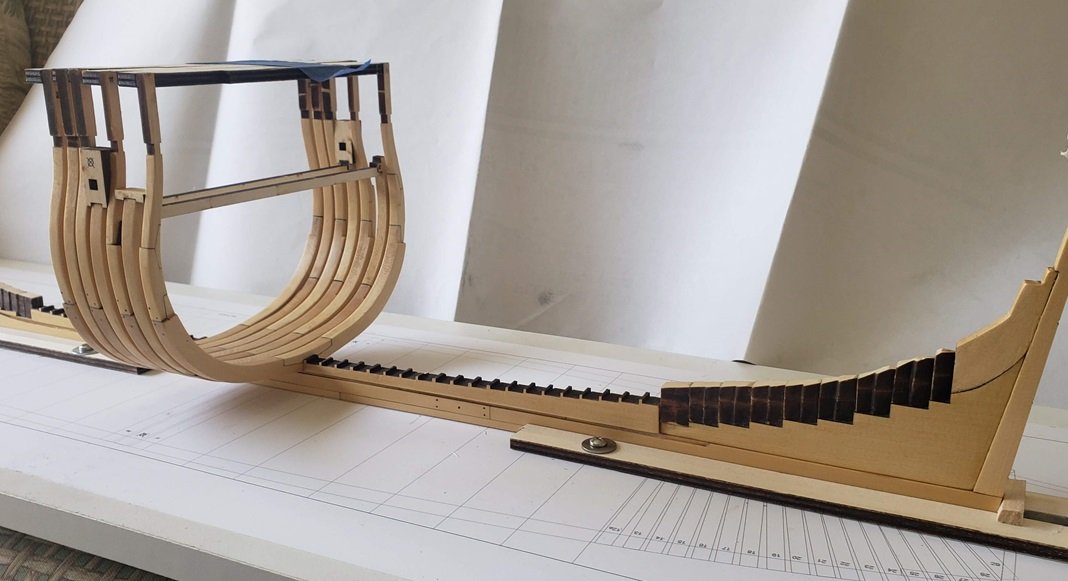
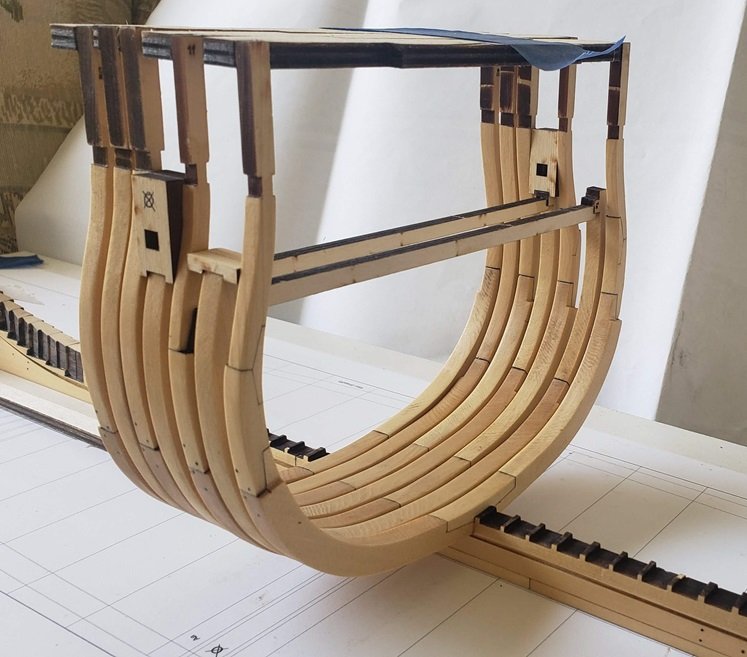
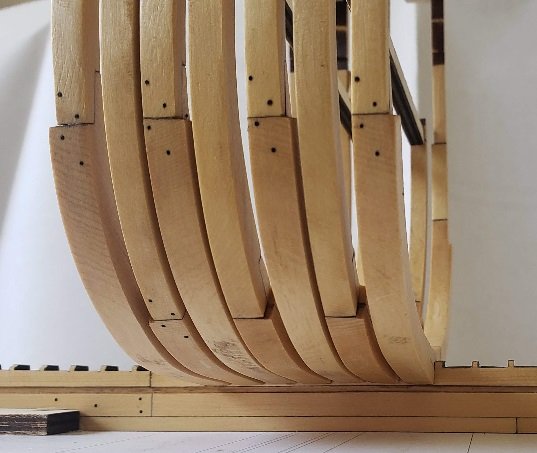
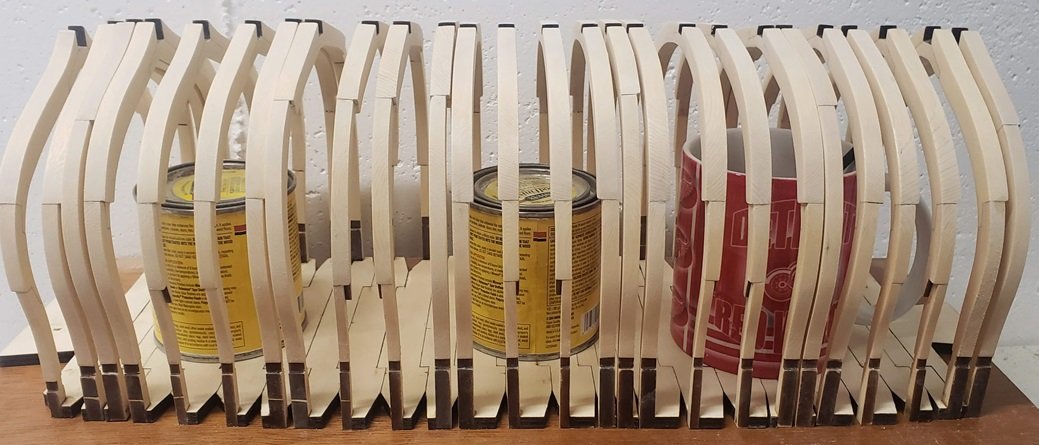
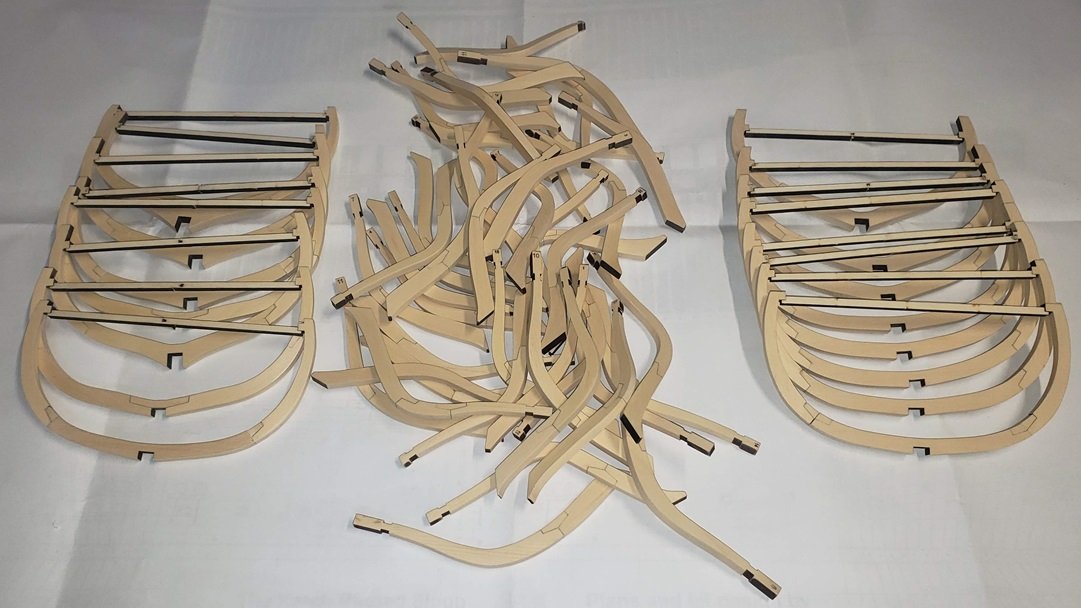
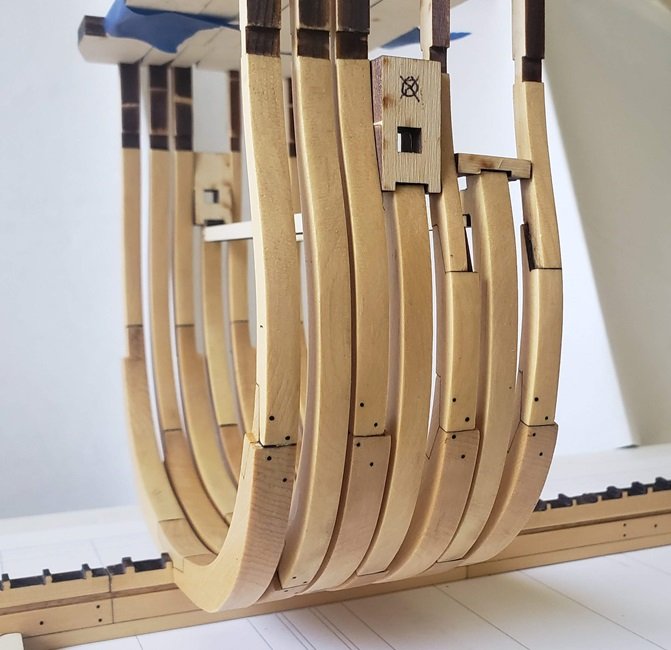
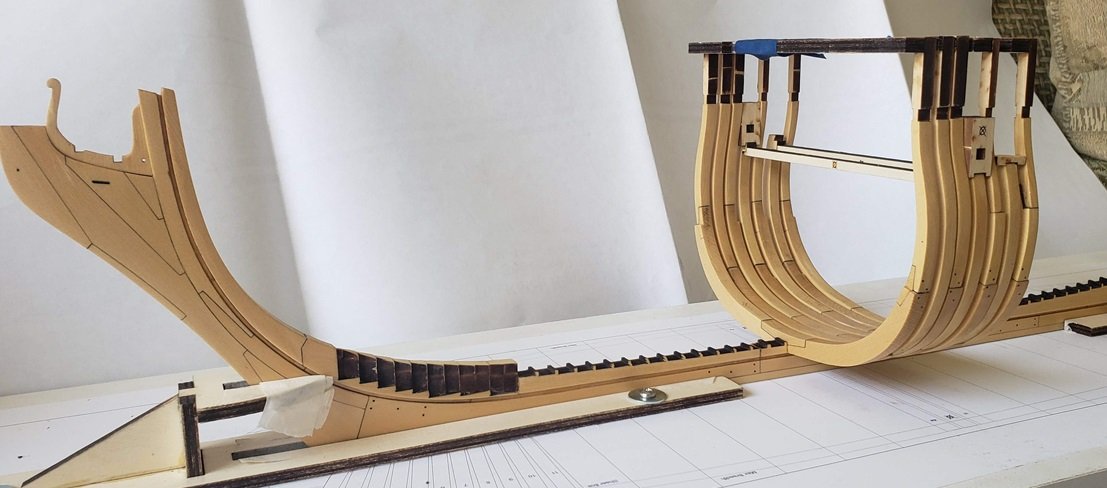
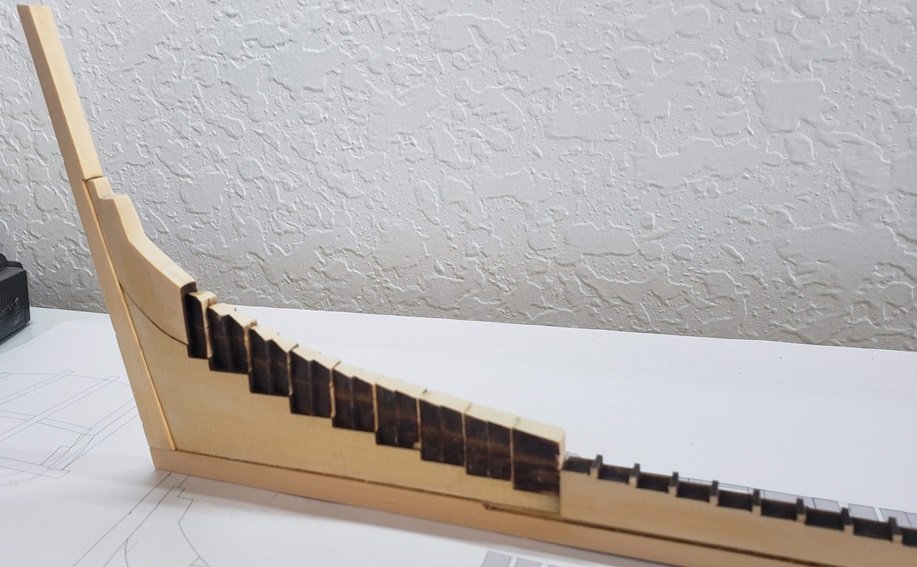
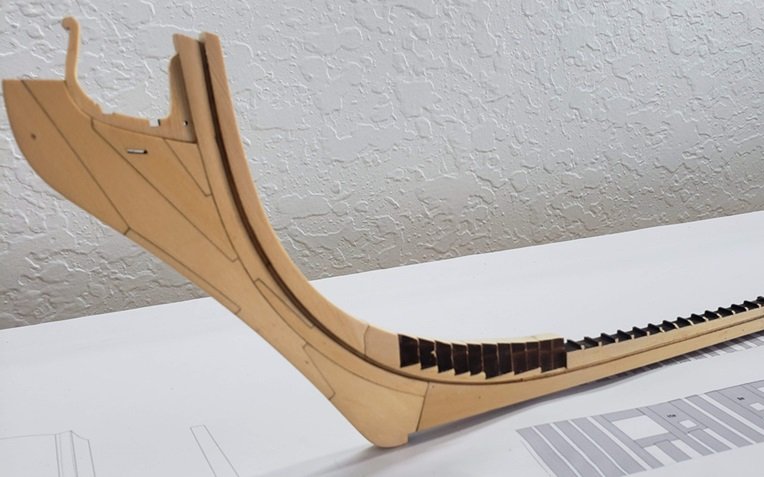
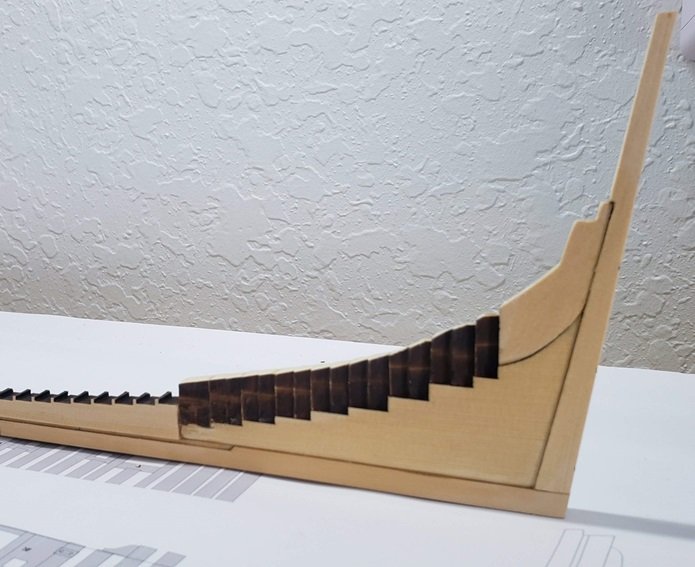
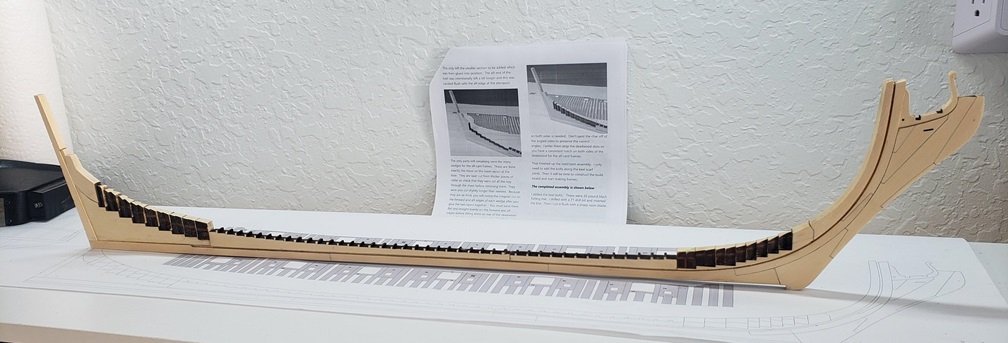
Well, it has been a long time since my last update but I have been making some good progress. So I live in Florida and do the snowbird thing in the summer. I took all of the frames up north with me so I could have something to do up there. The only issue I found was I was missing an upper frame 9 and I had 3 uppers for frame 10. I let Chuck know & he will take care of it. I just need an upper for frame 9 but will wait till whenever I order Chapter 3 sometime in the future. I wont be needing it for a while. Everything fit together real good and there were no other problems that I have encountered. I got the frames all assembled, sanded, and ready to install. Below are a few pics to show where I am at this point. I went ahead and put in the tree nails into all of the tall frames, short ones will come later. I also put WOP on all of the fore and aft sides of the frames because they will be to close together to do later. By far the biggest challenge is to keep everything as square and spaced as possible. Just have to take your time & follow Chucks awesome instructions. I think I'm off to a pretty good start. Moving on --- one frame at a time.... Steve
-
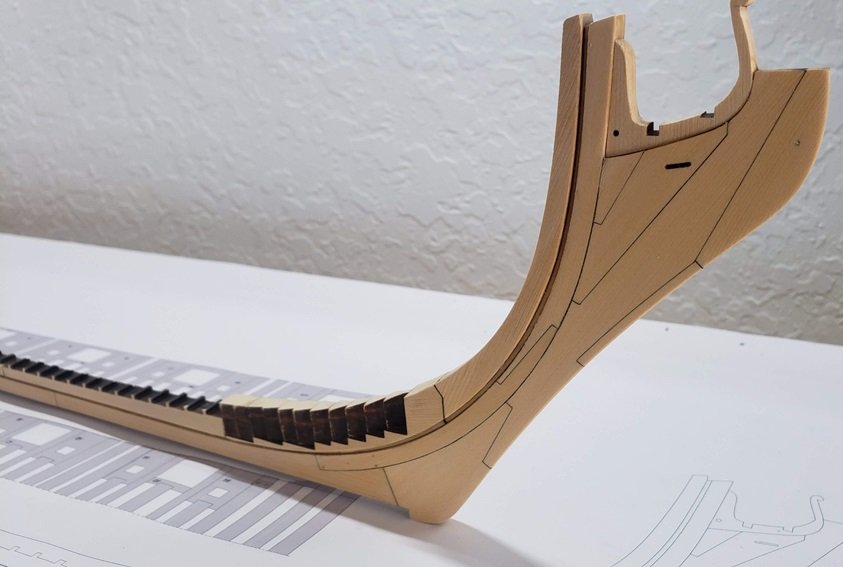
I've been making a little progress and got the keel finished up. Thought I would throw a few pictures of where we stand so far... I have the build board all set to go. I pretty much followed Mikes lead - can't go wrong doing that.... Next up will be attaching the false keel - seems I forgot that till I seen the pictures... After that I think I will put on some WOP that to protect what I have done so far. Then fixing the plans to the build board. So far --- so good... Thanks for looking in. Steve
-
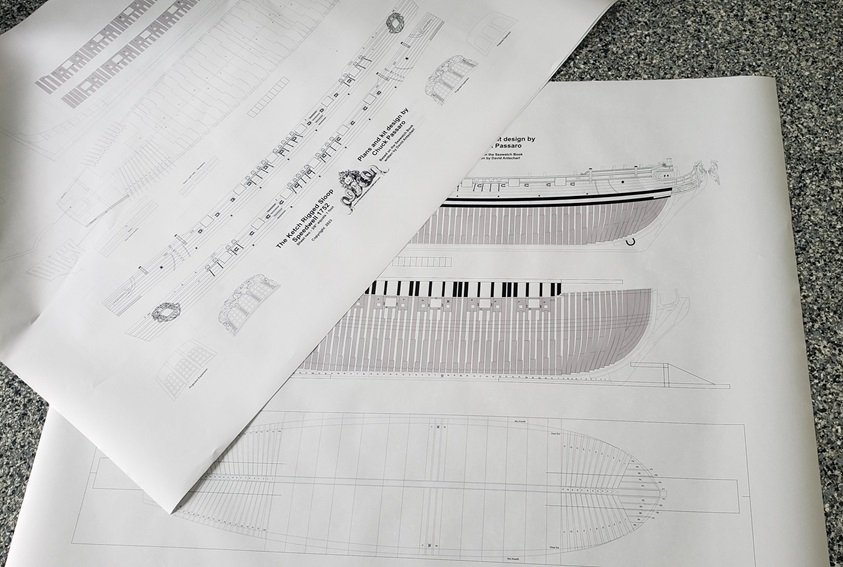
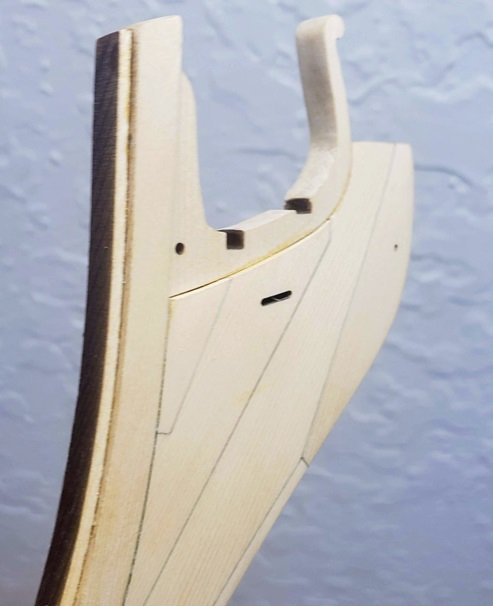
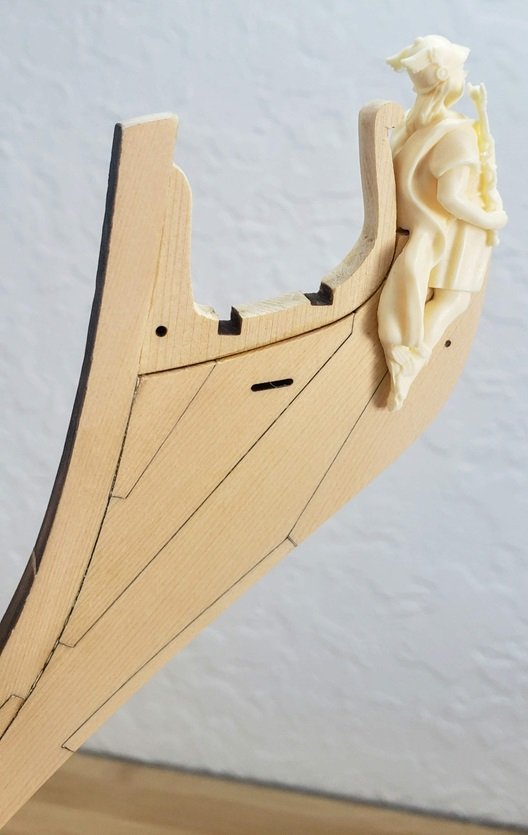
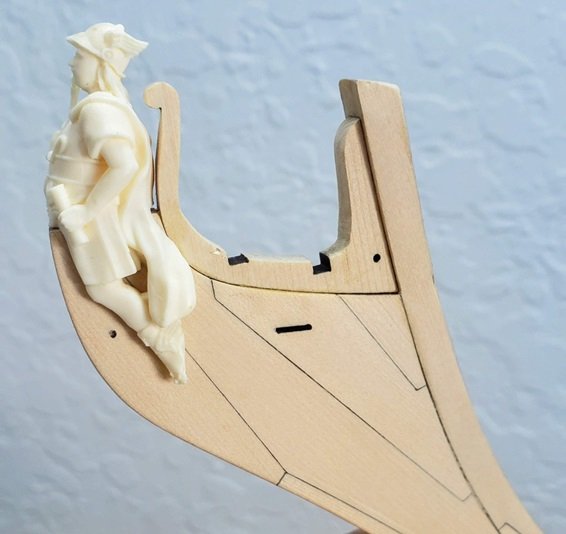
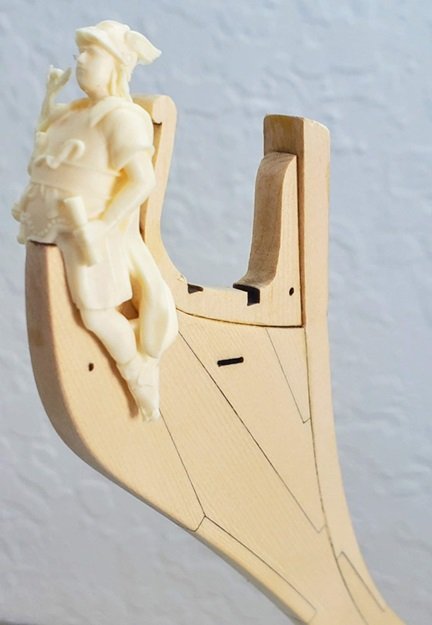
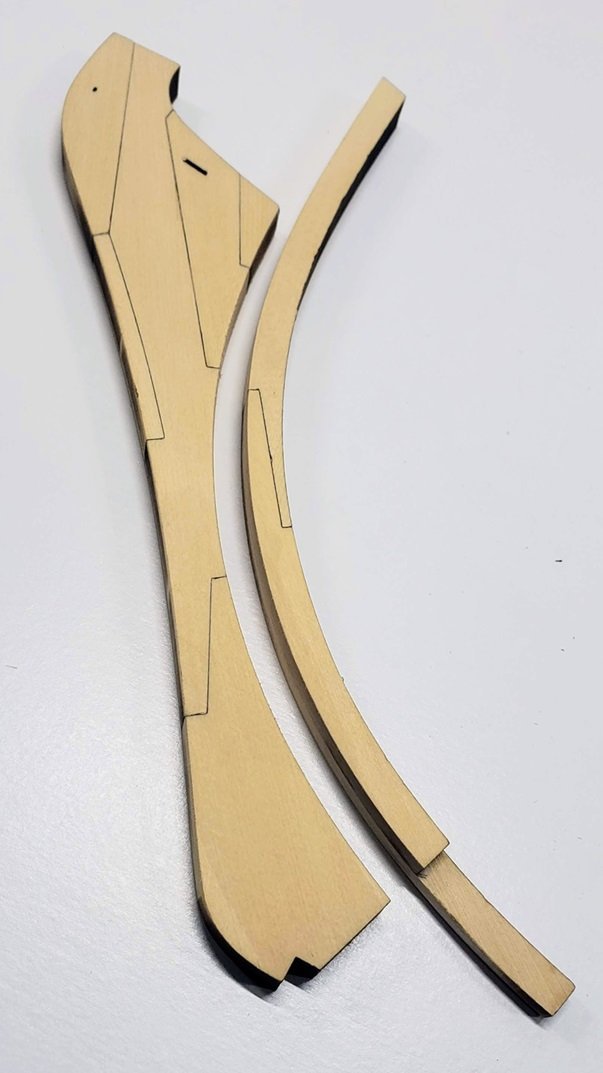
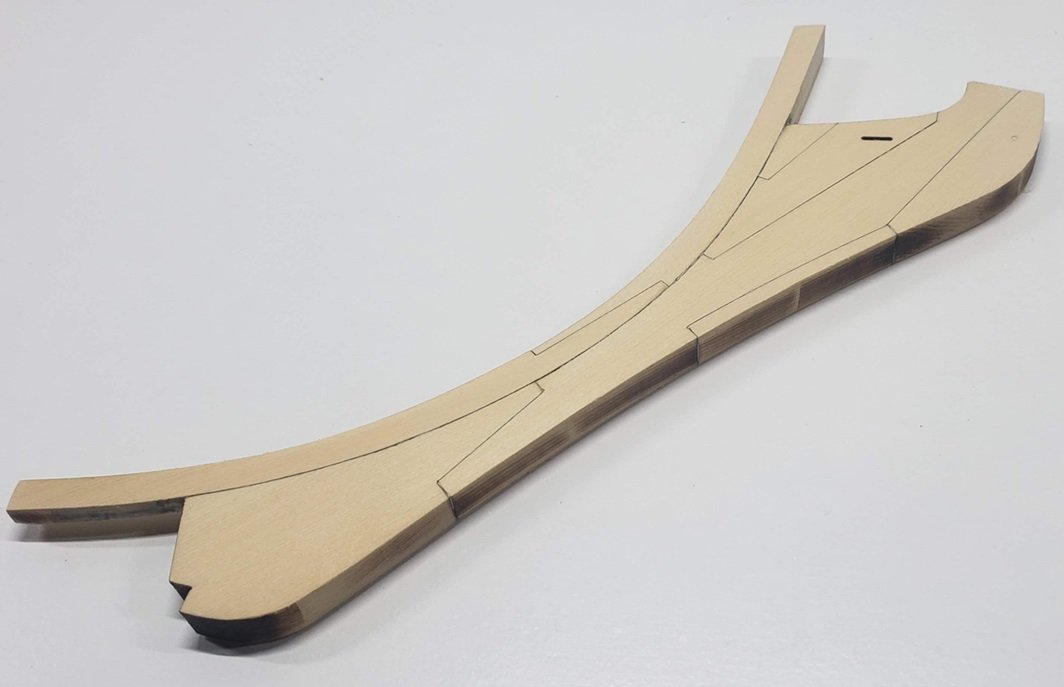
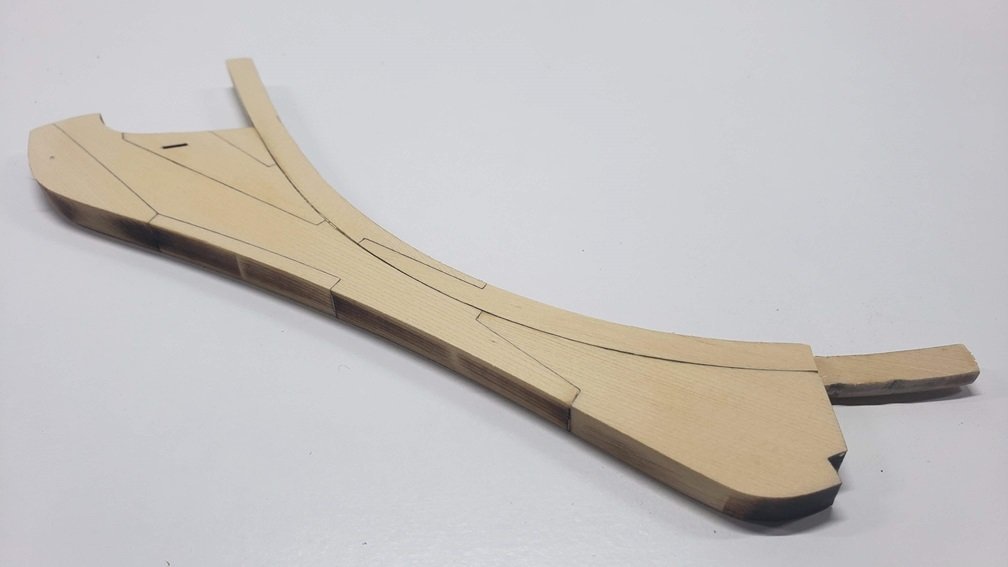
Hello everyone: This seems to be the day to start Speedwell logs. I received my first 2 chapters about a week ago. I don't think I will be buildings as fast as some others but I have started and we are off & running. My only thought so far is when attaching the two curved pieces together make sure they are as exact as possible. Mine were off a little, and then you have to sand them to get a good fit with the stem assembly. And trust me - you don't want to sand any mating surfaces you don't have to... I think I finally got a decent fit. It took a lot of extra time but worth it. Now a little extra sanding for the figurehead and the fancy piece on the top. Then it will be time to get the plans out and lay the keel. I also hope we can start a group build. It might encourage a few others to join us. All for now Steve
-
Very nice -- one of the cleanest model I have seen.... 👍
- 840 replies
-
- winchelsea
- Syren Ship Model Company
-
(and 1 more)
Tagged with:
-
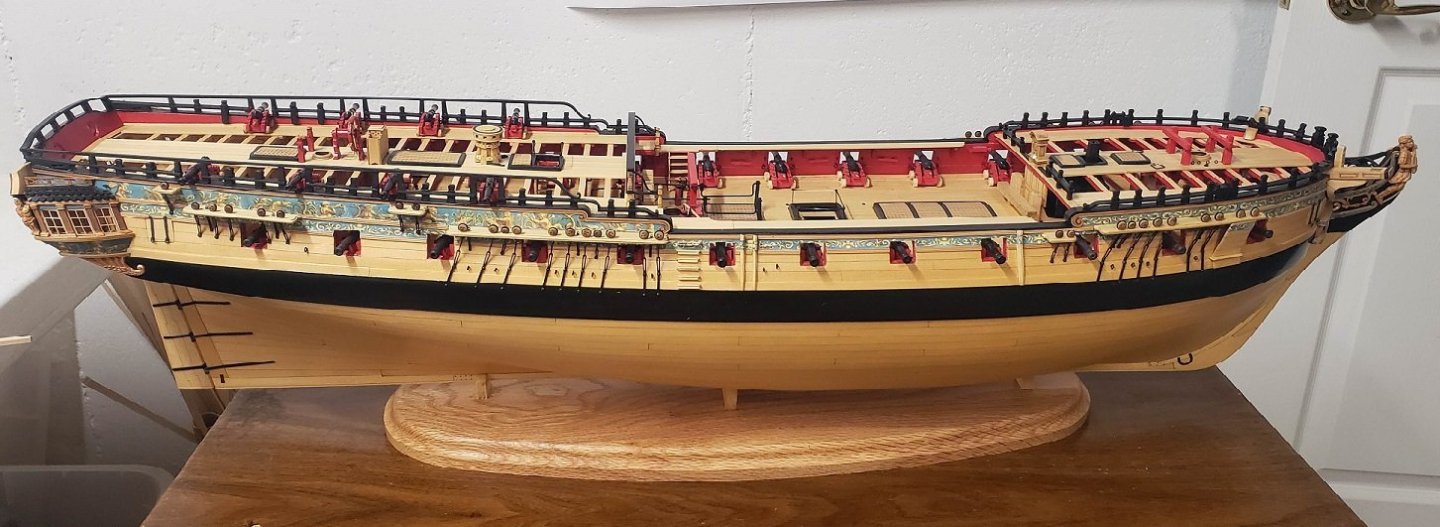
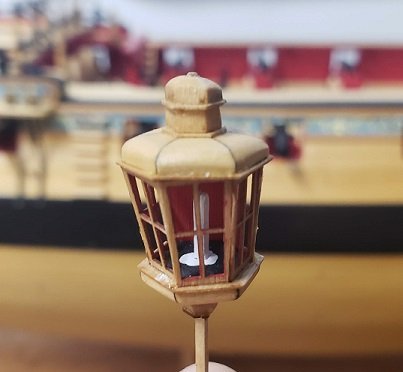
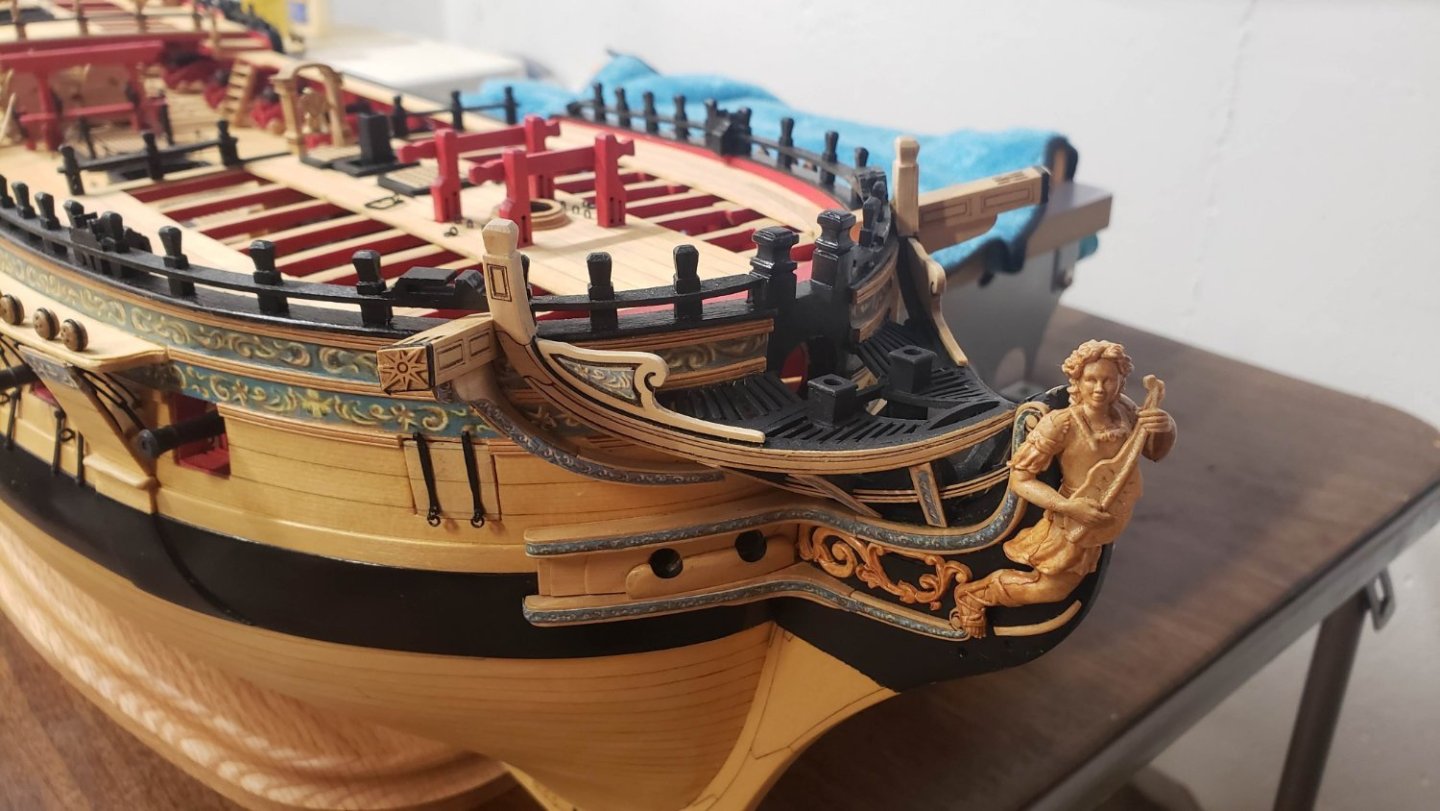
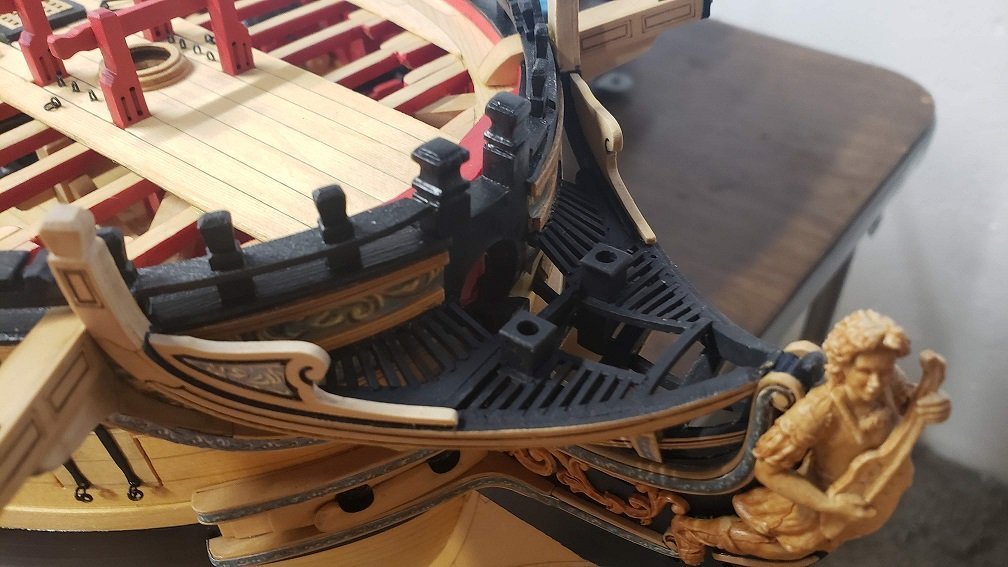
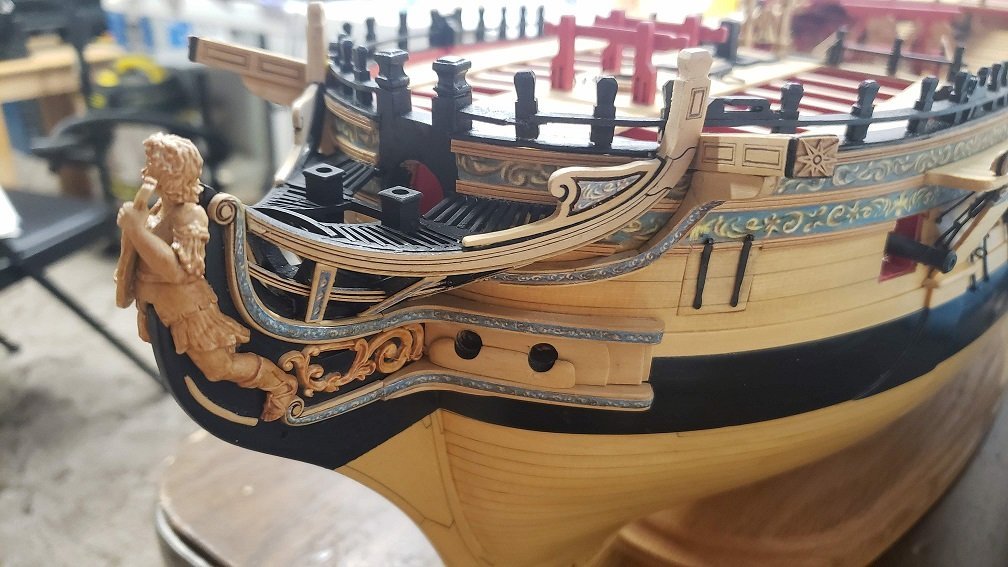
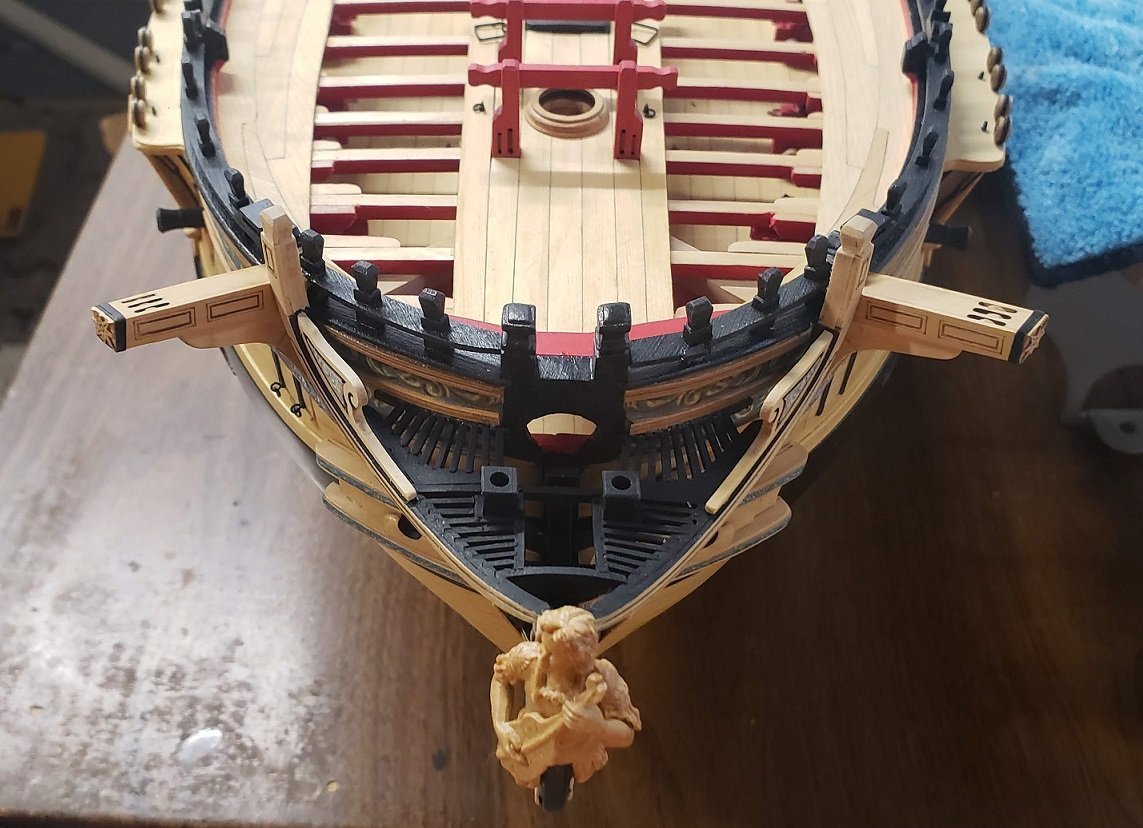
Well, I'm calling the Winnie a finished ship. Well, 99.5% finished. Everything is done with the exception of installing the bumpkins and the ships lantern. Both of which are ready to install but the model has a trip from Michigan to Florida ahead of it so I'm going to wait in installing those for safety reasons. And I almost forgot the 2 seats of ease which will be installed tomorrow. Below are a few last pictures. It has been a fun journey and it sure would not have turned out as good as it did without all the tips & project logs of those before me. Thank everyone for all the likes & comments. They sure help to keep me motivated. A special thank you to Chuck for the plans and everything to make this possible. It is a beautiful model...... Time to clean up the shop & get things ready for the next project. Steve
- 99 replies
-
- winchelsea
- Syren Ship Model Company
-
(and 1 more)
Tagged with:
About us
Modelshipworld - Advancing Ship Modeling through Research
SSL Secured
Your security is important for us so this Website is SSL-Secured
NRG Mailing Address
Nautical Research Guild
237 South Lincoln Street
Westmont IL, 60559-1917
Model Ship World ® and the MSW logo are Registered Trademarks, and belong to the Nautical Research Guild (United States Patent and Trademark Office: No. 6,929,264 & No. 6,929,274, registered Dec. 20, 2022)
Helpful Links
About the NRG
If you enjoy building ship models that are historically accurate as well as beautiful, then The Nautical Research Guild (NRG) is just right for you.
The Guild is a non-profit educational organization whose mission is to “Advance Ship Modeling Through Research”. We provide support to our members in their efforts to raise the quality of their model ships.
The Nautical Research Guild has published our world-renowned quarterly magazine, The Nautical Research Journal, since 1955. The pages of the Journal are full of articles by accomplished ship modelers who show you how they create those exquisite details on their models, and by maritime historians who show you the correct details to build. The Journal is available in both print and digital editions. Go to the NRG web site (www.thenrg.org) to download a complimentary digital copy of the Journal. The NRG also publishes plan sets, books and compilations of back issues of the Journal and the former Ships in Scale and Model Ship Builder magazines.

