Gahm
-
Posts
1,217 -
Joined
-
Last visited
Content Type
Profiles
Forums
Gallery
Events
Everything posted by Gahm
-
 Wonderful work, Bob! Consistent, outstanding craftsmanship throughout the whole build. And all the best for getting through Irma! Thomas
- 682 replies
-
- 3
-

-
- halifax
- lumberyard
- (and 1 more)
-
US Brig Syren by Gahm - Model Shipways
Gahm replied to Gahm's topic in - Kit build logs for subjects built from 1801 - 1850
Thank you! That is exactly what I was referring to. I just could not remember where I saw it Thomas -
US Brig Syren by Gahm - Model Shipways
Gahm replied to Gahm's topic in - Kit build logs for subjects built from 1801 - 1850
Hello Floyd, Besides the guns I have not done a lot of rigging so far. For the guns I used 0.008 tan for all tackles 0.025 tan for the breech ropes As serving material I used YLI 100 Weight silk thread (http://www.joann.com). A while back Chuck gave a recommendation on how to replace all rigging material provided in the Syren kit with rigging rope from Syren Ship Model Company. Unfortunately I cannot find the link right now. It may be a good idea to ask Chuck for that list. He probably still has it somewhere Thomas -
Awesome work, Johann! Thomas
-
Wonderful job, B.E.! I will mark your build log for the time I have to do the long boat! Thomas
- 156 replies
-
- 4
-
-
- pinnace
- model shipways
- (and 1 more)
-
US Brig Syren by Gahm - Model Shipways
Gahm replied to Gahm's topic in - Kit build logs for subjects built from 1801 - 1850
Thank you, B.E.! Thomas -
I just missed looking at your build log for about a week and you nearly finished your ship ! Amazing progress and as usual beautiful execution! Thomas
- 682 replies
-
- 4
-
-
- halifax
- lumberyard
- (and 1 more)
-
Very nice work on the whole bowsprit/ jibboom assembly! Thomas
- 1,306 replies
-
- 6
-
-
- syren
- model shipways
- (and 1 more)
-
US Brig Syren by Gahm - Model Shipways
Gahm replied to Gahm's topic in - Kit build logs for subjects built from 1801 - 1850
Thank you all for your kind comments and all the likes! I am quite happy that the guns are behind me for a while and I can go after some new challenges! Chuck writes in his Syren instruction book "Rigging the carronades is not a task that can be completed quickly" . . . I guess I followed this instruction to the point Thomas -
US Brig Syren by Gahm - Model Shipways
Gahm replied to Gahm's topic in - Kit build logs for subjects built from 1801 - 1850
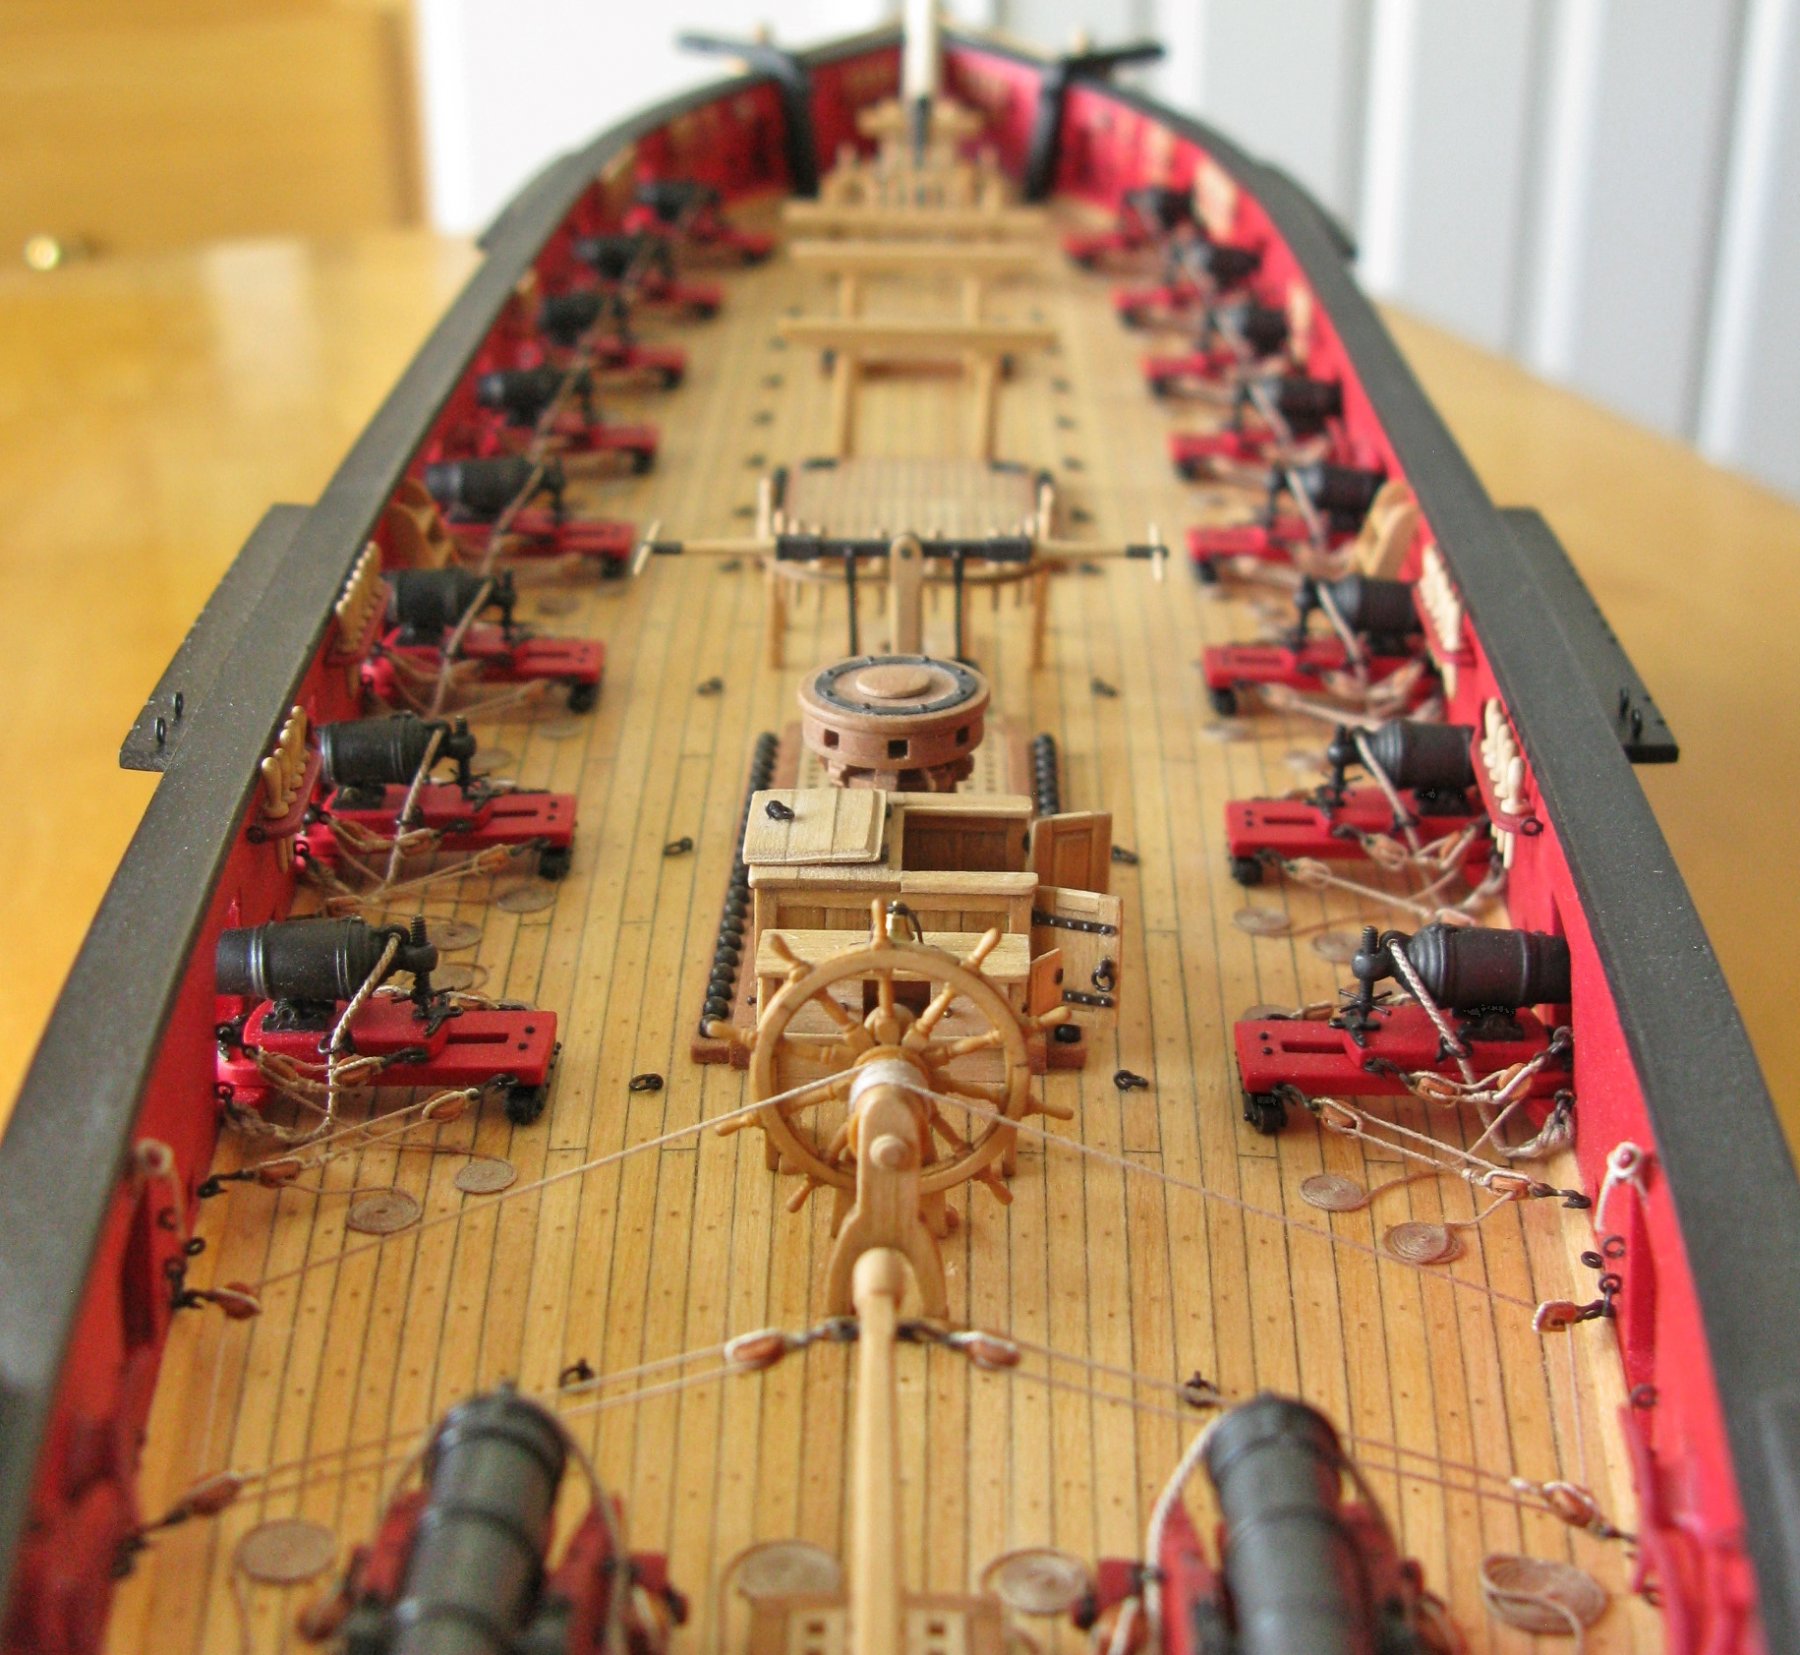
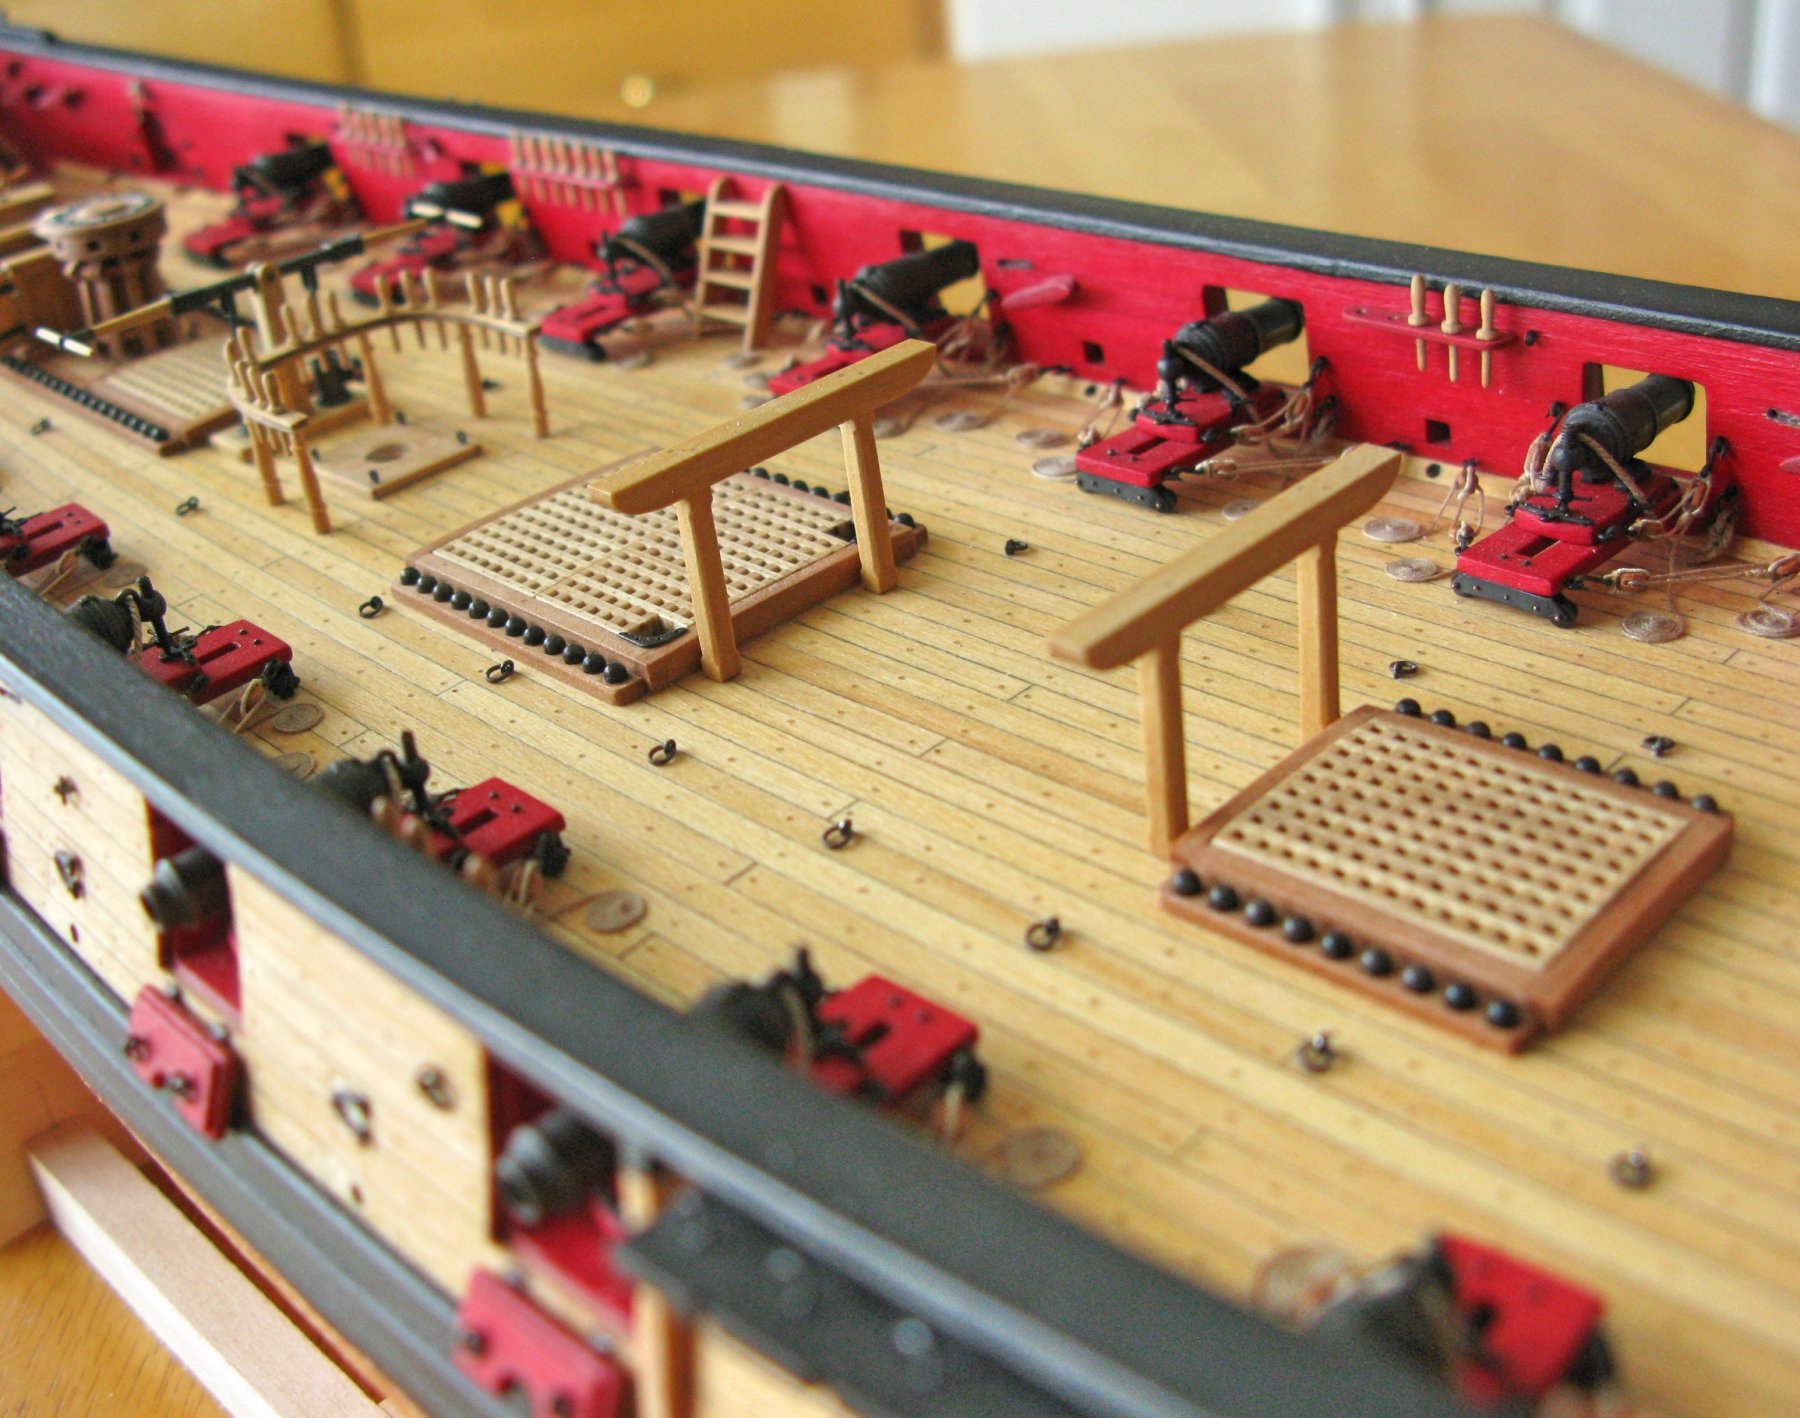
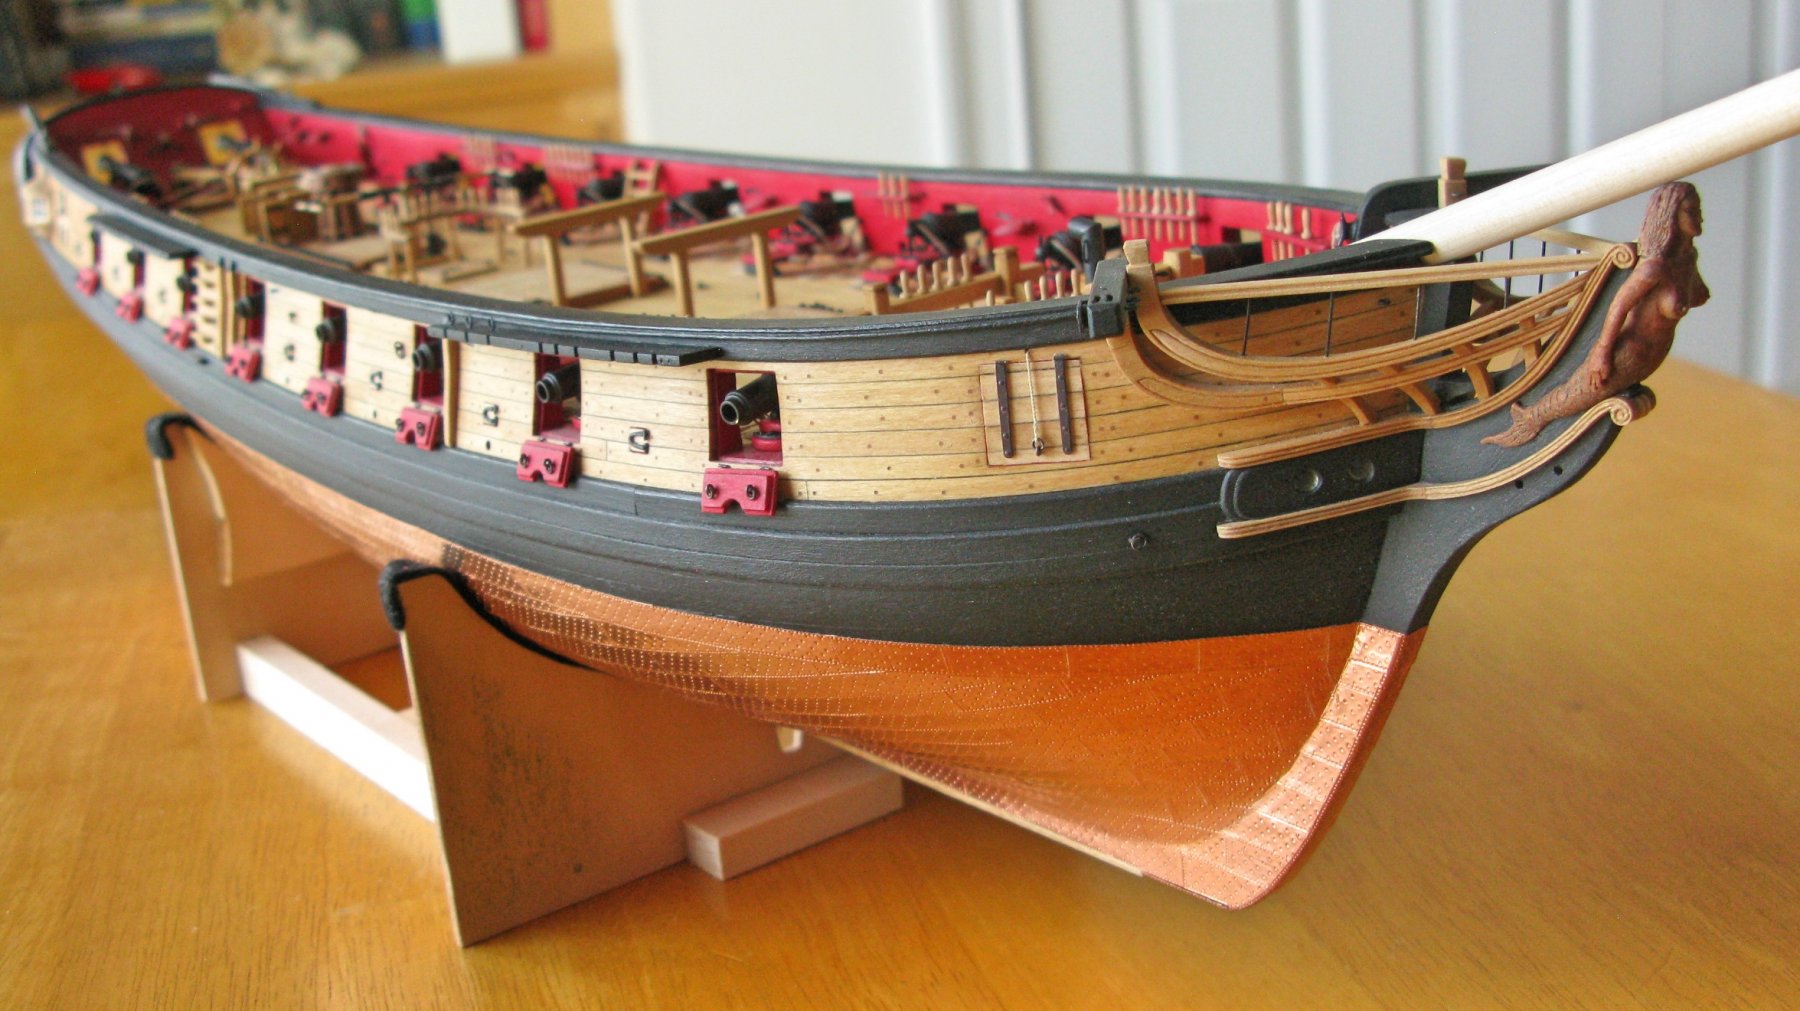
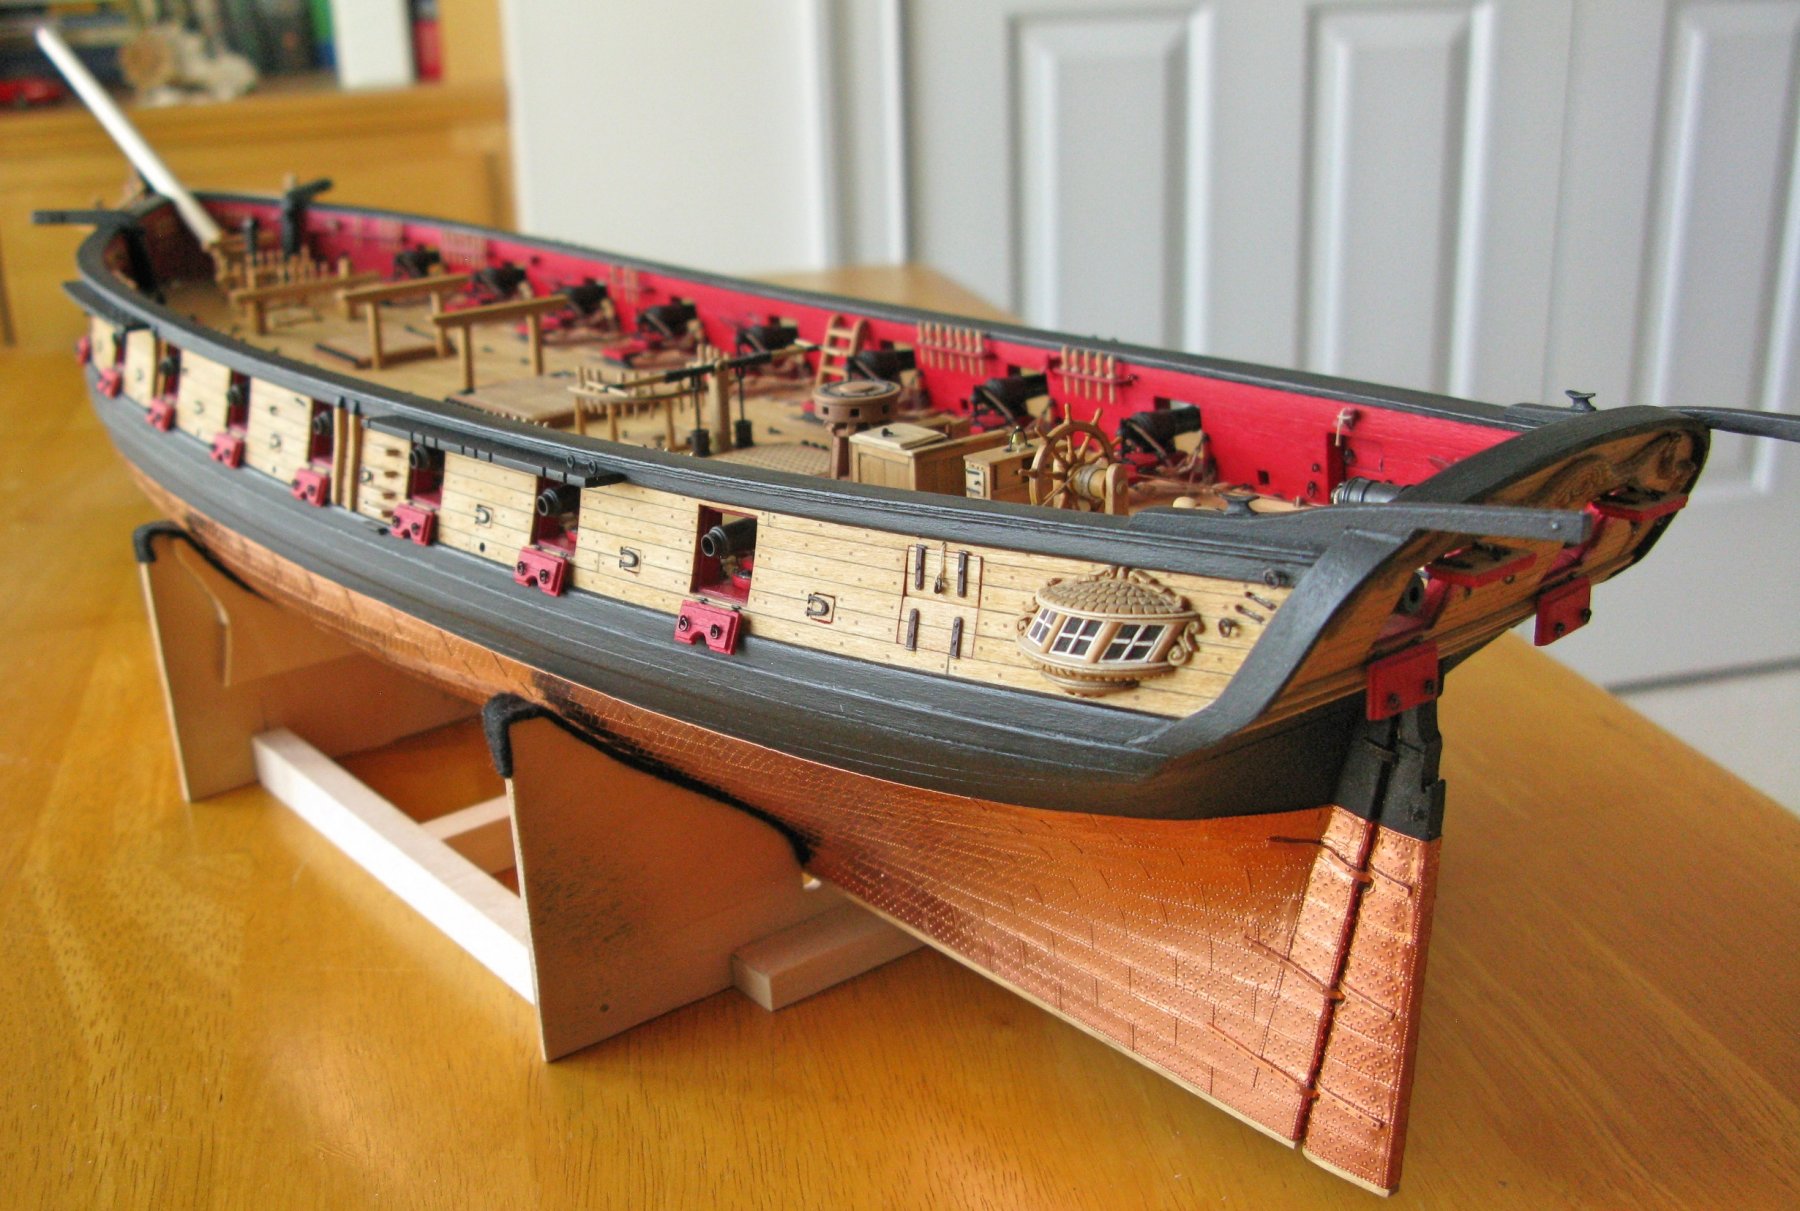
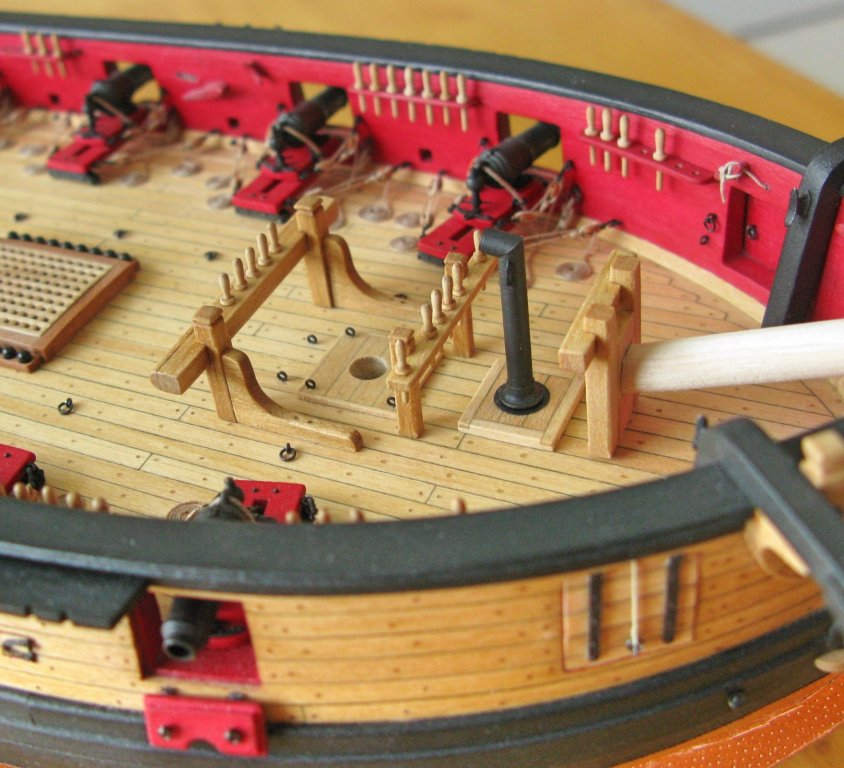
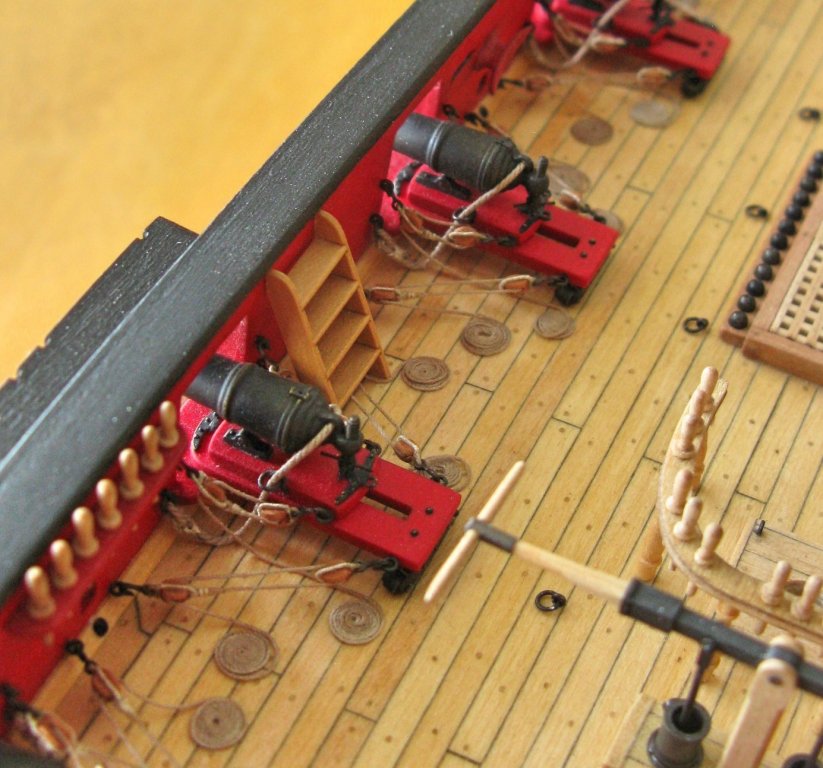
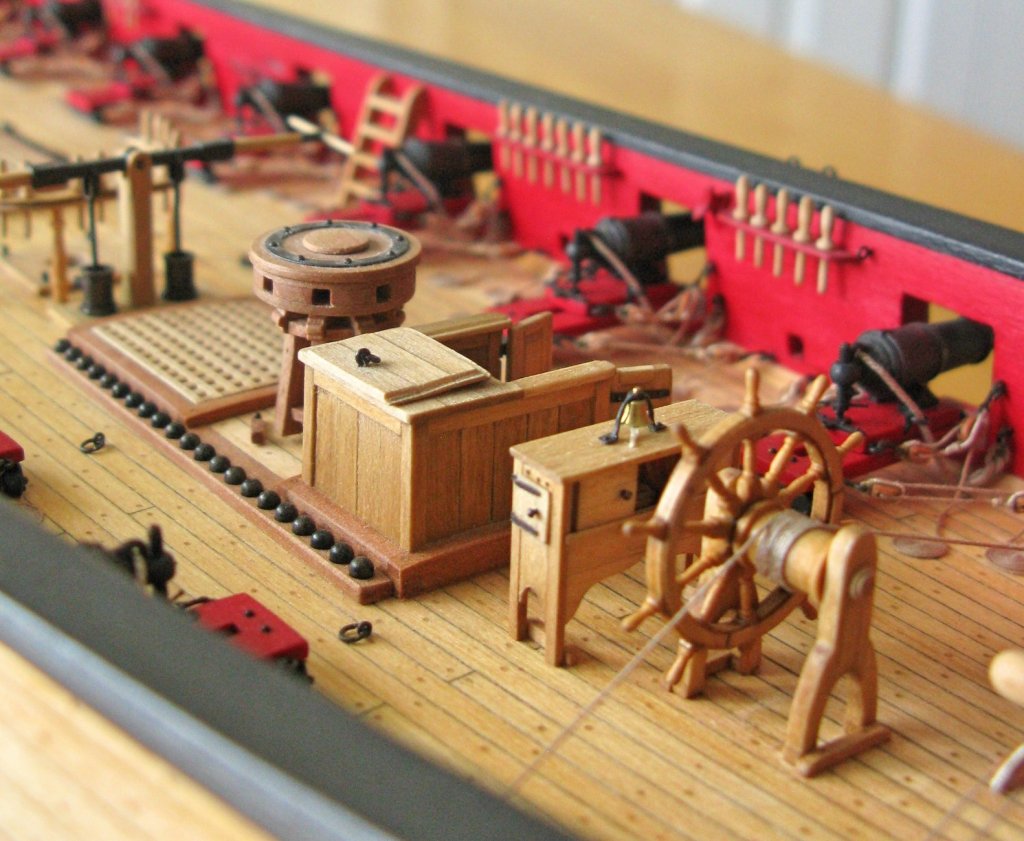
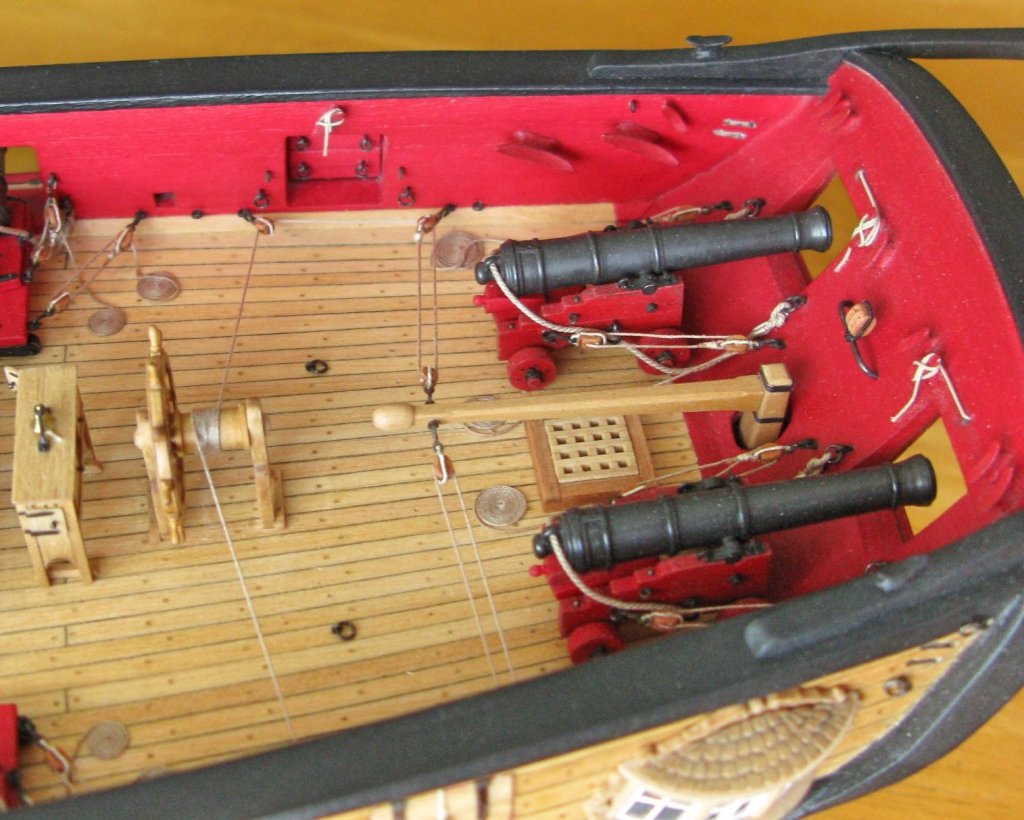
I am finally finished with the gun rigging . The deck is pretty complete by now. I also started with the bowsprit as far as it was necessary to be able to finish the bowsprit bitts without having a bad surprise later on. Below is a selection of views of the current state of my Syren model. Btw, in image 8 it looks like the bowsprit is resting on the head of the figurehead. In reality this is not the case. But as the bowsprit bitts are not yet glued in they came lose during the time I made the photos and the bowsprit hit the head of the poor figurehead . Thomas Image 1 Image 2 Image 3 Image 4 Image 5 Image 6 Image 7 Image 8 Image 9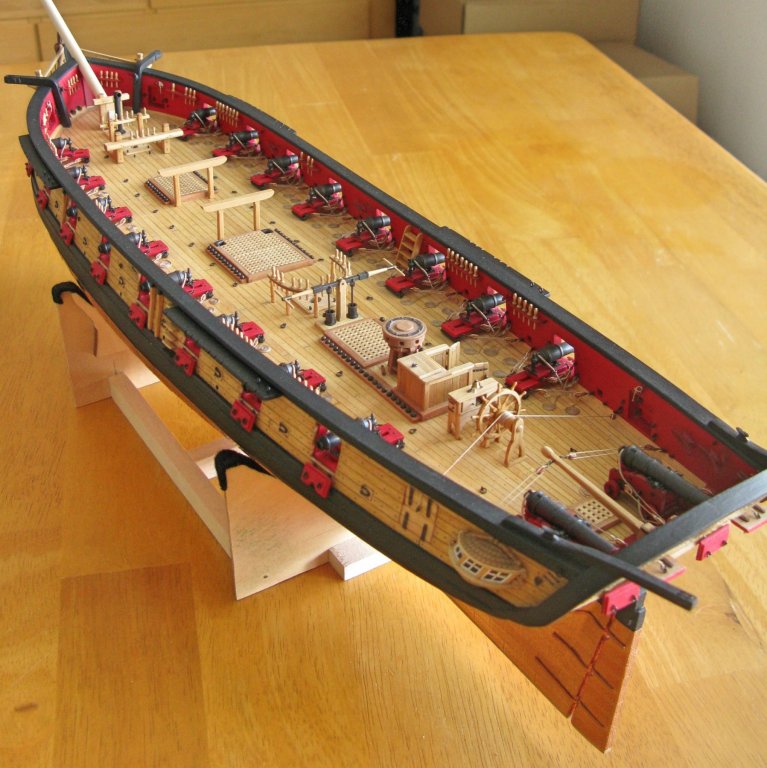


-
Hello Doug, Looking at your staining results with Golden Oak and basswood you go through the same experience like everybody else does and did. The trick here is to sand the wood to a super smooth and CONSISTENT surface. The different shades of dark and bright areas which give the wood this blotchy appearance come from different degrees of surface roughness. Unfortunately basswood is VERY sensitive to this. Also the overall looks will improve tremendously once you have the black parts painted due to the nice contrast created between the Golden Oak and the black stain. In my experience using pre-stain treatment does not really help much to change the situation. Alternatively there are Syren models which were painted with ochre color. They look very nice! And from the historical perspective painting is probably 'more accurate' than staining as these ships normally were painted. Btw, using insulin needles to fabricate the print head for the copper plates works very nicely. I also copied that idea a long time ago from Alan . He had published it in his build log before the big crash. Thomas
-
Wonderful detail, Johann! Your build log always leaves me in awe of what can be done in ship modeling by people with exceptional craftsmanship! Thomas
-
US Brig Syren by Gahm - Model Shipways
Gahm replied to Gahm's topic in - Kit build logs for subjects built from 1801 - 1850
Thank you, B.E.! With your Pegasus model and build log you set an inspiring example ! Thomas -
That looks great, Rich! I guess there will be no copper plating of the hull after all that beautiful work!? Thomas
- 1,135 replies
-
- 3
-
-
- model shipways
- syren
- (and 2 more)
-
US Brig Syren by Gahm - Model Shipways
Gahm replied to Gahm's topic in - Kit build logs for subjects built from 1801 - 1850
Thank you for your kind comment, Mike! The quarter galleries on Syren had no functional purpose. They served as decorations and probably also to make the ship look more impressive when seen from the distance. Of course, this strategy did not help Syren much in the end Thomas -
Beautiful!! Thomas
-
Beautiful, clean job, Mike! You are on your way to a new masterpiece Thomas
-
Beautiful work, Jesse! Your longboat looks really good! Thomas
- 1,306 replies
-
- 9
-
-
- syren
- model shipways
- (and 1 more)
-
Wonderful work! Well done! Thomas
-
Wonderful work, Mike! It is just a pleasure to watch! Thomas
-
Beautiful work, Jason! Thomas
-
US Brig Syren by Gahm - Model Shipways
Gahm replied to Gahm's topic in - Kit build logs for subjects built from 1801 - 1850
Thank you, Alan and Per!