


kpnuts
-
Posts
1,026 -
Joined
-
Last visited
Content Type
Profiles
Forums
Gallery
Events
Posts posted by kpnuts
-
-
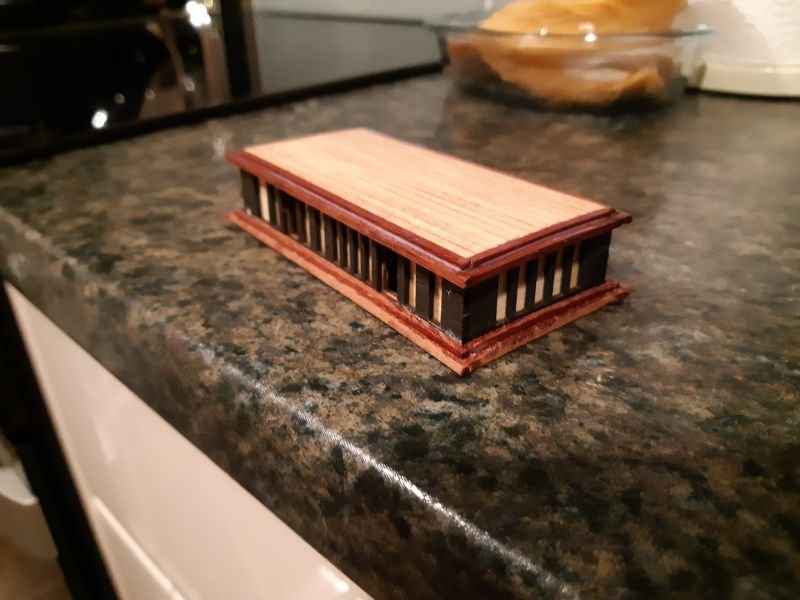
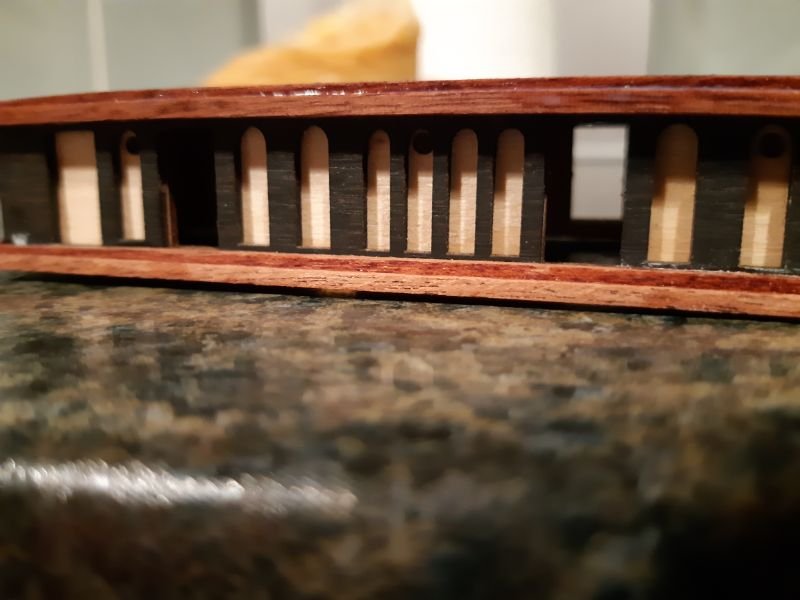
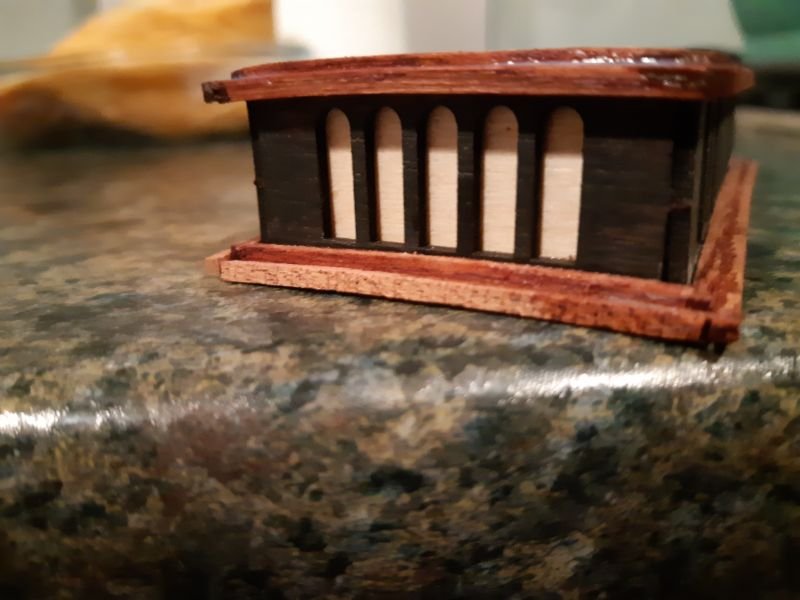
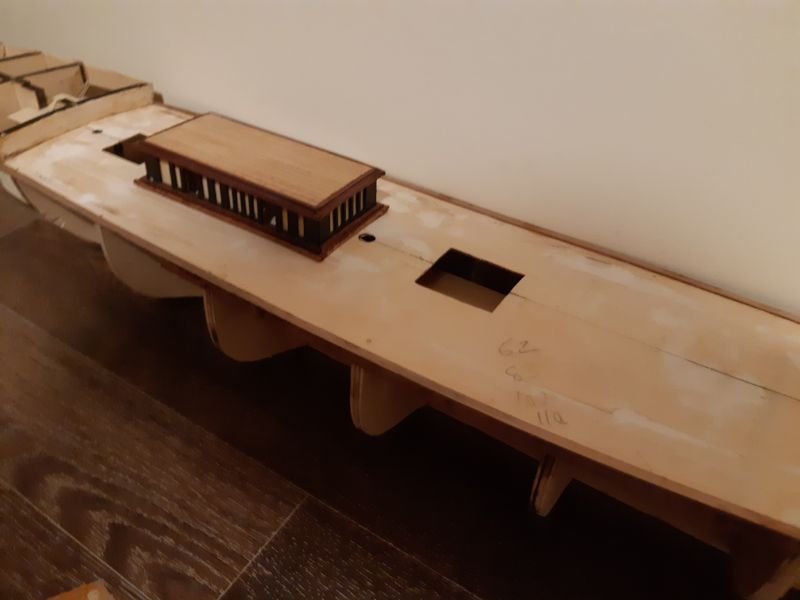
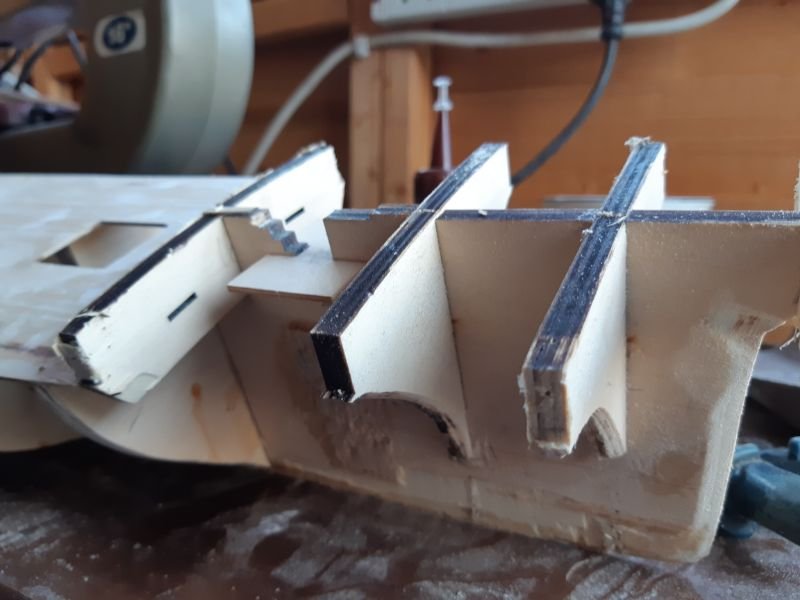
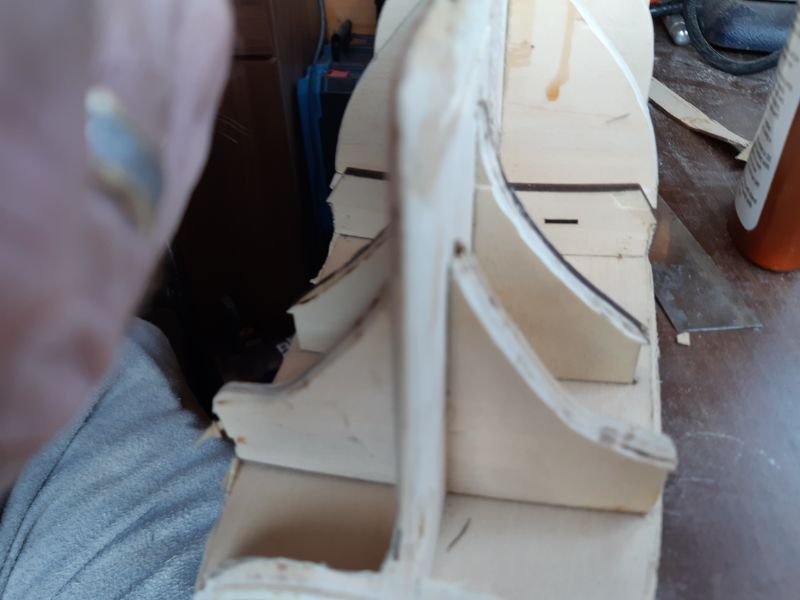
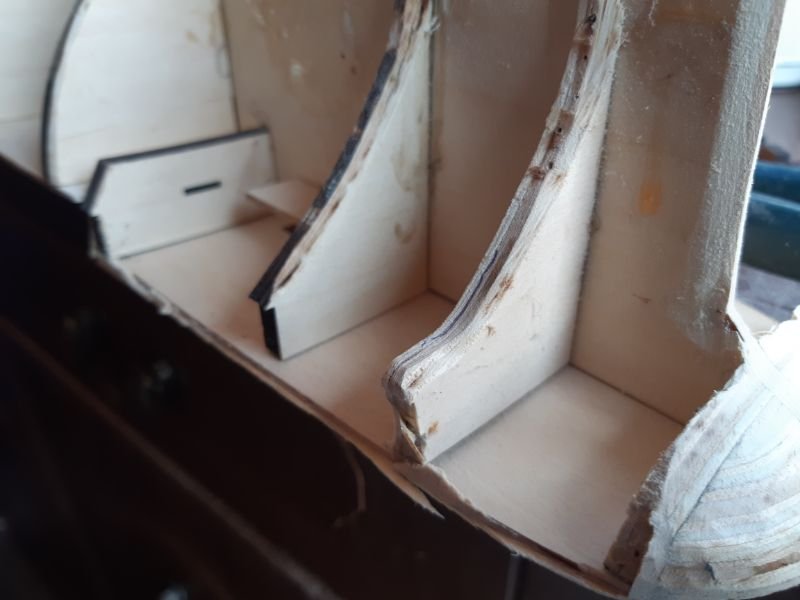
Hi all whilst waiting for my planking to come I decided to start on some of the many other things in this kit, here is a start on one of the cabins.
It's like a kit in its self, I have a feeling I'm going to love this kit, for the calking between the planks I used a lead pencil and just ran it along the edges of the planks.
- chriswi, hof00, GrandpaPhil and 1 other
-
 4
4
-
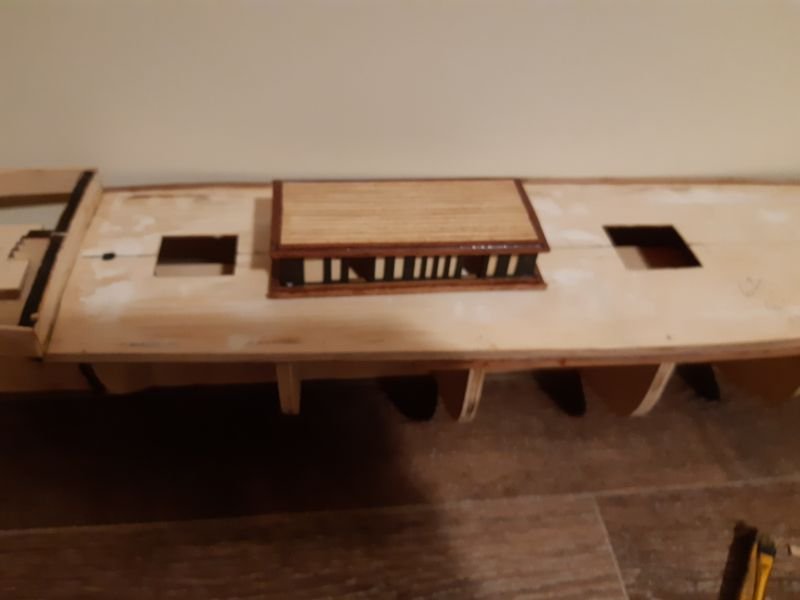
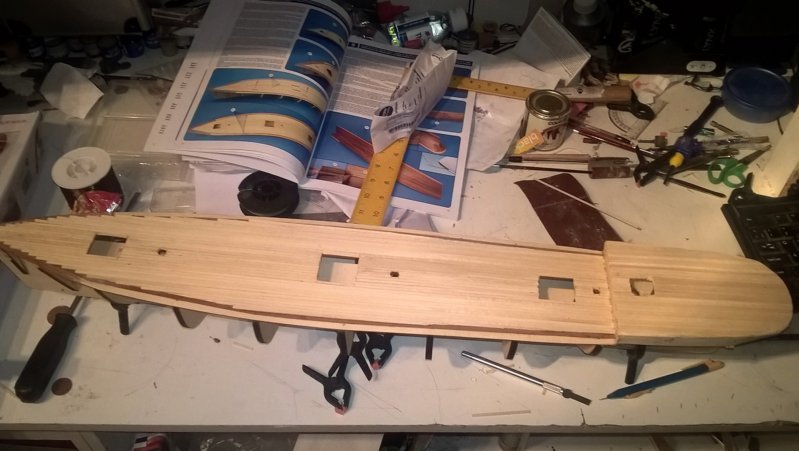
Ok so I've decided to start decking it, the instructions are not at all clear it shows you decking over the false deck by 2 mm for the first 120 mm and no longer mentions that afterwards (I can understand that as the planking for the sides is 2mm thick) but why stop that overlap at 120 mm, I looked at pics of the waterways on the actual ship and it looks like there is a wooden strip all the way along the ship from the front to the stern step so I decided to continue the strip all the way along, first problem was keeping a 4 mm wide strip at 2 mm on the deck and 2mm in the air so I decided to add the first plank on the sides and put the waterways over that, I figure the more accurate I can get the first plank the rest must be better so I took great efforts with the first plank.

-
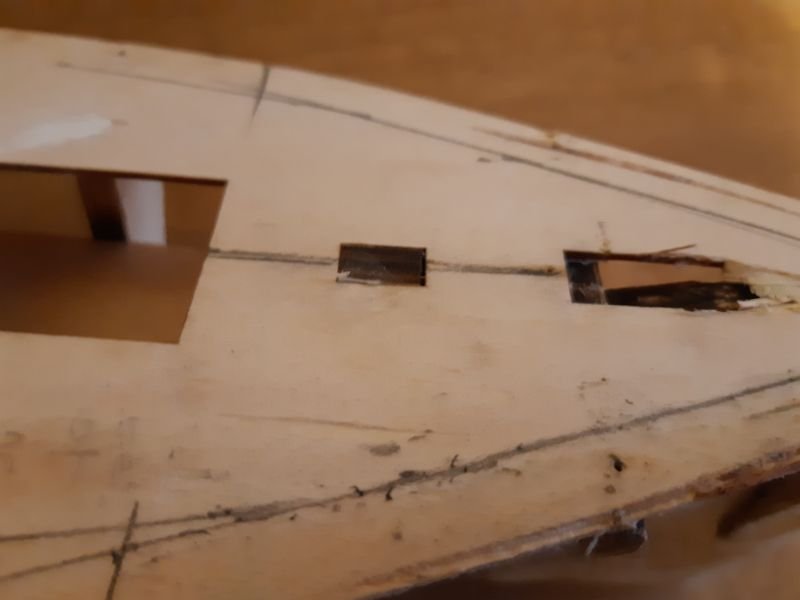
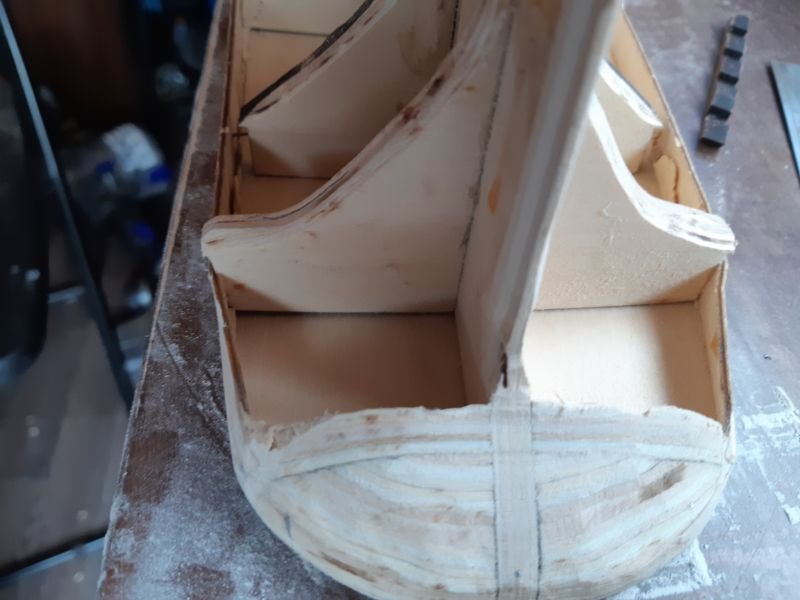
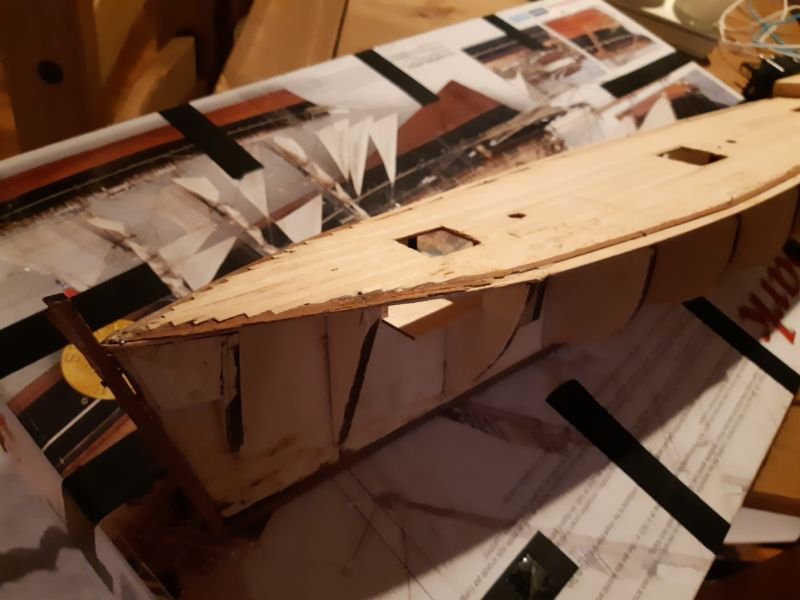
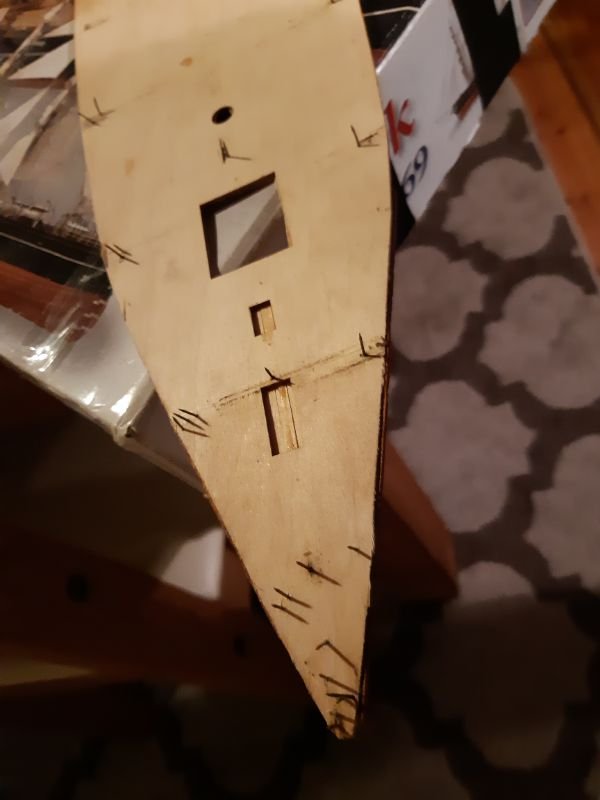
Well 1 step backwards leads to another step backwards, deck had to come off again. I was about to start planking it again and I thought surely that hump shouldn't be there.
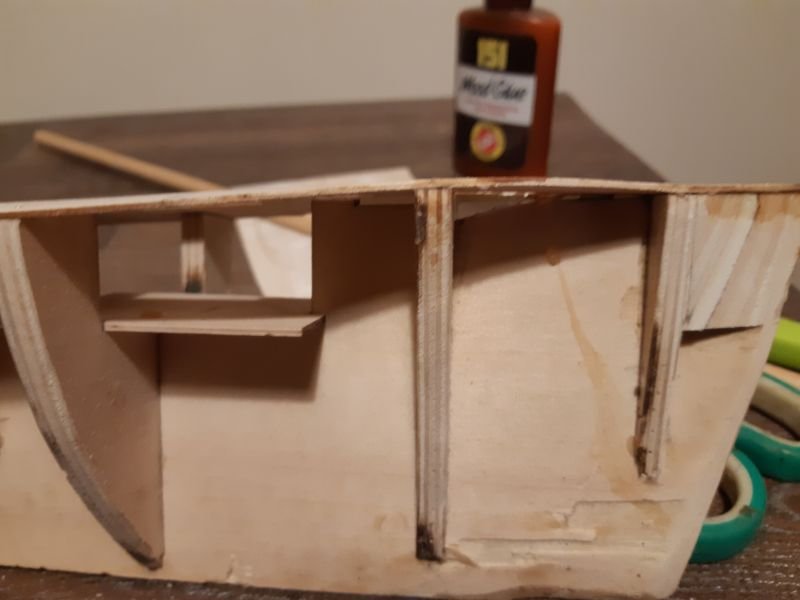
Also I dont know if you can see it from the photo but there is a gap between the bulkhead and the deck (I thought the small oblong hole in the decking was a hatch or something at first but now I see it is a locating peg for the decking) another wrongly glued bulkhead.
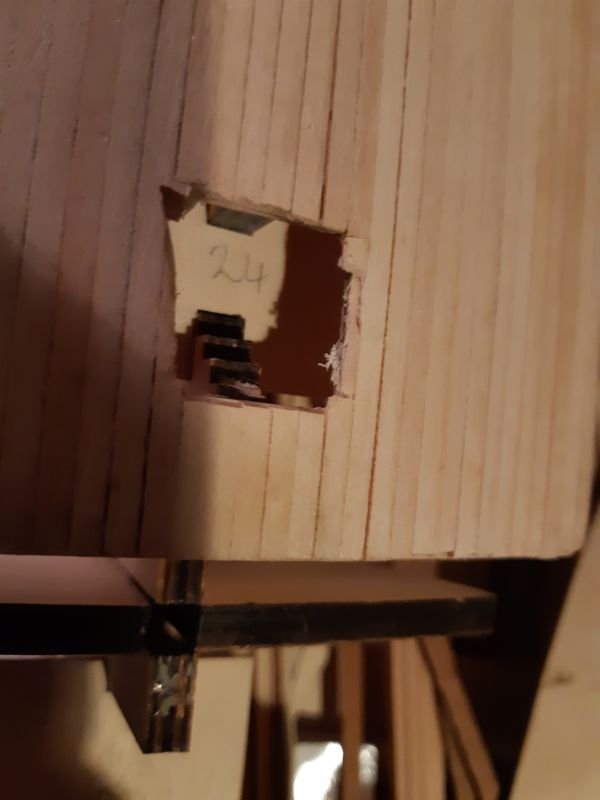
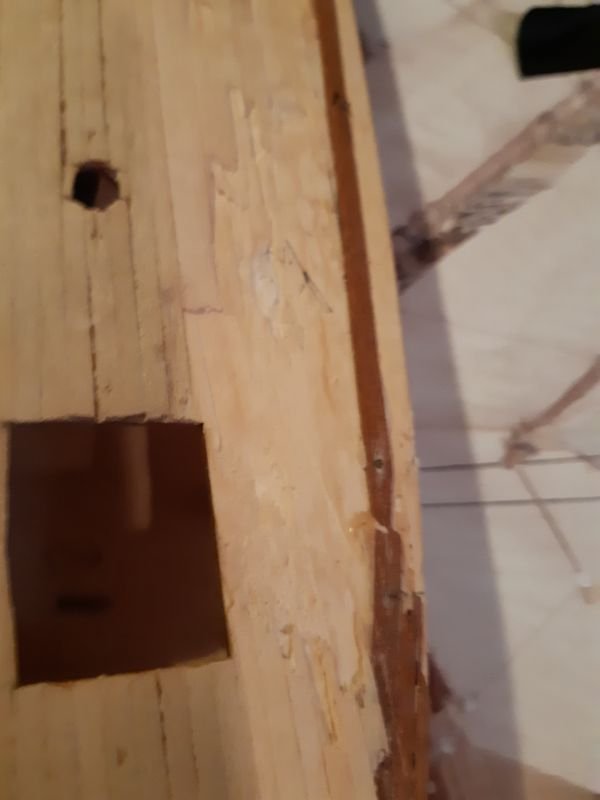
I managed to get the bulkhead off (it wasn't fully home due to wood dust and glue formed at the bottom of the joint) (all nicely held in place with dried glue) took ages to cut it all away, anyway as you can see it's all nicely flush and fitted now.

Hopefully I can now proceed as if it were a new kit (apart from the splits in all the bulkheads due to where it was planked before cant think of anything to do about that, if I glue them back together I think it will make it too hard to put new pins in) I'm hoping when its replanked I can drill holes for the pins (they will only be for show anyway)
-
Not sure what happened to pictures (I added them the same as always) if you click on the img bit they do display.
-
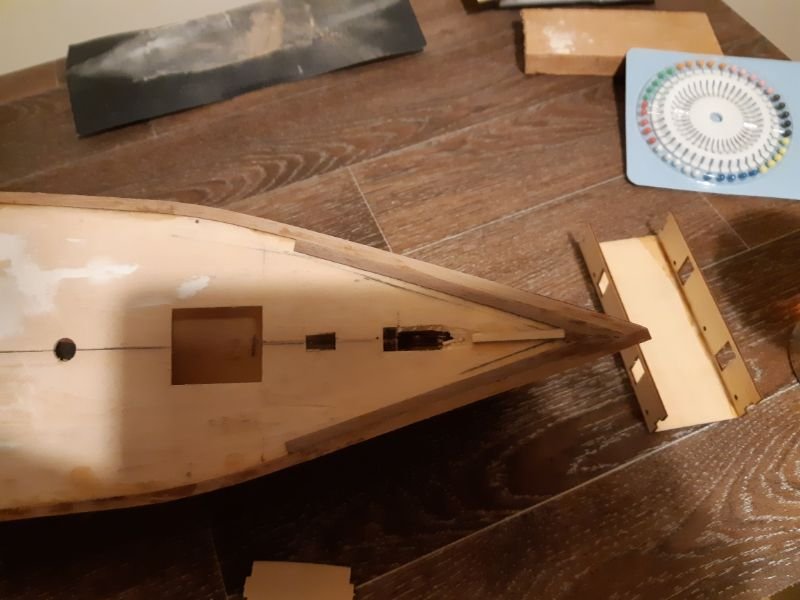
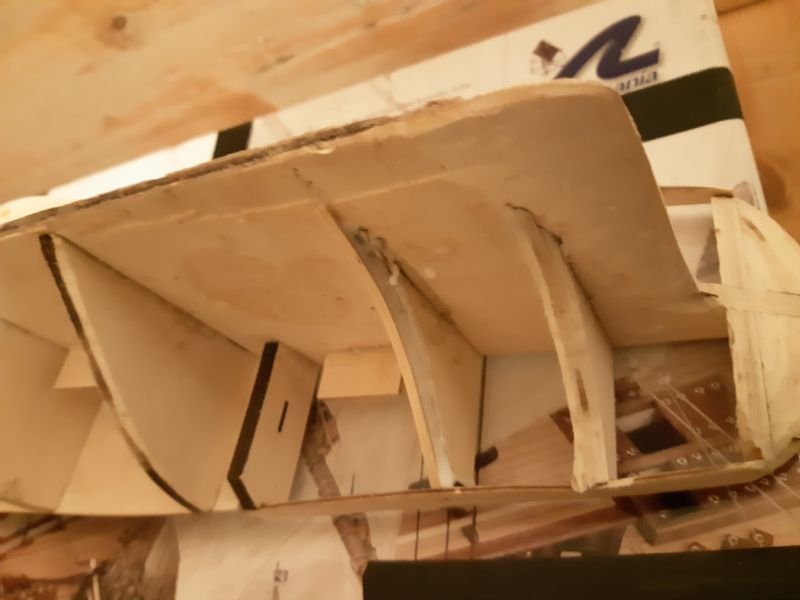
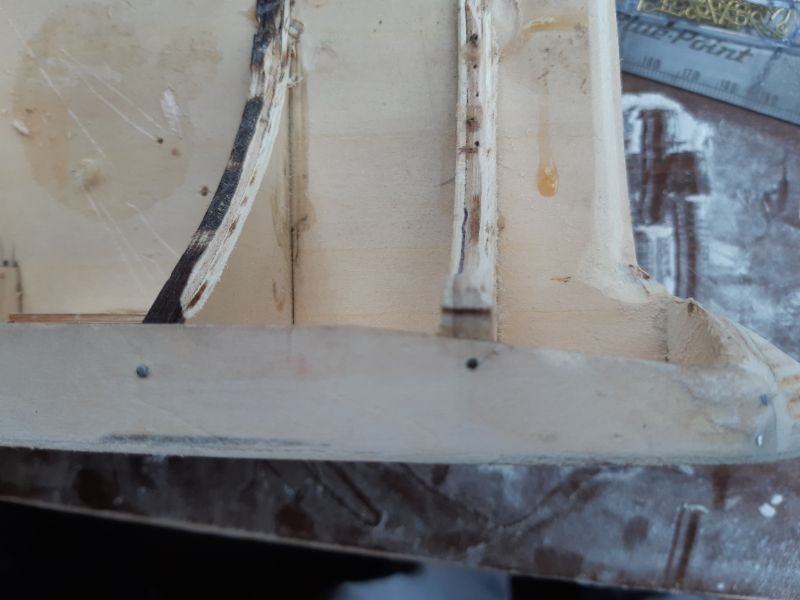
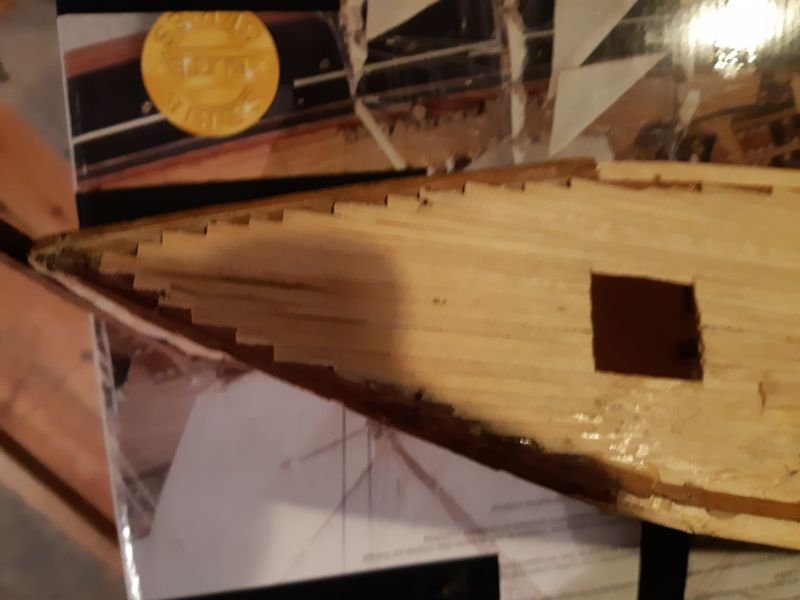
Hi all corrected the bulkheads next problem, now the side panels are correctly installed you can see the stern is too shallow so I will probably build this up with wood filler.
-
No full size drawings, bought this as a started model but someone suggested I build the smaller frame upto the size of the bigger one then remove material from the bigger one, I think that's the method I will use.
-
With pleasure.
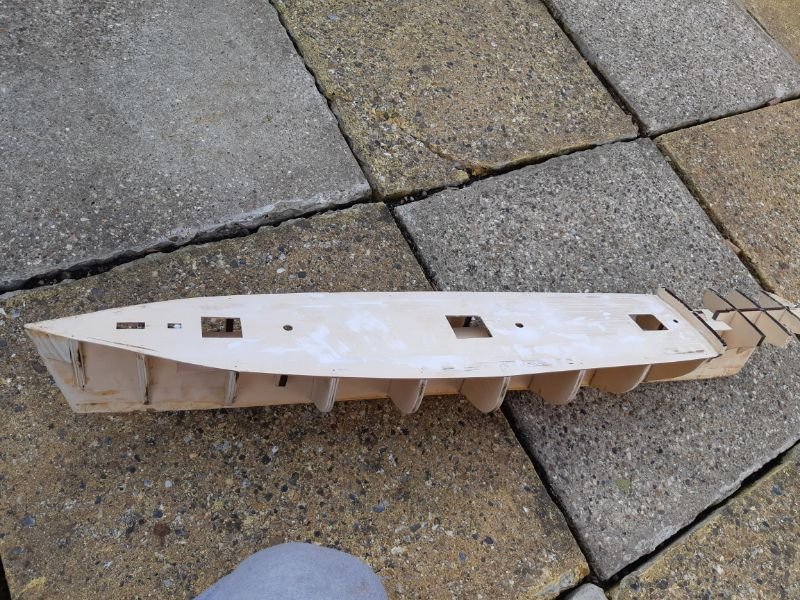
Hi all well I've removed the deck planking squared up the frame and are attached the front decking. I thought I would get away with doing nothing to the rear deck but on closer inspection I think he put the last 2 bulkhead the wrong way round since the second to last is narrower than the last (the phrase one step forward 2 back comes to mind) anyway I managed to get the rear deck off now I'm not sure what to do the frames seem to be impossible to unglue, any suggestions (I've tried steaming over a kettle but they won't budge) would it hurt the plywood if I soaked the stern in a bucket over night.
-
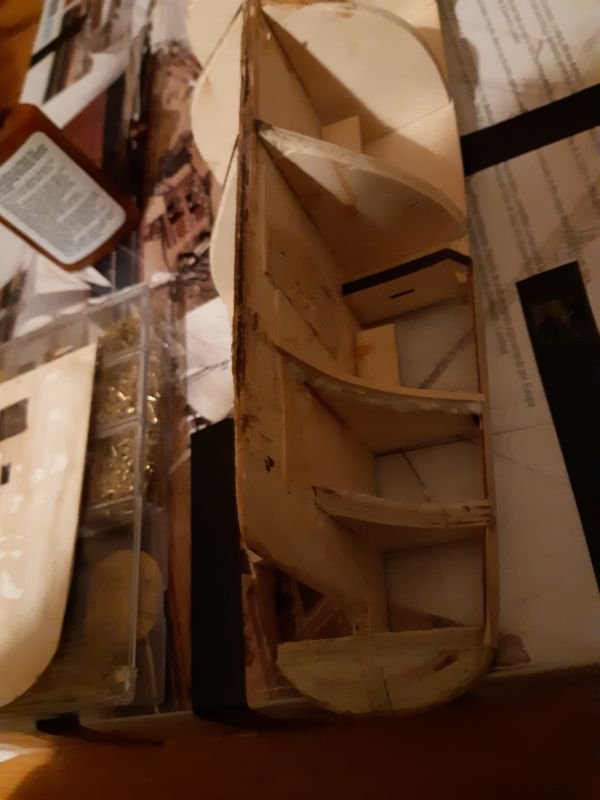
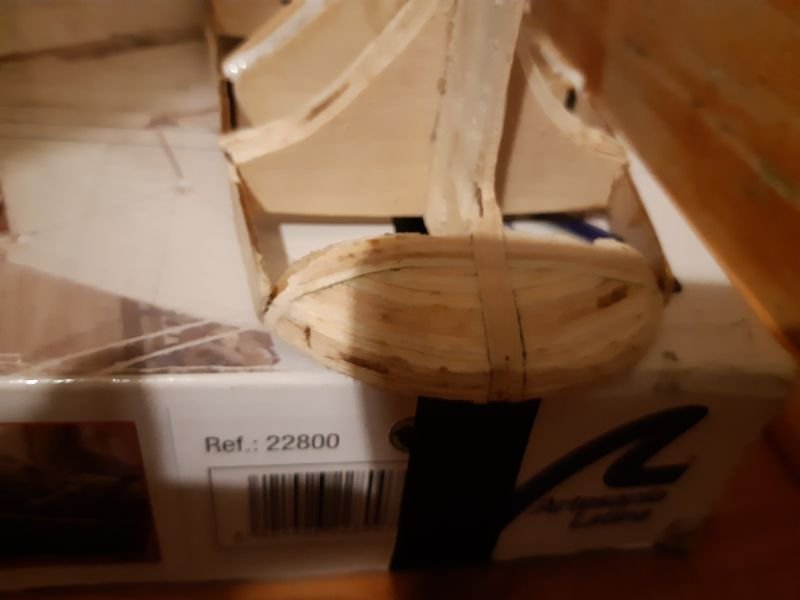
Hi all been away a while (new job, moved house, negotiating modelling space) i bought this off my brother (he decided it was too frustrating for him) there are a few problems to sort out on it (I need to strip the decking off and square the frame up , it's a bit warped) he took the planking off which has saved me a job (he bought some really thin wood for the planking as he struggled with the supplied wood but it's so thin I can see it disappearing when sanded do I'm going to use the supplied wood) here are some pics, I've managed to get the deck off fairly easily getting the wood off the deck and squaring the frame may be quite a bit harder.
This will be a very slow build.

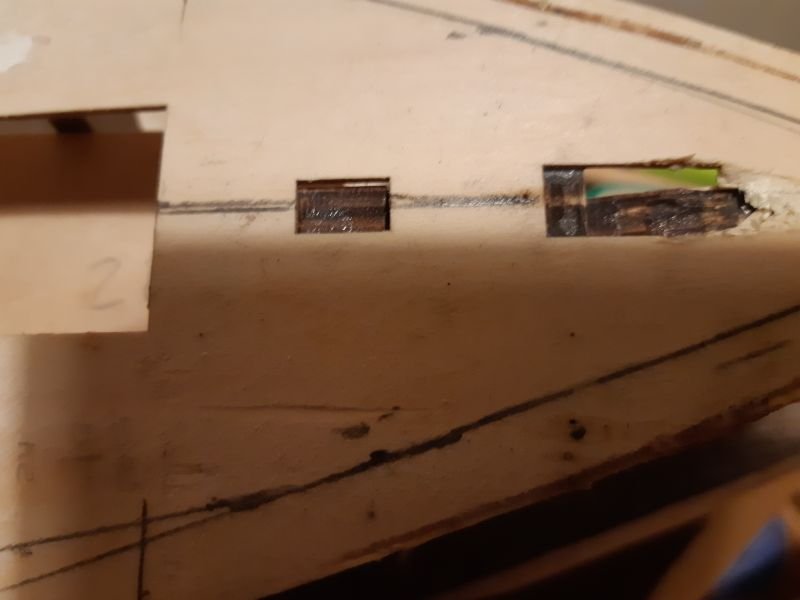
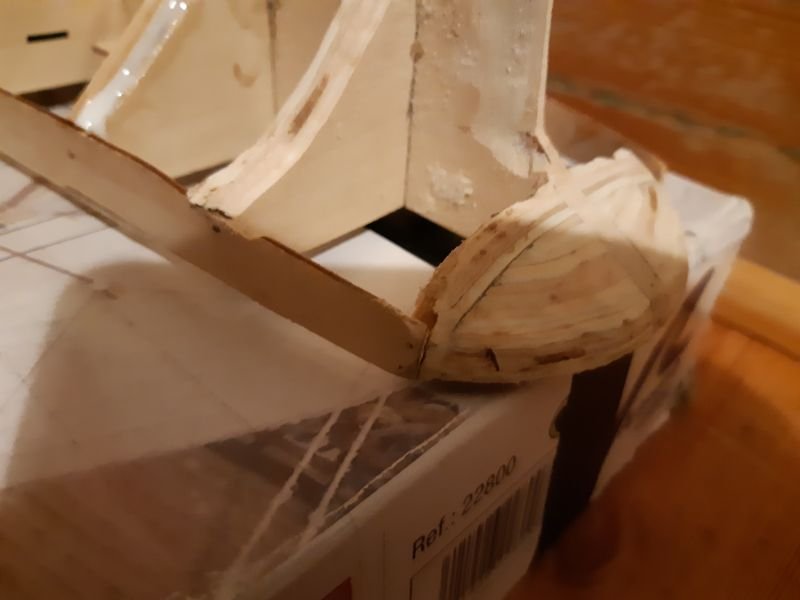
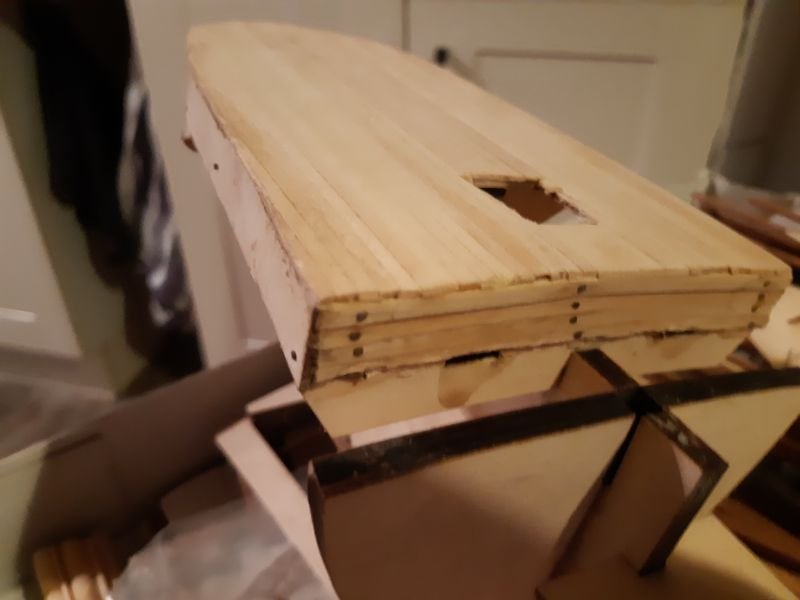 I think the pins hes used in the transom are way out of scale.
 -
No shortage of victims I could restart the soliel or maybe the wasa (missus dropped that whilst dusting snapped the fore and main mast) or the Bismarck wreck, or any number of other stalled genres.
- popeye the sailor, Canute, mtaylor and 3 others
-
6
-
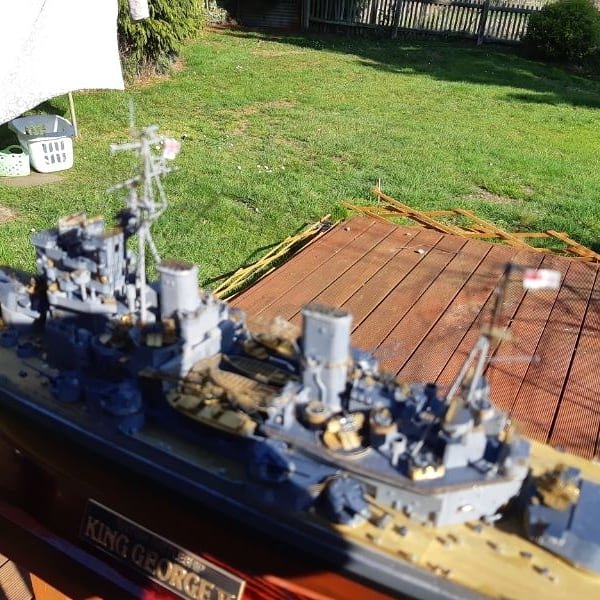
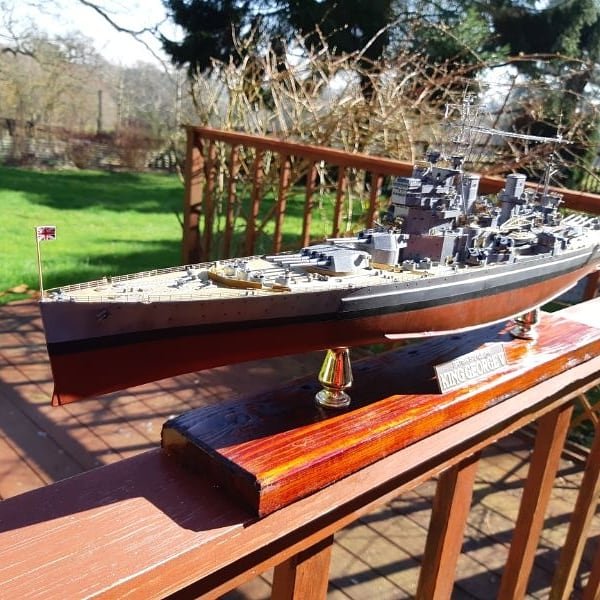
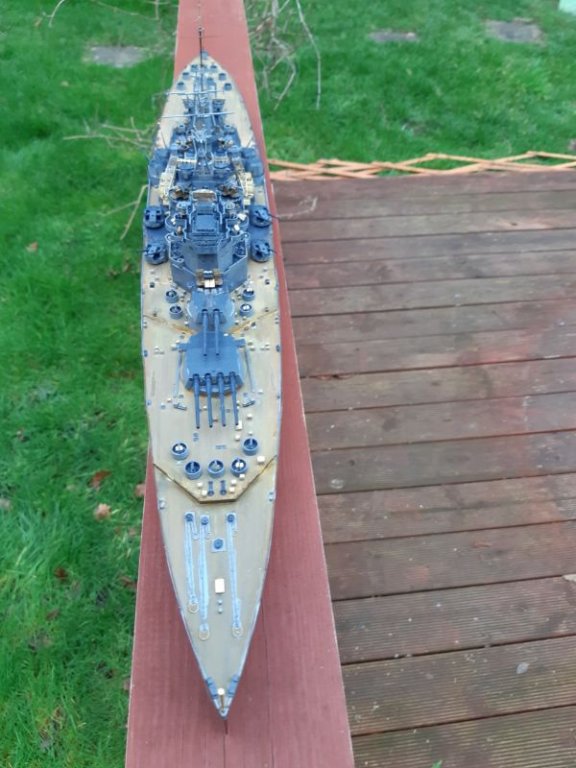
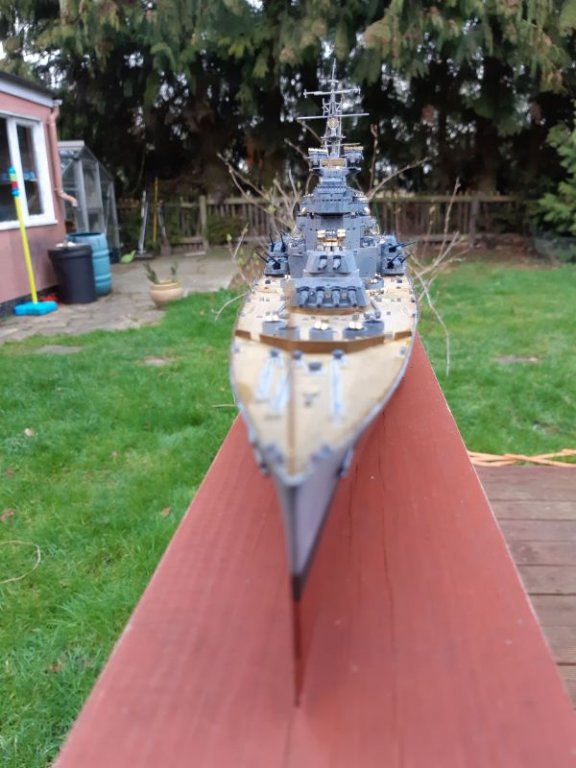
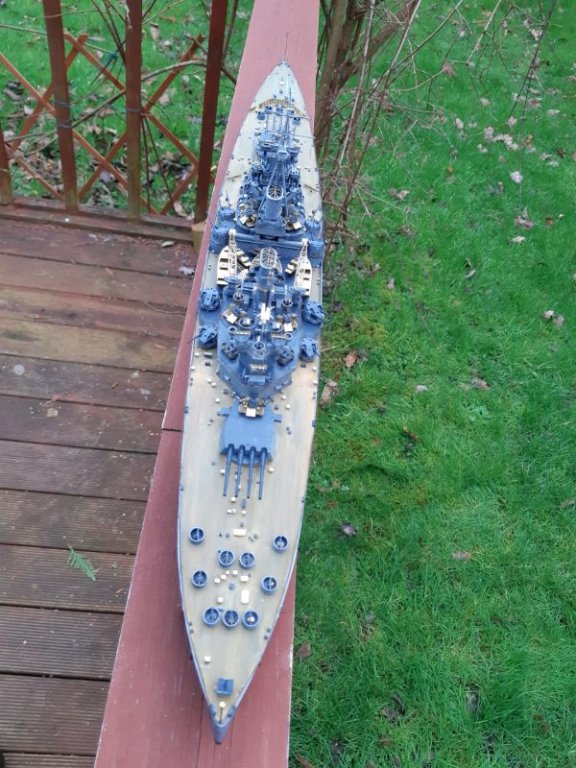
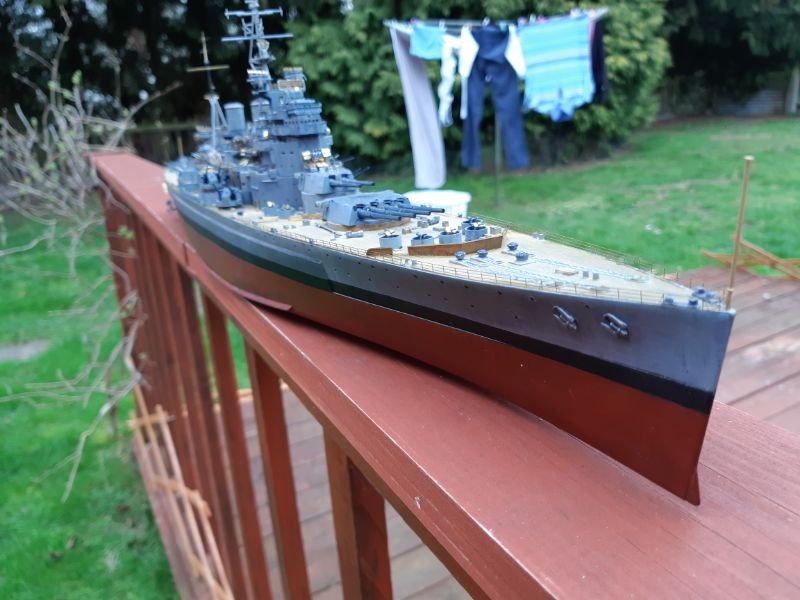
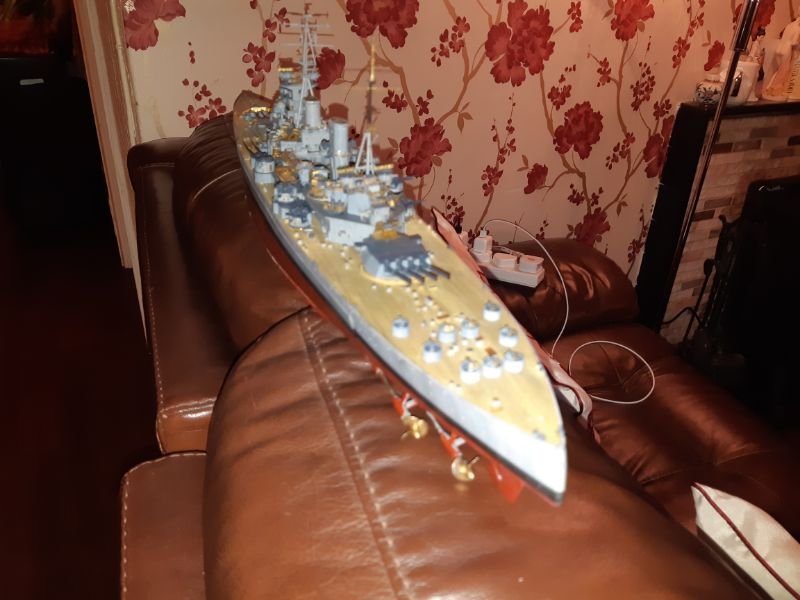
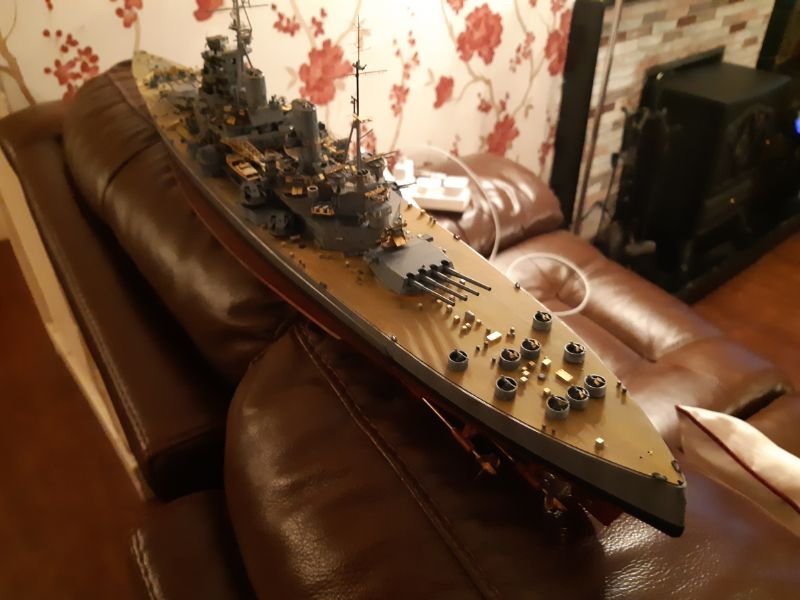
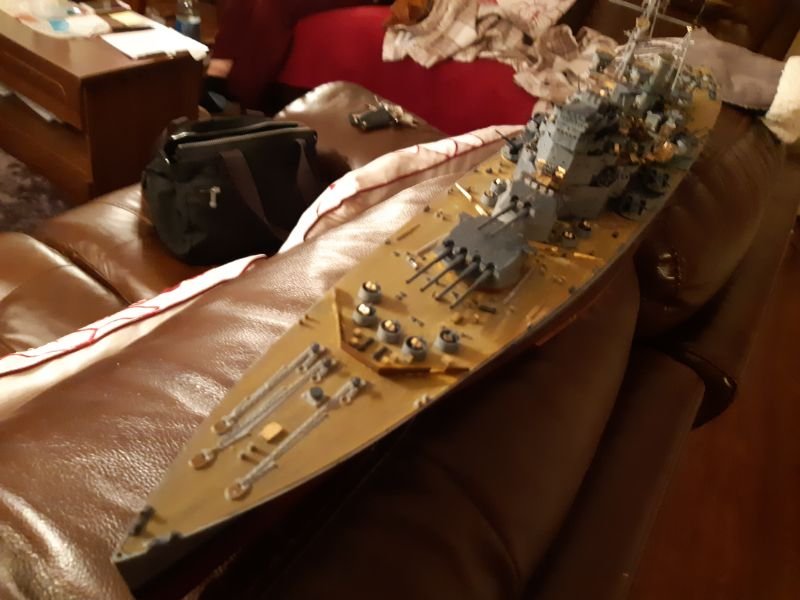
Well she's finally finished, now I can get on with some of my other stalled builds.

-
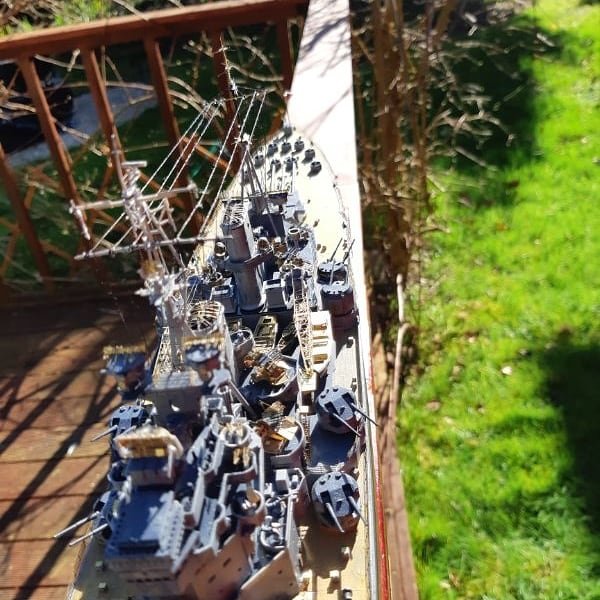
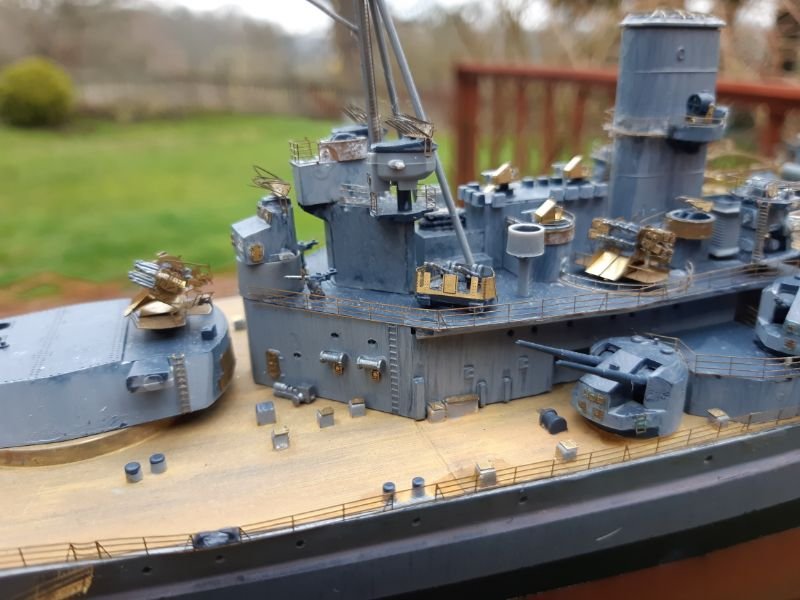
Hi all that's all the PE attached just the rigging to do now (not looking forward to that) I say all the PE there are some steps and platforms to add to the sides but I will add them after it's on a stand as I already broke the platform off the one set of stairs which I added and lost the platform for them, i figure it will be safer to leave them till last.
-
Hi all here is the best tip you will ever get, never ever glue the sub assy's to the deck if you're using pe this piece of pe took 2 hrs and ive left a piece out as I see no way of bending it and getting it in place (tbh it's so small even if I added it I doubt it would show anyway)
Once again DO NOT GLUE SUB ASSYS TO THE DECK IF USING PE.
-
Oh how I wish I hadn't glued the sub assy's on putting the railings around them is proving to be a royal pita, I've even tried prying them off (why is it that you really glue something well and it falls off if you sneeze, you just tack something and it's stuck fast) grrrrrrrrr I think I've just made this a million times harder, i should not have got paranoid that the sub assy's would get knocked to the floor again.
- lmagna, mtaylor, popeye the sailor and 3 others
-
6
-
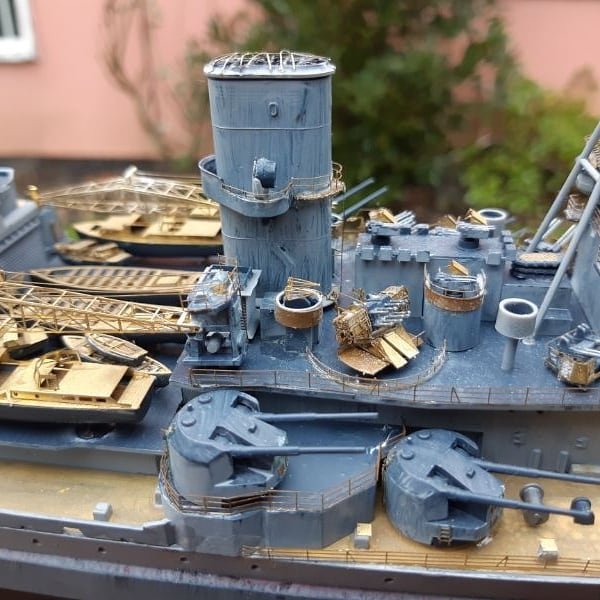
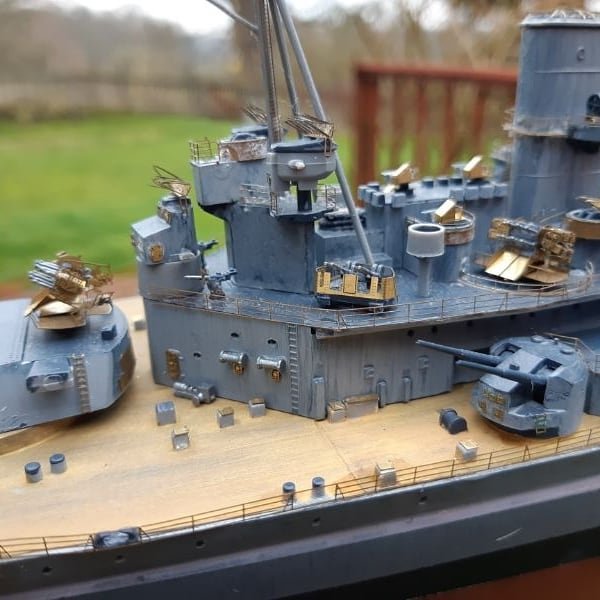
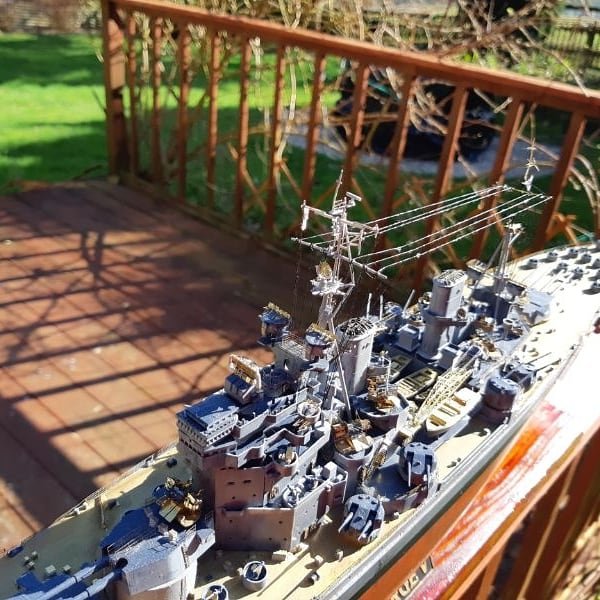
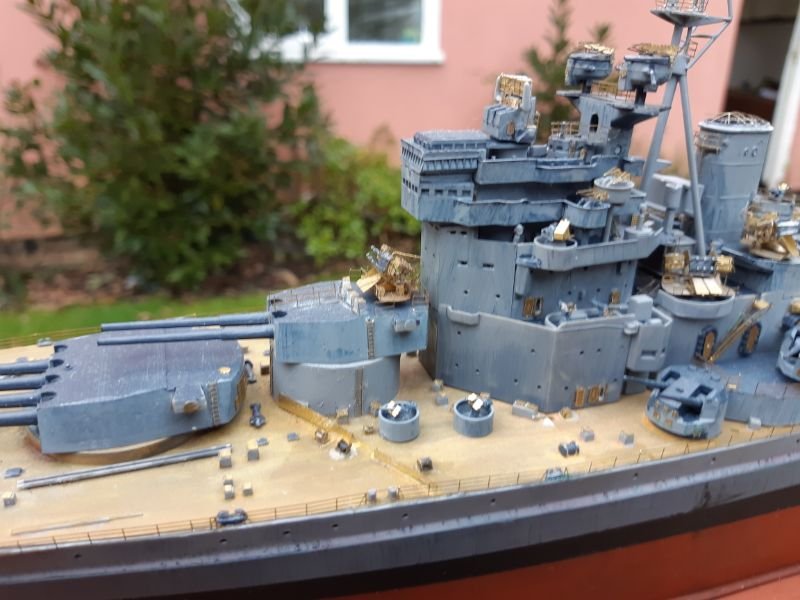
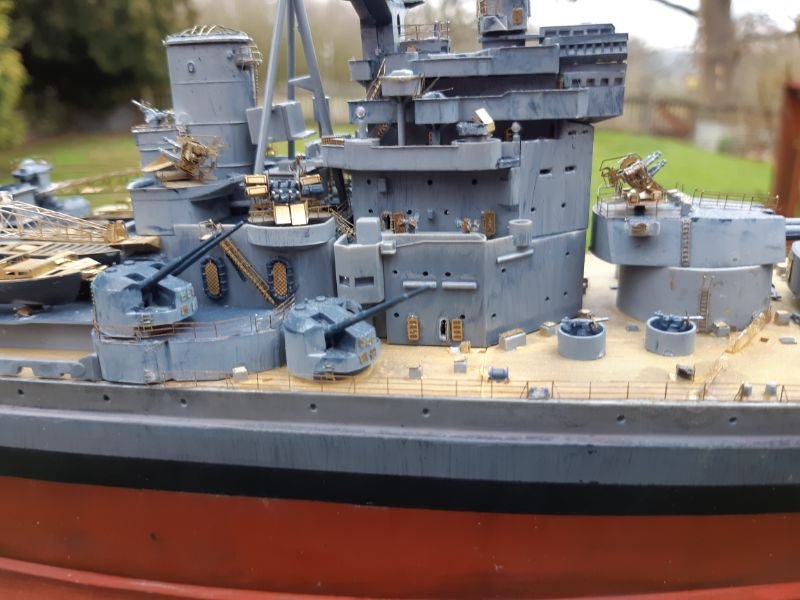
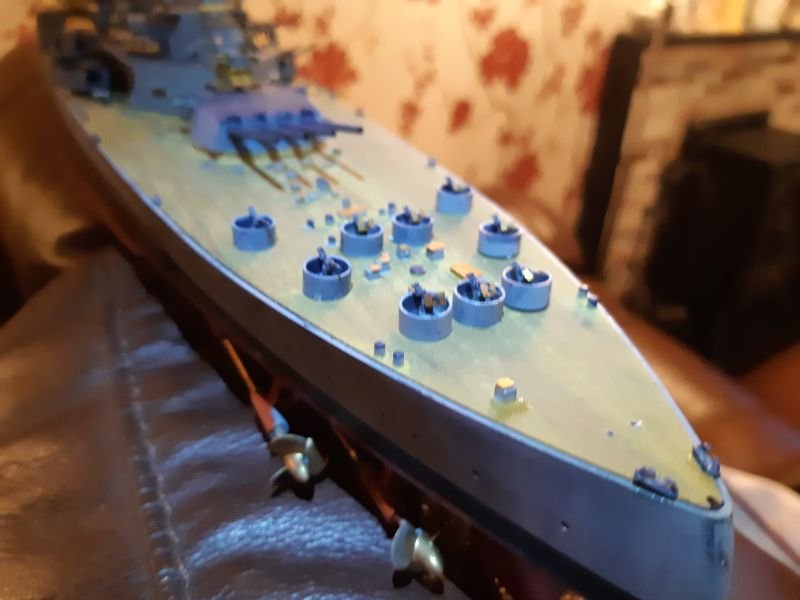
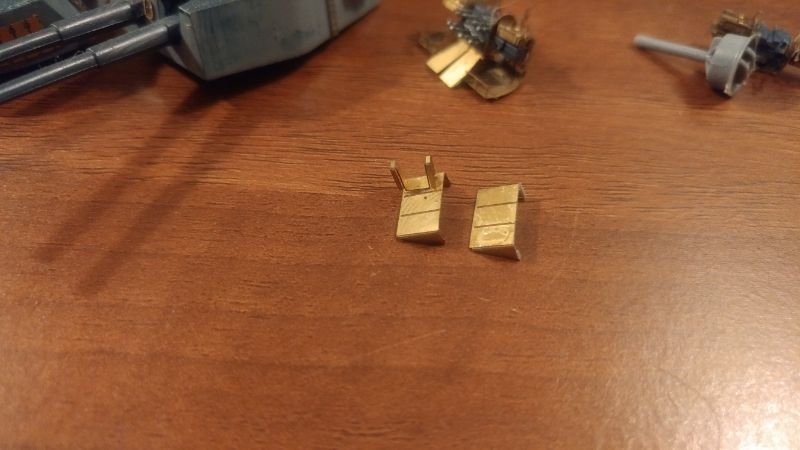
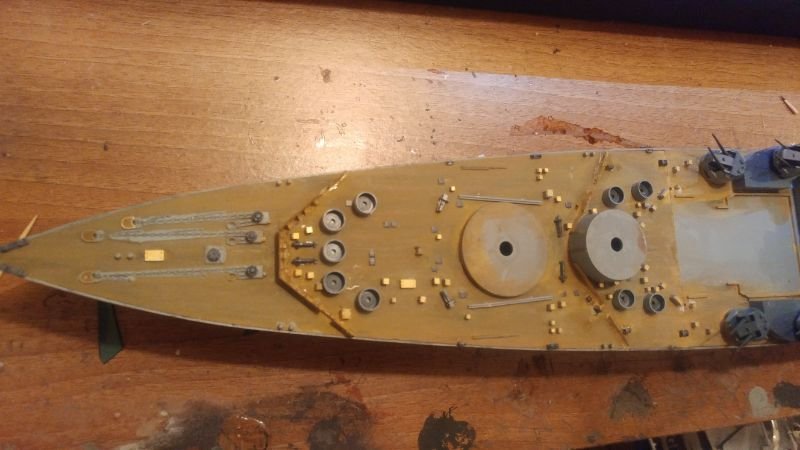
Hi all well all the Oerlikons are finally done as is the last of the pompoms (I accidentally stuck the shields on the wrong way round on the first of this set of Oerlikons and thought the brass showed up better so I've done all the rest the wrong way round (if you use the etched detail side you can hardly notice the pe)(here's a challenge try to find the ones with the pe the right way round they hardly notice)
-
-
-
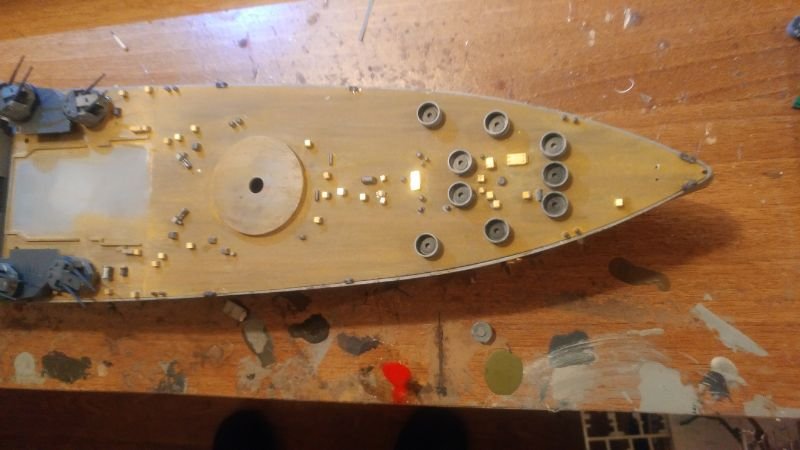
Hi all well I finally got some modelling time and I've fixed what I can and I've now glued the sub assy's to the deck (I know it will make adding further pe problematical but I figure the whole ship will have to be knocked off the bench to damage bits in the future)
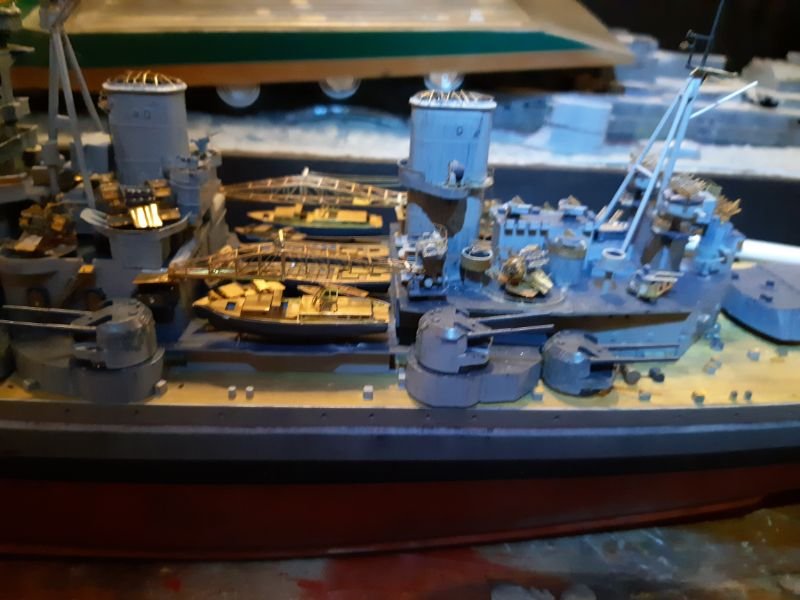
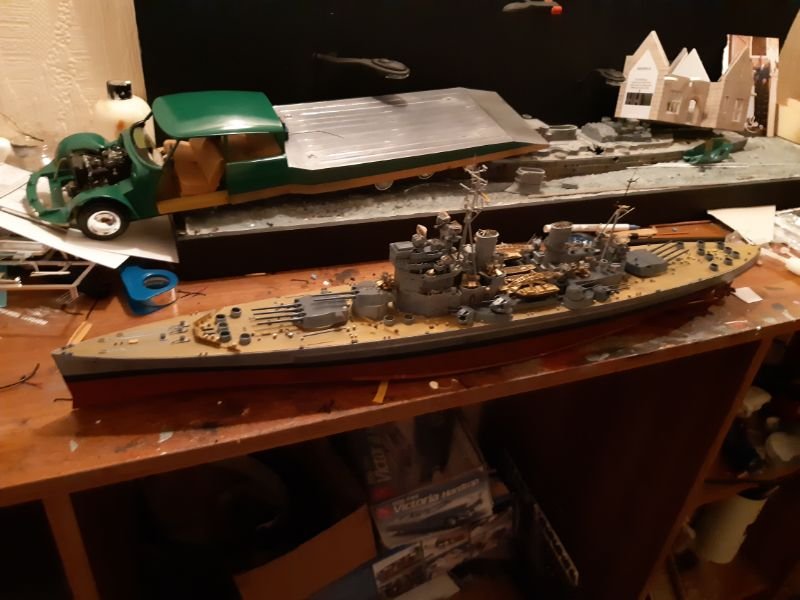
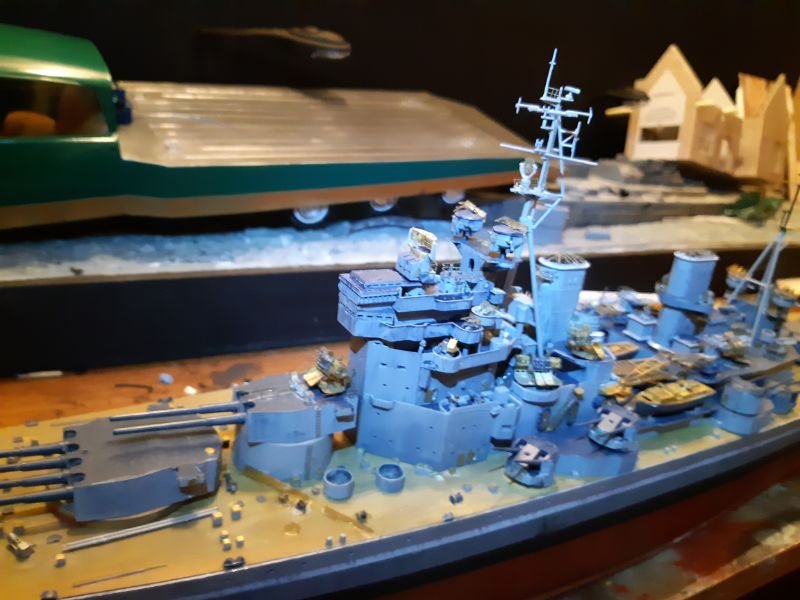
So now I have about a gazillion bits of PE to add to the Oerlikons, then all the railings, build and add the last set of pompoms to the stern big guns, add the pe to those guns and the job should be a goodun.
-
My missus is awesome and allows me to mess her livingroom up without complaining so how can i say anything, and she was very upset and was obviously expecting me to explode (which I didnt) let's just say I know a good thing when I see it. How many of you can say you've spilt glue or paint on the living room floor and just got a raised eyebrow for it (mind you she can make a raised eyebrow very scary)
- popeye the sailor, Canute, mtaylor and 2 others
-
5
-
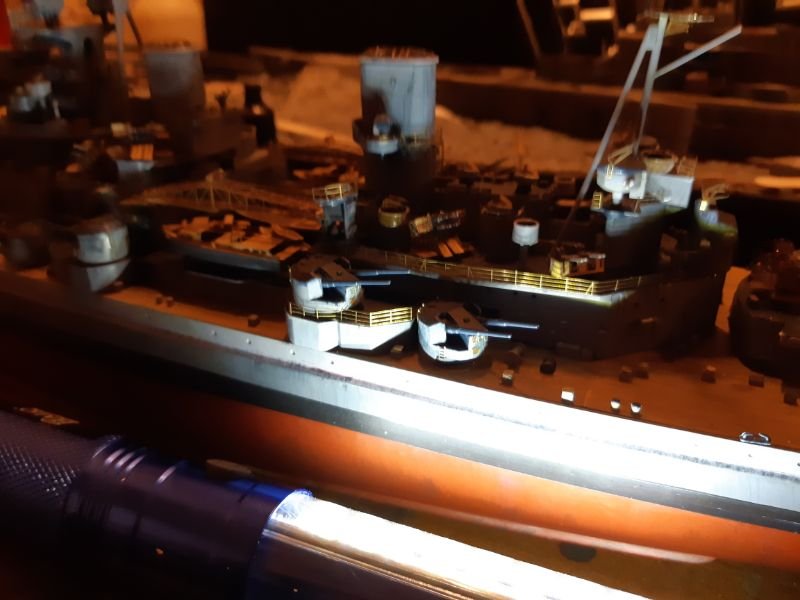
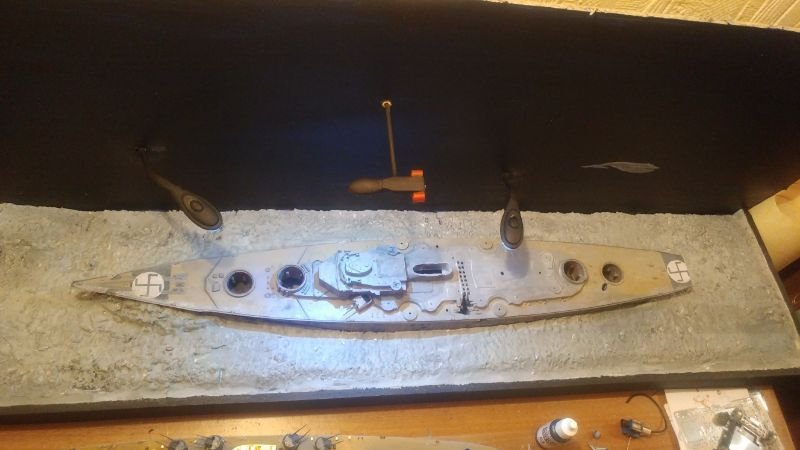
Bit of a catastrophe on this one missus knocked one of the sub assemblies off the bench, i can't find the pe range finder also can't find the bit the crane is held between on the 2 bits that both broke off to say I'm annoyed is an understatement, i was going to try and finish the Oerlikons this weekend, also some of the pe mast stuff is missing or bent (hopefully I can straighten that out.
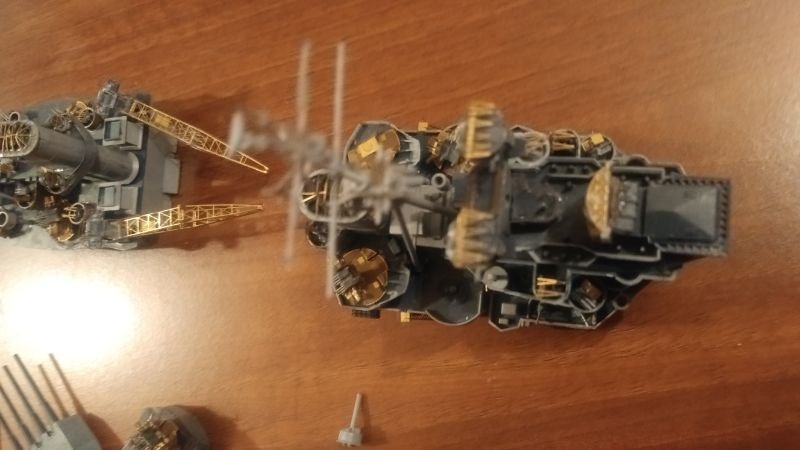
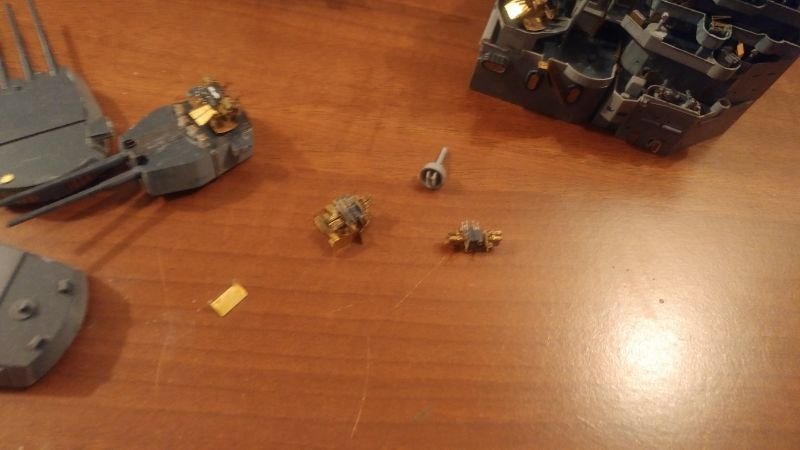
Not sure what else is missing I'm hoping anything else won't notice.
-
Thanks for taking the time to look, I've got an idea my boss has some of those in her Xmas cupboard.
- Old Collingwood, lmagna, Canute and 2 others
-
5
-
-
-
It's a converted book light.
- popeye the sailor, lmagna and Canute
-
3
-
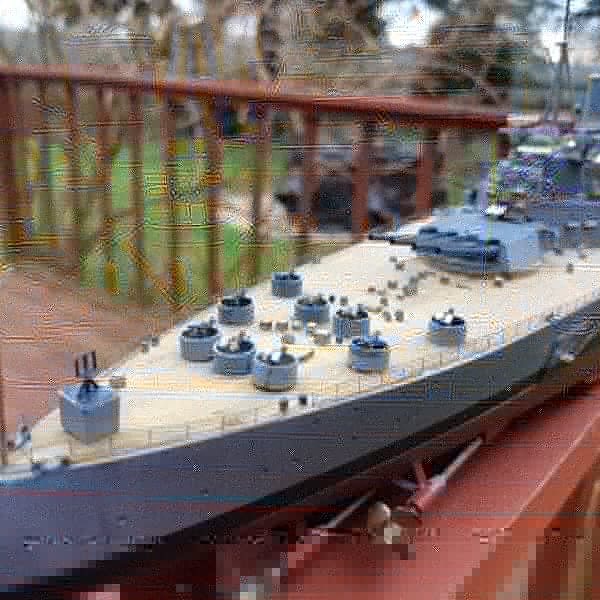
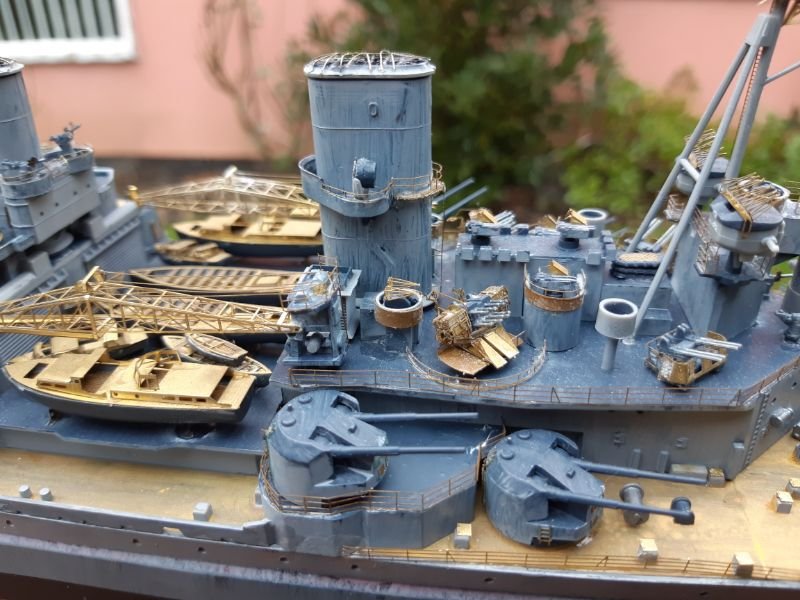
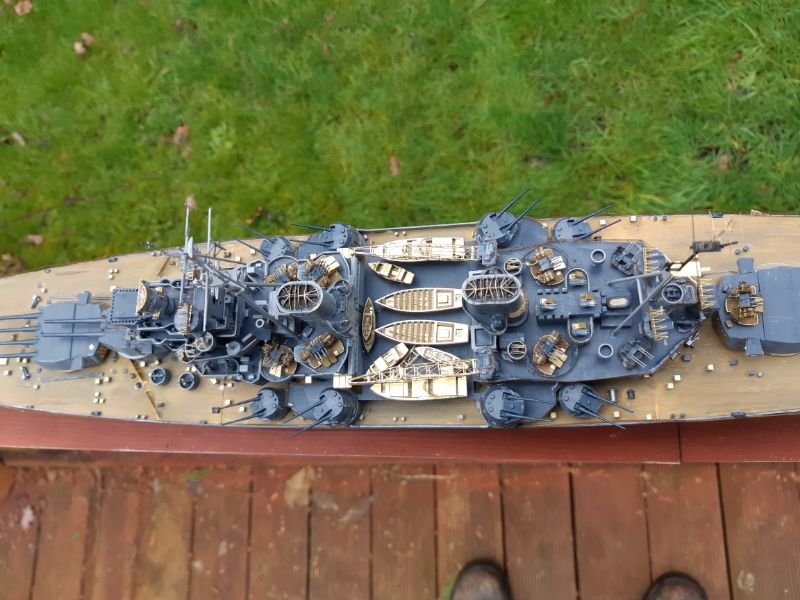
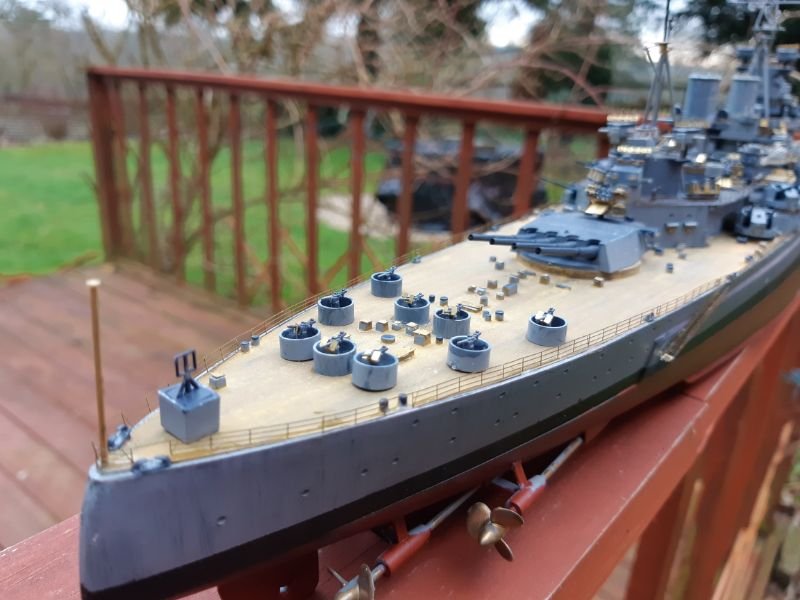
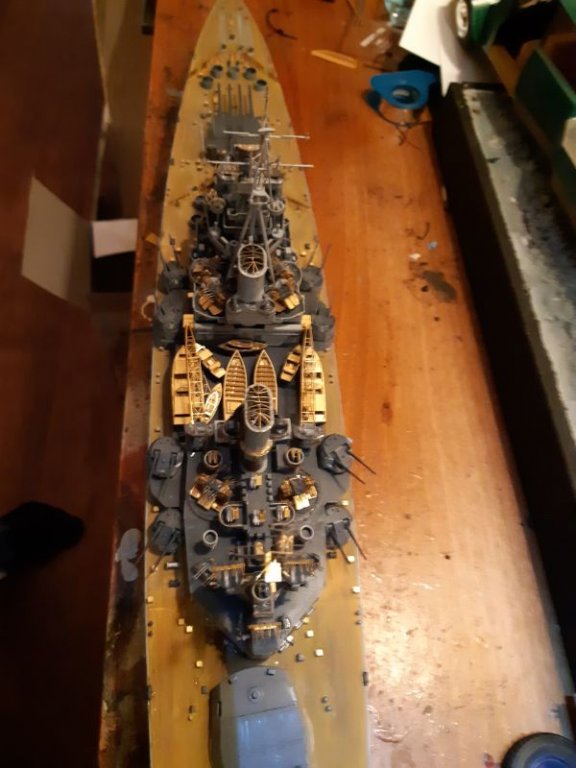
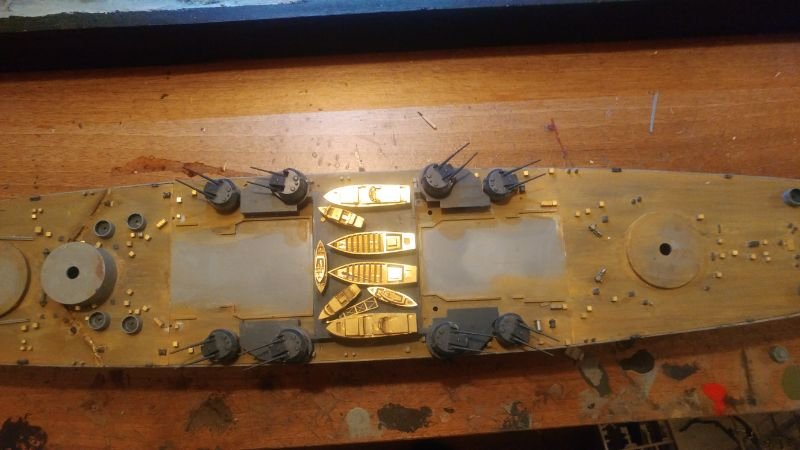
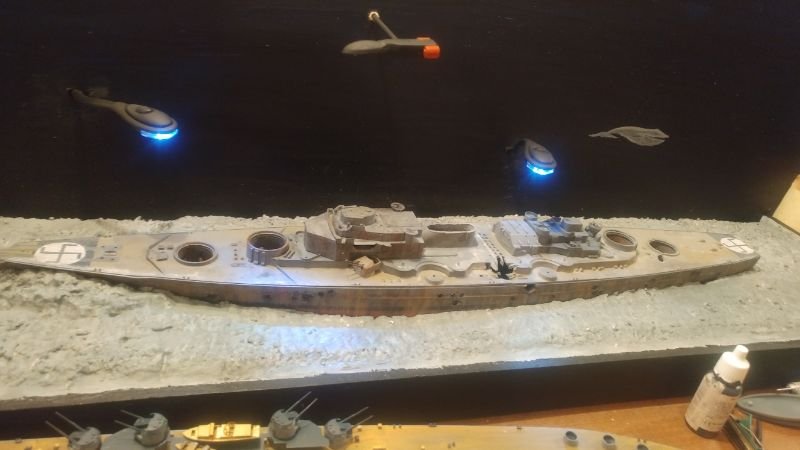
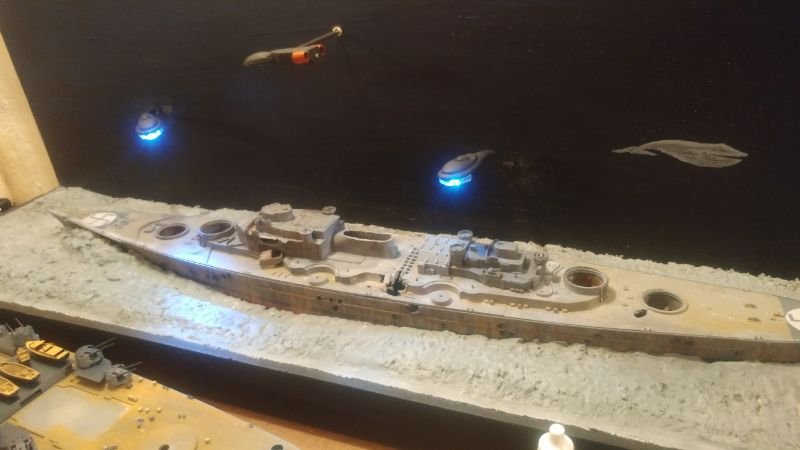
Hi all, well apart from the Oerlikons all the deck furniture is done, i think, hope?
- mtaylor, Ryland Craze, Canute and 4 others
-
7


Cutty Sark by kpnuts - Artesania Latina
in - Kit build logs for subjects built from 1851 - 1900
Posted
Hi all I have done some of the planking I've cut the planks at 70mm which I think in this equates to 10 yards at this scale (although the planking supplied is I think is over scale at about 12"wide ) I'm not going to add the nail heads as I've seen on the printed decks available in this scale as I dont believe a nail with a head diameter of 6 mm would be visible at this scale at.
The planking is very slow going but quite satisfying.