Javlin
-
Posts
1,681 -
Joined
-
Last visited
Content Type
Profiles
Forums
Gallery
Events
Everything posted by Javlin
-
You can crank them out Craig she's looking good the decals and stencils will add some more colors.Seriously one day when the camera is out I would enjoy a peek at the built stash Kevin
-
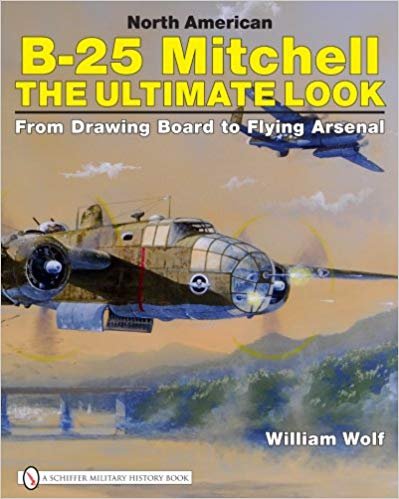
B-25 Mitchell "Meet Miss Runyon" by Javlin-HK-1/32
Javlin replied to Javlin's topic in Non-ship/categorised builds
I would not doubt that probably depending of the air defense's there and back the deeper you go the more you carry? Kevin -
B-25 Mitchell "Meet Miss Runyon" by Javlin-HK-1/32
Javlin replied to Javlin's topic in Non-ship/categorised builds
They had tracks the belt fed through the waist gunner is the same way I am making the chutes now out of some styrene now nothing fancy a representation. Kevin -
B-25 Mitchell "Meet Miss Runyon" by Javlin-HK-1/32
Javlin replied to Javlin's topic in Non-ship/categorised builds
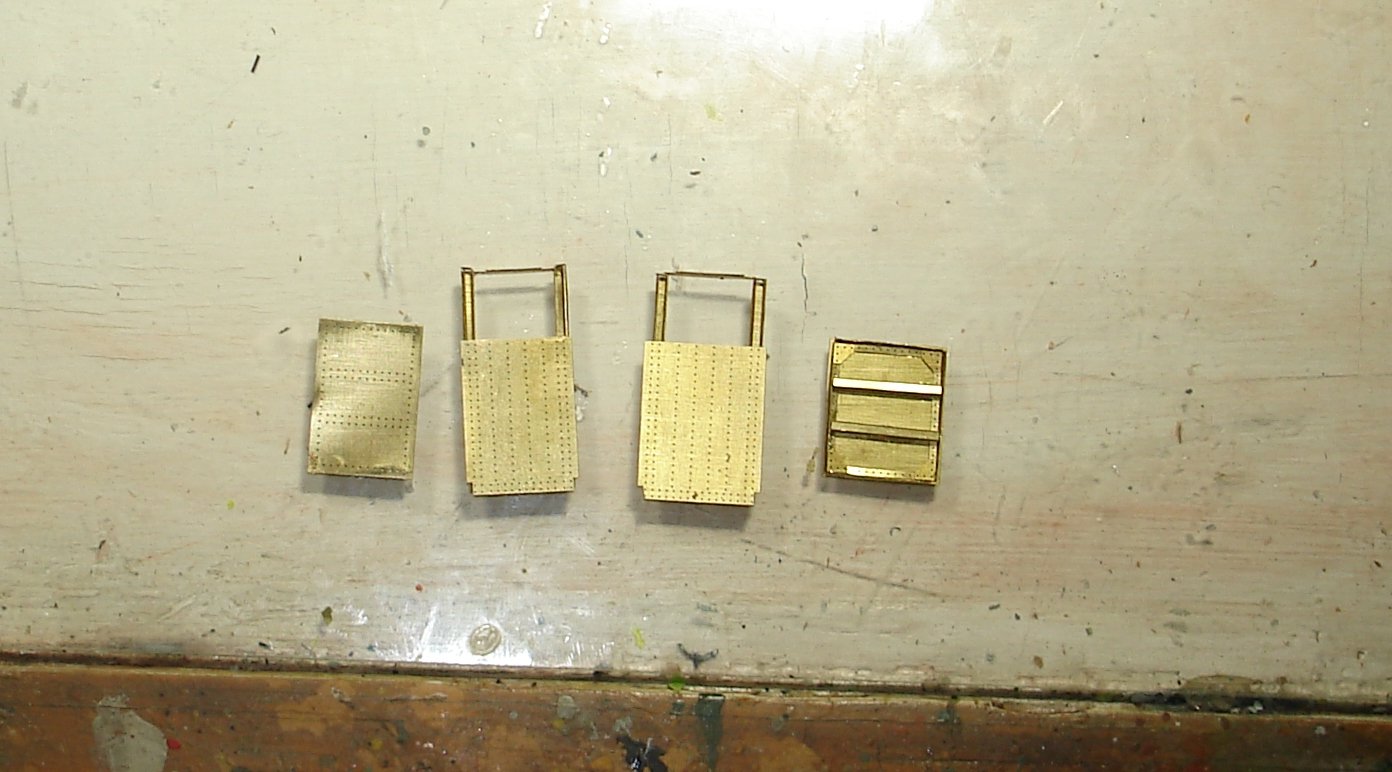
I was going through the book to learn the location of the cans for the waist gunners position a can holds 200rds of 50 cal. Kevin -
B-25 Mitchell "Meet Miss Runyon" by Javlin-HK-1/32
Javlin replied to Javlin's topic in Non-ship/categorised builds
I have the tailgunner position installed and did up internal nad external hatches for boarding the plane about 5hrs of work in those 4 hatches with the drop down hatch has 17 pieces each. Kevin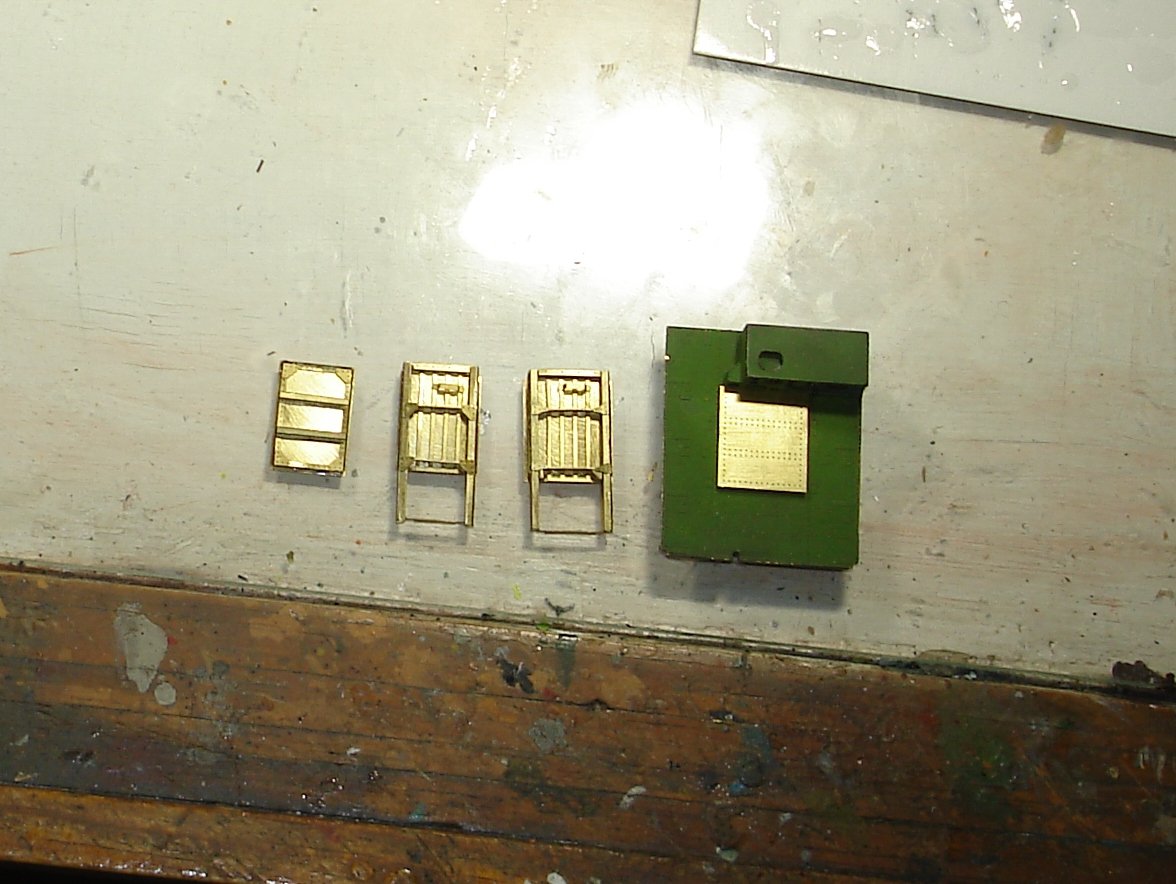


- 209 replies
-
- 11
-

-
Sorry for the loss Craig that era made some great Men and Women alike. Kevin
-
Bluethroat by amateur -FINISHED - Scherft - 1:1 - CARD
Javlin replied to amateur's topic in Non-ship/categorised builds
I like these bird projects Kevin -
So this diorama I take it you will add the green grass mat with shrubs/trees/weeds?To what scale does it work out to?this looks to be a long build. Kevin
-
Most Excellent thus Far!! Kevin
-
I read a book years ago about the KG-200 very interesting read looking forward to more of the build Denis. Kevin
-
One -to- One -to- One you are a factory CD going to be another Nice Build!You need to show that cabinet one day Kevin
-
Cool Yves!! I do a black base at times usually larger scales like the B-25 build up light coats of paint makes the recess darker/shadow. Kevin
-
B-25 Mitchell "Meet Miss Runyon" by Javlin-HK-1/32
Javlin replied to Javlin's topic in Non-ship/categorised builds
It and 1/24 are really the main ones I play in anymore if I happen to have an old 1/48 with the goodies I will use it otherwise OOB for me.This B-25 has been on the back burner for to long but it's going to force me into the other side of the shop to finish 1/2 cabinets planned. Kevin -
B-25 Mitchell "Meet Miss Runyon" by Javlin-HK-1/32
Javlin replied to Javlin's topic in Non-ship/categorised builds
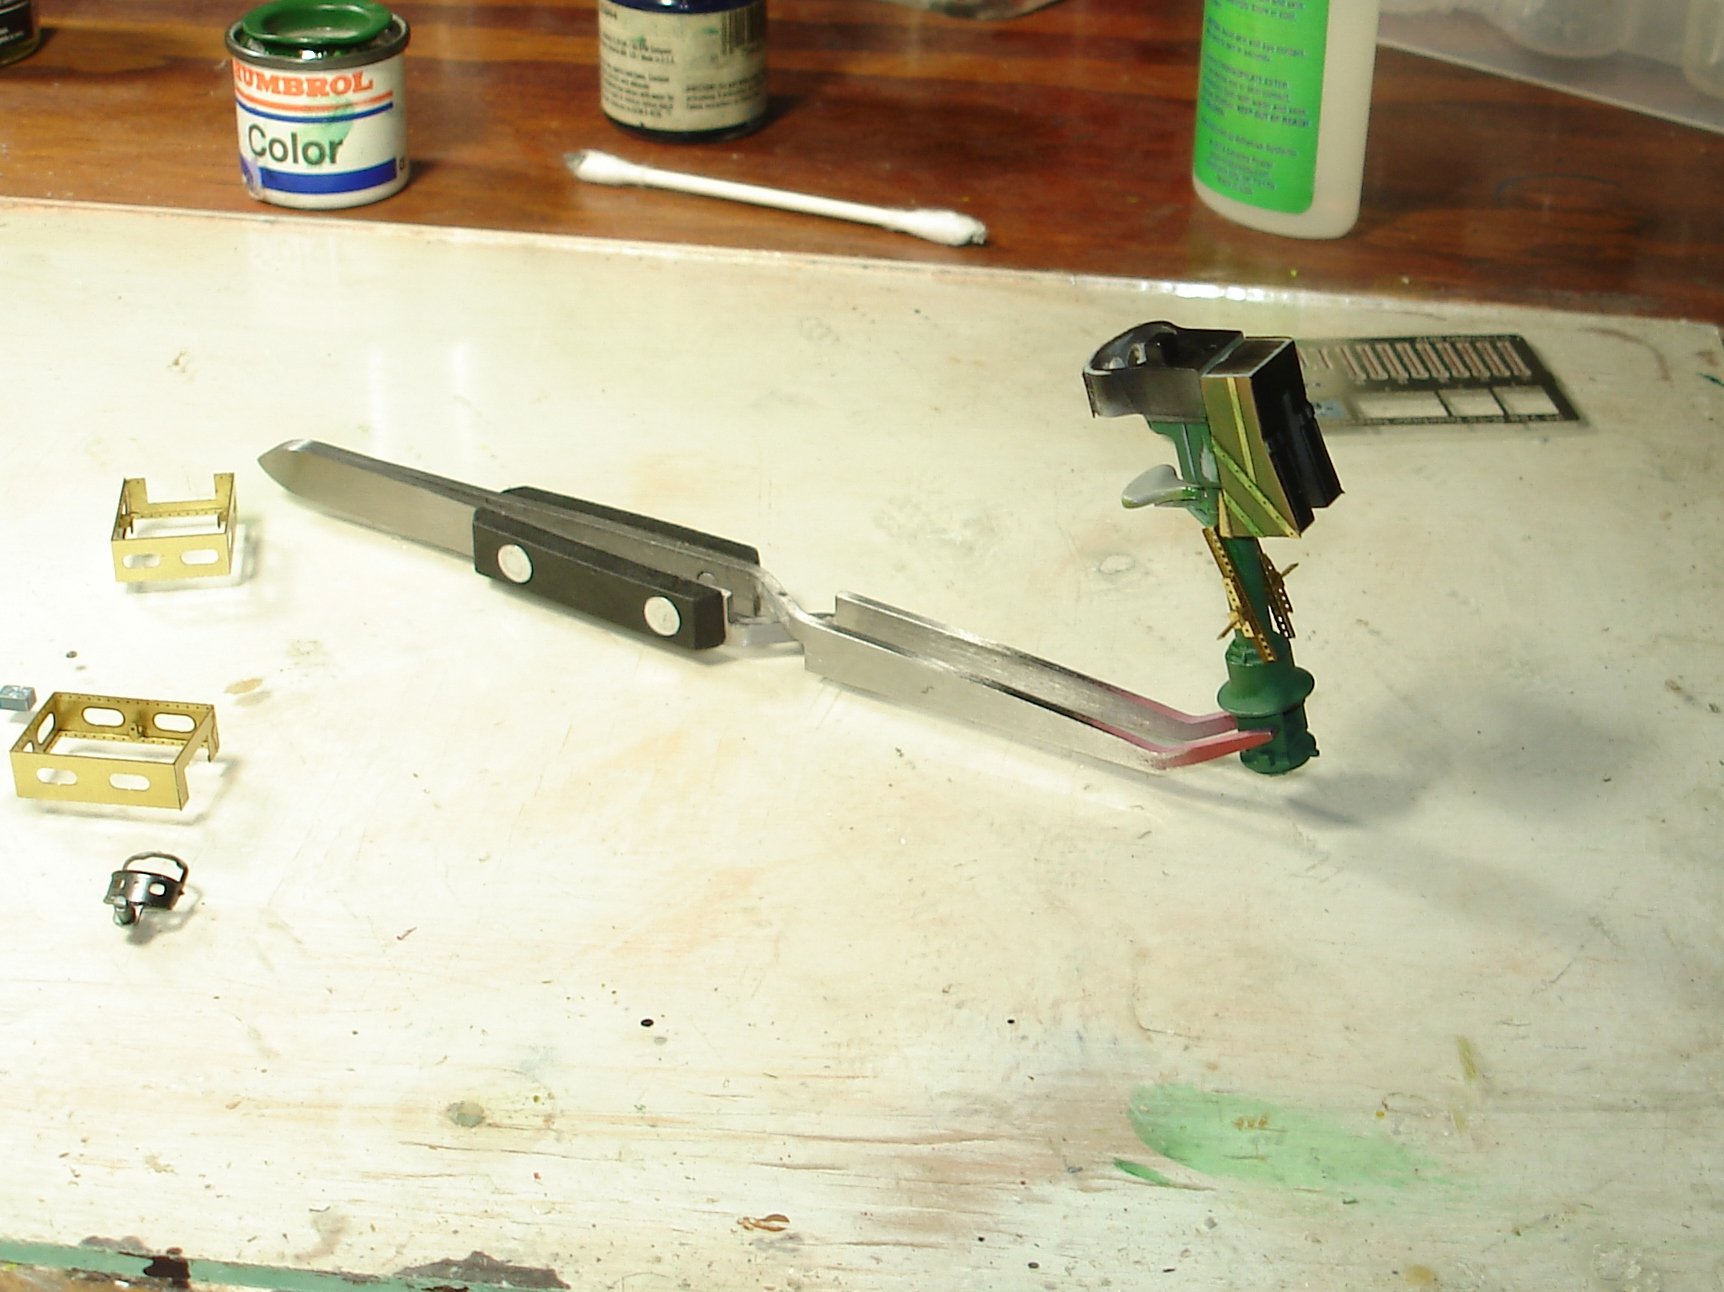
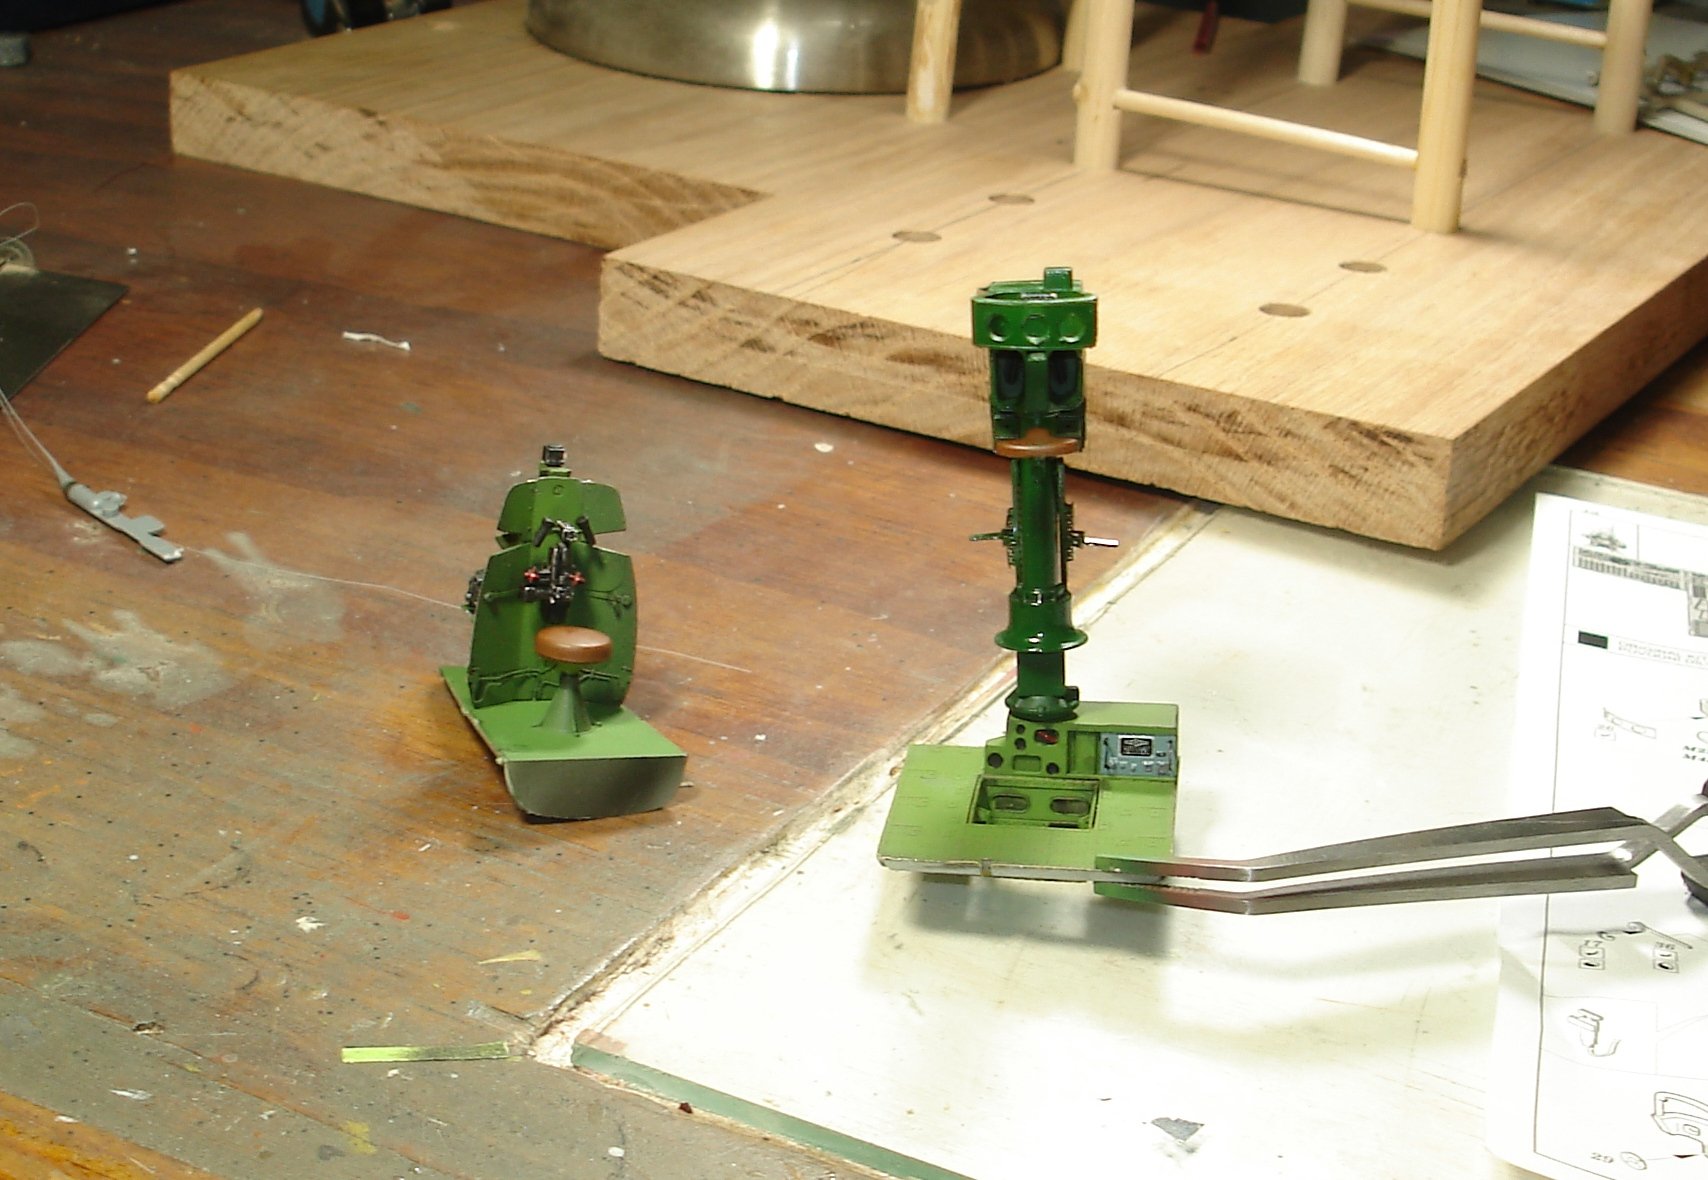
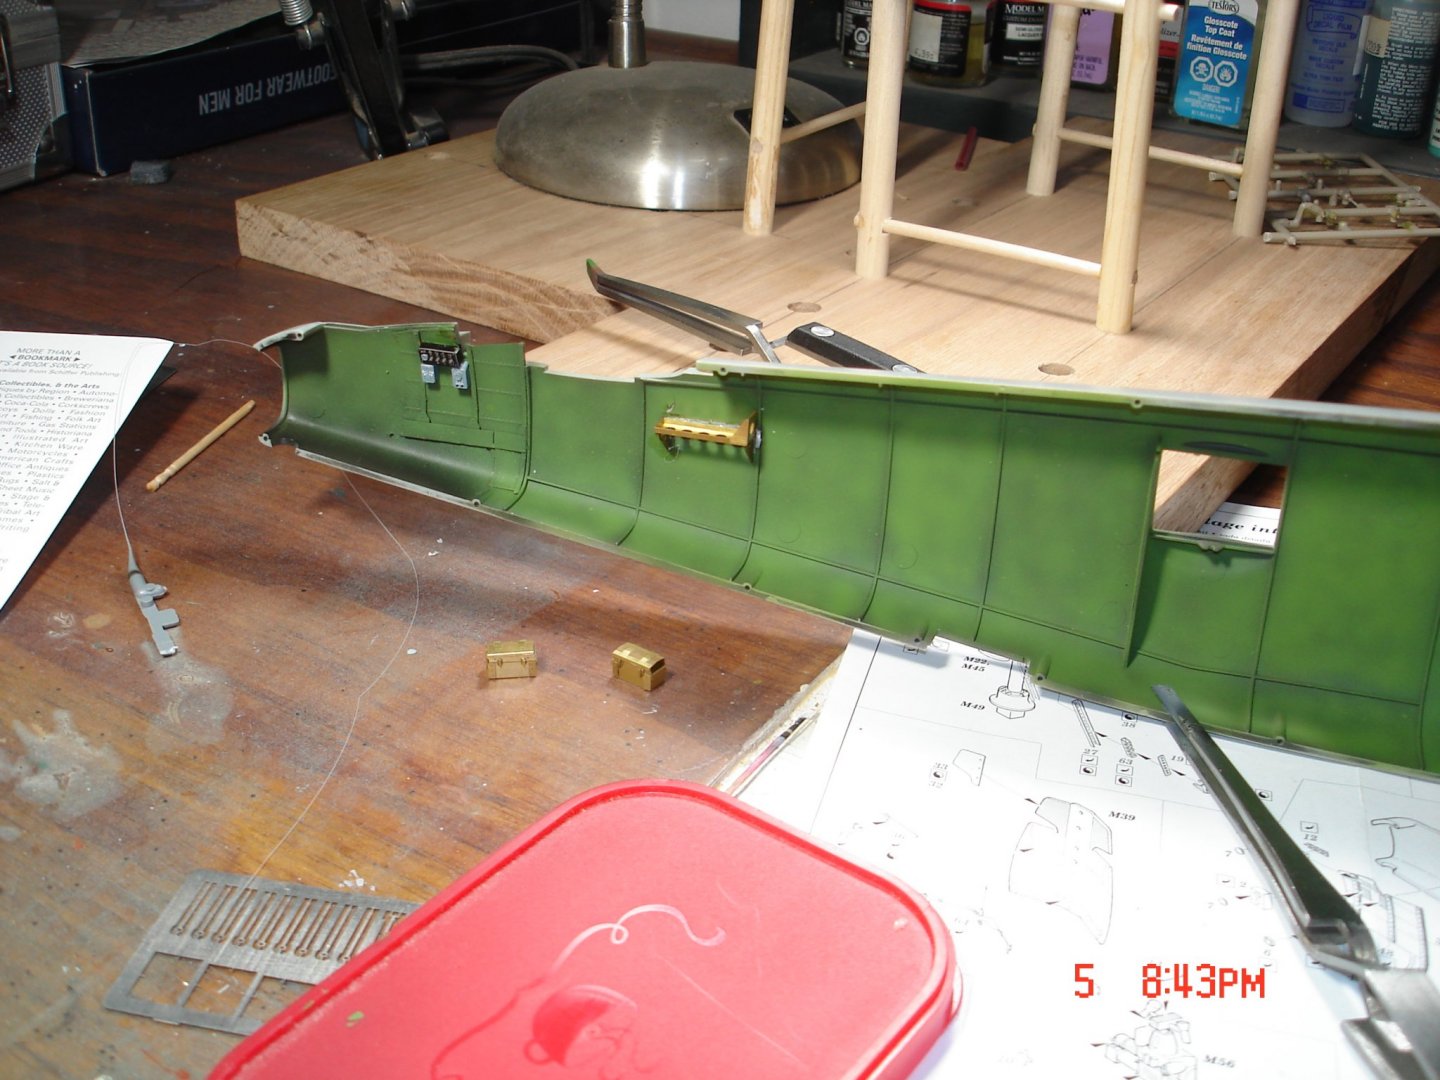
643mm about 26".Got six cans built with holders still got to add straps.Denis I p/u the Airfix 1/72 RAF B-25 looks to be a Nice Kit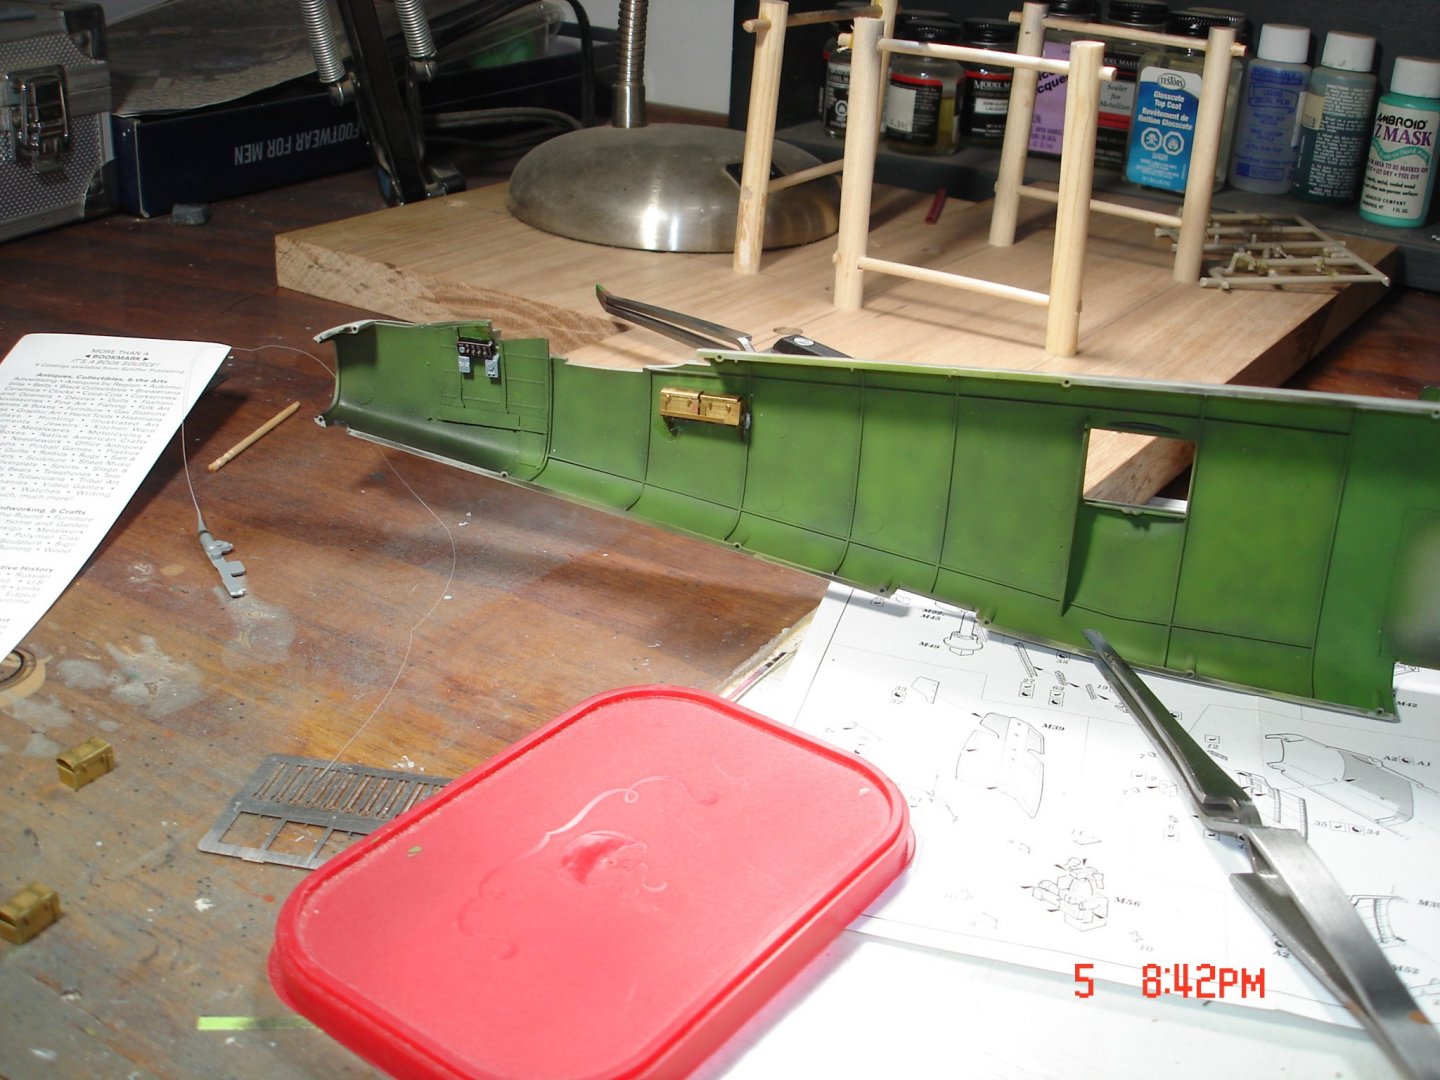

- 209 replies
-
- 10
-
-
Rafale by CDW - FINISHED - Hobby Boss - 1:48 Scale
Javlin replied to CDW's topic in Non-ship/categorised builds
Rock-n-Roll looks awesome seen that scheme before .......... Kevin -
B-25 Mitchell "Meet Miss Runyon" by Javlin-HK-1/32
Javlin replied to Javlin's topic in Non-ship/categorised builds
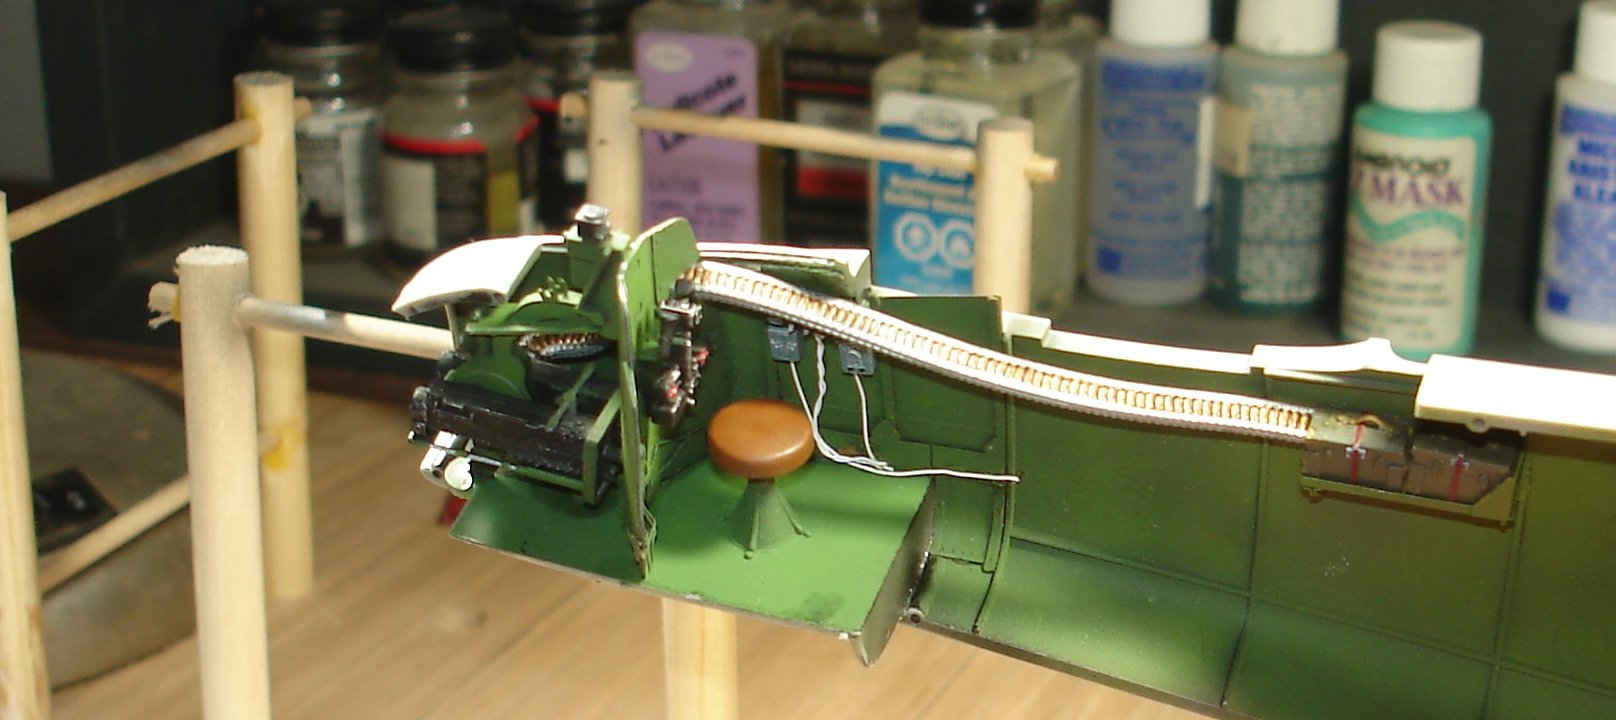
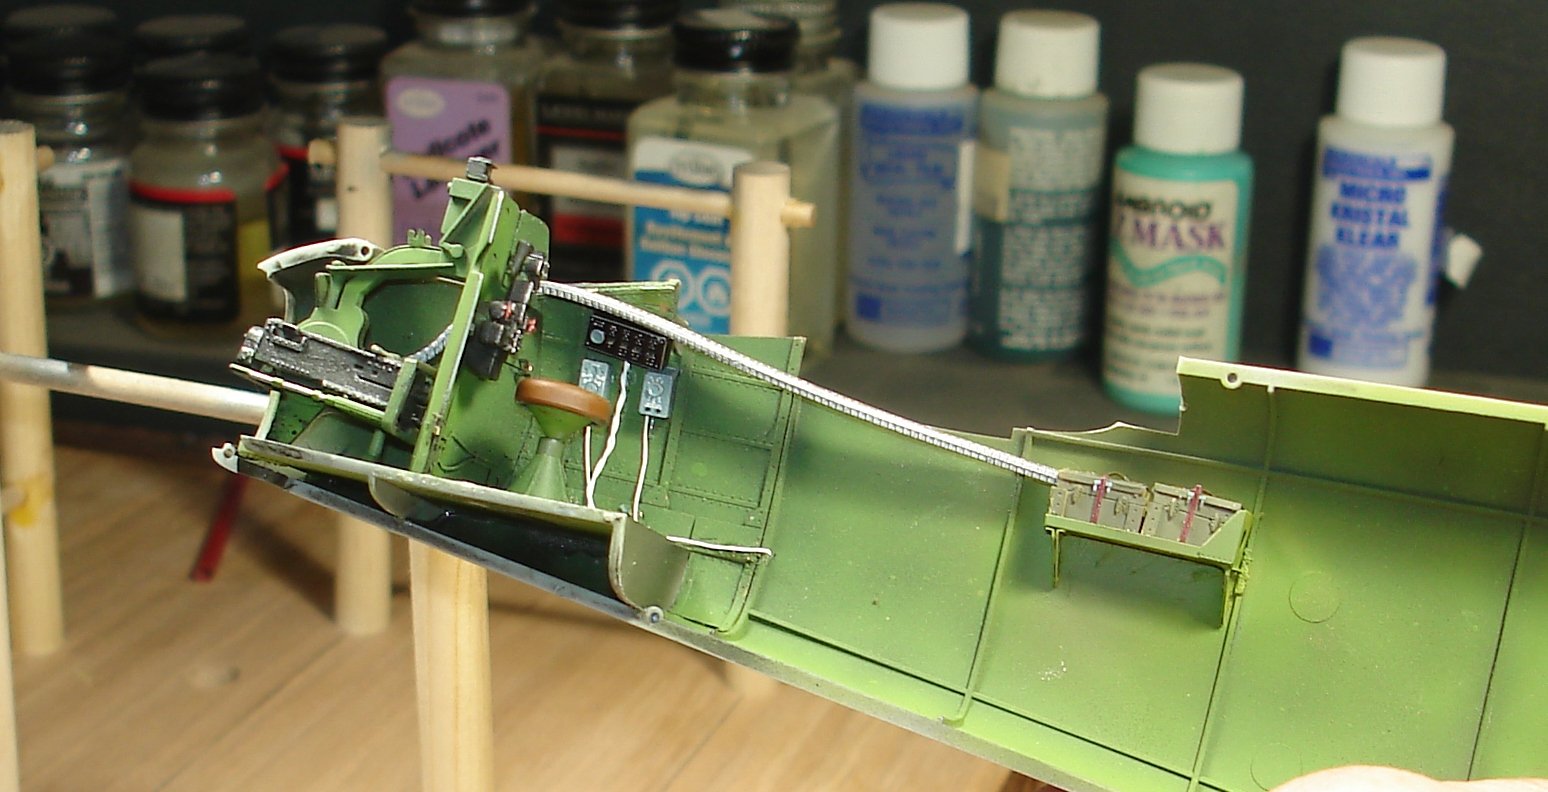
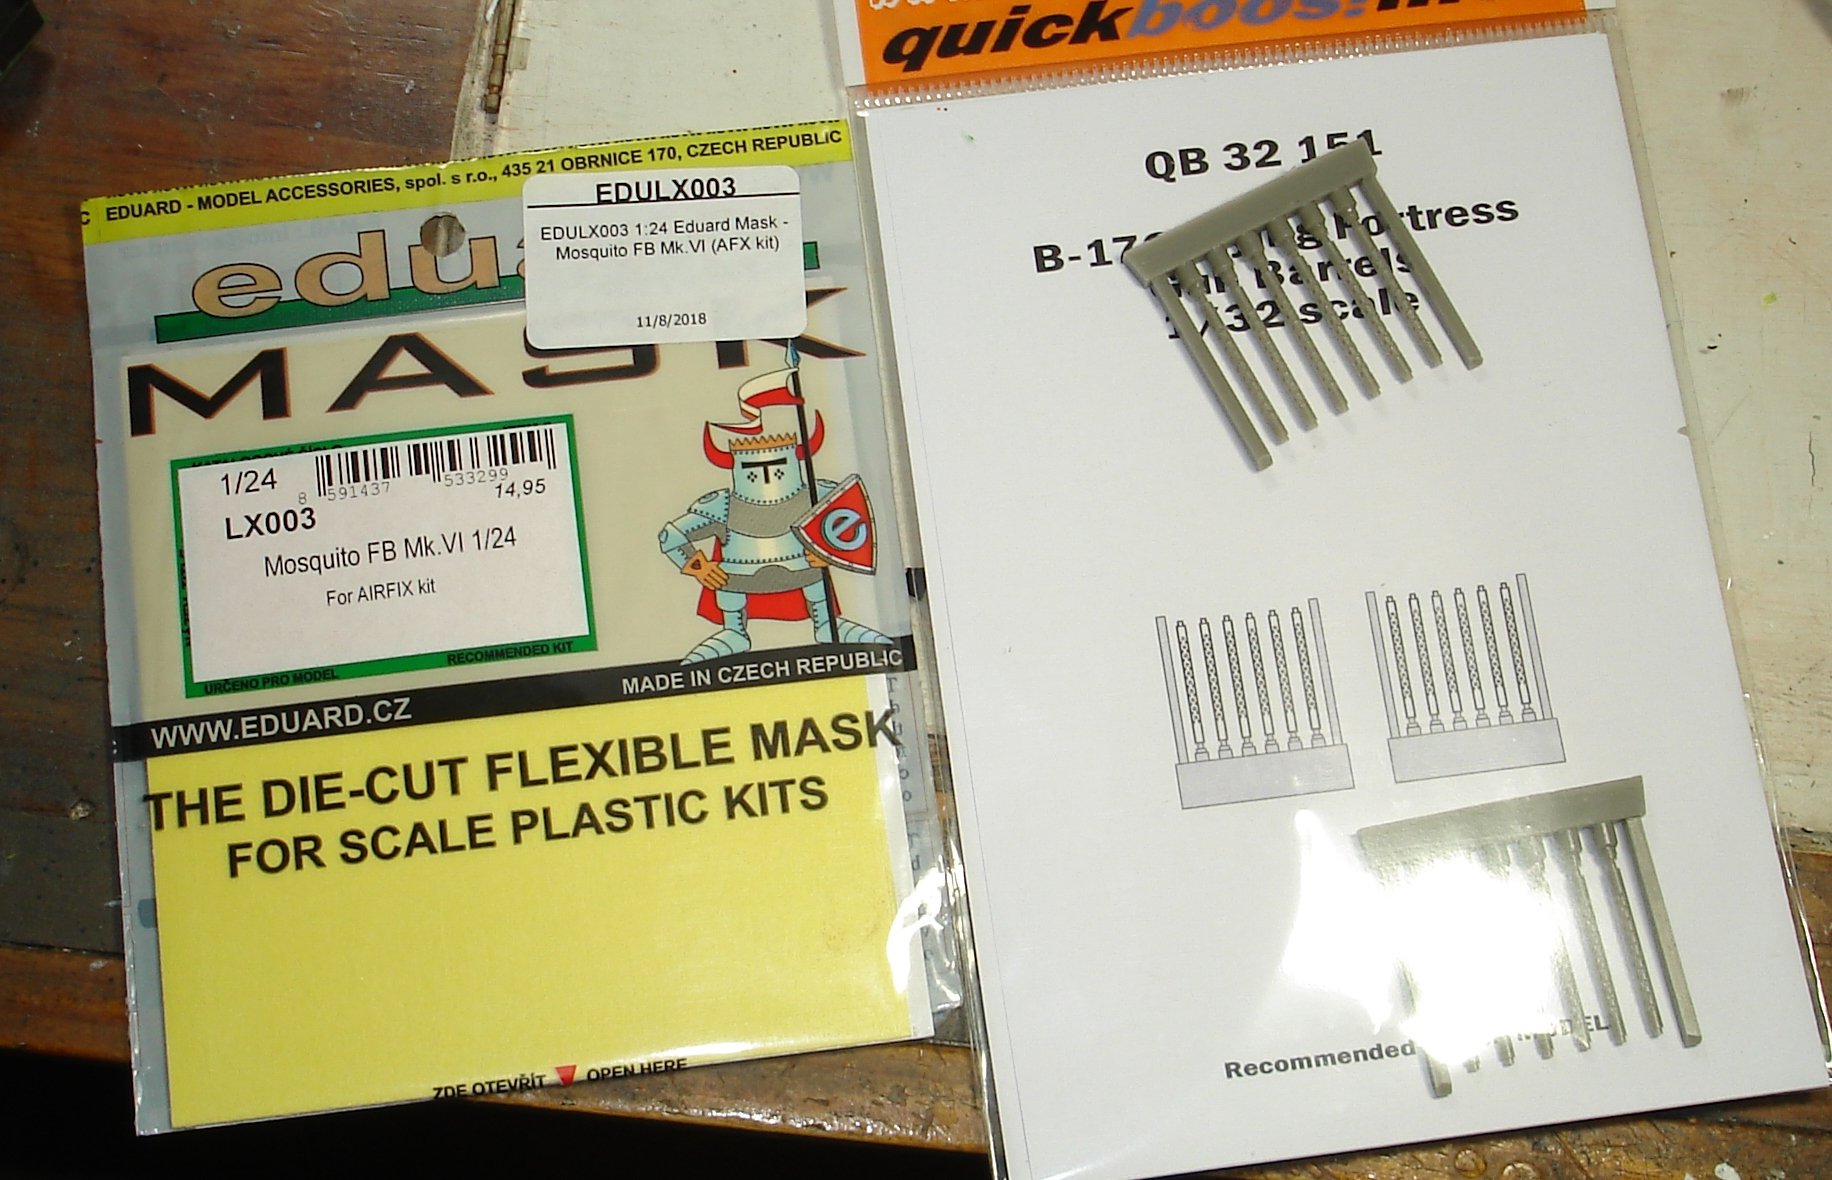
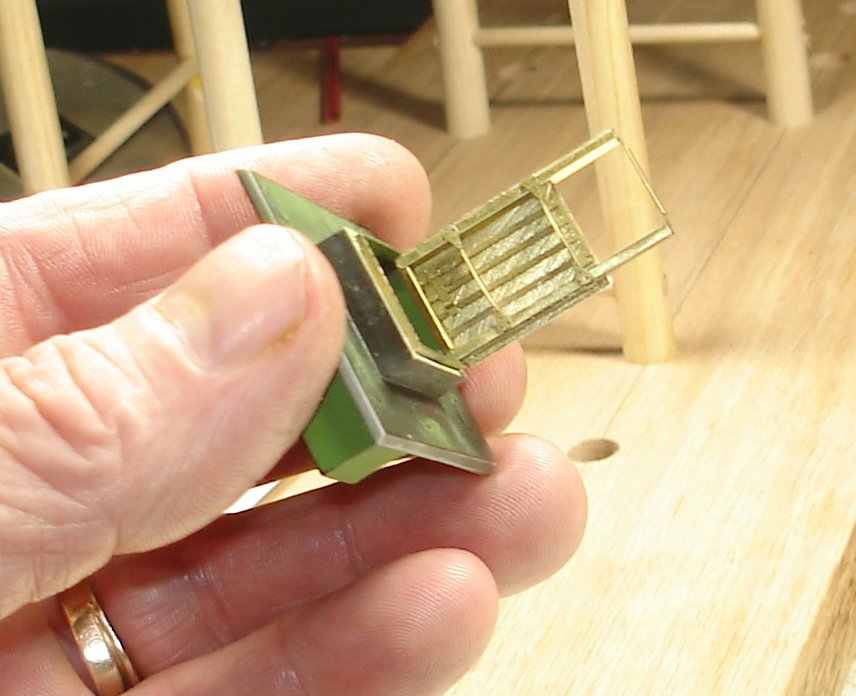
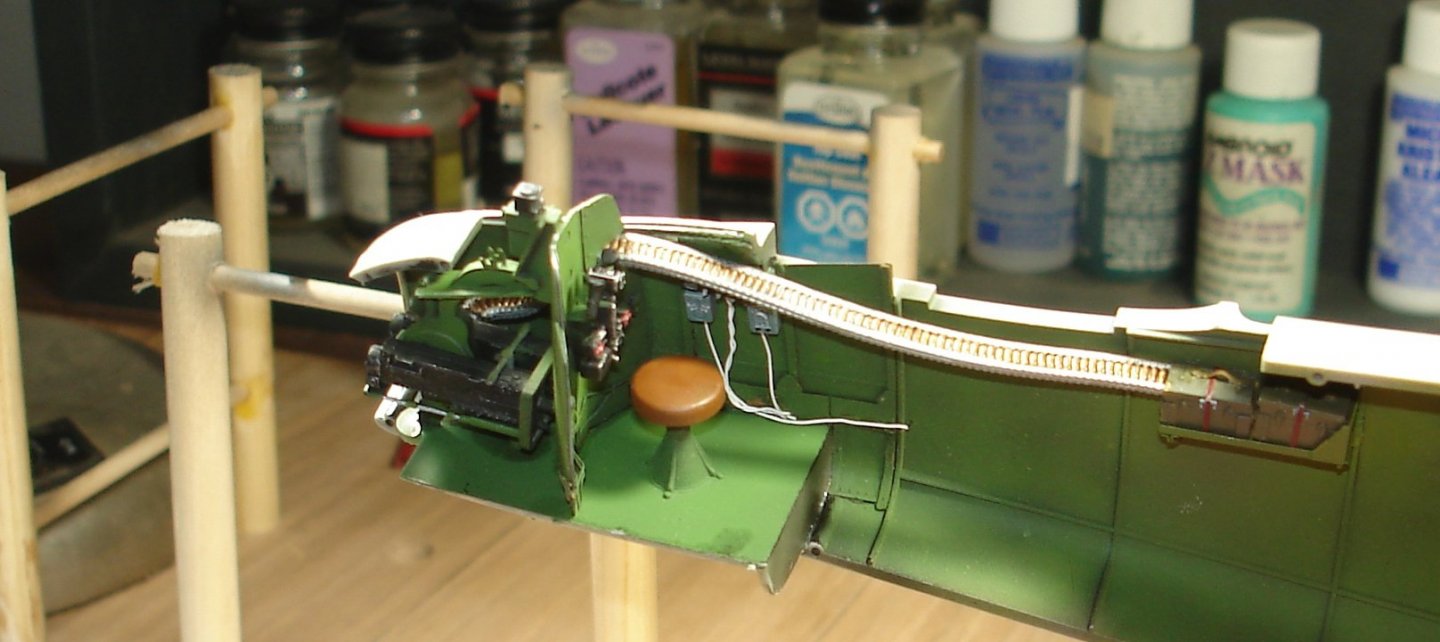
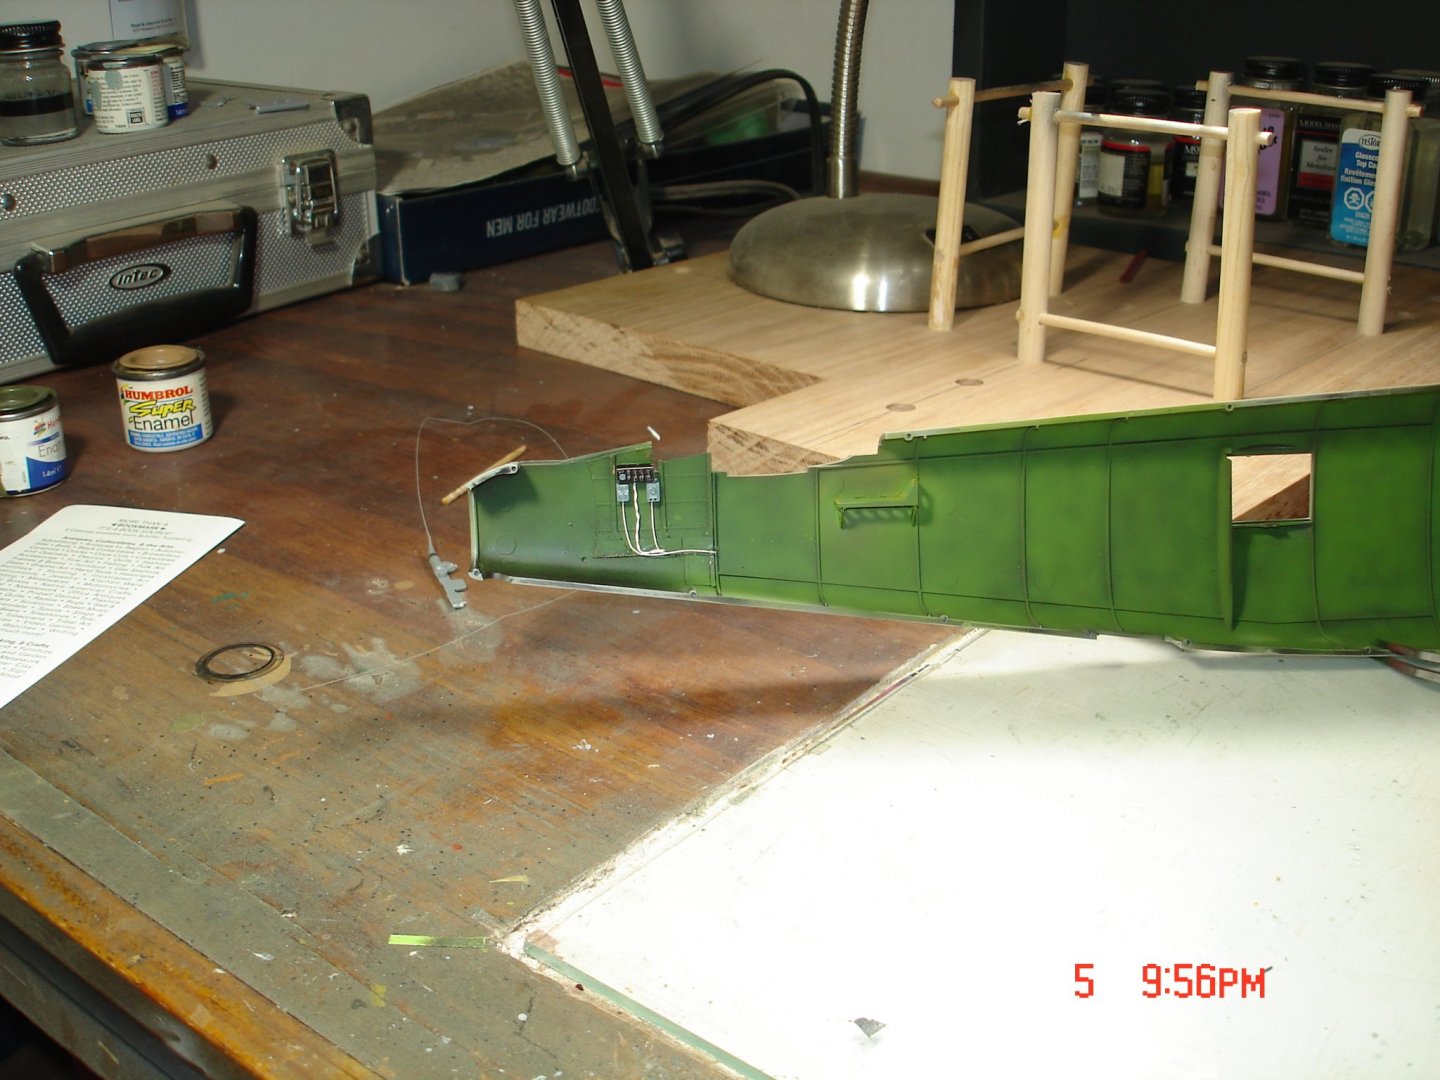
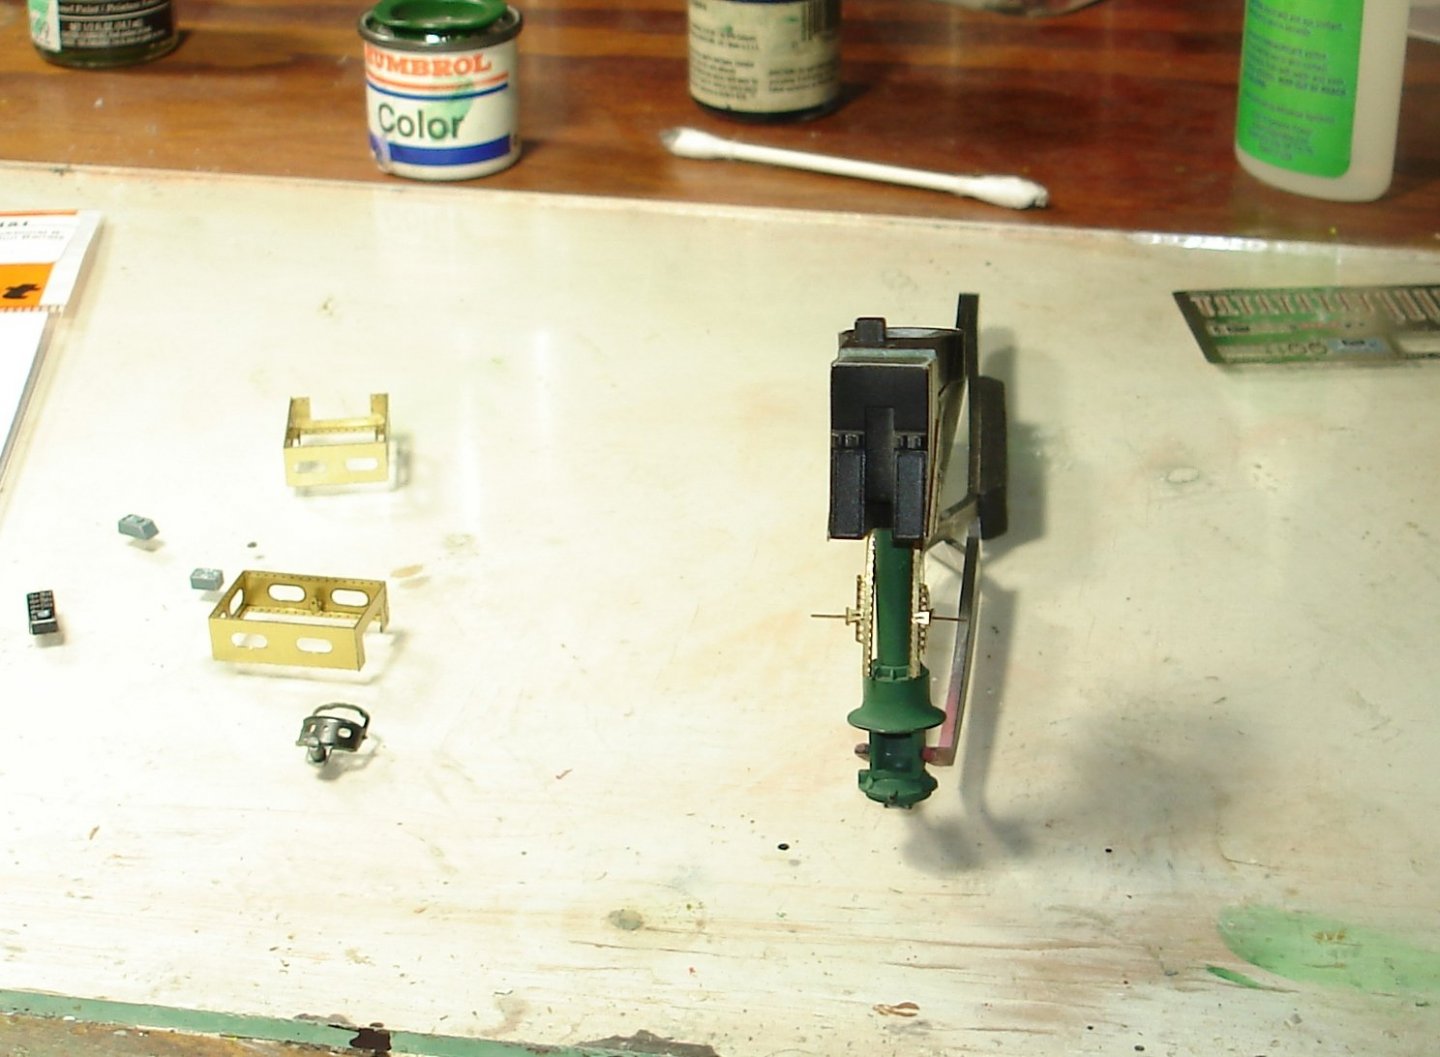
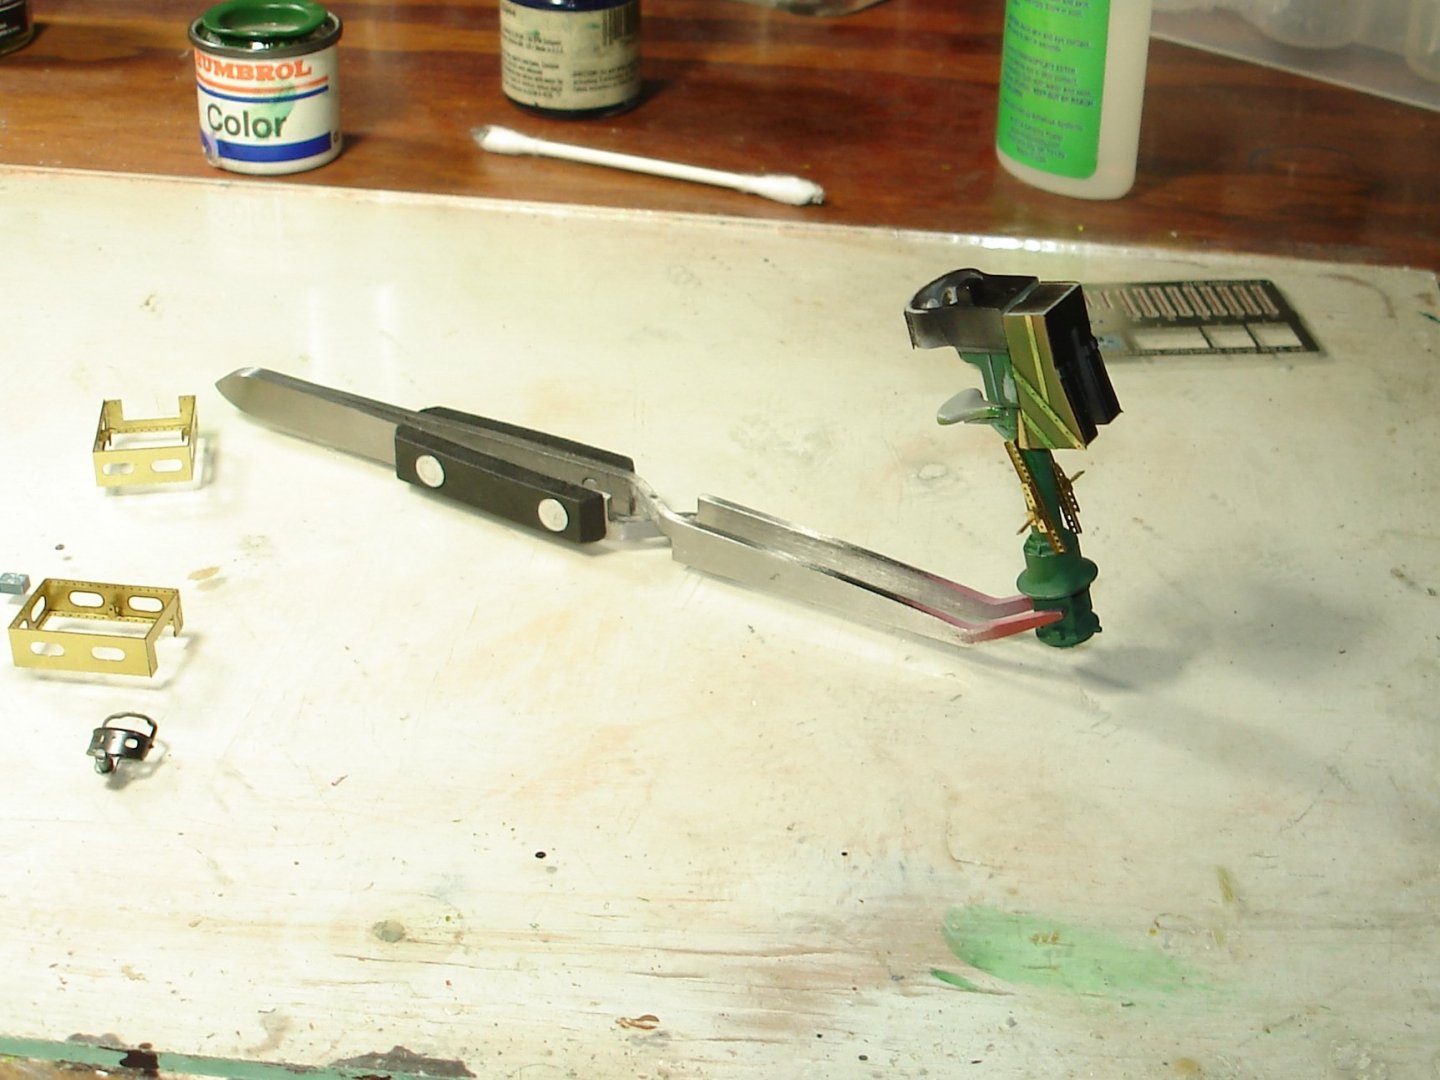
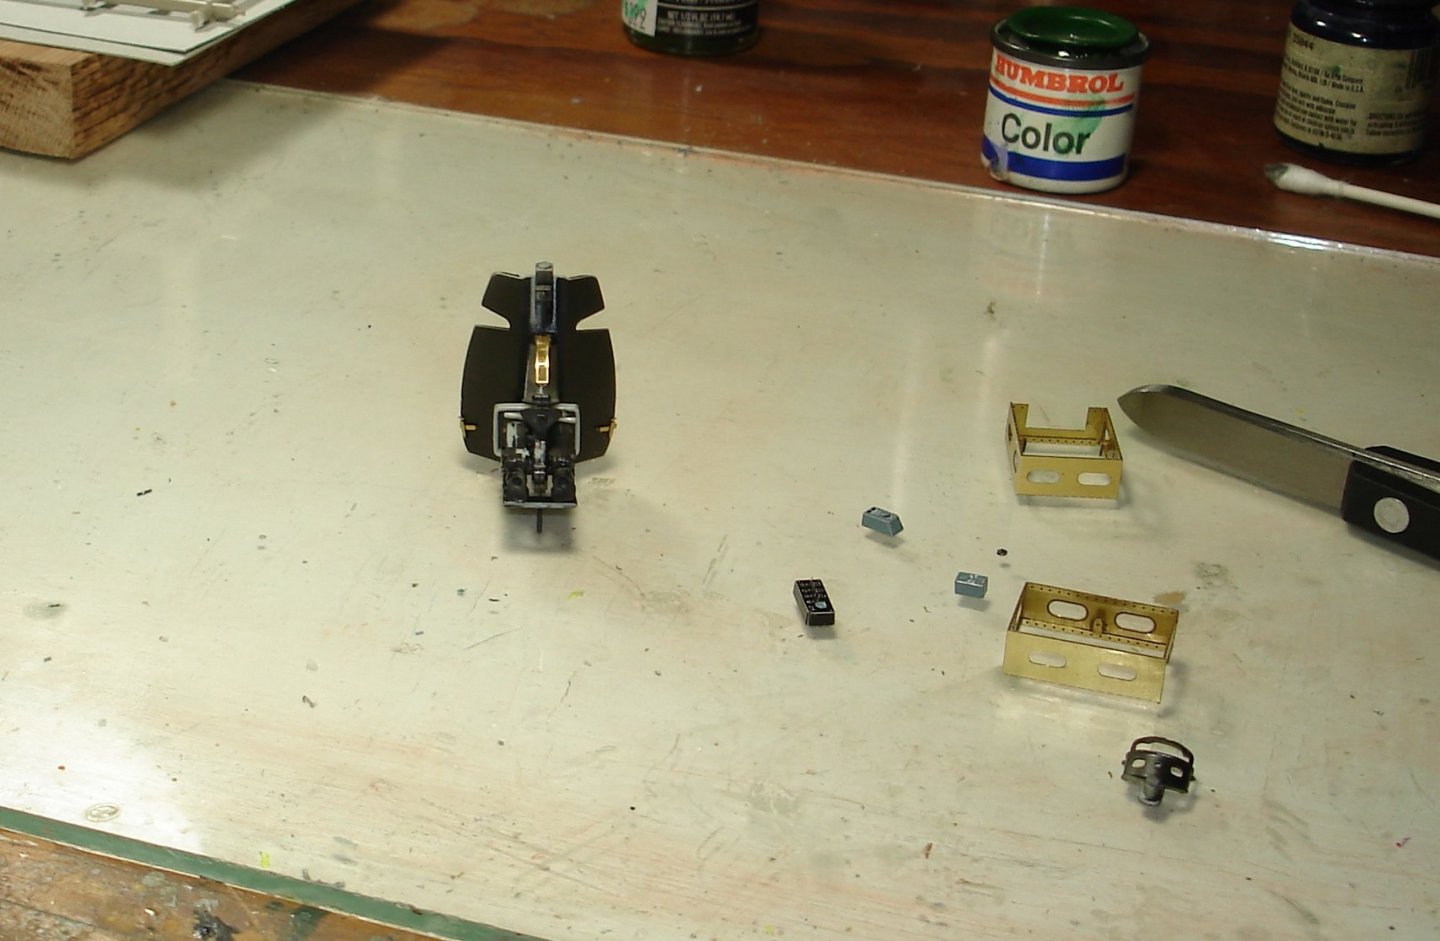
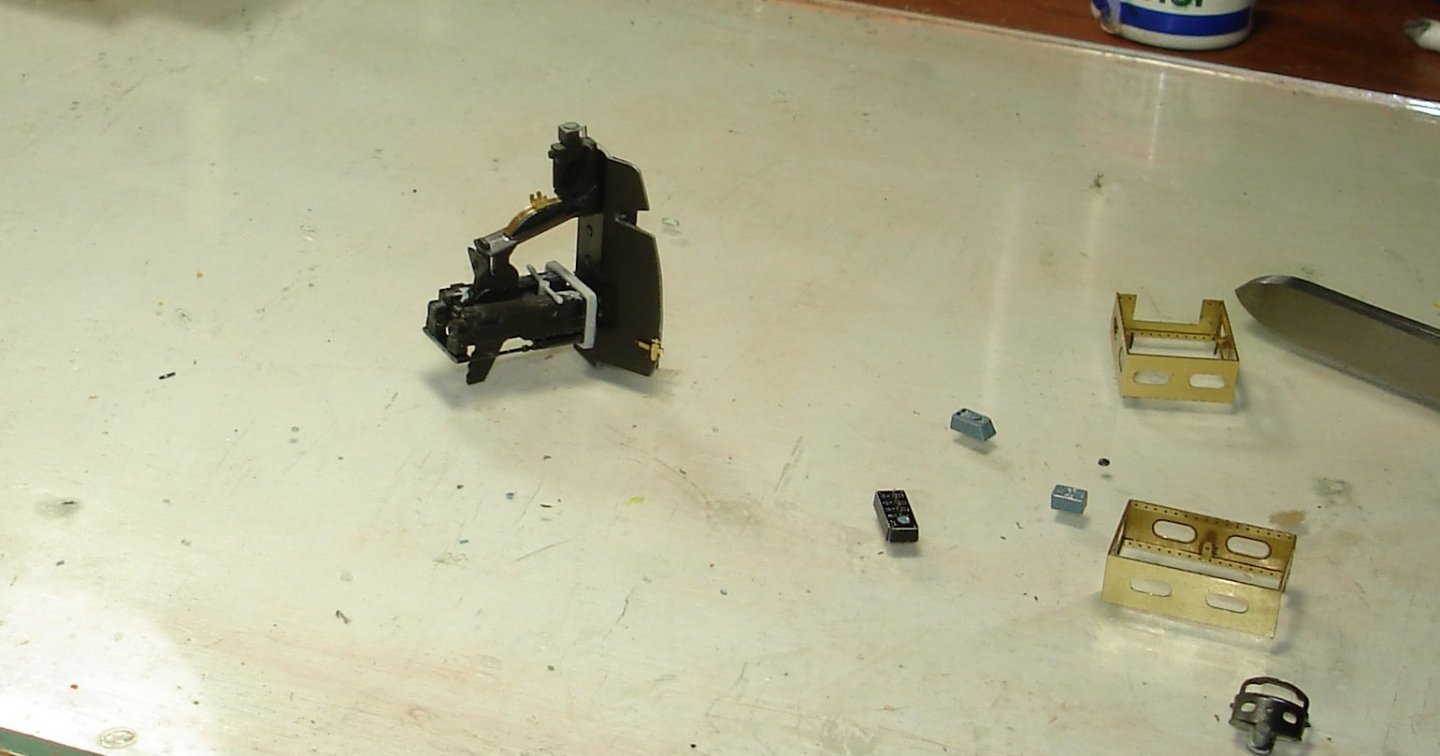
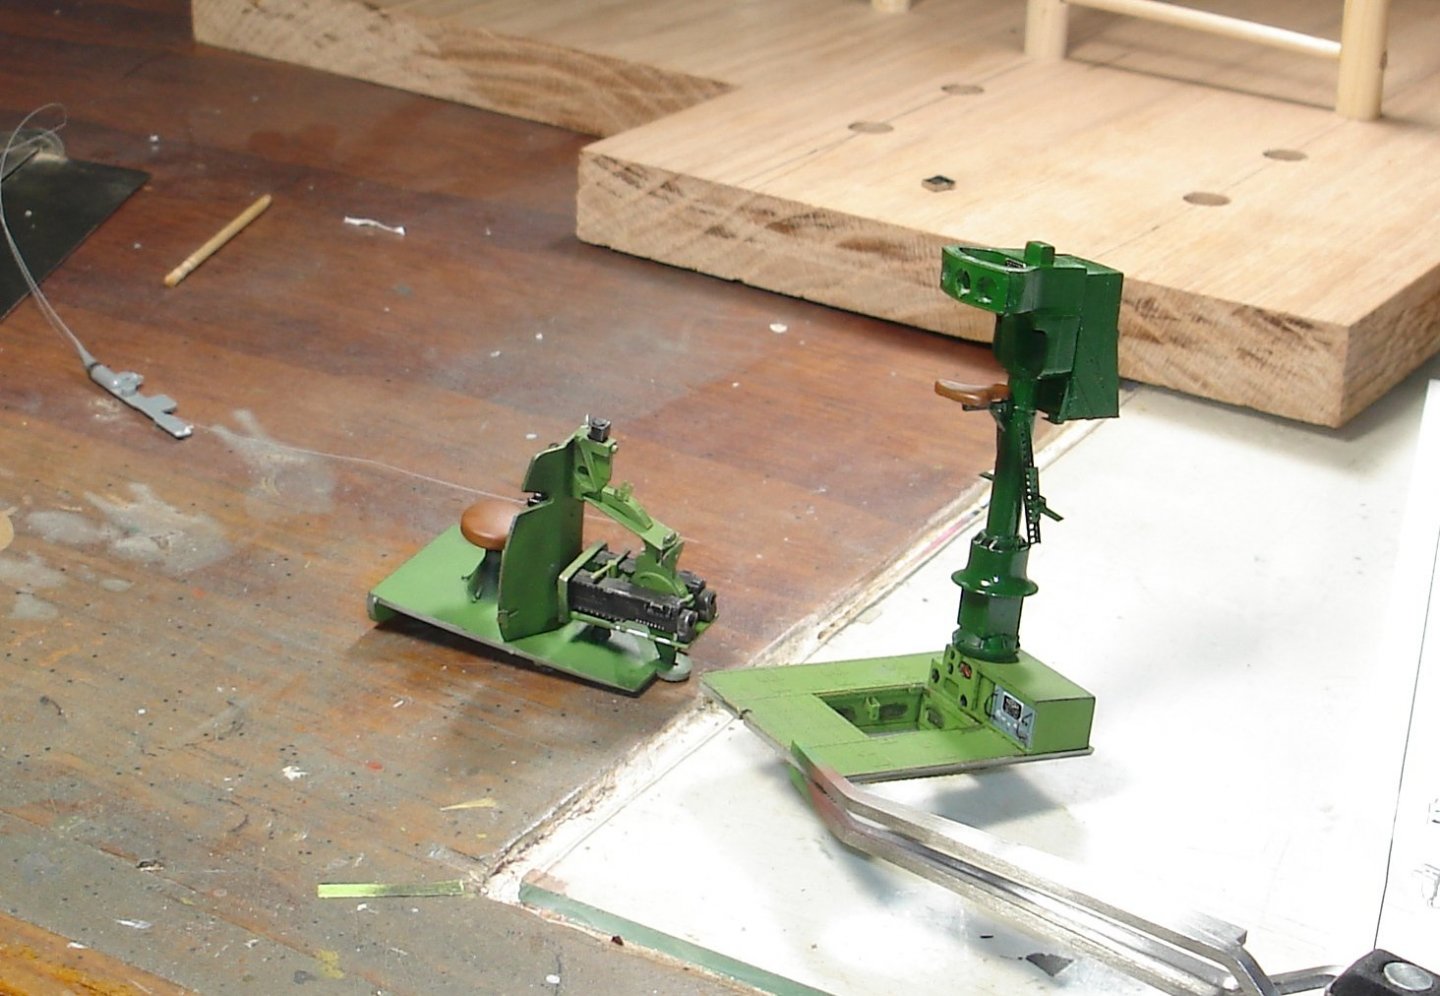
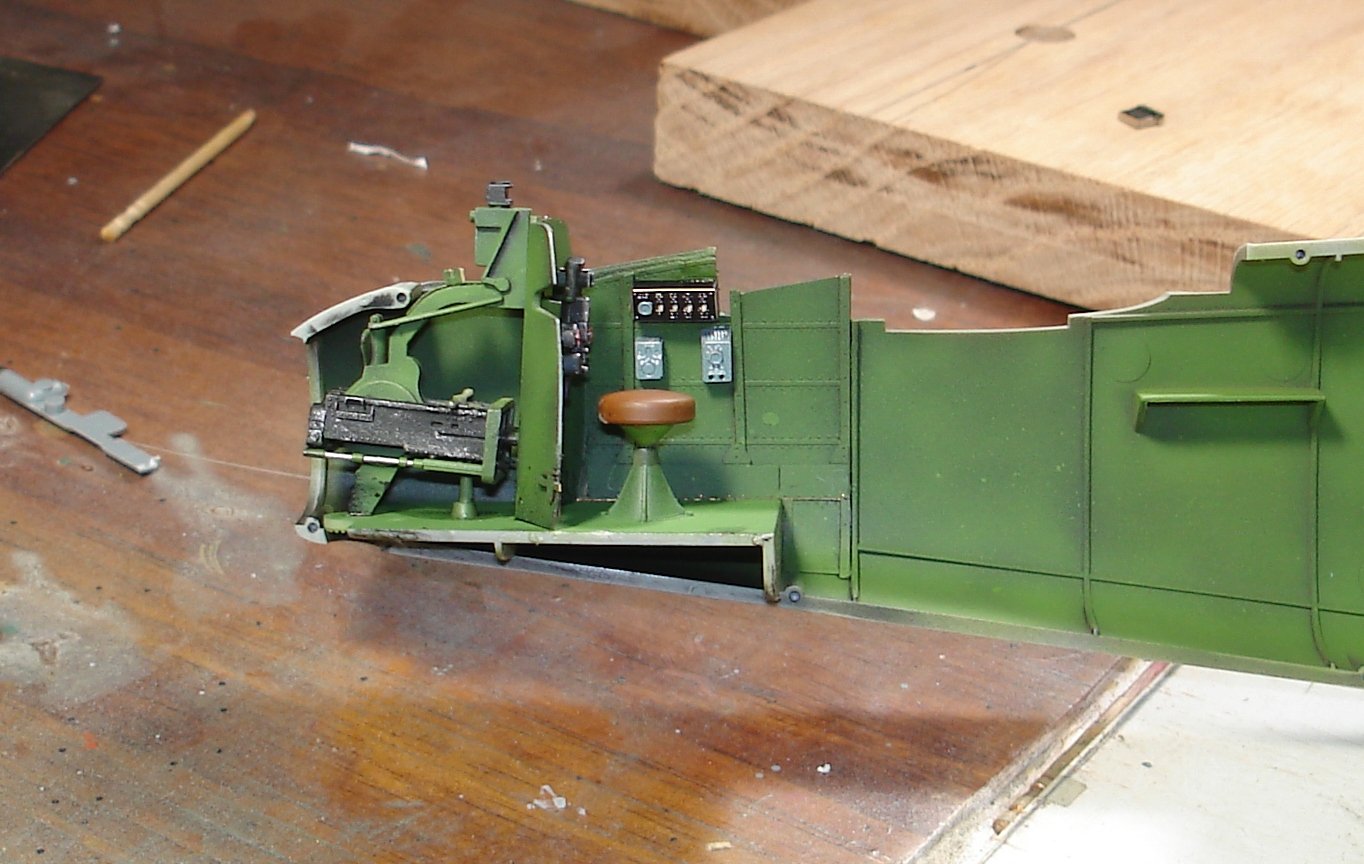
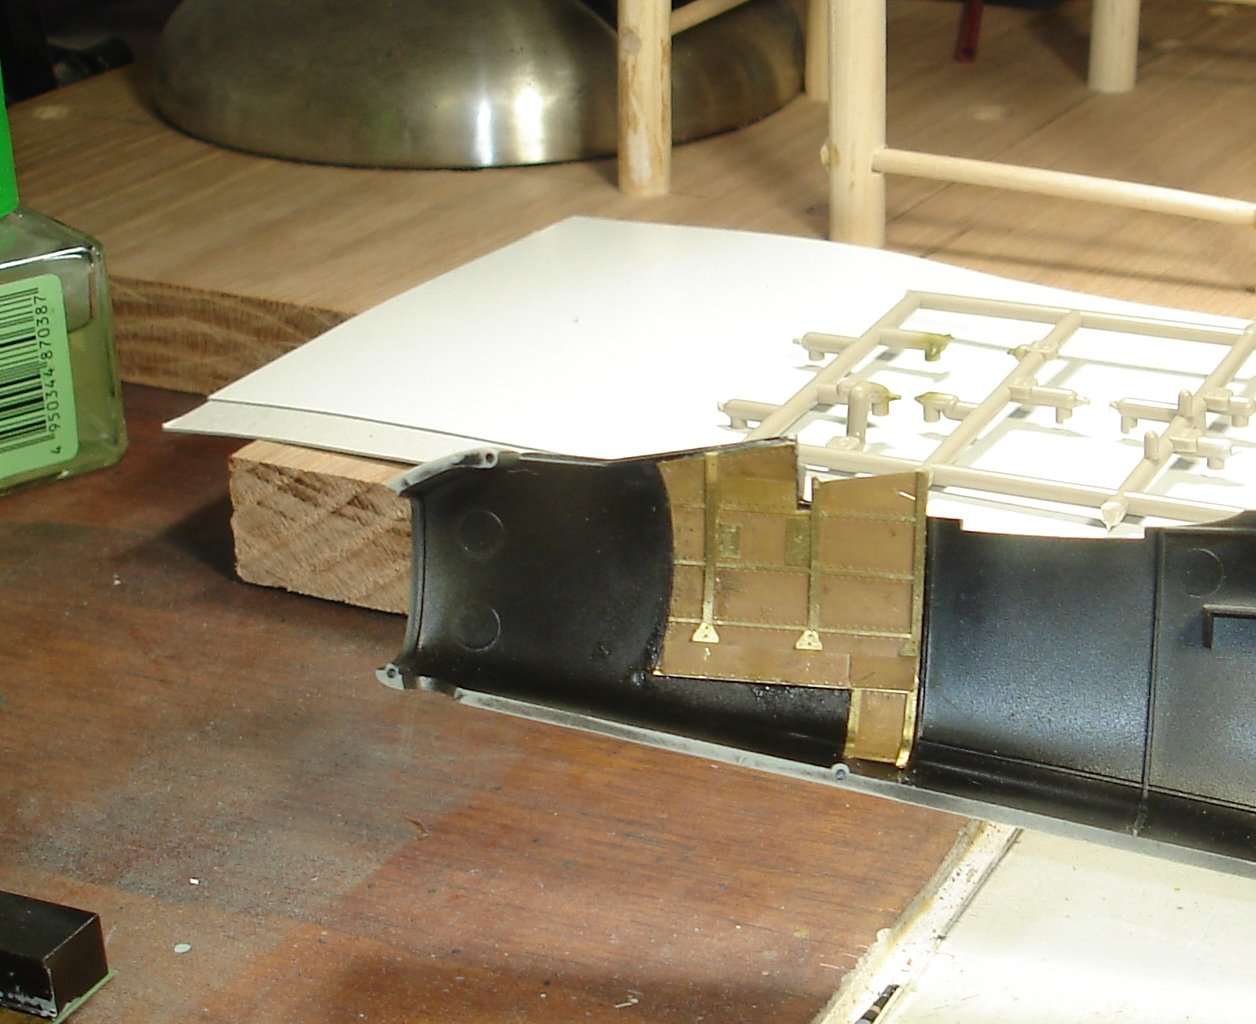
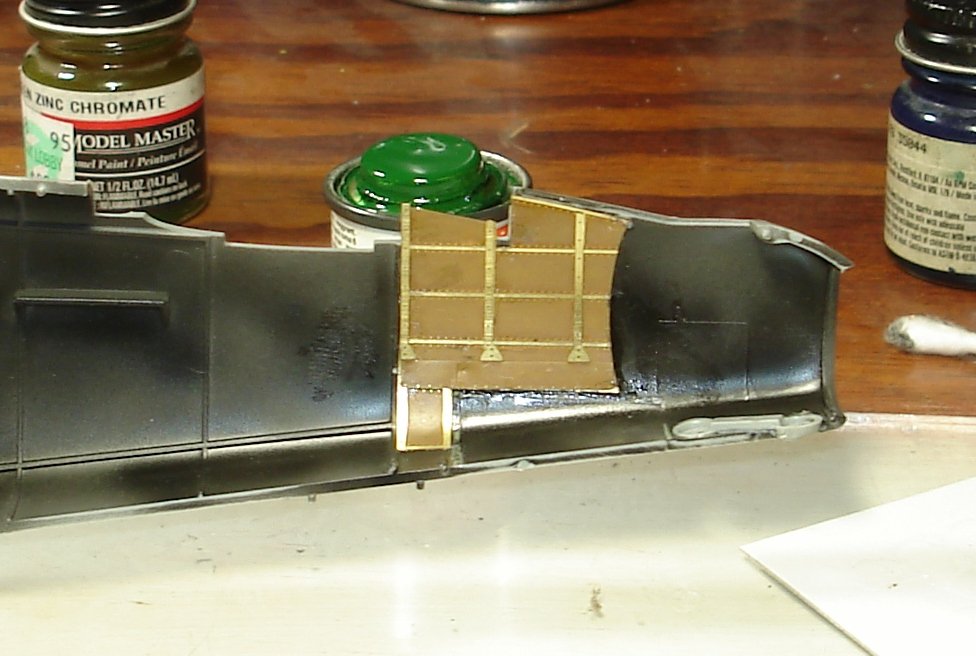
I keep plodding along on this one the book helped with the Bendix turret some PE parts was for the footrest once I knew that pretty much knew the position.I got the front hatch entry installed dirty a bit I think Eduard wanted me to saw off the original then install there's leaving the open hole hence the reason for the wash.The tailgunner station is just about complete doing ammo boxes now much like the nose boxes(5X).I am getting close to doing the Copit before long still alittle more work in the turret area.Thanks for looking in this build has been hoot! Kevin


- 209 replies
-
- 13
-
-
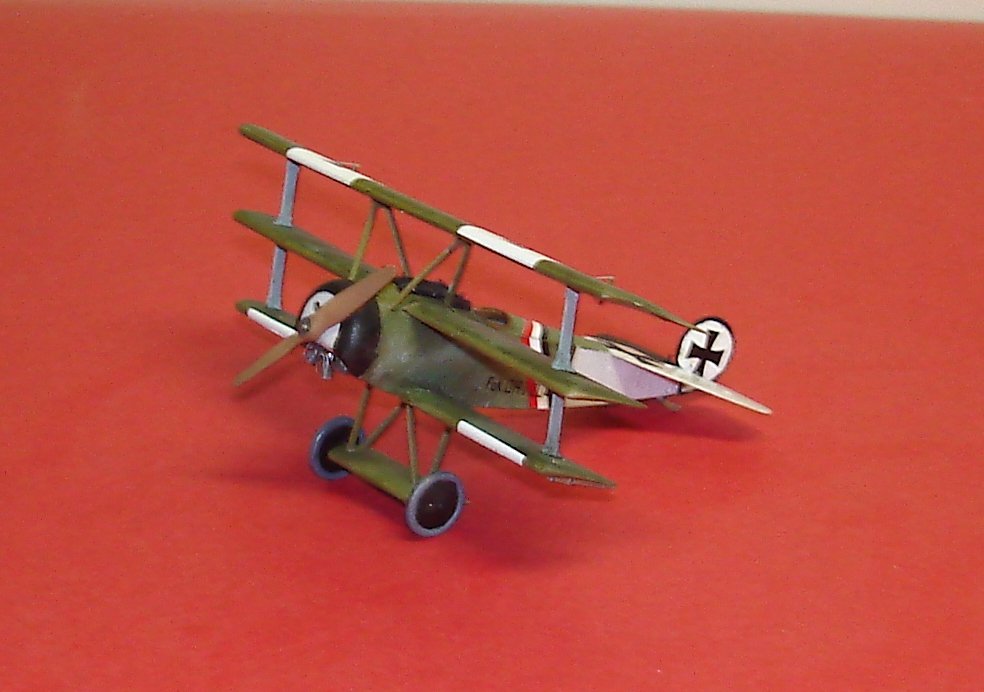
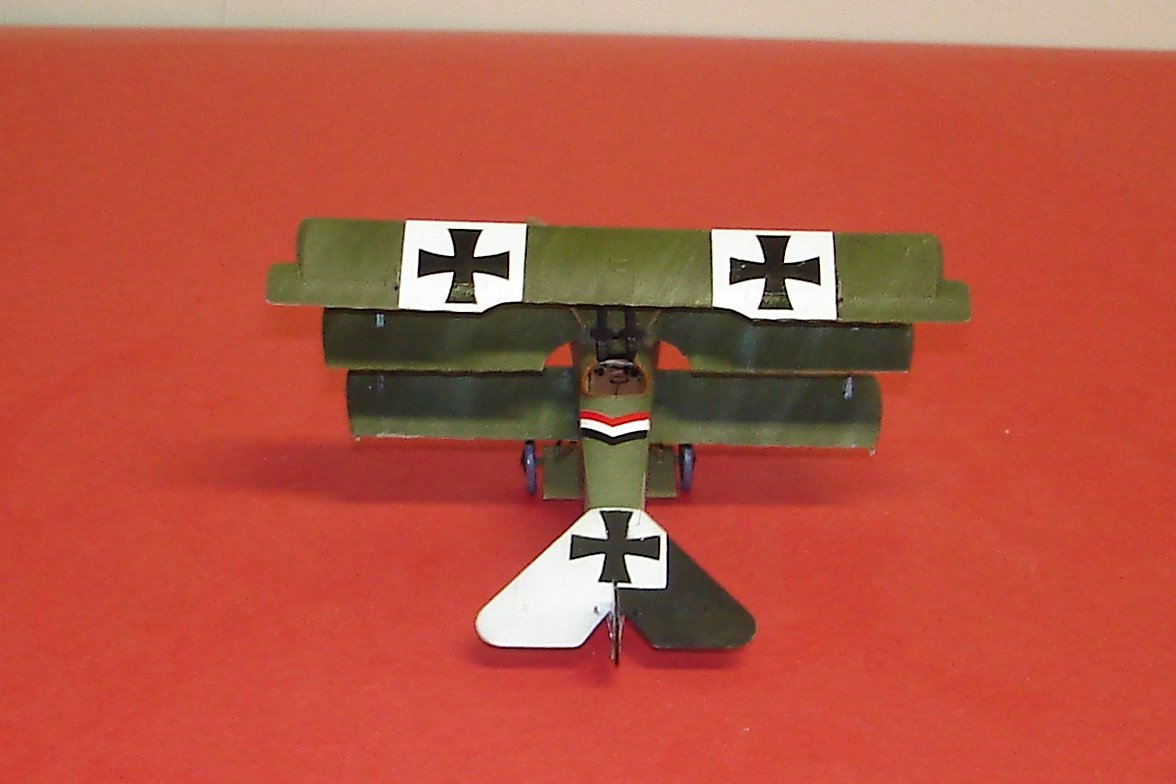
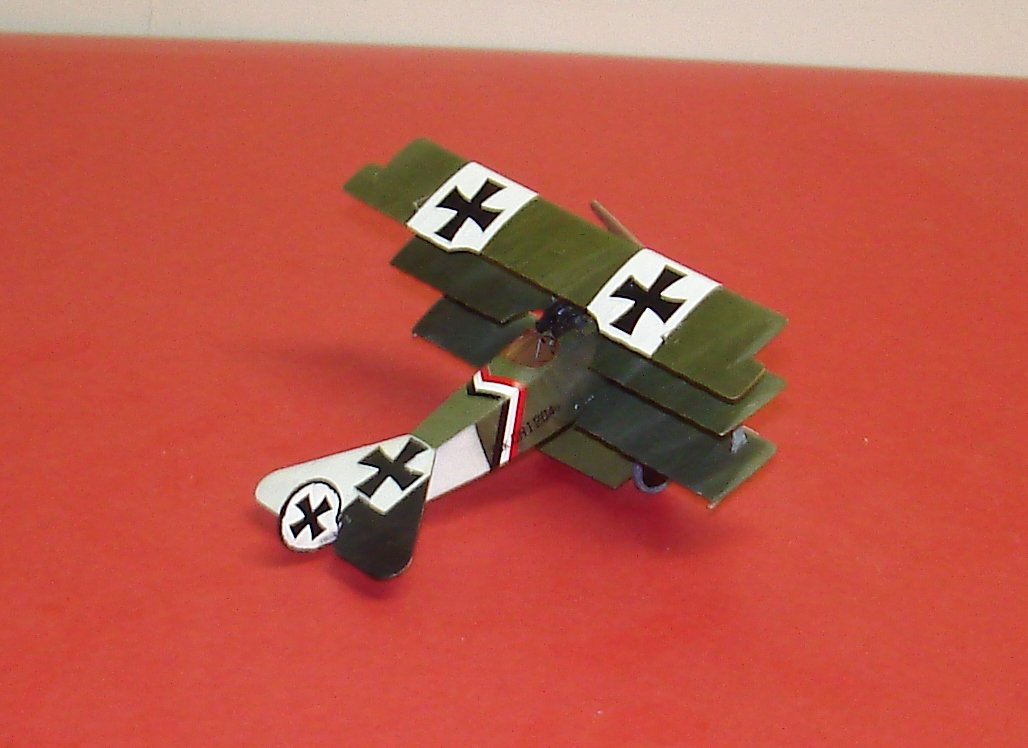
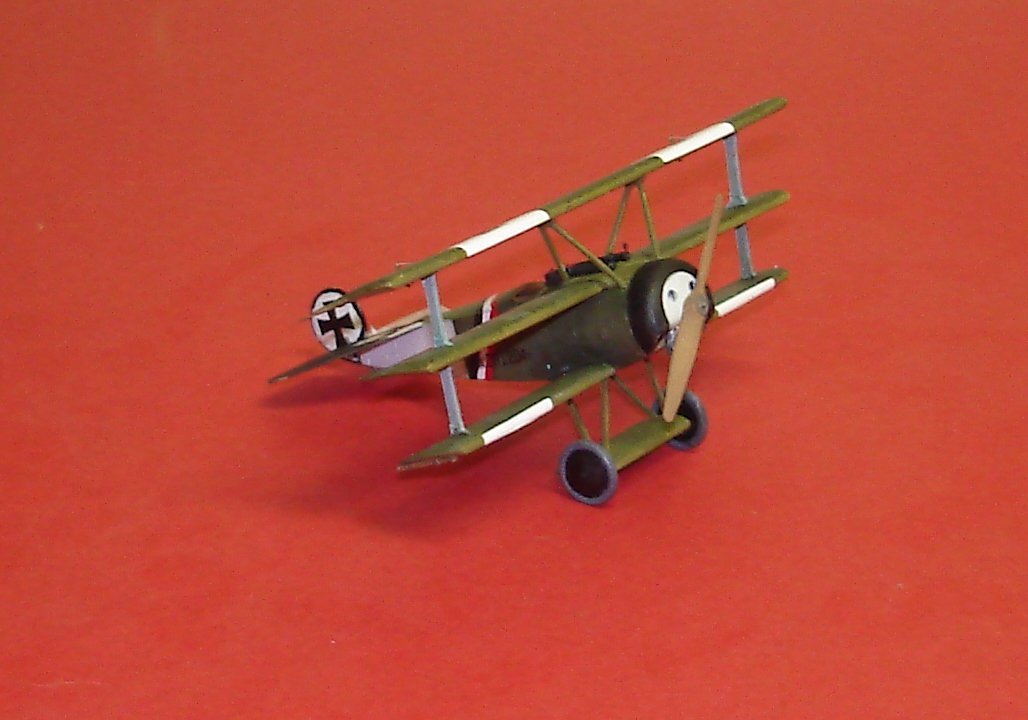
Fokker Dr.I by Javlin - FINISHED - Eduard - 1/72 - PLASTIC
Javlin replied to Javlin's topic in Non-ship/categorised builds
I hope I get the same resultz when I get into the Roden kit... If you go the oils it can be done I tried with prop doing the same thing with enamels it dried to quick had to repaint Kevin -
B-25 Mitchell "Meet Miss Runyon" by Javlin-HK-1/32
Javlin replied to Javlin's topic in Non-ship/categorised builds
It's suppose to be the most accurate I think between the B-17 and B-24 cannot say as to the others. Kevin -
B-25 Mitchell "Meet Miss Runyon" by Javlin-HK-1/32
Javlin replied to Javlin's topic in Non-ship/categorised builds
Just let it be known these things do not get built without effort about 10hrs here over the course of the week and not all is being displayed as of yet building lots of sub-assemblies.I also have a new book coming to help out on some of the stations/colors comes Friday. Kevin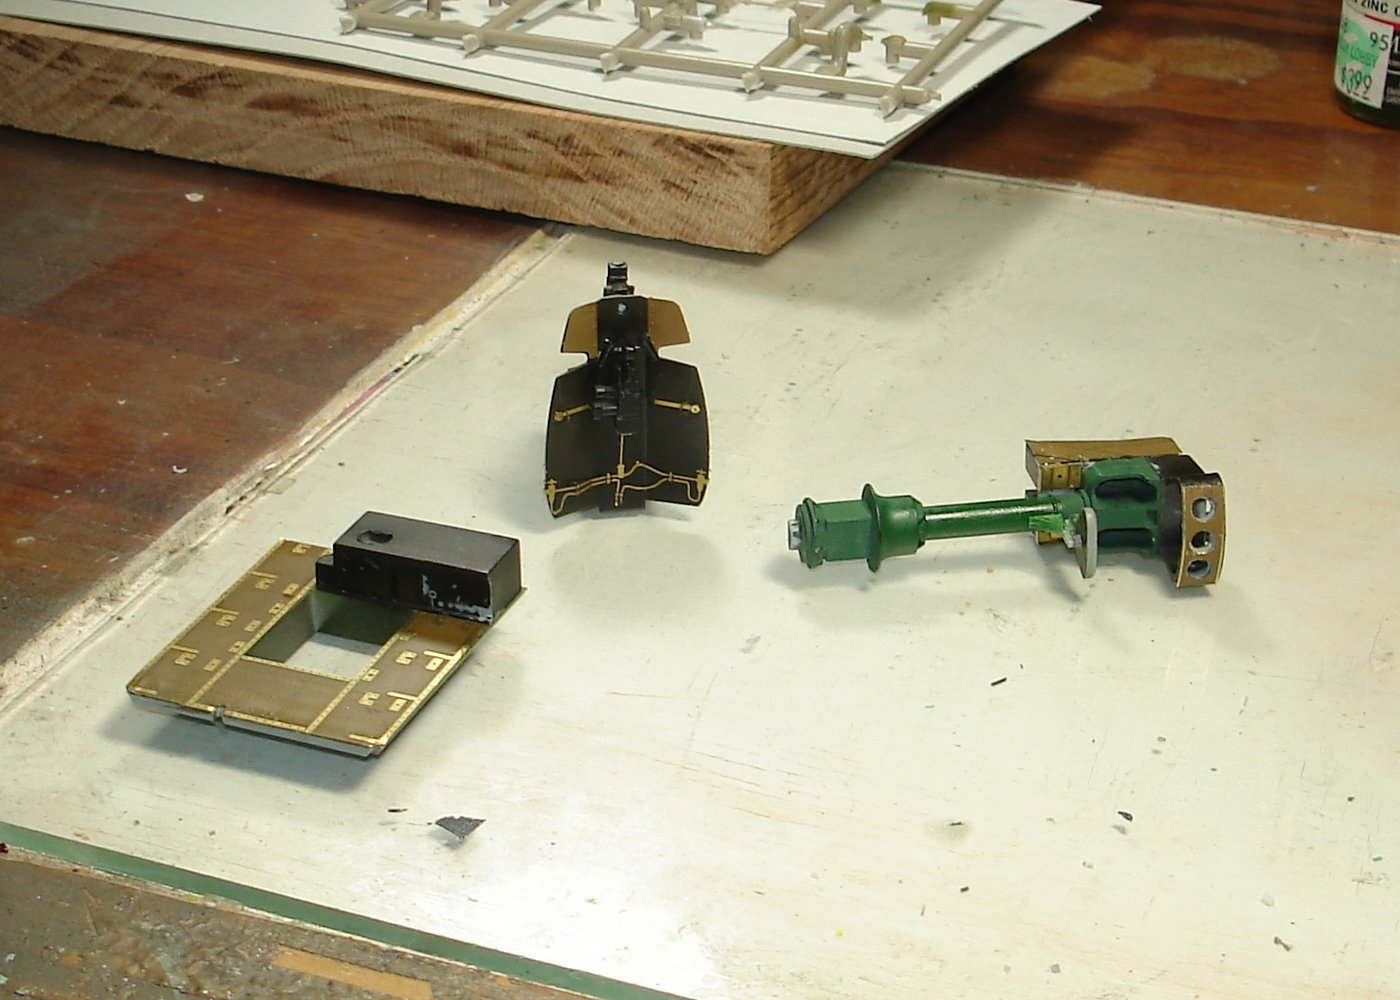

- 209 replies
-
- 12
-
-
Is there a said point to start?I sometimes see builds with a bottom plank and something in the middle(gunwale?).Russ told me to plank it since it will get painted in the end.I will keep watching. Kevin
-
Short and Sweeettt! Nice Build!! Kevin
-
Looking good David the rabbit is deeper and cleaner at the bow?and looks to fade a little elsewhere? Thanks Kevin
-
Fokker Dr.I by Javlin - FINISHED - Eduard - 1/72 - PLASTIC
Javlin replied to Javlin's topic in Non-ship/categorised builds
I went ahead and broke the tail removed decal and applied NEW decal to the same EFFECT!!! @#*^% So we took off that decal repaint the rudder all white again mt mask for the tail made it to the trash so I had to paint the black by hand.This time kevin glued the damn rudder to the plane and applied decal although the wrong ones for the plane it will just have to frigg'in do! I am good now Kevin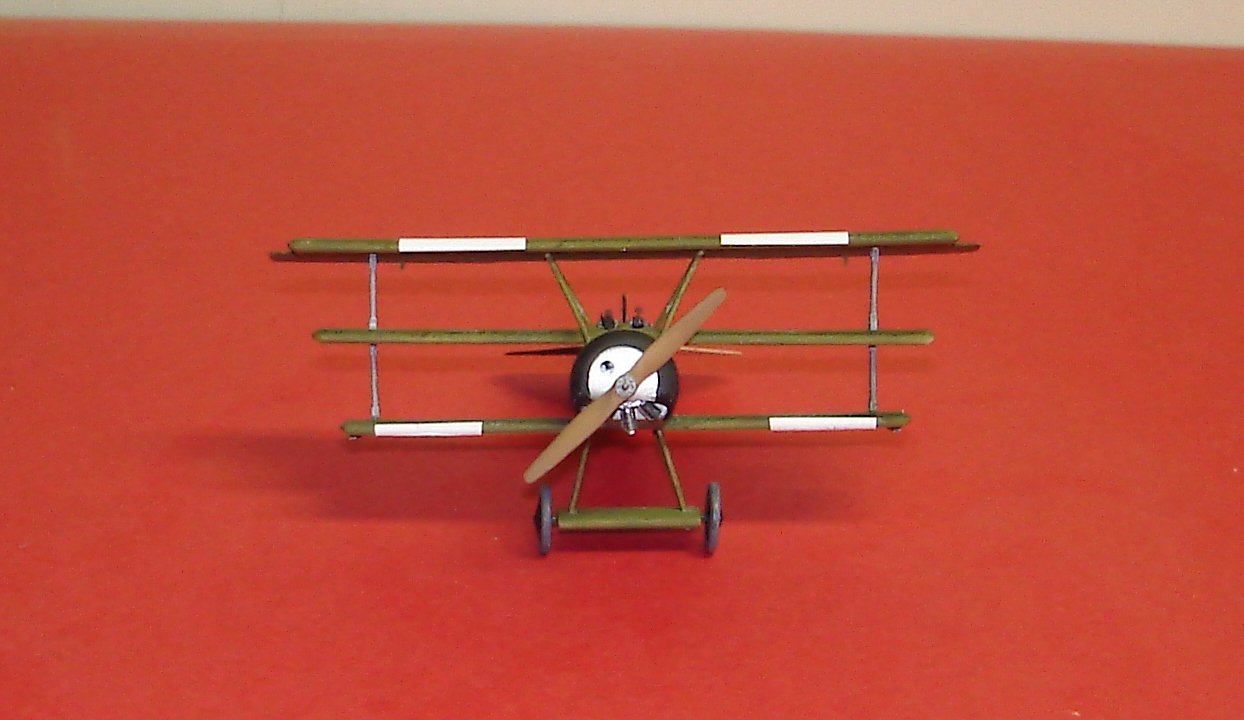

- 11 replies
-
- 10
-
-
C-130's it's a hoot watching .