


Javlin
-
Posts
1,624 -
Joined
-
Last visited
Content Type
Profiles
Forums
Gallery
Events
Posts posted by Javlin
-
-
I was locked out of the forum for a couple months but finally had one of the mods send a temporary password to Mike (landlubber Mike) who passed it on to me on another forum or sister forum.I have been working her over some will just post the latest pics.I had to take a break in the last month which brought me over to a Flak 88 and a turd of a kit
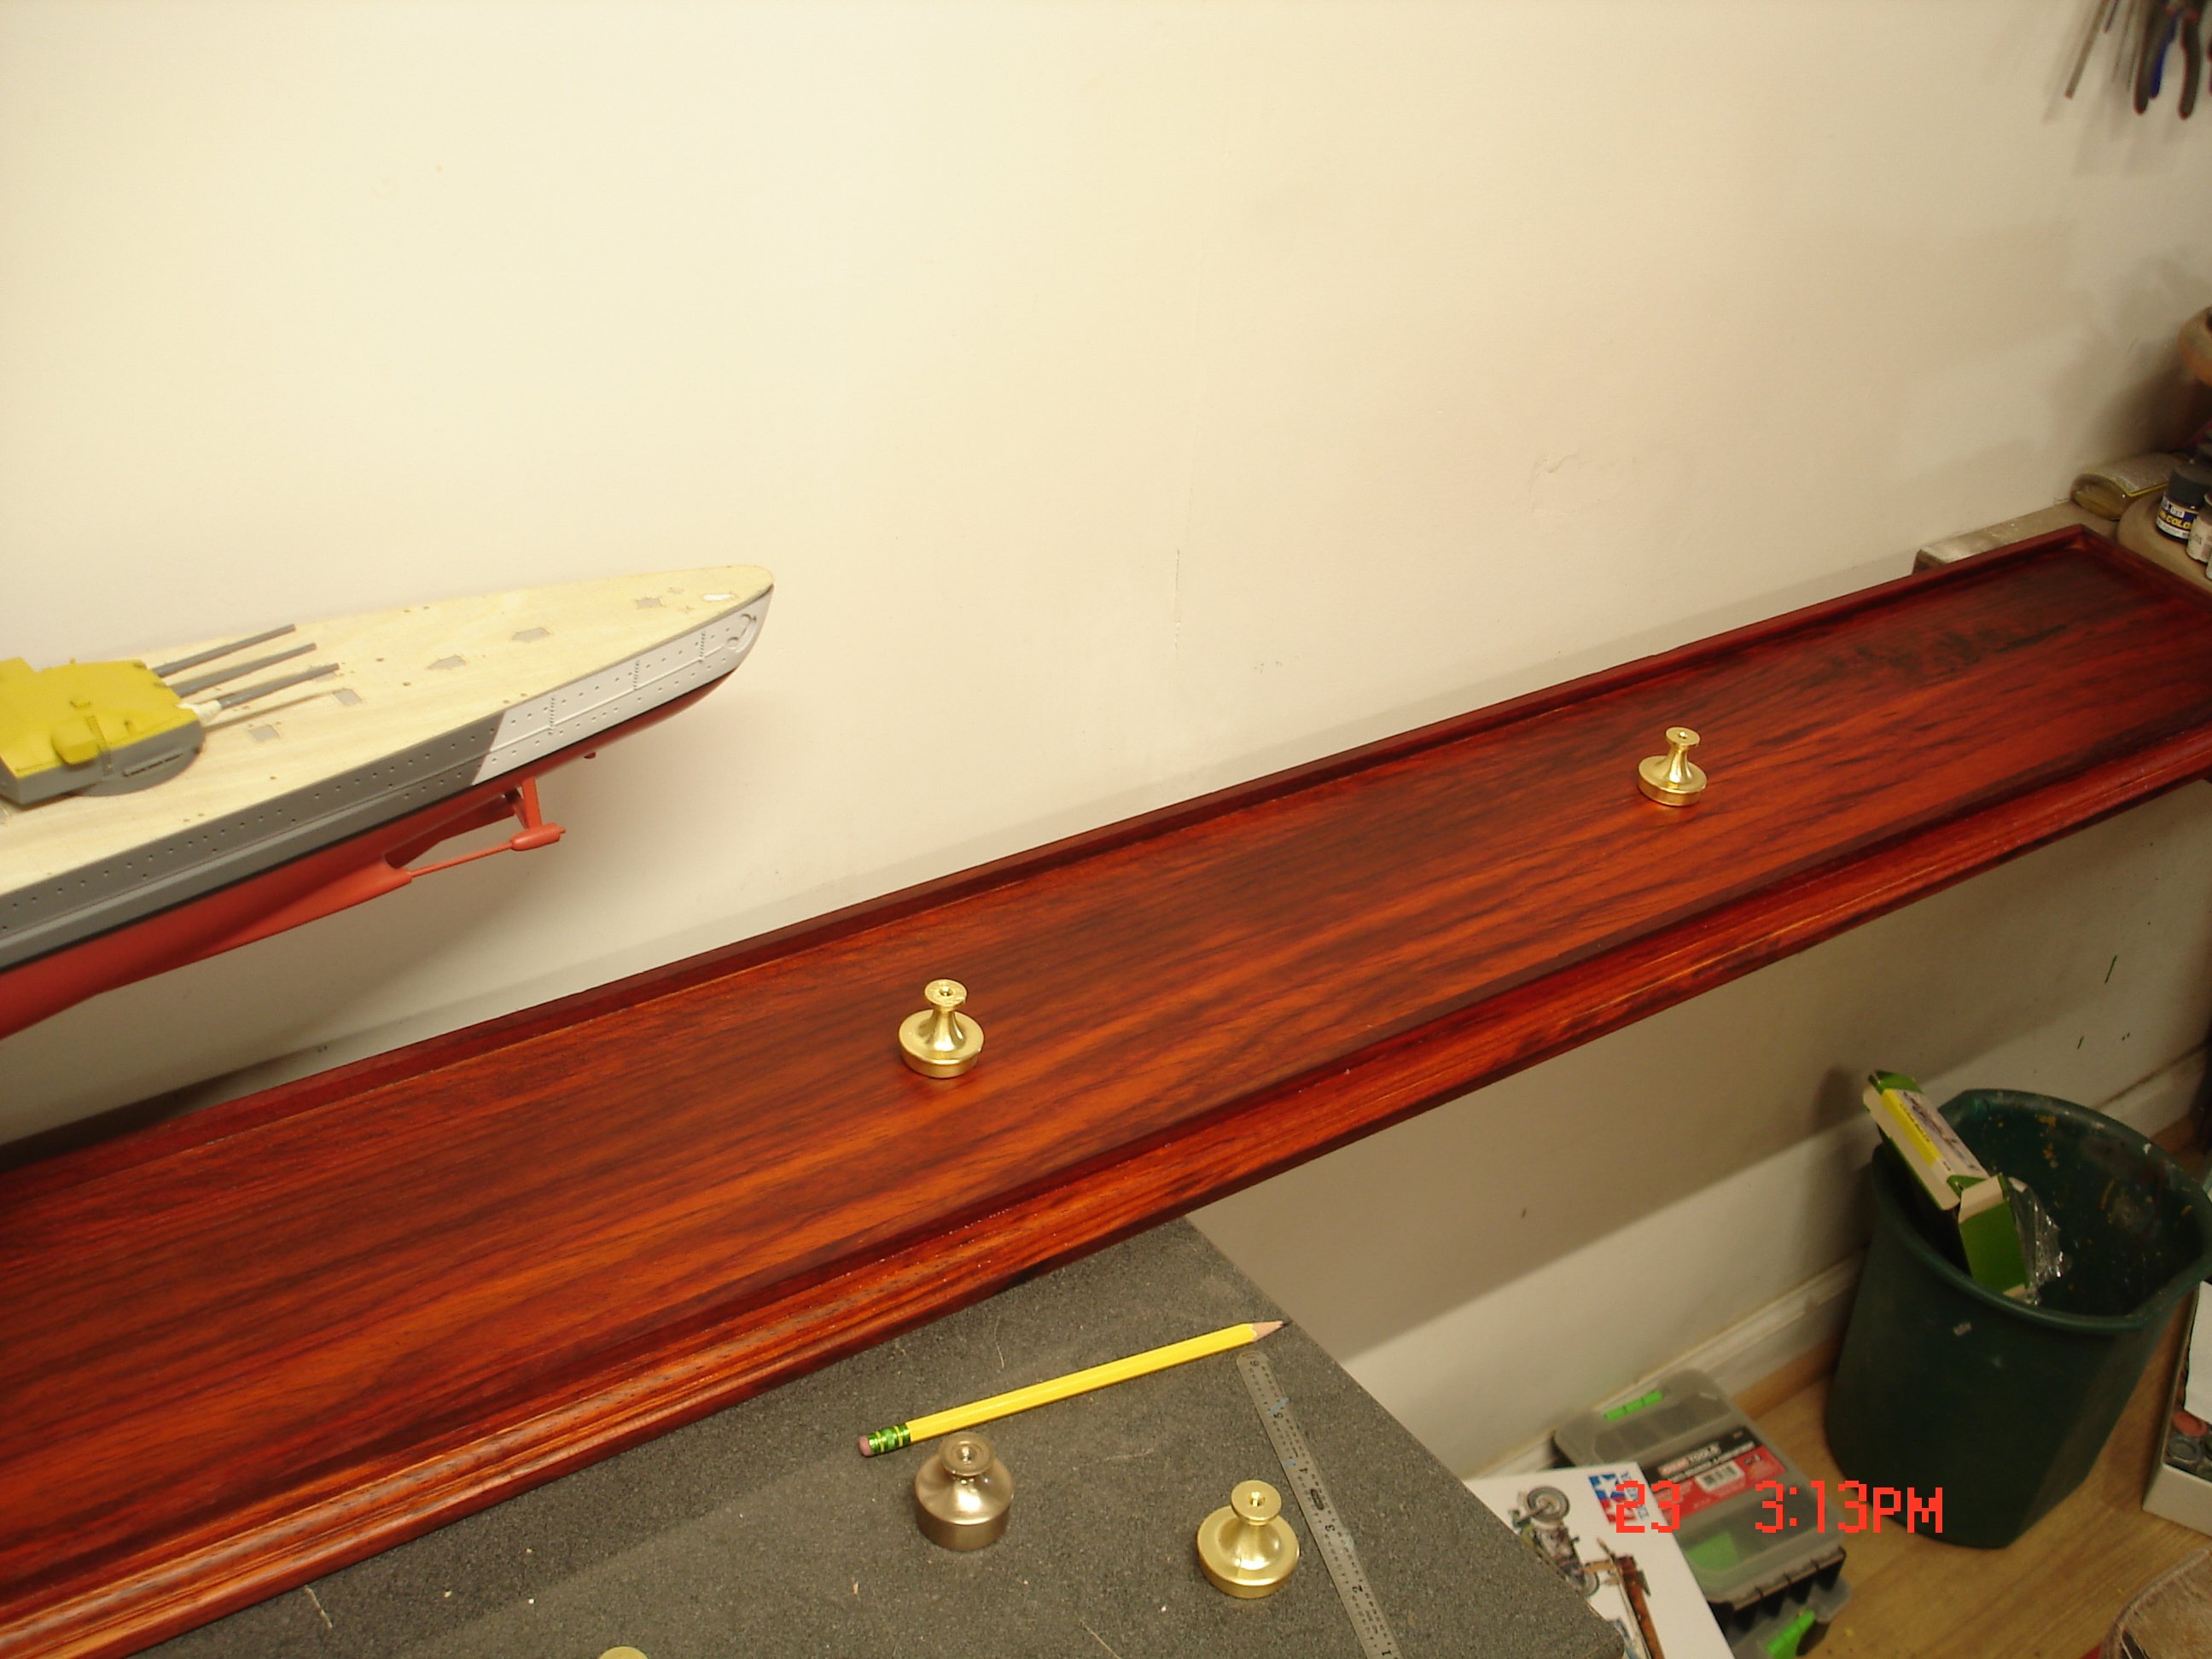
 a 1/72 Heller Bloch 174 for some reason I just could not send it to the trash can??The wood is on it way to being finished put an oil finish on it I get locally delivered in from Vicksburg MS stuff is really good.I give this some time to dry out maybe another coat either way once dry then goes the varnish and once hard polish it out with steel wool and lastly a fine automotive polish for paint.
")


- yvesvidal, king derelict, mikegr and 7 others
-
 10
10
-
49 minutes ago, realworkingsailor said:
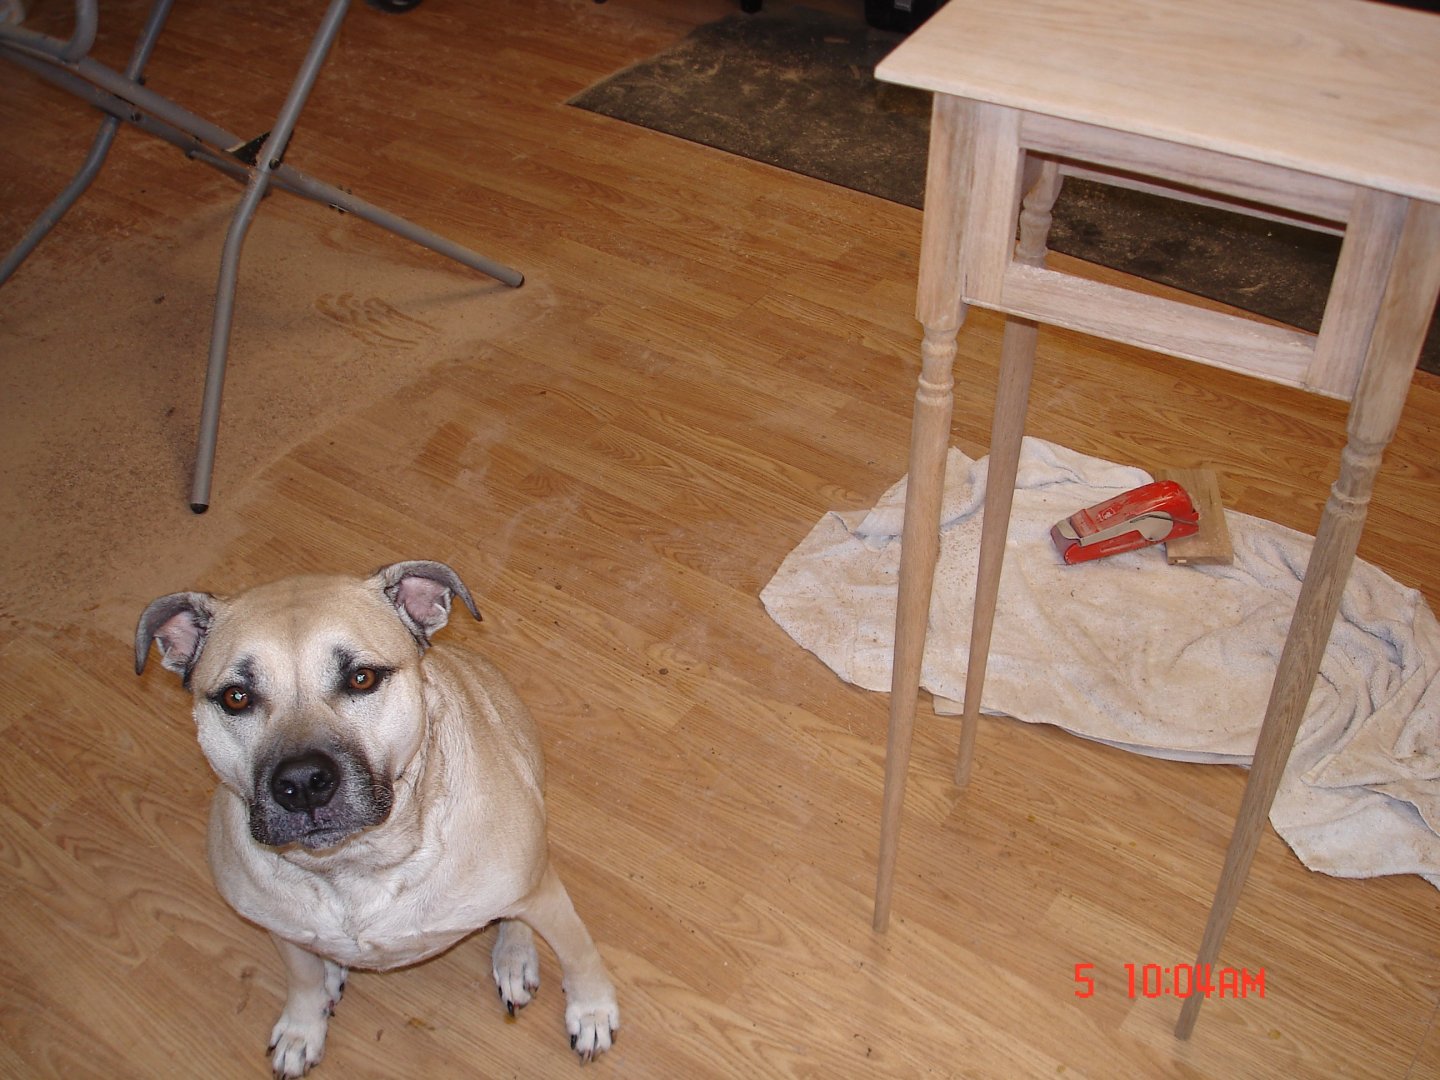
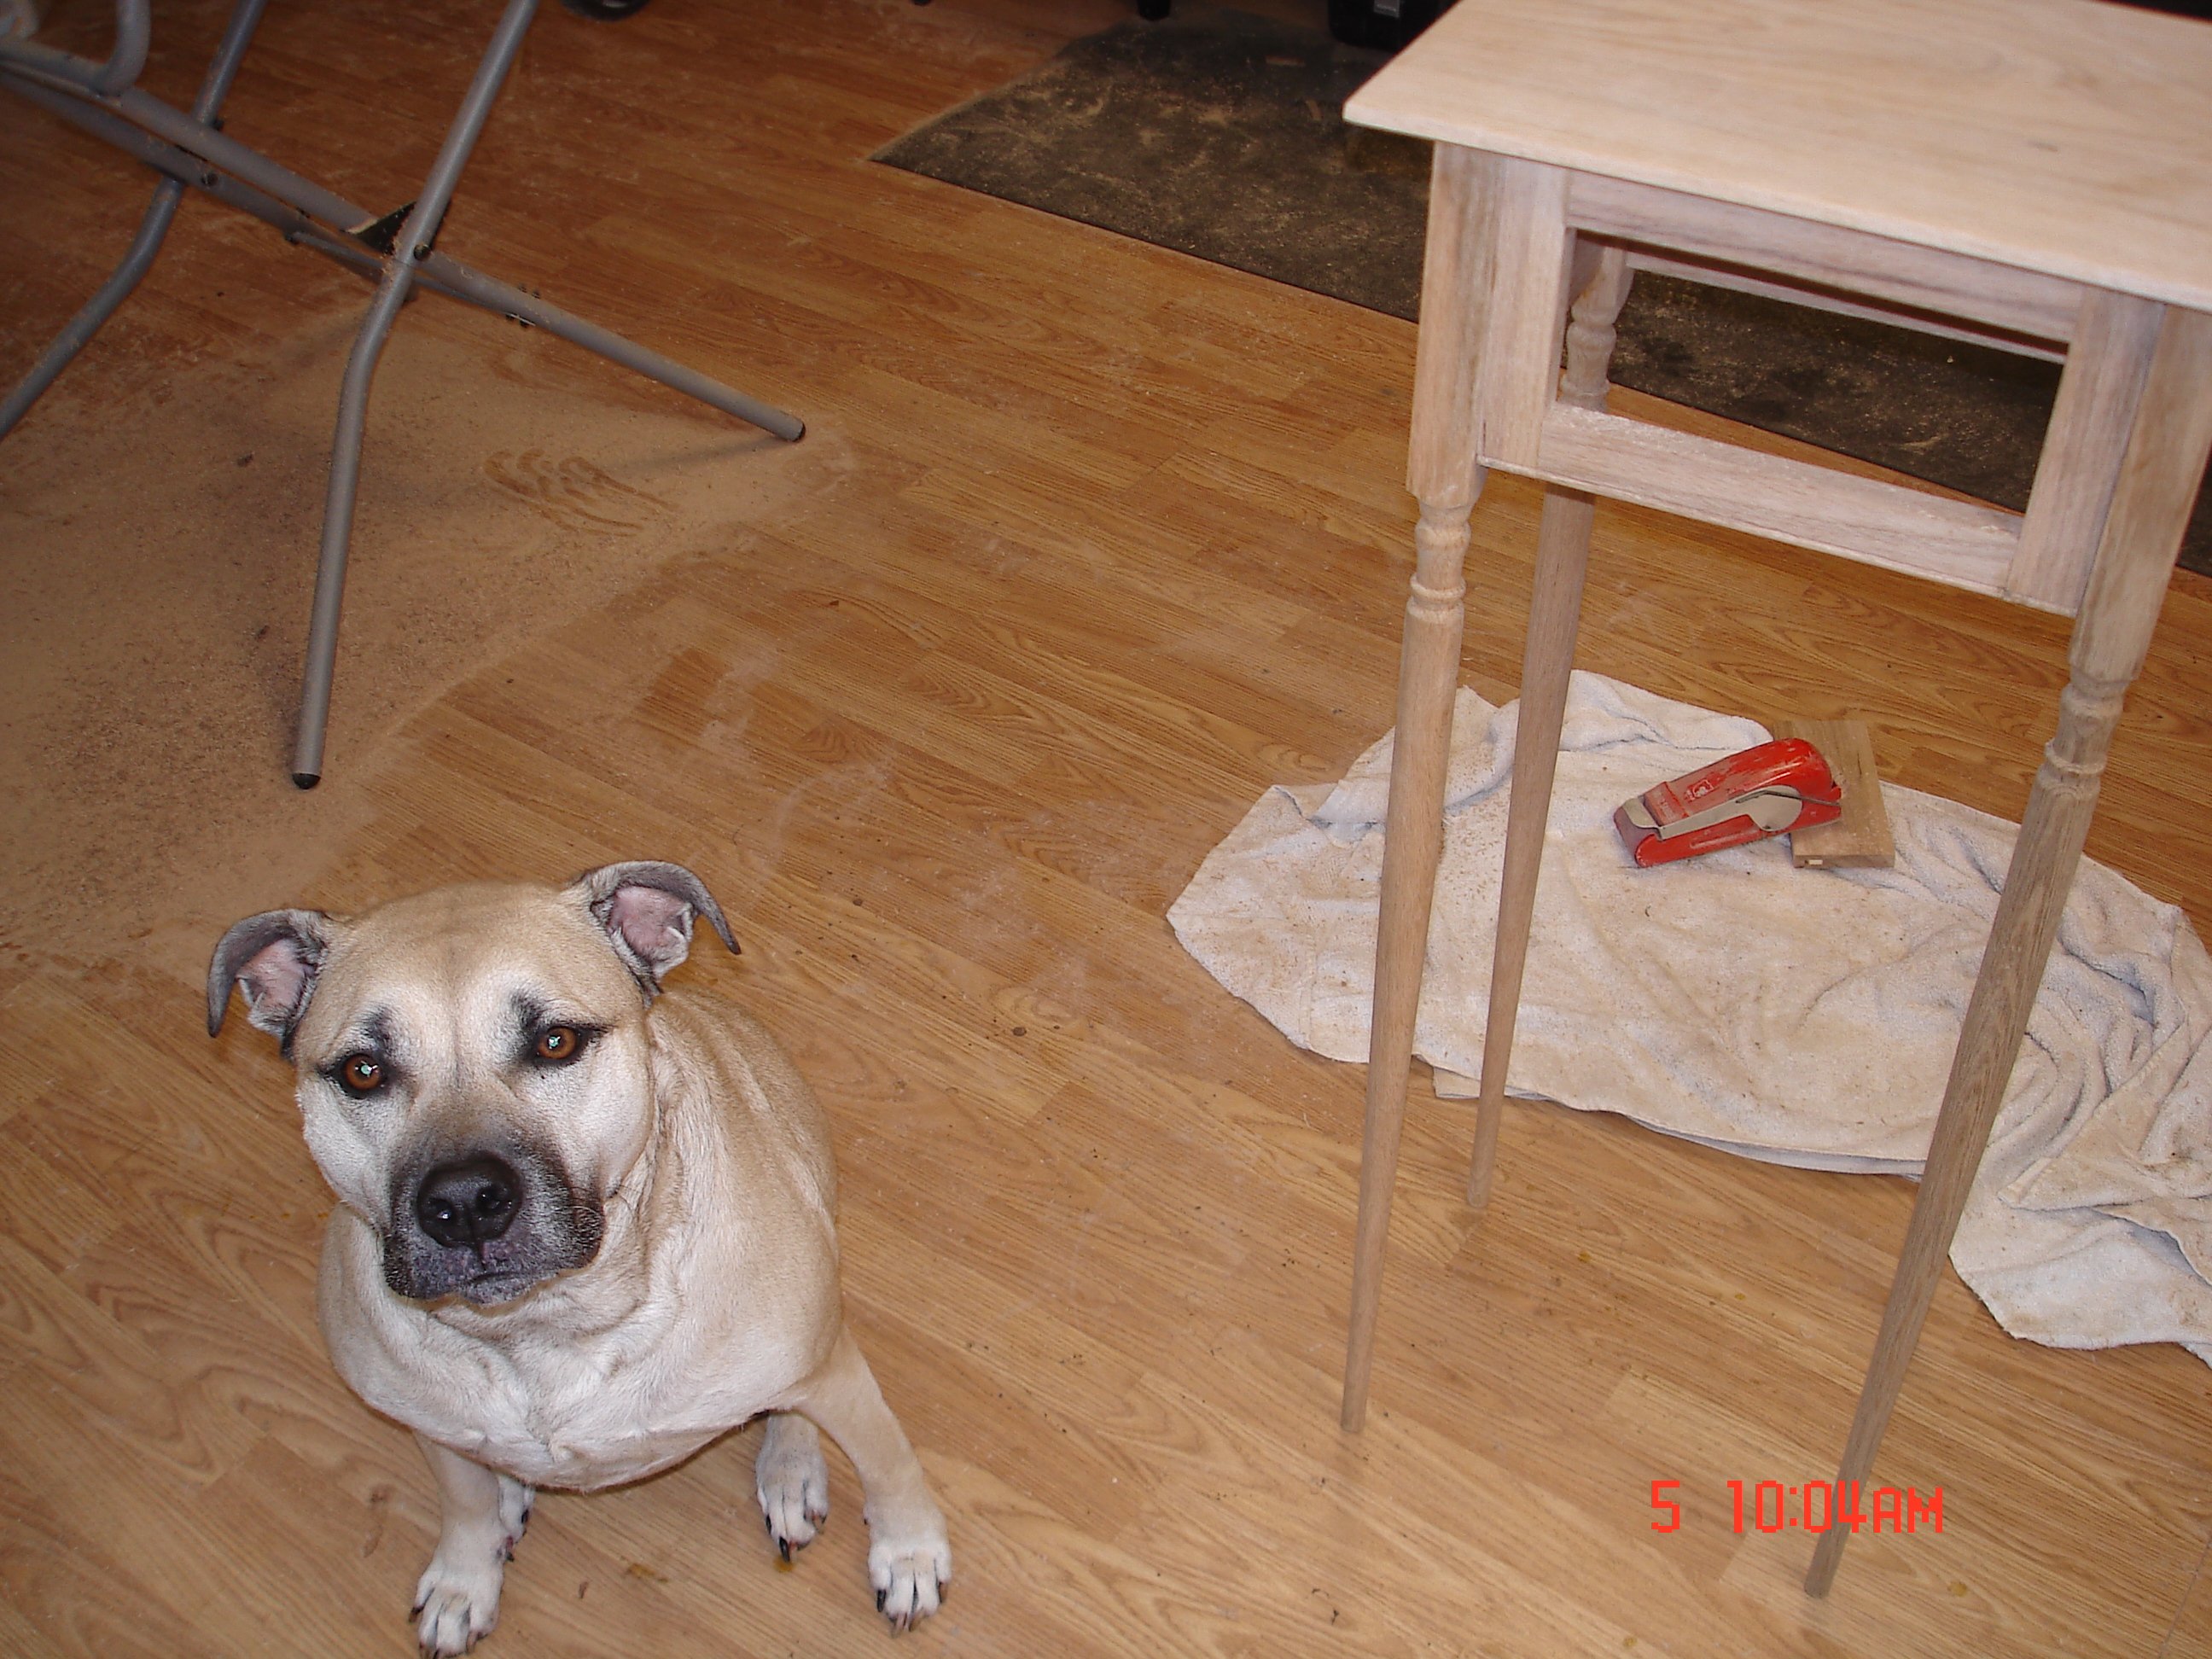
The not so good concerns my furry little helper, Freyja. A couple of years ago she ruptured her right cruciate ligament and had to undergo surgery to repair her knee (a TPLO surgery for all you vet types!).
I had to do the same for my dog years ago within the first year of getting her.My vet tried to send me to a place it was 3K a knee
 I got her as rescue dog out of FL Gainesville area some people put their pets down for lack of funds but God gave her to me for a reason.I got that leg fixed with a country Vet the next county north of me for $1200 and like you said within the year the blew worst than the first.I have great sense of satisfaction that I was able to do that for her when I see her run every day.
")
-
You know Alan something I read the other day about the eyelid always covers half the eye........I have always done figures as Bug Eyes then something to keep in mind...you may already know this?Keep up the good work.

- Old Collingwood, Canute and Egilman
-
3
-
I have built this one with a few extras added to the BB/pit area she builds up Nicely.
- Old Collingwood, mtaylor, Jack12477 and 3 others
-
6
-
-
Dave that looks pretty cool and I do bet she is an eye magnet.
- Old Collingwood, Egilman, Canute and 1 other
-
4
-
-
-
Liking the looks Craig the pledge dulled the finish just about right to my eyes.
- CDW, Canute, Old Collingwood and 5 others
-
8
-
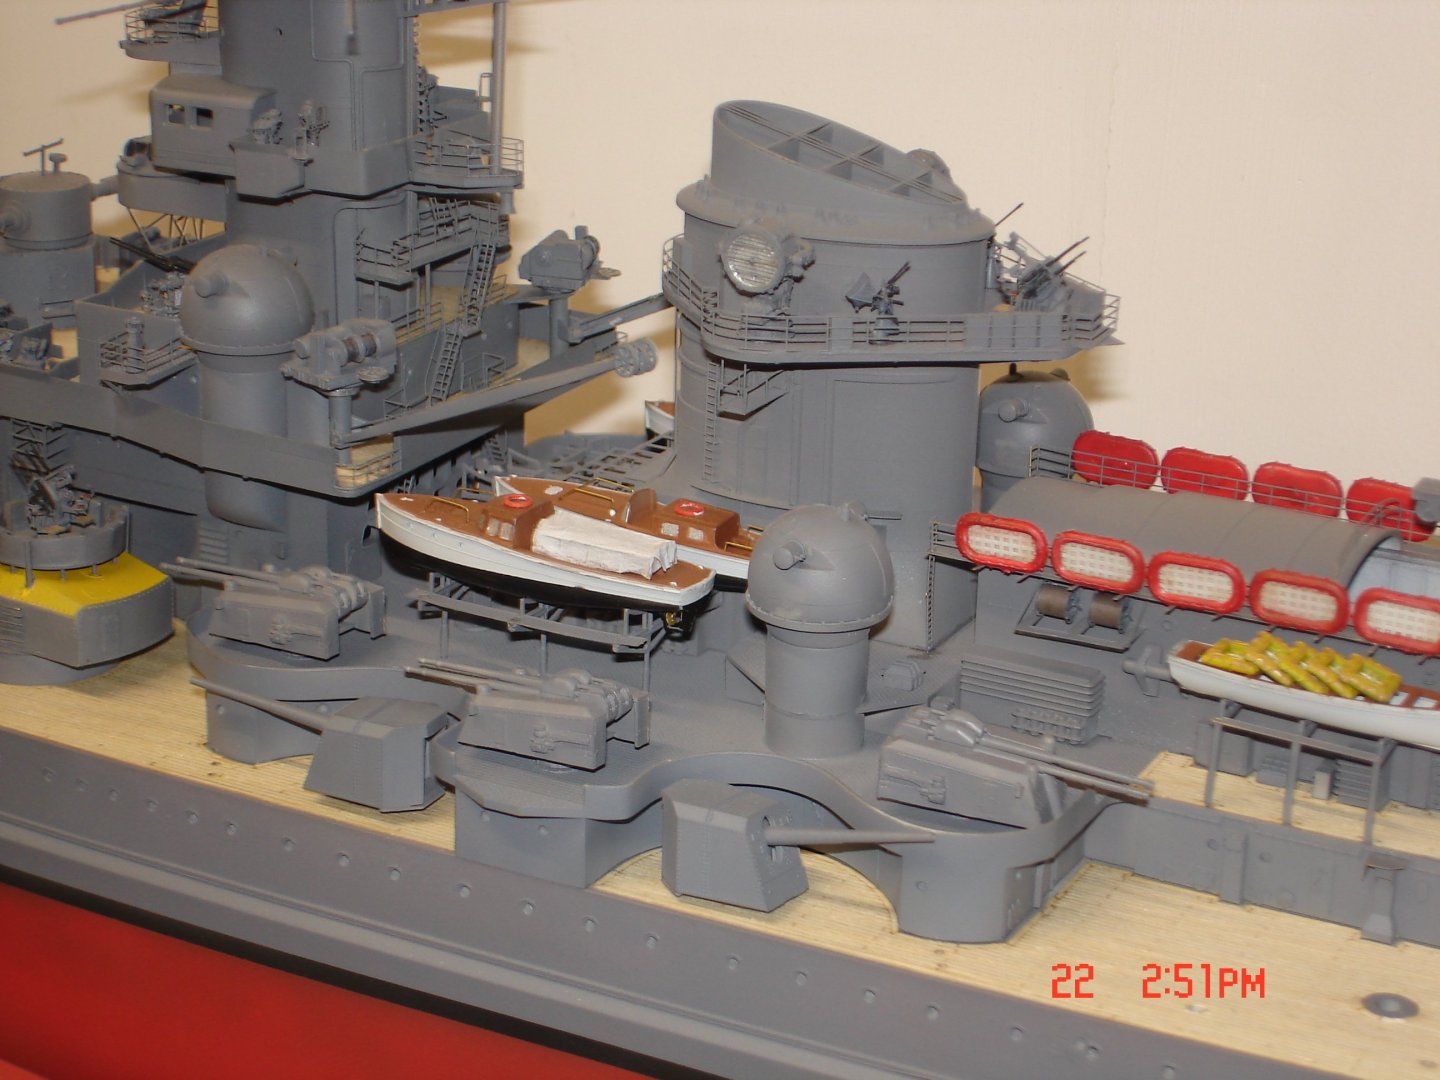
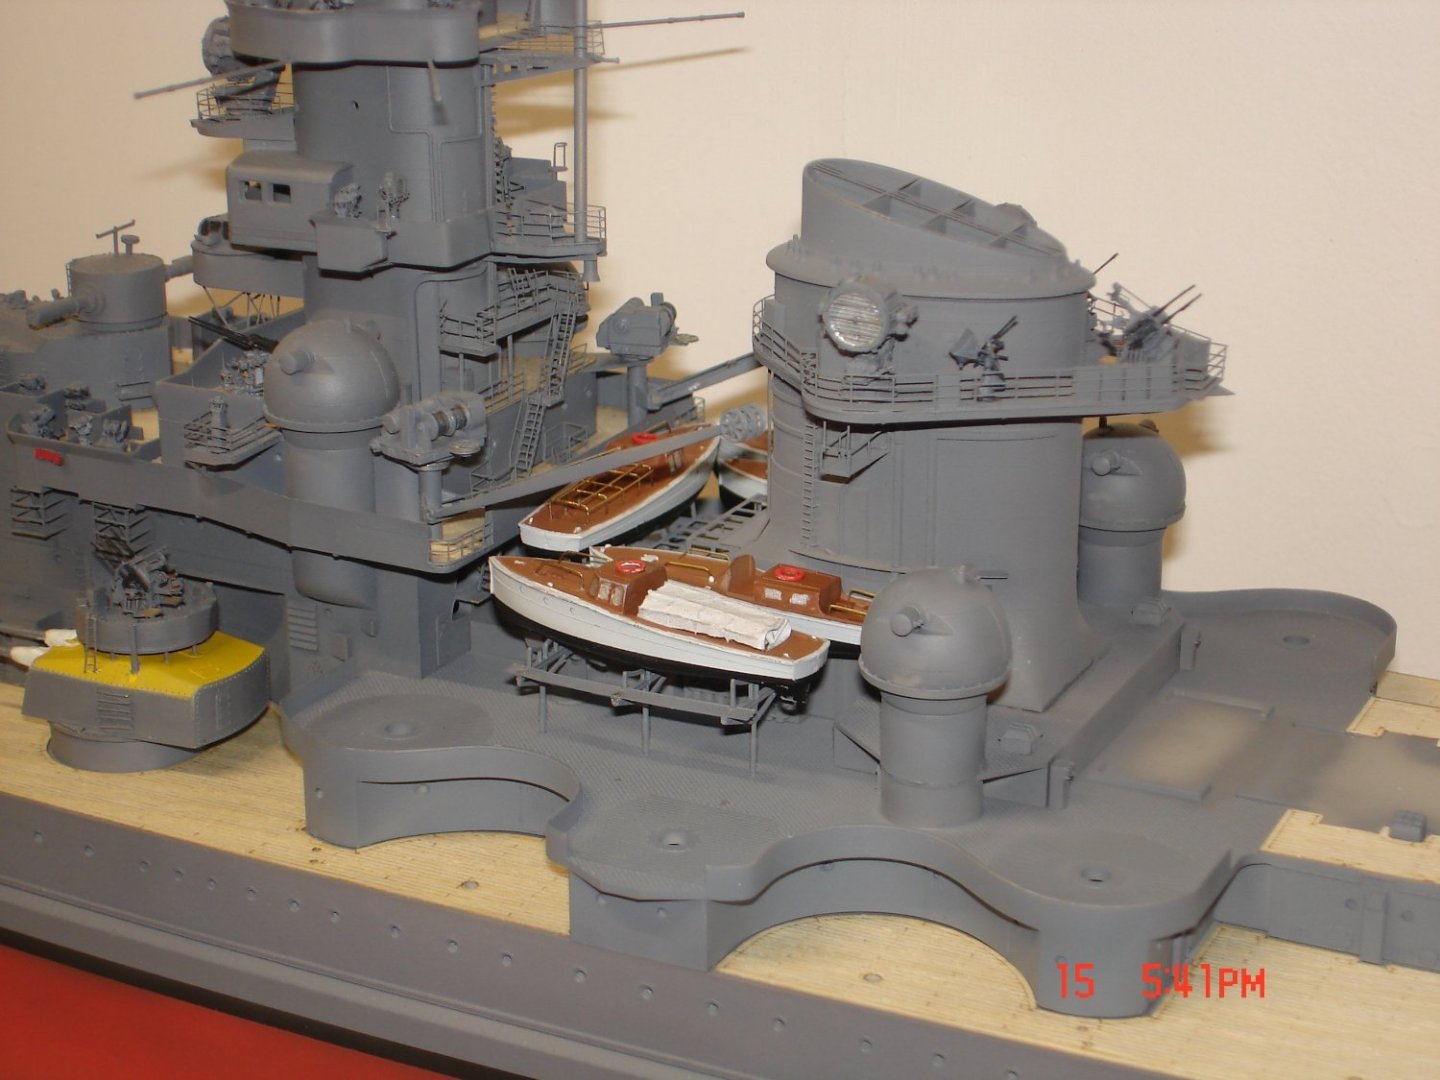
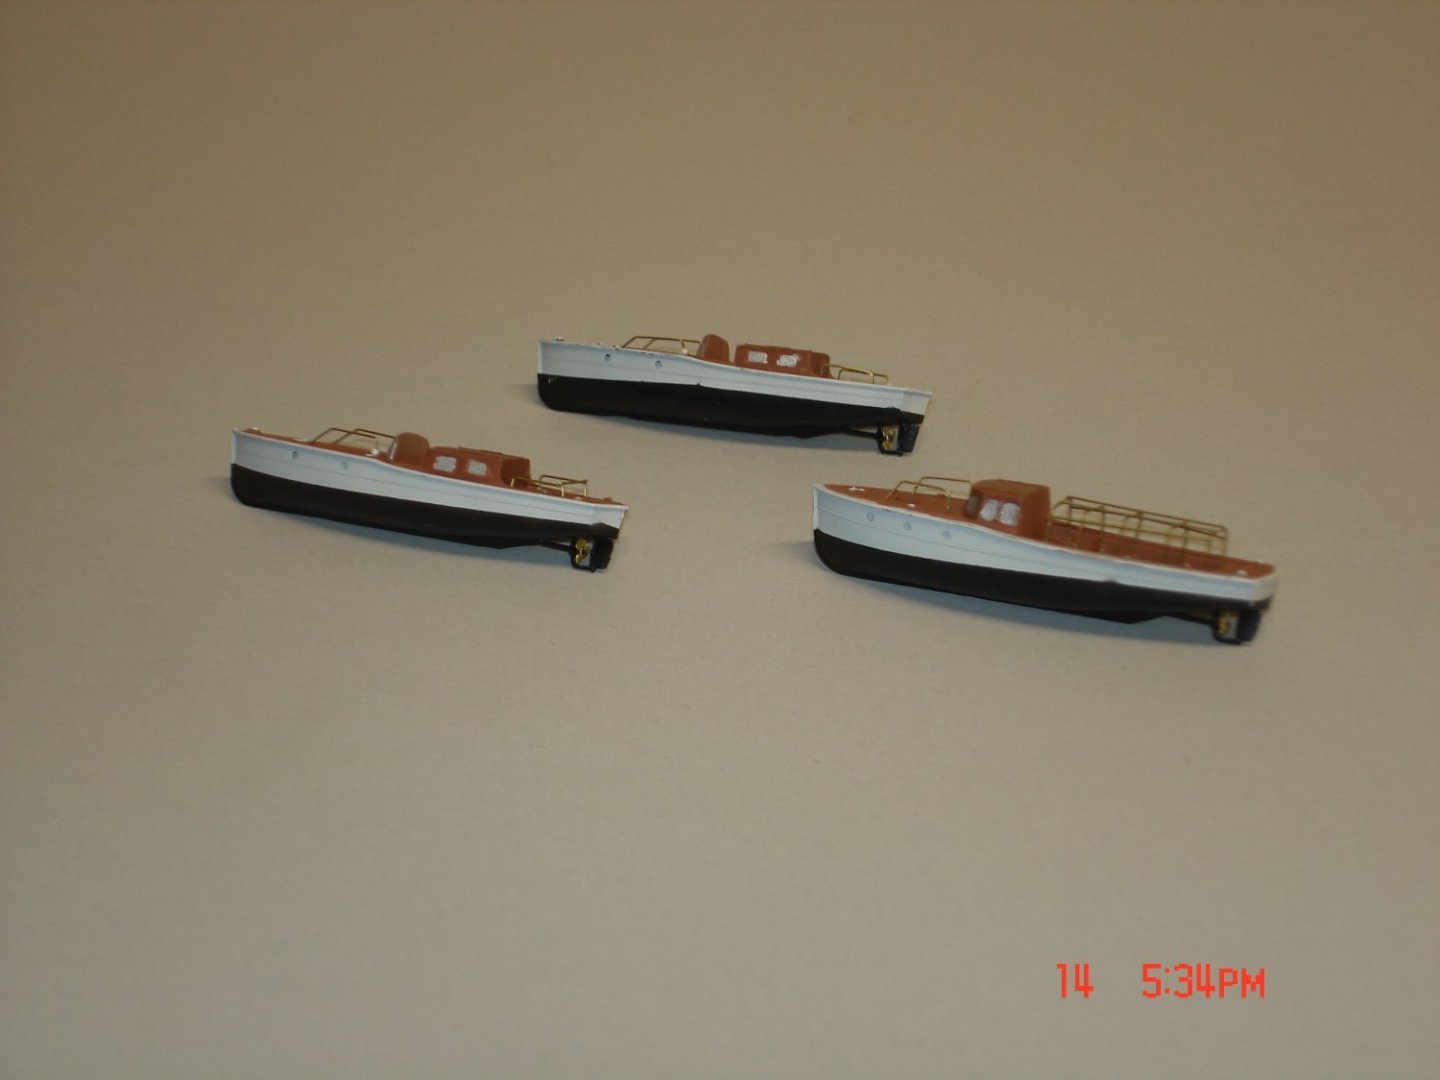
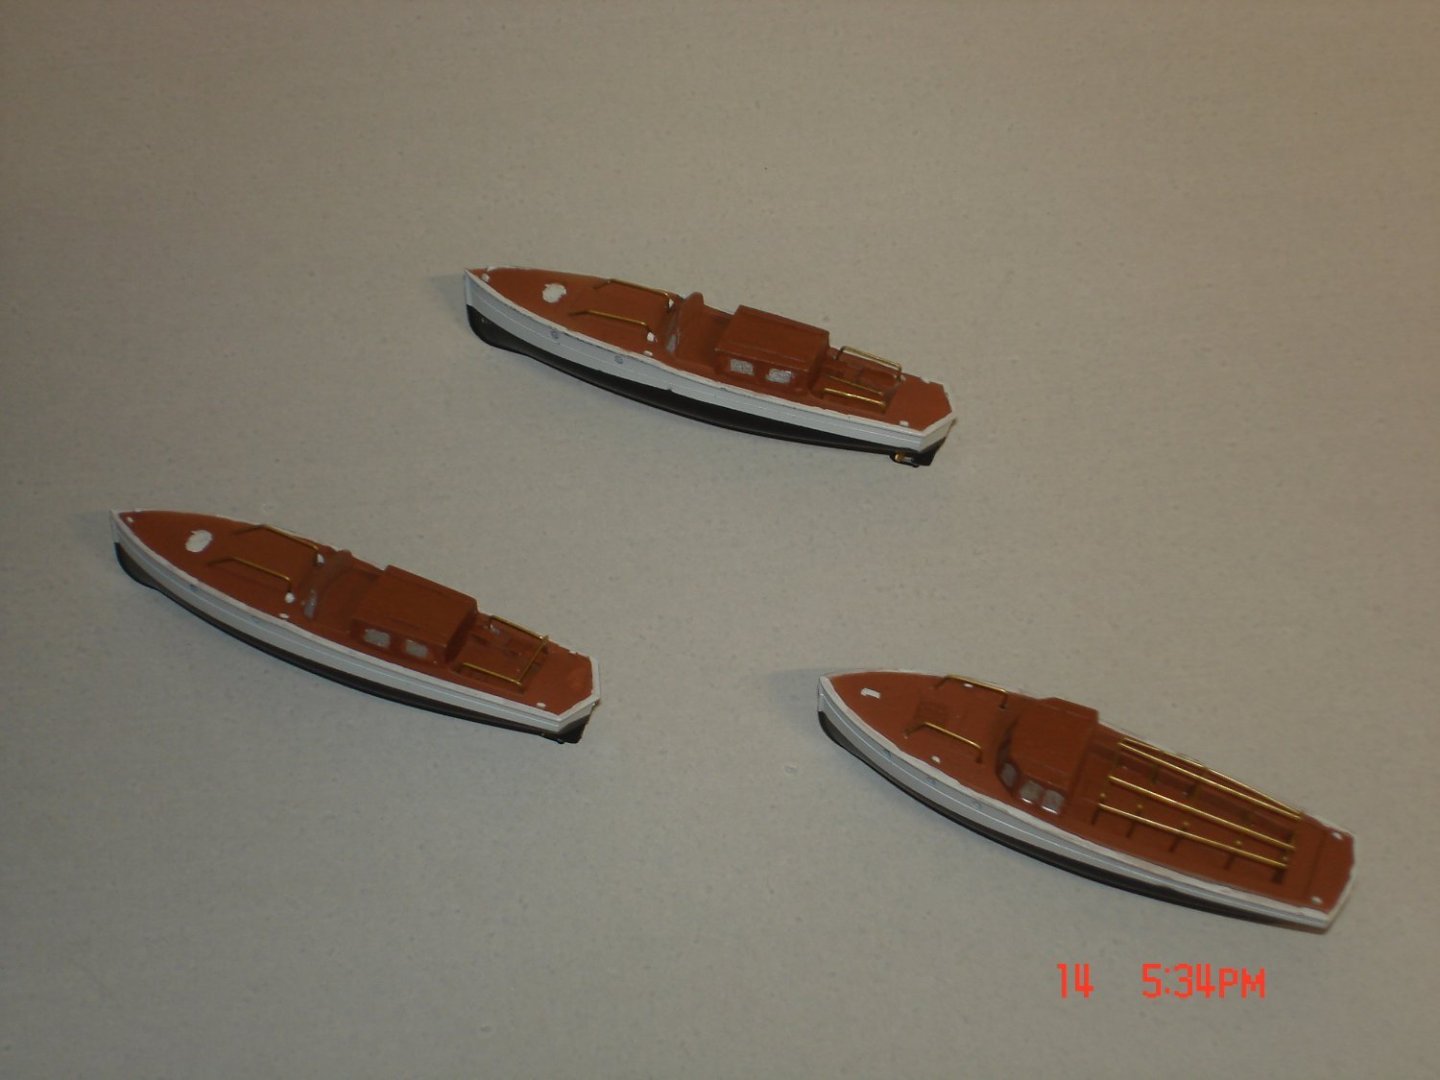
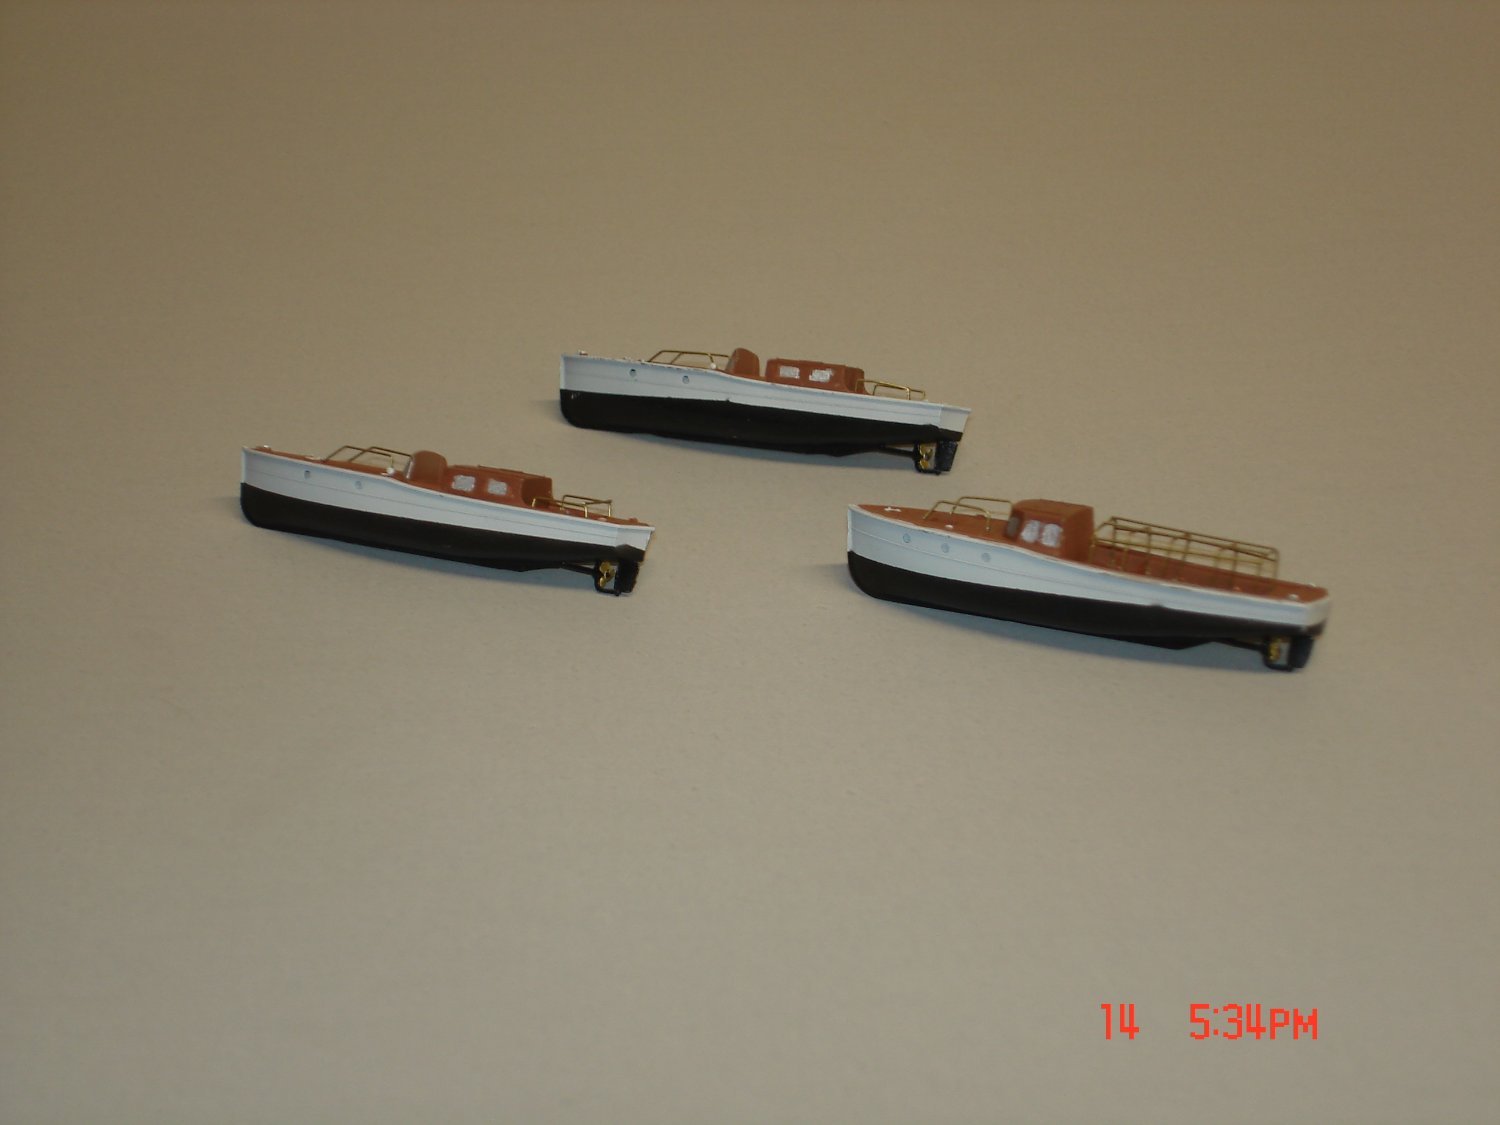
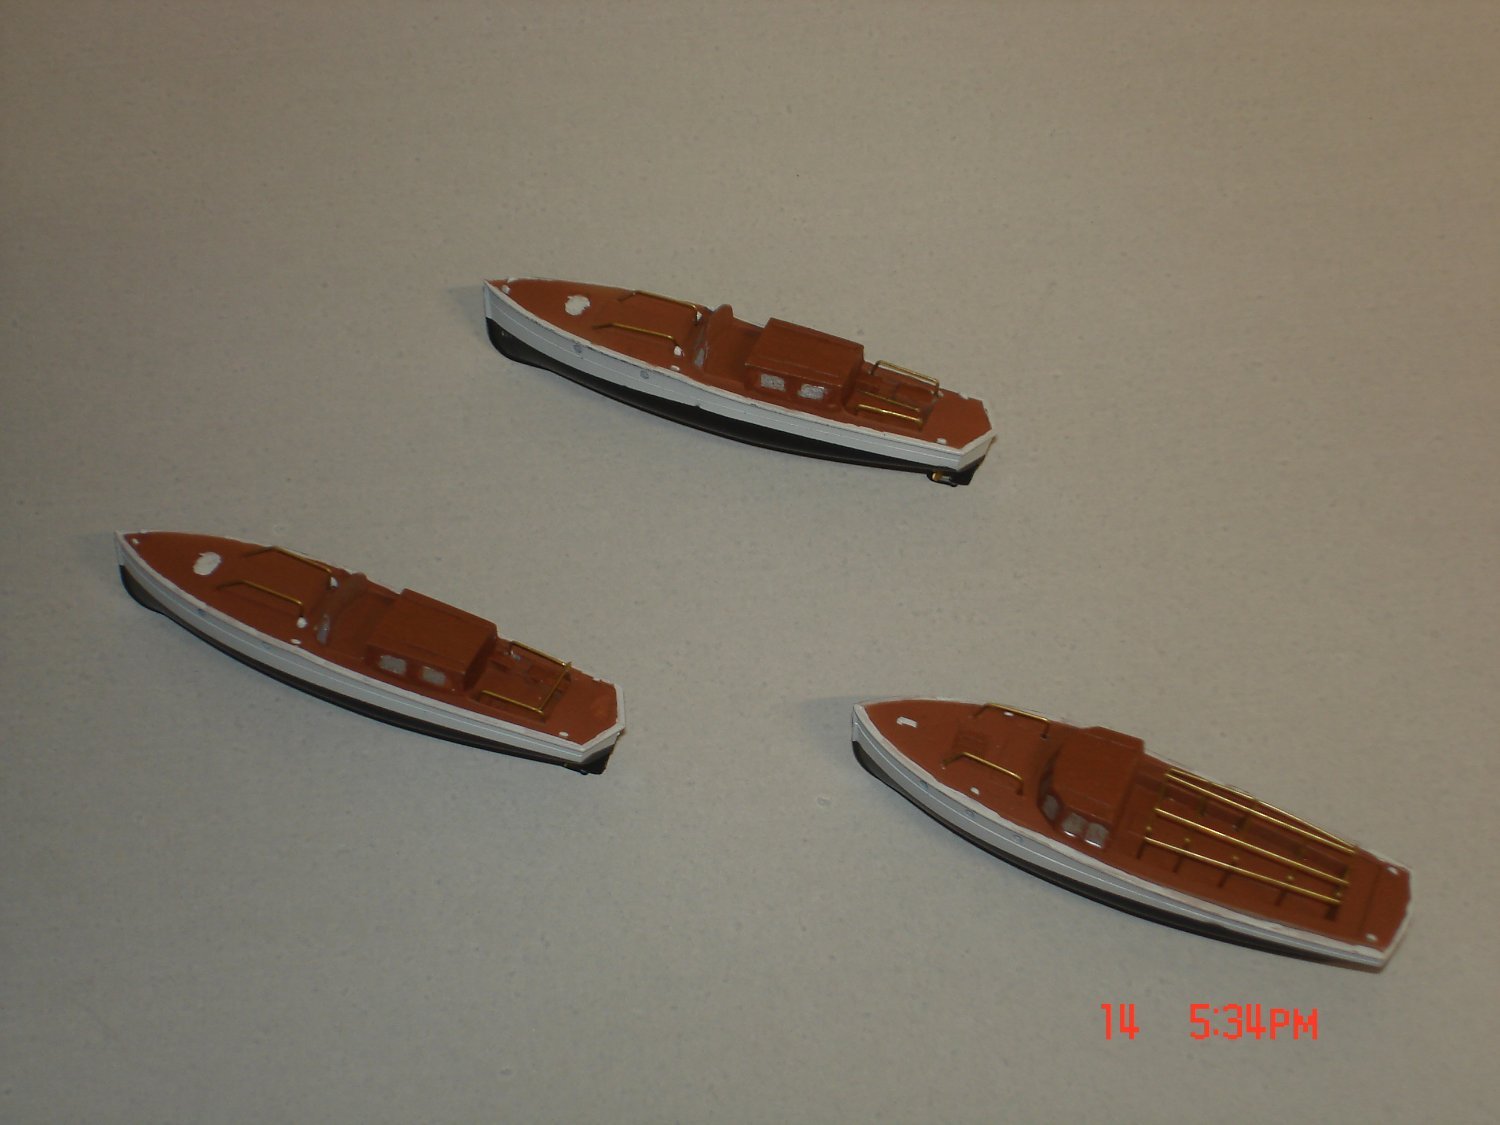
Thanks for the likes and looking in.The launches are basically finished need to give the one out front some more TLC.The bare launch in the middle I am thinking of rolling up a tarp towards the front of the cage since she came out the best might as well show it off.The launches were bare bones except the props life preservers and metal falls on me.
")

- mtaylor, king derelict, Canute and 4 others
-
7
-
Not a lot to report been let's say busy fixing cars,baseball MS my nephew's team is in town and just work.I have about 3 hours thus far in these launches and two more to go with the rails in the back to which covers will go in play on atleast one.The rails are my handy work.
- Canute, VonHoldinghausen, RGL and 6 others
-
9
-
-
-
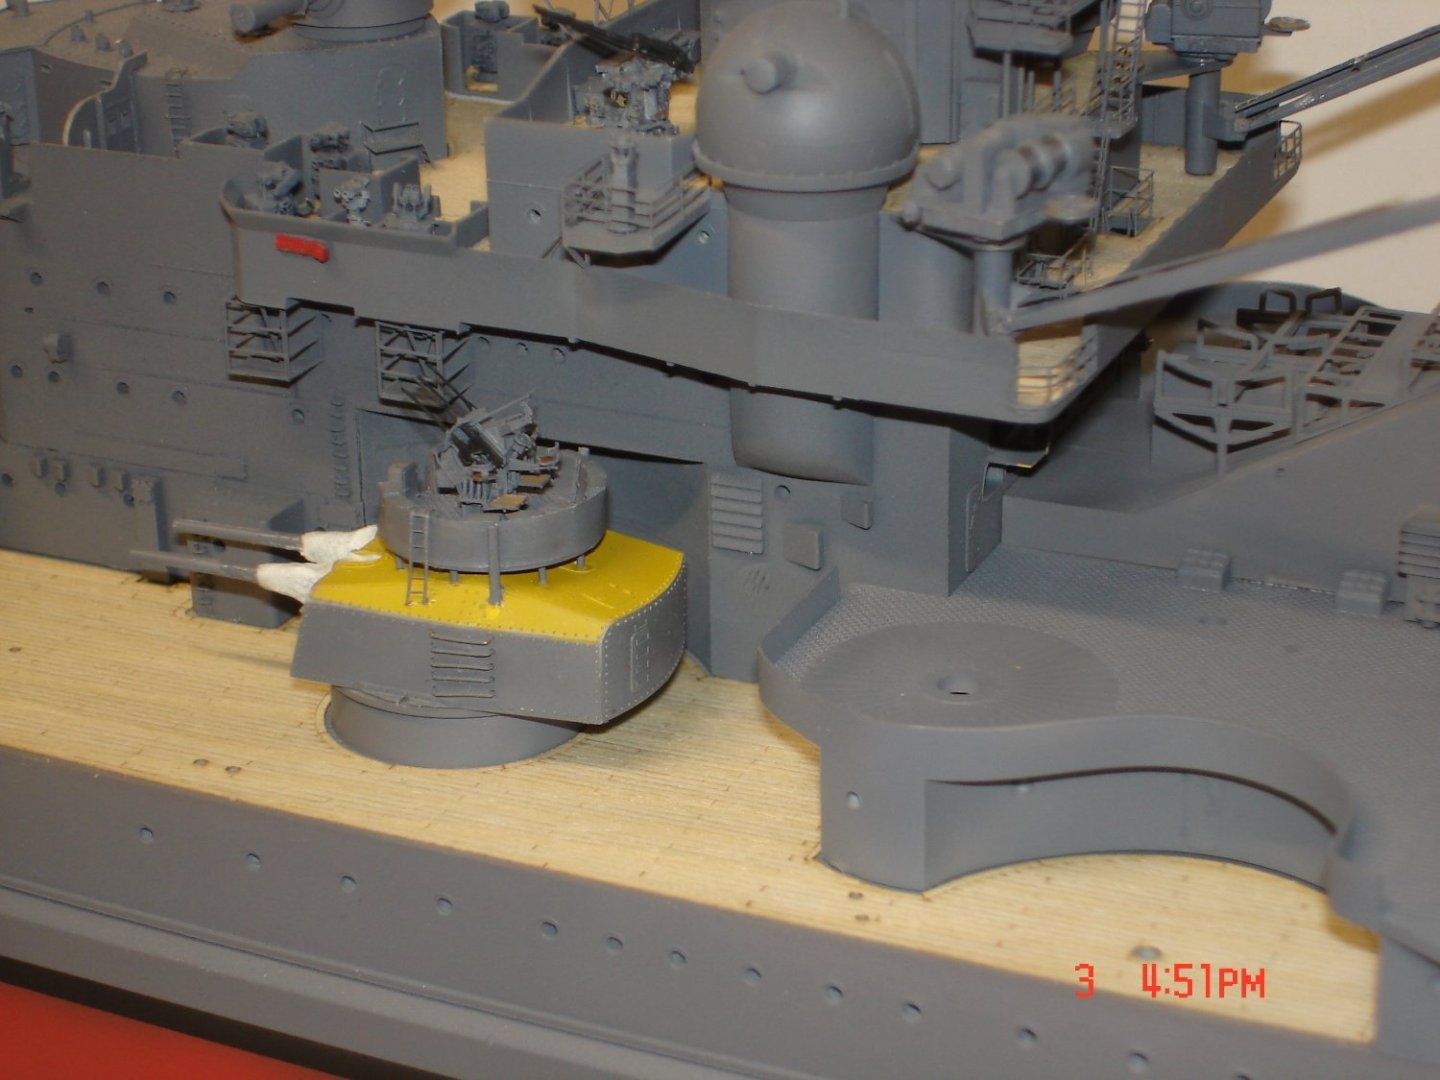
Thanks Mike and to think I am probably not even at 40% yet?correct flakerling sits on top now!

- yvesvidal, Old Collingwood, mtaylor and 5 others
-
8
-
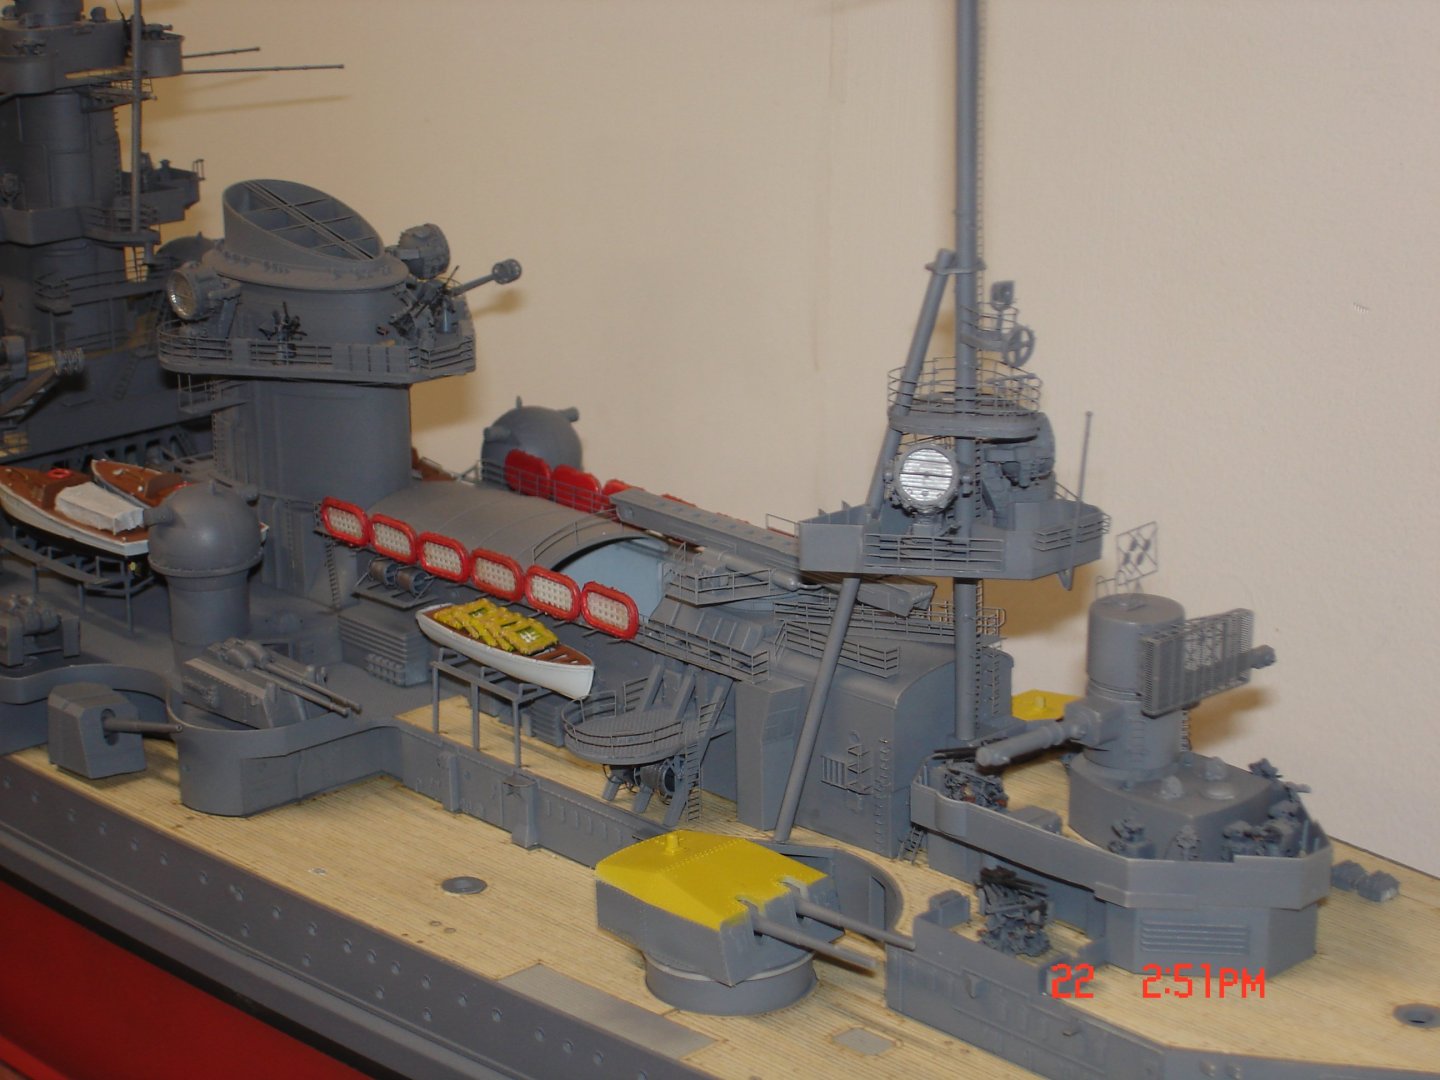
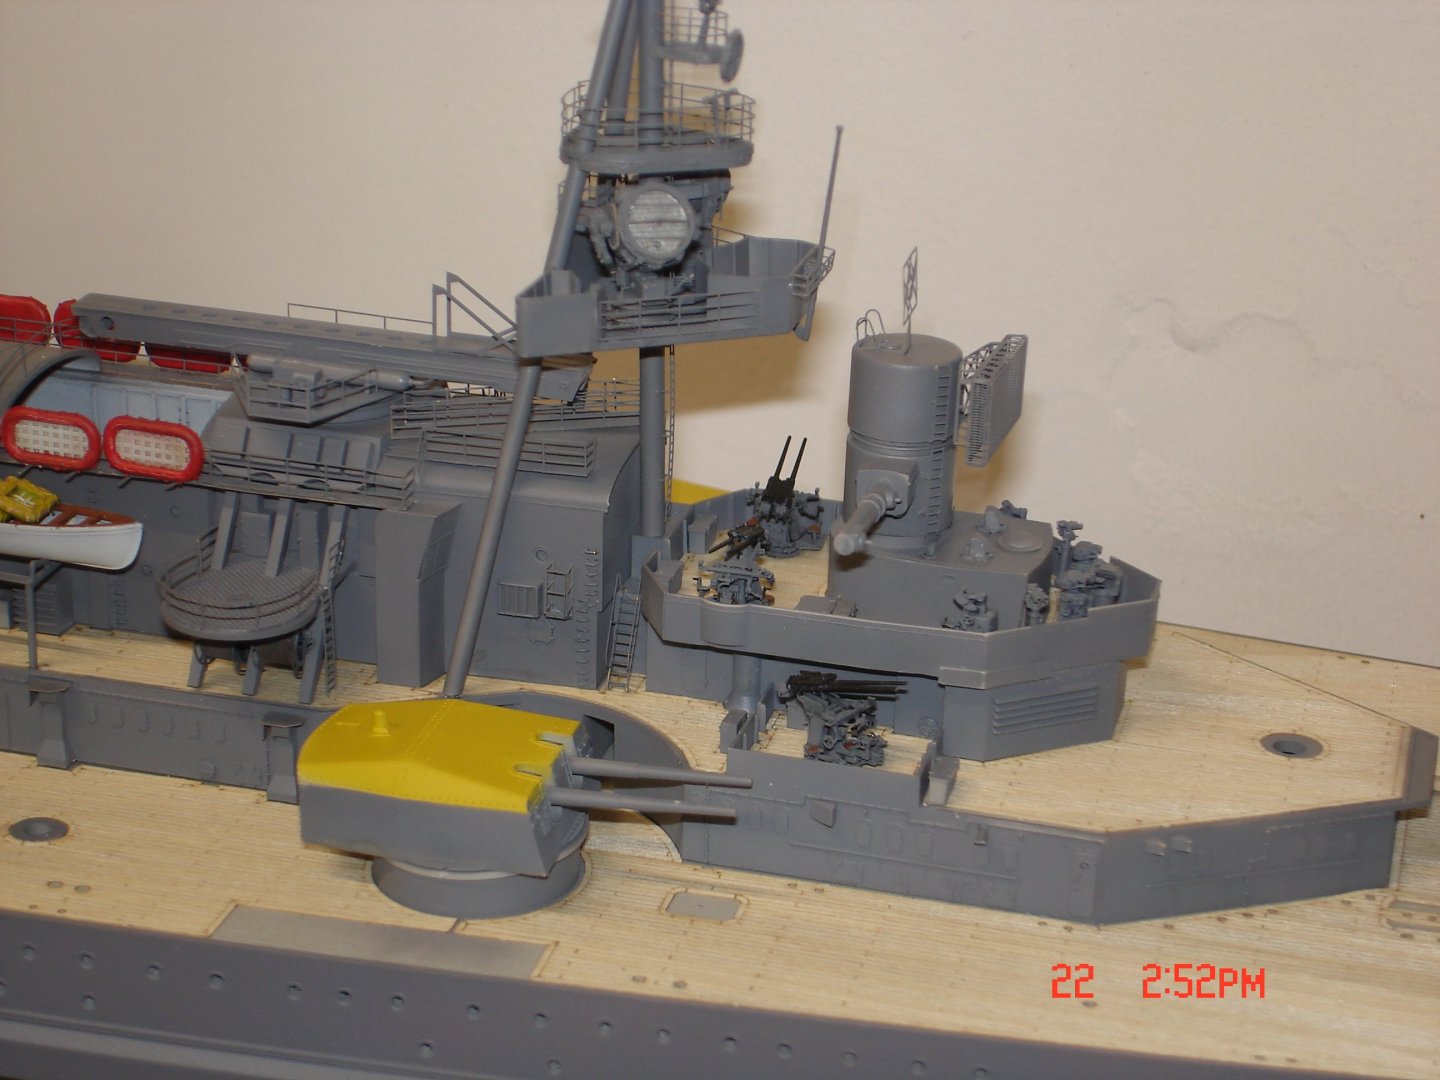
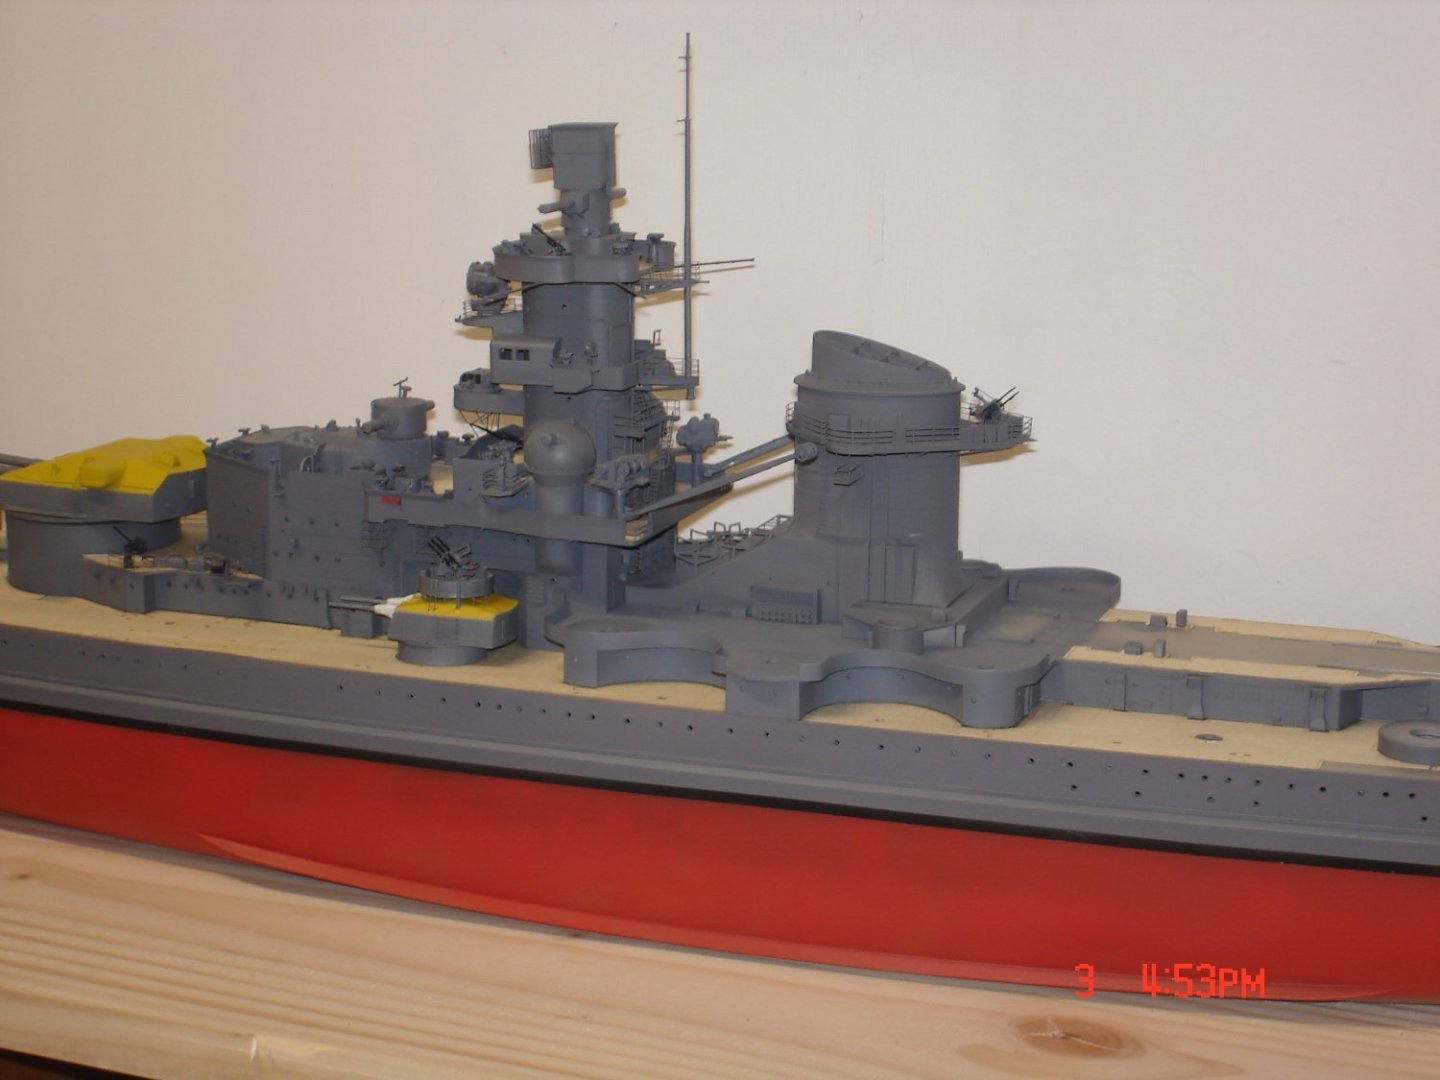
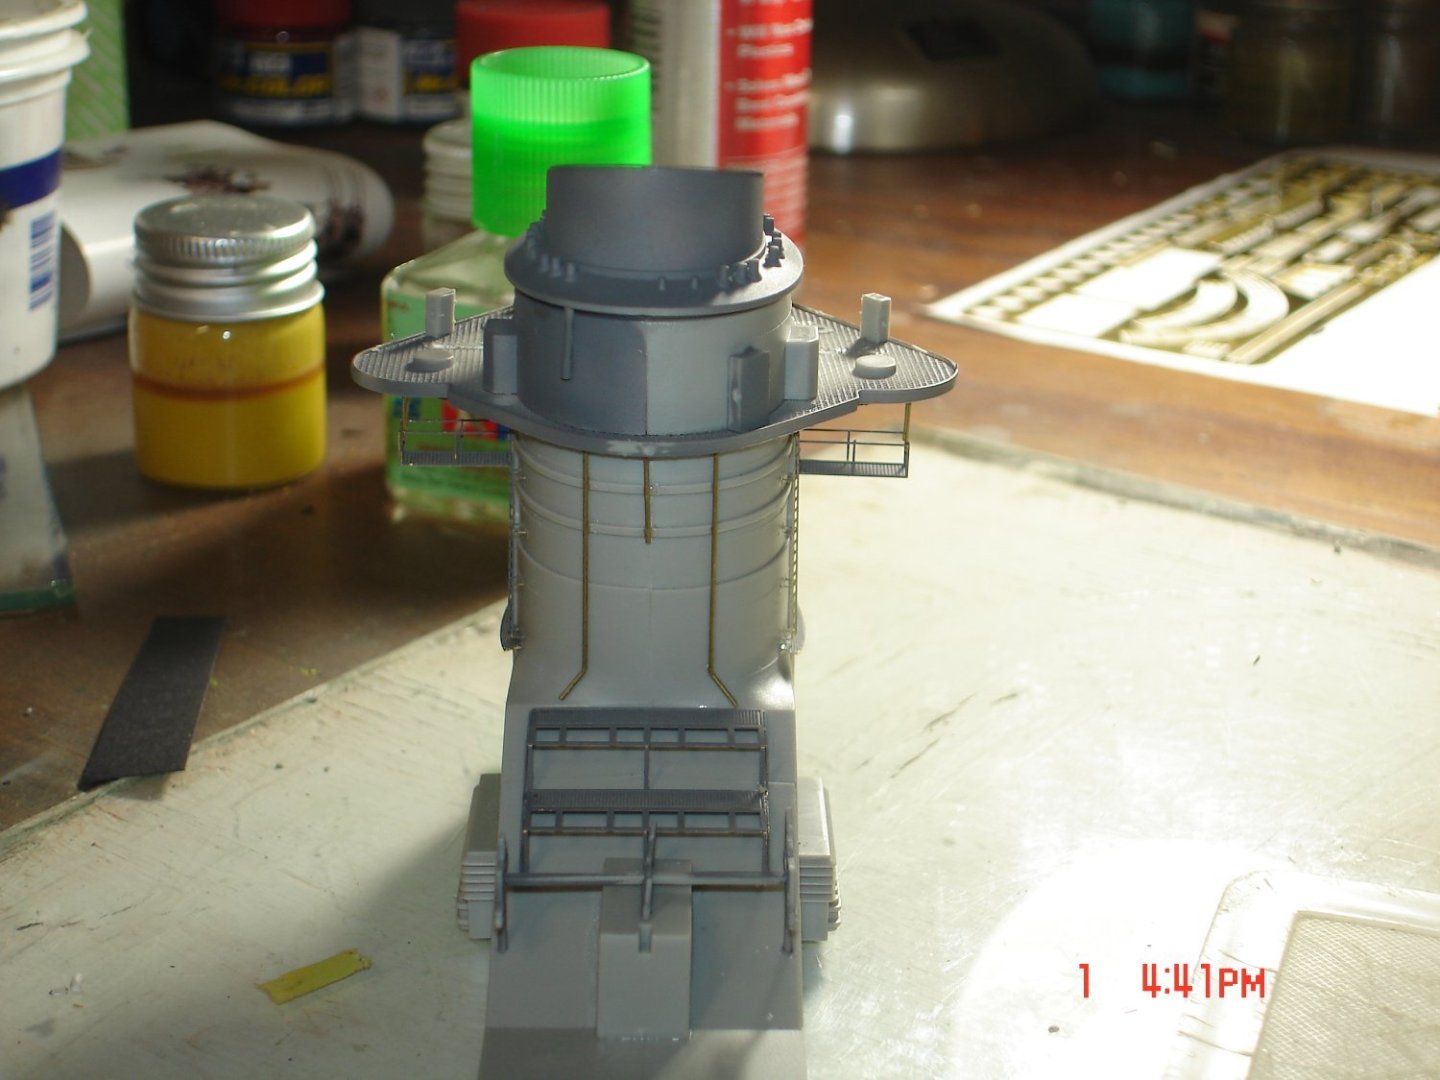
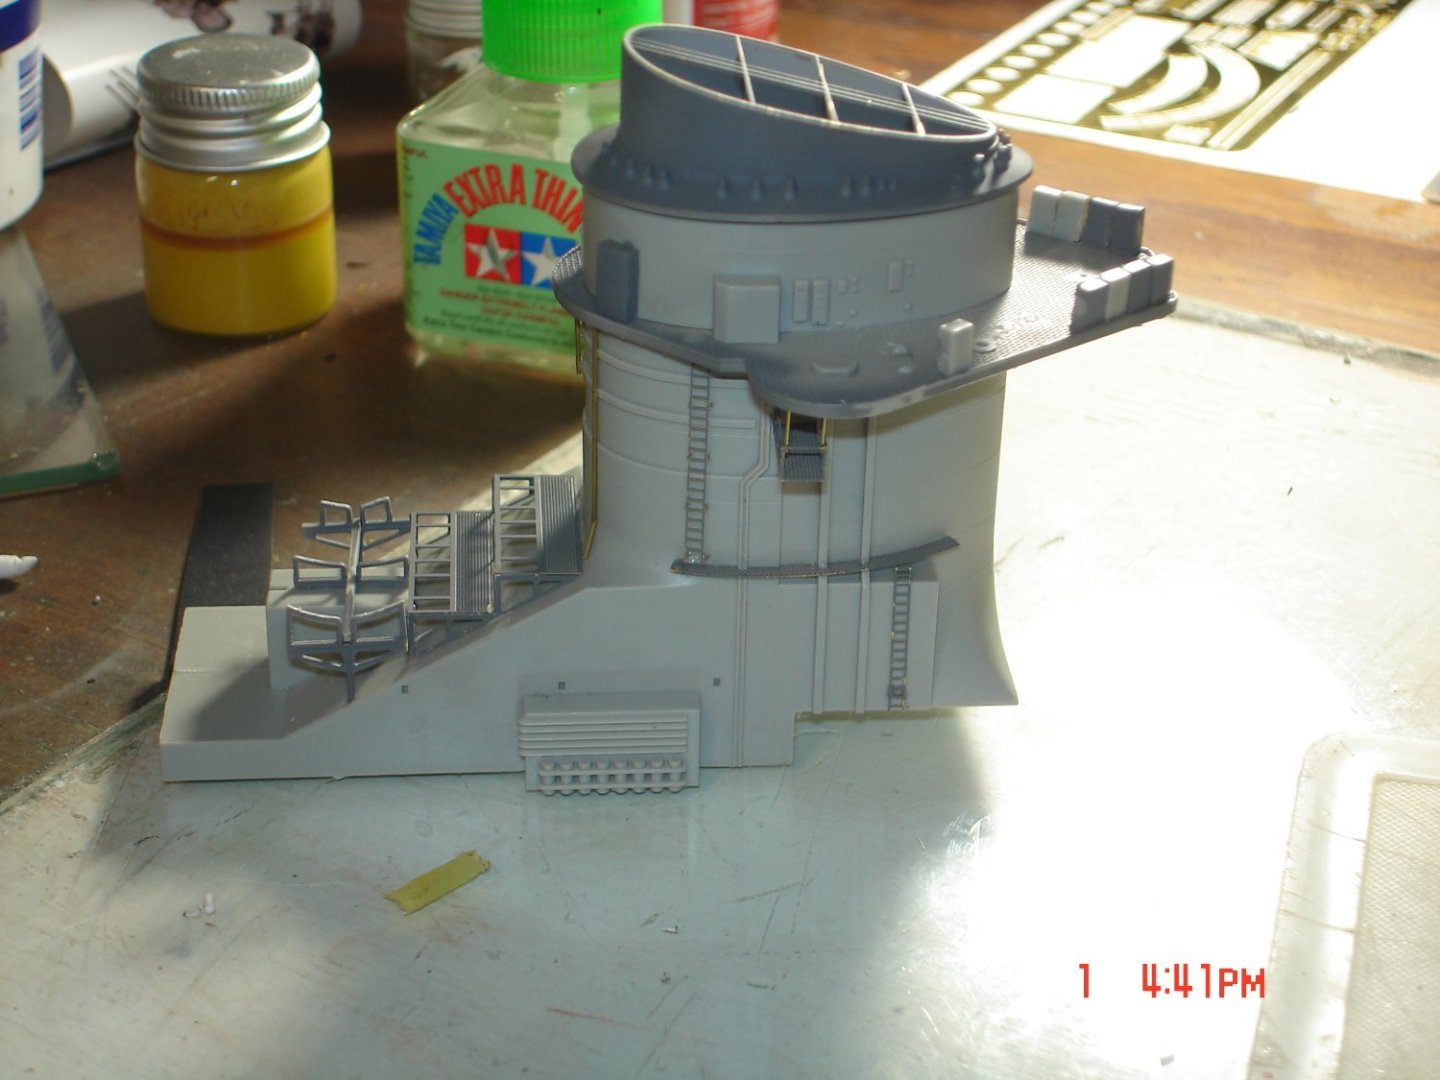
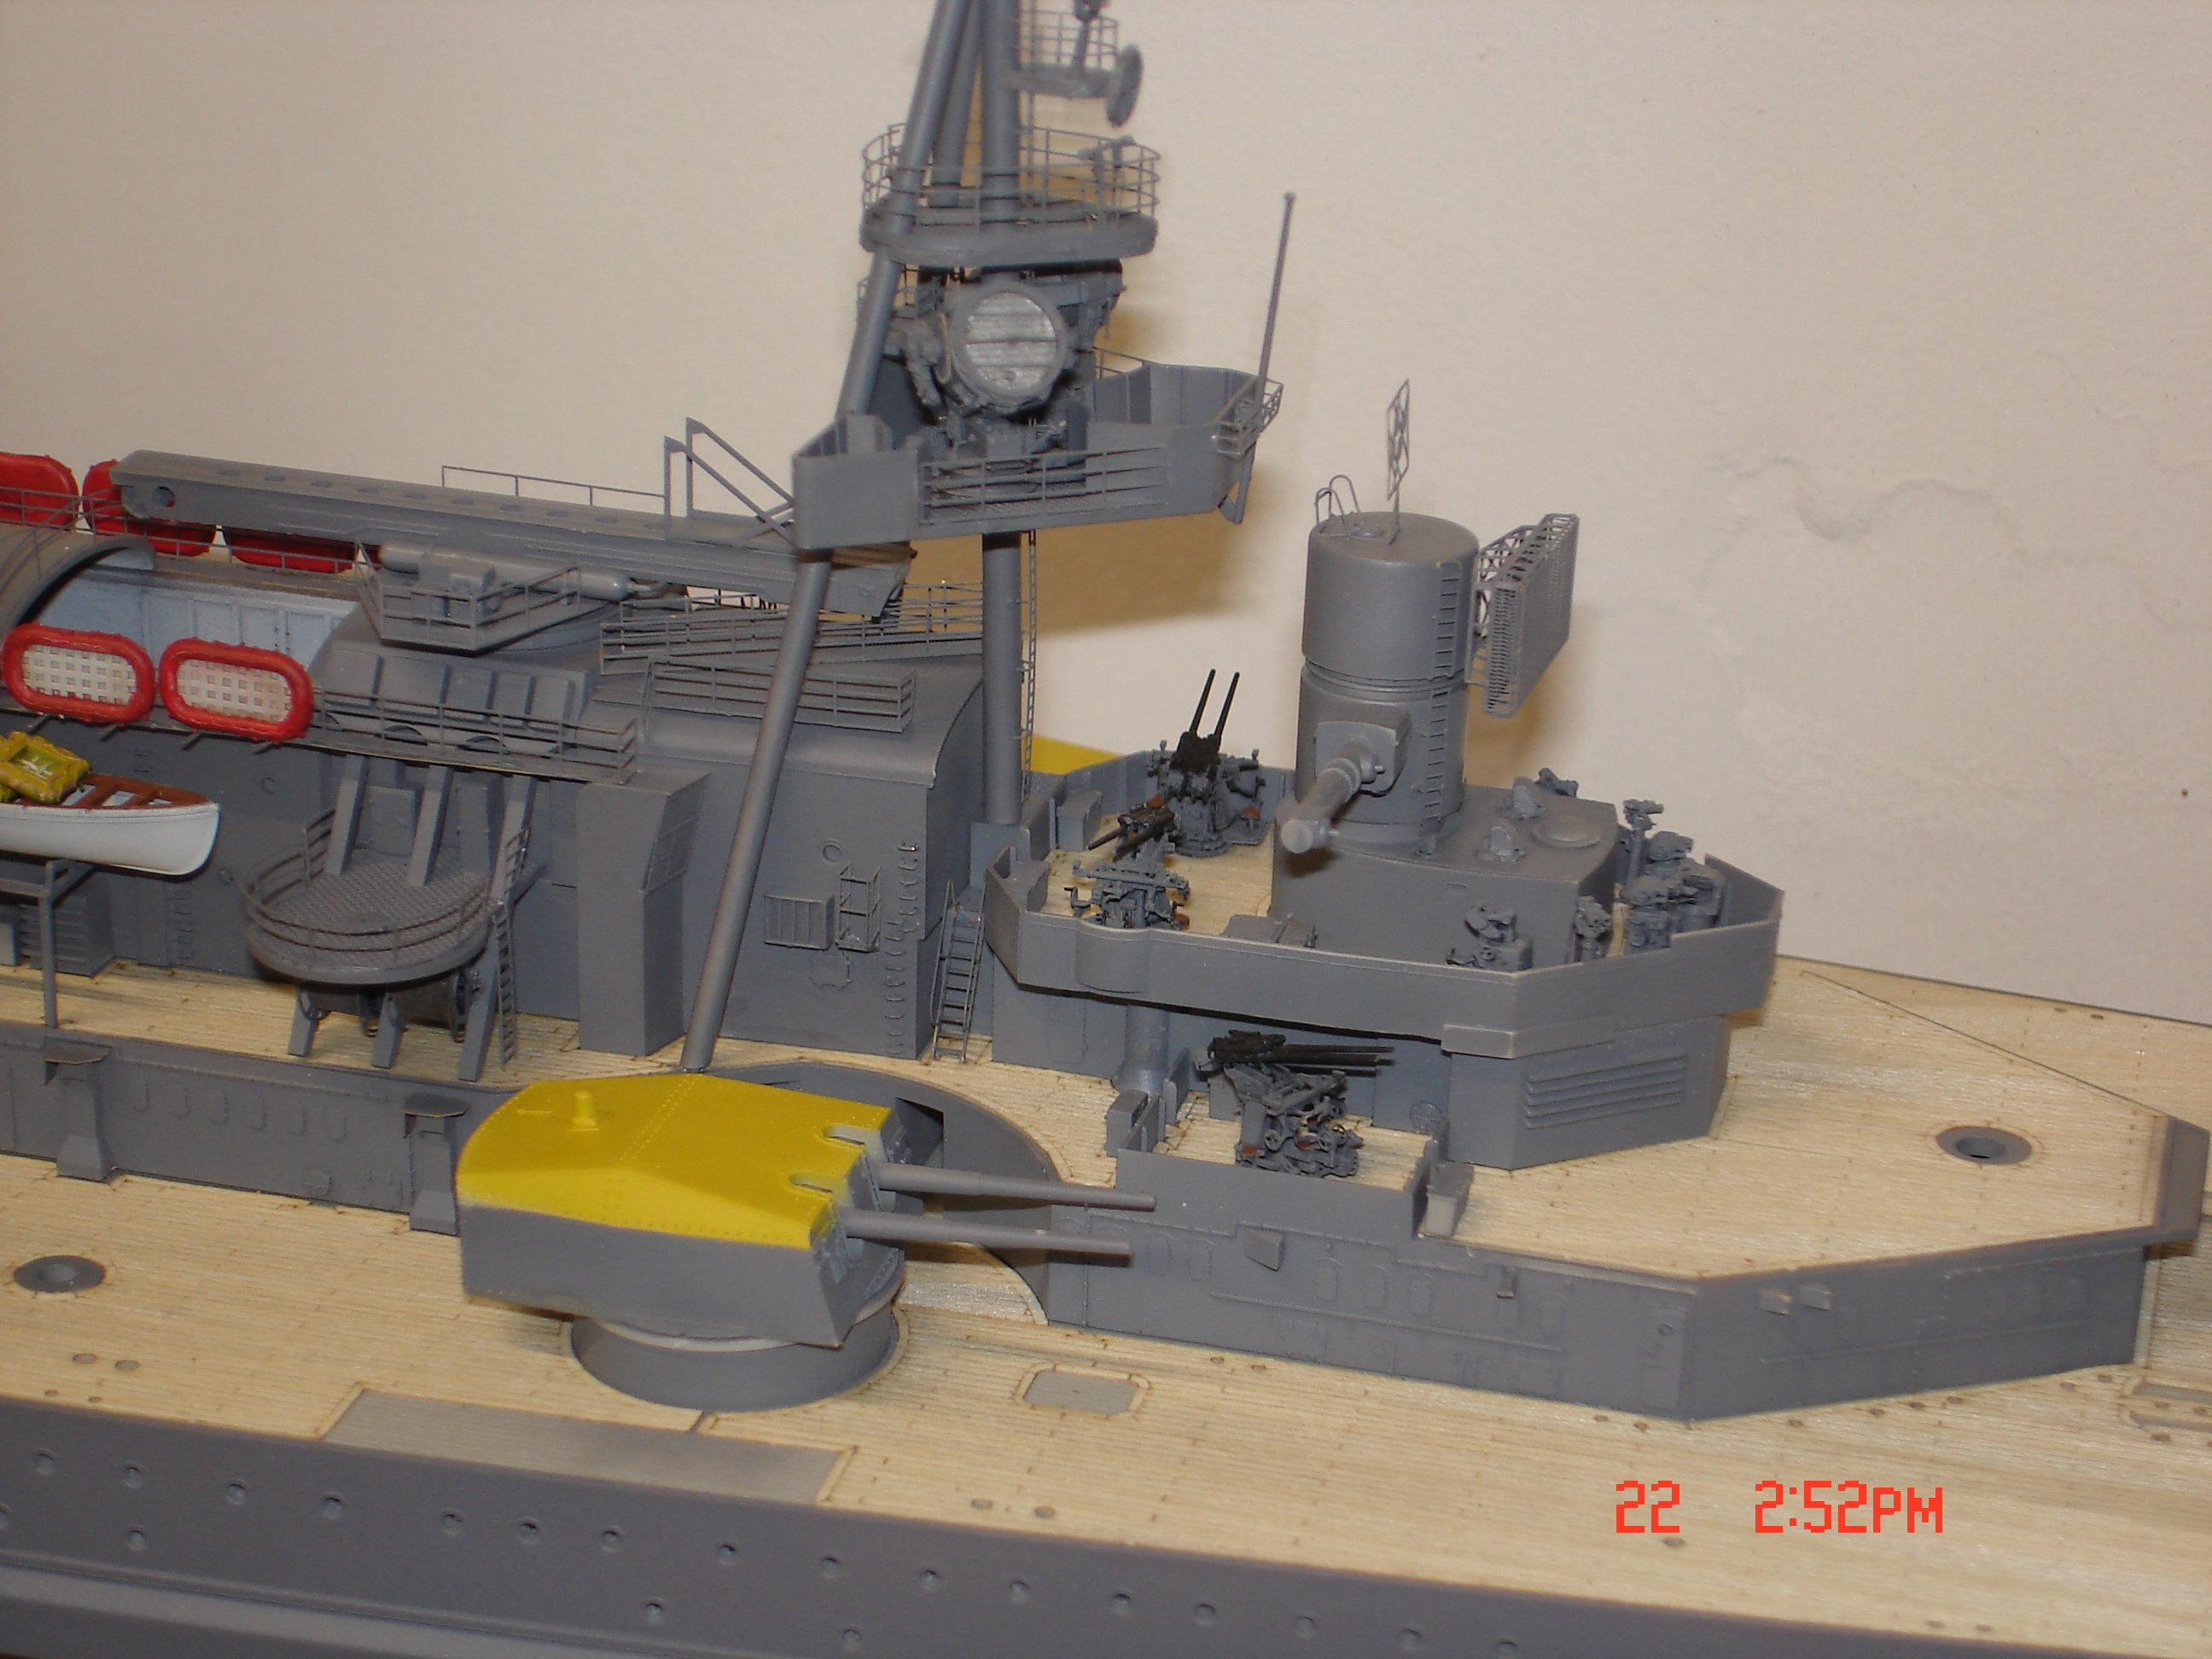
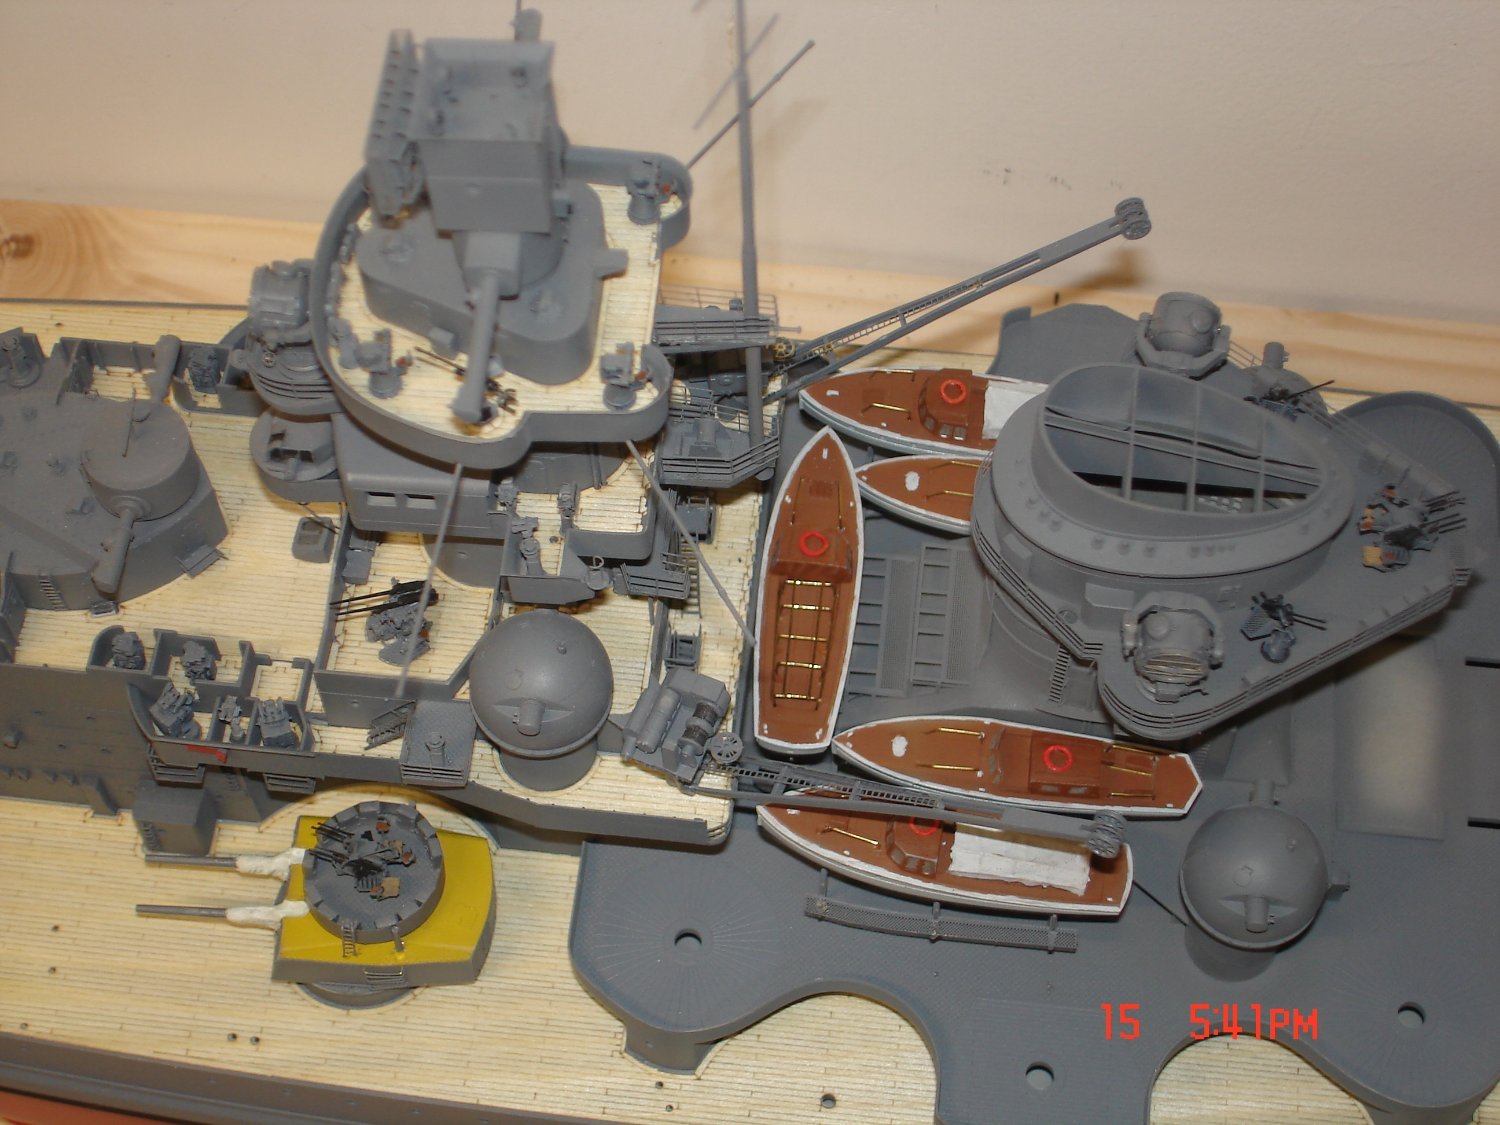
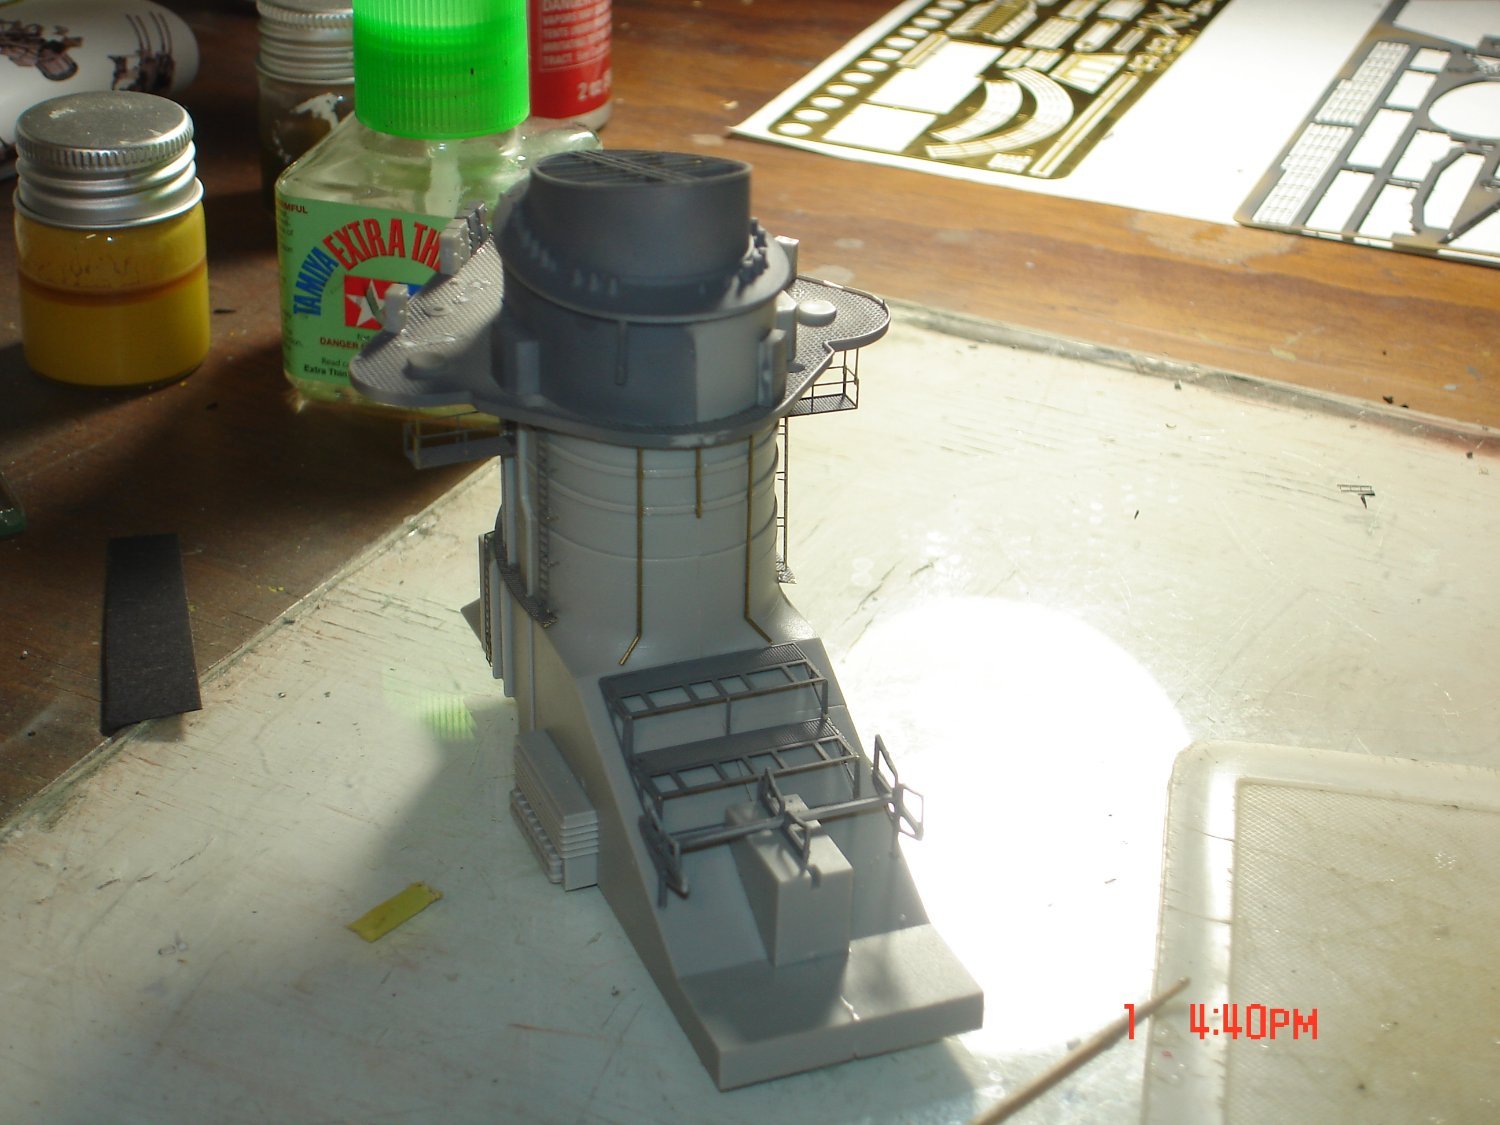
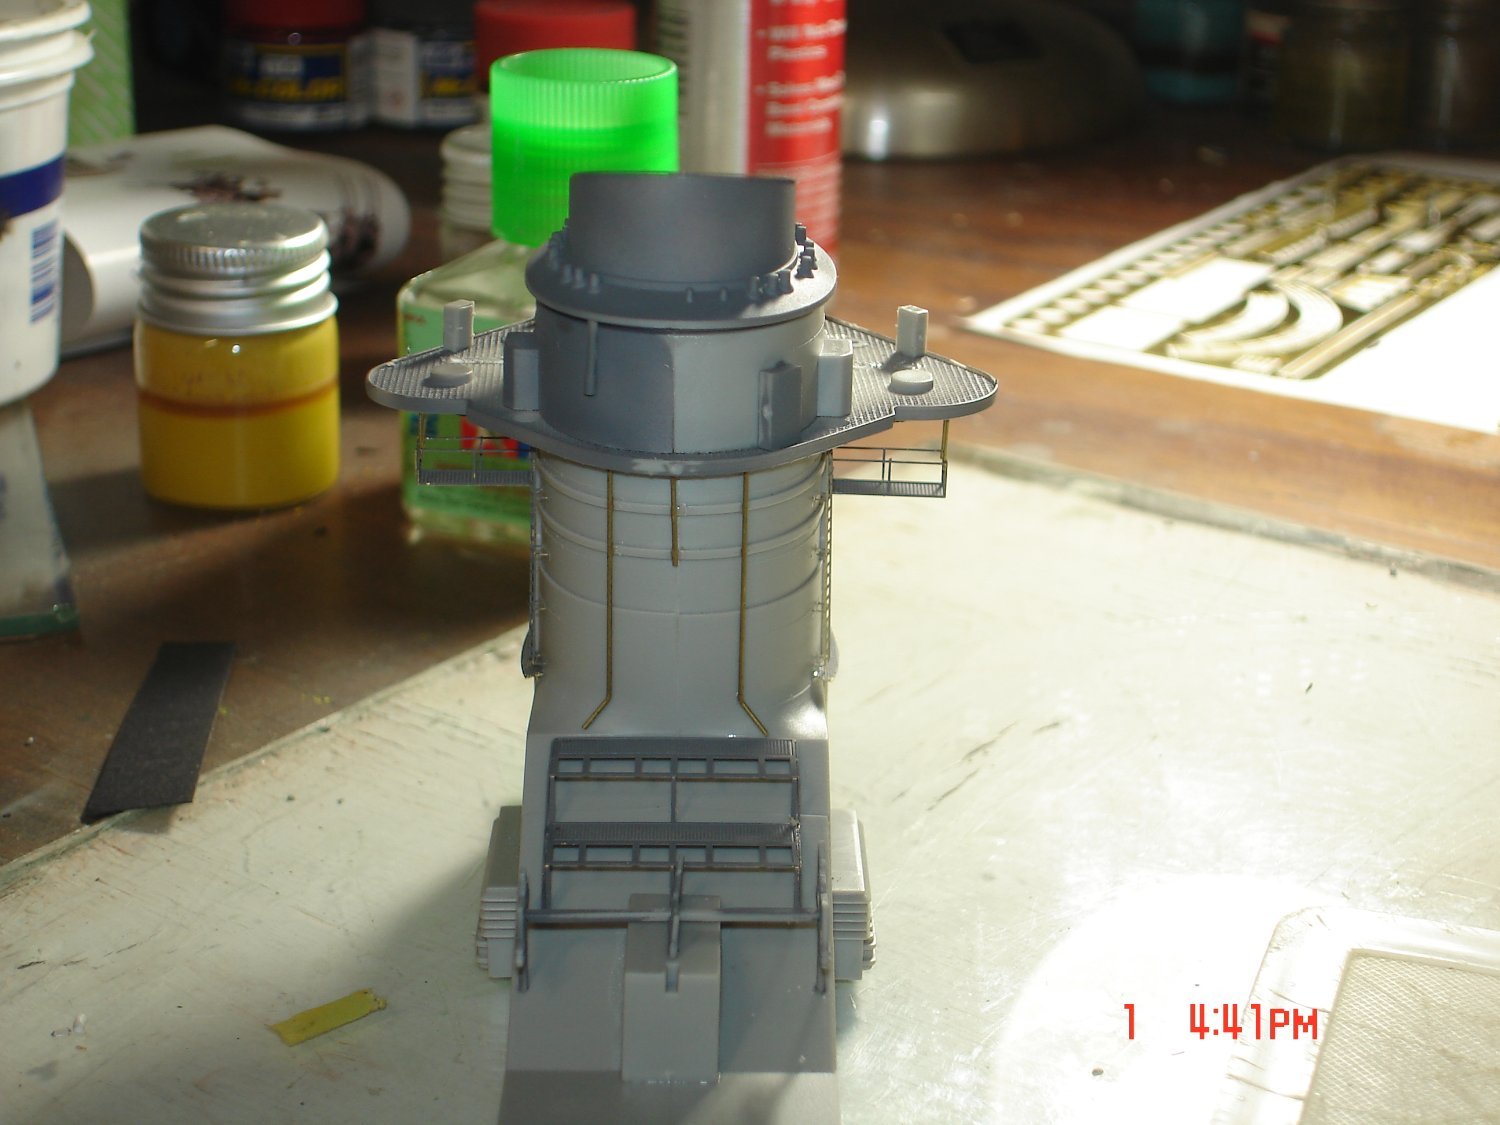
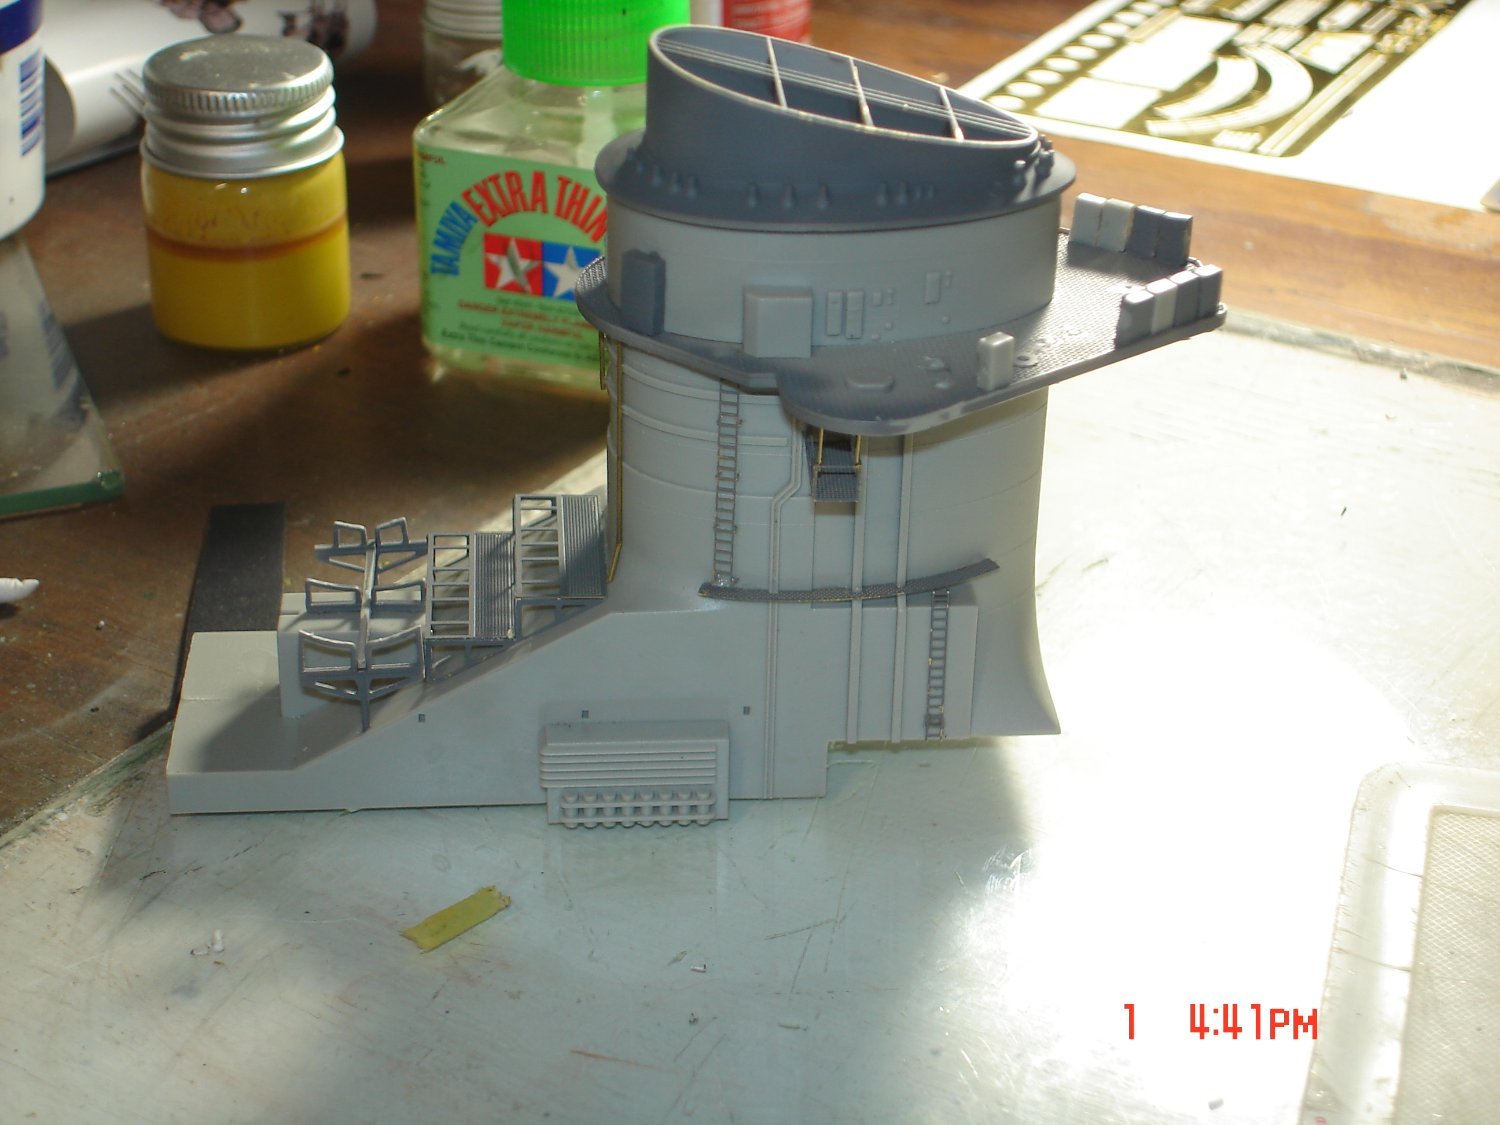
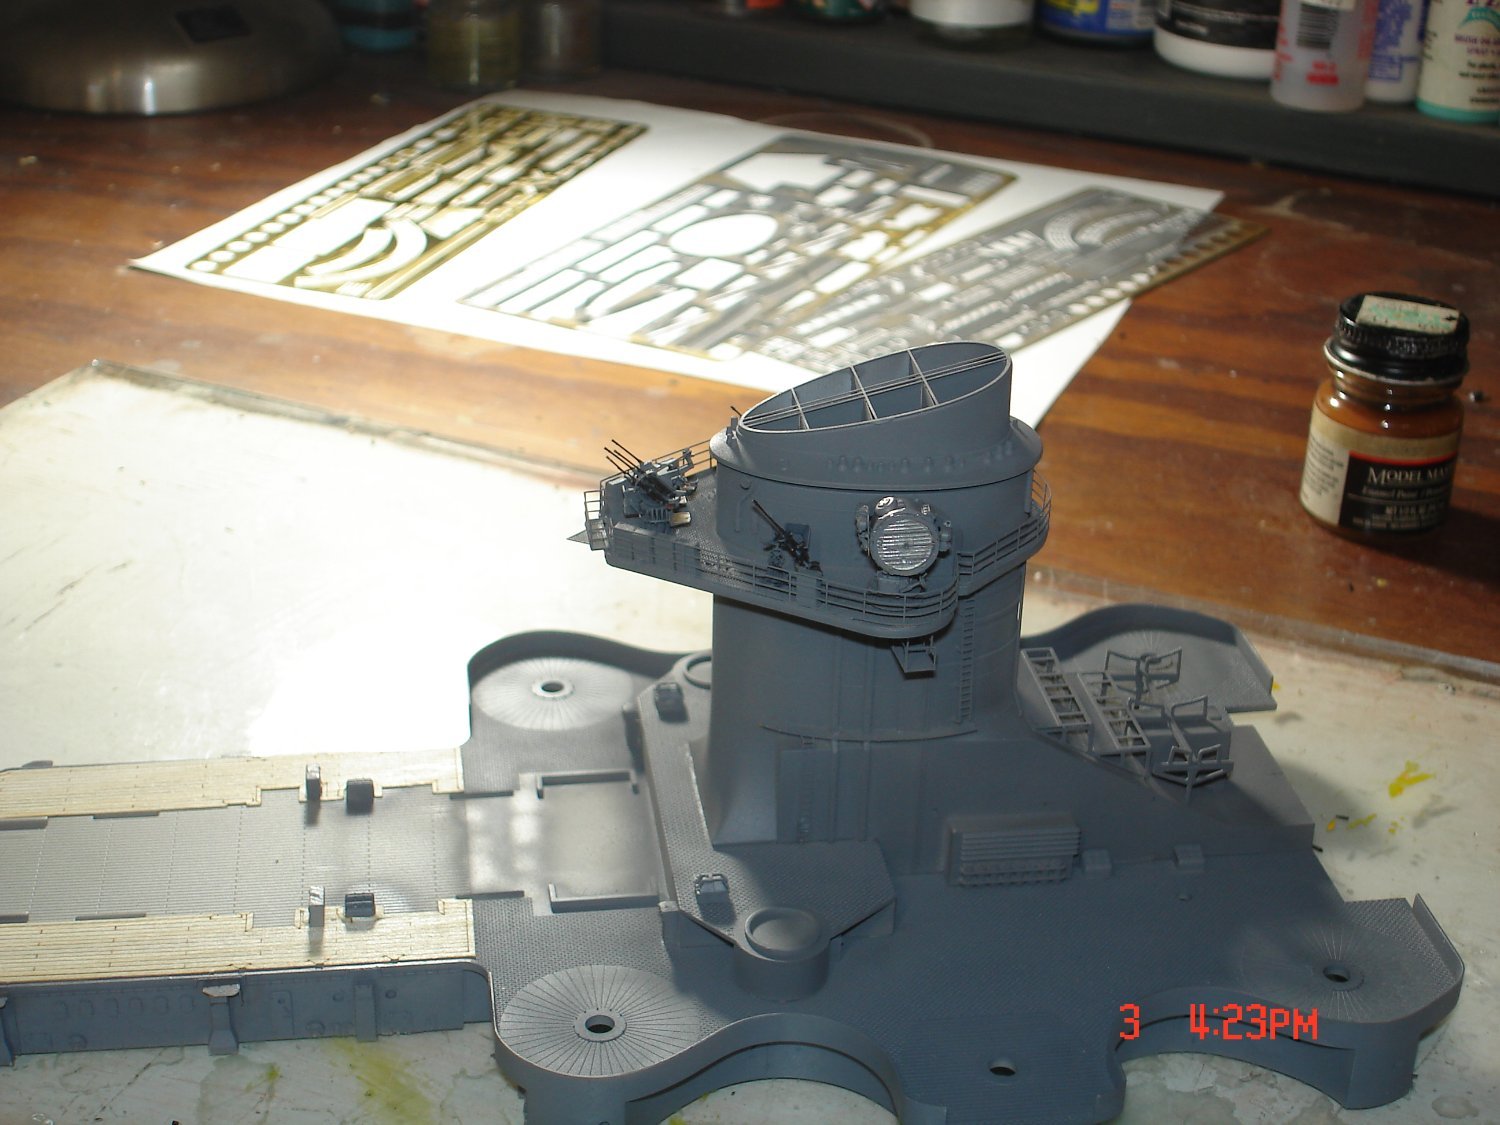
The build now moves to the aft structure of the ship funnel/hanger.I added some pluming(brass rod) to the front of the funnel and some holders(brass again) for the out-riggers coming off the side of the funnel attaching to the underside of the gun deck.The biggest pain thus far was molding that one continuous pieces of railing for the gun deck


-
-
-
-
-
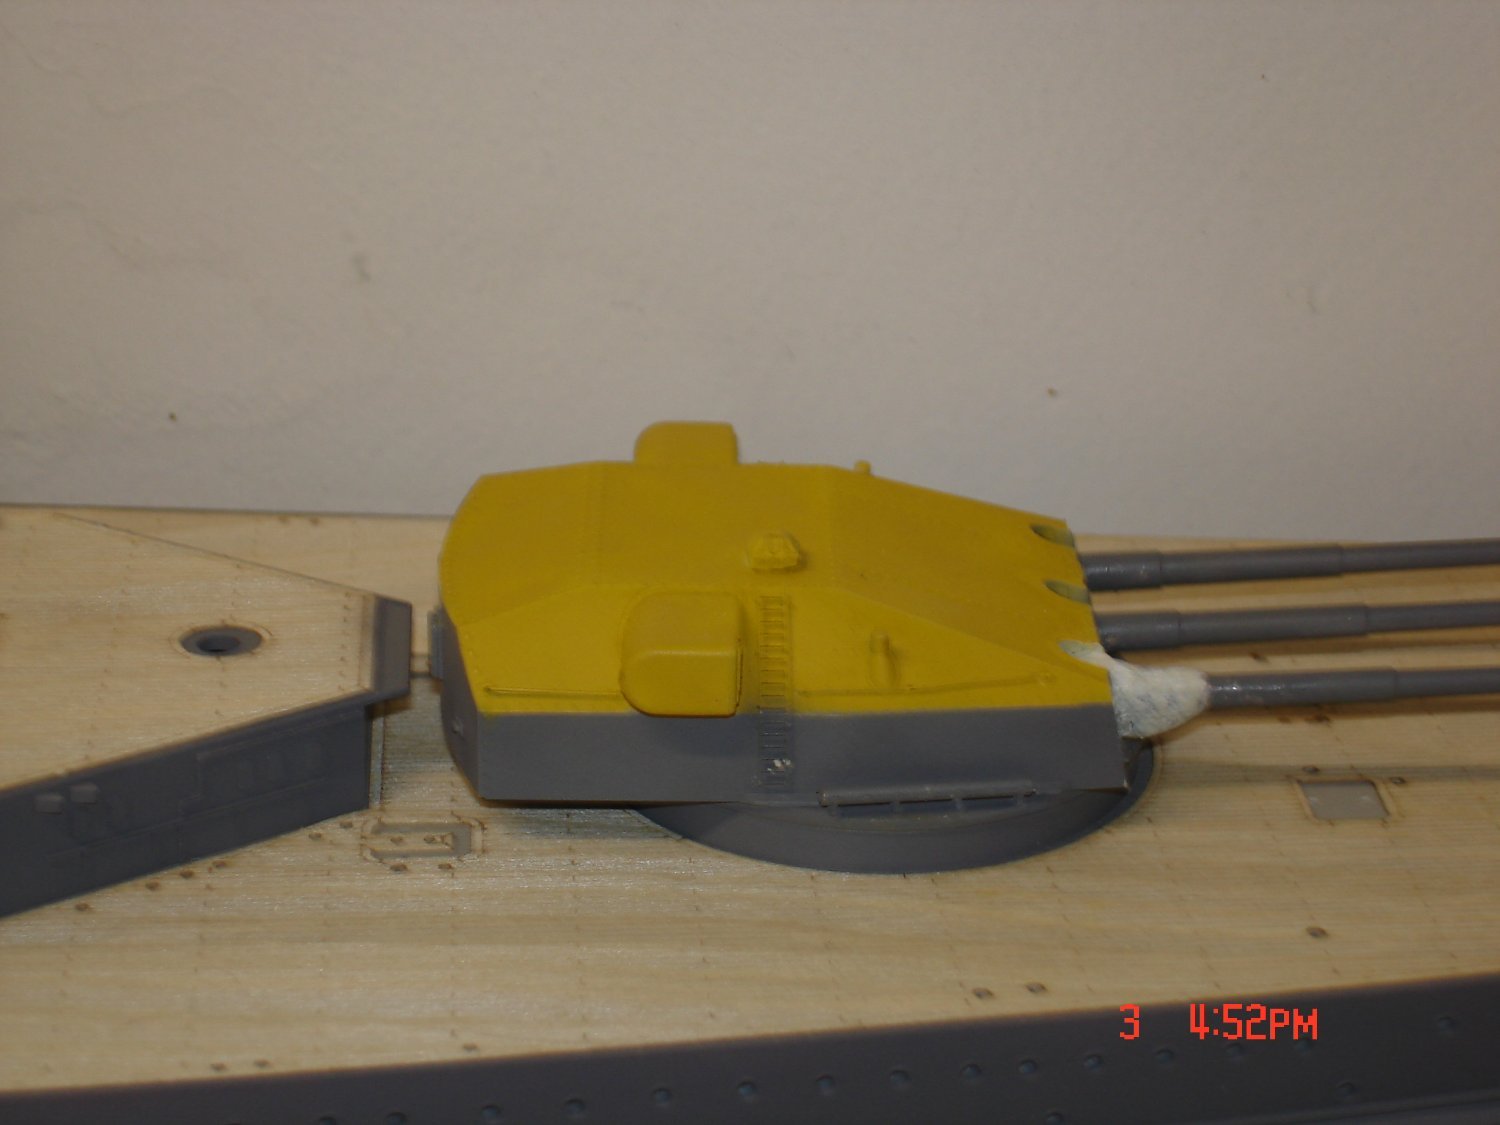
She goes back in the box and now back to the Scharnhorst.The fit of the turret parts is quite frustrating after a week of effort gave up for now.
- Egilman, king derelict, Canute and 4 others
-
7
-
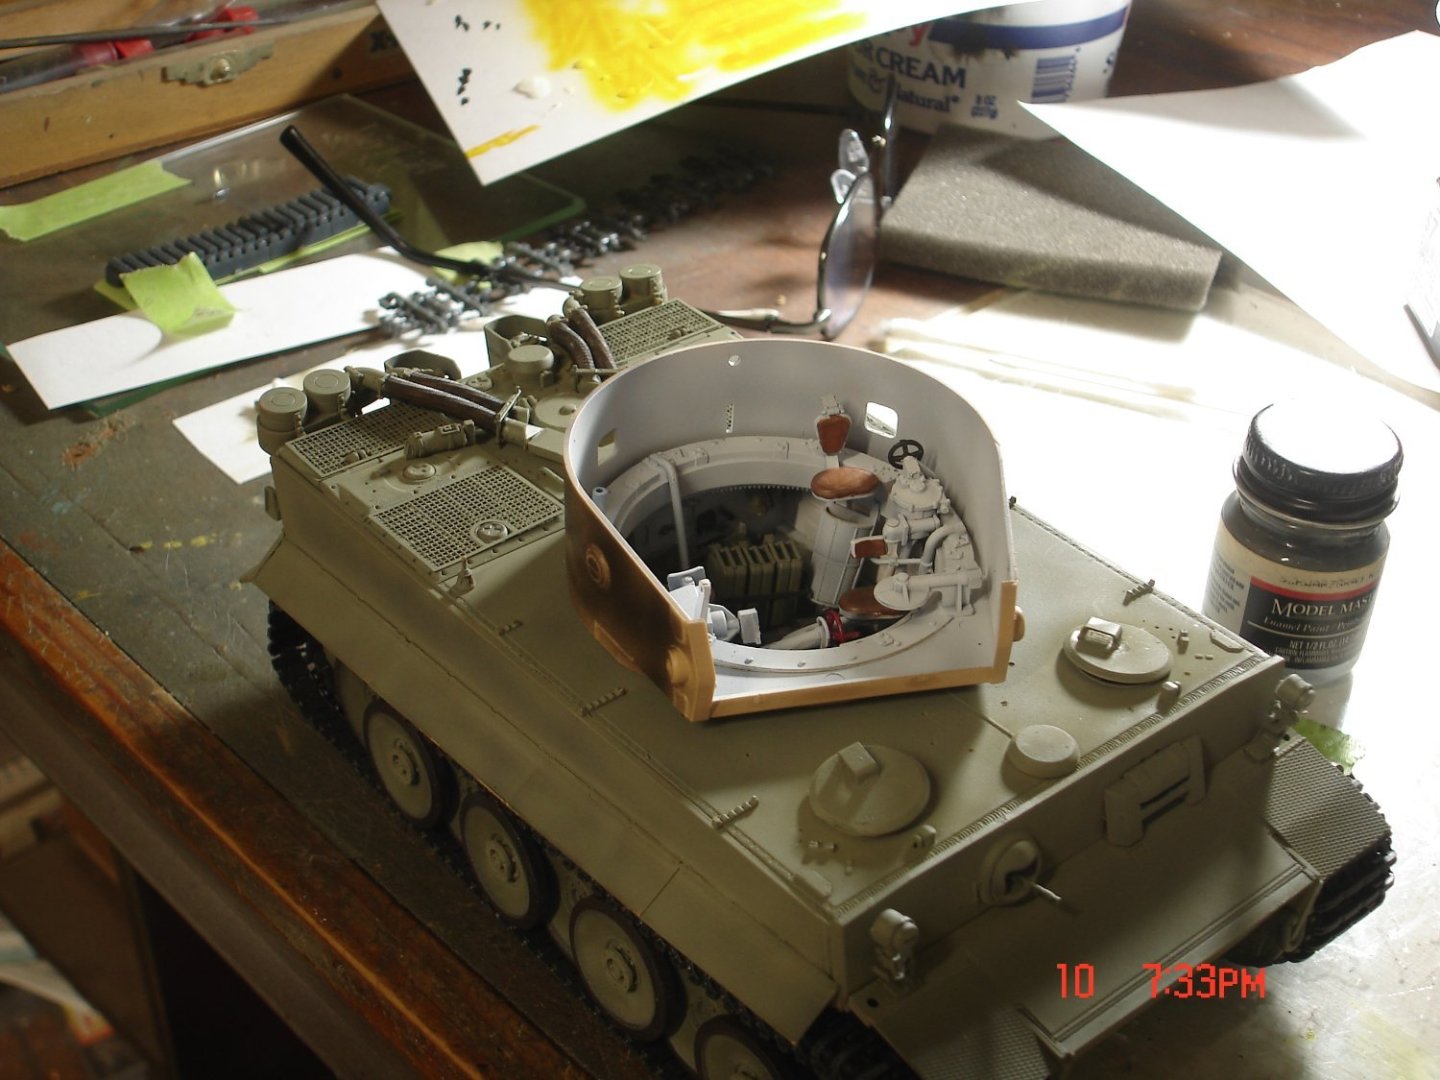
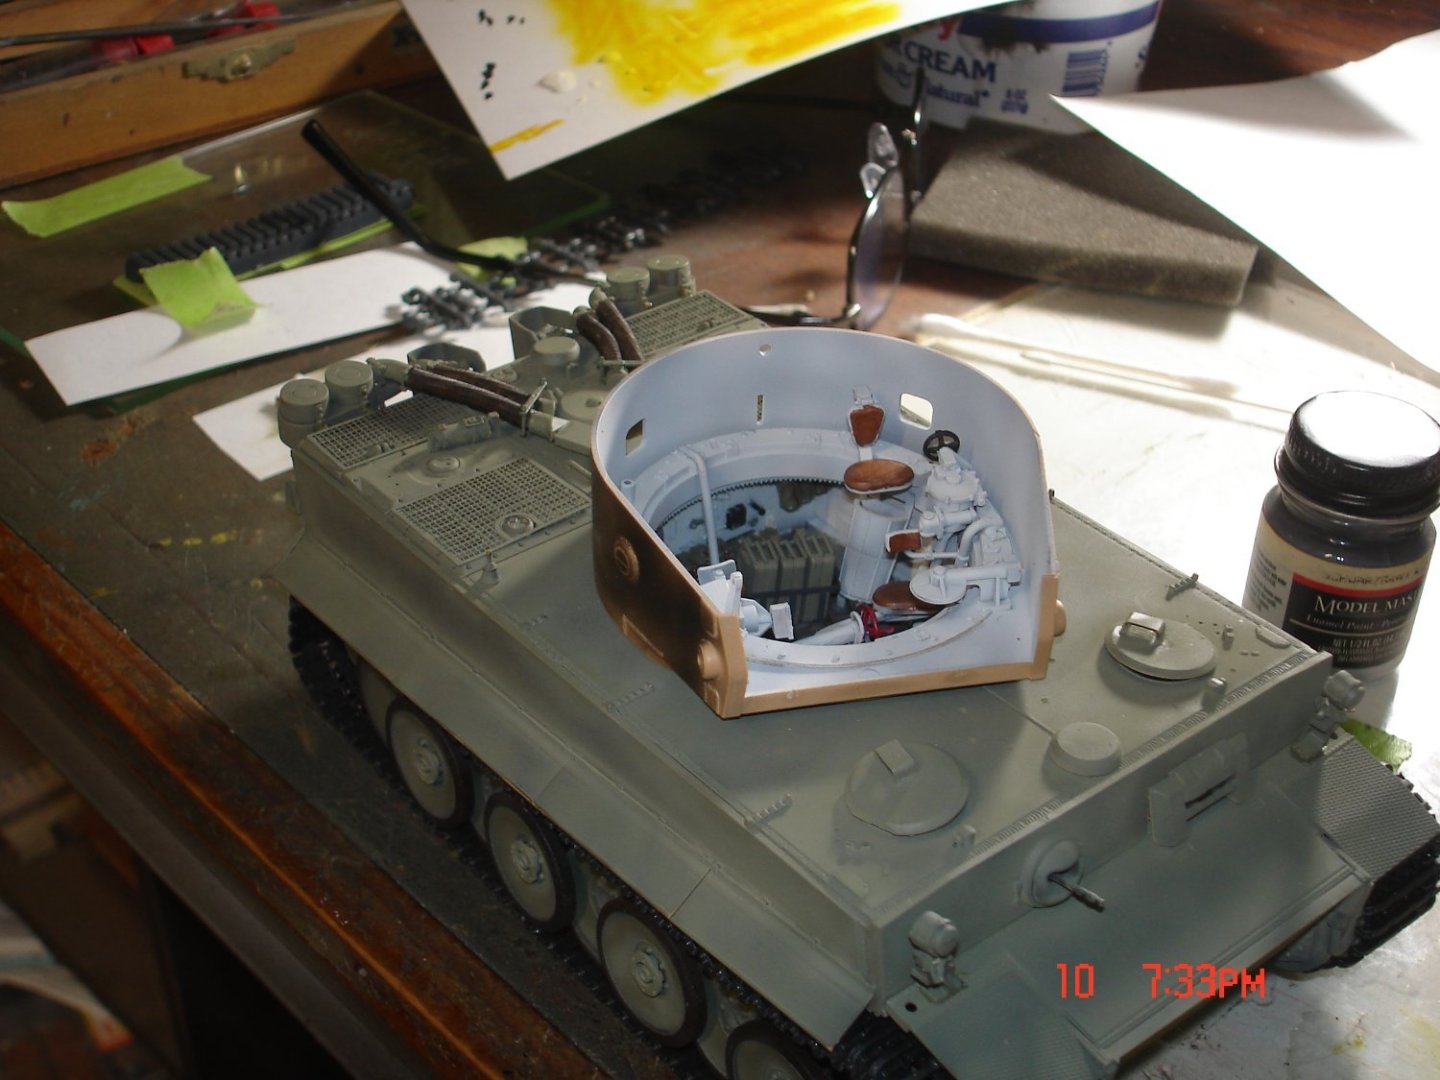
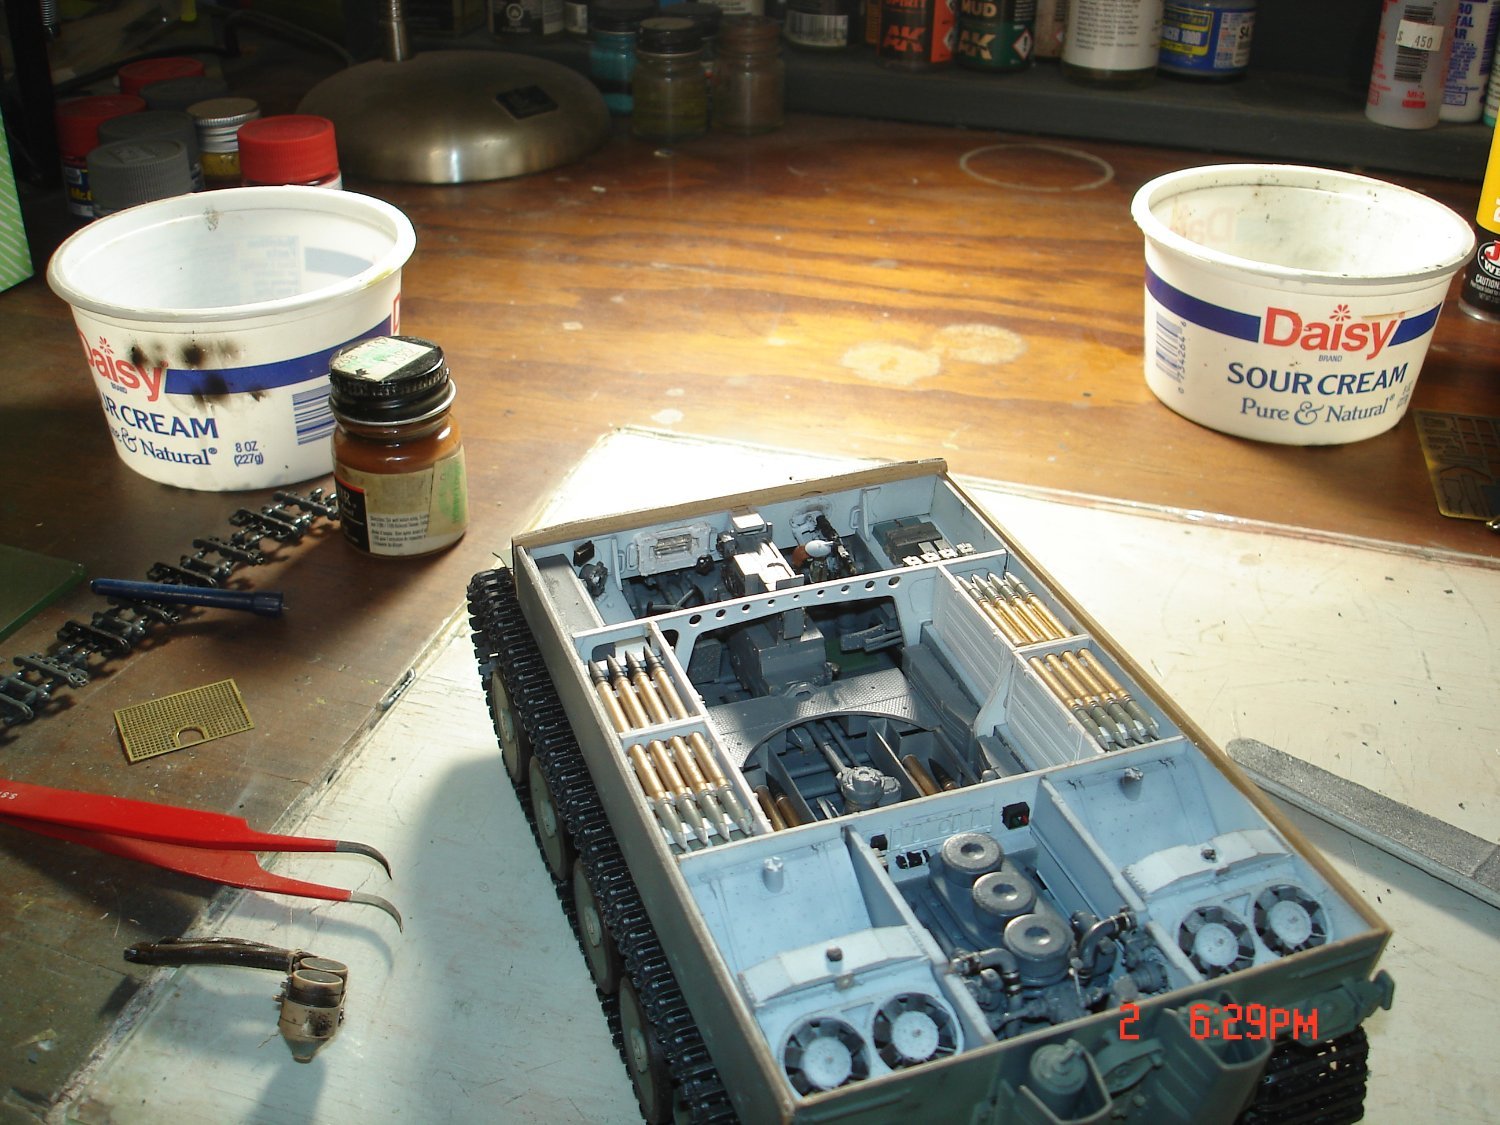
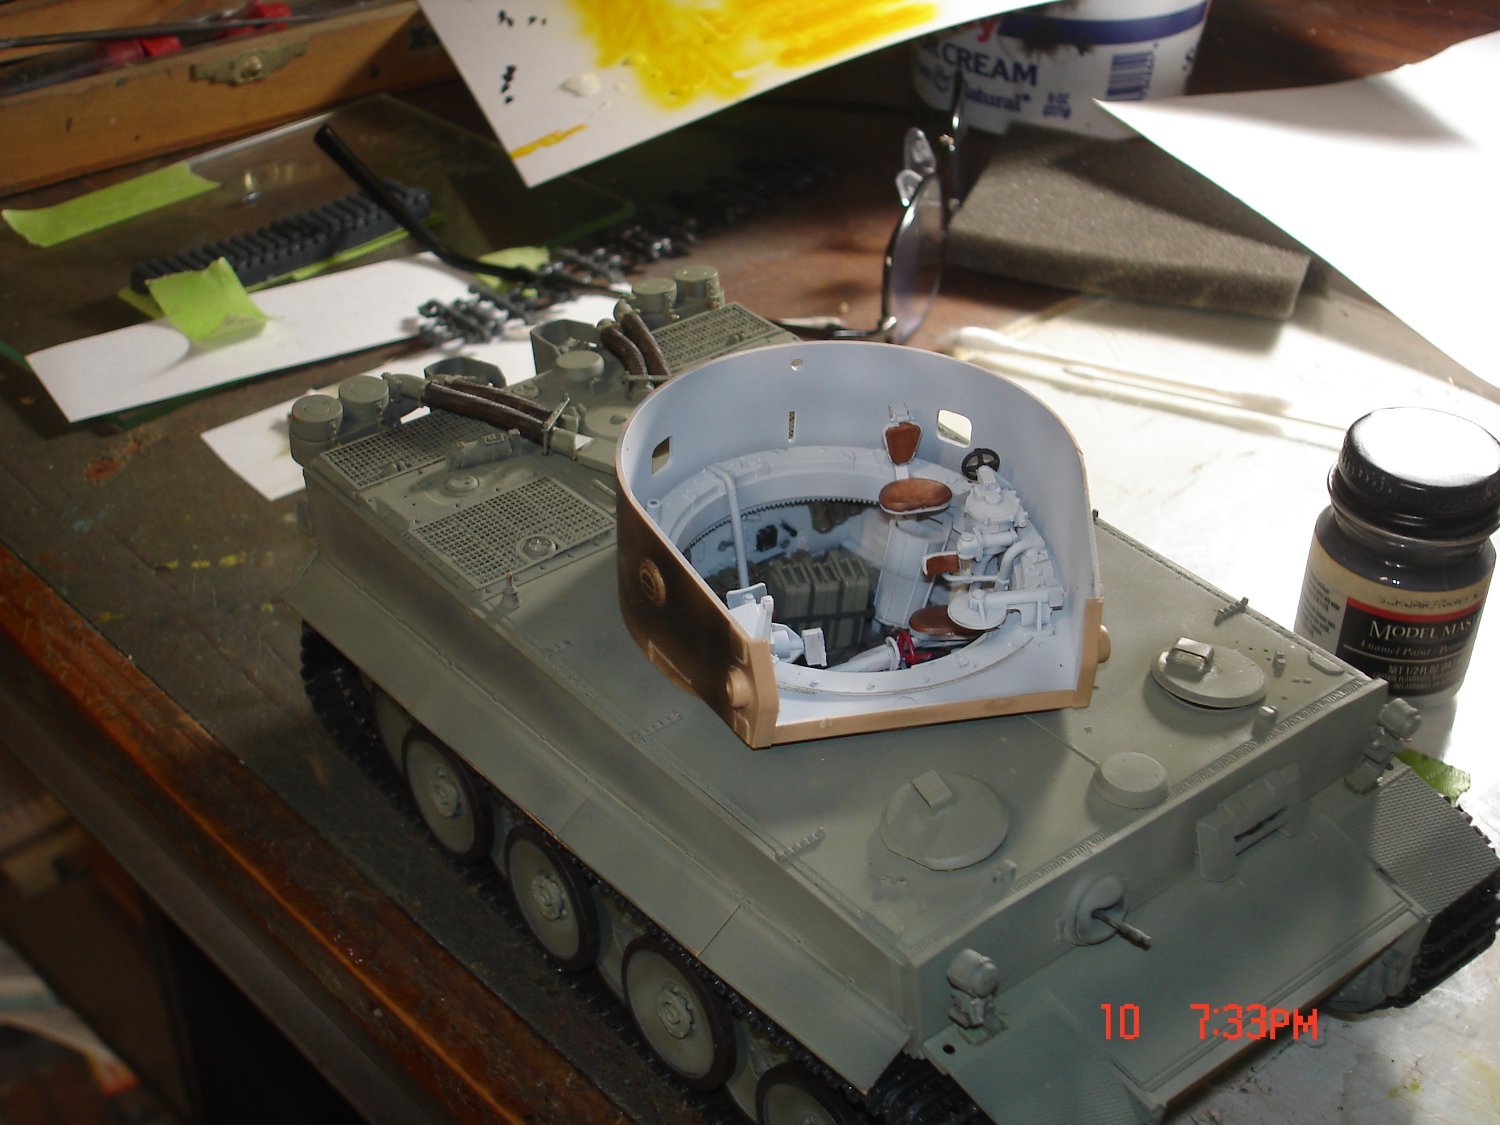
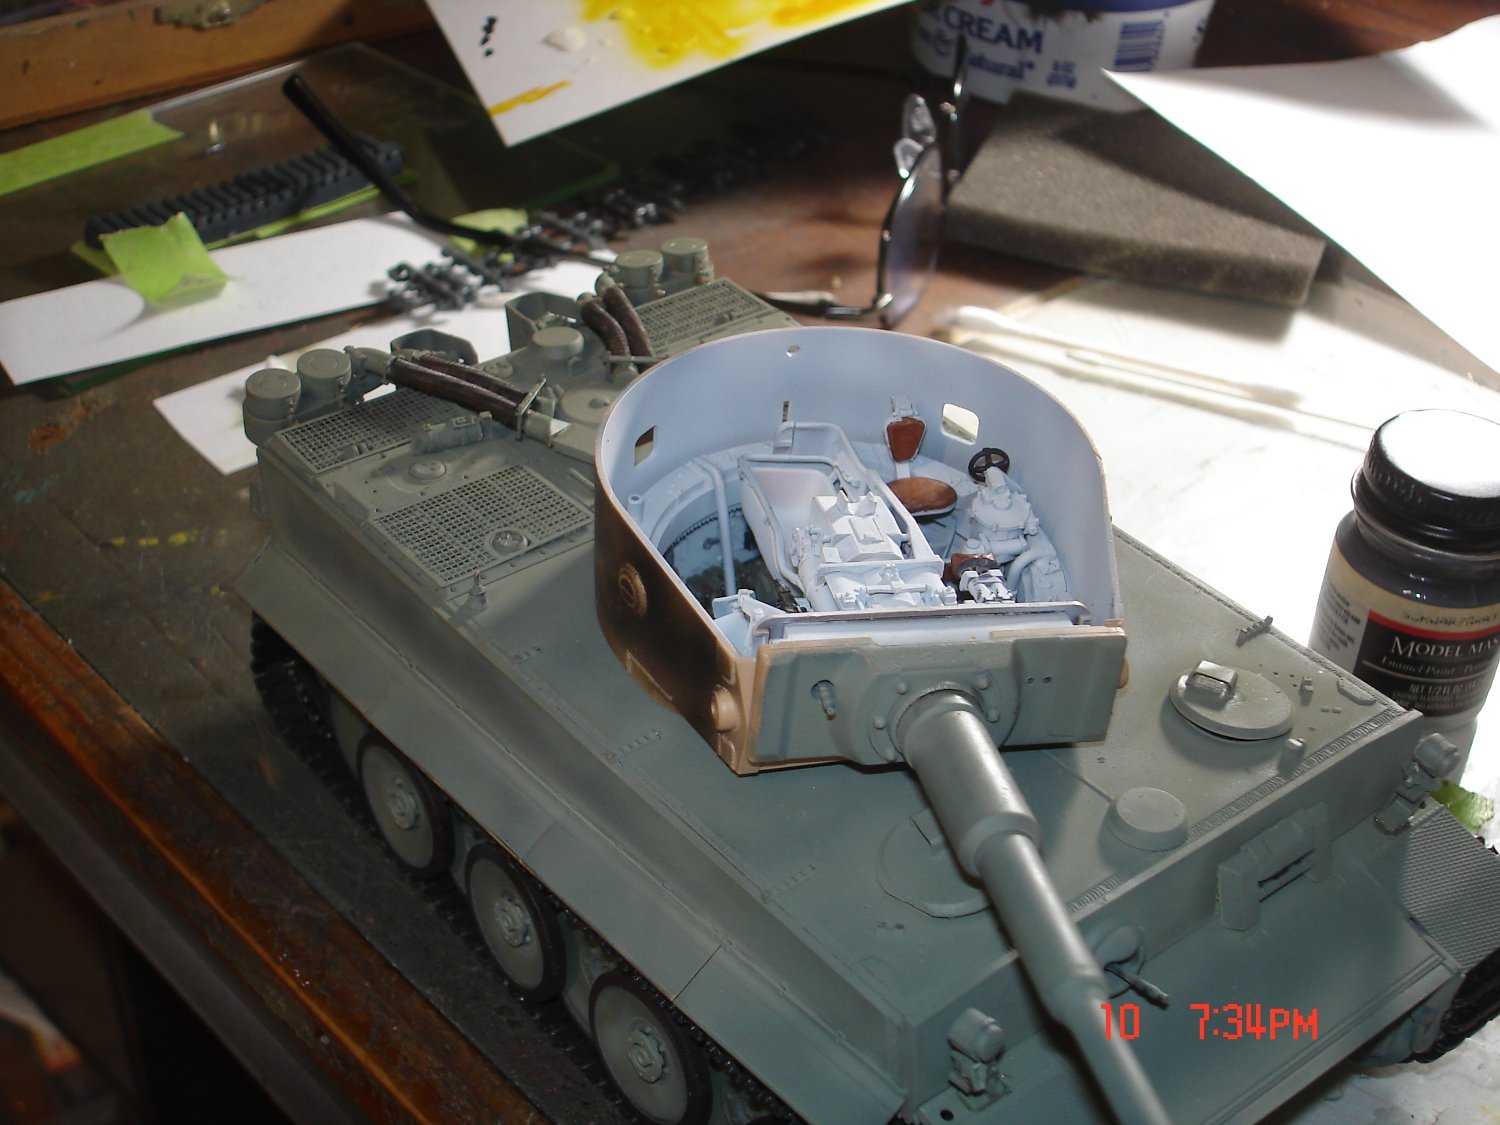
I figured a small update was at hand as you can see in the pic of the open bay the radiator hose had to get clipped for the cover to fit and then for the turret to fit I had to remove the top of the tran gear box.I think this will be the last of the full interior I build seeing once complete all you see is the skin.The build does give one the feel of how it was to some degree for the men that fought in tanks in general.The gun is just laying there I have to build the inner walls which hold the barrel before the lid of the turret is glued in play.


-
-
Nice Choice Rob for here and I am sure the GB @ LSM I am still working the Tiger so the Sally waits.

- king derelict, Ryland Craze, Egilman and 6 others
-
8
-
 1
1
-
2 hours ago, chadwijm6 said:
. I'm sure there is a technical term!
Exhaust stains
 but she starting to look the part I have the Tamy 1/48 in the stash.
- Old Collingwood, chadwijm6, mtaylor and 3 others
-
6
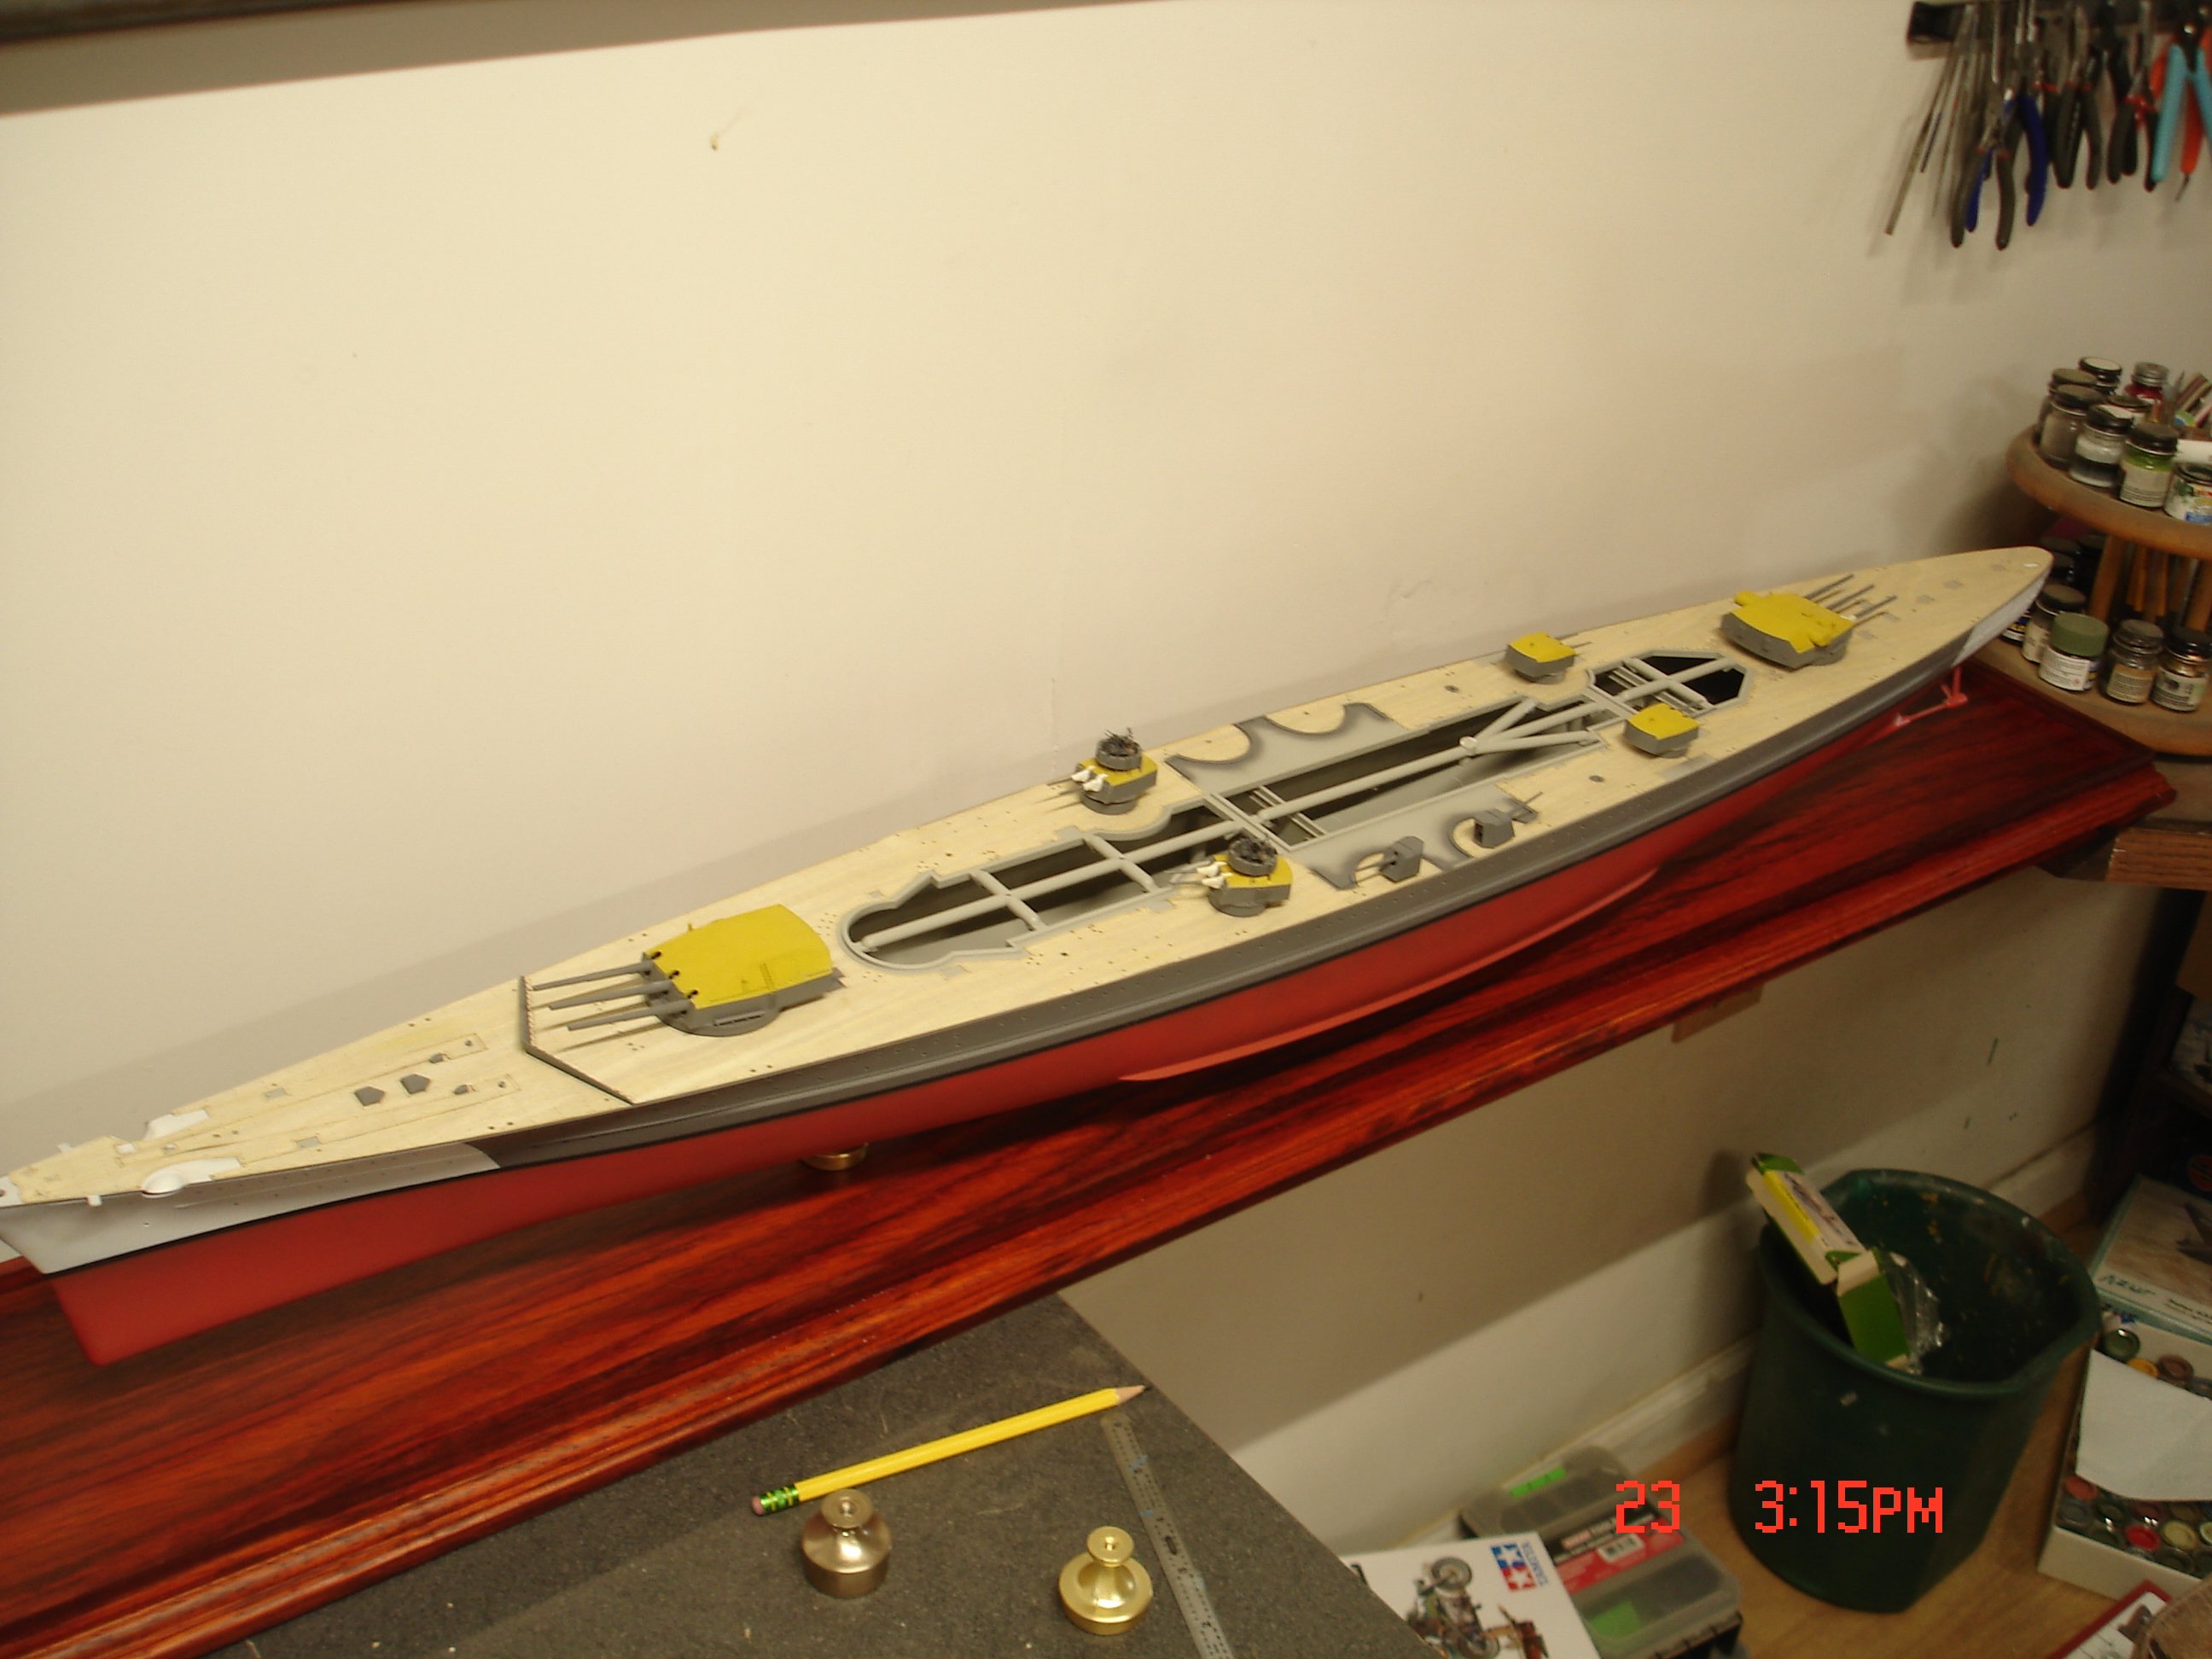


Scharnhost by Javlin - Trumpter - 1/200 - PLASTIC - Operation Paderborn - Kriegsmarine
in - Kit build logs for subjects built from 1901 - Present Day
Posted
Thanks Mike Glad to be back.