


Javlin
-
Posts
1,624 -
Joined
-
Last visited
Content Type
Profiles
Forums
Gallery
Events
Posts posted by Javlin
-
-
On 1/5/2025 at 6:22 AM, Canute said:
He was some muckety muck in the West German Luftwaffe in the 1970s.
So I had to go look that one up Ken...so in a good way or was he arrogant?I have heard from past interviews he was somewhat easy to get along?🤨
- mtaylor, Old Collingwood, Canute and 2 others
-
 5
5
-
-
1 hour ago, CDW said:
I think it’s part of the culture in Japan. They seem to conduct themselves at a much higher standard than most. That’s my impression of it.
My Son says much respect is put forth between individuals firstly.Interesting subject matter Craig the early 50's cool.
")
-
-
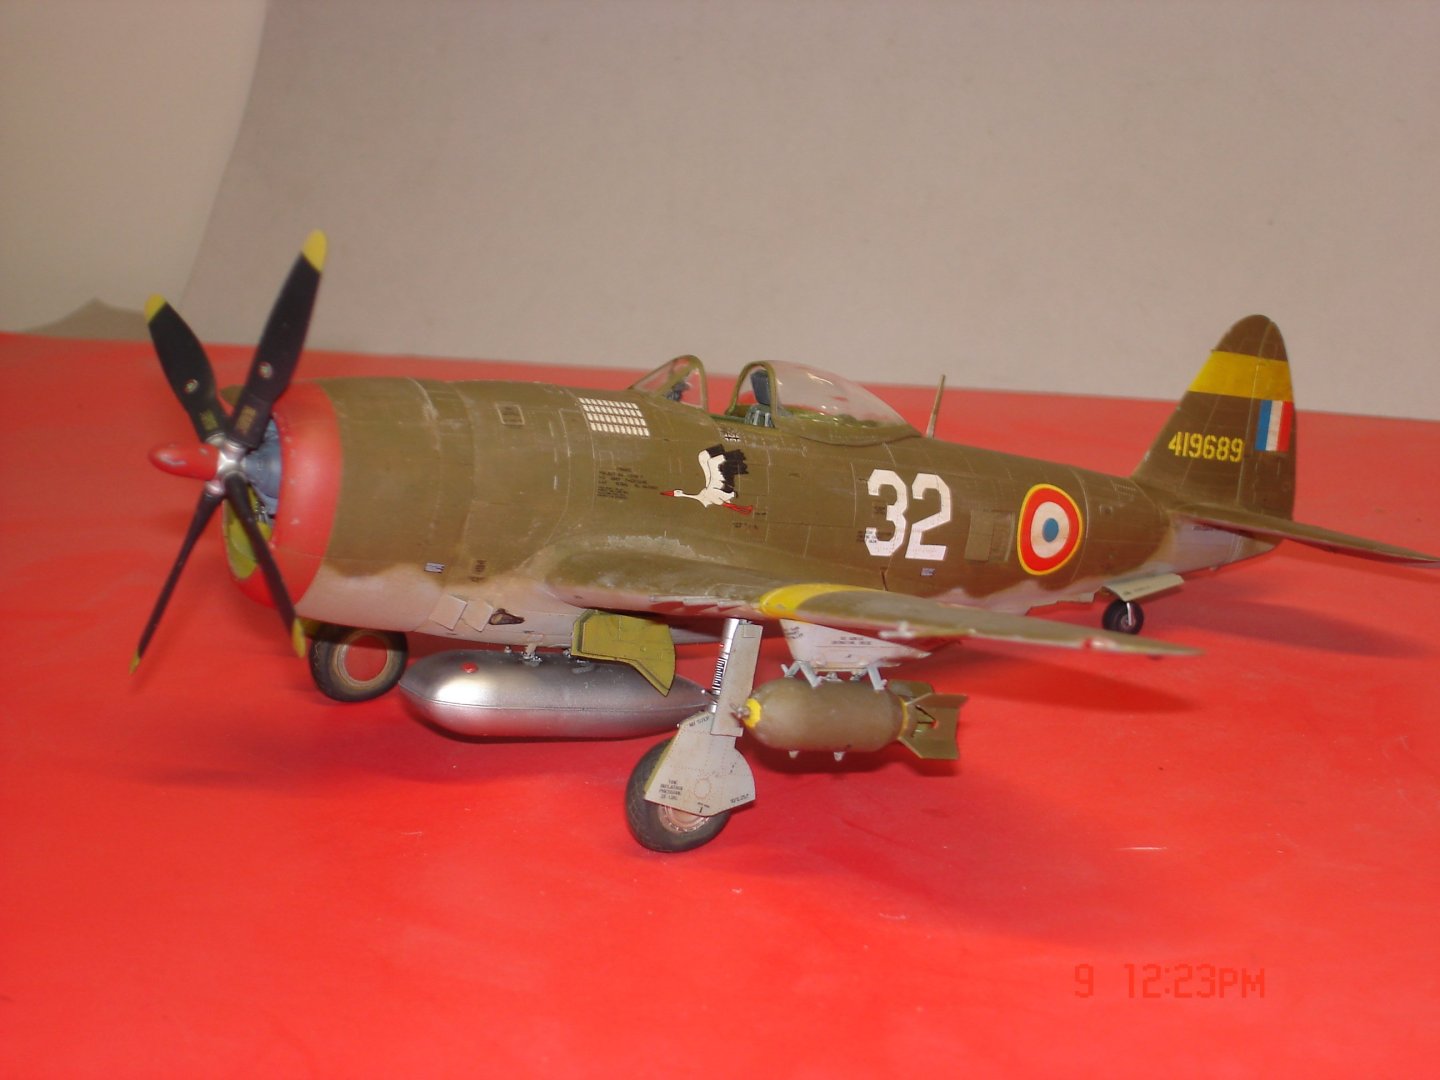
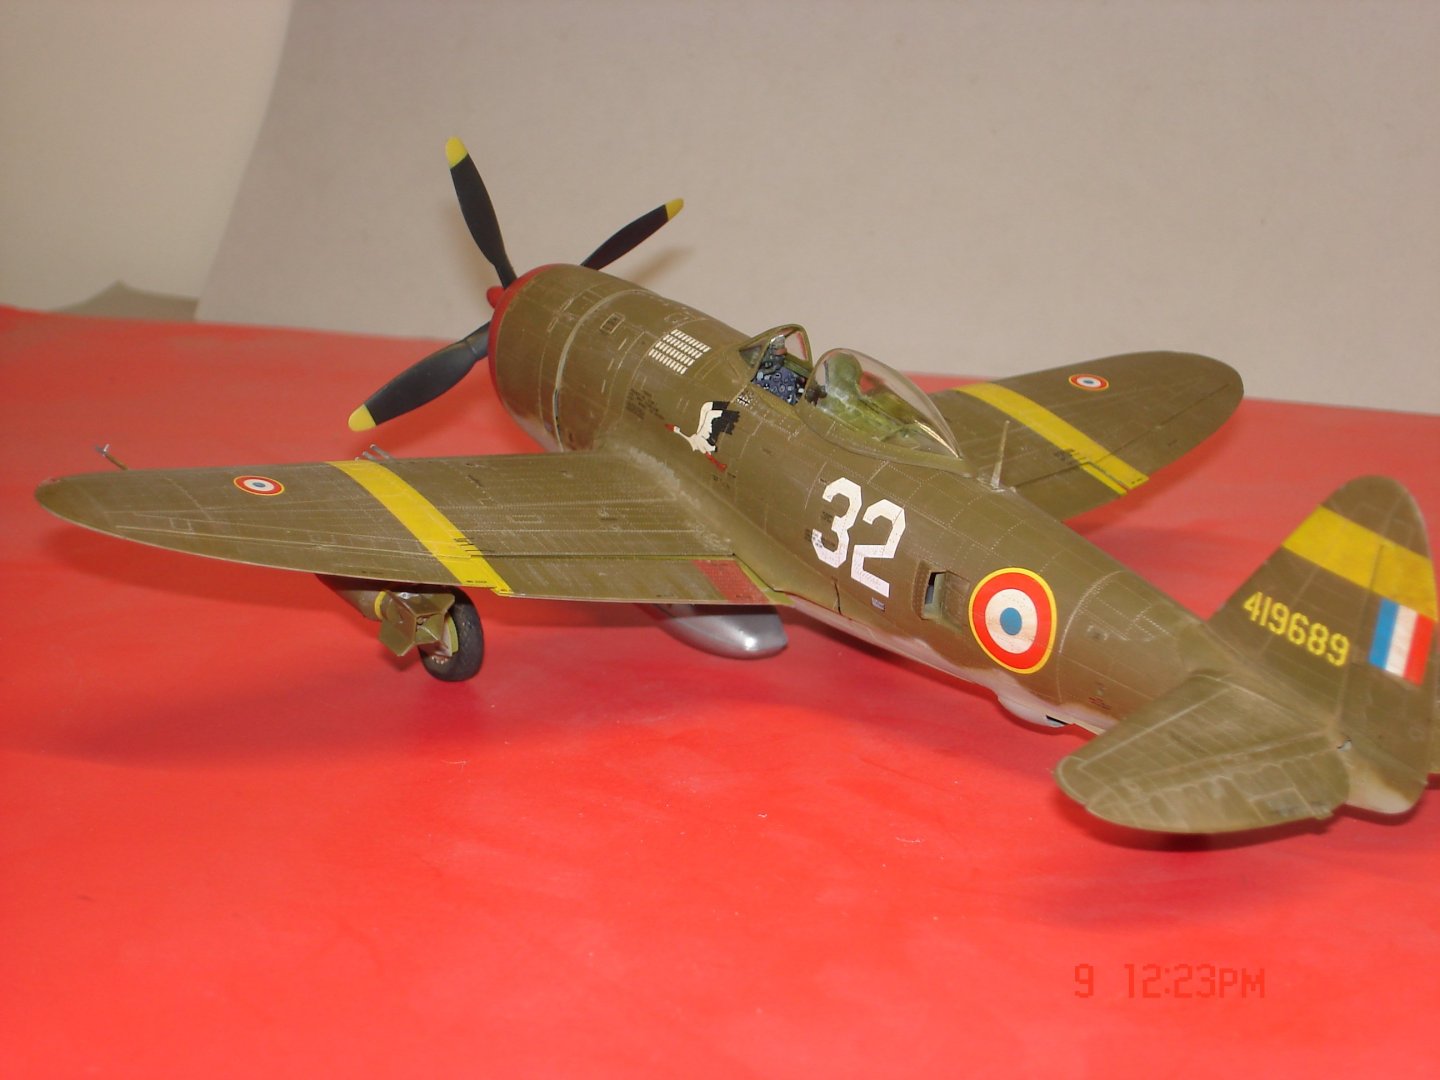
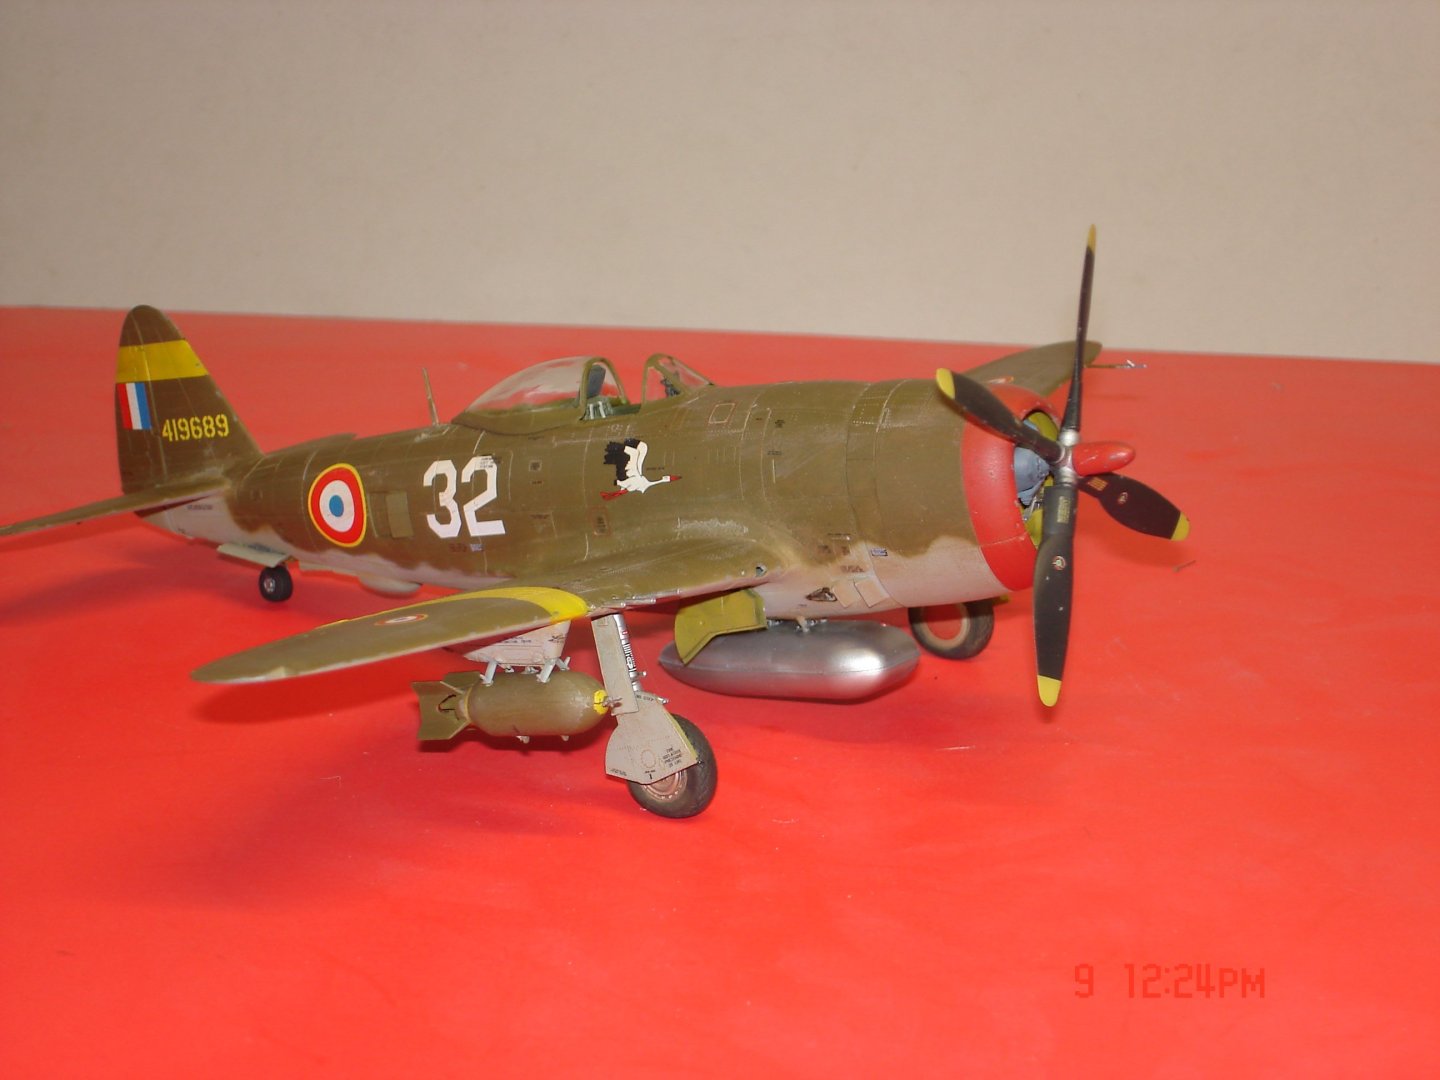
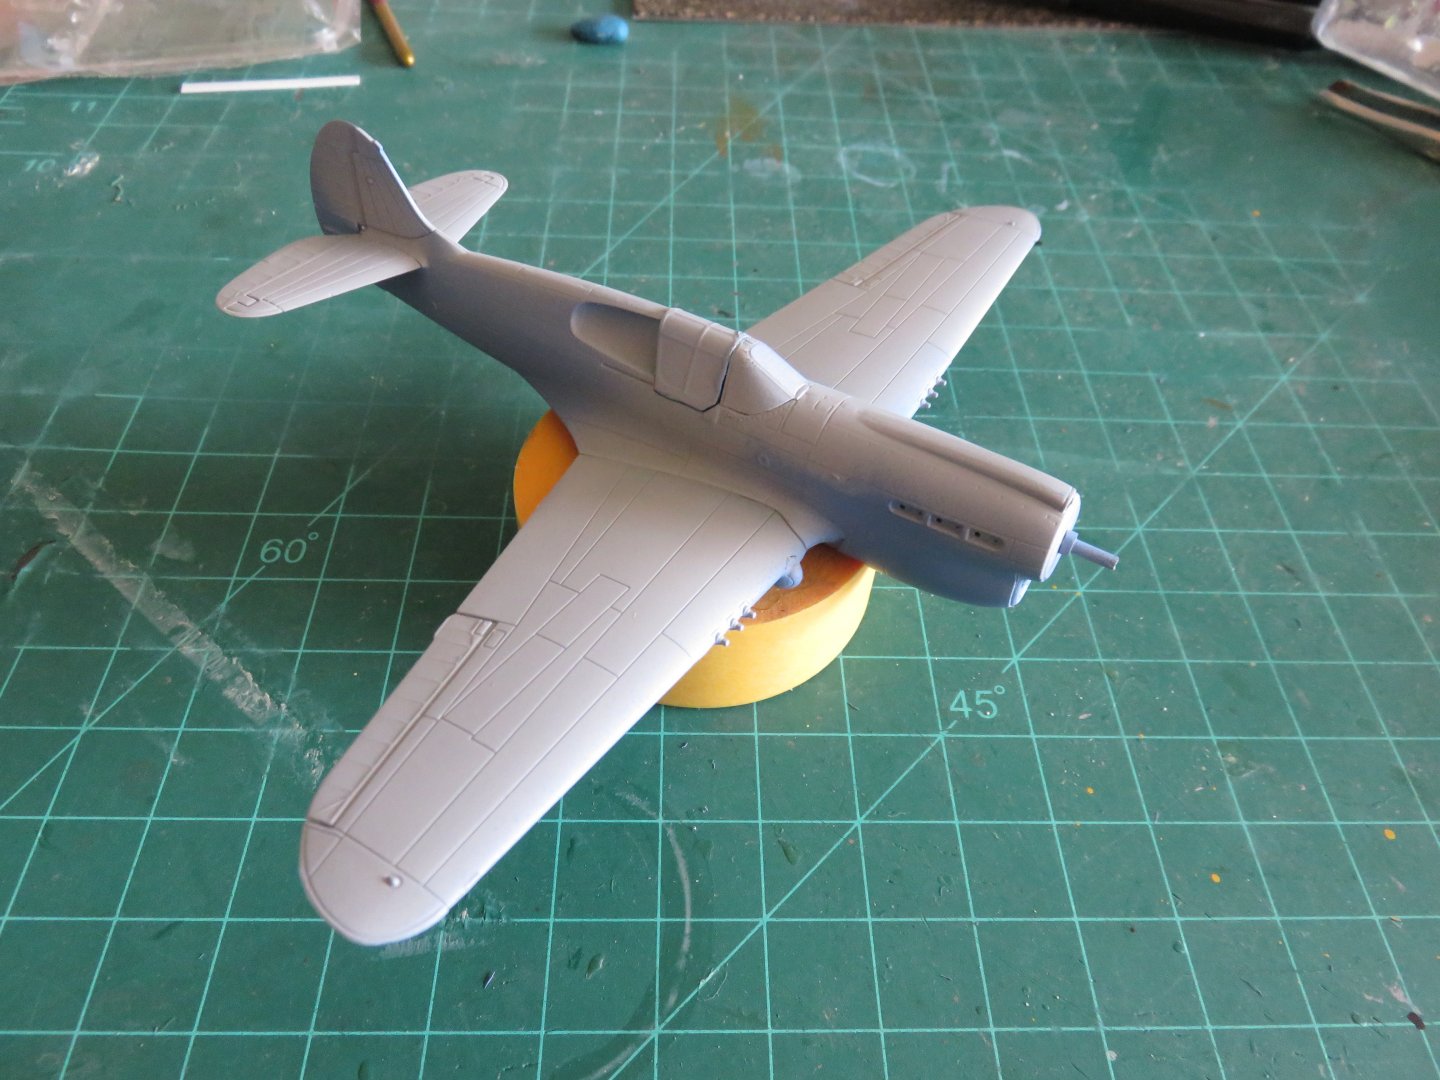
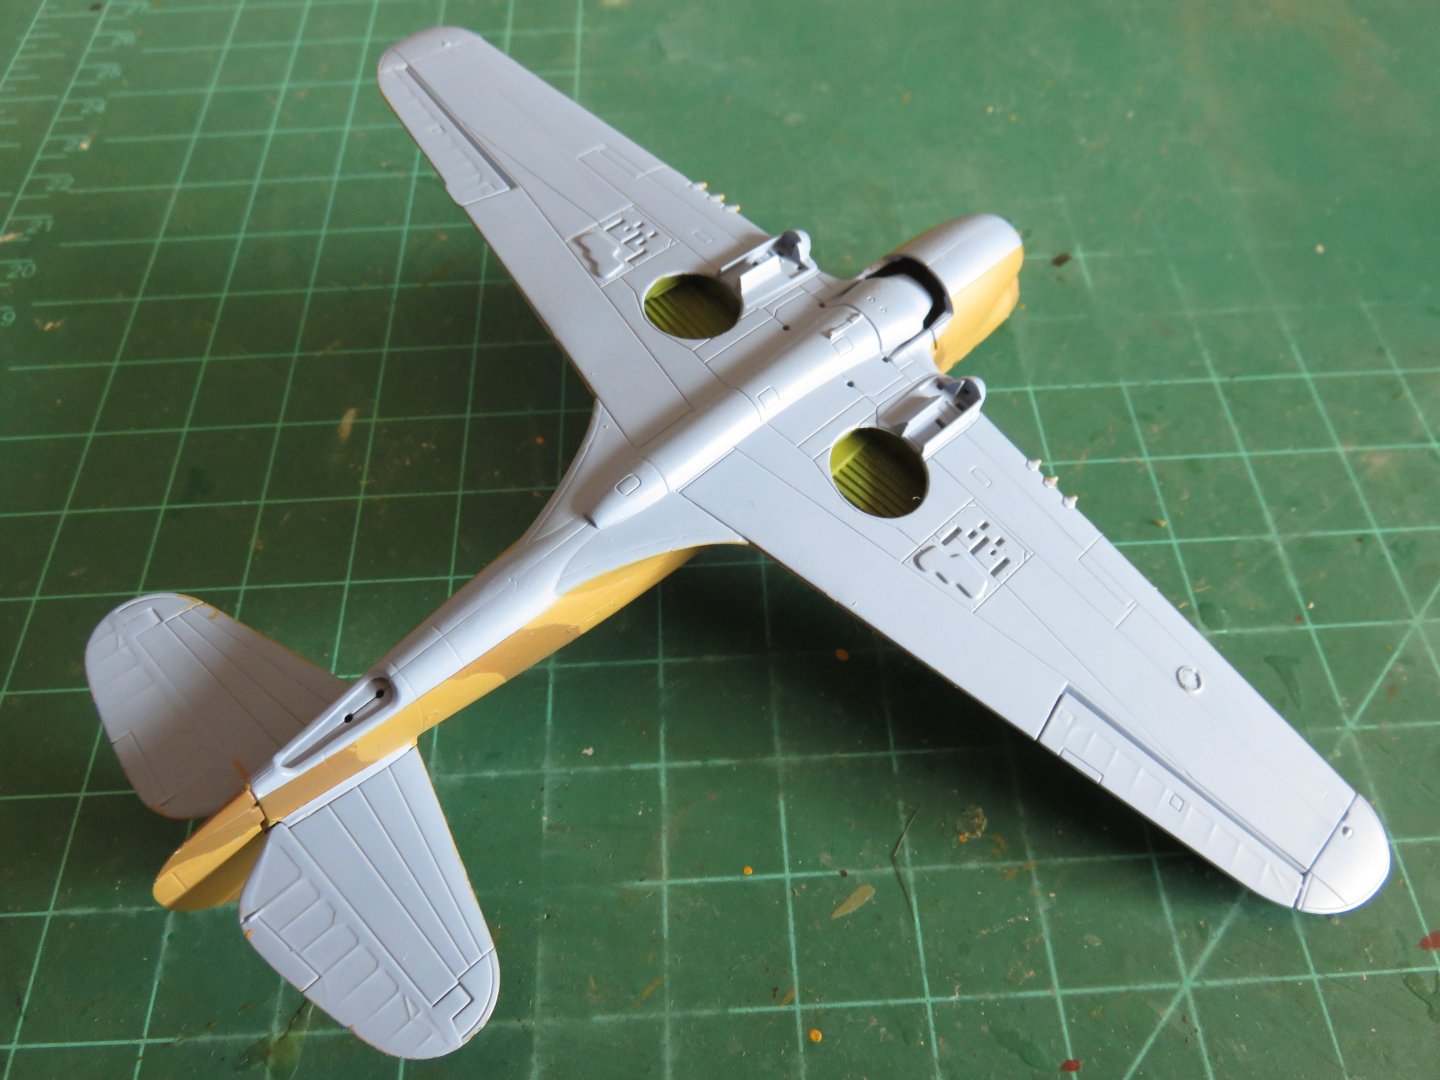
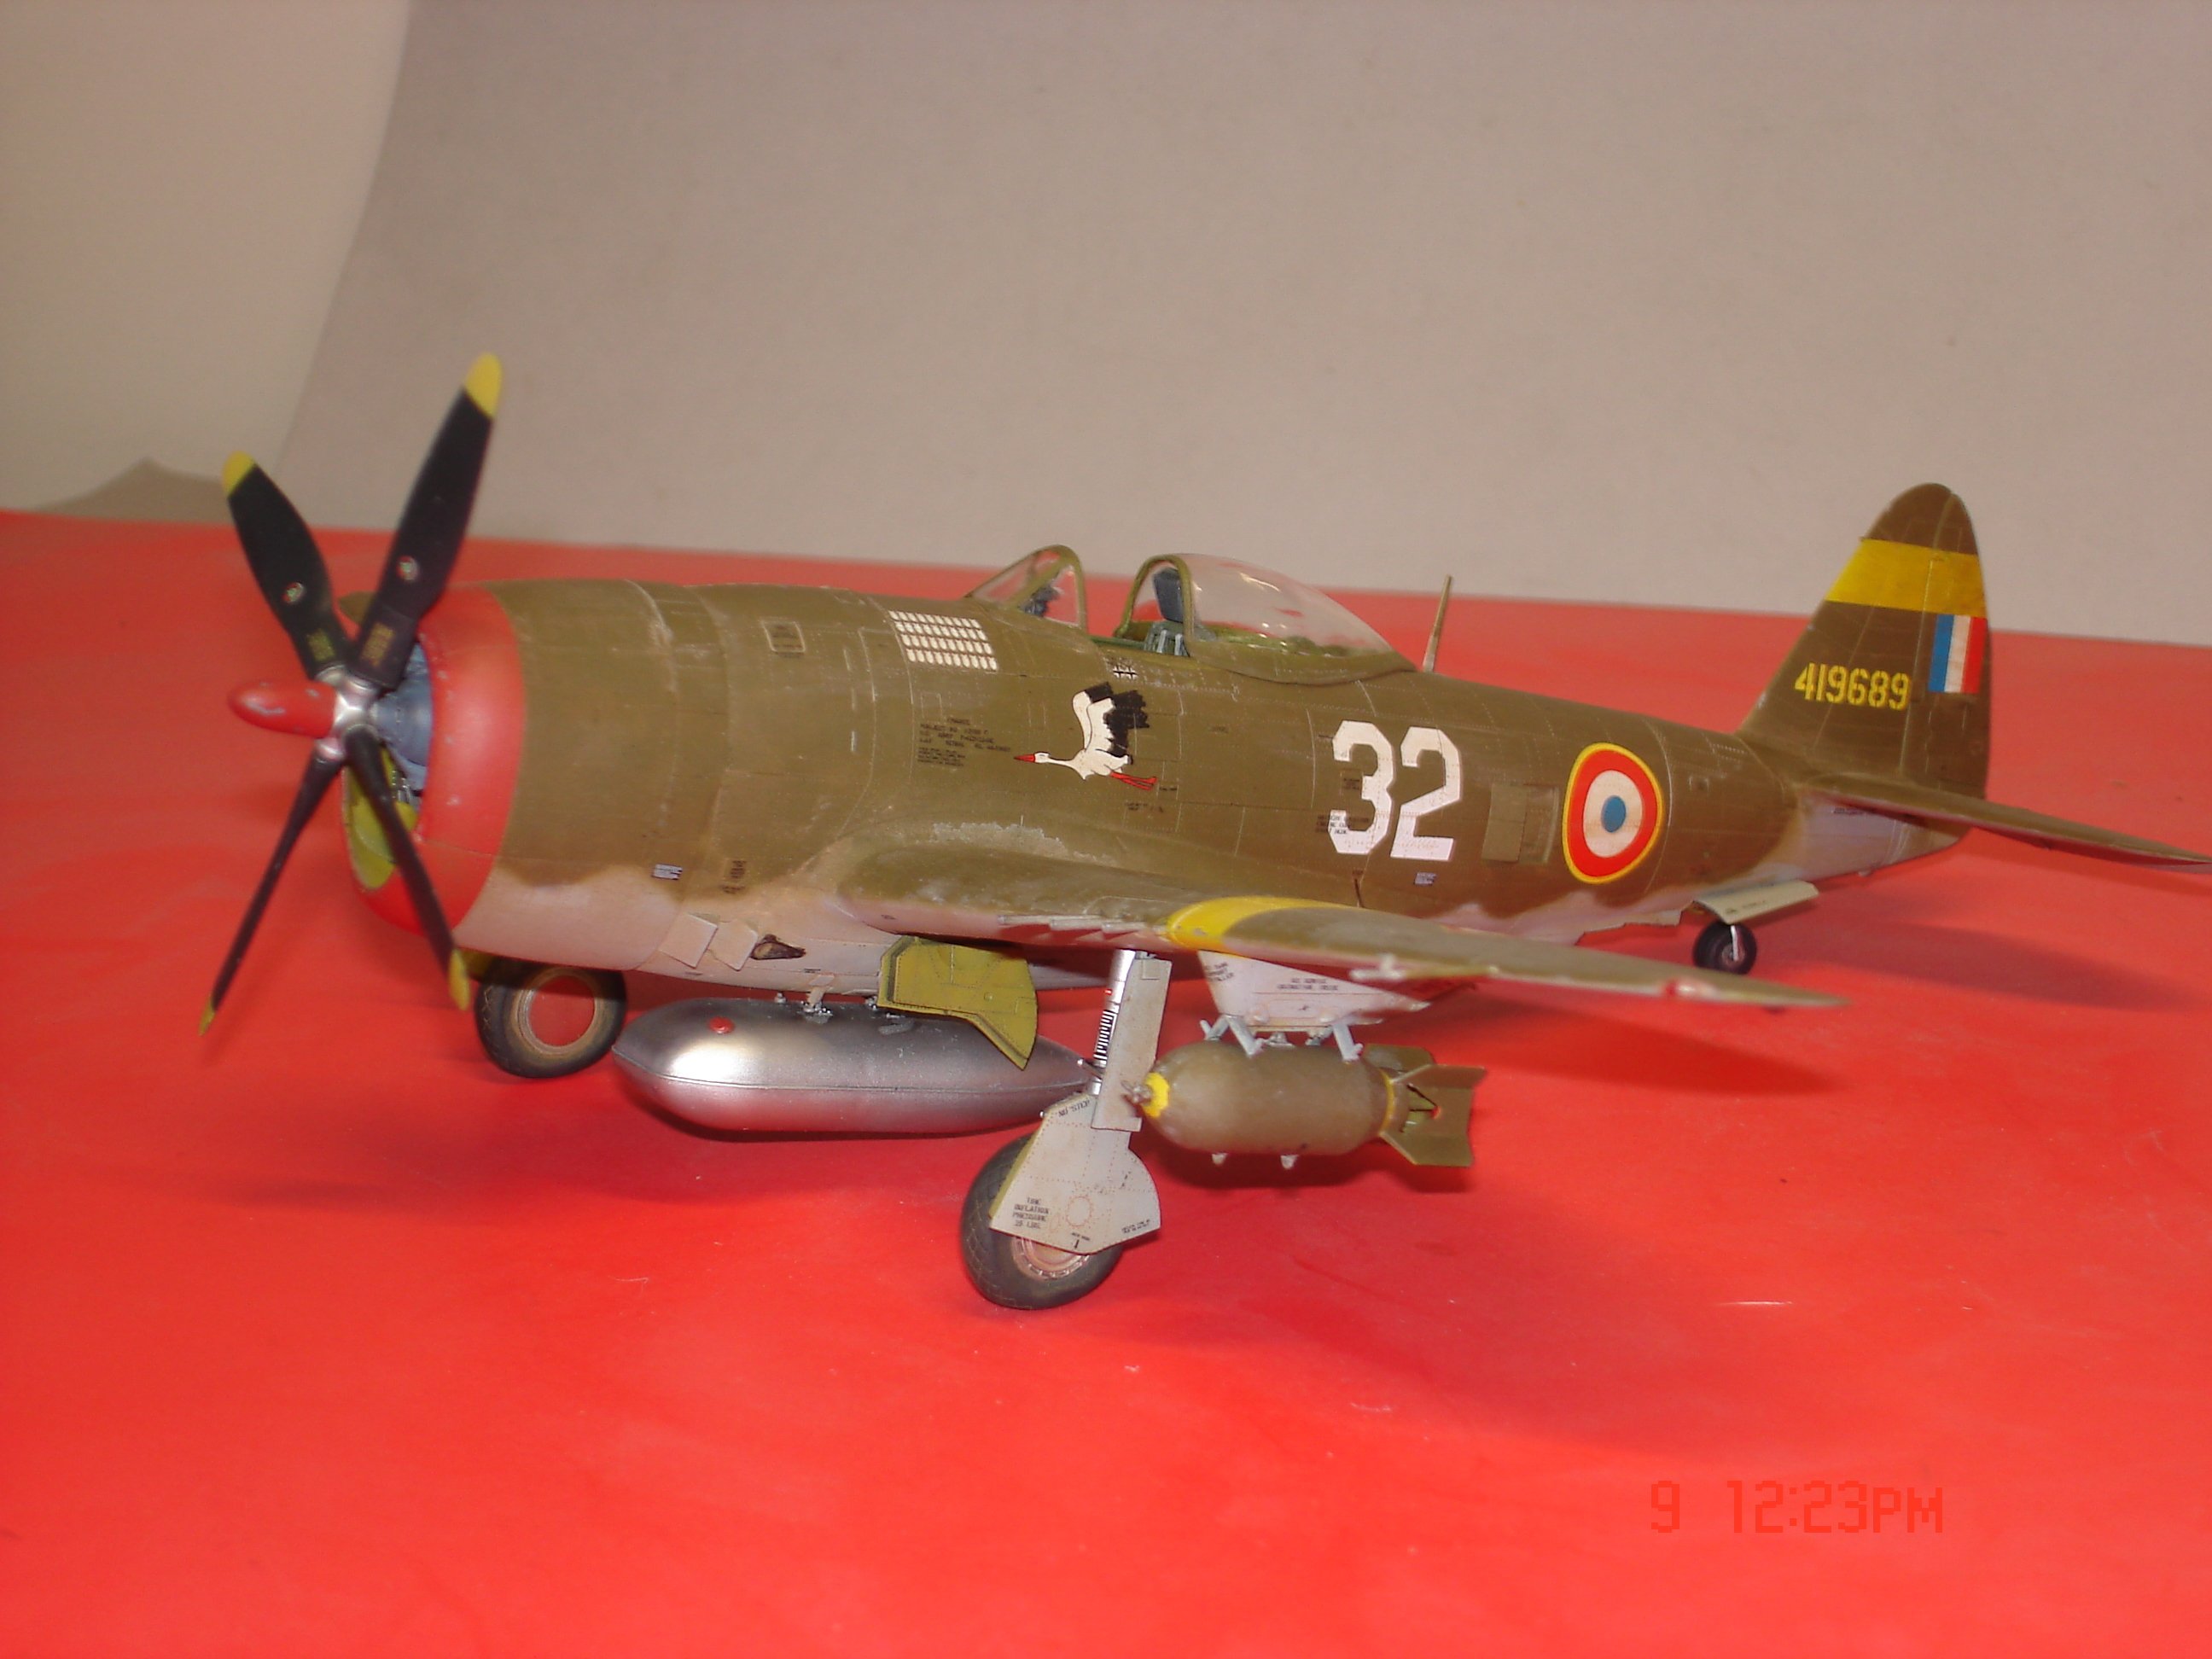
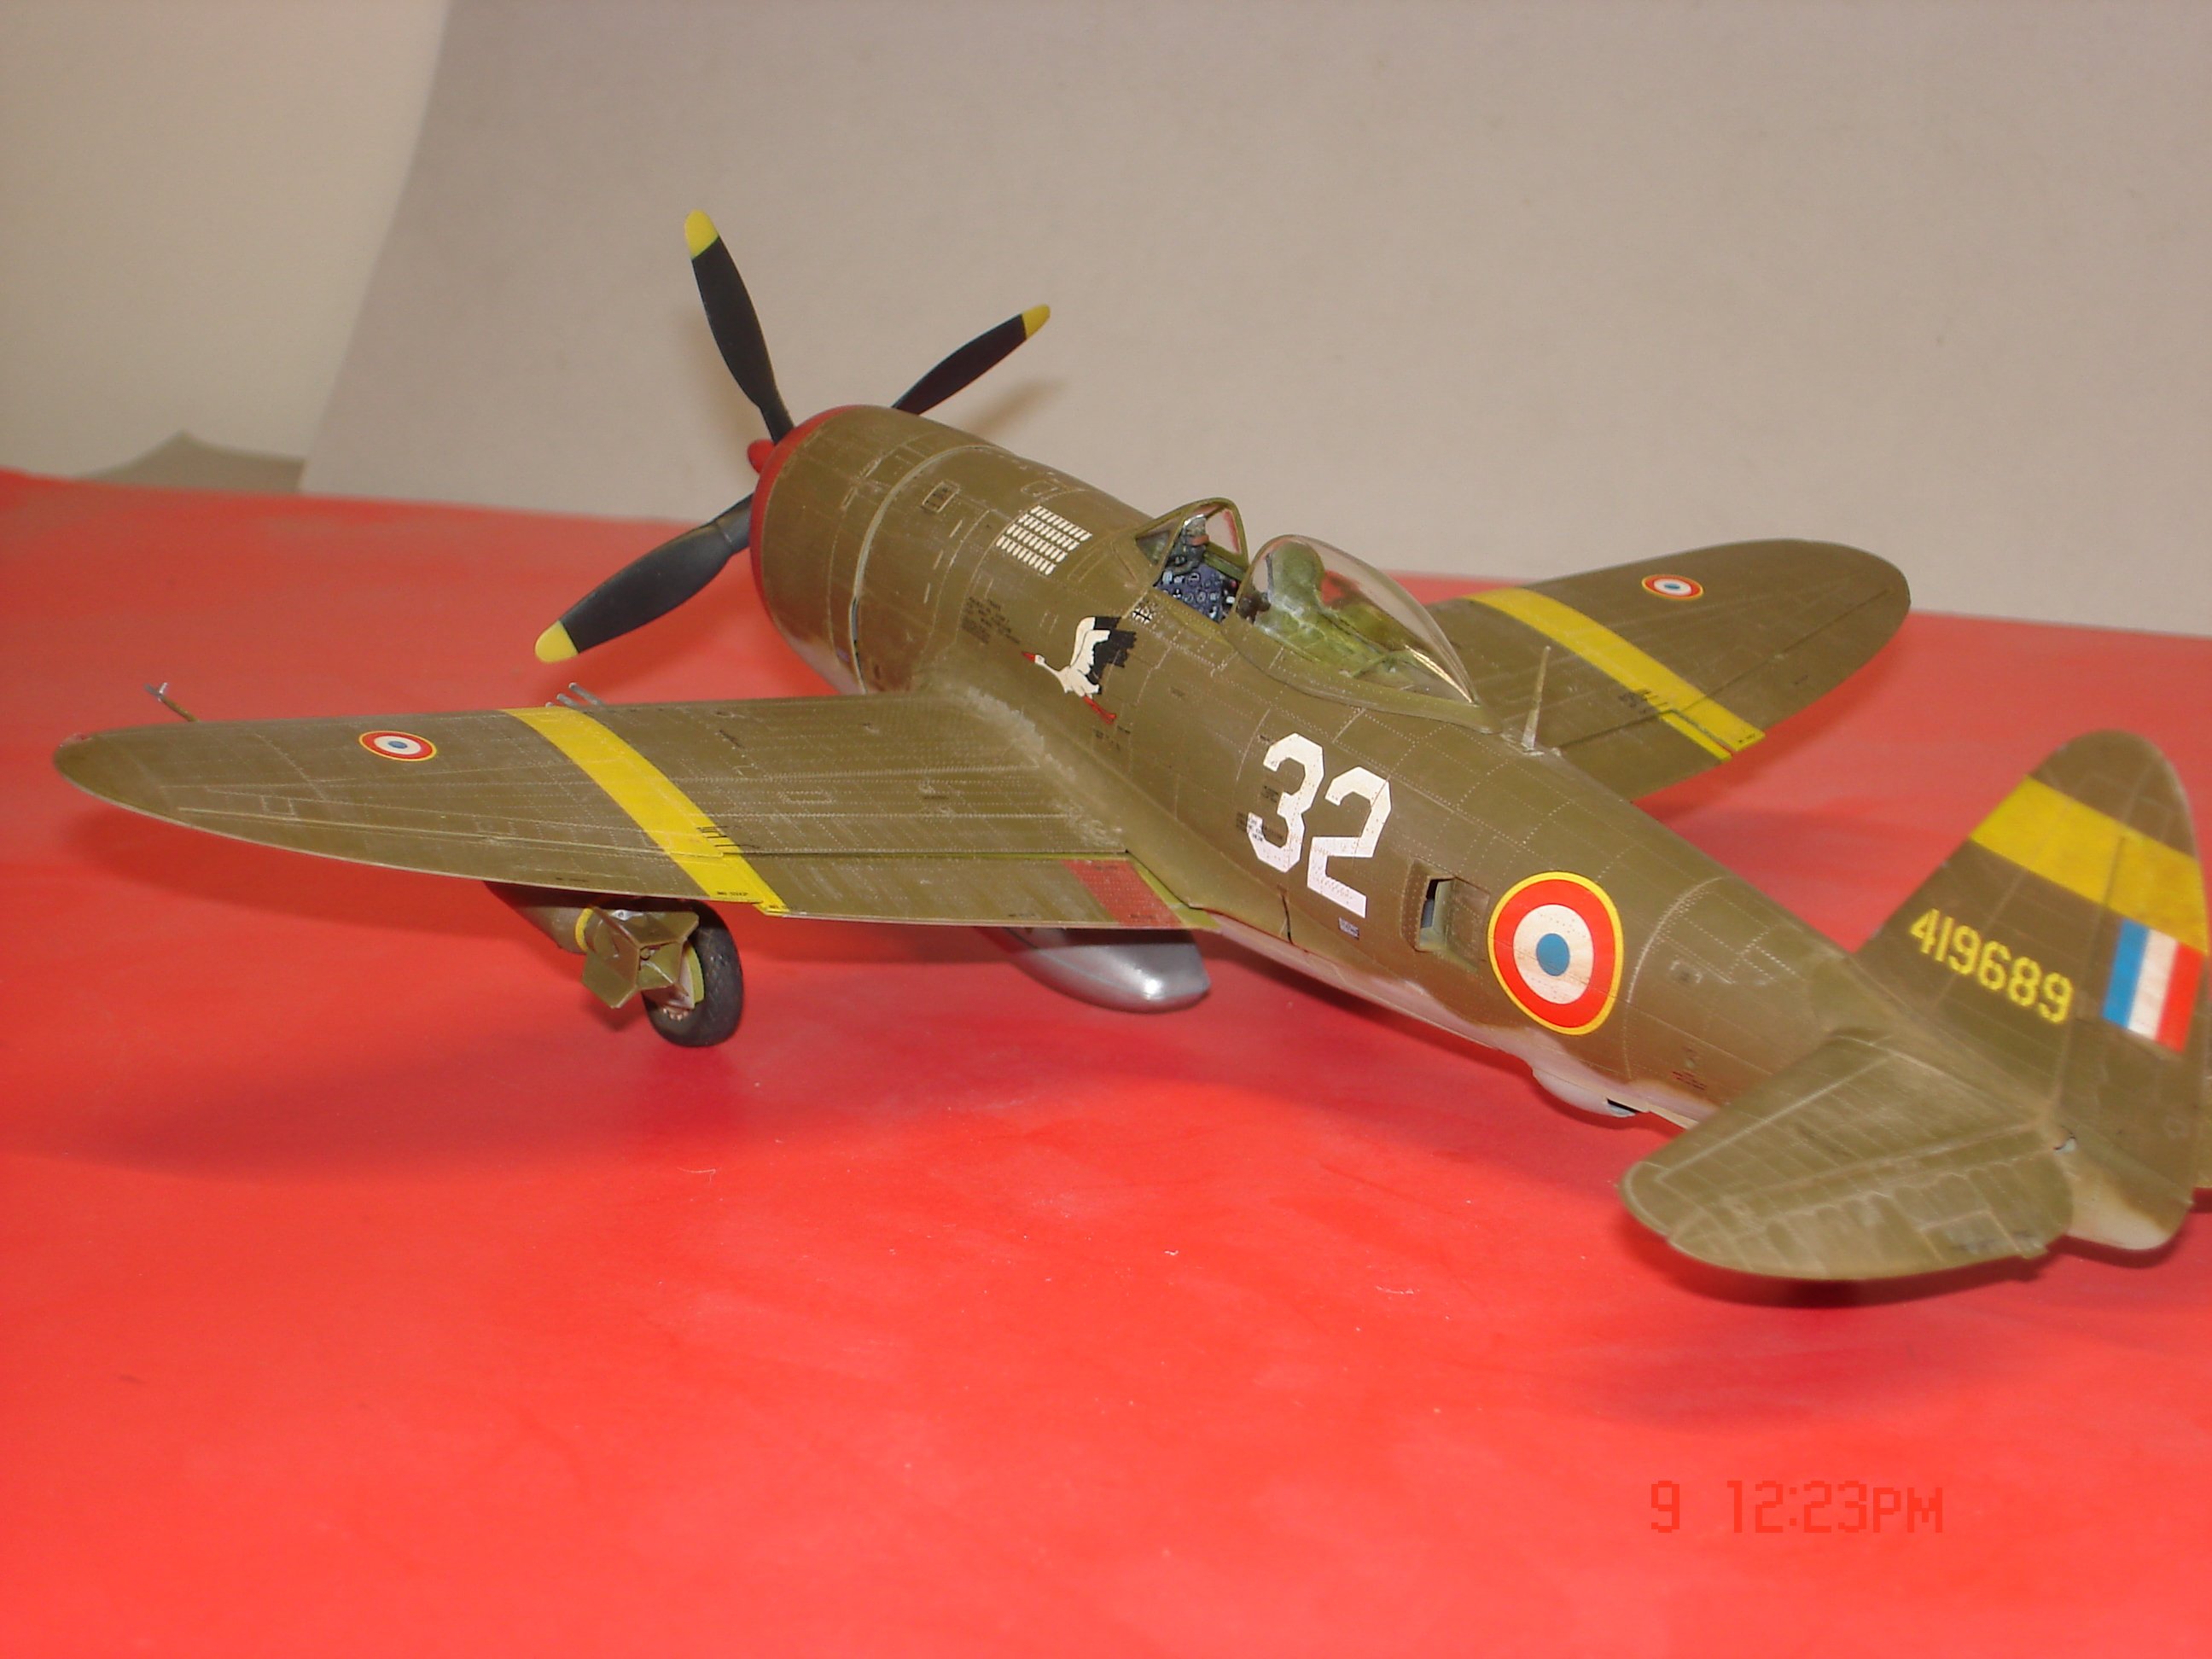
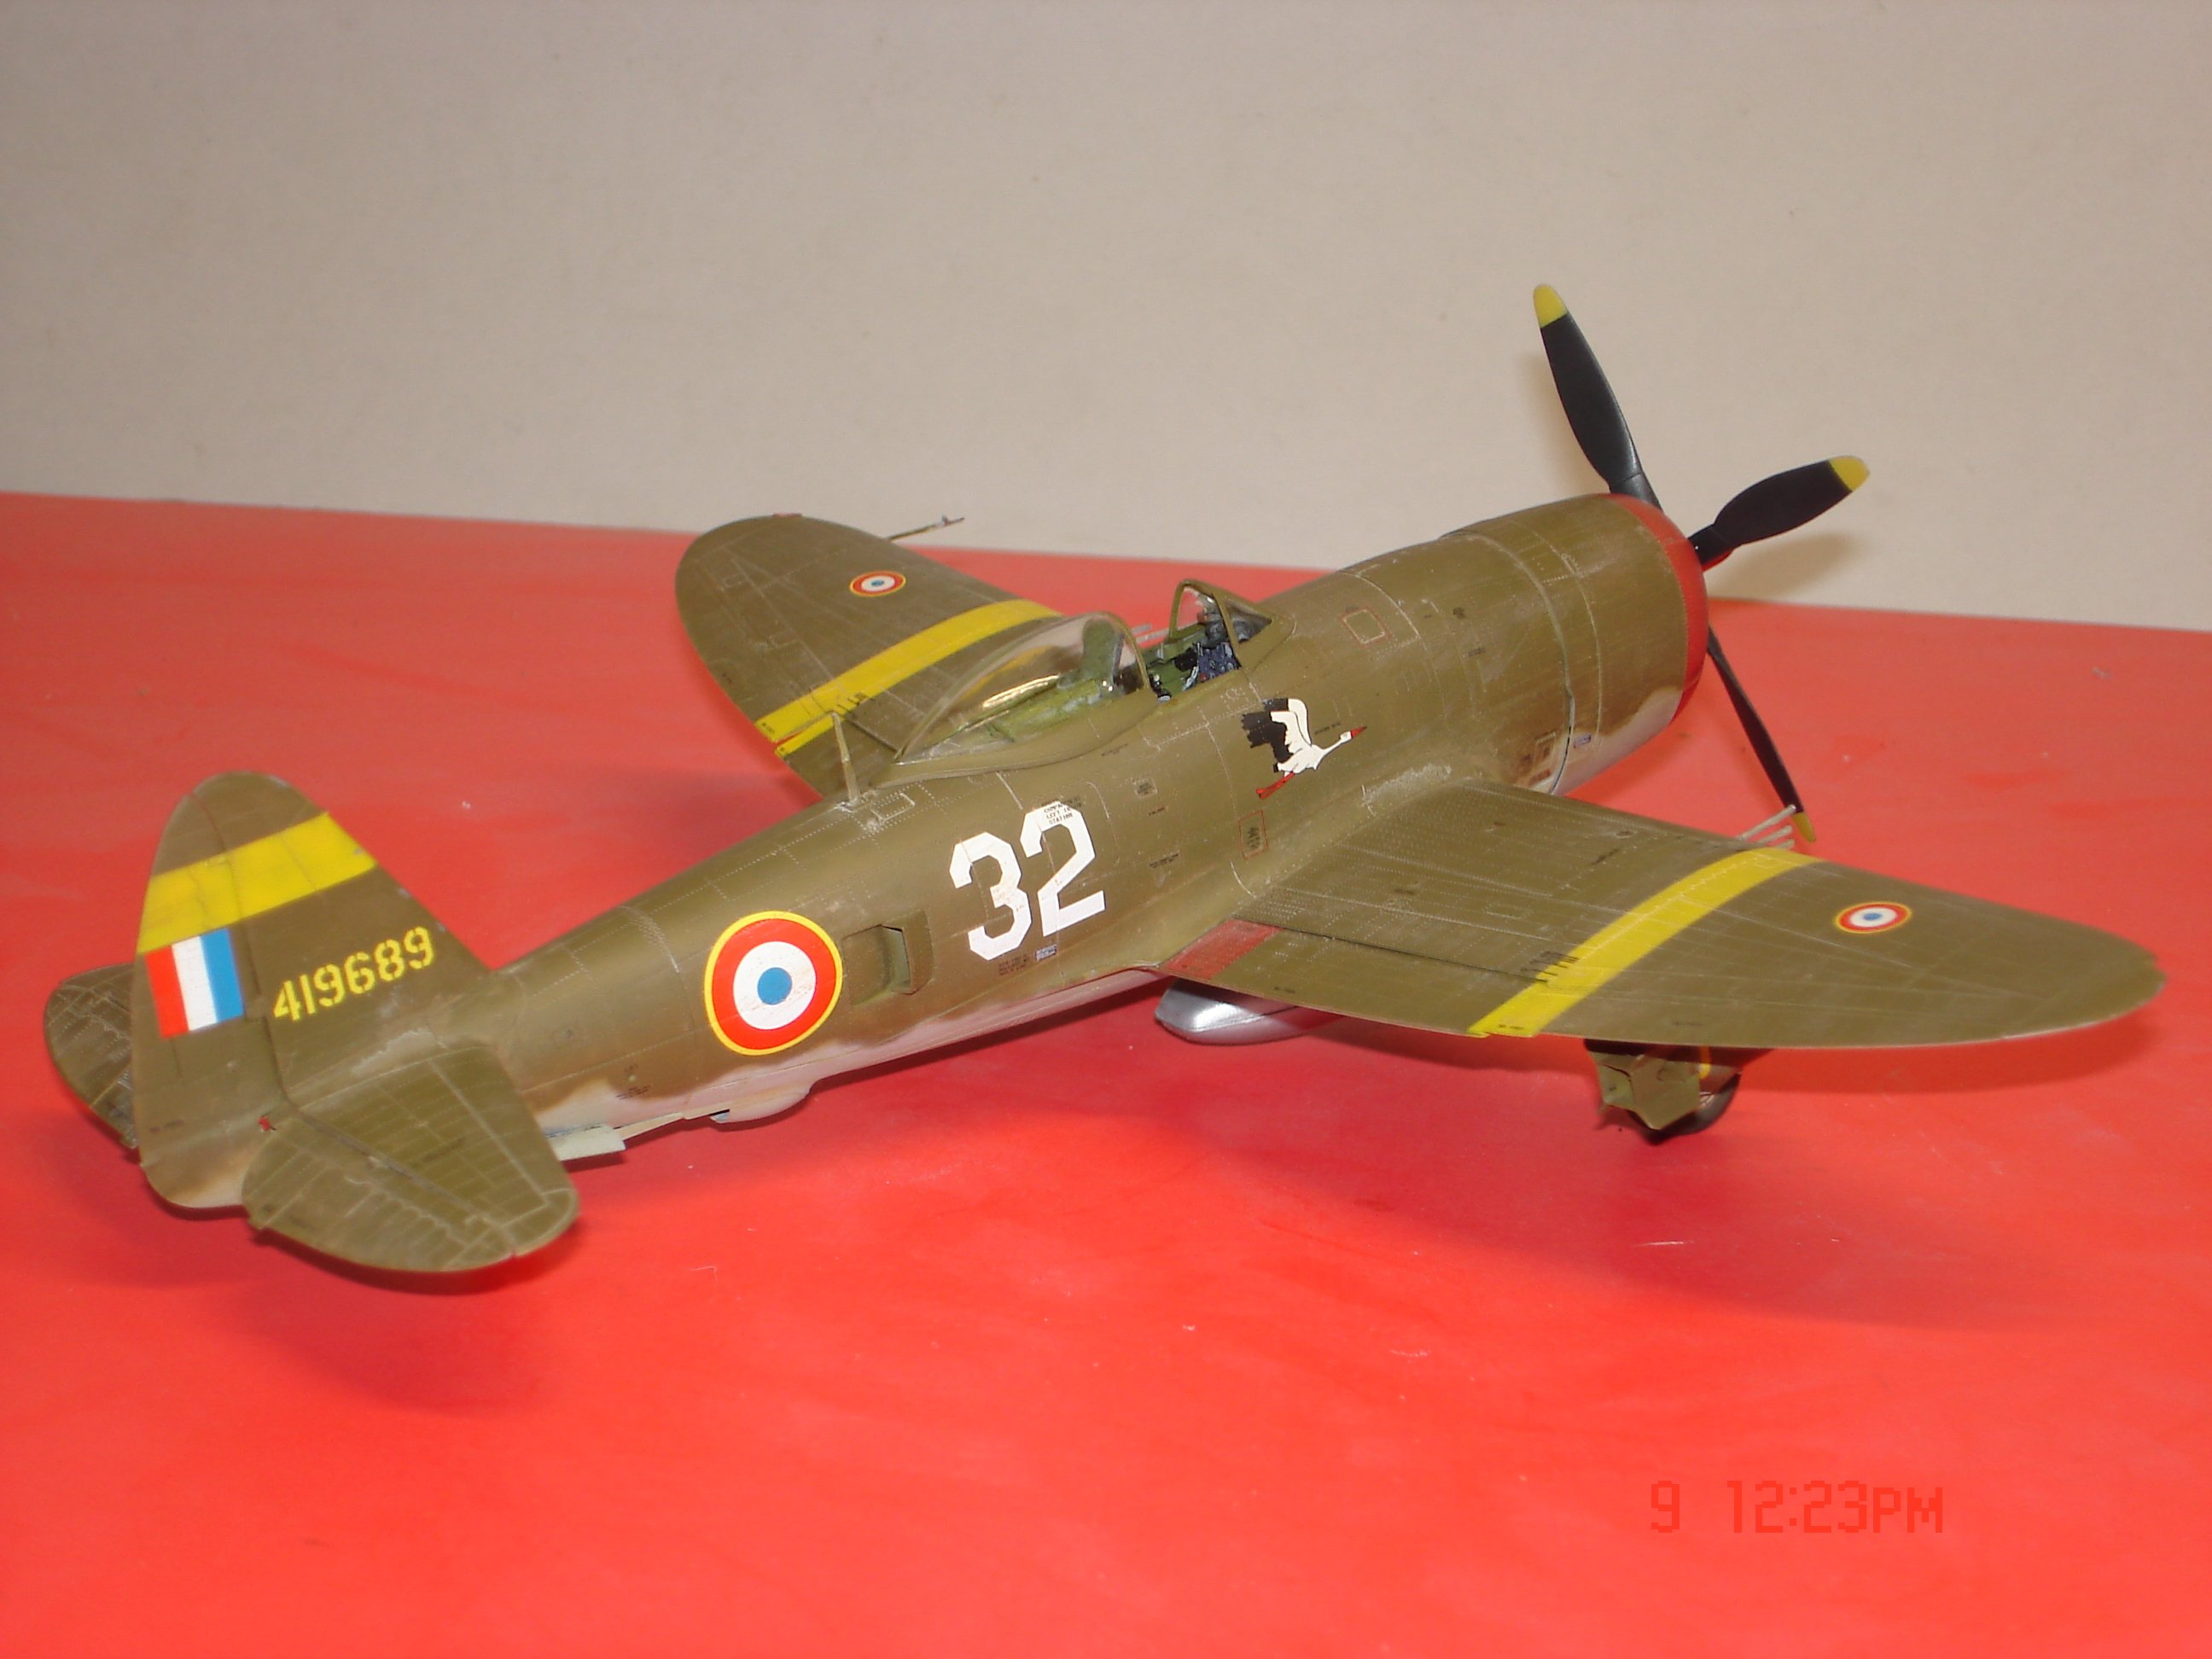
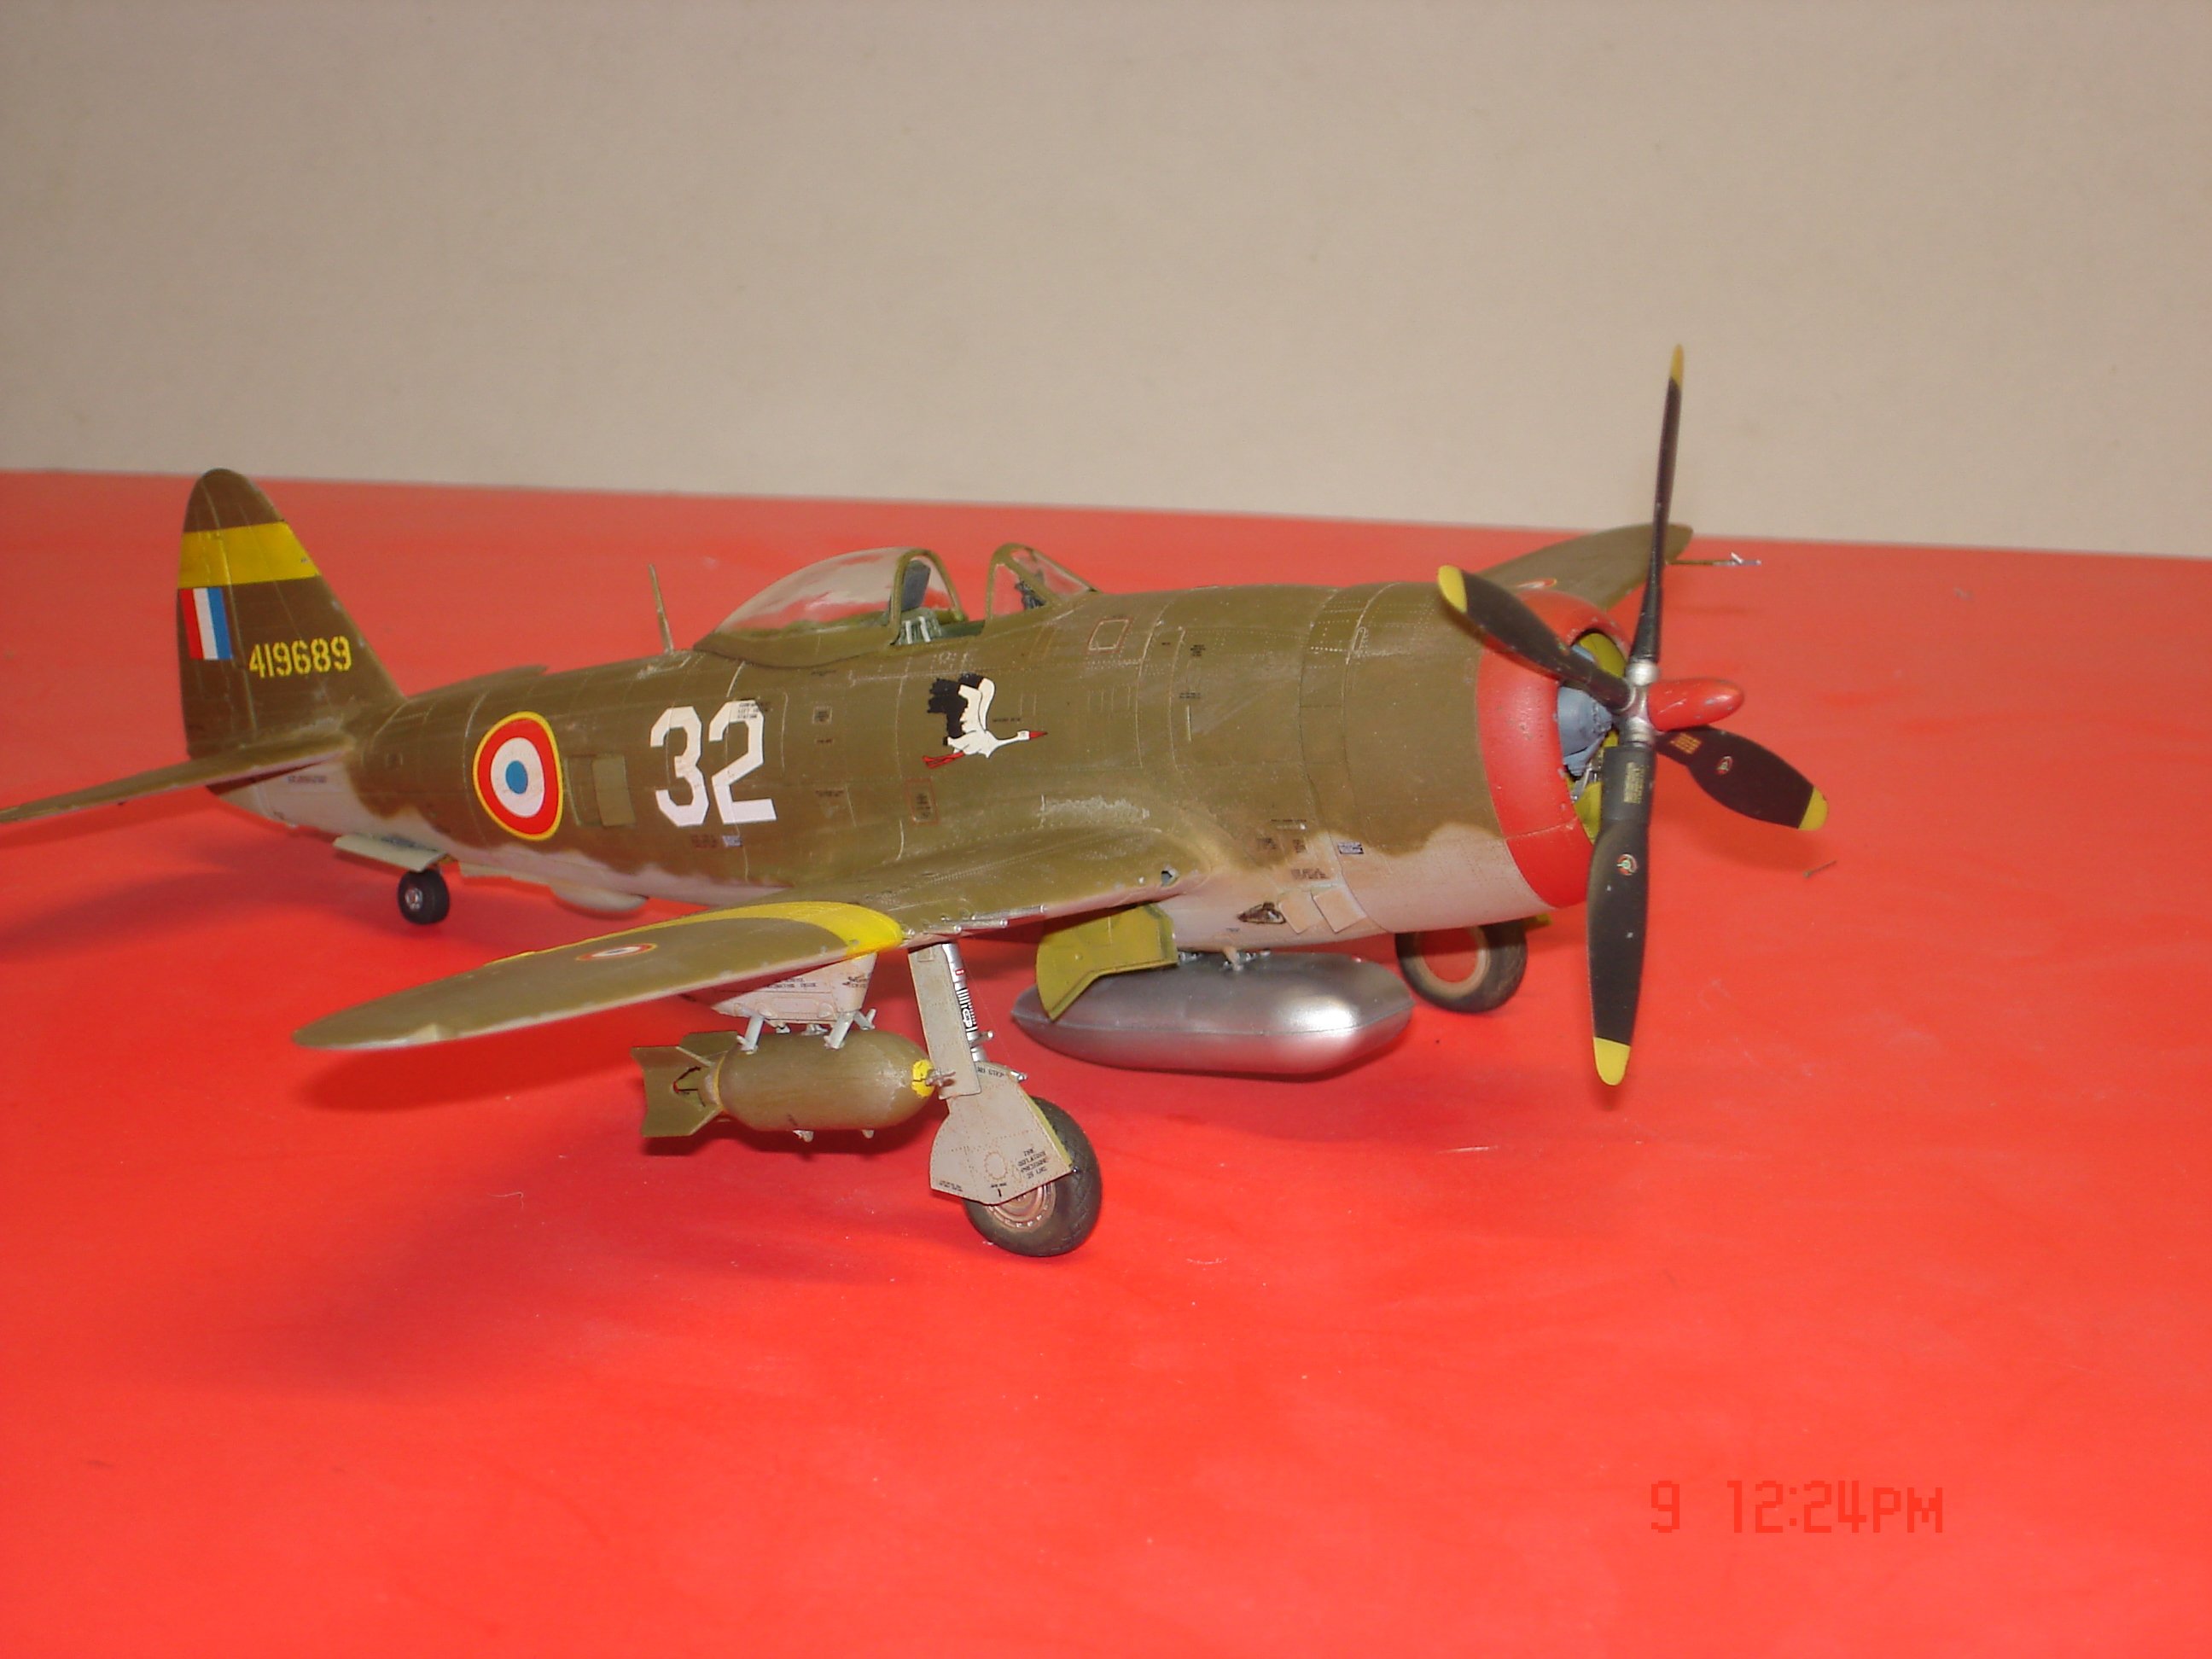
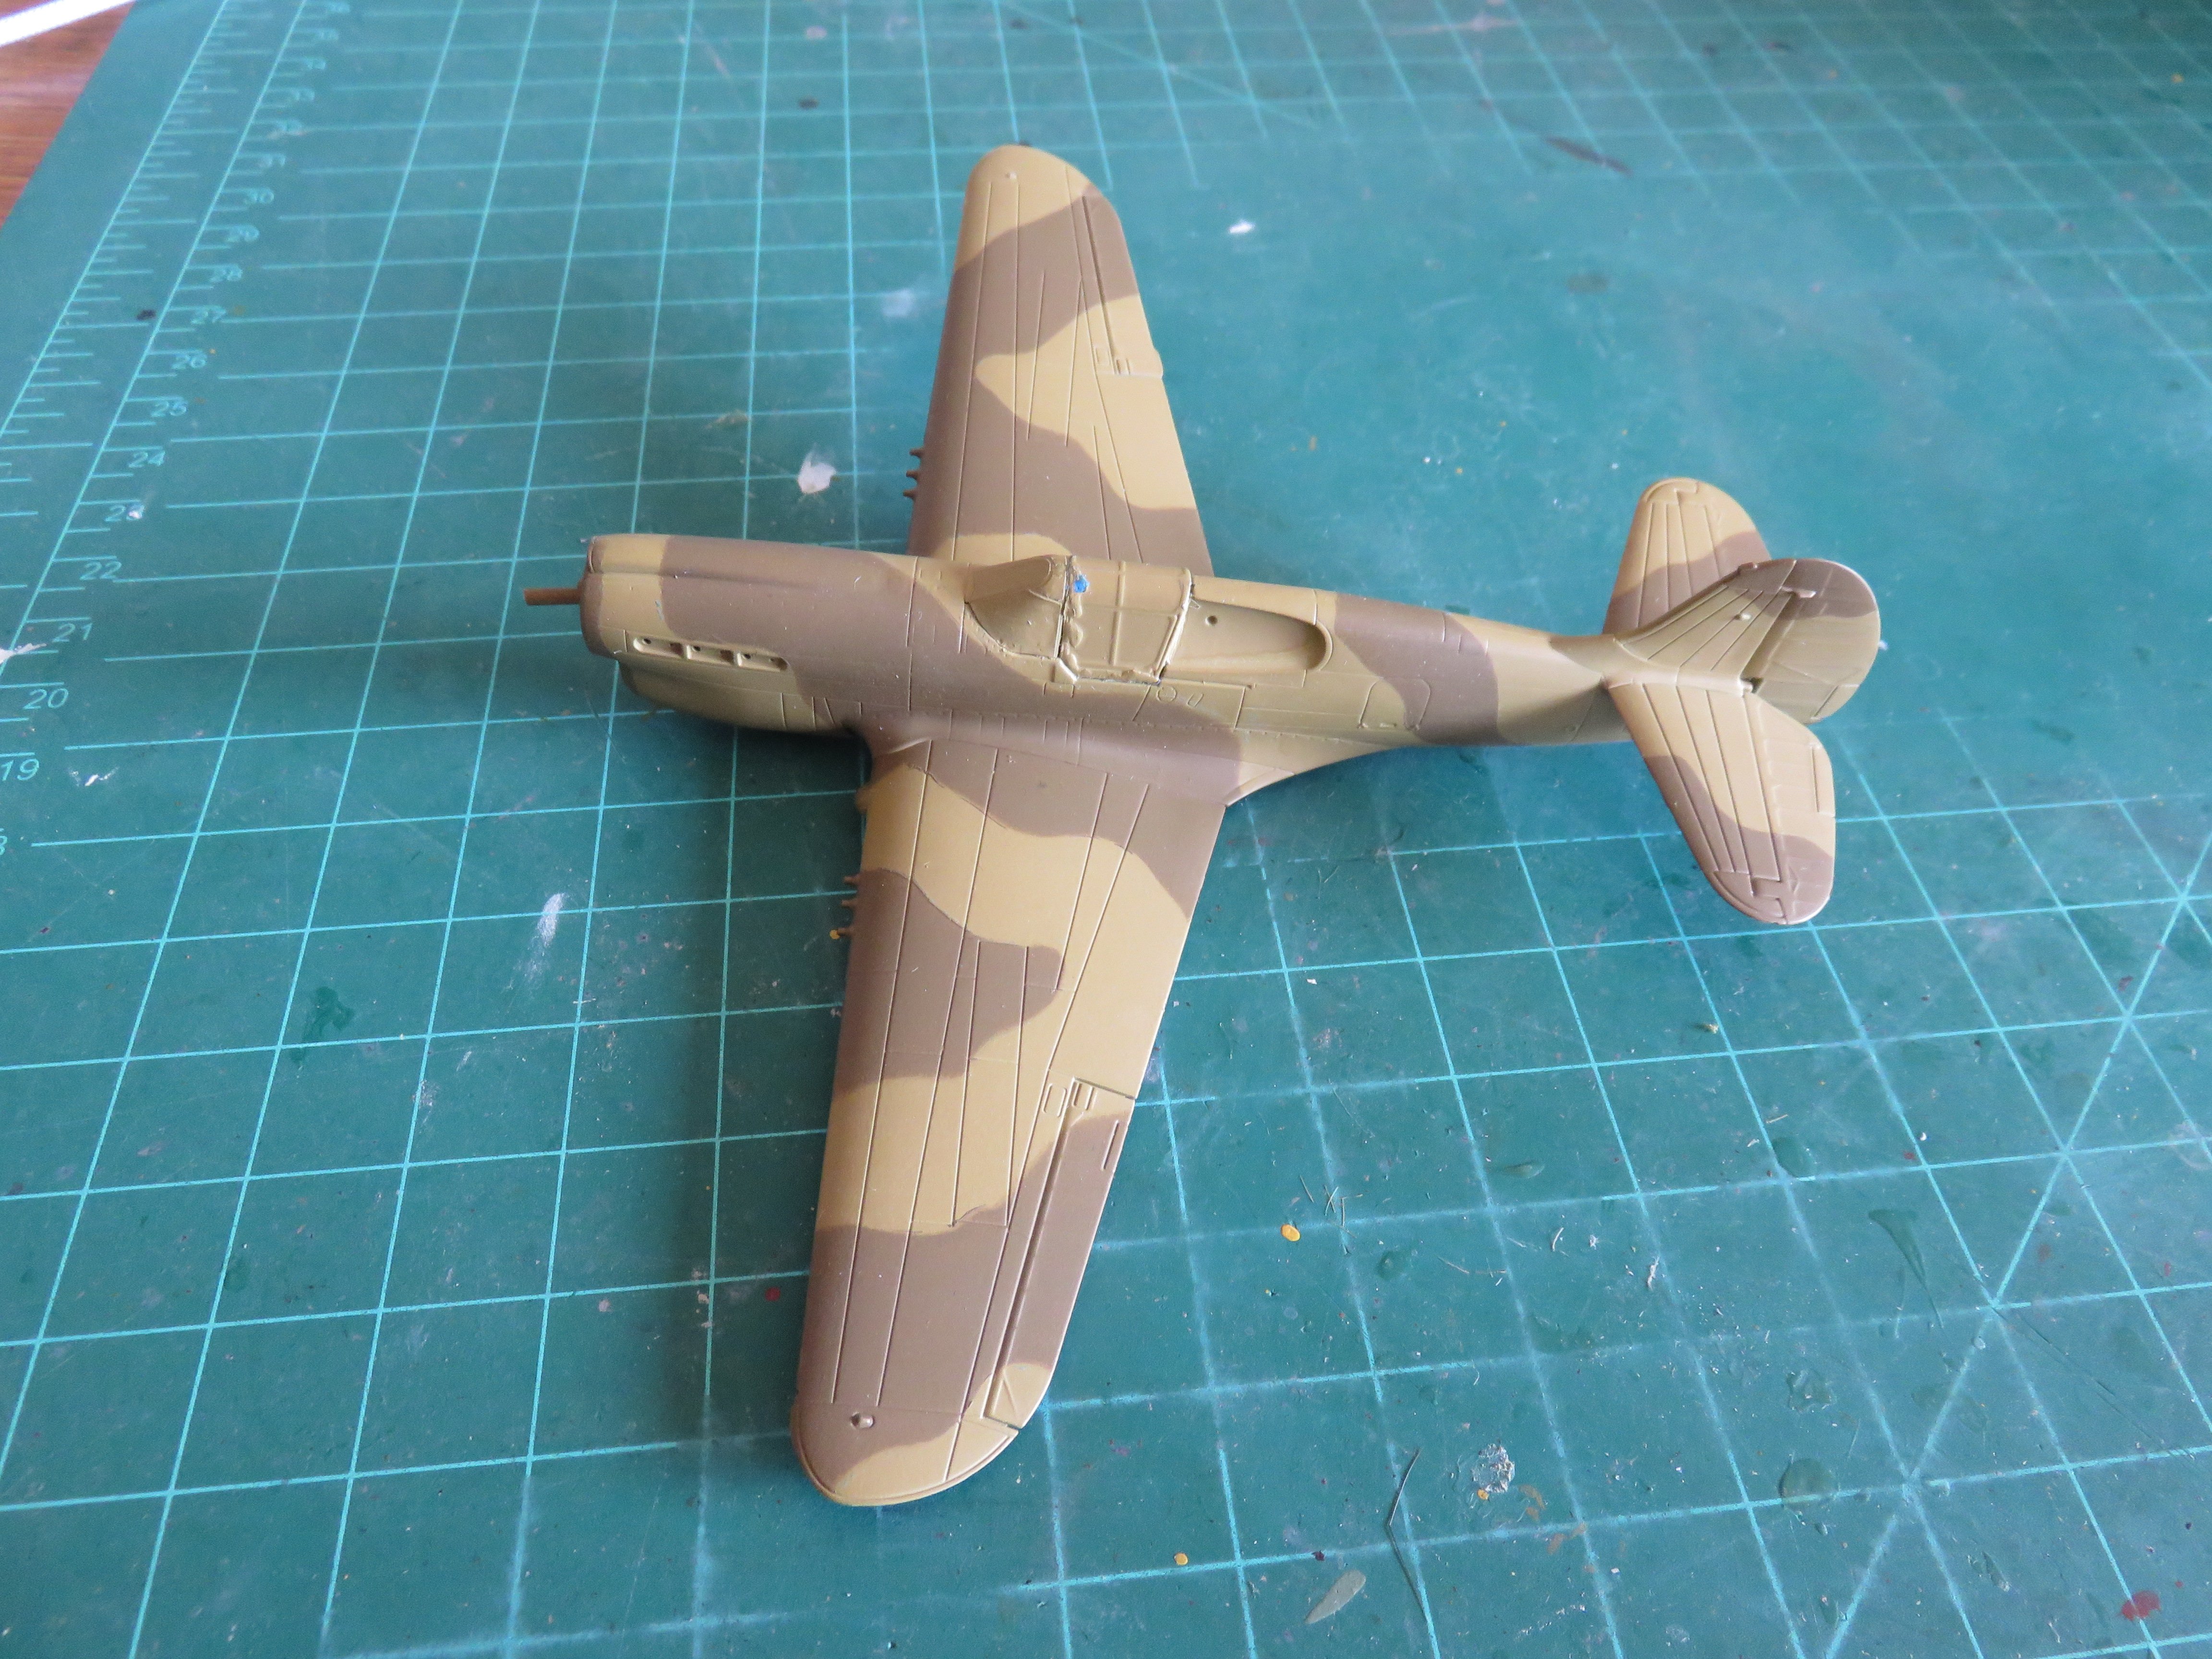
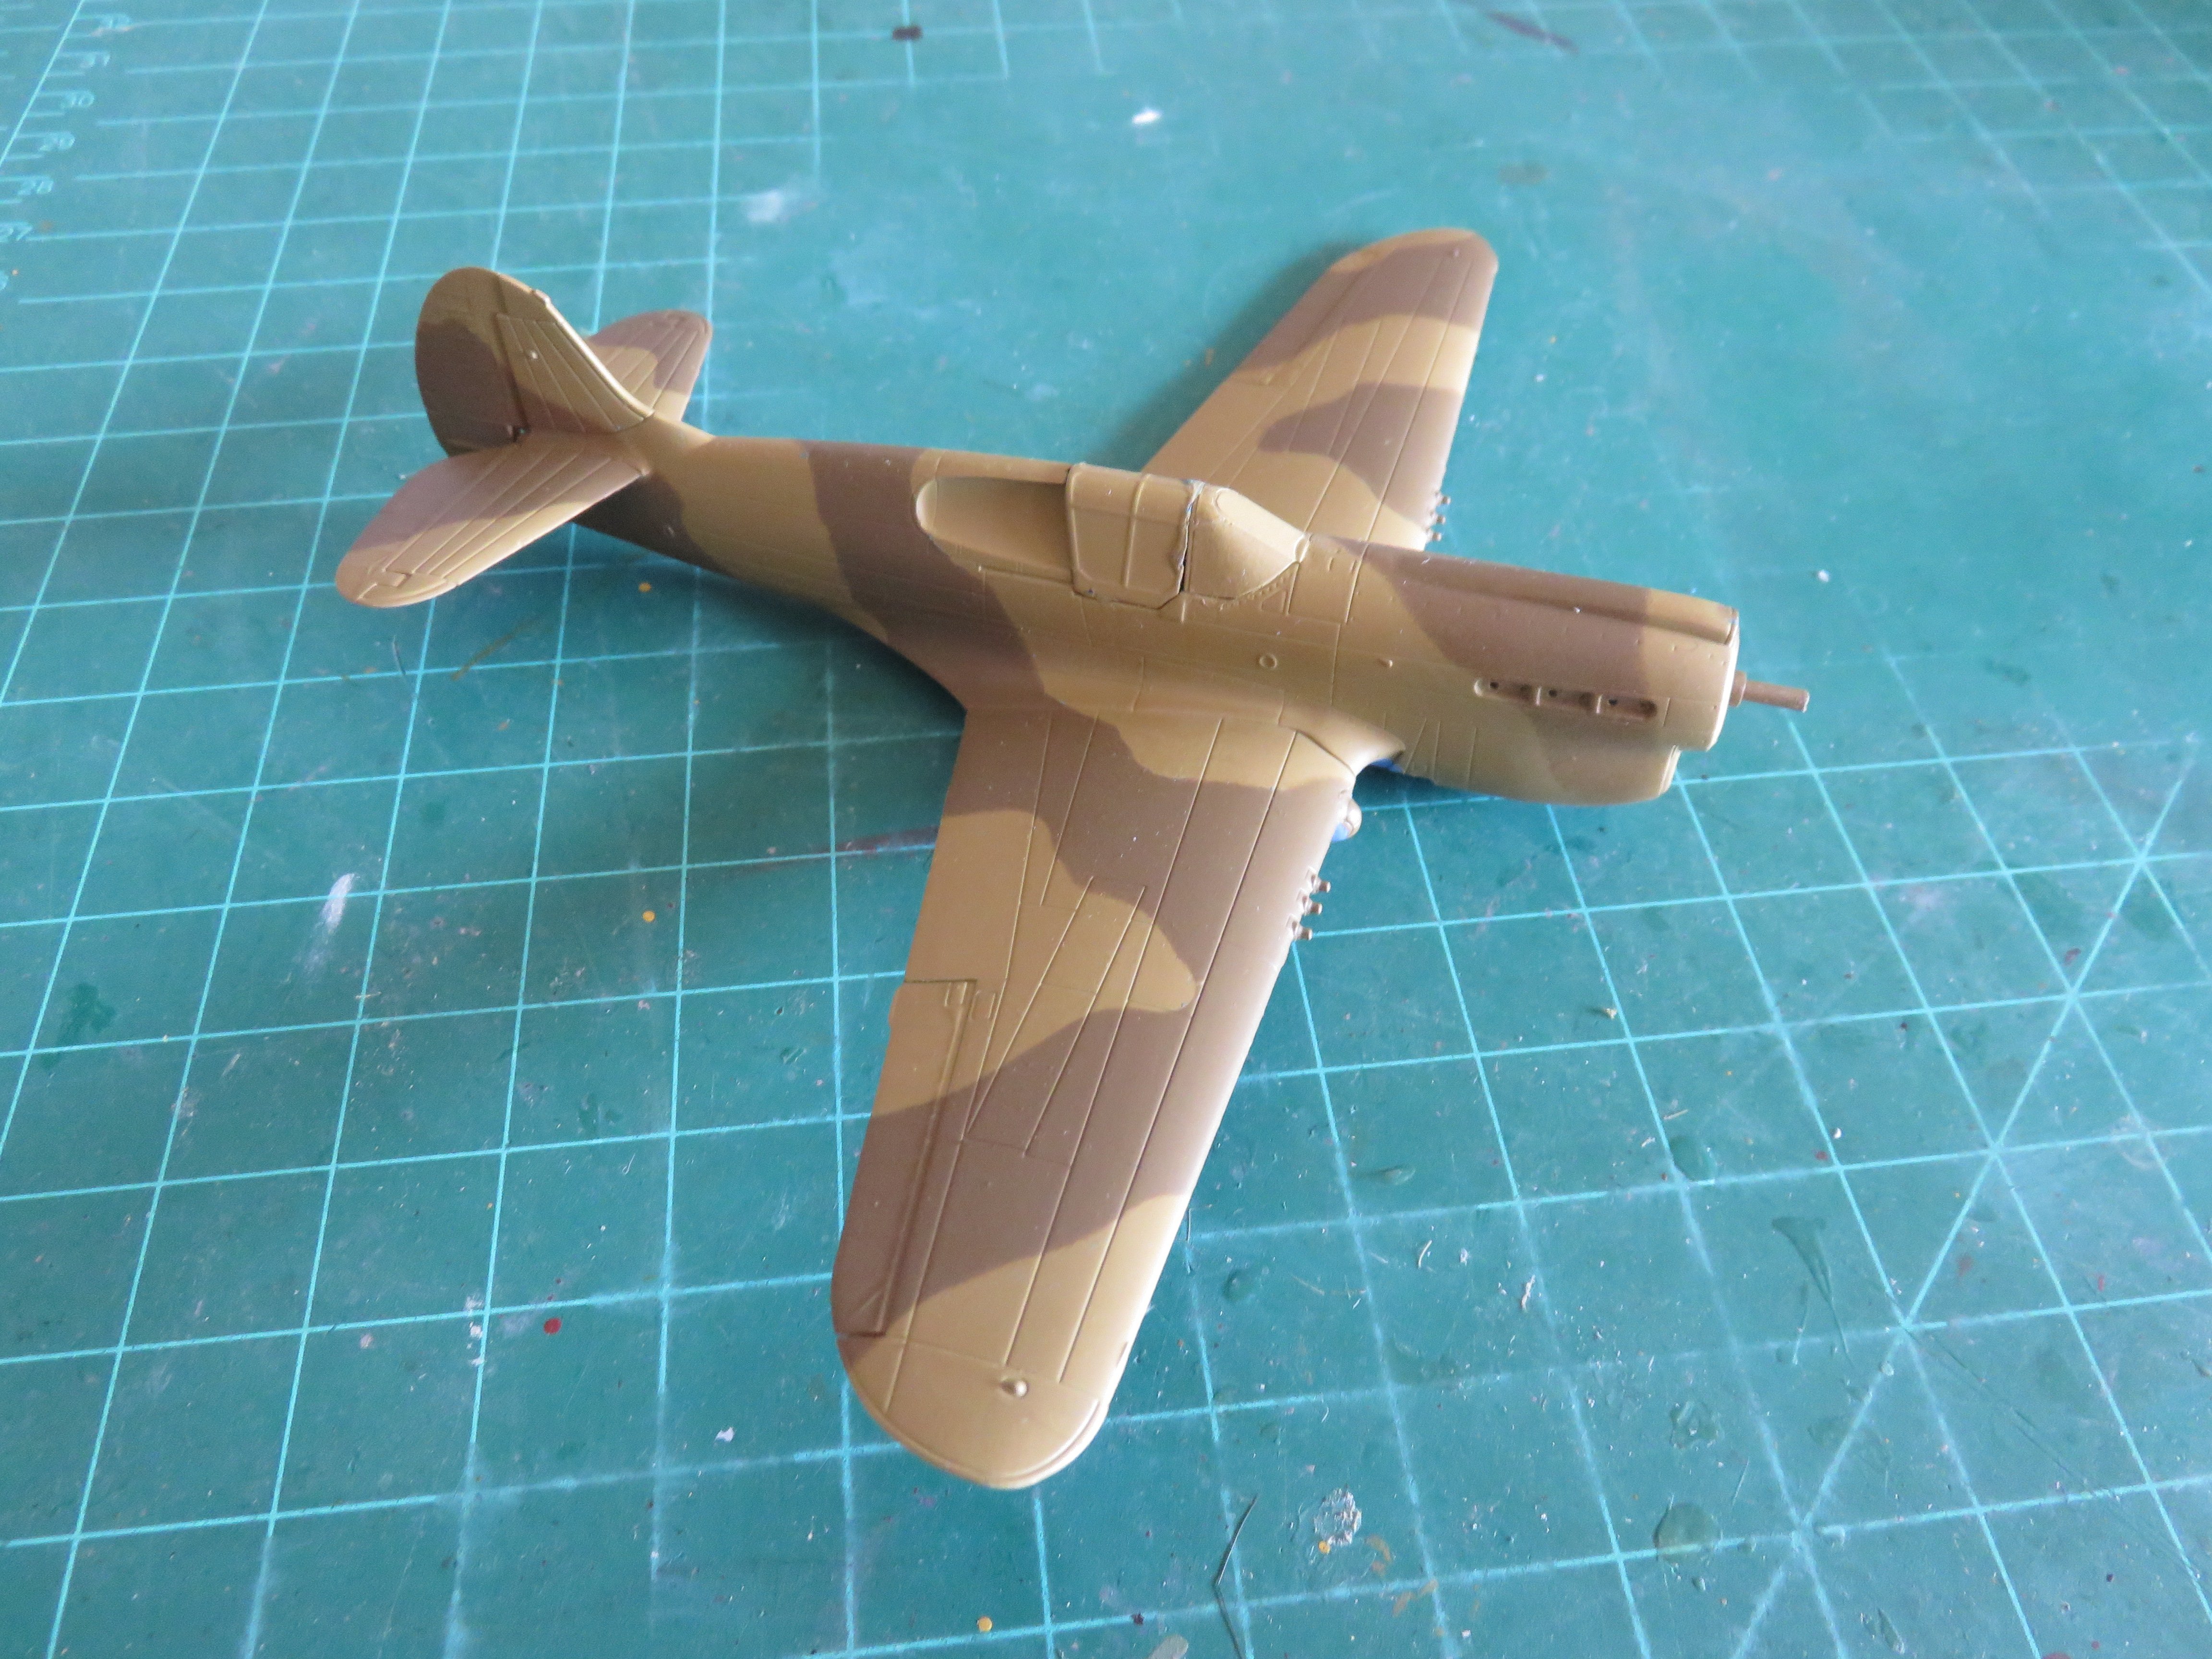
I am calling this one done fellas I had three pieces left to install two landing lights and the clear underwing light ..well as my luck has been the last I dropped the r/wing light and wala it was frigg'in gone 🤨.... I am not manufacturing another one I figure by the time I get done sanding and repainting I will break another gun barrel the antenna/pitot tube will both wala best to stop while ahead.I figure should it show fix it then,
The kit is a worthy kit for a P-47 the subtleties of the lines and rivets are quite nice.I had no issues with the front cowling myself upon examination notches are supplied to remove any guess work on your part.I thought I had the aux.fuel tank aligned let it sit overnight well it slid some I left it been breaking to much on this one. The one thing I did not understand you have a square hole for the LG but it was loose
 I mean the reason for square to get a uniform alignment no guess work other than that decals/stencils worked out great beginning to not like Florry's Dust would of been fine with the Sand like you see on the bottom.I was trying to lighten the color of of the OD for sun fade not to successful but is better than the P-40.


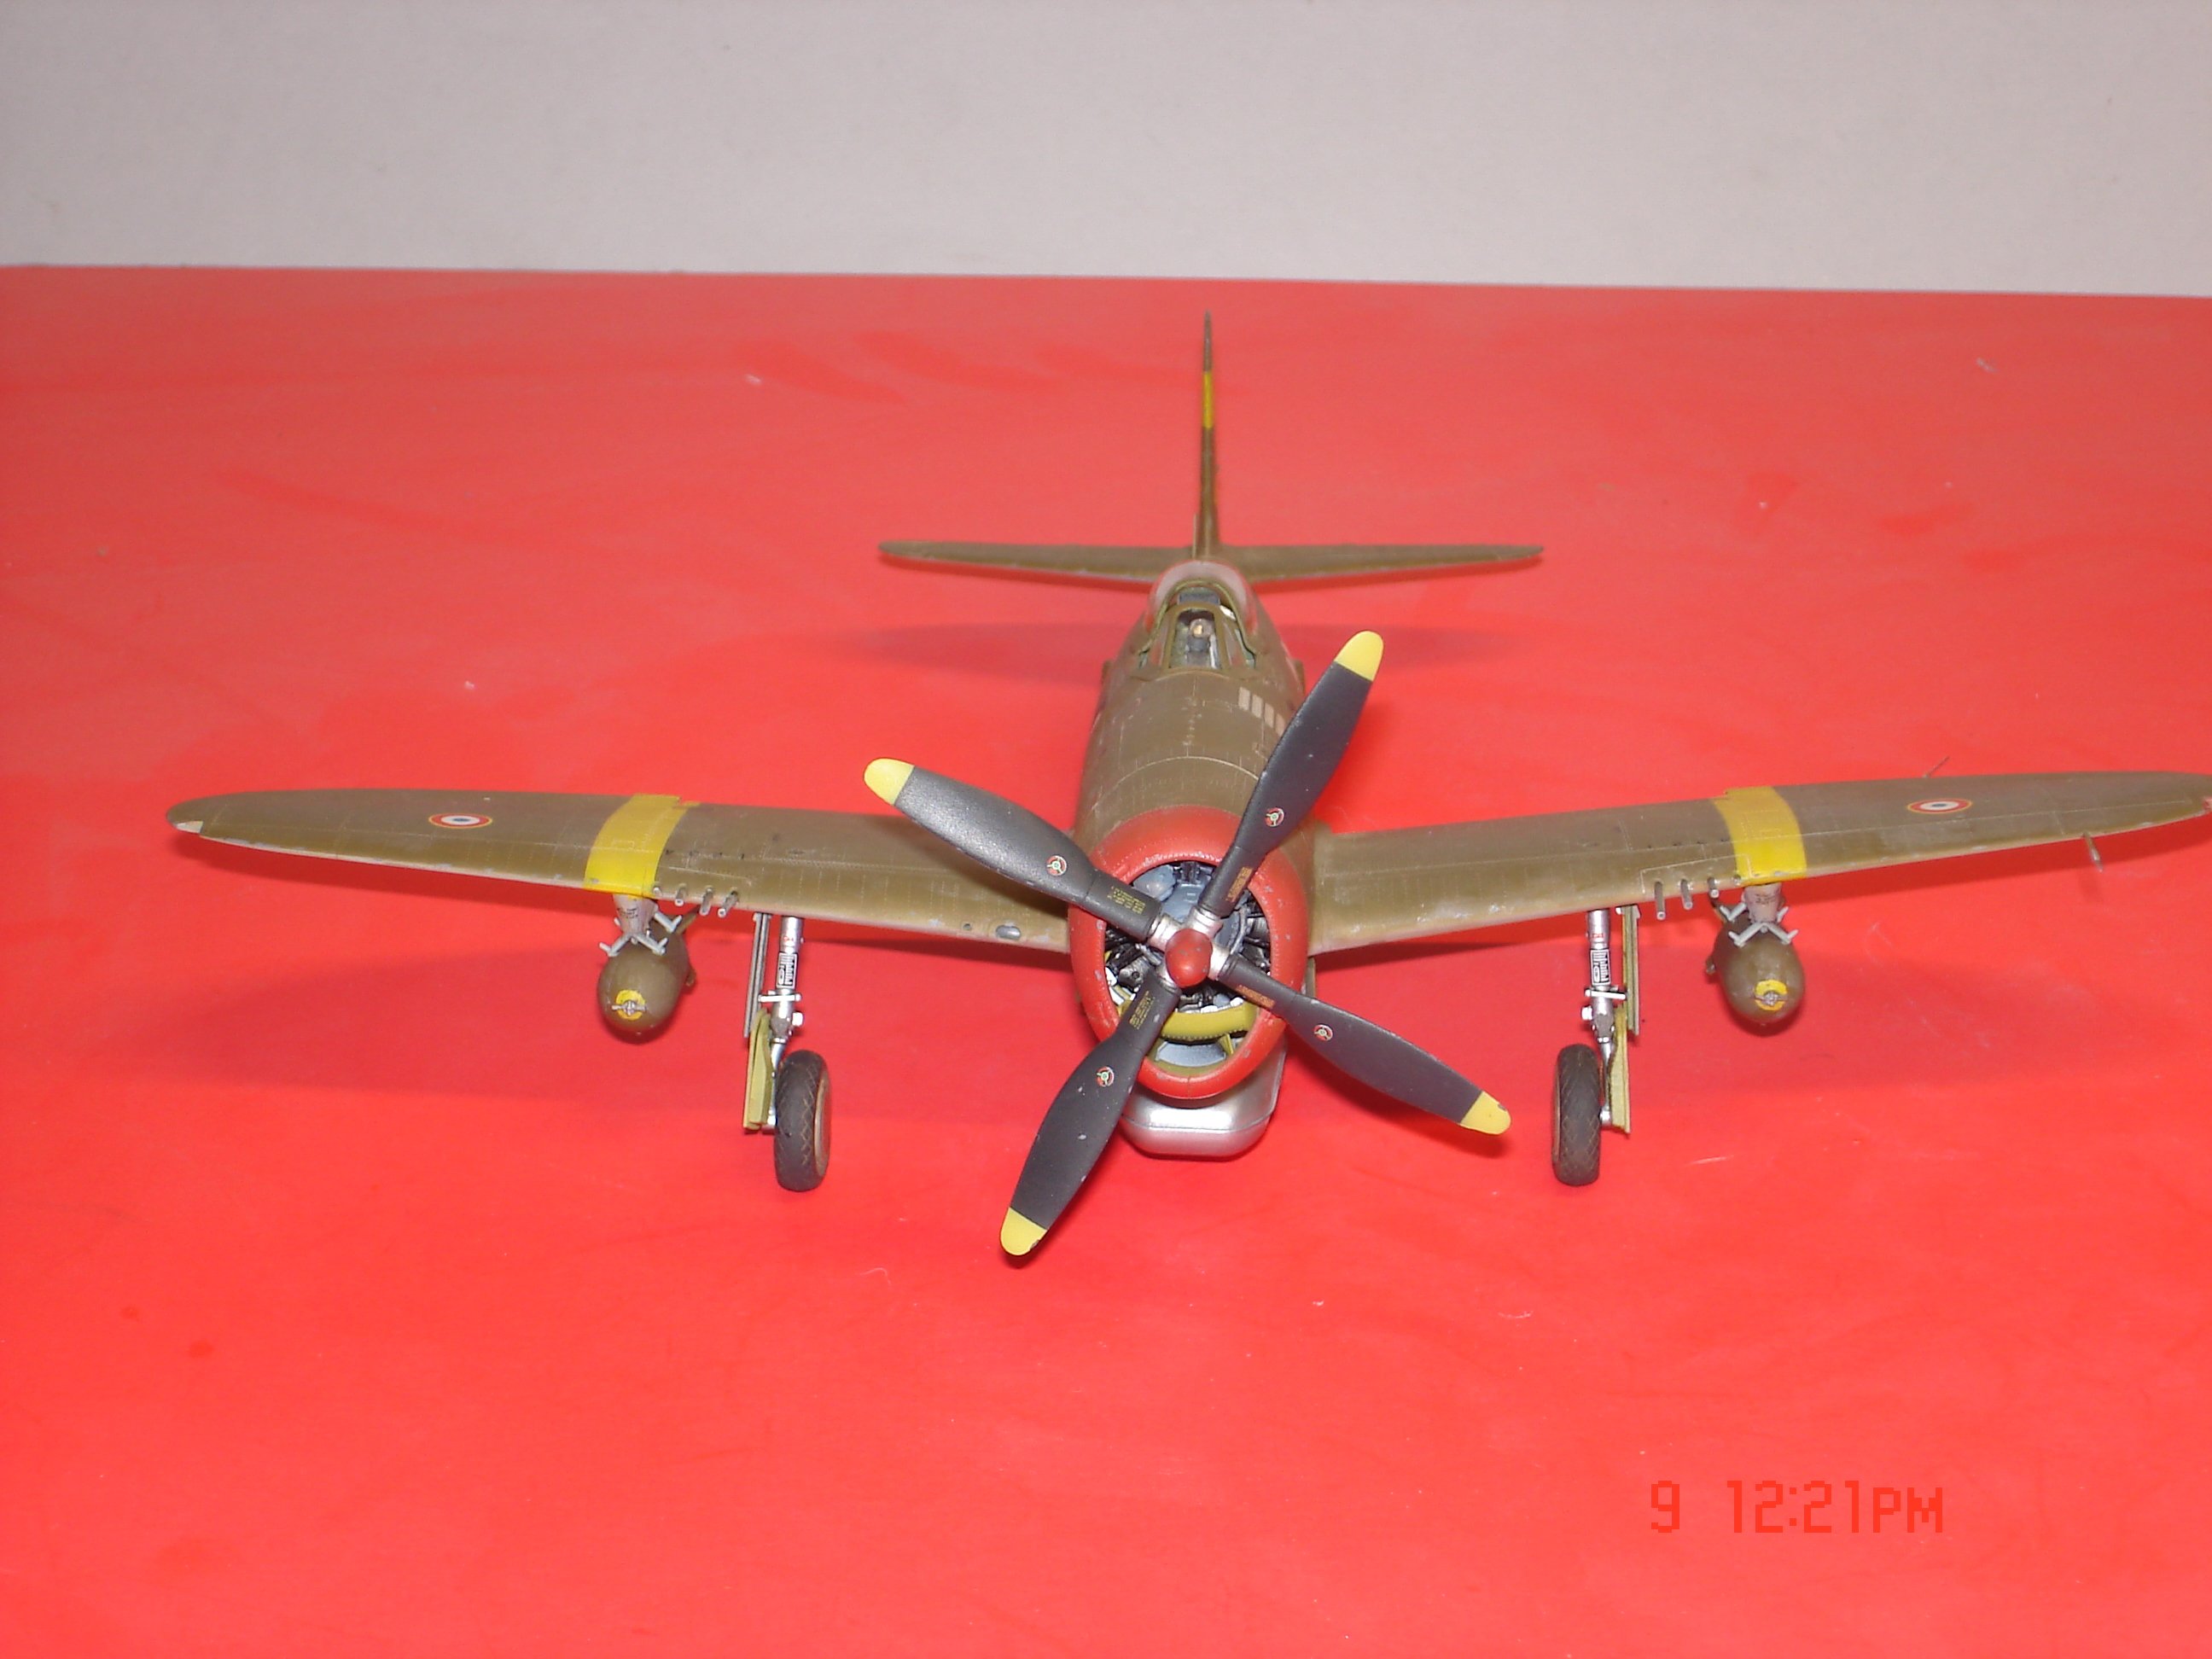
-
Though not finished as of yet the time is near.The kit is the 1/48 MiniArt which I would highly recommend to which I think the lines/rivets surpasses the Tamiya's offering for me at least.I had to do the bombs twice seeing the first go round the seams still showed some.I applied the second time the MrSurfacer 1000 with foam(1st time qtip) pad till it started to dry and pulling the foam back I got resistance this pulled the paint outward creating a stubble effect like cast iron.The effect in 1/32 one might need MS500 just guessing?


-
On 11/23/2024 at 1:38 AM, Egilman said:
Resin has been around since since the middle ages, as what we today call plastics since the mid 30's, the funny thing is I'm still waiting for any scientist to show everyone the person that died from contact with Resins...
That person just doesn't exist.... There are thousands of compounds that are a world sight more hazardous than resin in common usage every day...
Breathing dust? I don't want to breath sawdust, but sawdust is not considered a health risk, but it is more carcinogenic that photopolymer resin...
It's a simple fact, we can live in fear of things not likely to be proven, or we can live out lives taking normal precautions without fear...
Brother, build those models, they are less dangerous than the margarine you spread on your toast...
I did the research, I got the MSDS's pages... Heck they ship it around the world by the ton in bulk without any conditions, you want your kids to learn mold-making? Hobby Lobby sells it as stem kits to teach science and engineering to 10 year olds...
How long are we going to live in fear? How long are we going to let the few dictate to the many? WE all learned a long time ago we can't believe everything we are told cause we aren't told all that much... And someone drops the words "Cancer causing" (without a shred of real proof mind you) on a material and everyone starts shivering in their diapers...
Sorry, but I get more and more disgusted with the blind fear I see exhibited each day wondering when the world is going to wake up....
Getting off the high horse now brothers, just needed to vent a bit... 2.5 year cancer survivor here, I am working with photopolymer resins each and every day, there is no Oncologist in existence that can tell me that the resins caused my cancer, and that is from the HORSES MOUTH....
Build the models, the resin will not get you, but the paint you color them with will...
EG
Thanks for the input EG I have never ever feared resin or paint fumes but I am learning there are some sawdust you just want to avoid.
- mtaylor, king derelict, GrandpaPhil and 3 others
-
6
-
-
-
On 12/1/2024 at 4:52 PM, realworkingsailor said:
Yours looks great too!
Thanks Andy not now though over killed the weathering on this one with to much dust effect
-
-
-
On 11/29/2024 at 12:02 PM, realworkingsailor said:
Has it been that long??
I had hoped to be able to get more time at the workbench over the last six weeks or so, but life has a habit of getting in the way. So do warm sunny days.....
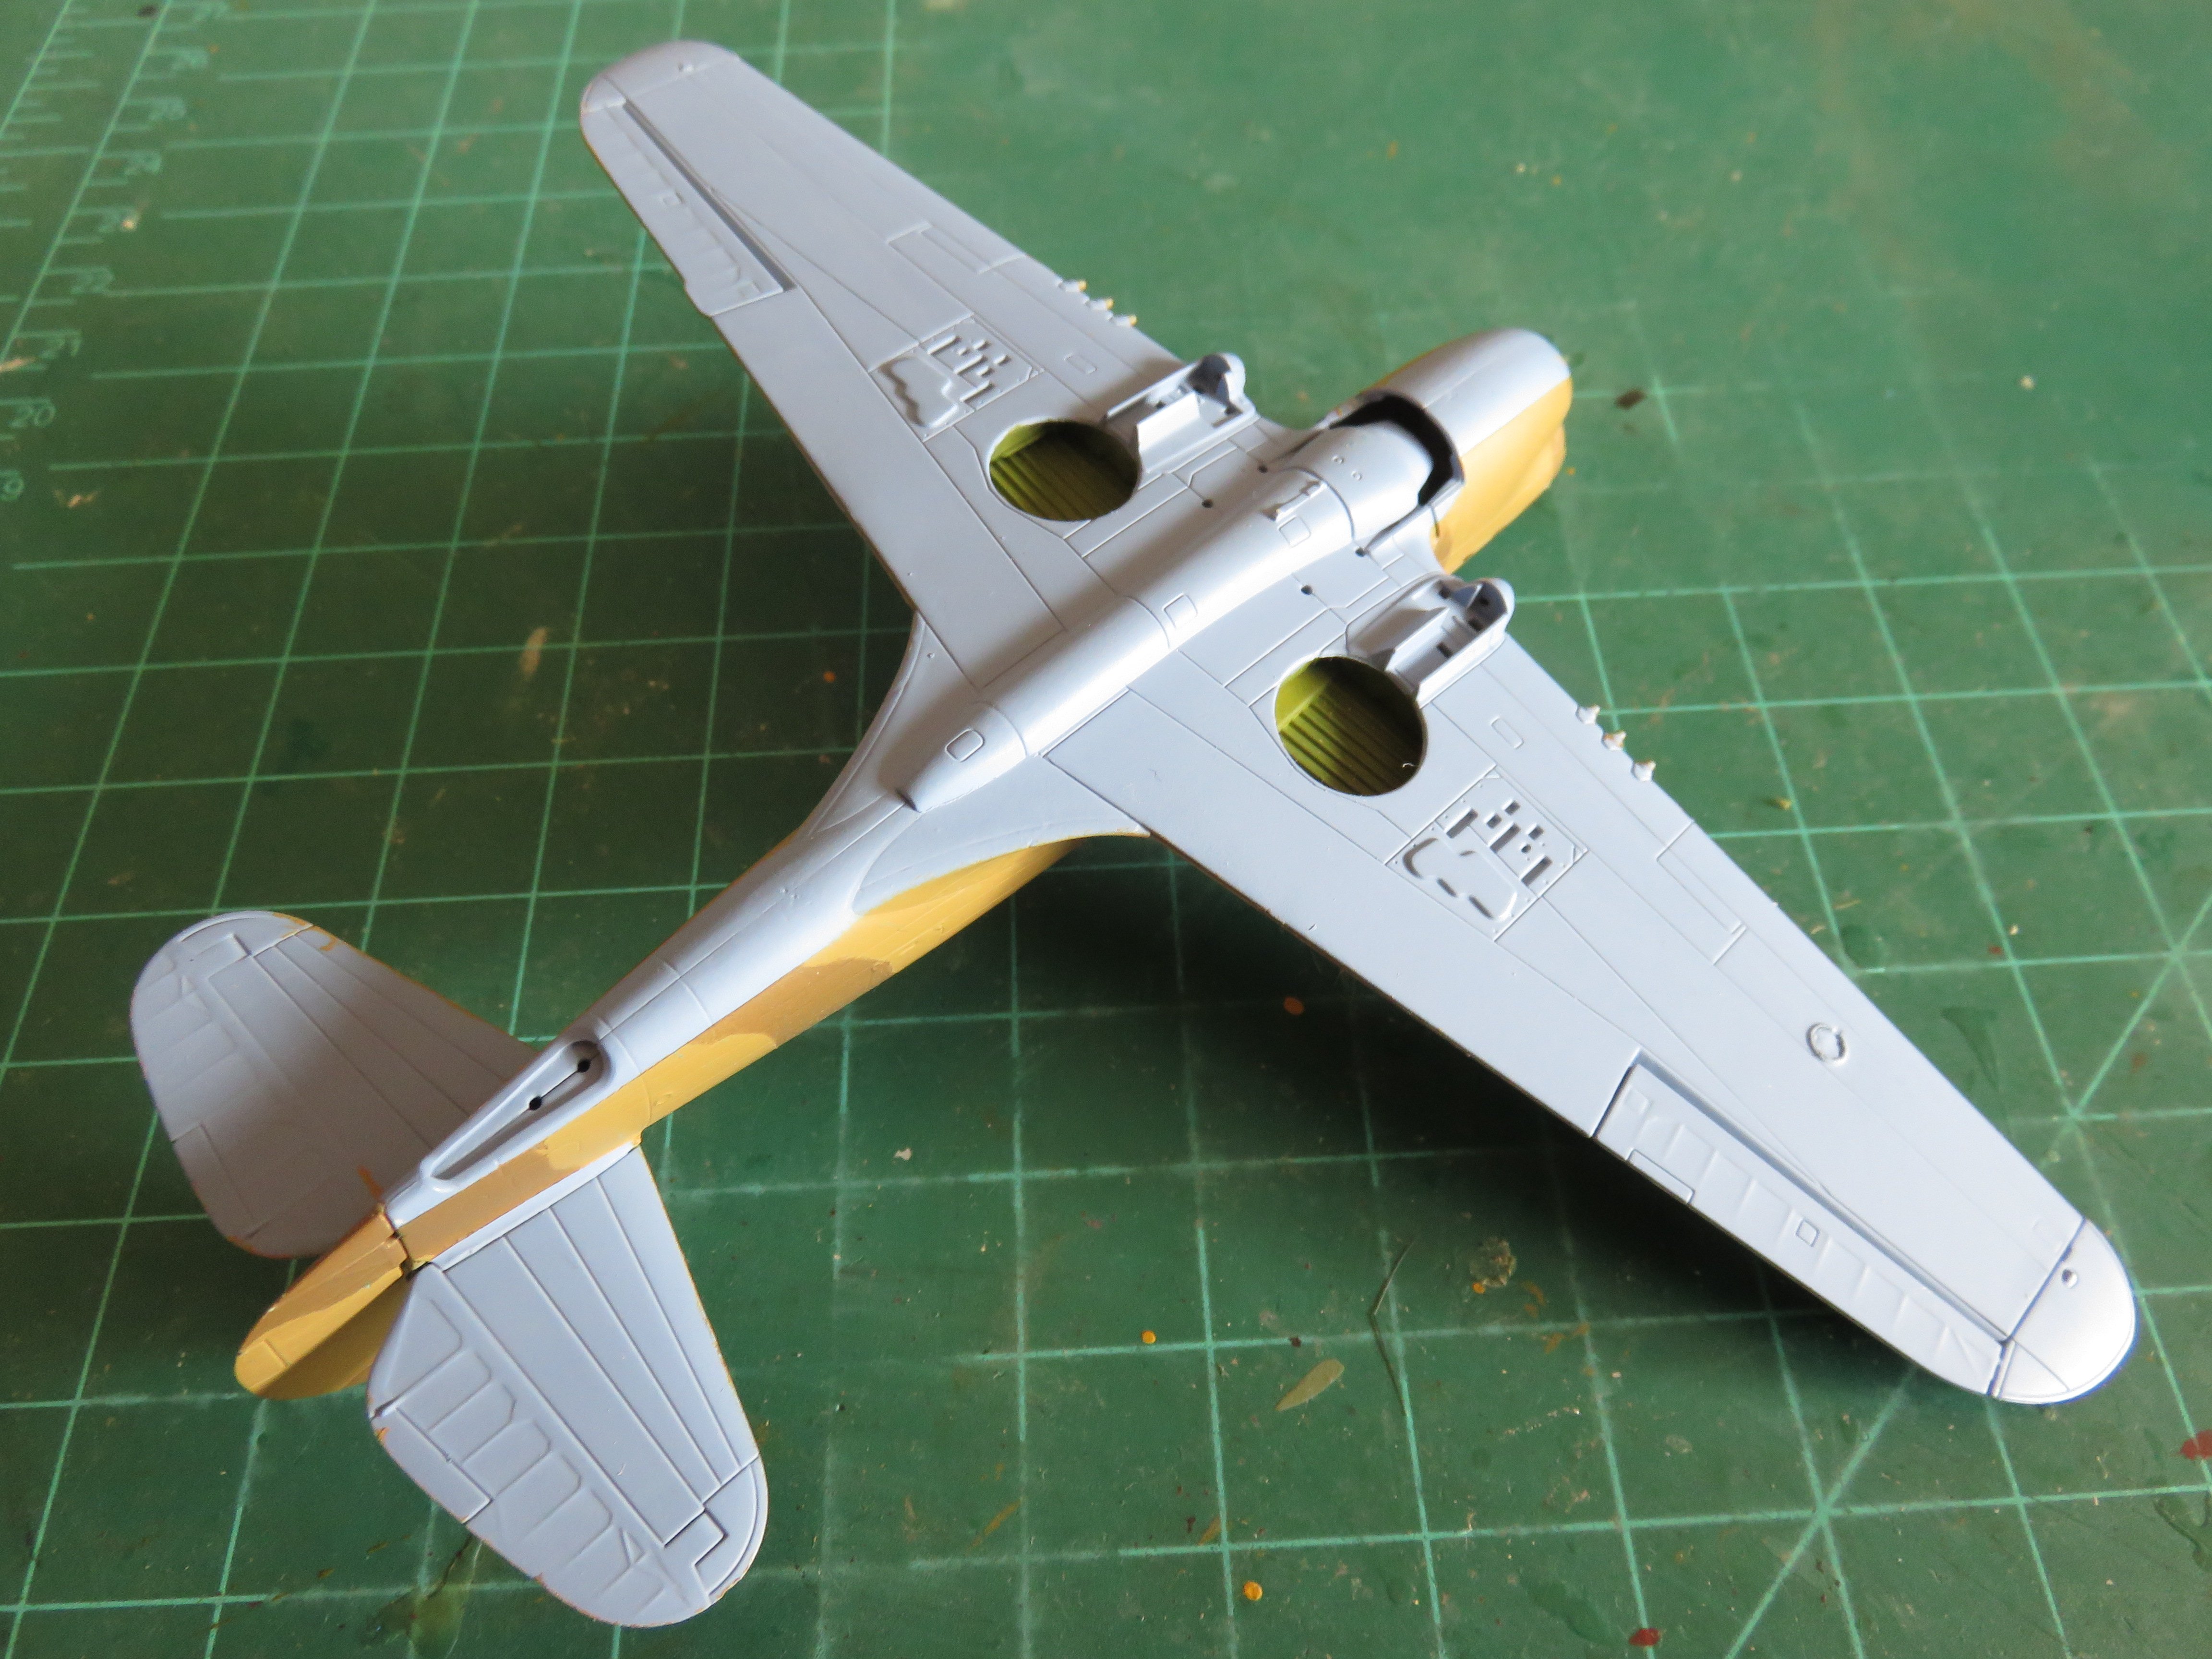
After my last update, I did get the cockpit buttoned up and a coat of primer applied.
The main canopy hood is just held in place with some poster putty for now. It is serving simply as a paint mask. I will display the model with the canopy open, and SH has a separate part for that. In the above photo, you can just make out that I have also applied the Azure blue underside colour. I have opted to use Vallejo acrylics for this build, making use of the nice spray booth and compressor that I got back in June.
The last couple of weeks I managed to get the upper colours applied as well:


A few touchups here and there, as usual, but I'm fairly happy with how things are looking at this point.
The underside contrasts nicely with the upper surface colours. Following the touch ups, I will have to mask and paint the yellow "fighter command" stripes on the wing leading edges outboard of the guns. That should be fun.....
Overall I am enjoying using the Vallejo paints. Using their thinner and a drop of flow improver, I haven't had any nozzle clog issues, and I'm able to spray at a relatively low pressure, with no spattering. All problems I've encountered in the past with other acrylic paints (ahem....Polyscale...cough cough).
I hope to be able to provide more frequent updates in the near future. Thanks to everyone who's still following along and all your kind comments and likes!
Andy
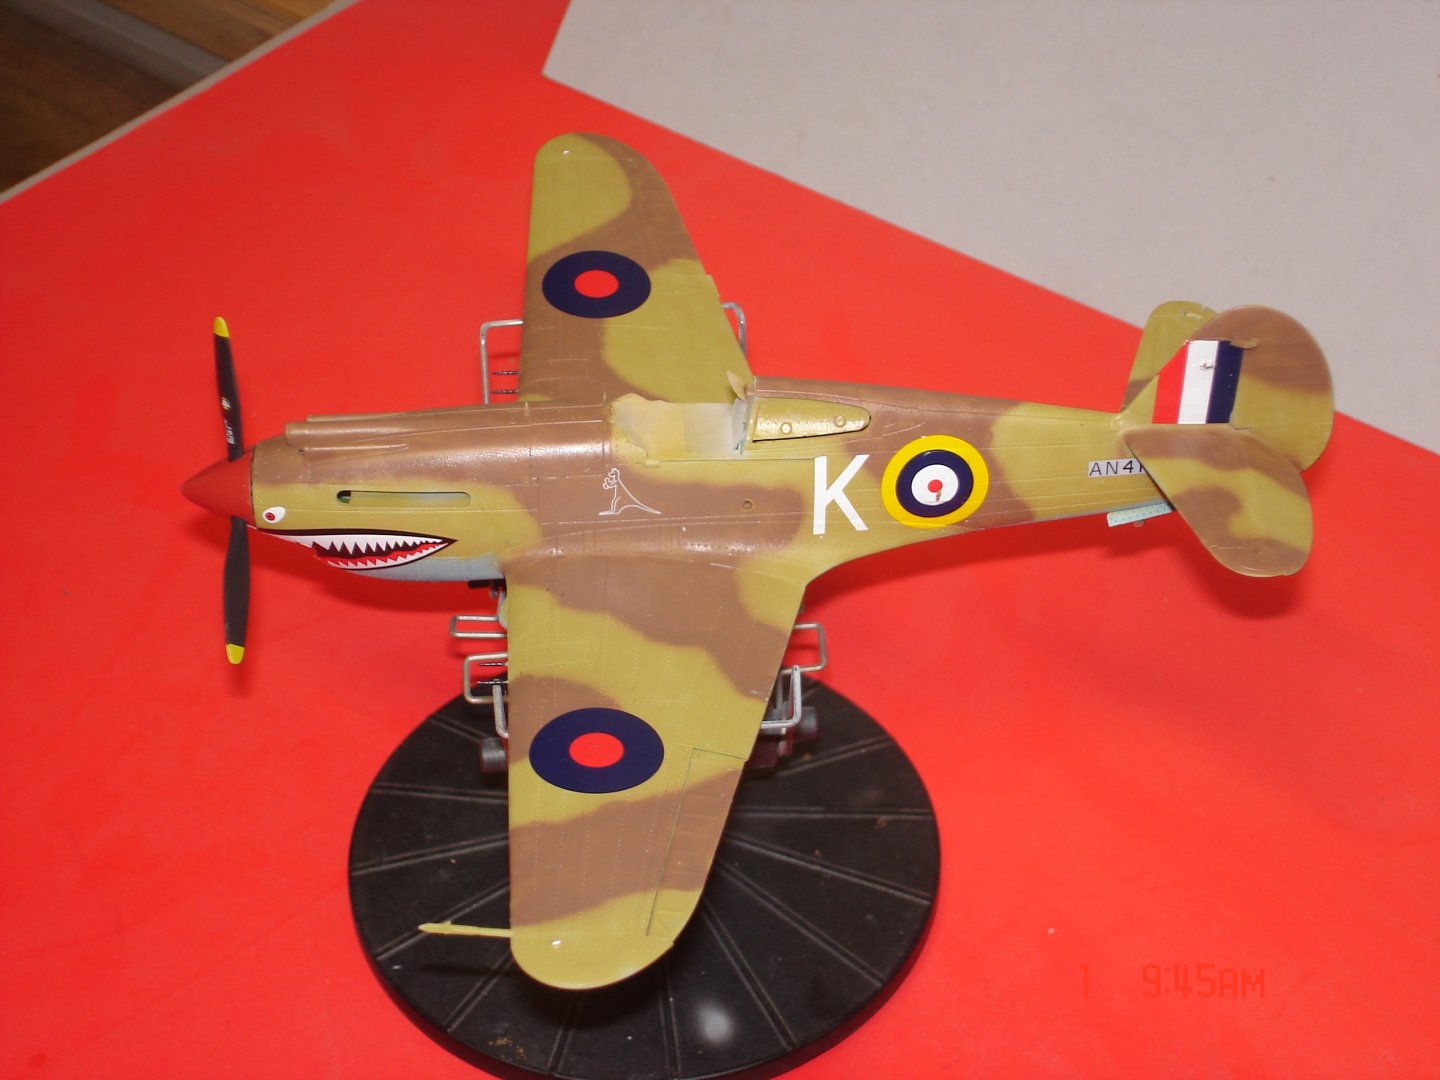
Looking good Andy I am doing the Trumpter 1/48 P-40B in the same camo the Middlestone in your first pic looked light to mine but your fourth pic we are dead on.The Dark Earth mine has a tad to much red in it used French Earth it looks ok.
- mtaylor, Dave_E, BLACK VIKING and 6 others
-
9
-
That came our sasweeet Alan nice work!

- Canute, Egilman, Old Collingwood and 3 others
-
6
-
Or it could be Yves you have some of the same gremlins I have at your house....model gremlins... they love to steal parts and laugh in the back corner as you fuss
 Really Yves this is looking excellent!
- druxey, mtaylor, Ryland Craze and 6 others
-
9
-
-
That's a very Nice rendition Chris!
- Canute, Old Collingwood, Egilman and 4 others
-
7
-
-
-
I seen something on YT a couple months back from Academy about this kit all I could think/say they out did themselves on this one.
-
21 hours ago, king derelict said:
Great work Jav. You really did an excellent job on the finish
Thanks Alan I am glad I stuck it out.The very last piece of LGDoor was about to be added again it went for the floor I never heard it hit the floor for 10 minutes I looked to no avail!I said no way but I did it anyway took off the shoe it fell in the hole of my work shoe(1" hole) I went WTH
 19 hours ago, Egilman said:
You too sir have captured the essence of an in-service BMF!!!!
Another "Honey I shrunk the airplane award winner!!!!
Well you know we had that discussion paint or metal and across other boards all said orders were Silver Dope.🤨 The pics I saw the more I am thinking the a mix make it look like the pic was all I could strive for she real close.
12 hours ago, shipman said:A splendid model, a true miniature of the real 'plane. Well done!
Thank You Ship appreciate the compliment means much Sir!
12 hours ago, shipman said:The only 'Tiffy' remotely capable being put back in the sky belongs to Kirmit Weeks.... time will tell.
I have been watching that they are working with one in the UK that looks to be a flyer also methinks it's a Mk-II(?)swapping parts and an engine some where's in the action.
8 hours ago, Canute said:let me add my kudos for a superb NMF Tempest.
Thanks Ken I have been pushing myself pushing myself of late on weathering and such baby steps unlike Doc Rob well he goes full tilt I think his brain is just a little bit bigger than mine.

-
2 hours ago, CDW said:
Javlin, this came out spectacular.
Thanks Craig at the end of the build patience was running thin.
1 hour ago, Lt. Biggles said:Looks amazing! You did a great job with the painting! First time I’ve ever seen a Tempest not in camo!
Sir..you do not know the struggles to resist shiny but then I said make it look like the picture.
1 hour ago, AJohnson said:Great build, what a beast of an aircraft
That they are AJ thinking of doing another Mk VI I have this kit pegged now.
11 minutes ago, Old Collingwood said:Superb work - top notch model you have created
Thank You OC I now make a shiny model F-106
-
-


Porsche 911 Carrera 3.2 Coupe by gsdpic - FINISHED - Revell - 1/24 - Plastic
in Non-ship/categorised builds
Posted
Like it Gary cars are not my gig really for the most part but she came out good!