


Ulises Victoria
-
Posts
1,790 -
Joined
-
Last visited
Content Type
Profiles
Forums
Gallery
Events
Posts posted by Ulises Victoria
-
-
Look what you made me do! You know who you are!!!


- CaptainSteve, Sjors, mtaylor and 1 other
-
 4
4
-
Well... you guys got me cornered. I guess more filler is the order of this next week building schedule.

Jean-Pierre: I think I prefer the "find-and-mark-the-location-and-open-with-a-knife" method for doing the gun ports. Supposedly Mamoli does it that way so the frames are correctly positioned right away, but I found out this is not always the case. I had to manipulate some of them to correct position.
-
Thank you all for your comments, encouragement and likes.

Sjors: Okay okay. I will use some more filler.
Mark: I started doing the frames job with coarse sand paper on a wood block. Then I found a small file with very sharp and big teeth. Rasp I think it's called, and that made a lot of difference. Finished port side in 1 and a half sessions.
-
Hello all.
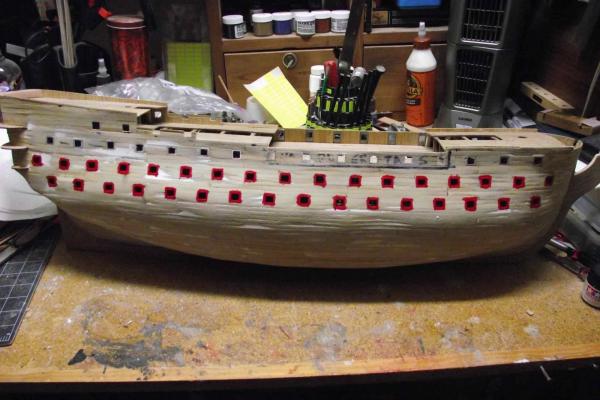
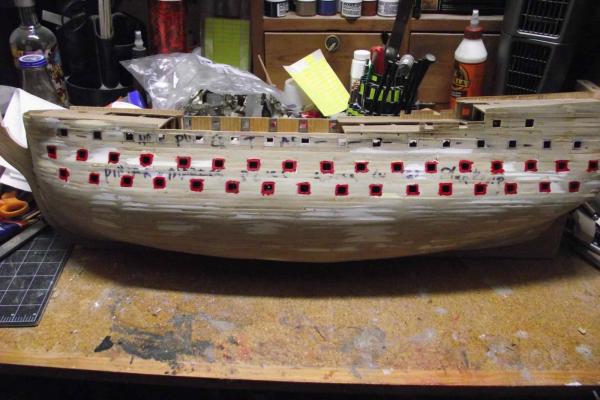
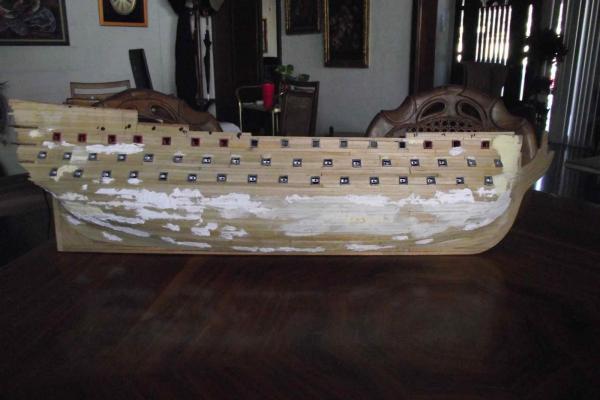
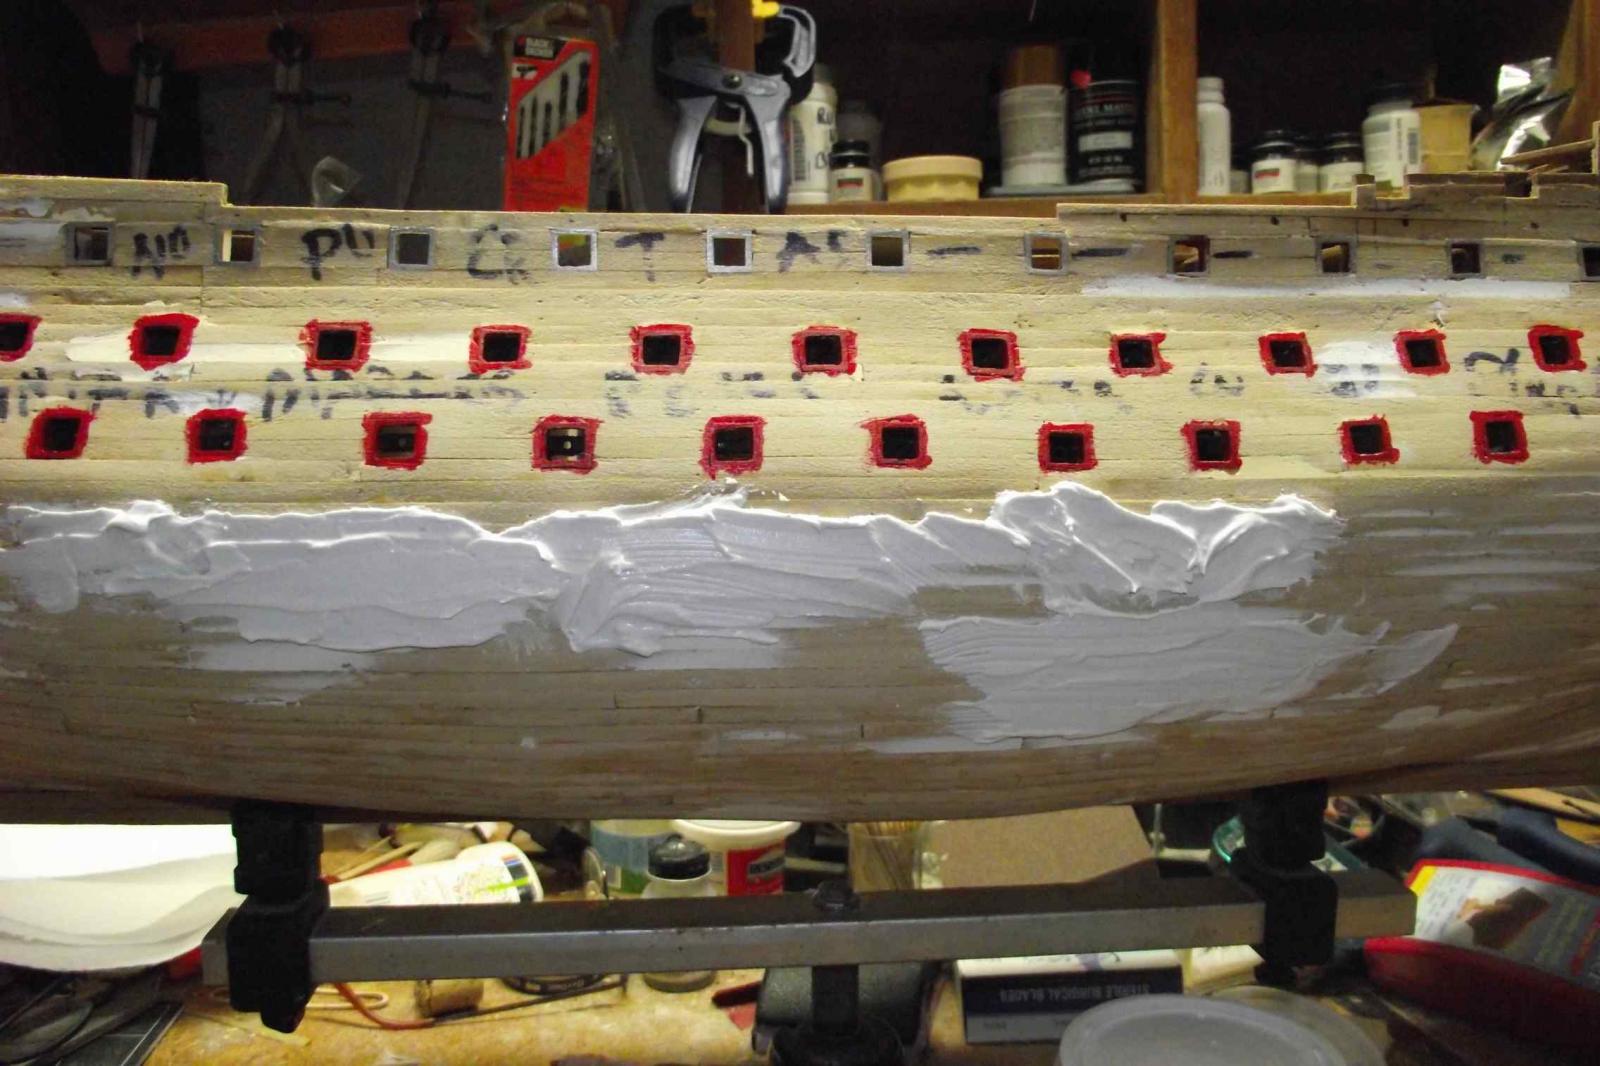
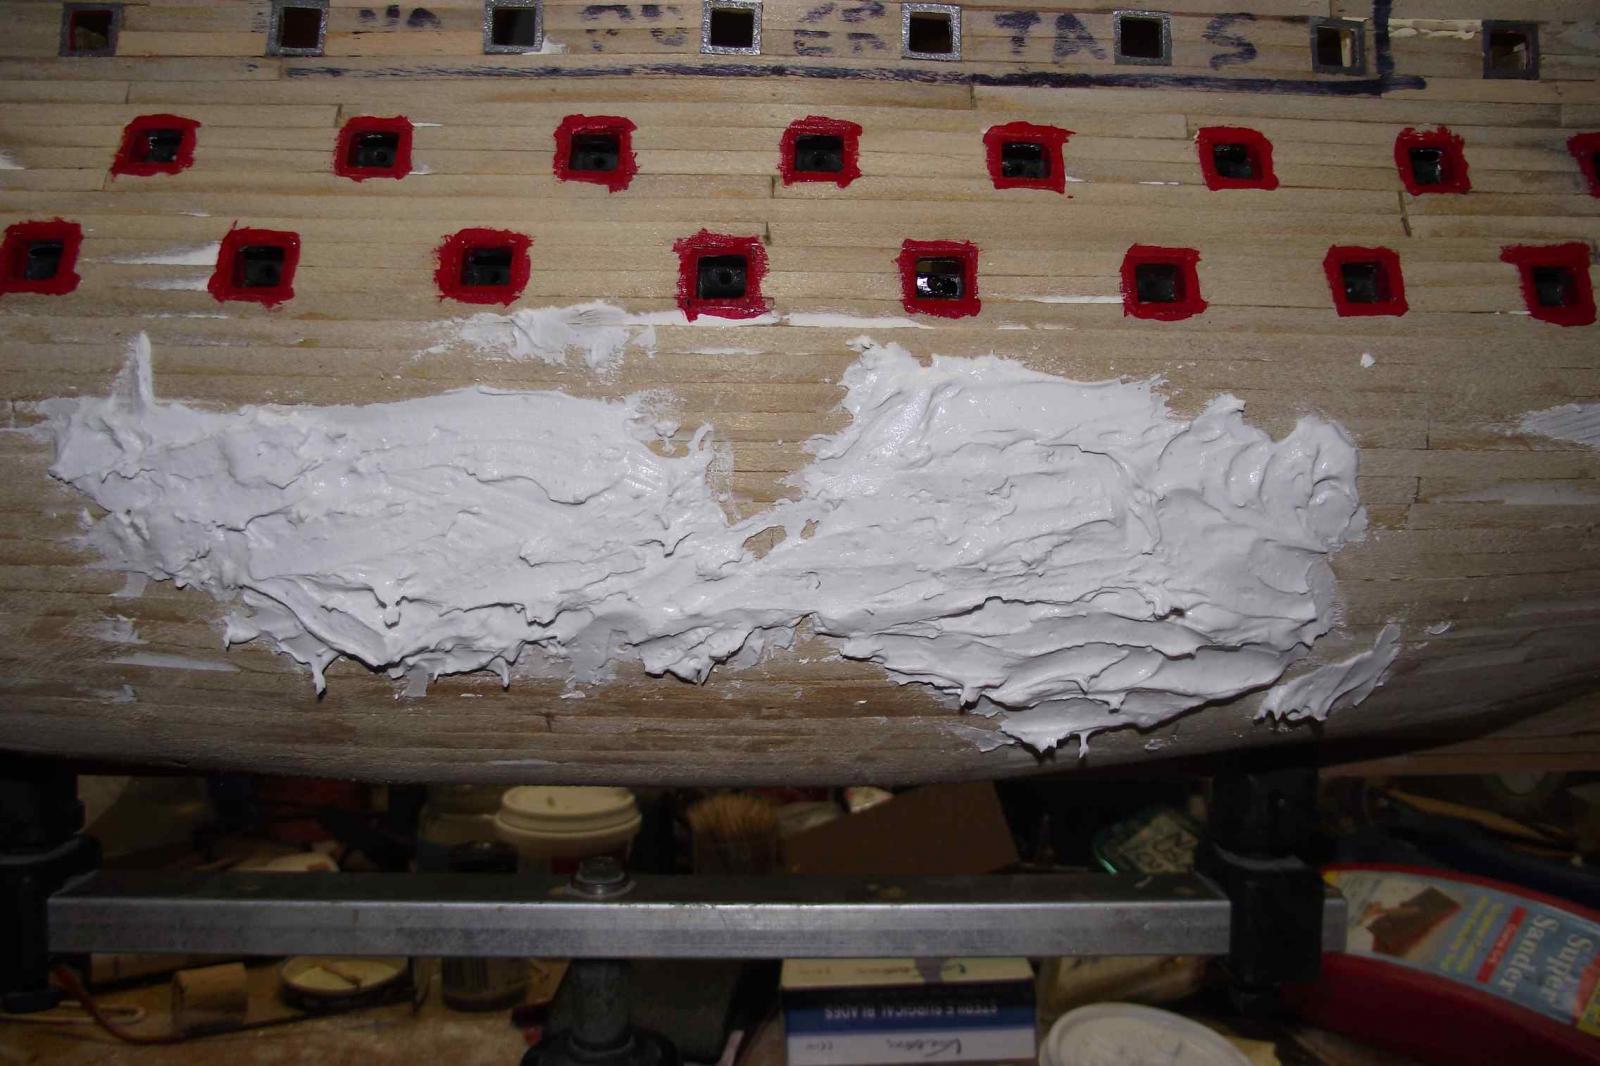
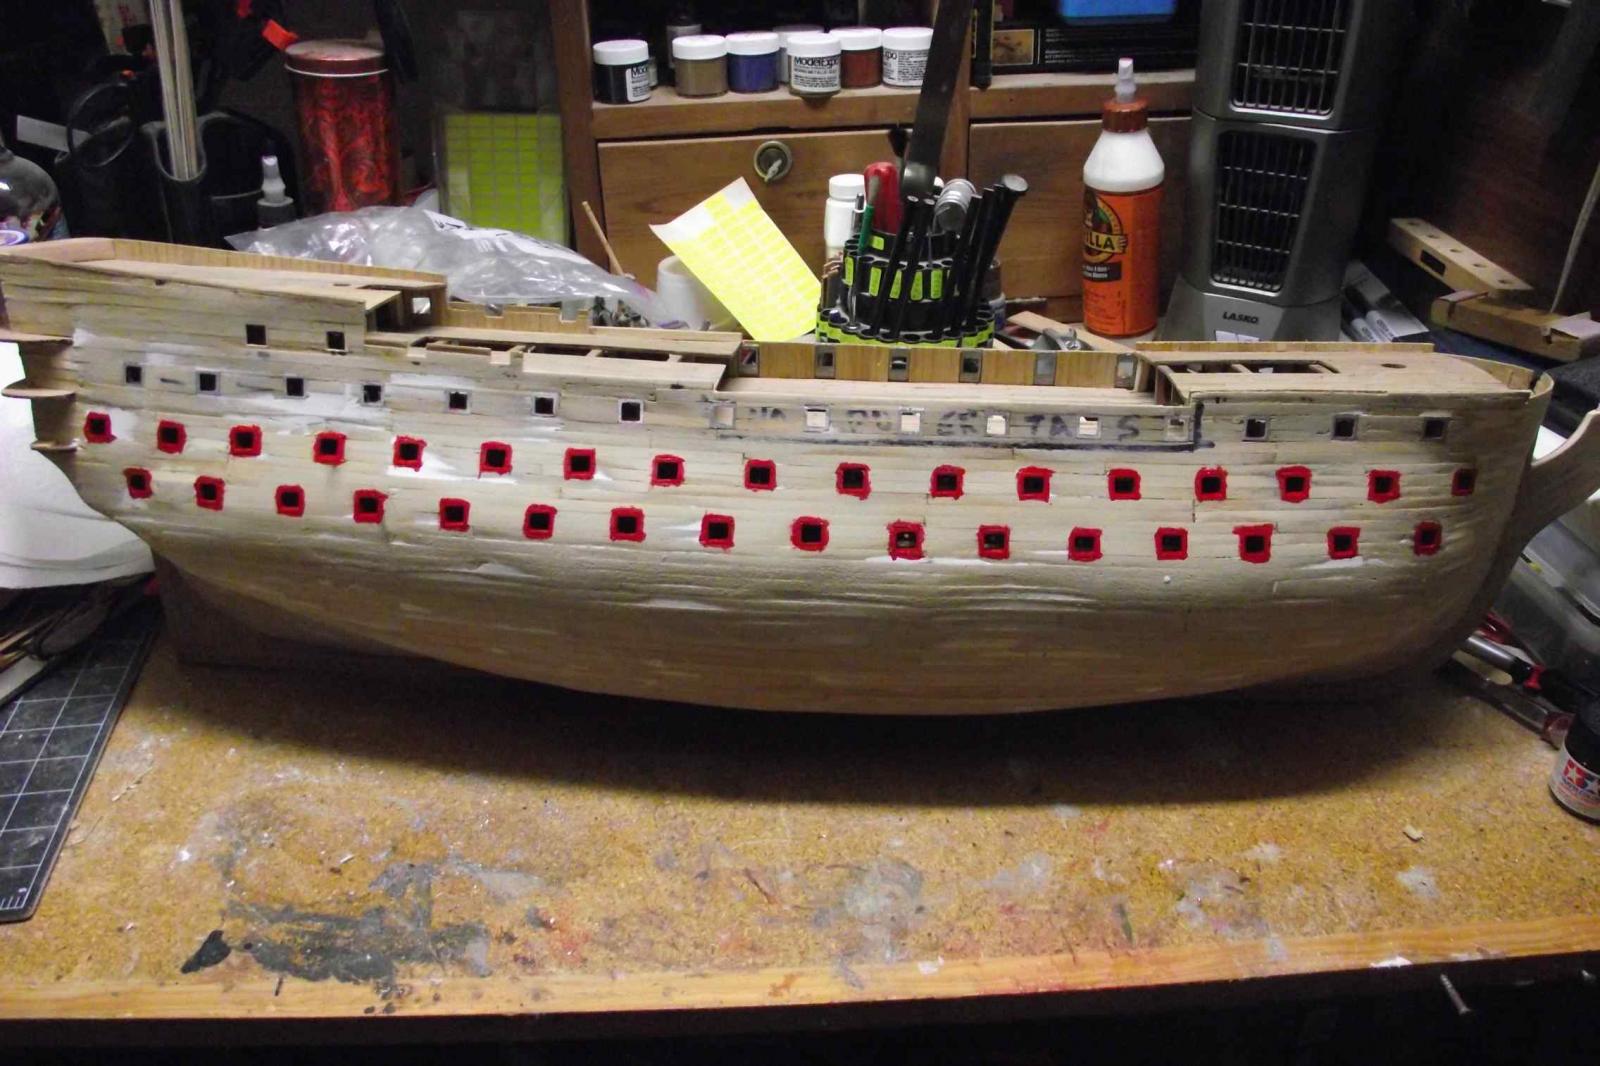
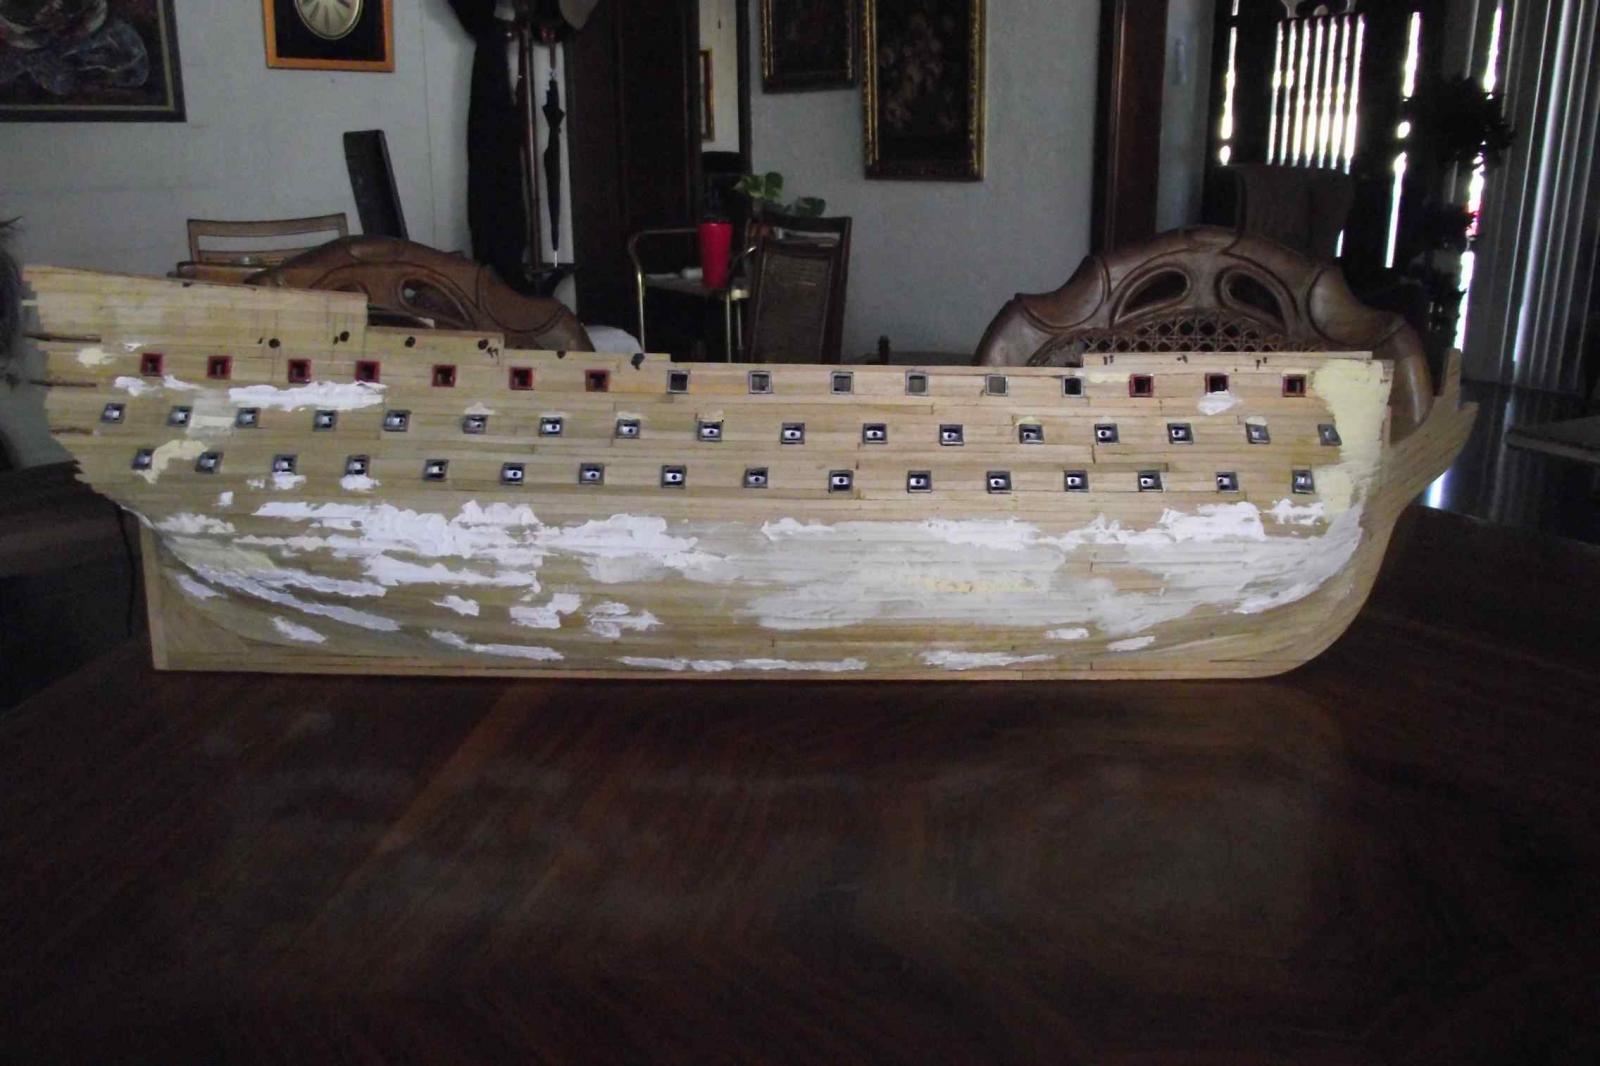
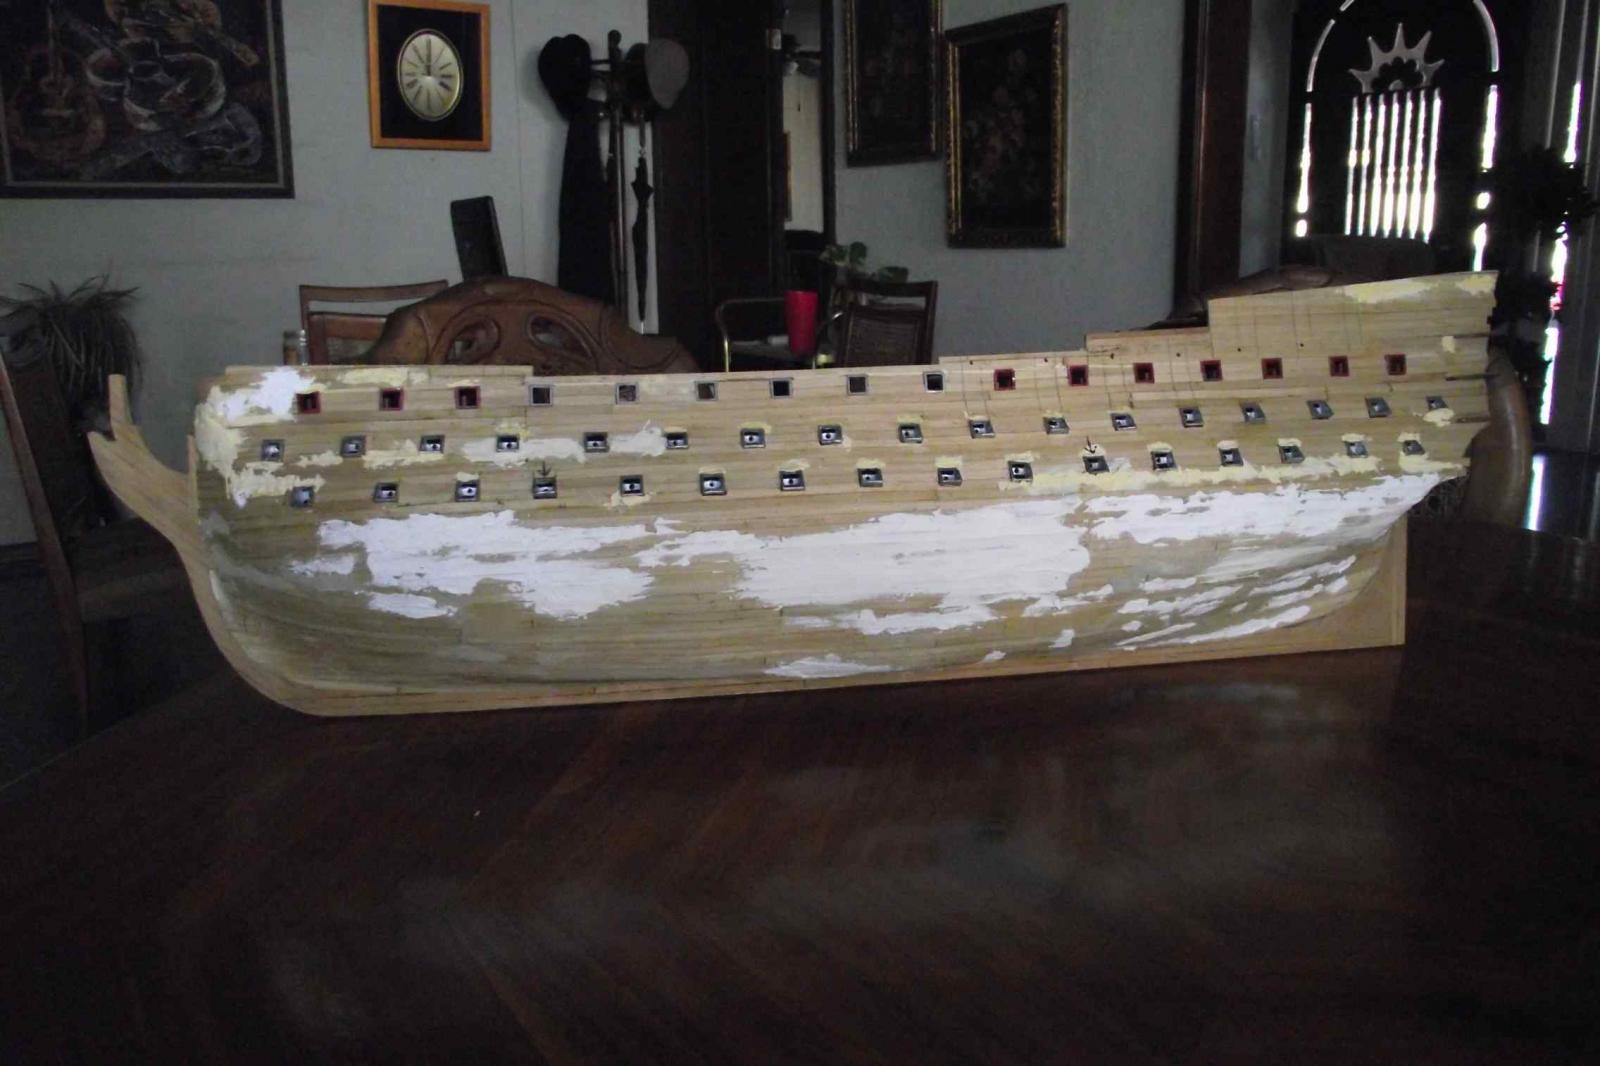
I can't believe it took me more than five months to finish the first planking of my ship. This hull is HUGE!
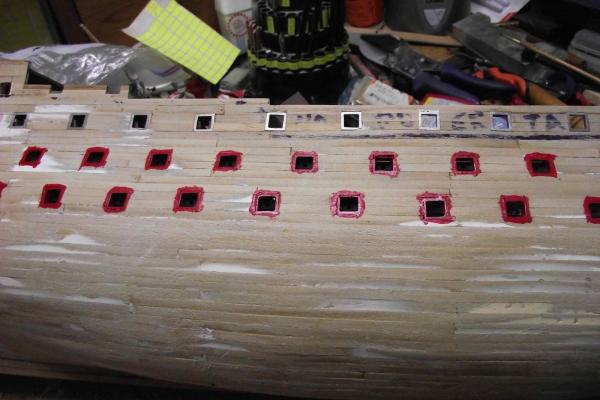
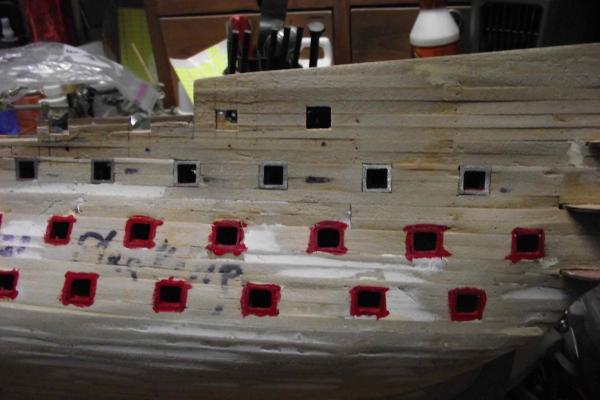
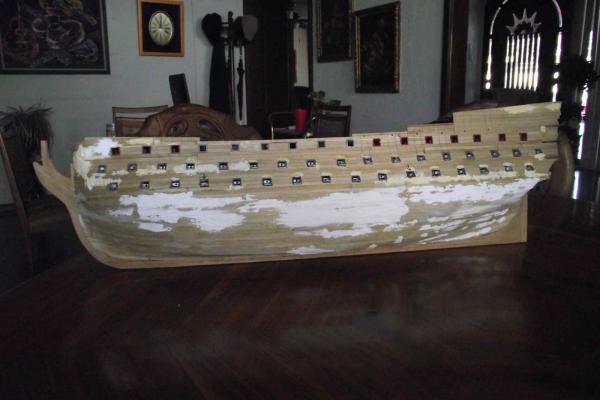
I finished placing all the wood on the hull, leveling the metal frames to hull level, sanding and smoothing the hole thing and painting red the metal frames.
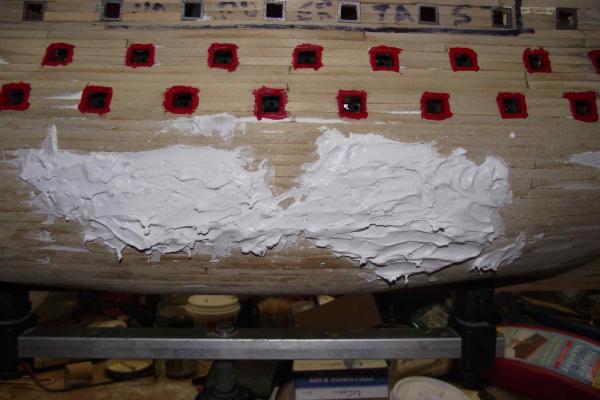
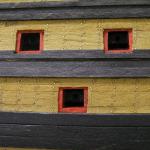
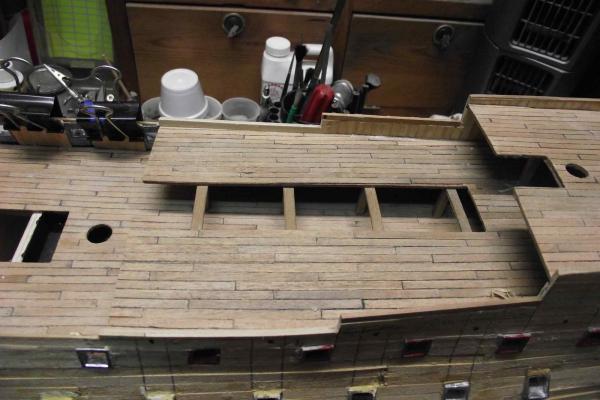
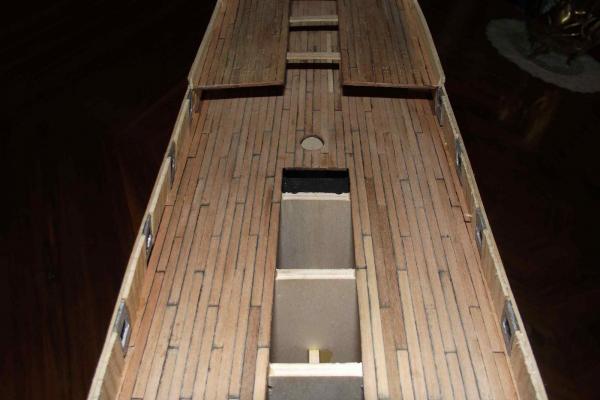
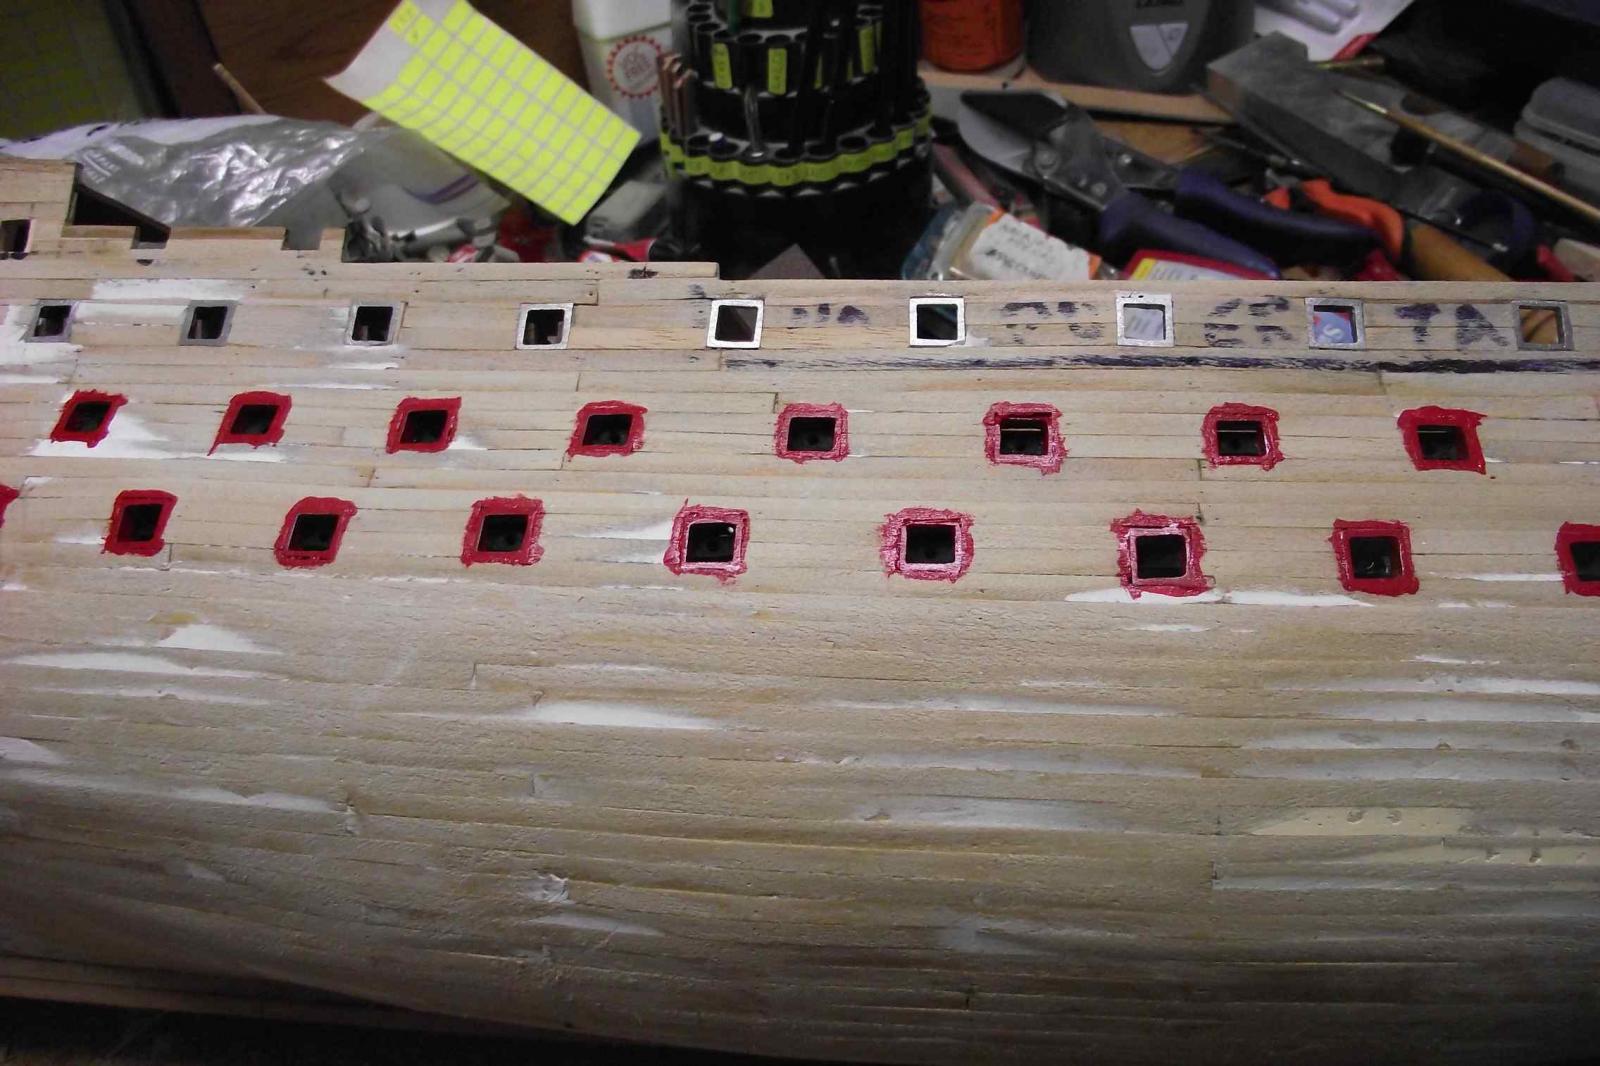
I plan to let the second planking just a bit short from the openings to achieve the effect shown in the first photo. Not sure how this will come out.

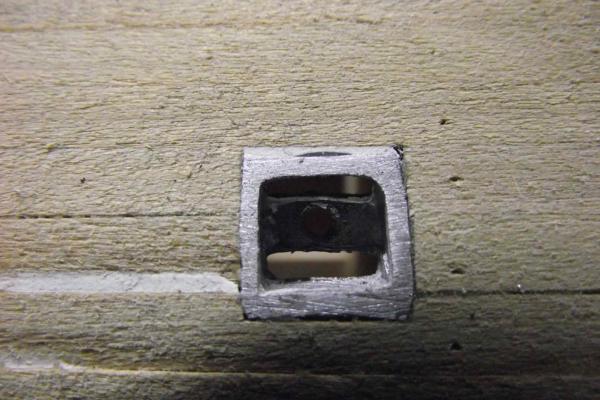
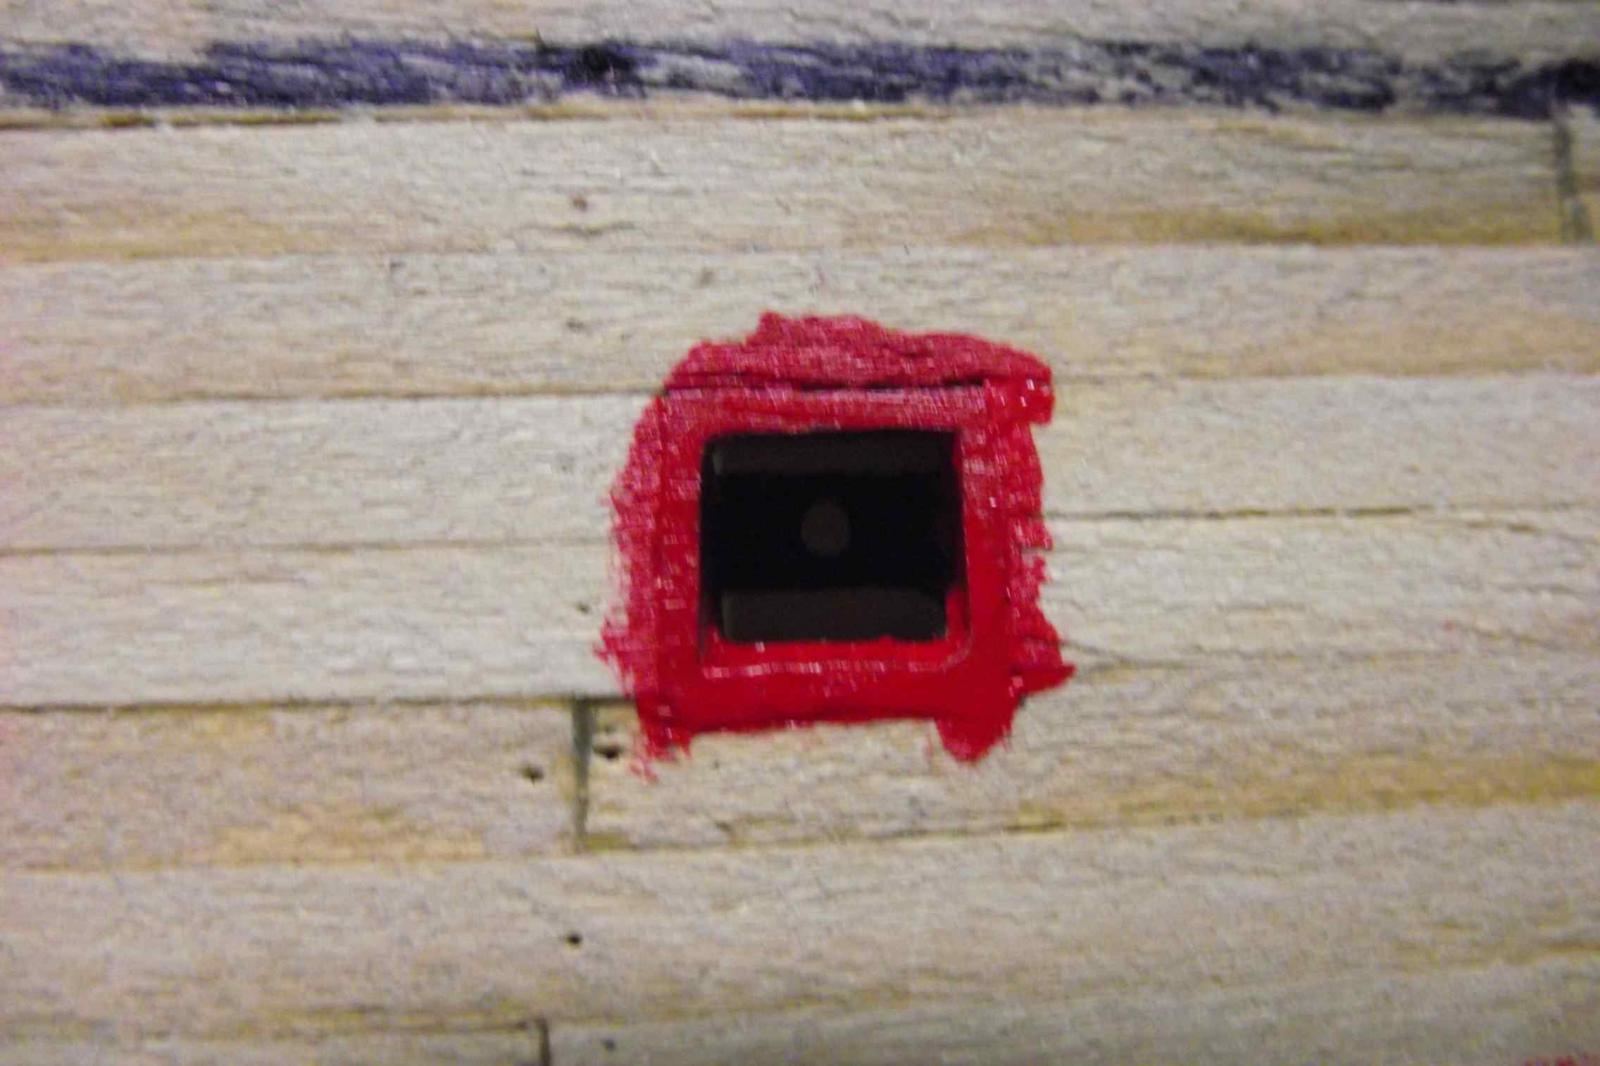
Also, do you see the photo of an unpainted frame with the upper right corner slightly rounded? Well.... all 66 red frames were like that so that was something else to fix.
The hull is not perfectly even... there a re a few albeit very small bumps here and there, but that will have to do.-
Thanks for watching!

- marktiedens, Vivian Galad, GLakie and 10 others
-
13
-
-
Hmmm... hard to tell how much in a year, and it varies from year to year. The year(s) in which I work on hull and decks I use plenty, while in the year I spend in rigging, it's a minimum. What I can say is that I barely use CA and try to avoid it at all. I use Titebond or Gorilla Wood Glue (not the foaming type) for gluing wood to wood, and 5 min epoxy for dissimilar materials.
-
-
-
Thank you for your kind words, Edwin. It's really satisfying when someone says they are learning something from what you do.
Glakie: I thank you also for your comment, and you're more than welcome to come and see... but actually, I'm building my ship in the same closet where I started her and where I've been building since we moved to this house in yr 2000!
-
Thank you Bill.
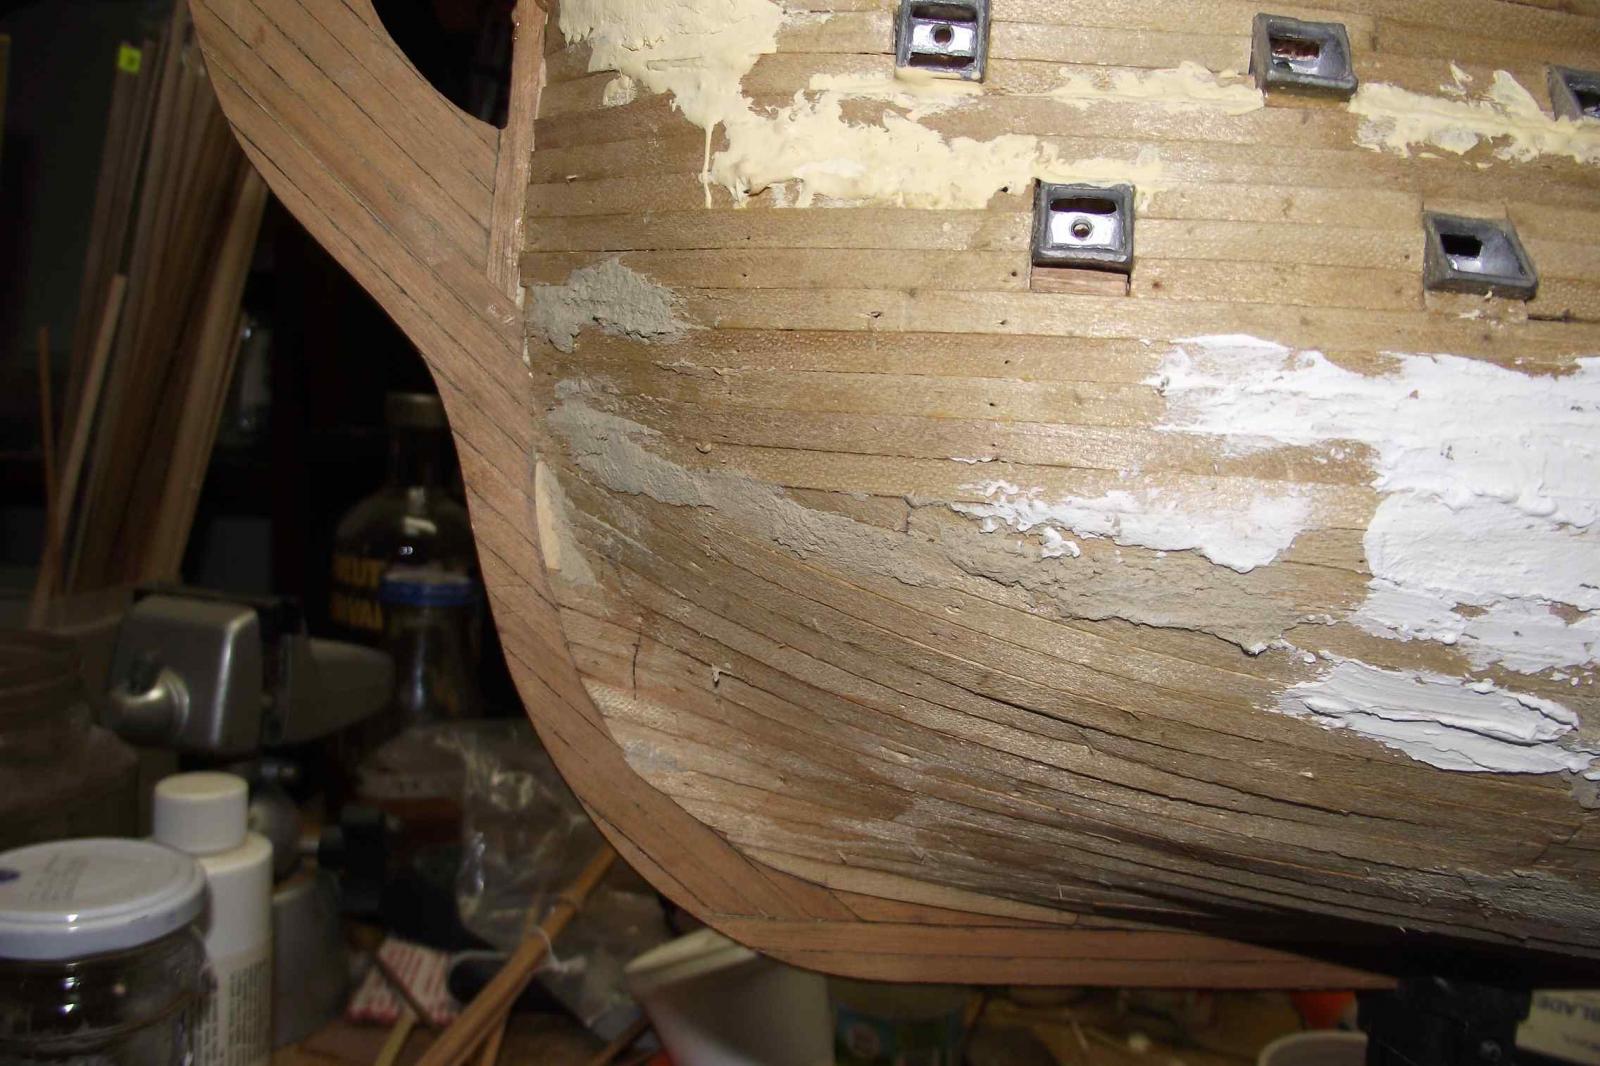
My very next step will be to sand down the metal frames to level with the hull, and sand smooth all the wood in the hull. I plan to sand it all and then paint the whole thing with diluted wood glue to strengthen any weak joint that might have escaped to my eye.
This Russian guy has an excellent build log of this kit. It's in Russian, but Chrome allows me to translate it to English. Imperfect, but you can get the idea of what they are talking about.
http://gallery.shipmodeling.ru/main.php?g2_itemId=76728 (Thanks to michael101 for the link)
-
I use Renaissance wax extensively on my wooden turned pens. Never thought about using it on my ships. Something to think about! Thanks!
-
Hehe Thanks Arthur.
That table top is removed and underneath there is a green flannel flat surface with slots for your poker chips, drinking glasses and everything needed for your card or domino games!
Oh and thanks for your comment on the ship!.
And a big thank you all for the likes.
-
OK. So... although not completely done with the first planking yet, here's an update of my RL build.
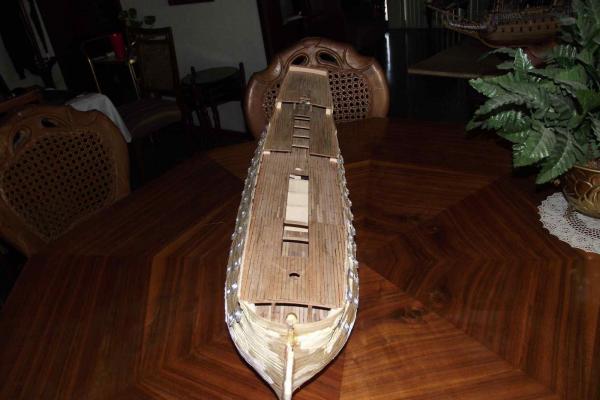
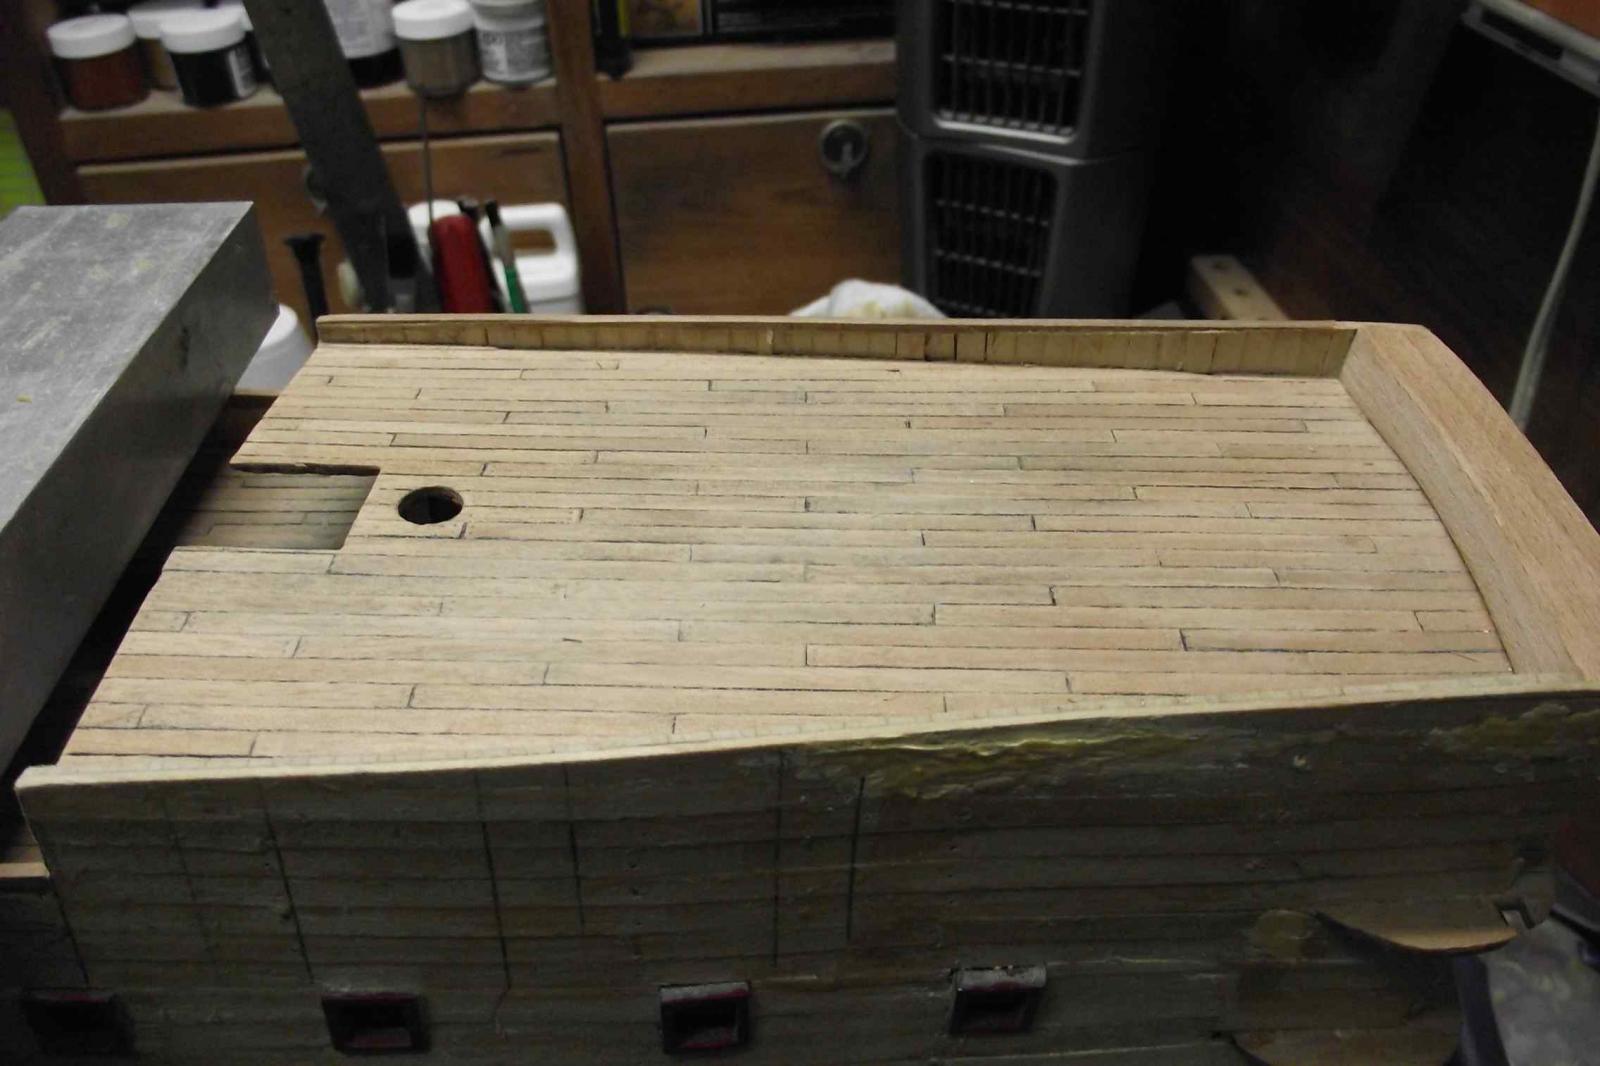
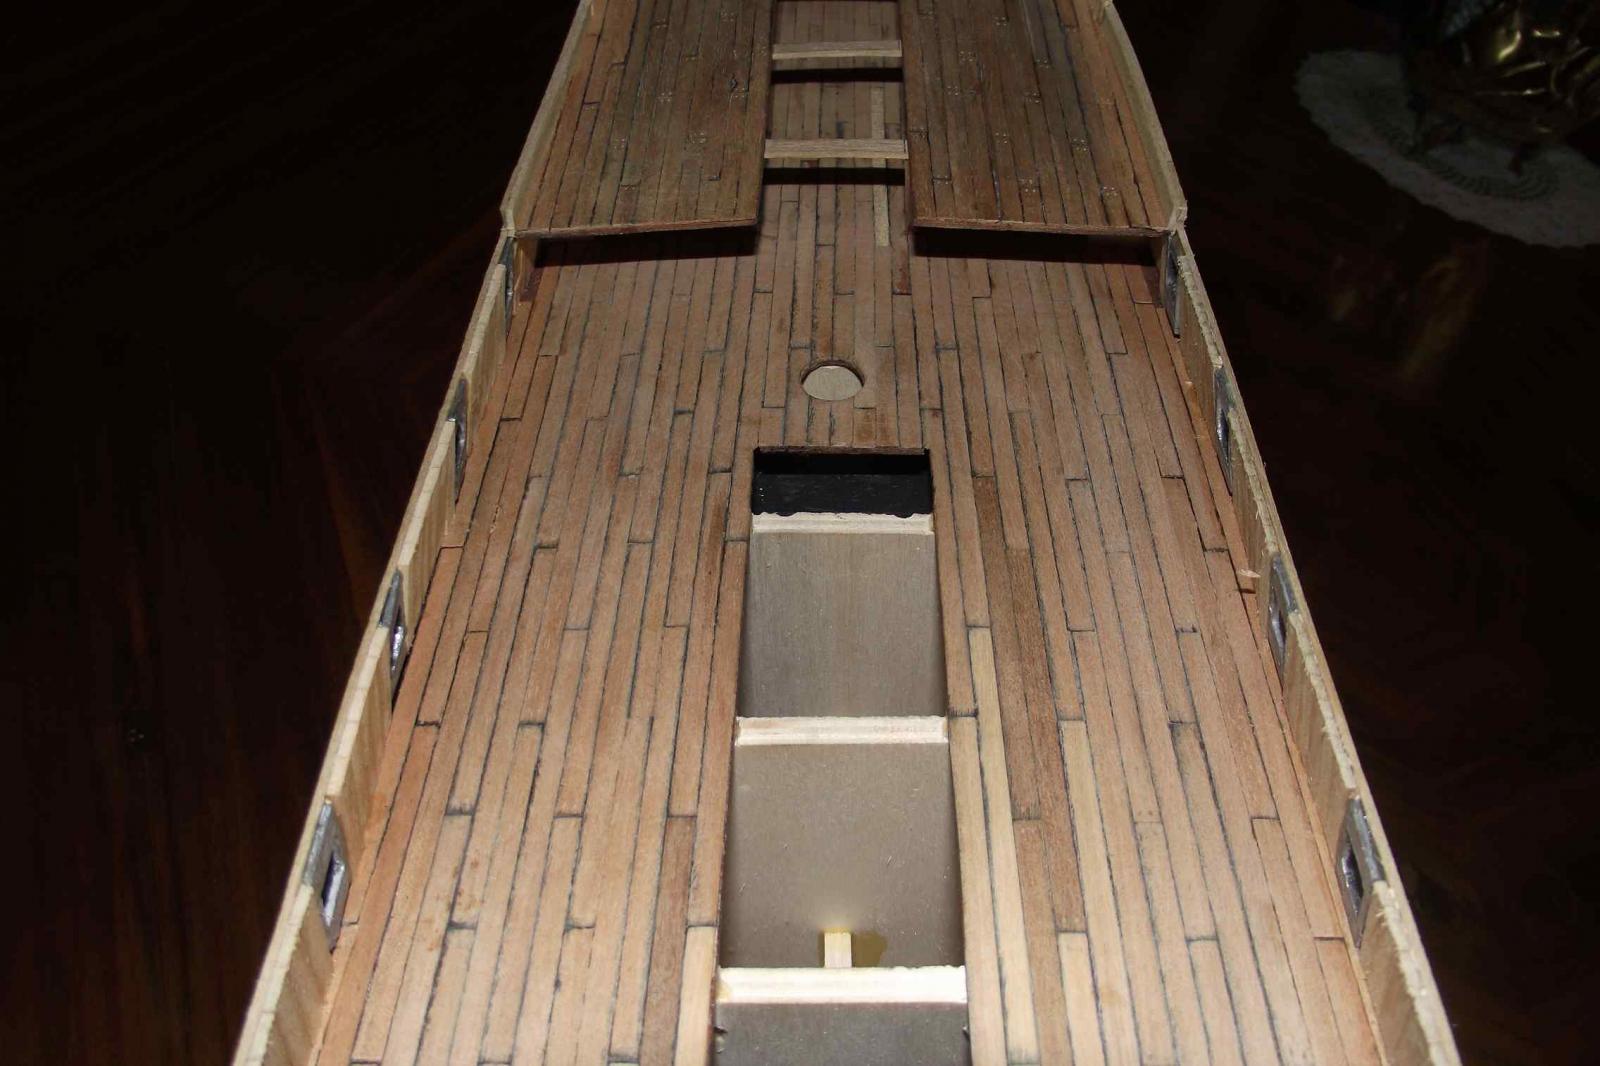
I finished with the wood placement of all the first planking on this massive hull. A lot to be done here yet: sand flush the metal frames, sanding and fairing the unevenness of the wood, lots of filler on the oops areas, etc. I also finished building and shaping the bulwarks which was very troublesome because the drawings are not too clear on this area. The bulwarks are formed by 4 layers of wood: The first is the first planking; then some vertical planks are placed on the inside. The second planking on the outside, and yet another last planking on the inside.
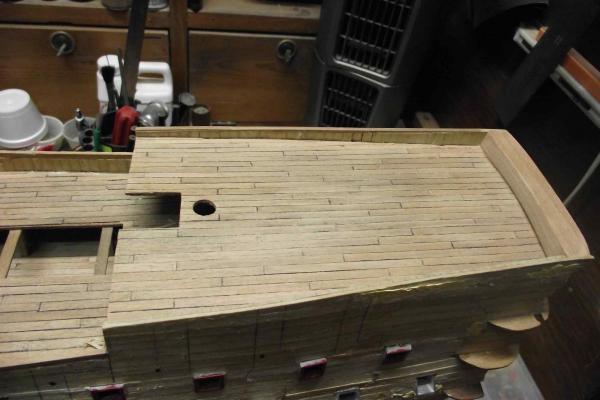
The decks are completely planked also, but not yet finished.
Thanks for visiting
Ulises


- marktiedens, CaptainSteve, BANYAN and 13 others
-
16
-
Oh WOW!. I keep telling myself I have enough kits on my shelf, and suddenly the Amati Victory is on the horizon. Better start saving or maybe try to sell a couple of the kits in my stash.
- mtaylor, Jaxboat, Landlubber Mike and 1 other
-
4
-
-
Good God, Karl! Your Vasa is looking so very nice. I'm glad you live very far from me so there is no chance we enter the same contests!
Feliz año a tí y los tuyos!!!

-
Pepe. I think that the Fact that they get darker is indeed a welcome feature, but i guess every case is different. What I'm doing in my RL is just drill the holes with a small drill, then sand with fine sandpaper. The fine wood dust gets in the holes and when the finish is applied they get a different tone which I like very much, because it just looks a different shade not a different color.
-
-
Thank you for your good wishes, Pepe, but I don't think we will ever reach the year 20015.

Also, it is best if you cut the toothpicks in half. They are easier to handle. And I would use wood glue instead of CA. I think you get much better adhesion with it. Nothing beats wood glue to glue wood to wood, in my opinion, of course.
-
Well Bill... seems like we are at the same stage and with the same issues.
I am about to finish the first planking also, and as you, it doesn't look very pretty to me. I am awaiting to finish with the wood, the filling, the sanding of the metal frames and the general fairing of it to muster the courage to post some photos.
Best regards.
- GLakie and shark bait
-
2
-
-
-
-
Gracias Karl. Happy holidays for you all too.


Royal Louis 1780 by Ulises Victoria - FINISHED - Mamoli - Scale 1/90 - French 126-gun ship
in - Kit build logs for subjects built from 1751 - 1800
Posted
Thanks for the tips. Since I'm almost done with my filler needs (yeah, right) I will use what I have and experiment new stuff later.