


Ulises Victoria
-
Posts
1,790 -
Joined
-
Last visited
Content Type
Profiles
Forums
Gallery
Events
Posts posted by Ulises Victoria
-
-
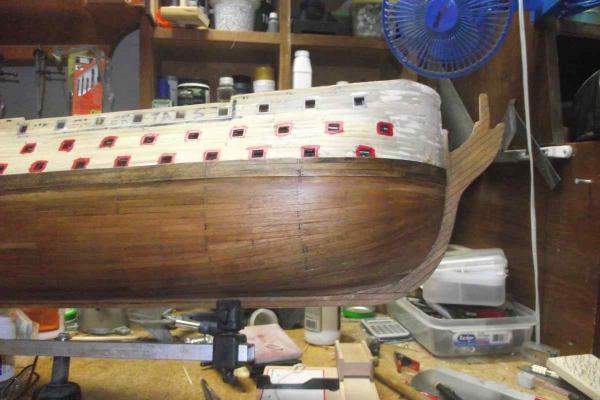
Wow, I might not be able to see the tree nails very well, but boy, that hull looks sweet.
That's the thing: Remember treenails weren't nails; they were wooden plugs to avoid the iron nails from being corroded by salty water, so treenails should never "stand out"... they should be only "perceived". (And thanks for your comment
 )
)I'm in my 5th wooden build and never have used or feel the need to use proportional dividers. In my opinion, they are invaluable only when you are scratchbuilding, but I may be wrong.
-
Hello again, Bob.
Hammers and nails serve two purposes. In my case, I nail my planks driving the nail just half-3/4 down to hold the plank while gluing. I later remove the nails and leave the holes. When you sand with very fine sandpaper, the dust fills the holes and when varnish is applied, they simulate the "treenailing".
Its barely visible in this photo:
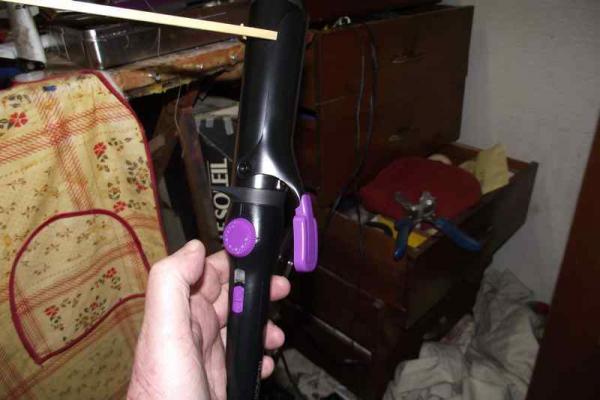
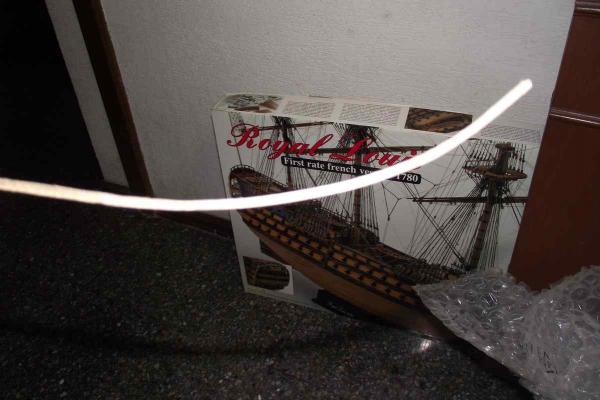
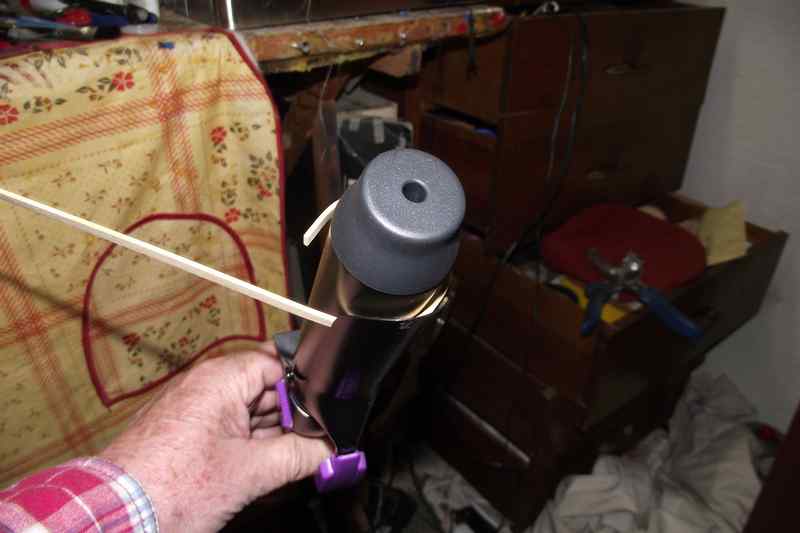
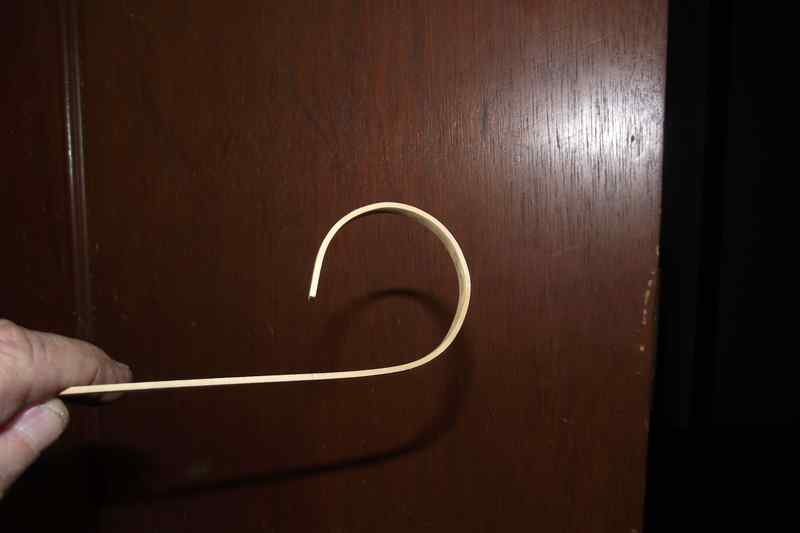
A curling iron is an excellent tool for bending wood.


Hope this helps.
Ulises
-
Hello there.
I find it hard to start with a pre-made list of tools. I would follow the advise given above, about buy what and when you need.
Of course there are some "must have things" to start with: wood glue, sand paper in different grades, a few tweezers, metal ruler, pencil, small nails and hammer, patience (sorry can't tell you where to buy this)
Good luck in your new activity. Many years of fun and accomplishments to follow.
-
-
-
Michael. Your attention to detail is unparalleled.
I'm so envious!!!
Excellent work!
Ulises
- md1400cs, CaptainSteve and GLakie
-
 3
3
-
Hello GG. Looking good.
For gluing bare wood to bare wood, nothing beats wood glue.

Titebond, Elmer's and Gorilla have excellent wood glues.
As for the nails, it is up to you. The easiest way in my opinion, to simulate nails, is just punch a tiny hole on the wood. When you sand using a very fine grade of sandpaper, the dust fills the holes, and when you apply the varnish, they usually come darker.
Hope this helps.
-
-
Strange as I have had more than enough problems using diluted PVA on rigging such as ratelines than that using CA, agreed CA can be brittle but I have had so many issues undoing an evenings work as the PVA hasnt held the knots. PVA diluted I find also leaves a slight sheen to the rigging on black thread. As yet I've not found anything fully satisfactory and thats 3 models under my belt.
Norman
Have you tried FLAT varnish like Testor's or Model Masters? They have enough strength to do the job and definitely will NOT leave a shiny spot anywhere.
I do not "glue" all and every knot, only the first and last. The middle should be kept tight by means of being tied on both ends to the next knots. Sometimes a stubborn knot in the middle gets loose, and then that one gets the Varnish treatment.
-
-
I agree with Jan. Your shrouds look way too thin. Remember that their main job was side to side support for the masts, so they had to be thick ropes to sustain the forces.
-
The clinker effect was obtained by using styrene strips ( 0,25 mm thickness )
Perhaps I might submit "a step by step"-approach with pics for at least one of the following life-boats ( the 26ft. launch or the 32 ft. pinnace )
That would be really nice. Good job here. I am thinking ahead about my Royal Louis boats, which are metallic, and I would like to see other possibilities.
Thank you, Christian
-
Well... I stand corrected!
-
Hello again GG.
I may be mistaken but I don't think there even exists plywood in 1.5 mm. And if I remember correctly, the false decks in my Bounty were made of some kind of thick veneer. You may explore this option also.
-
Sorry. It seems I missed the balsa part. Both Boyd and Keith are right about its strength, or lack of it.

It sounds strange to me that you say plywood is not available in your town, when it is a product so widely used in an enormous amount of projects.

Anyway, if you are going the double plank method, my I suggest you put the planks underneath running from port to starboard, running the width of the ship. This will increase the strength when you put the upper planks perpendicular to them, running the length of the ship.
Am I clear?
-
Hello GG. I think this will do. Remember that all the imperfections can be covered with the planking.

Believe me... I know what I'm talking about.

Best regards
Ulises
-
Hello. I paint the golden color, let it dry, and then a super thin layer of silver or aluminum by means of dry-brushing to highlight the raised points. Bear in mind here that "less is best" DON'T over do it.
Edit: Some people say to paint brown or black then dry brush the gold, to create a deep looking look, but to be honest I've never tried this method.
-
-
Interesting, interesting. A link to some more info, if possible?
6m is almost at the surface. Are you sure of this fact?
Edit: A search on the internet gave me this result. Seems there is some different information.
http://www.wreck-diving.pl/Gulf_Wrecks/strony/Solen_16m.html
- skipper1947 and mtaylor
-
2
-
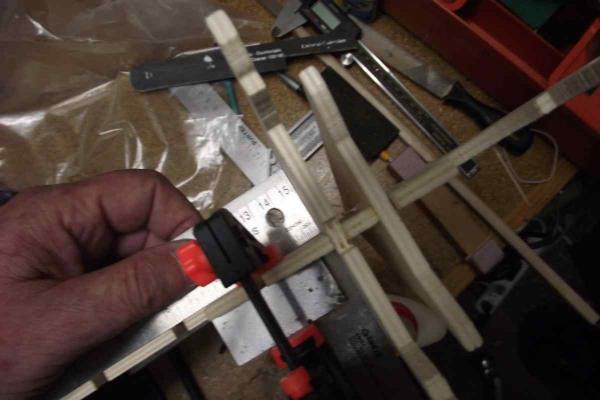
Hello. You can glue all the frames you want, as long as you have enough tools to keep all of them properly aligned.
Wait at least overnight BEFORE removing the alignment tools, though.
Hope this helps.
Ulises
- Mike Dowling, dgbot and thomaslambo
-
3
-
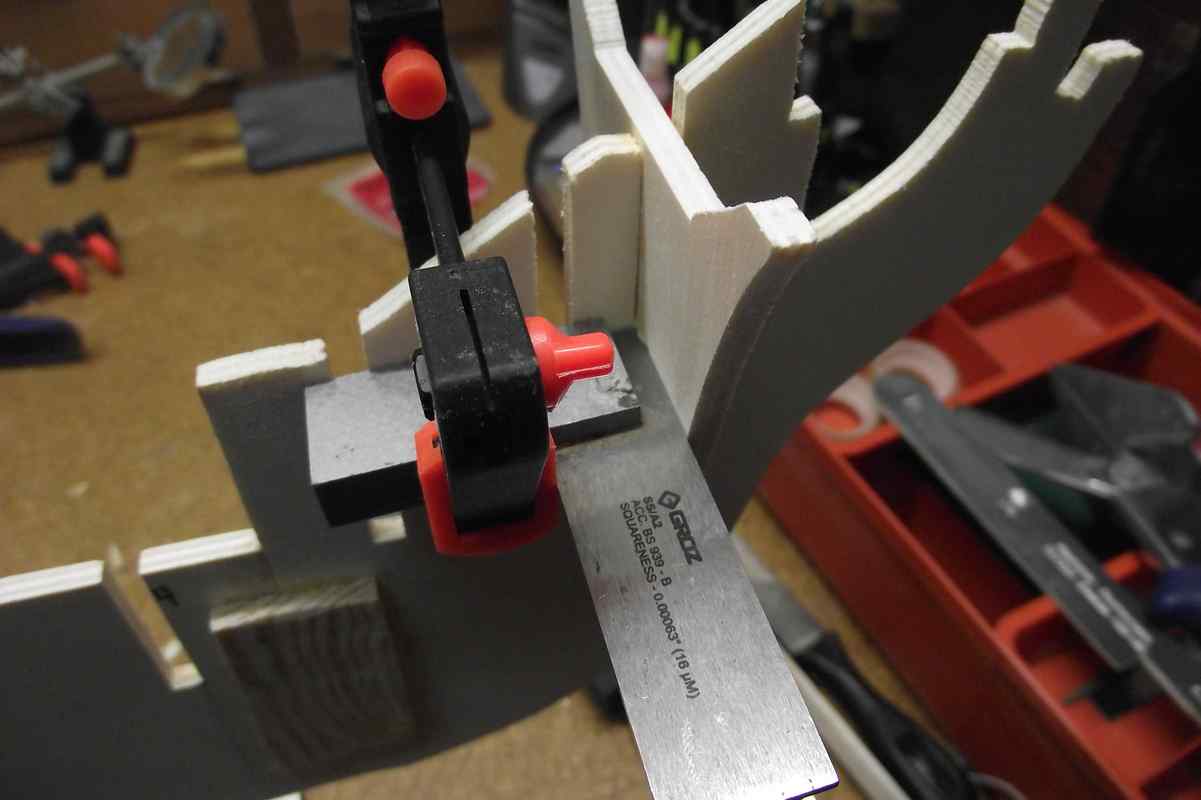
Hello.
This was my third wooden ship. Unfortunately the old log was lost.
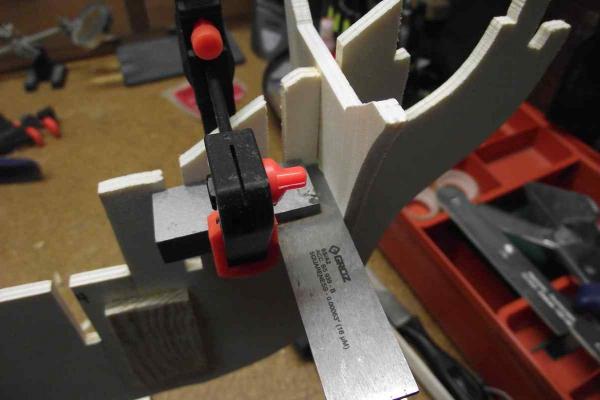
As mentioned before, get a metal square like in these photos (of another ship, but the procedure is the same), so you make sure all your frames are exactly at 90' deg. against the keel.
-
First, it has to be an all sail ship. No motors or engines of any kind.
A 3 masted is preferred over any other.
Has to have been built before 1800 or so.
And most important, has to please my eye.
- avsjerome2003, Jack12477, mtaylor and 1 other
-
4
-
I try to avoid CA as much as possible, but I have to say that it has its uses. I use CA to stiffen the end of a thread. I then cut it at an angle to make a pointy end, and use it as a needle to drive the thread through small holes. I never never never use it to fix a knot in my riggings. I use either diluted white glue or FLAT varnish for that. (Model Master's Flat Clear Acryl #4636 works great) It doesn't run through the thread, doesn't make the thread brittle, and doesn't leave a shiny spot, all things that CA does.
Hope this helps
Ulises
-
One very common beginner mistake when weathering using the dry brushing technique, is that at first you see nothing happening, then all of a sudden you start seeing some nice result and think. "Oh look, this looks great, let's do it some more and it will get better" WRONG!!! STOP RIGHT THERE!!!
When dry brushing weathering effects usually less is better. Weathering shouldn't be seen, it should be "perceived". This I have learned through years of experimentation, way before the internet and sites like this one.
- CaptainSteve, druxey, Jack12477 and 4 others
-
7


Proposed purchases to start my first wood kit
in Wood ship model kits
Posted
Actually, Patience is mentioned in posts · 6 and 7