alde
-
Posts
1,028 -
Joined
-
Last visited
Content Type
Profiles
Forums
Gallery
Events
Everything posted by alde
-
 Thank you. Will do. The planking fan sure makes it easy.
 -
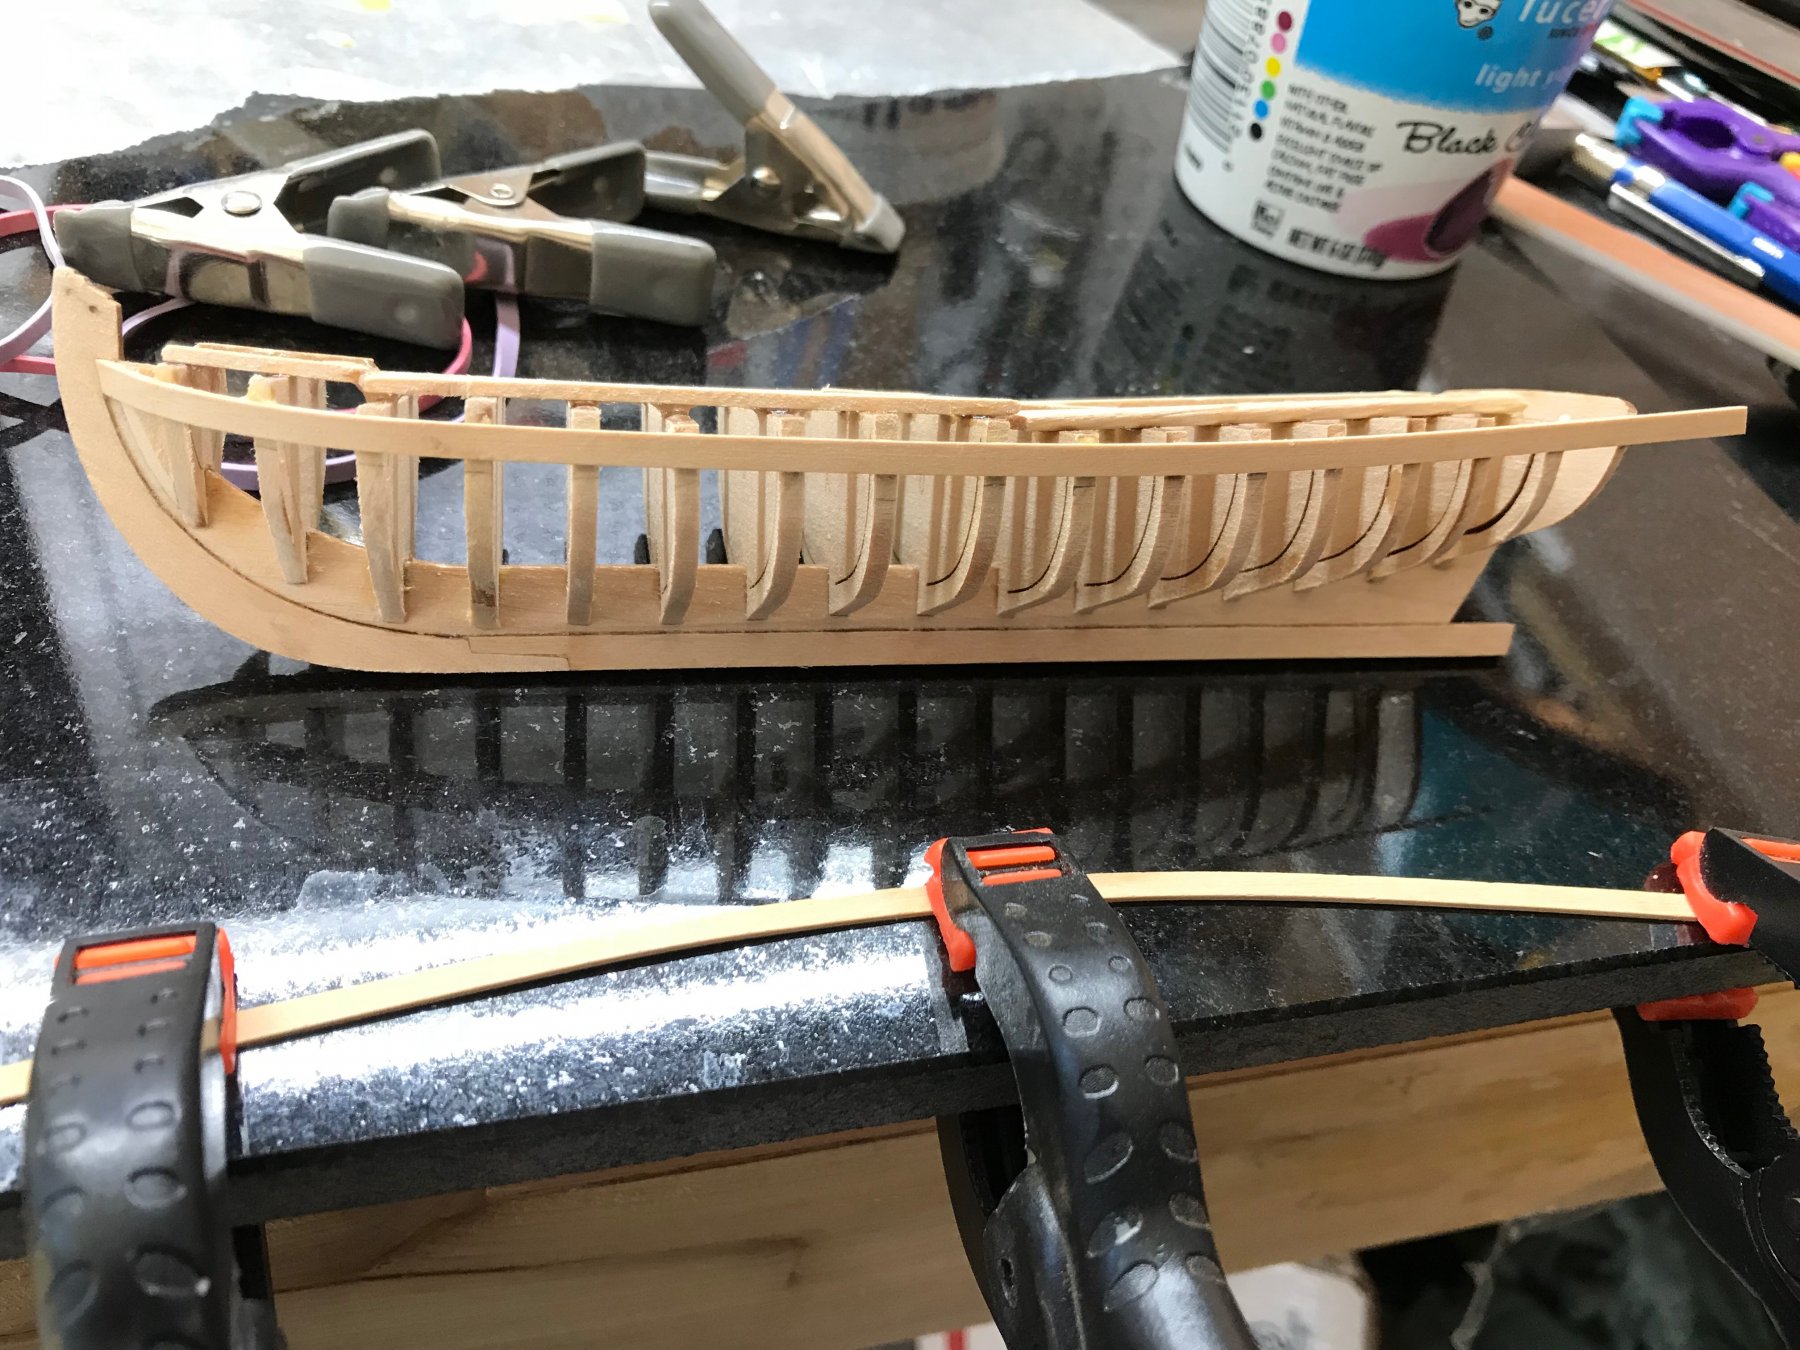
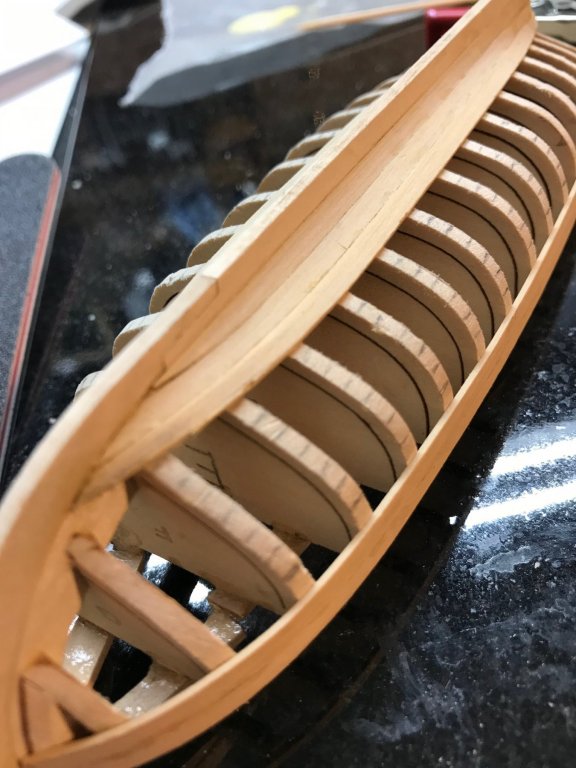
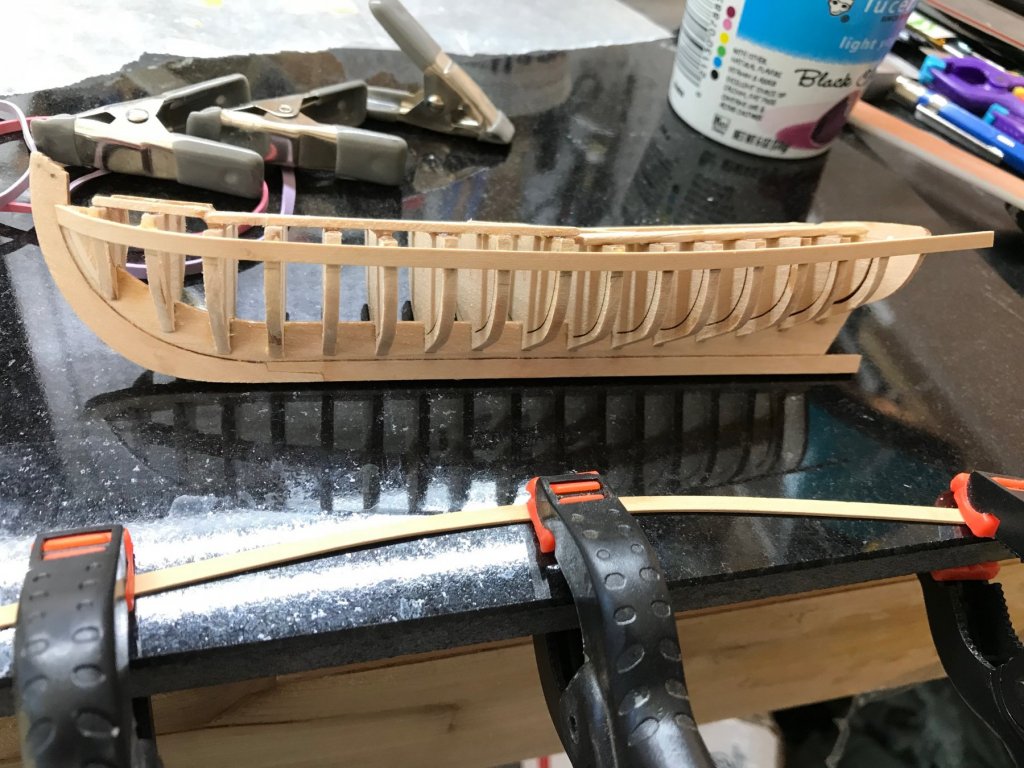
So far so good on the second try at planking this little hull. It's not perfect but is looking much better than the first try. I am edge bending and twisting the planks as much as possible before glueing them. They need much less clamping than before and seem to follow the lines better. It's going very slow though. Only 2 planks a day lately.


-
You'll get it. We have all wasted a couple of hulls, at least I know I have.
-
Filler is your friend in this case but you will need to learn to spile planks for future builds. The best lesson I had was to build the hull of the Glad Tidings Pinky by Model Shipways. It has pre-spiled planks and really shows you how the planks are shaped to lay on the hull correctly. They are far from straight. Once you see how they need to be shaped you can carry it on to other models. Also, tick strips are really helpful so your planks don't get too thin at the bow. You'll get it once you see how the planks are shaped.
-
That looks like great workmanship. I can't wait to see you do with the hull.
-
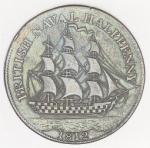
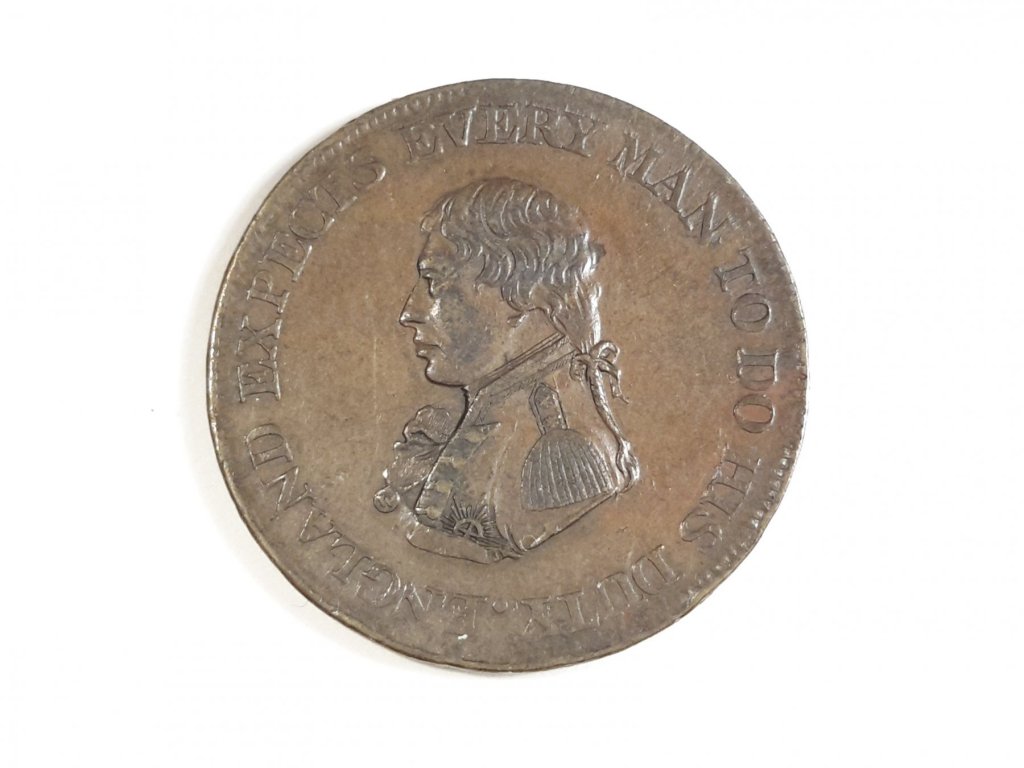
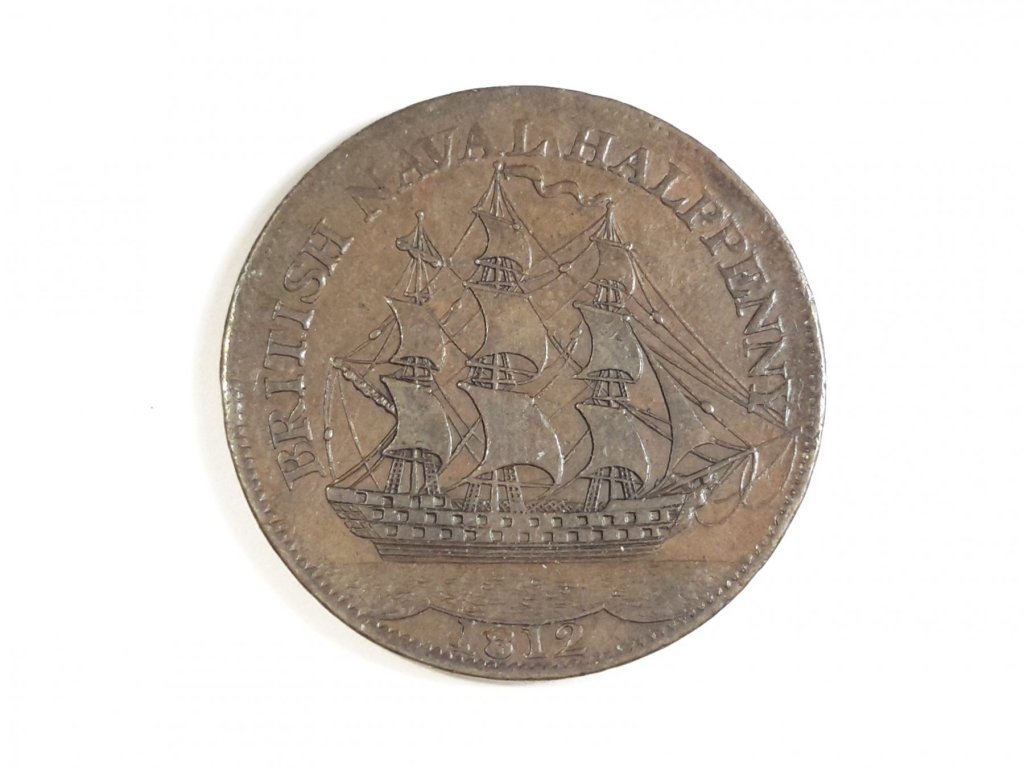
I think this fits in the Naval History section. One of my other hobbies is coin collecting and thought you all might find this interesting. They are a bit scarce but not rare. Does anybody else have any ship or Navy related coins or medals to share? I have a few others I can post if anybody has an interest.
- 2 replies
-
- 10
-

-
Eric, looking more closely at the photo of the life size long boat it appears that the main sheet is not even attached to the traveler. It looks like it's attached to the gunwale just aft of the ball on the tiller handle. That would also be a logical attachment point.
-
Eric, Your thread is a great read. Lots of good information and something to think about. The traveler above the tiller makes perfect sense. Chuck also makes a good argument. I'll have to give it some thought and maybe do some more research on the subject. I wish the above photo was more clear but it seems to show the tiller above the traveler.
-
I found this interesting photo of a rigged longboat and hope it's OK to post it here.

-
Thanks for the info Bob. I don't mind using the resin but may try to learn some carving. I've always admired some of the great carving work and might give it a try knowing I have the resin as backup.
- 682 replies
-
- 6
-
-
- halifax
- lumberyard
- (and 1 more)
-
Bob, When I ordered my Halifax kit they told me they were no longer offering the laser cut stern details because they no longer have the service of the more delicate laser cutter. They now only have the resin parts. How is the quality of the resin castings? I'm sure they will be fine but I may try carving my own with the resin as a backup.
- 682 replies
-
- 6
-
-
- halifax
- lumberyard
- (and 1 more)
-
She's coming along great.
-
OK Bob, it's all your fault. I have been enjoying your Halifax build so much that I went ahead and did something really silly. I ordered the kit. I know I'm not ready for it yet but want it on the shelf for when I am. Yours has been such an inspiration.
- 682 replies
-
- 7
-
-
- halifax
- lumberyard
- (and 1 more)
-
Great to see you starting this build and happy to have a front row seat. I have all my frames glued up and cut out on mine but it's been sitting a while. I'll pick it back up once the longboat is done.
-
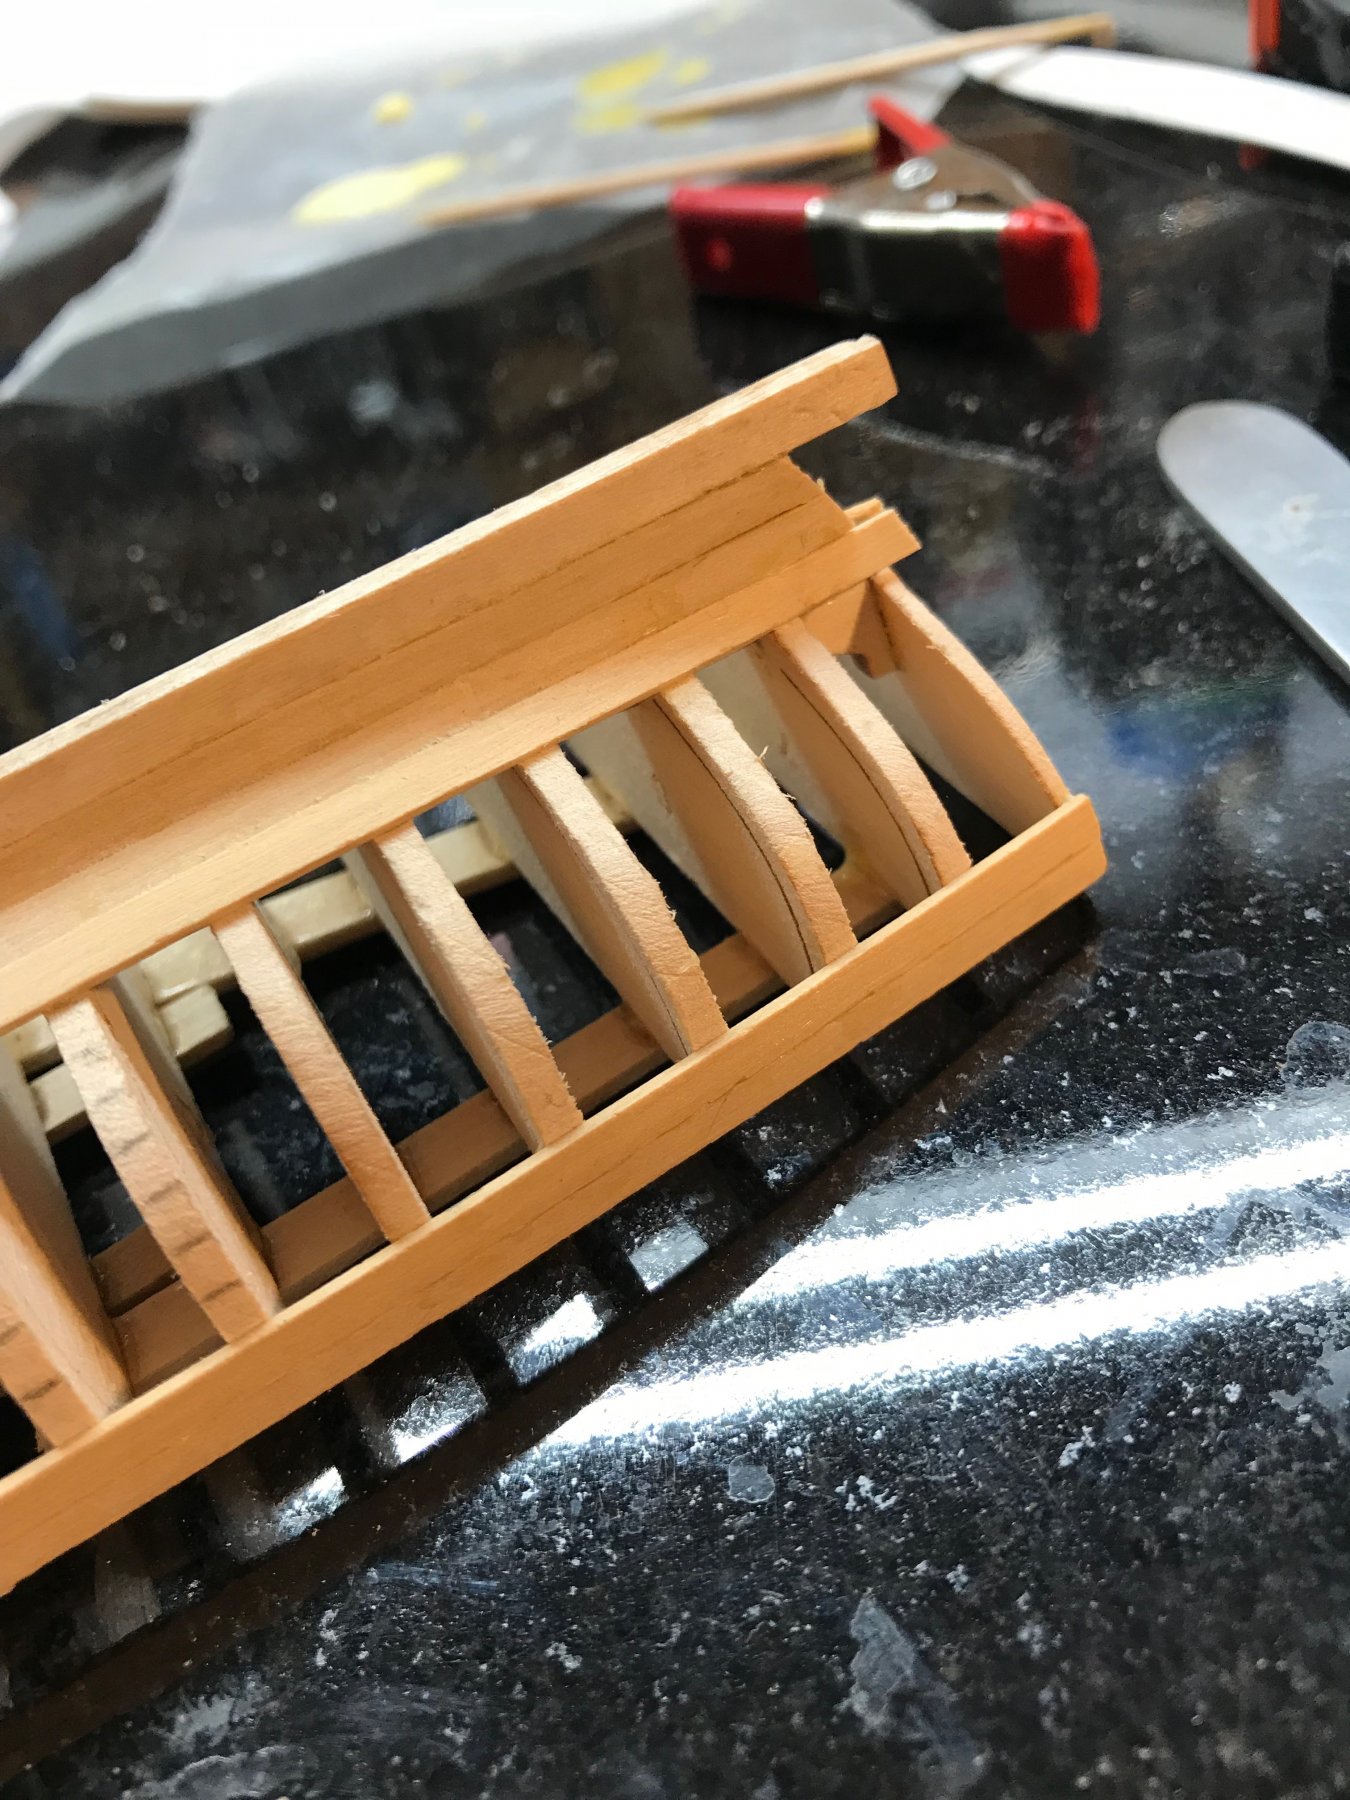
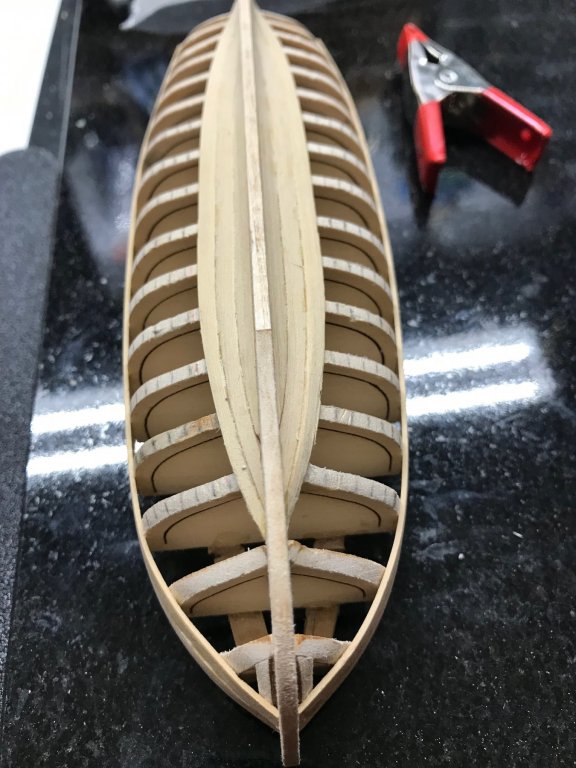
Not much progress but in the spirit of keeping the log up to date this is where I am. I really took my time bending and fitting the first plank. It's defenety bent in 3 dimensions and laid down with very little clamping needed. Maybe I'm getting a handle on it now but I'm sure taking my time. I'm going really slow. I hope I can get the other side to go as well.
-
Back when I was a draftsman working for the Navy the engineer I worked for would tell me "Never draw more in one day then you can erase the next". His advice is as good today as it was back then.
-
HMS Naiad 1797 by albert - FINISHED - 1/48
alde replied to albert's topic in - Build logs for subjects built 1751 - 1800
That is just amazing. I really admire the quality of workmanship. -
She looks great David.
-
It was a tough decision but I want to learn to do things the right way. My goal is to really become good at this ship building thing and graduate to a large kit project and eventually a plank on frame frigate. I'm a long way from that but won't get there without learning from my mistakes.
-
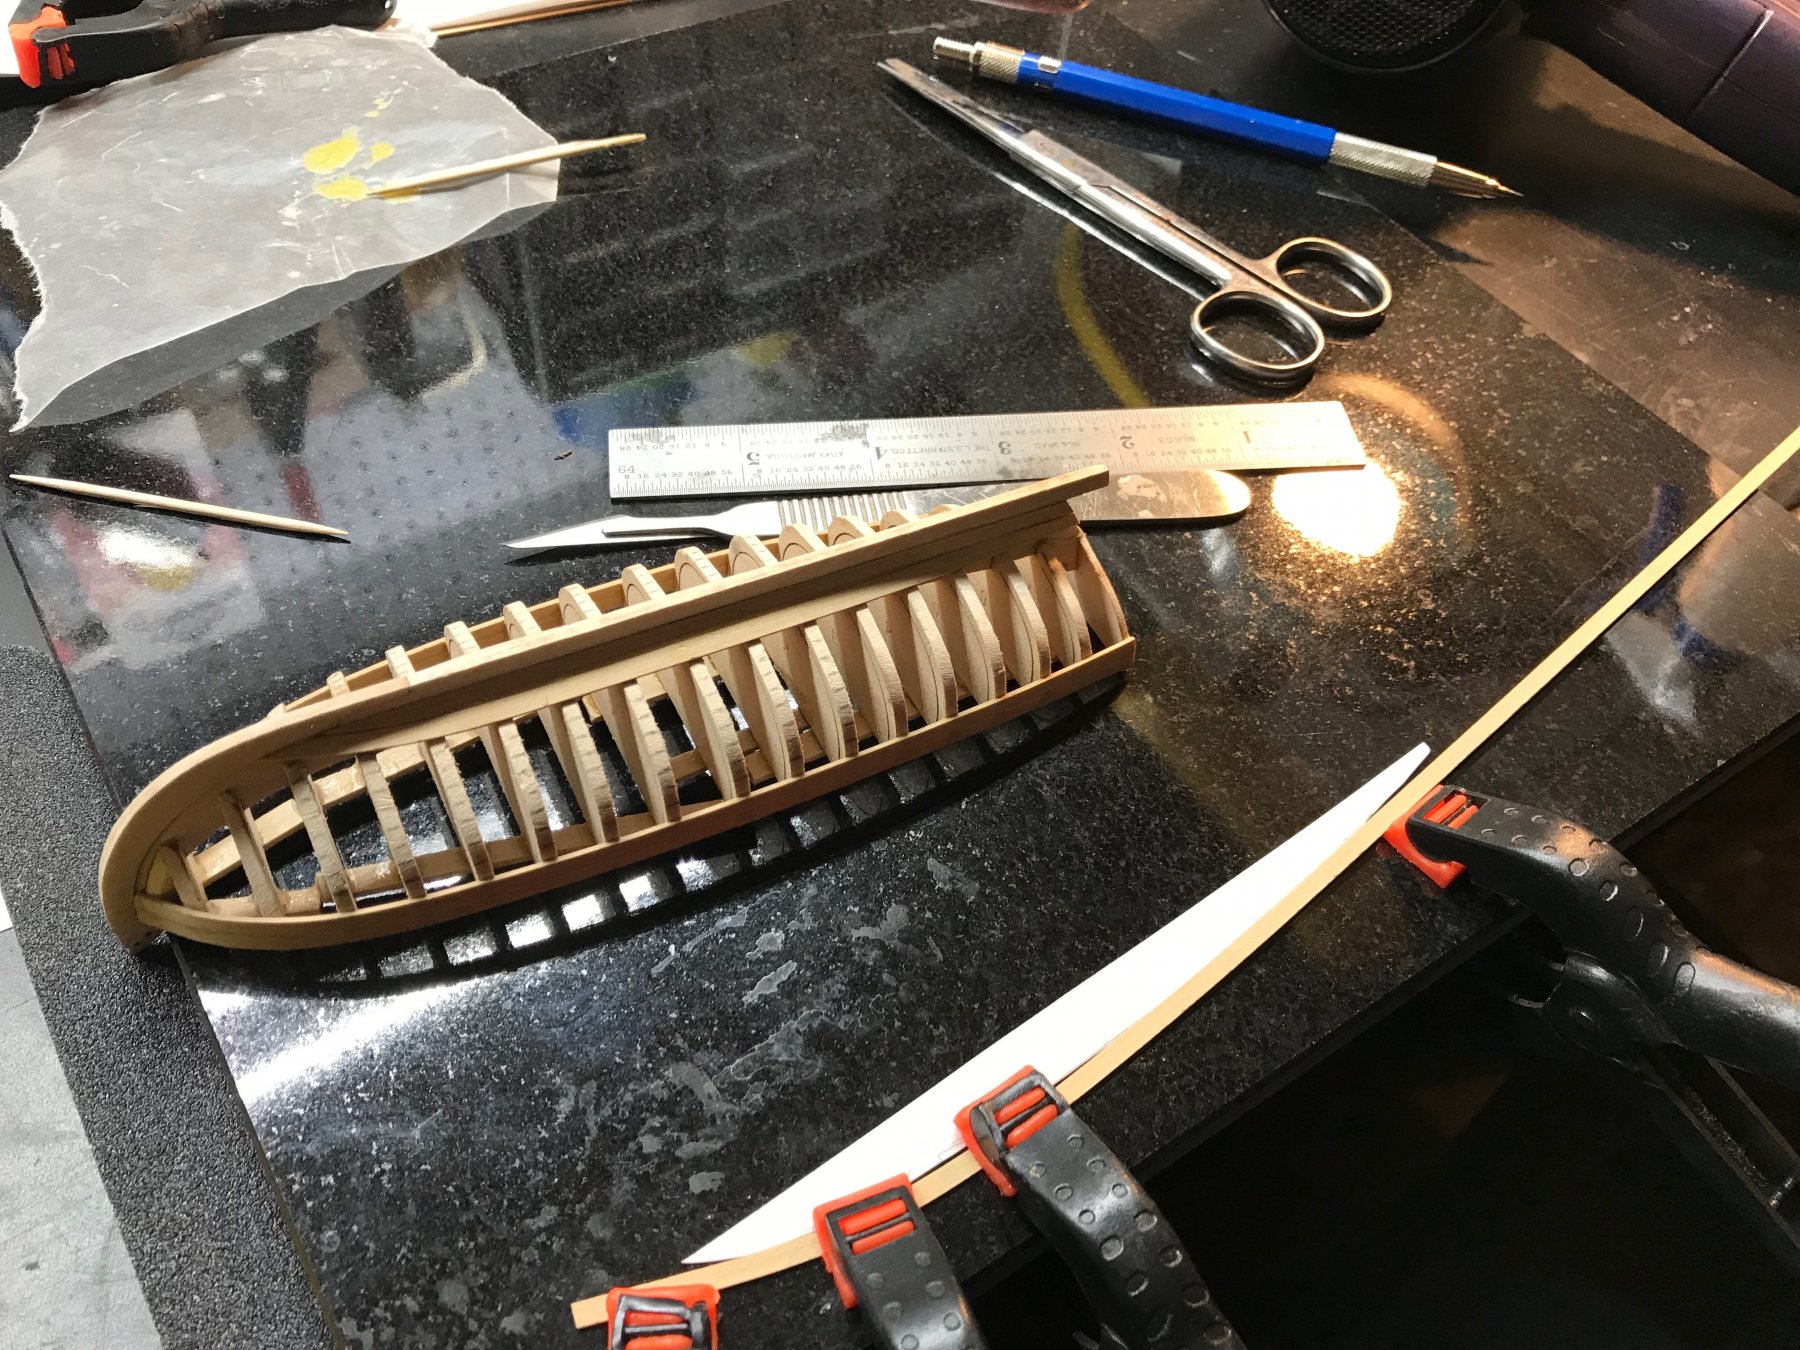
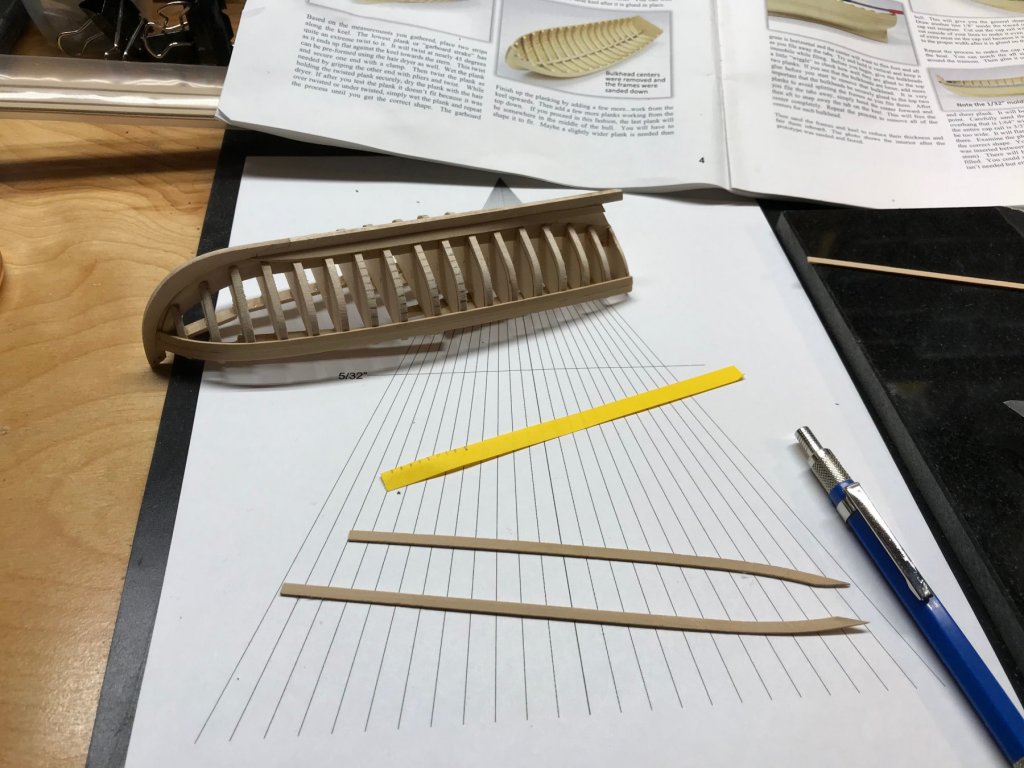
I decided that I was not happy with the way my planks were looking so I removed them. It gave me a chance to do a better job fairing the hull while they are off too. I did learn a lot from the planks I did so it should go better this time. I plan to use the tick marks on all frames right from the beginning and using the tape method to take off the shape to edge bend the planks. I'll take pictures as I go and keep the log up to up to date. I considered cutting the planks from wider stock but decided I would continue on with the edge bending as Chuck suggests. I think it's a good way to go as long as it's done right and care is taken to put enough bend into the planks so they lay right. I think if they are bent and shaped properly they will not need much clamping and will just look better. I'll keep you posted on progress.
-
Great start. I am looking forward to tagging along on your build. Syren has been in my closet for a long time too.
- 90 replies
-
- 2
-
-
- syren
- model shipways
- (and 1 more)
-
She looks great. If mine comes out as nice I will be thrilled. Mine went backwards. I was not happy at all with the planks so I removed them and will start over. I need to improve my bending and shaping techniques.
- 91 replies
-
- 4
-
-
- 18th century longboat
- model shipways
- (and 1 more)