alde
-
Posts
1,028 -
Joined
-
Last visited
Content Type
Profiles
Forums
Gallery
Events
Everything posted by alde
-

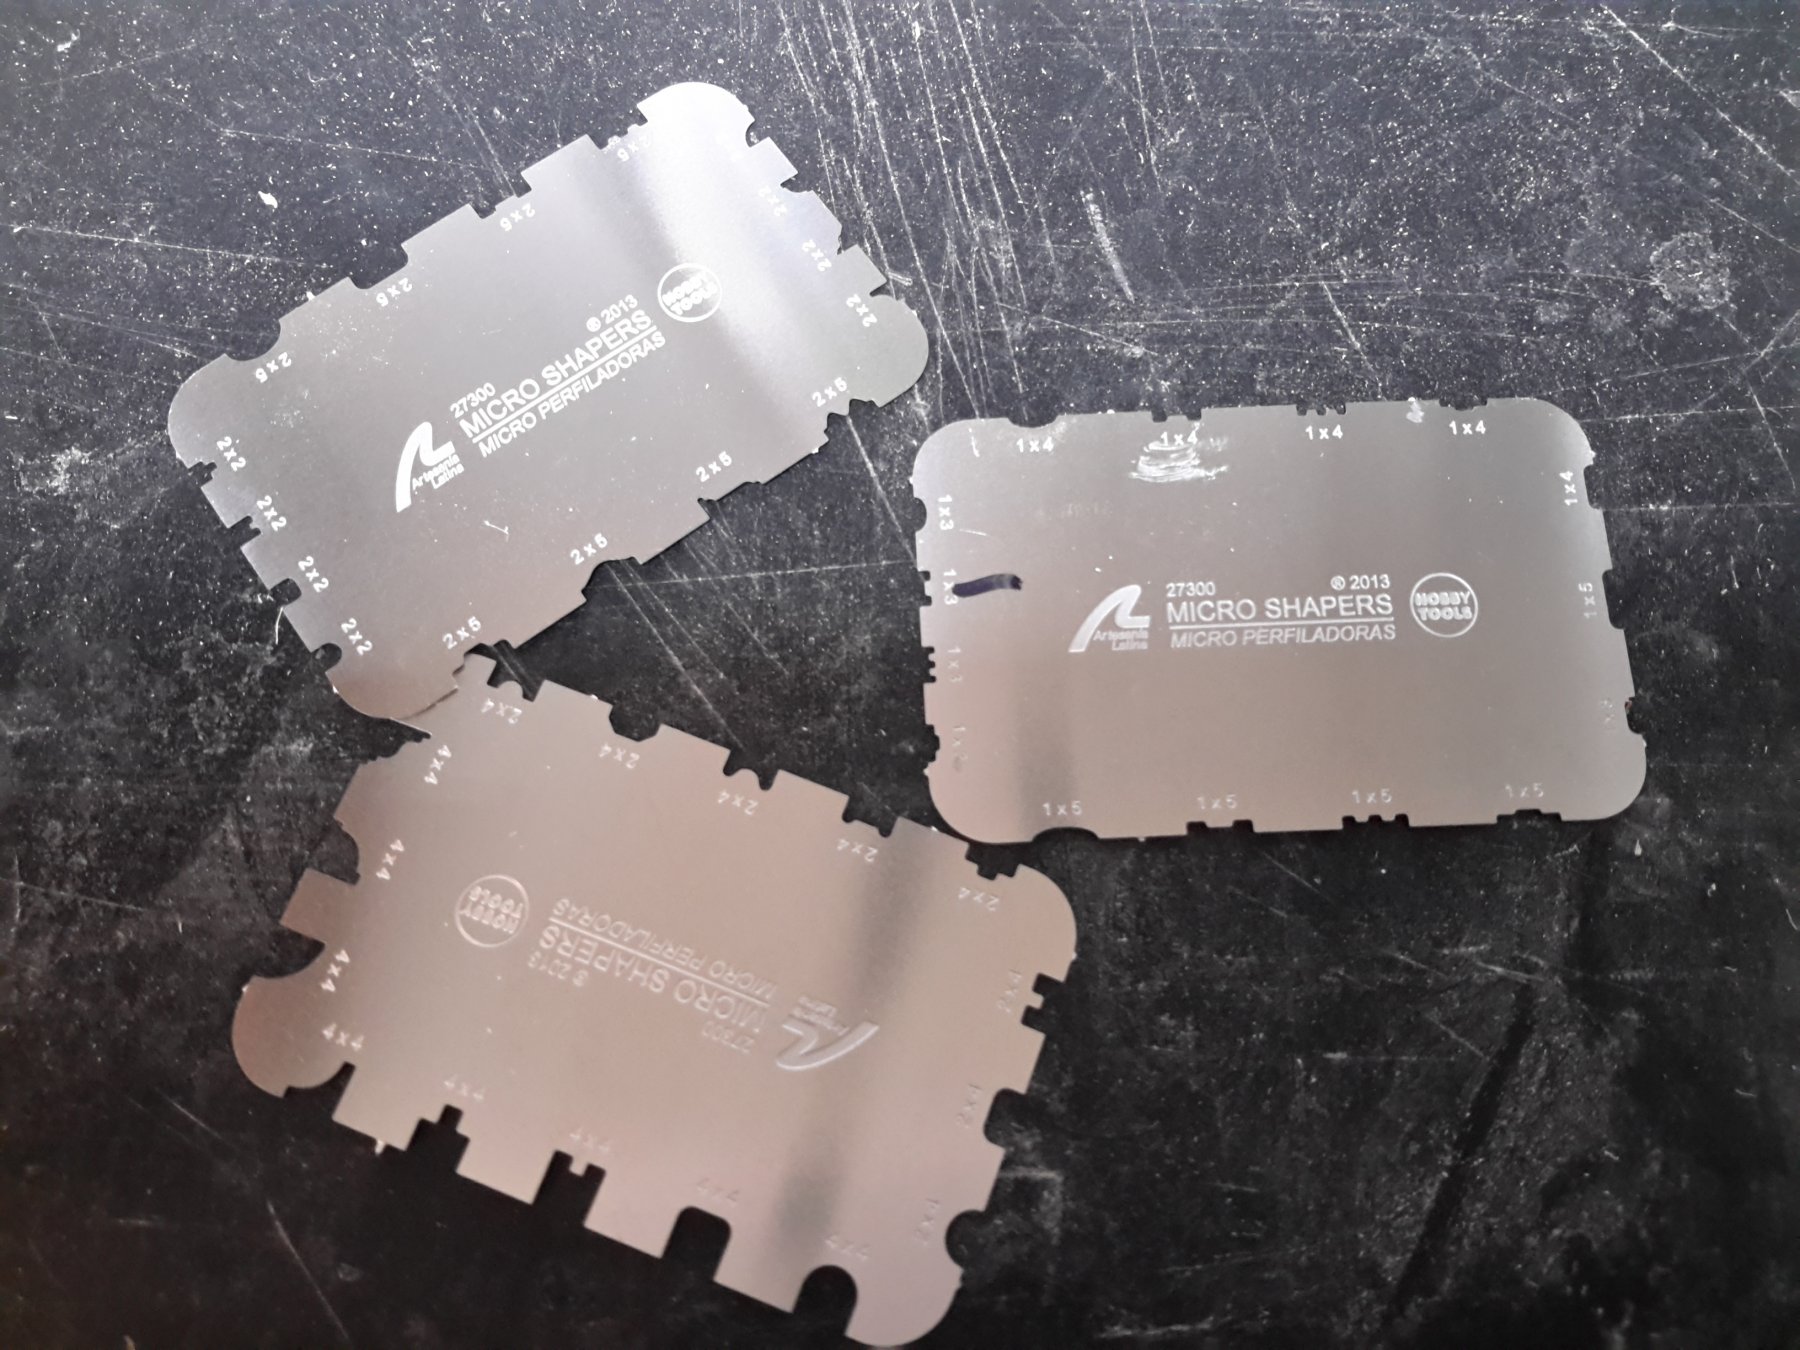
Using a moulding scraper tool?
alde replied to alde's topic in Modeling tools and Workshop Equipment
Thanks Chazz. I'll try your tips when I get back to the shop tomorrow morning. -
I have been trying to shape some moulding strips for my Halifax using a scraping tool as shown in some books and I have seen builders here use. I have tried using both boxwood and pear but just get a mess. It just feathers and won't form a clean shape. What am I doing wrong?

-
She's looking up to your usual high standards Bob. The gun rigging looks great.
- 359 replies
-
- 5
-

-
- prince de neufchatel
- model shipways
- (and 1 more)
-
Nice planking job. Chucks Cheerful sure makes for a beautiful model.
- 574 replies
-
- 4
-
-
- cheerful
- Syren Ship Model Company
- (and 1 more)
-
Thank you Ken. That helps me a lot. I tried edge bending the planks and it looked ok but just wasn’t right. I’m really glad I removed it and have a another shot st doing it right.
-
Ken, you mentioned that you edge bent the lower wale. Did you also edge bend the planking between the wales? I edge bent the planks between the wales on my Halifax and found it could have been better. I had to remove all the planking because it was not positioned properly. Now I have a chance to do a better job. The spacing is even from bow to stern like yours. Your hull looks very similar to Halifax. By the way your Independence is looking great.
- 122 replies
-
- 3
-
-
- independence
- privateer
- (and 1 more)
-
I checked bow and stern and it’s right on the money. This even gave me a shot at improving the fairing a bit.
-
Downer, I folded it right at the top surface of the building board and it should be right on. It’s going to be much better this time. I’m excited about planking it this time.
-
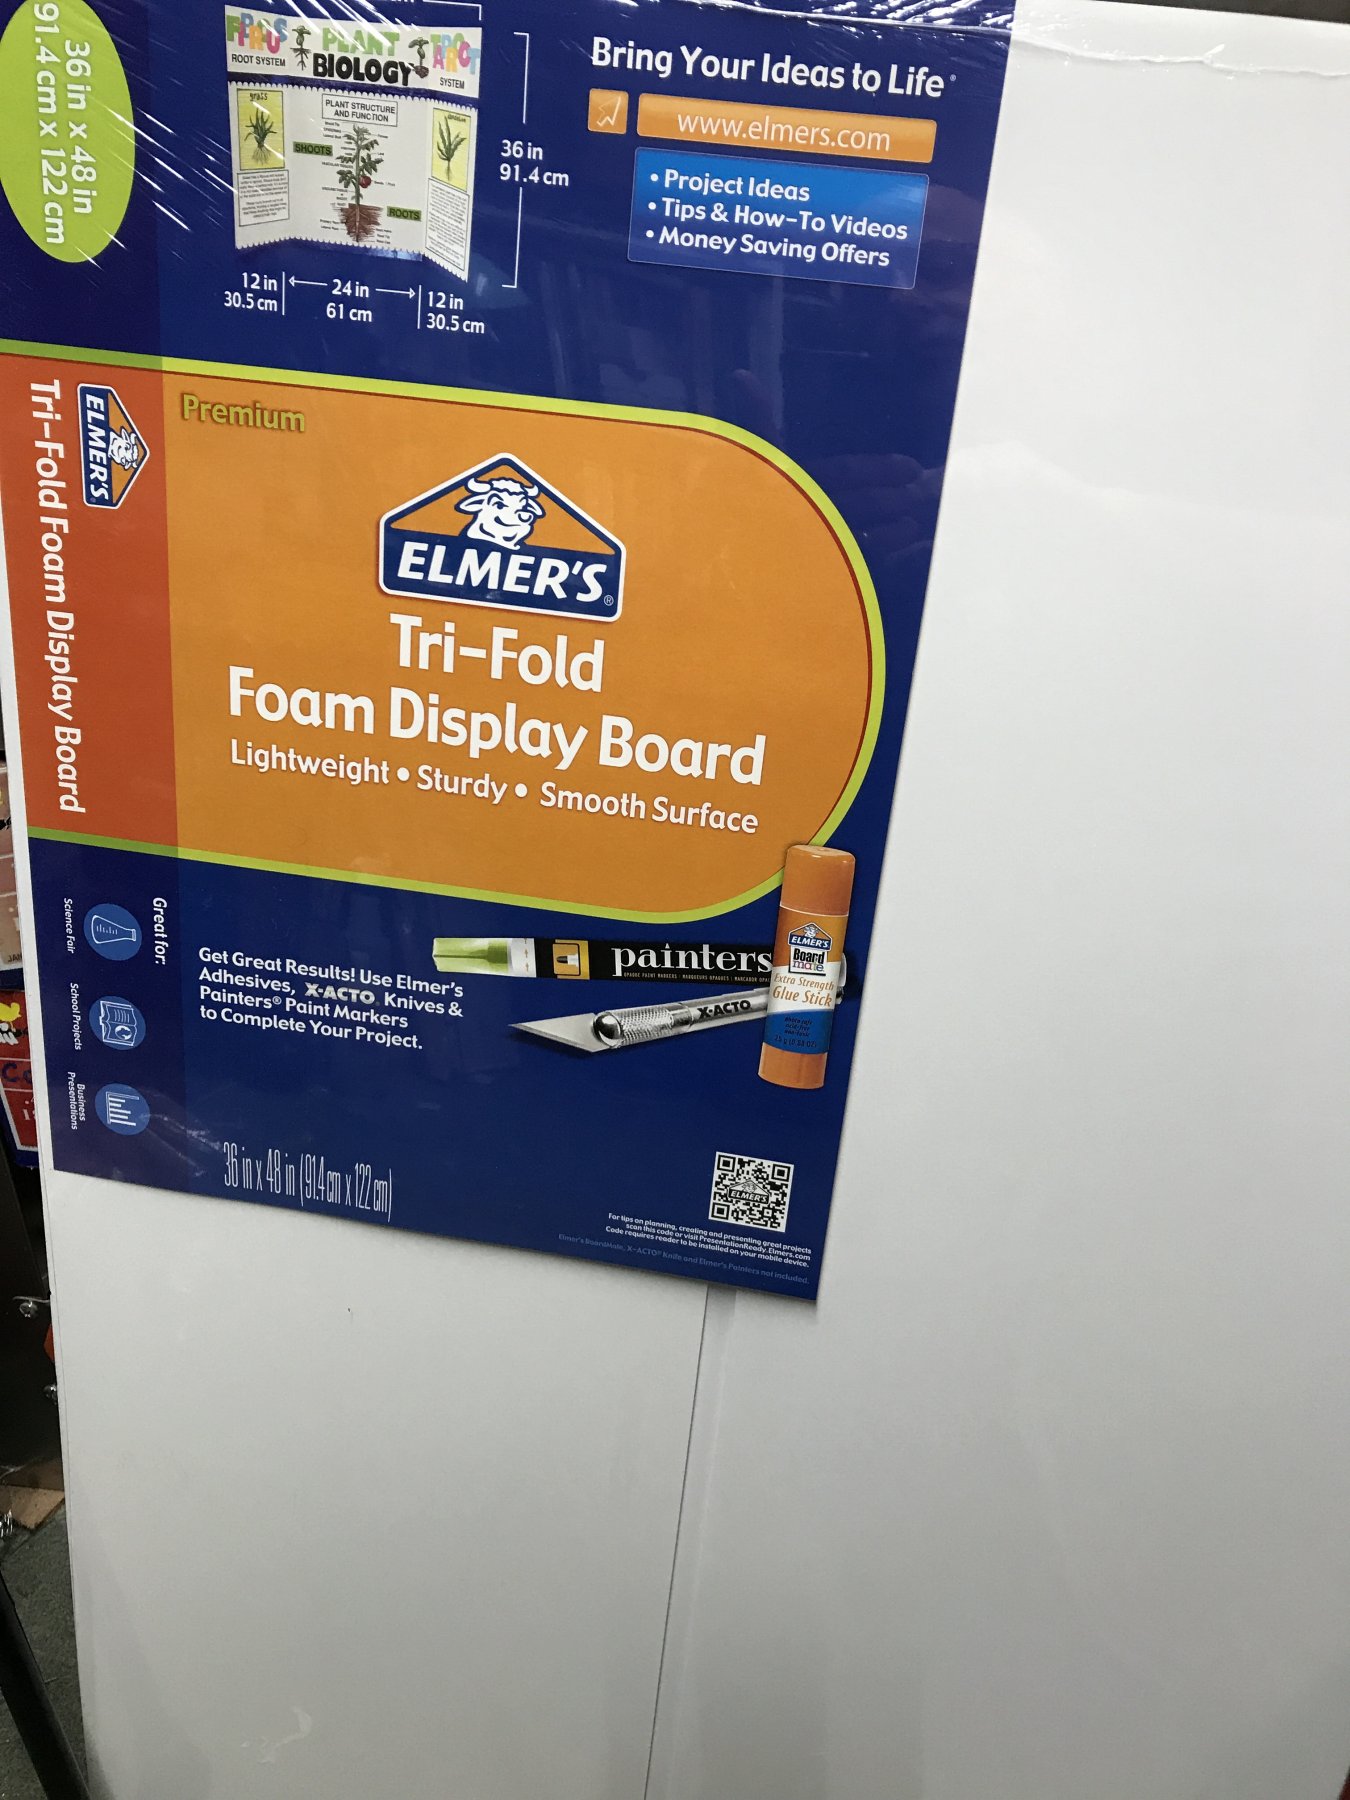
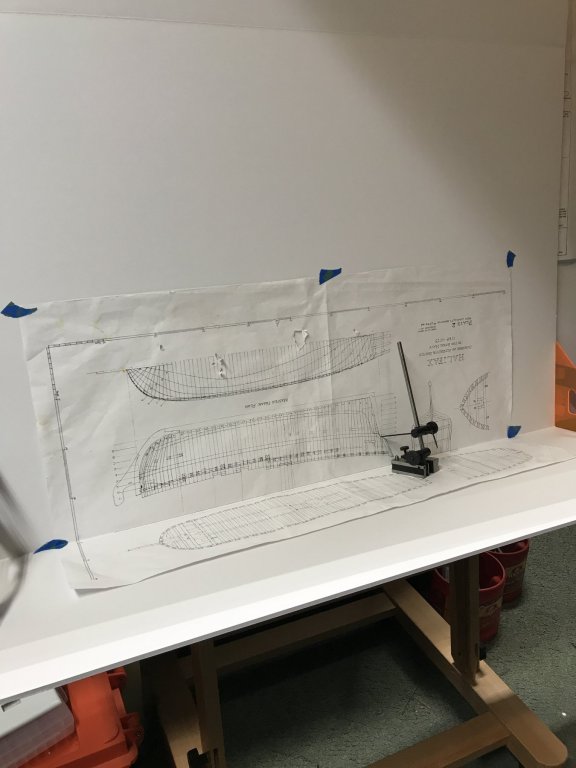
Here is the method I’m going to use to get accurate elevations from the plans. I picked up a tri-fold foam board and used plastic drafting angles to fix it at 90 deg. Then I folded the plan on the top surface of the building board. Now accurate dimensions can be taken and transferred right to the hull. I wish I had done this the first go around.

-
Now that all the planking is off including the shear plank I know it was the right decision. My plan is to try to carve all the decorations including the stern, figurehead and side lights in boxwood. I figure I’ll just keep trying until I get it right. Its the only way I’m going to learn.
-
Dowmer, I will do exactly as you suggest. Once it's all cleaned up it should go pretty smooth. It will also give me a chance to improve the quality of the planking in general too. They could have been fitted better.
-
I went ahead and did it. I ripped off the planking to the wales. I could have faked it and made it look OK but it just would not have been right. This time I'll think a few moves ahead before I redo it and lay it out correctly. I know I would never be happy with it the way it was. It will probably take a couple of days before it's cleaned up enough to lay in some planks. It was a tough decision but I know I'll be glad I did it.
-
You are seeing what I'm seeing. The more I look at it and think about it I will have to take everything off down to the wales as you suggest. I am taking this model as a learning tool anyway so may as well make corrections and do it as best I can.
-
I told you guys about my problem with starting the planking too far from the keel or maybe using planks that are too wide. In any case my biggest problem is the stern. The picture shows where the casting should go but the as you can see the planking is much too high. The way I see it there are two things I can do. First is redo the planking by ripping it all off and starting over. The second is to build my own stern decorations and windows with elongated windows or more empty space between the windows and carvings. Do you guys see any other choices or have any suggestions?

-
Sometimes it’s hard to redo something you have put so much work into but it’s always worth it in the end. Your tops are looking really nice.
- 1,135 replies
-
- 2
-
-
- model shipways
- syren
- (and 2 more)
-
Your doing a fine job on a very interesting ship.
-
Ya got one I can borrow?
-
J3 Piper Cub by Steve 12345 - FINISHED - 1/4 scale
alde replied to Steve 12345's topic in Non-ship/categorised builds
Beautiful Piper Cub. Thanks for posting your pictures. -
I have an electric with about an 18" blade. Do you think that might be a bit of overkill?
-
Well you guys convinced me to cut it off the jig before I start on the interior. I need to plank up the stern first though. I’m gonna shoot for next Friday. Can I use a chainsaw?
-
Thank you Sjors. I wish my abilities were more up to it. Maybe after a few more years of practice the quality will improve a bit.
-
Thanks Bob. I'll plank up the stern and cut her loose.
-
I appreciate that Mark. I think the camera hides some of the flaws. I think I should be able to compensate for starting the planking too far from the keel with no problems. The only thing that may cause trouble is where the bowsprite exists the hull. Everything else should be fine. I think I'll build some of the internal structure before I cut it loose. I really don't want it to fall apart though it seems pretty strong.