TBlack
-
Posts
1,313 -
Joined
-
Last visited
Content Type
Profiles
Forums
Gallery
Events
Everything posted by TBlack
-
 Tom, I meant to compliment you earlier on the detail at your scale. Most remarkable. Be proud! Tom
- 200 replies
-
- 3
-

-

-
- Whaling Bark
- Charles W Morgan
- (and 1 more)
-
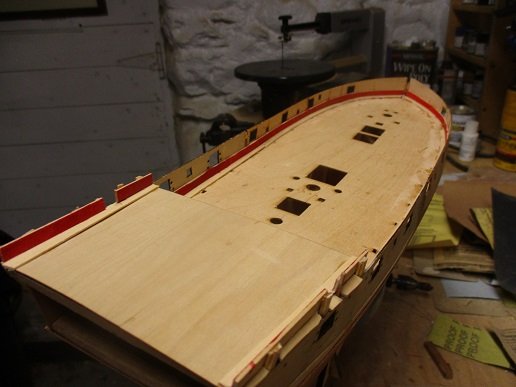
Thanks for all the likes and devoted followers. Try not to disappoint. Started planking the quarterdeck. Remember the adage, "measure twice; cut once"? I forgot. So started planking with 1/16" planks: The planks looked very thin to me. Back to the plan; there're supposed to be 1/8" wide (8''). So, scrape it all off and start again: Better this time, but I sure went through a lot of Alaskan Cedar. Thankfully, Joe Volpe is right beside me. Tom
- 346 replies
-
- 6
-
-
- Sophie
- Vanguard Models
- (and 1 more)
-
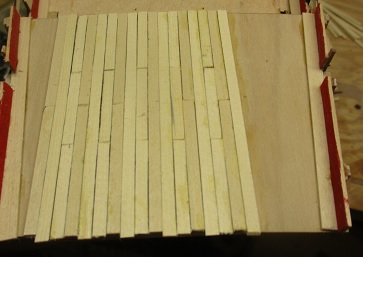
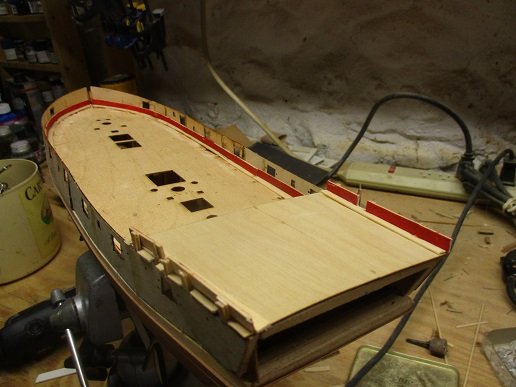
At this point in construction the instructions have you placing the lazer etched deck in place. I can't use it because the deck is wider aft than the Speedy. So I'm laying the deck with individual planks. Chris suggests putting in the bottom spirketting plank (painted) first which necessitates my adding the margin plank. Now I can either finish up the spirket planks, or do the deck, depending on my mood. I'm using yellow cedar for the deck. Chris wants me to use the pear planking for the spirketting, but, being the cheap Yankee that I am, and that it gets painted anyway, I'm using basswood for that planking.
- 346 replies
-
- 5
-
-
- Sophie
- Vanguard Models
- (and 1 more)
-
Ron, thanks for the tip on the nozzle cleaner. Most useful. Also, I suspect that real sails weren’t uniform in color either. More realism! Tom
- 542 replies
-
- 1
-
-
- Sphinx
- Vanguard Models
- (and 3 more)
-
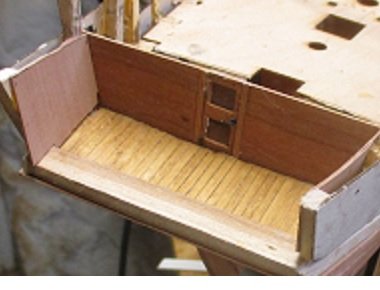
I've done all I want to do with the "great cabin". I had to spend some time doing design work to make sure the quarterdeck beams were of the proper size and placement. I'm in the process of making those now, there will be 4.
- 346 replies
-
- 8
-
-
- Sophie
- Vanguard Models
- (and 1 more)
-
Getting the upper ones shaped around the hull is challenging; looks like you got it, though. Tom
- 200 replies
-
- 2
-
-
-
- Whaling Bark
- Charles W Morgan
- (and 1 more)
-
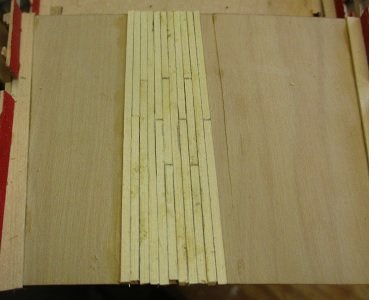
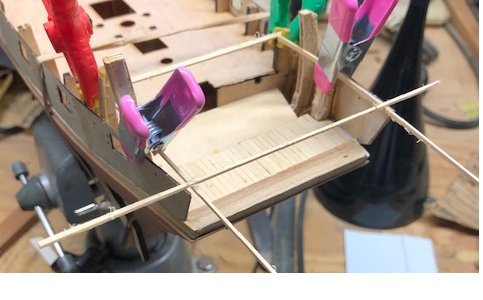
Great cabin deck planked. The crazy arrangement of sticks in the picture is verifying that everything is square and that there is about 5'7'' headroom between quarterdeck beams. We know from the book that Aubrey could only stand fully up between the beams. Also the sticks are telling me that the quarterdeck will, in fact, hit the transom just as I had designed it. This is all working out much better that I could have expected. I thought about what kind of treatment for the cabin deck, and was inspired by Greg Herbert's treatment of the deck in Speedwell which, with its multiple carvings, is a much snappier craft than humble Sophie. Tom
- 346 replies
-
- 8
-
-
- Sophie
- Vanguard Models
- (and 1 more)
-
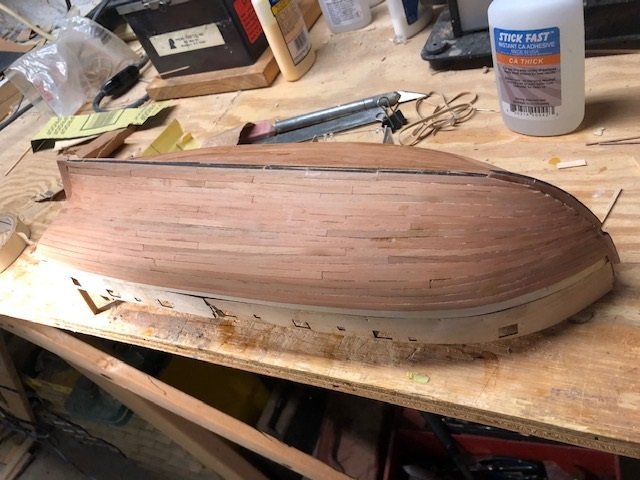
Bit of an up-date: Second planking installed, albeit slowly. Not my favorite part of the construction.: Having done that, I think I'm going to work on the captain's cabin next. It would be nice to see the other side of this vessel for a while. Tom
- 346 replies
-
- 9
-
-
- Sophie
- Vanguard Models
- (and 1 more)
-
Keith, Shouldn't "toffs" be capitalized? In any event, the way you tell the real sailors is look at their shoes. Wellies work well; on this side of the pond we do topsiders. Tom
-
Tom, I'm following you closely on this, as I have to do it with my HMS Sophie build (for the first time) Tom
- 200 replies
-
- 2
-
-
- Whaling Bark
- Charles W Morgan
- (and 1 more)
-
Tom, What kind of wood did you use to prevent crumbling at that small size?
- 200 replies
-
- 1
-
-
- Whaling Bark
- Charles W Morgan
- (and 1 more)
-
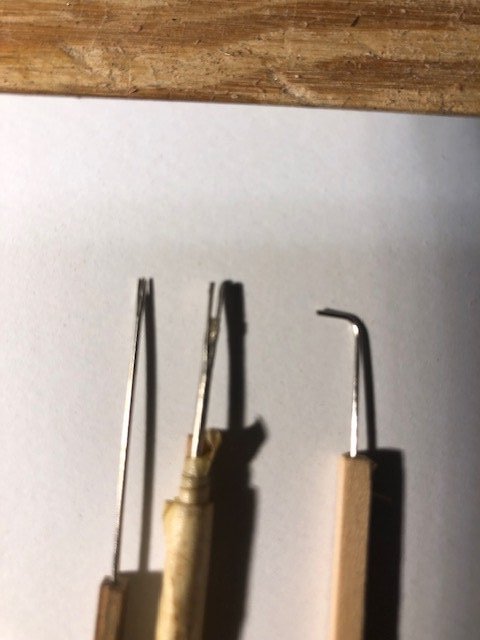
Tom, the reinforcements around the chock holes are particularly neat and uniform. What's the trick? Tom
-
I don't even want to think about why a surgeon would need an 18" clamp.
- 3,560 replies
-
- 1
-
-
- clipper
- hull model
- (and 2 more)
-
Keith, I'm reminded of the 3 test rule: 10' away, 3' away, right up close. From your photos, it looks like "right up close"; still looks good! Tom
-
David, Did you notice that Vanguard (Chris) now sells a hull, completely formed, with ribs, so all you have to do is add the interior? In my Sophie build, which is based on Speedy, I'm tempted to just buy the hull. Yours turned out exceptionally well, but it's a bugger to get just right. BTW, That mouse turned out really well. Gotta try it! Tom
- 91 replies
-
- 1
-
-
- Speedy
- Vanguard Models
- (and 1 more)
-
Looks pretty good to me. Also, the deck color came out well. Making good progress! Tom
- 200 replies
-
- 1
-
-
- Whaling Bark
- Charles W Morgan
- (and 1 more)
-
Allan, You don't mention the final dimensions that you require. I have been able to get 1/64" on my table saw. Give it a try, especially since you don't need long strips. Tom