
HOLIDAY DONATION DRIVE - SUPPORT MSW - DO YOUR PART TO KEEP THIS GREAT FORUM GOING! (89 donations so far out of 49,000 members - C'mon guys!)
×


TBlack
-
Posts
1,310 -
Joined
-
Last visited
Content Type
Profiles
Forums
Gallery
Events
Everything posted by TBlack
-
 Nice tutorial on ratlines. Should be easier at a larger scale. How are your eyes holding up?
 -
1876 Parcel van by michael mott
TBlack replied to michael mott's topic in Non-ship/categorised builds
It IS great work, but I'm focused on the huge inventory of stuff that you can bring to bear. I mean how many of us have a hex draw plate? Tom- 22 replies
-
- 10
-

-

-
Keith, dear bro, it looks like there are 27 dedicated followers here, plus drop-ins from time to time. Grass Lake is west of Ann Arbor, right? I’ll bring the donuts, if you can provide the coffee, and we’ll all have a grand time. Let’s call it a NRG mini convention. Aside from that, we get to see your efforts up close. One of the things that is lost in the excellent photography is the scale of this model.
-
Tom, I’m following your progress with great interest, as I’m working on the same model (named Sophie). I might add the yards to the masts off the model prior to shrouds for the ease of it. I can’t think that it will be a hindrance. Tom
- 144 replies
-
- 1
-
-
- HMS Speedy
- Vanguard Models
- (and 1 more)
-
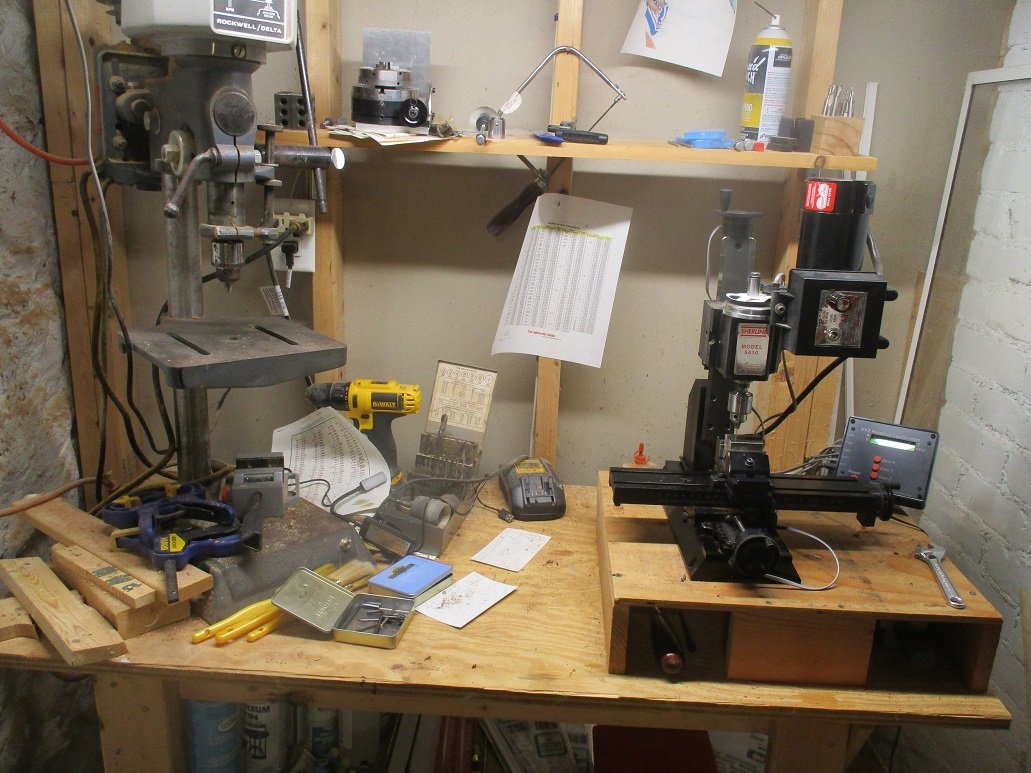
Oh, and Keith that isn't my only workbench I've got these too, but, as you can see, not a lot of free space;

- 341 replies
-
- 6
-
-
- Sophie
- Vanguard Models
- (and 1 more)
-
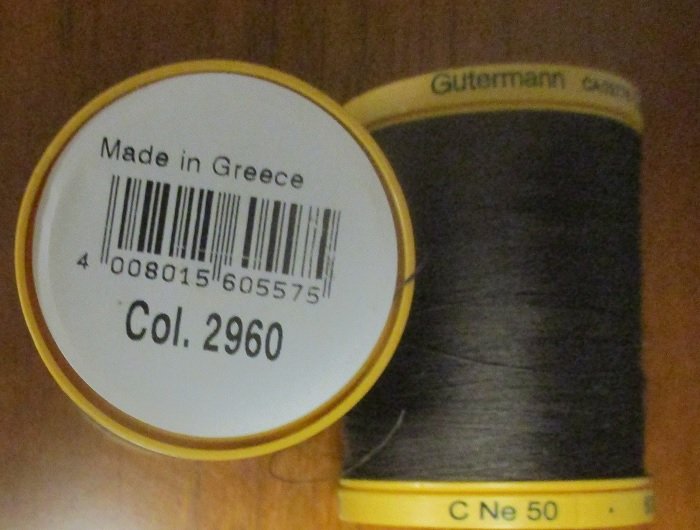
Keith, That roll came with the kit. I've been using it as seizing, and it's fine. For the shroud/stay seizing I'll be using this: I'm not sure I can achieve the level of detail that Toni Levine has done in her tutorial (I'm 50% smaller), but I'll get close. Tom
- 341 replies
-
- 2
-
-
- Sophie
- Vanguard Models
- (and 1 more)
-
1876 Parcel van by michael mott
TBlack replied to michael mott's topic in Non-ship/categorised builds
Nice work on those wheels/axles. Dimensions spot on. But I’m worried about those railroad ties not being treated. Tom -
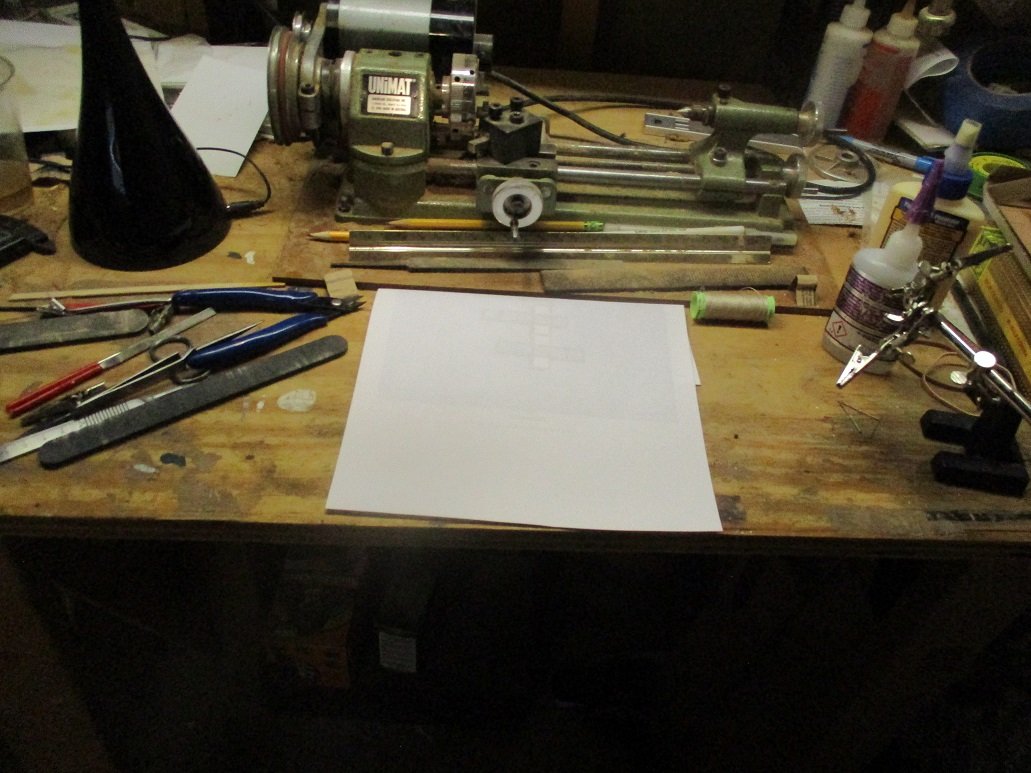
Keith, I'm not sure you're grasping the situation. In the picture, that piece of paper is 8" square. It takes up all available space, and where do I put it when not in use. The only option is the floor...nope. Besides, you can see the device that I'm using there on the right. Much easier to deal with. But thanks for the suggestion. Tom
- 341 replies
-
- 2
-
-
- Sophie
- Vanguard Models
- (and 1 more)
-
It's now time to put my new serving machine together, so a slight pause in ship building.

- 341 replies
-
- 6
-
-
- Sophie
- Vanguard Models
- (and 1 more)
-
Keith, I’m really constrained for bench space and this device looks too big for my shop. Let me use what I have and we’ll see.
- 341 replies
-
- 2
-

-
-
- Sophie
- Vanguard Models
- (and 1 more)
-
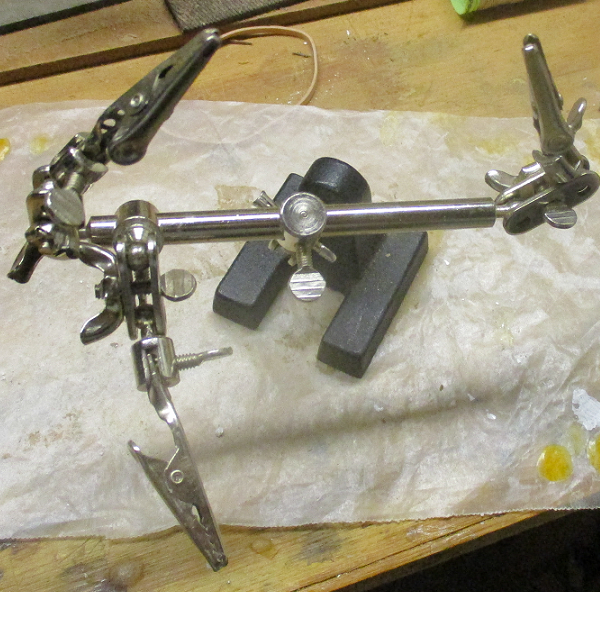
Chris, Rather than redo all those brace pendants, I decided to just paint the lines black. Seems to work! Brother Keith, I have been using this device. Not the greatest....too many moving parts, but it does the job.
- 341 replies
-
- 3
-
-
- Sophie
- Vanguard Models
- (and 1 more)
-
Done! Boy, that took some time: I Interestingly, the plans I have indicate that the brace pendants are natural, but all the models here that I've seen tar their pendants. Haven't checked with Lees. Also, because none of the masts are glued in place, I should be able to attach the spars off ship and no problems, right? I can't think that, having the yards in place will interfere with stays/shrouds. Oh! And see that the yards are sitting on fine grit sandpaper. I find that, working over that spot, and I drop a block it doesn't bounce on the floor. It doesn't bounce at all!

- 341 replies
-
- 11
-

-
-
- Sophie
- Vanguard Models
- (and 1 more)
-
Michael, After all the help you gave me on my Vinal Haven build, I’m a huge fan of yours. Any post you make (ships, railroads, masons, etc.) I follow with great interest. Tom
-
The shovel is so typical of the details you put into your efforts.
-
“The material is fixed into place using a method I learned from model railroaders. I mixed up a solution of 50/50 water/PVA with a couple of drops of surfactant to break surface tension. I use a dishwasher rinse agent for this, but windshield washer fluid works great also – or even liquid soap. sounds like you have to be a bit of a chemist to pull this off!
-
As I’ve mentioned before, Toni’s explanations are complete and easy to follow. But there’s more: she has also instructed us in the correct terms for the various parts. Thank you, Toni!
- 80 replies
-
- 8
-
-
- rigging/masts
- NRG
- (and 2 more)
-
Ok, but you had to manage the depth of cut pretty artistically. TB
-
How did you manage to cut that slot so beautifully? And to respond to this comment: "It felt like every time I put something down on the workbench I had to search for half an hour to find it again. It wasn't as if the bench was particularly untidy, I just seemed to be in the habit of hiding what I wanted under the thing I had just put down." Don't beat yourself up too badly; I do that all the time, except the something is usually in plain sight! Tom
-
Bro, If it's any comfort, your older brother is on the waiting list at the local "home" Tom
-
Looks like a good set of plans/photos to work from. Good luck!
