MORE HANDBOOKS ARE ON THEIR WAY! We will let you know when they get here.
×


Mark Pearse
-
Posts
804 -
Joined
-
Last visited
Content Type
Profiles
Forums
Gallery
Events
Everything posted by Mark Pearse
-
 HI Vaddoc no problem, my assumptions about the rig this boat carries were wrong, I wasn't expecting her to be able to set a flying jib. I assumed the topsail carried both spars with it, in which case you don't have the top section of the mast above where the backstays meet the mast. You will be happily busy with that rig. Apologies if my comments were confusing.
 -
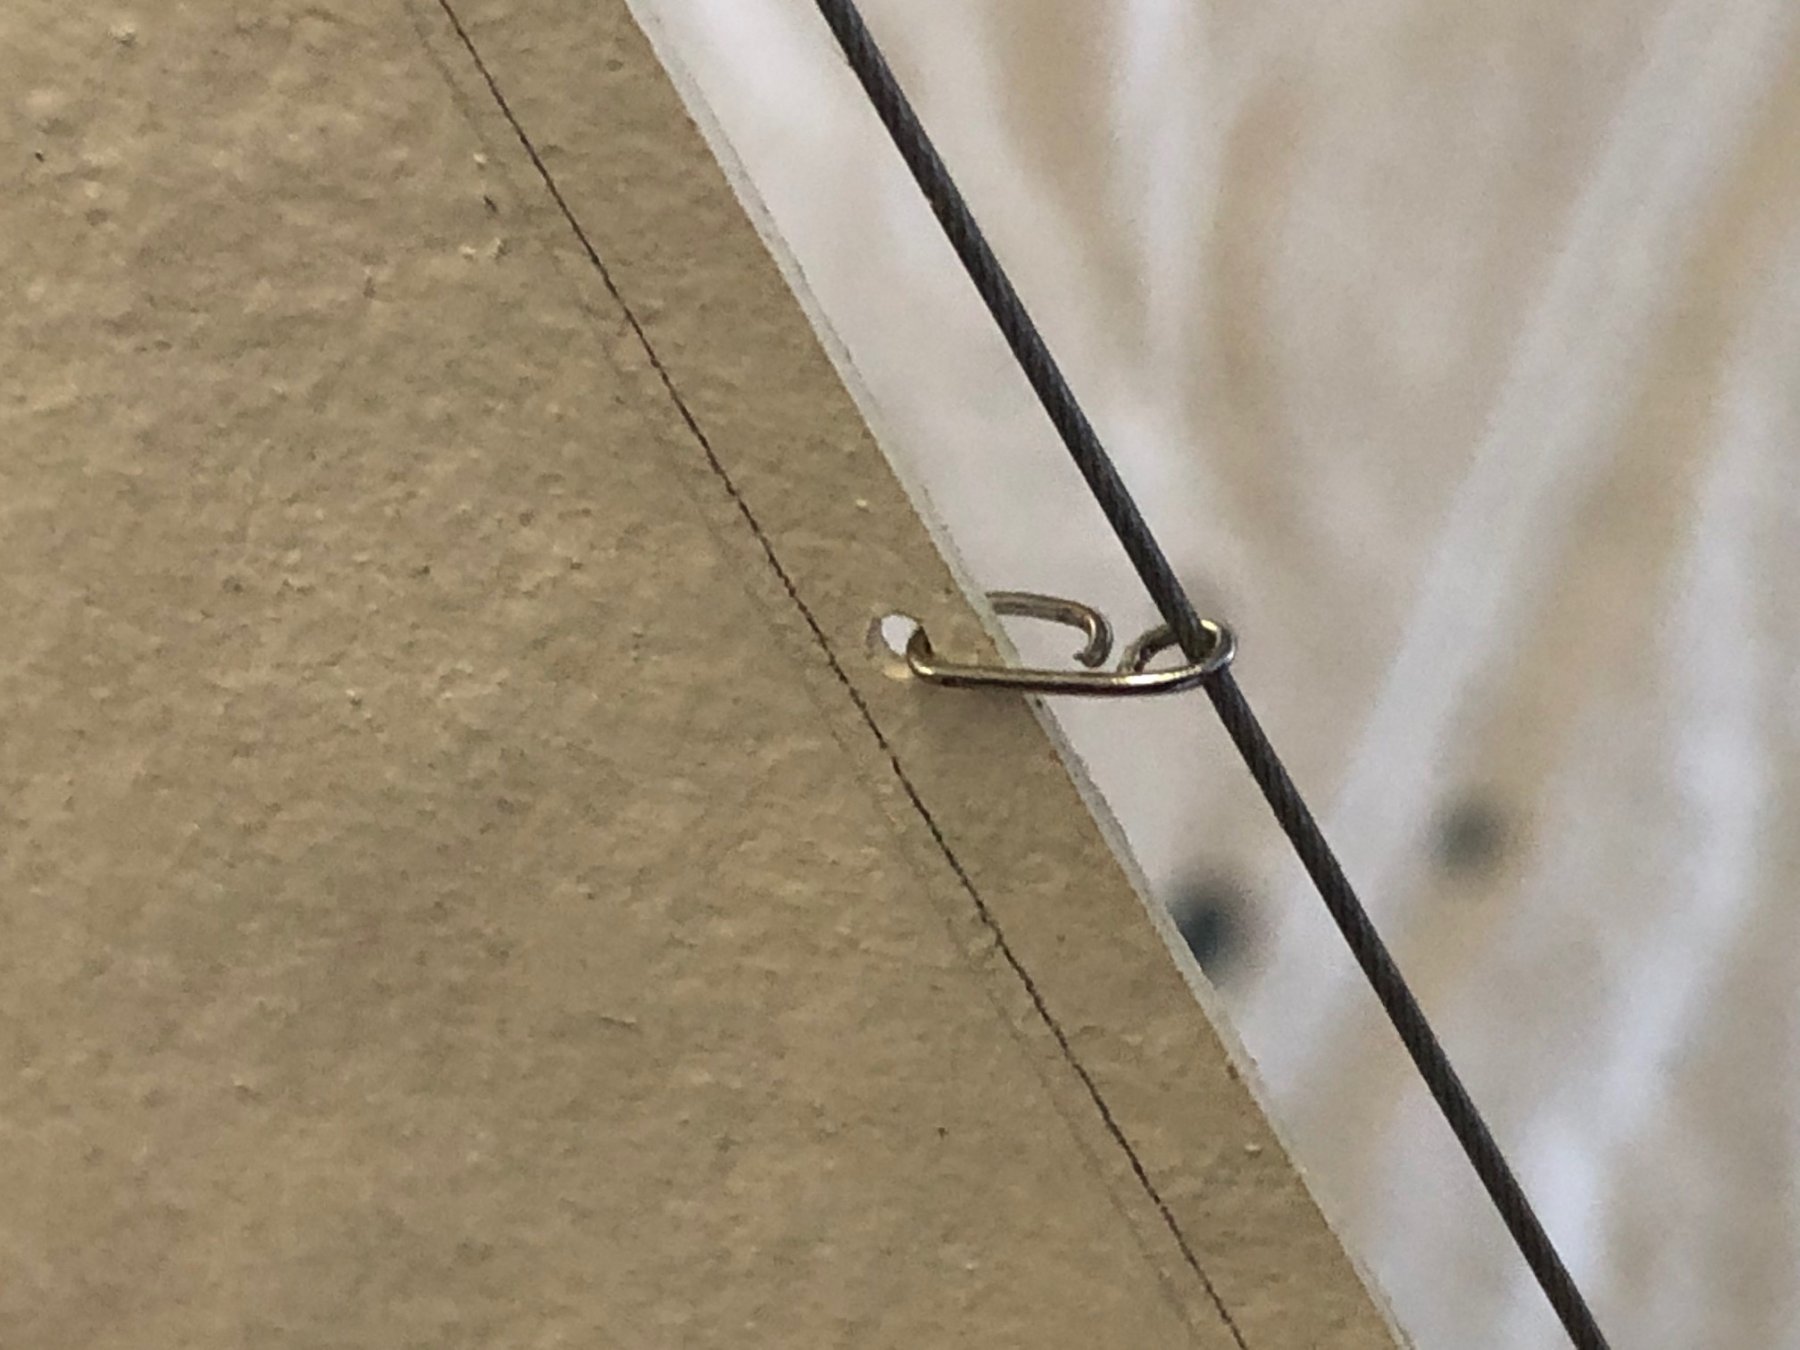
HI Vaddoc, nice work, she's really coming together well. Don't forget that a gaff main has running backstays that should go to the head of the mast. Looking at your fitting they could possibly fix to the topsail halyard loop (perhaps both going to one ring on the loop?).
-
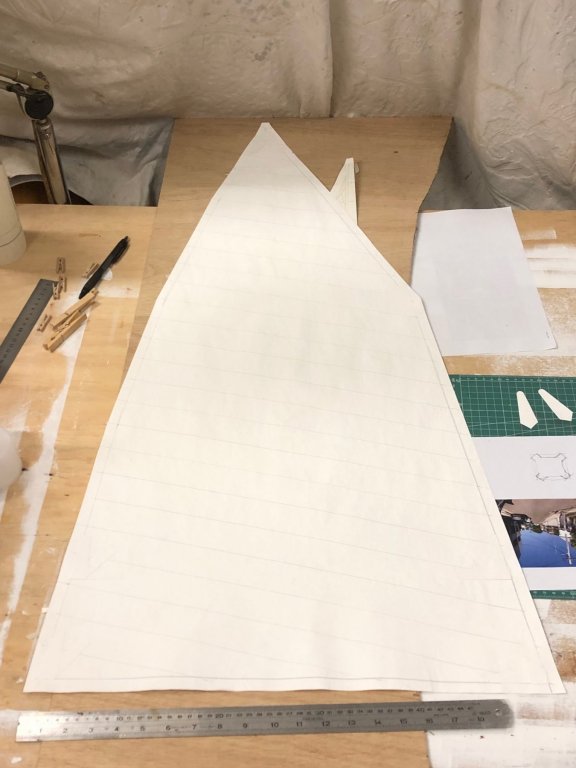
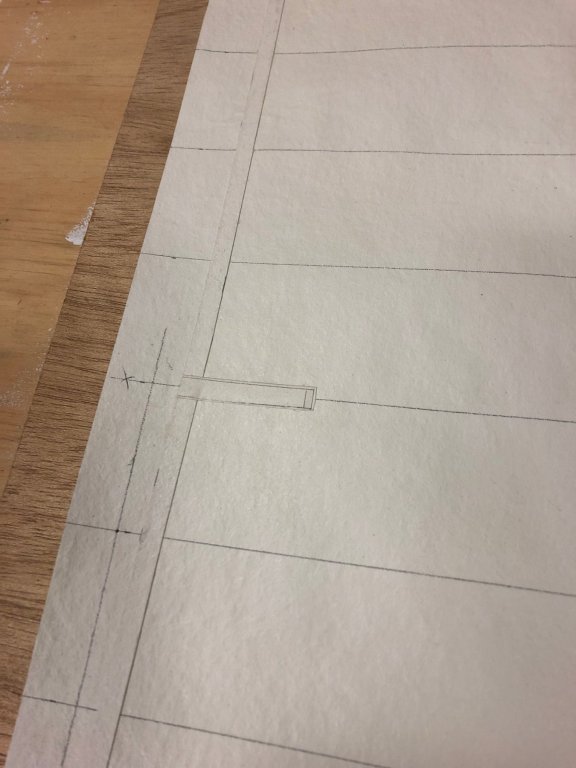
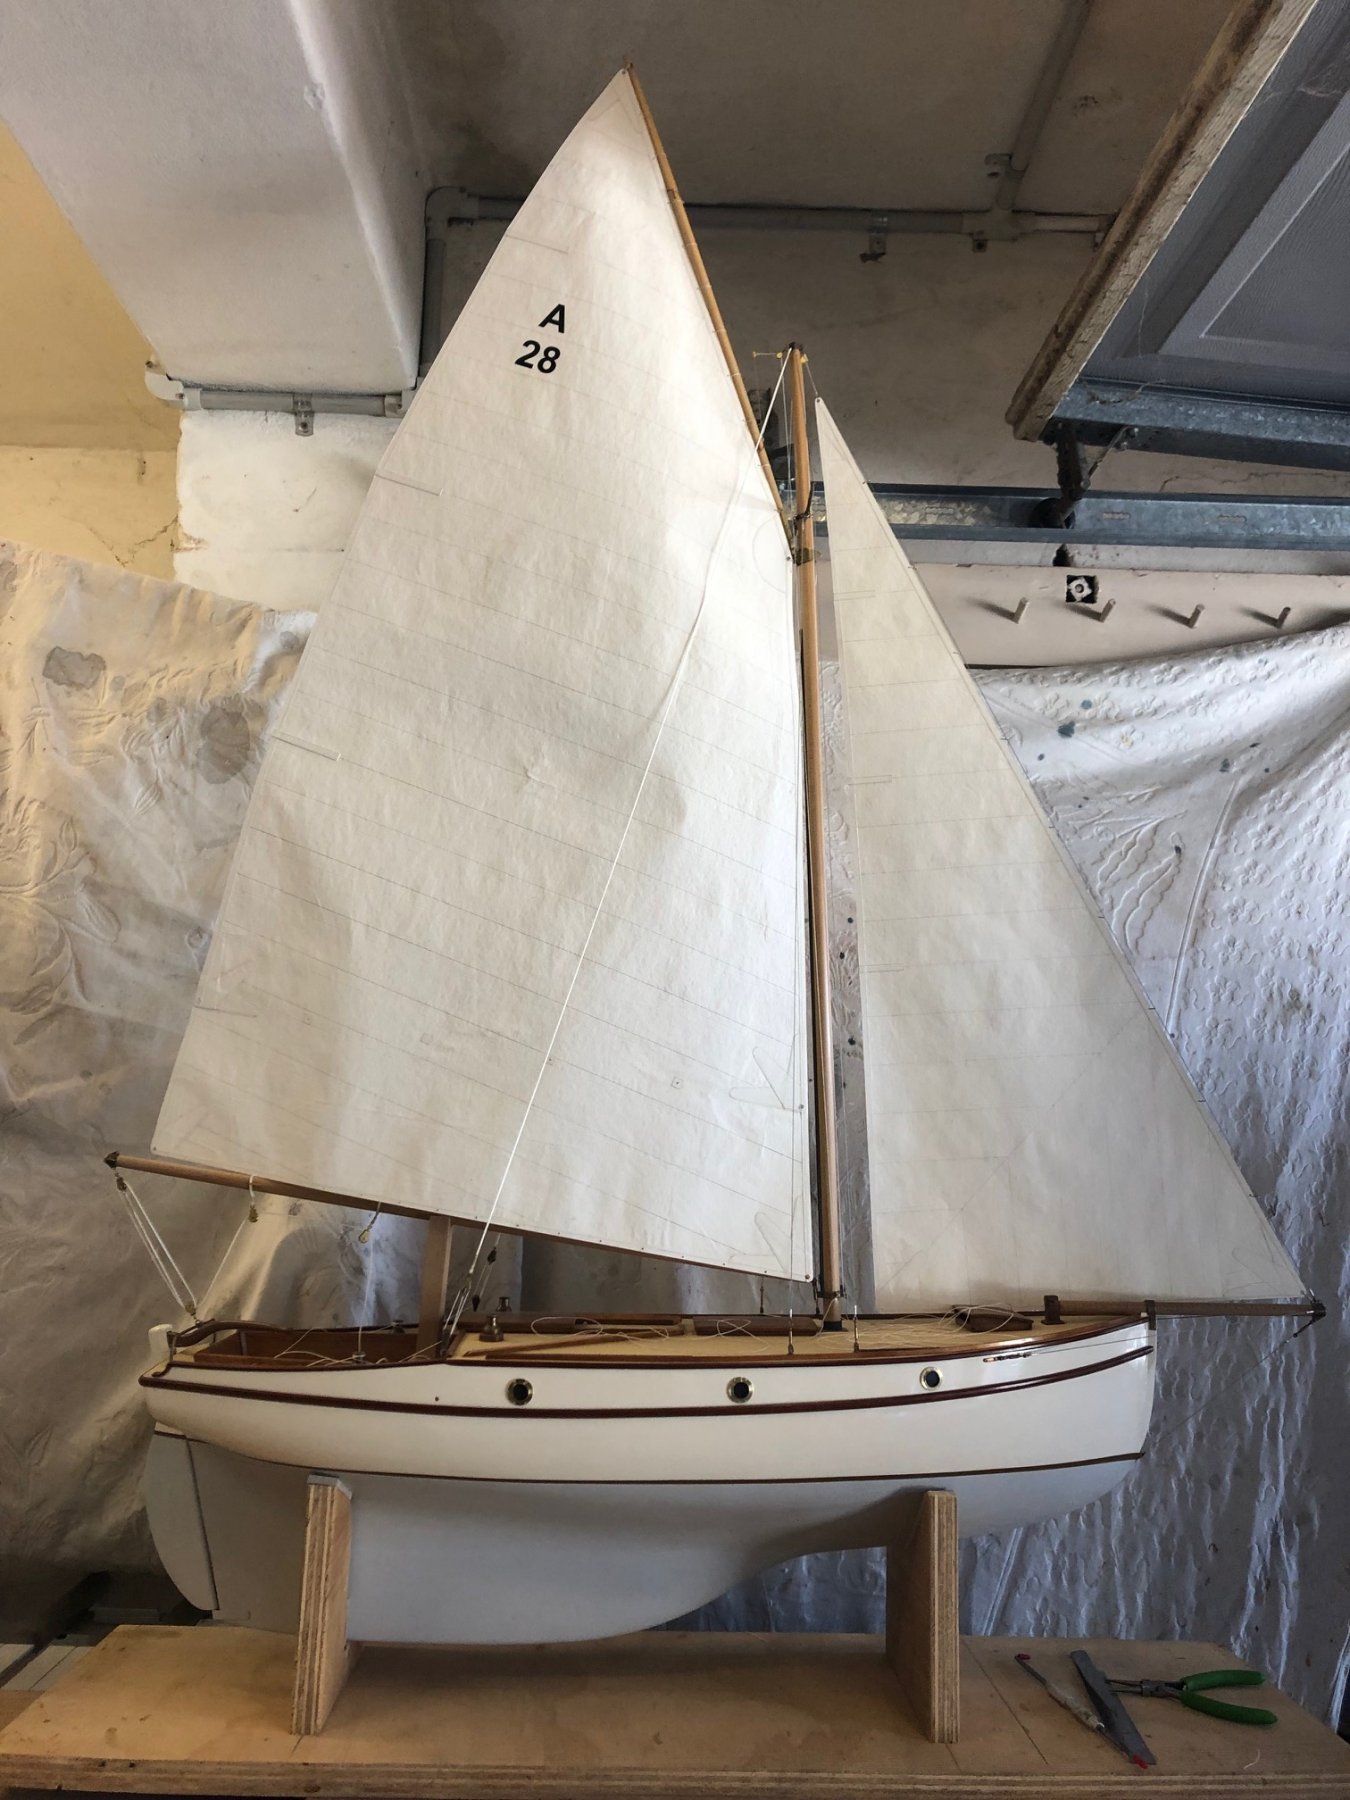
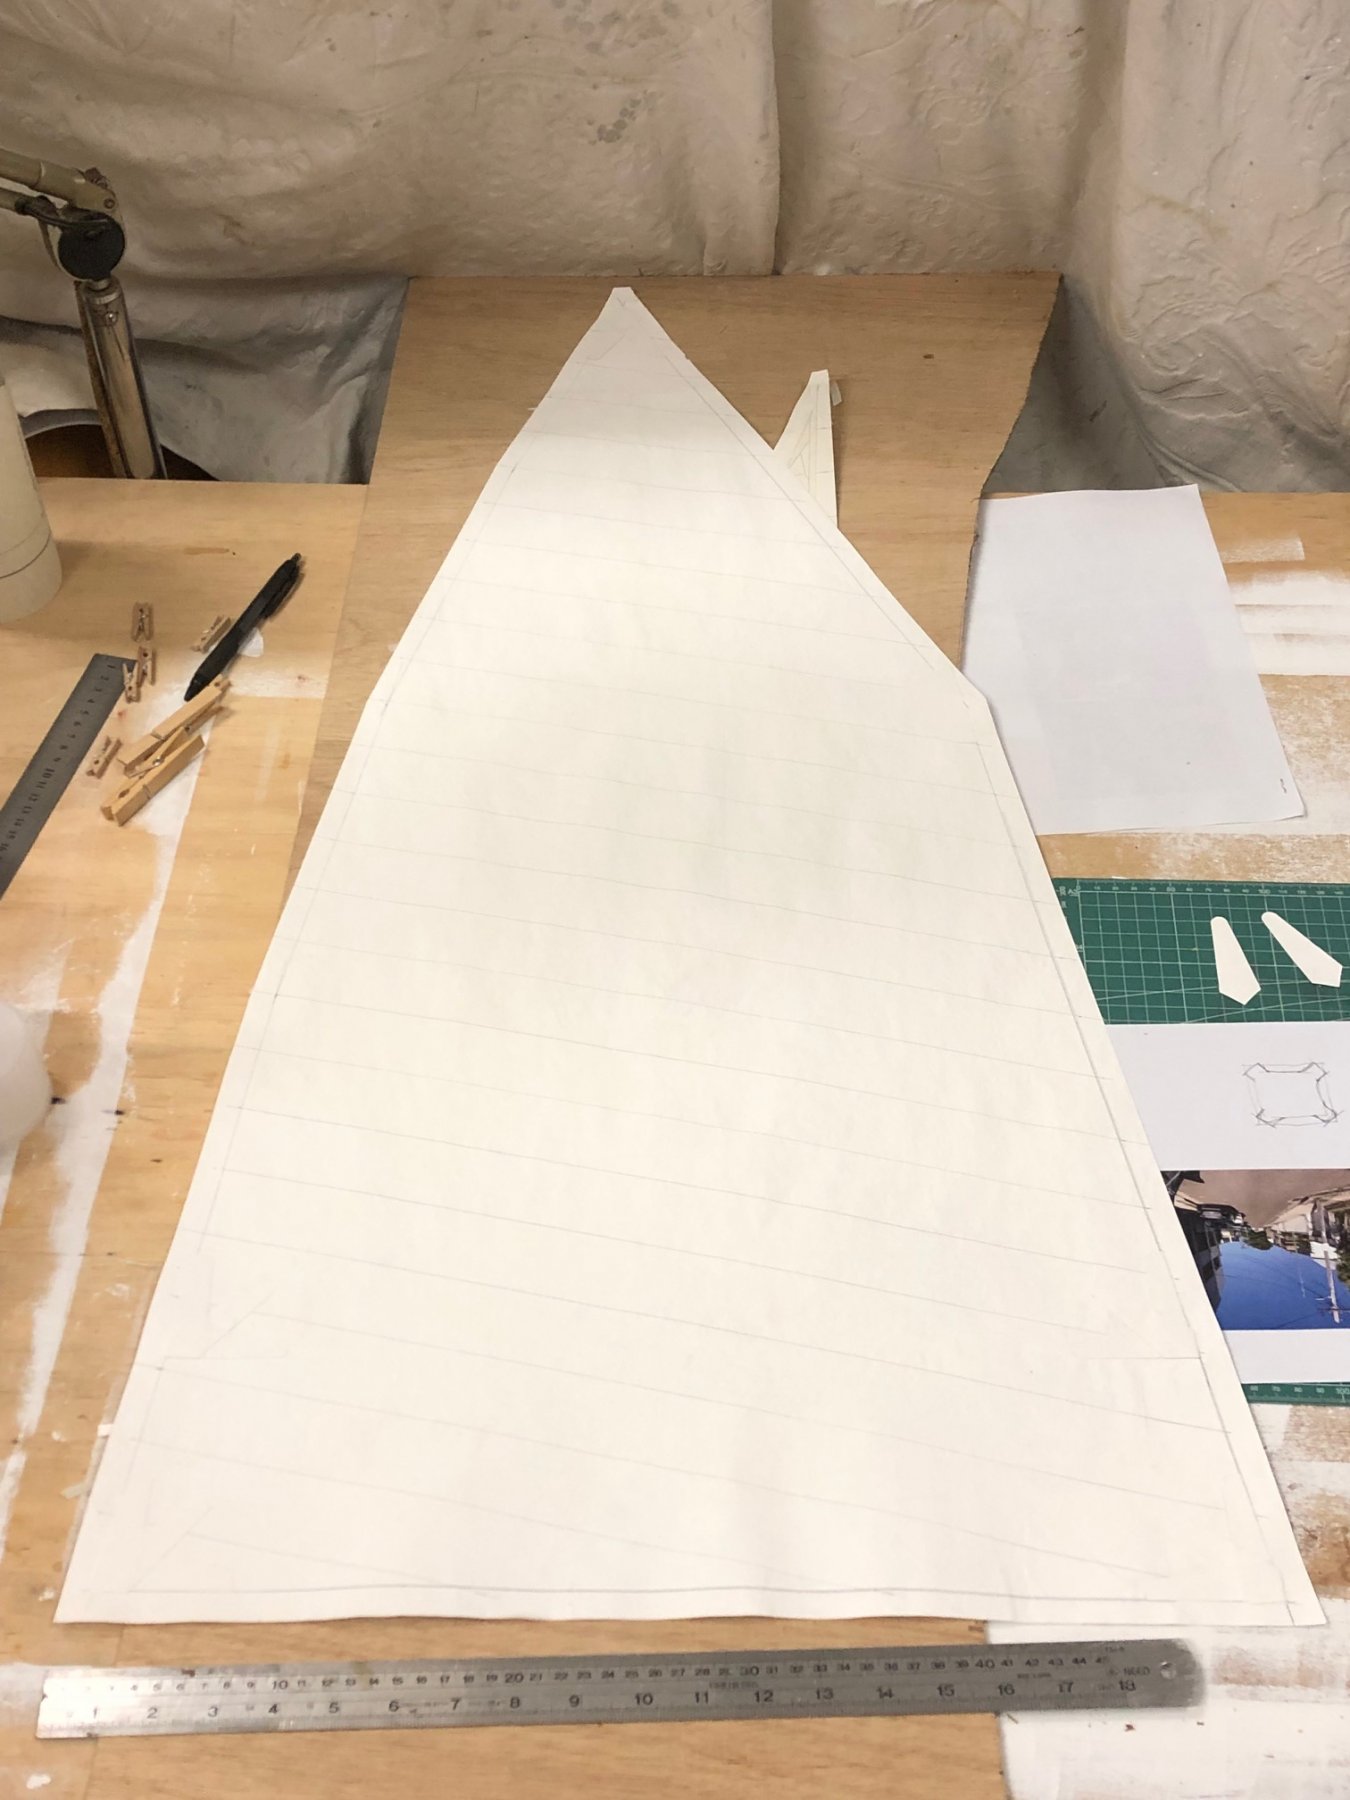
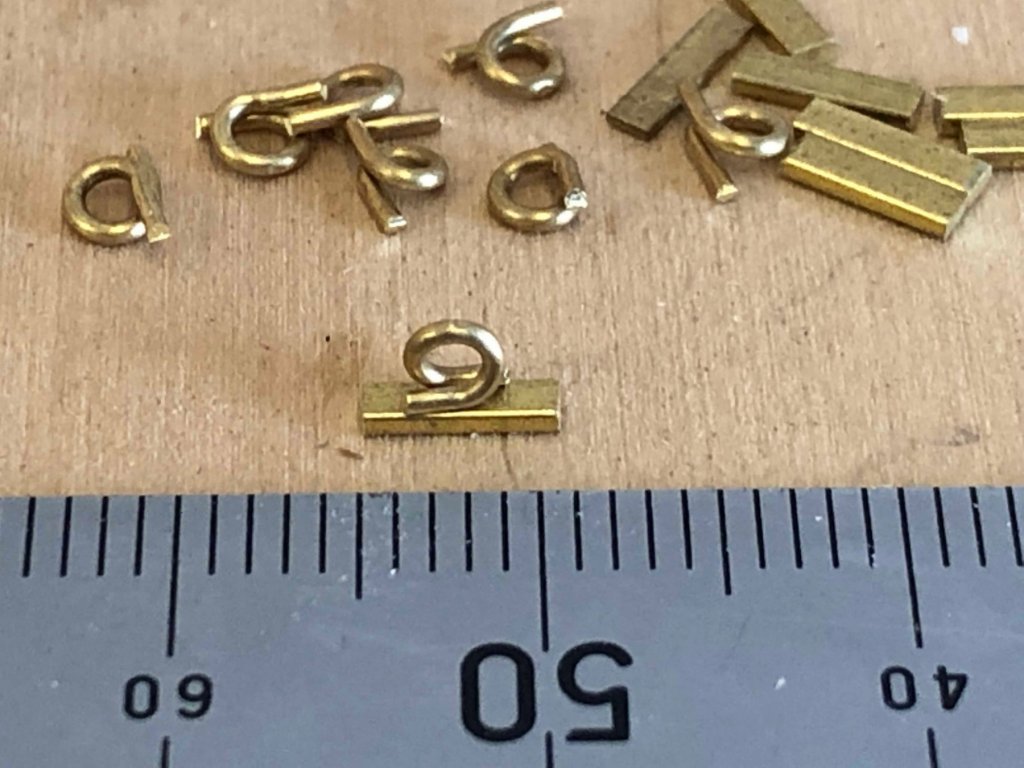
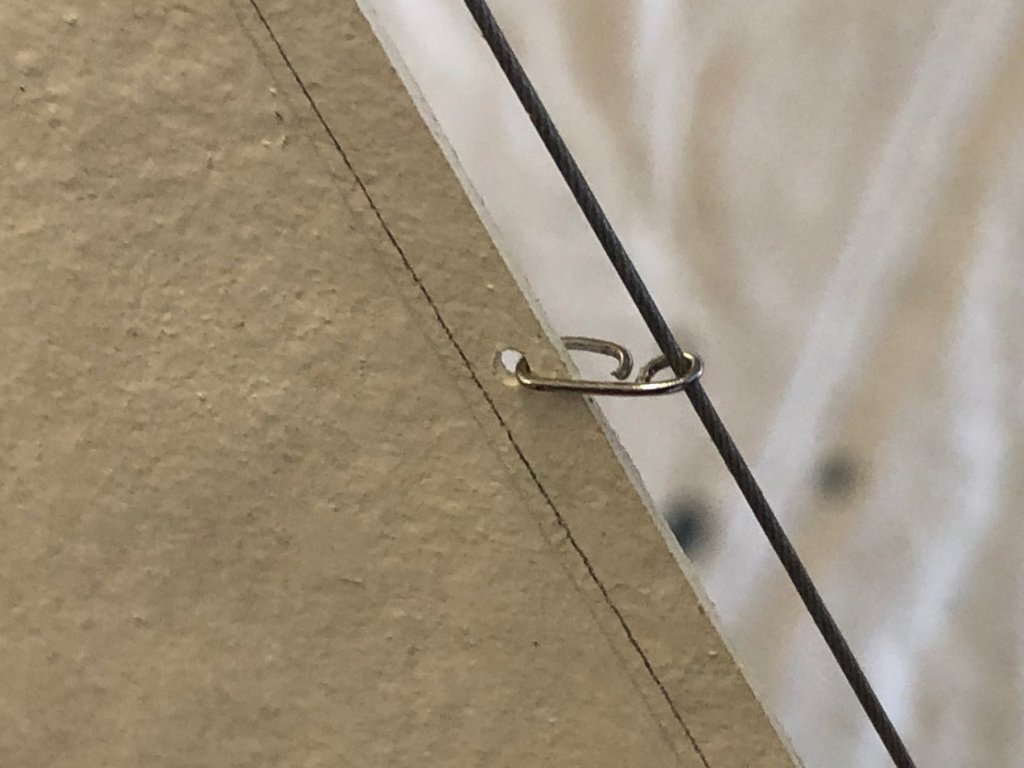
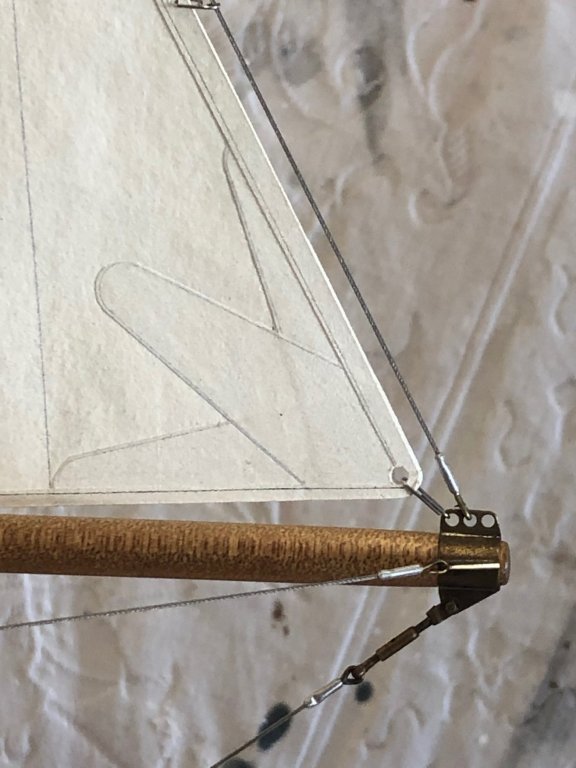
Some progress, I'm almost ready to do the final rigging of the sails. The jib is done, but without any sheet blocks or track cars to lead the sheets yet; the mainsail was test fitted, see below, & since then I've set out & drilled the luff. The luff is not laced, that's a bit old-fashioned for the 1960s, they would have likely been some simple car & track arrangement. Laced luffs are ok but can jam if it's very windy, nothing like being unable to get sails down. I've also decided against doing a loose foot on the mainsail, mainly for model making reasons. I prefer a loose foot, but it will be a greater risk for the model to have the sail loading to just the tip of the boom & the tiny block there. I think it's historically correct to do either for the time. The rig temporarily in place, the 'A' indicates the Sydney Amateur Sailing Club. The tack of the jib completed. One minor detail is that the replicated modern swage terminals - aluminium tube with the wire glued in place with CA - just aren't strong enough so I did a single squeeze on each tube with pointed (round tipped) pliers. The effect is quite good, & in fact the actual terminals do have a flat spot for putting a spanner. Jib hank: These will be the mainsail luff cars. The flat bar pieces will sit in a brass C section that's on the stern side of the mast. To be soldered, then probably glued into the track.

- 411 replies
-
- 11
-

-
15' Dinghy by Bedford - FINISHED - 1:1 scale
Mark Pearse replied to Bedford's topic in Non-ship/categorised builds
thanks for sharing the photos, she's beautiful, & it's a good looking rig too -
A real world example is that medium & large racing yachts have adjustments to increase or reduce the mast bend. In the case of a fore & aft mainsail this would increase or decrease the fullness of the sail & give more pointing or more power etc. I'm not sure how this could translate to square sails though.
-
HI Steven you asked for comments on wedging the mast at the deck - wedges at the deck are not required if the mast & other parts are strong enough to not need the extra support, the mast can just flex it's full length & will move at the deck level. It doesn't answer your question about whether or not to do it here, but will hopefully assist.
-
Hi Steven the mast could well be salvageable. I've had good success using a heat gun & gently manual pressure to put in / take out bends in timber. If you don't have a heat gun, maybe there's some simple household alternative to warm the timber without scorching it.
-
Thanks for putting my question forwards. My gut feeling is that it's to do with the way the boats handled when working, & possibly to do with the topsails as the rake forwards affects the topsails balance the most. It could also be to do with the shrouds angle to the mast, as they don't seem to have running backstays.
- 219 replies
-
- 2
-
-
- smack
- cross-section
- (and 2 more)
-
Hi GL interesting. A couple of sail questions for you: - do you know why they raked the masts forwards? - were the topsails used regularly, or were they a 'race day' sail? Mark
- 219 replies
-
- 1
-
-
- smack
- cross-section
- (and 2 more)
-
The drawing is looking good, but some don't seem to be quite right just yet - eg number 5 looks good towards the lower part but dips in towards the top, compared to 4 & 6. Visually, it could help to see the pattern if you can temporarily 'turn off' the inner line for each rib. Are you setting up any of the horizontal hull lines at the same time?
-
What I thought I could see isn't a fairing error, just the way the hull form lifts around the aft part of the keel. I looked back at earlier photos & it doesn't seem to show, so perhaps it's just an optical illusion from the added black lines. The yacht designer Ben Lexcen often had a hollow in the same part of the hull.
-
Hi Keith yes there are some interesting things happening around the keel, just at the stern part where you filled there seems to be an intentional hollow.
-
best wishes for this Maury, she is a lovely model & I look forward to seeing the new work
-
Lovely work; & it's interesting to see again just how elegant the hull shape is.
-
Hi Frank, is there something to stop the mainsail halyard from getting in the way of the boom jaws (when the sail is up)? It looks like when the boom rotates, the jaws will push on the halyard -
-
Hi Keith what was the tool you used for sanding the moulds? Also, a comment: what an amazing hull, & it's one of the pleasures of a model to be able to see the whole - especially when you probably can't really see the whole on such a large yacht. Also interesting how far aft the keel is, when you include how the bowsprit will make the sailplan even further forwards.
-
Hi Keith, it is the same stuff, in medium weight. In his youtube videos, Tom Lauria who's using it as single thickness for a 1:48 model of a small cat boat, about 20 foot. The technique he shows really transforms the tissueyness of it, but I needed to beef it up even more. I decided to double the silkspan to then use that as a base material; I laid out one layer of silkspan on a flat surface &, using a 100mm sponge roller, rolled on acrylic house paint (matt finish) with about 20% standard PVA mixed in. I did this in strips across the sheet, about 150mm wide, & then quickly laid (& burnished) a second sheet of silkspan onto the wet part of the surface. Then painted another strip, etc. After the whole thing was beyond sticky I then painted one side with a good coat of the same paint/PVA mix, & when that was handleable I did the other side & then suspended it to dry for a day or two - (not worrying about it not being dead flat, photo somewhere above). This was the base material for me. The sail tack was one thickness of the above, with 3 reinforcing pieces each side (each cut from the same stuff), layered on top of each other, plus the edge tape (same stuff), overlapped at the corner. So it's the same technique as Tom's, but once I started fiddling it was clear that what would suit a 1:48 model of a small yacht wouldn't suit a 1:12 scale model of a medium sized yacht. I emailed Tom & he very generously gave some advice that helped a lot - as described above (the reinforcing pieces building up so much was my addition). So, the good news is that as a product & technique, it's quite adaptable. Unfortunately it doesn't suit my original idea of formed sails (at the scale & model size I'm doing, & with the amount of curvature I wanted in the sails). The ironing it really works well & fast, & I found that using the iron - without steam - at a 'wool/silk' setting, & the water/PVA was about 40/60 ratio. This part probably won't make sense if you haven't seen the videos. Hopefully this gives a good visual picture. At the risk of being repetitious, I'm amazed but how much it feels & bends like heavy dacron, even the sound. But if you were going to show the sails flaked, or rolled, or furled etc...my sails would possibly not work, probably a bit thick. Testing required.
-
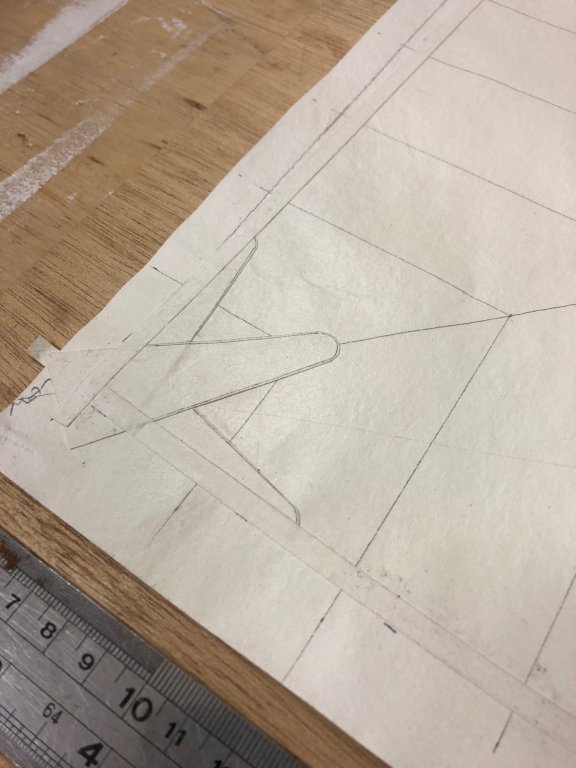
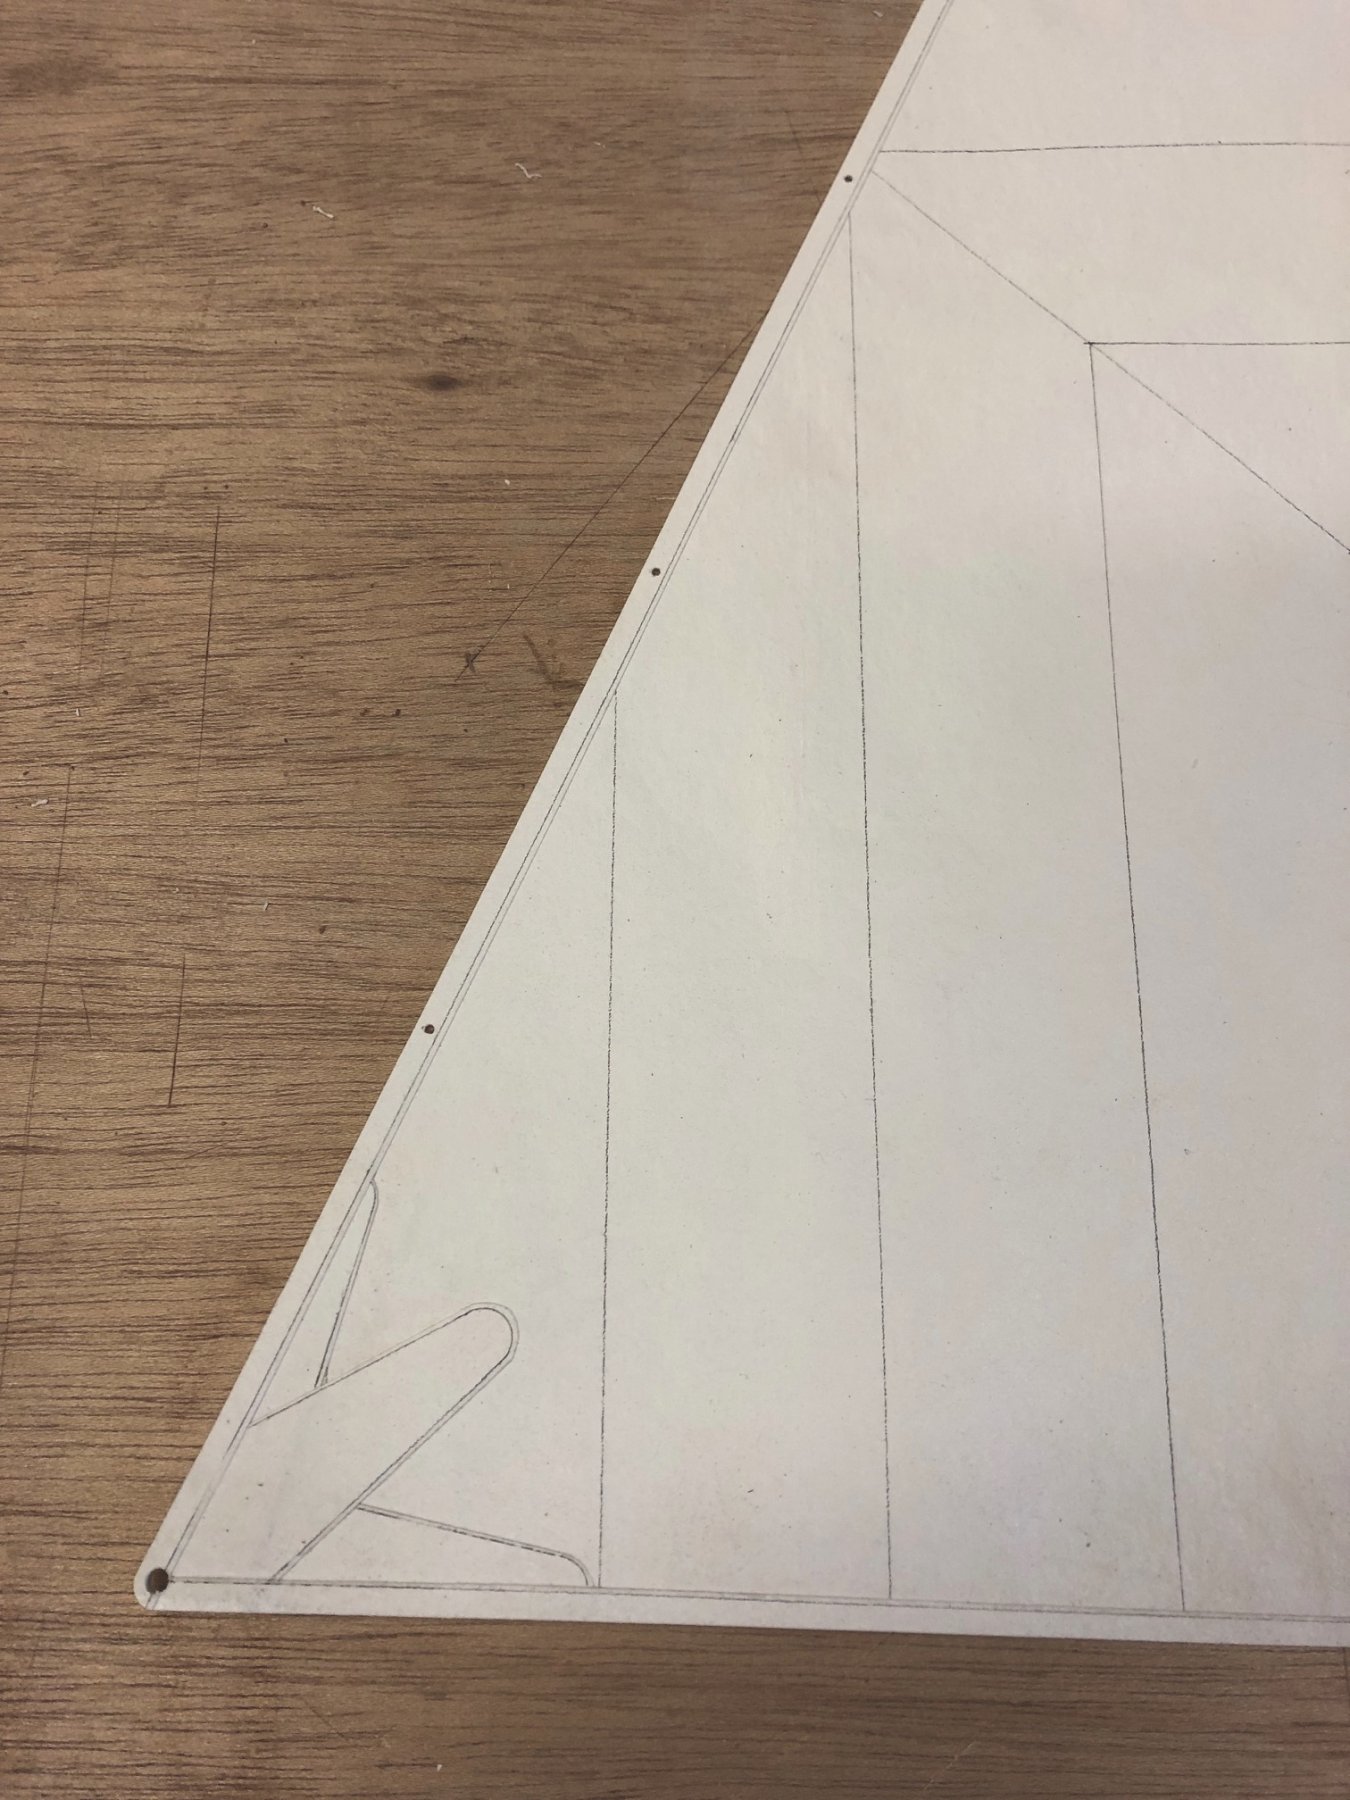
thanks all the jib is now pretty much done. The main cringles at the tack, clew & head were drilled by pre-drilling a piece of 1.5mm styrene to the final size (3mm), then using that as a guide, & the holes through the sails stayed sharp. I experimented with replicating eyelets, by adding some black oxide to PVA glue & using a toothpick to line it on a drilled hole...but it didn't work. The tinted glue is excellent but the technique is difficult to get even, so I will just leave them plain. Better to not draw unnecessary attention to them. There's possibly an error in my setout below, but I'm not sure & will accept it as is: you can't see the point at which the setout seams meet - I set out the seams to the edge of the sails, not to the edge tape seam, which is 3mm inside the sail edge. It would look better, & possibly be correct, to have allowed for the edge tape thickness in the setout. You can see here how thick the corners are, which is fairly scale-correct.Each piece of Silkspan was doubled, & there's 11 thicknesses of that. I think that the material is quite strong & won't be at risk of tearing unless there's a major accident. The whole thing had 2 coats each side of turps based matt clear polyurethane finish, hopefully t won't yellow significantly over time. I considered treating the edges with the same, or paint, or something else - but with a clean cut edge, & the mass off silkspan/acrylic paint/PVA glue is quite well bonded into a mass, it doesn't seem to need anything.


-
HI Michael, Many thanks for the description. What is the forward-facing central light? (I can only think it's an occasional white light, for visibility assistance when approaching a mooring or jetty after dark)
-
thanks everyone. Hi Carl, yes, it is 6H not 6B. It works well when nice & sharp, & the paint surface is slightly abrasive.
-
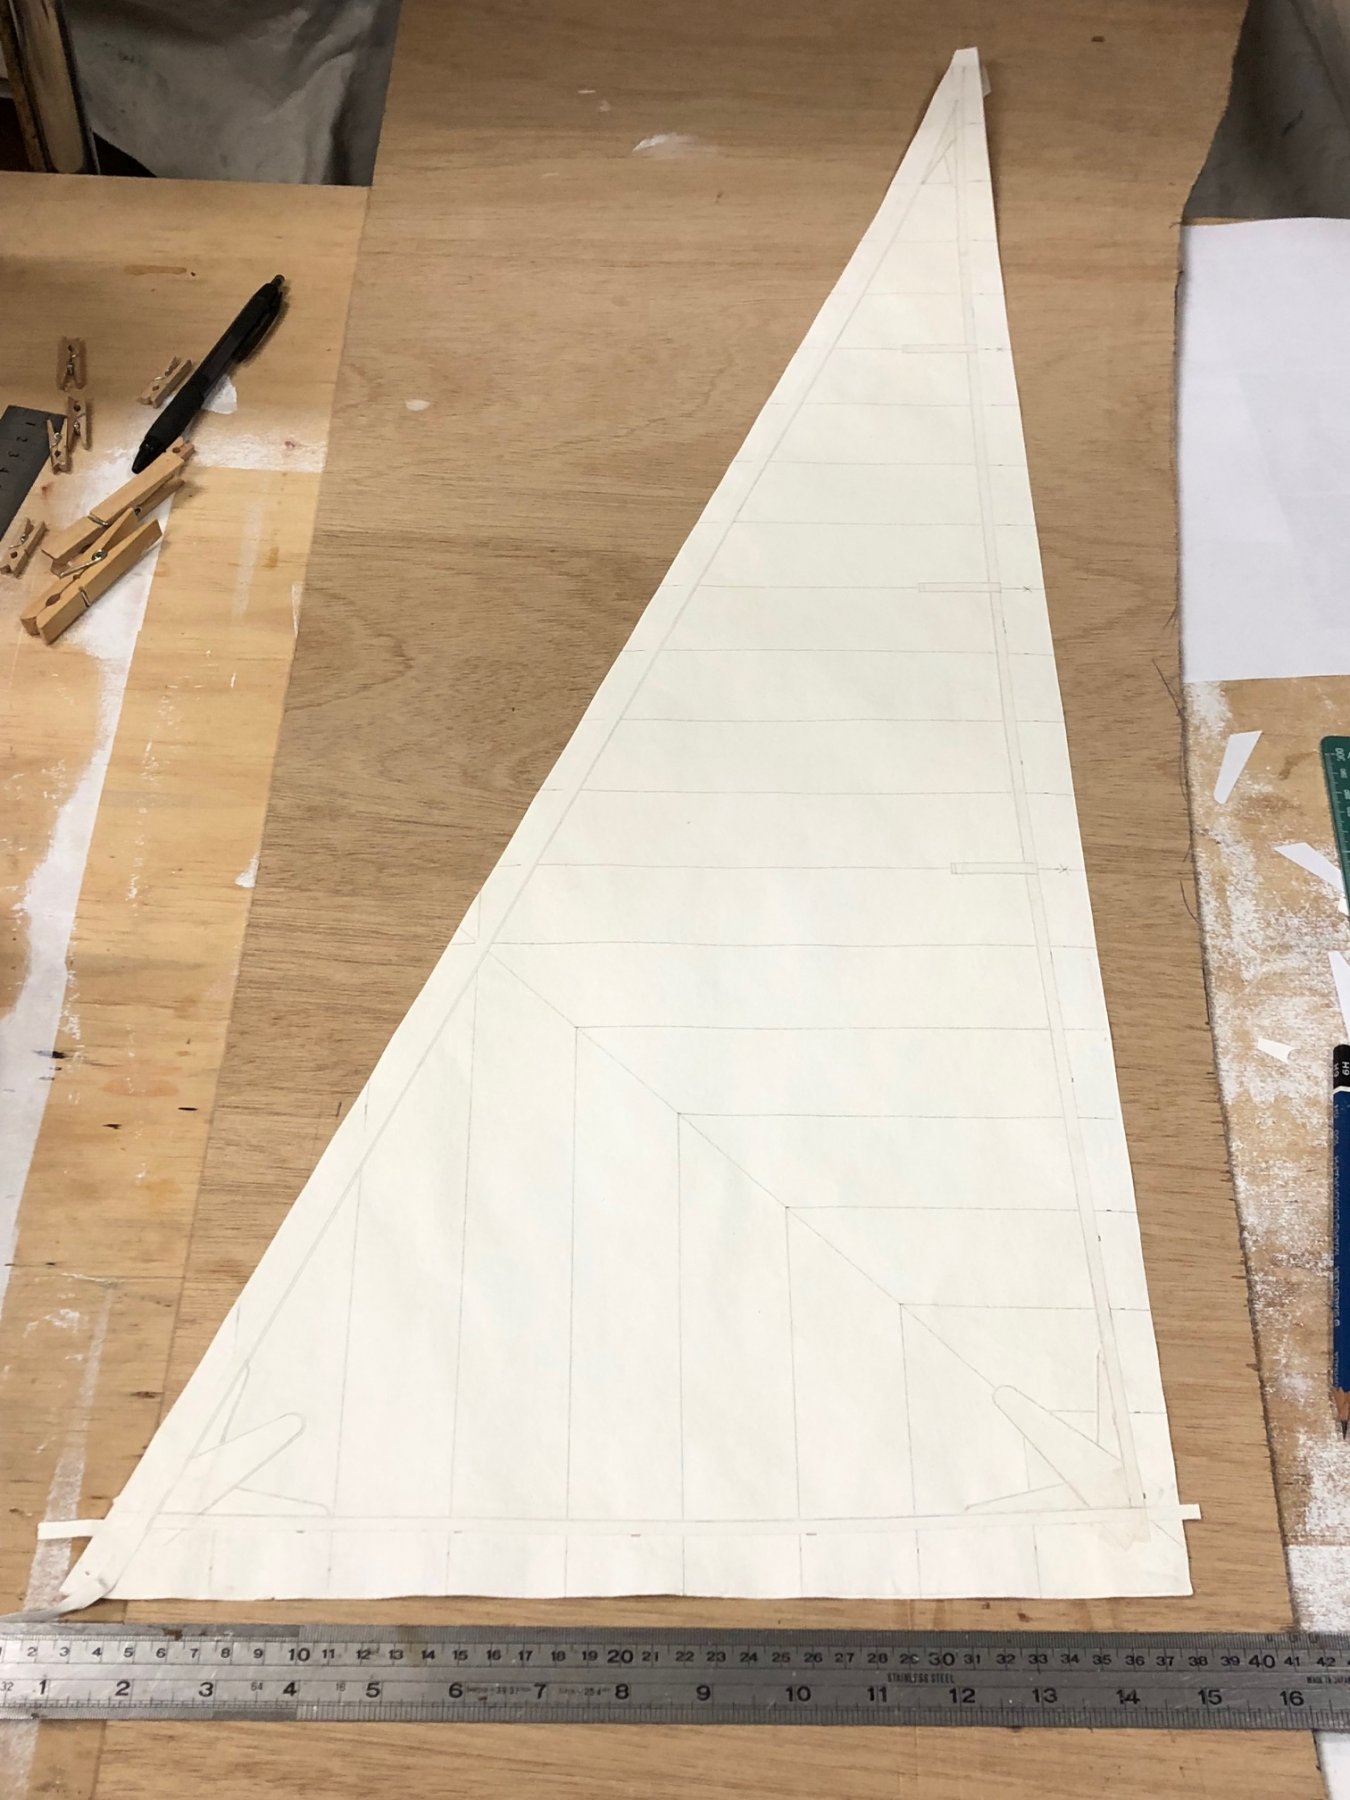
The sails are looking good, not finished but the effect of this technique suits the 1:12 scale well. The technique is fascinating, & the hot ironing of the strips details (with diluted PVA painted on) works quickly & easily. See Tom Lauria's YouTube videos on silkspan sails. The seams are done with a 6H pencil, & I've given the jib two coats each side with a matt finish clear polyurethane coat. I think it will help with durability & cleaning, & I like the feel. All in all, they really do feel like scaled dacron. Here is the jib, it's now a non-overlapping jib, a #3. The mainsail, still going. Th stiffening effect of the reinforcing patches is also very lifelike, & although I wasn't going to put battens on the jib, I did put a few because I think it's worth it to ensure it doesn't curl at the leech. The battens are short, to suit the 1960s period. You can also see that the pencil lines are a little uneven, I like this effect also, & I like the slight scuffs & marks you get from moving the sail from one spot to another while you work - they have a realistic look to me. A sail is usually quite marked, creased & with bits of dirt & stains - so I'm not trying too hard to keep it perfect. Also, the seams are usually not perfectly even in visibility, & the slight varying weight of the pencil lines seems to match this. I used pencil lines on the edges of the reinforcing patches. There's a lot of thicknesses of silkspan at this corner, & it feels 'right'. The edges of the sail have a strip guide on each side all the way around. I'll trim them to size somewhere on the strip.