


usedtosail
-
Posts
2,423 -
Joined
-
Last visited
Content Type
Profiles
Forums
Gallery
Events
Everything posted by usedtosail
-
 Very nice. And can you show how you made them, please.
- 1,051 replies
-
- 2
-

-
- cheerful
- Syren Ship Model Company
- (and 1 more)
-
Beautiful job on this boat. That shot of the dashboard looks like the real thing.
- 414 replies
-
- 4
-
-
- riva aquarama
- amati
- (and 2 more)
-
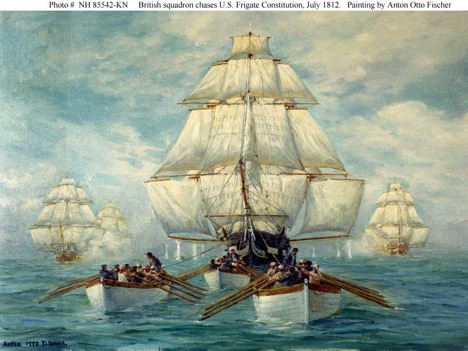
That picture is of the famous chase of the Constitution by three British ships in July 1812 - the wind died so they used the anchor and capstan to pull the ship along (ketching I think it was called, or warping?), with the ships boats to pull on the ship too. The Constitution was able to escape and fought one of the chasers (Guerriere) in August and beat it. So these small boats had a big part to play in her survival during the War of 1812. Thanks Fright. I think you will do fine with the cannon rigging. It is a little tricky at times, but it helps if you can make the hooks so you can just hook the tackle lines on after the cannons are in place. Making the hooks small enough is the challenge I have had before. Also, seizing the breech lines to ring bolts before the cannons are put in place helps too, as then it is just a matter of gluing the eye bolts into holes in the bulwarks.
- 1,354 replies
-
- 1
-
-
- constitution
- model shipways
- (and 1 more)
-
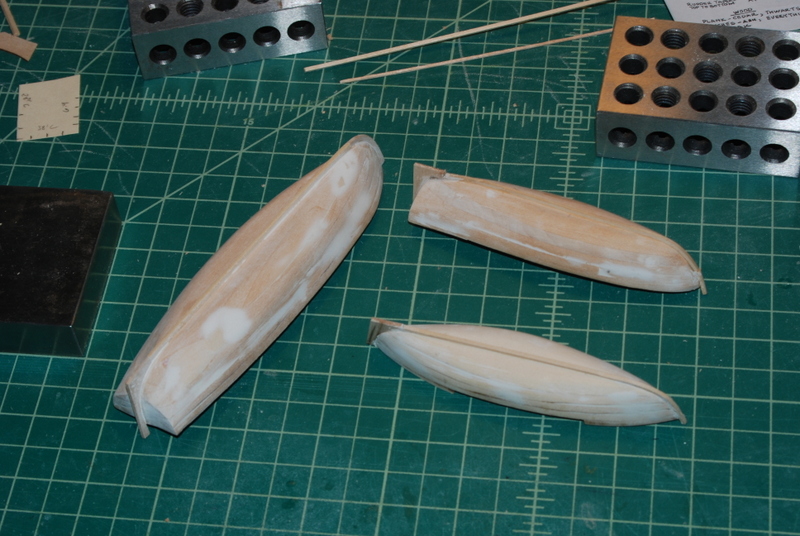
David, those boats are perfect and so realistic looking. I will have to try your method of making plugs from individual strips of each hull profile on a future build. Thanks for the tip.
-
Those conveyors look terrific, Denis. Nice detail with the nails on the control boxes.
-
Thanks Popeye. Here is the look I am going for. Some 1812 descriptions have the ships boats painted green, but I like this look better.
- 1,354 replies
-
- 5
-
-
- constitution
- model shipways
- (and 1 more)
-
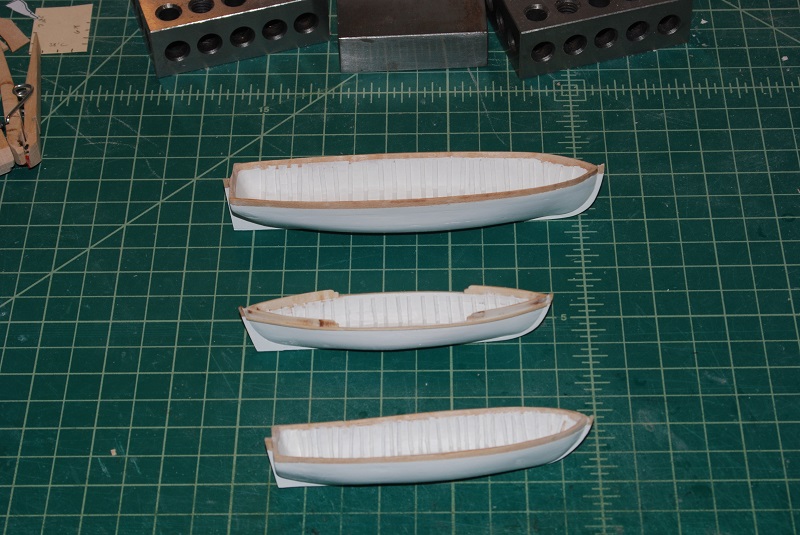
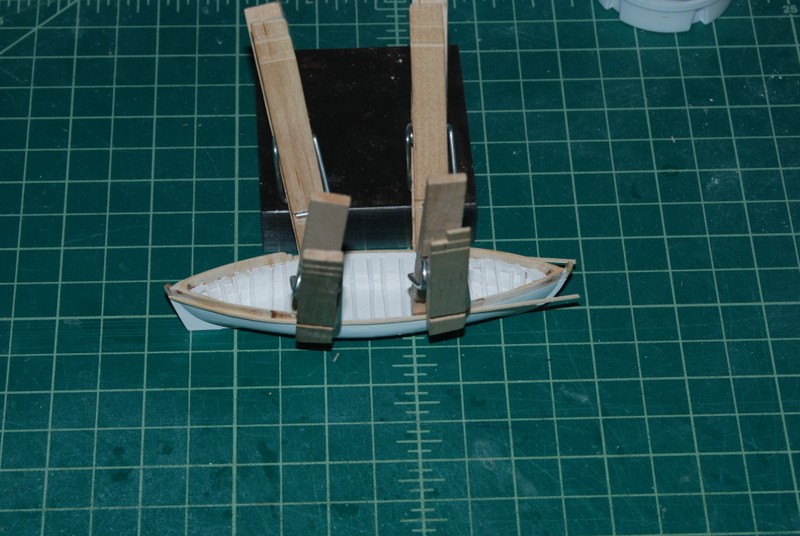
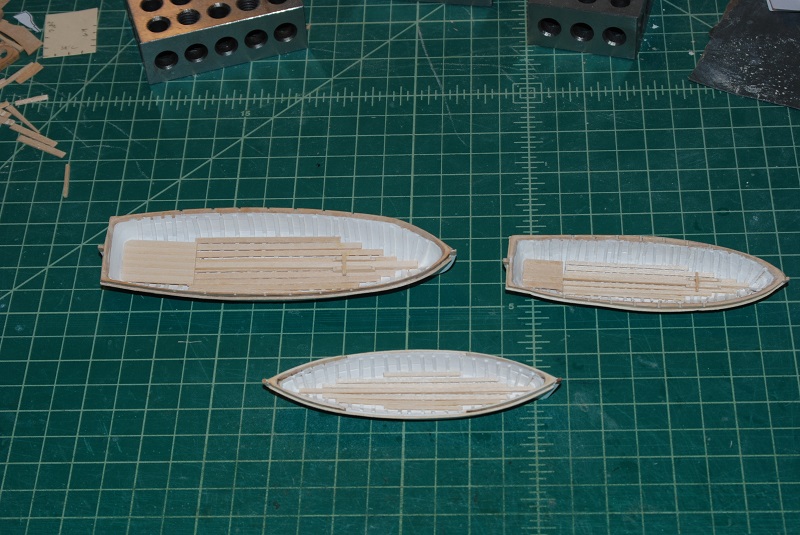
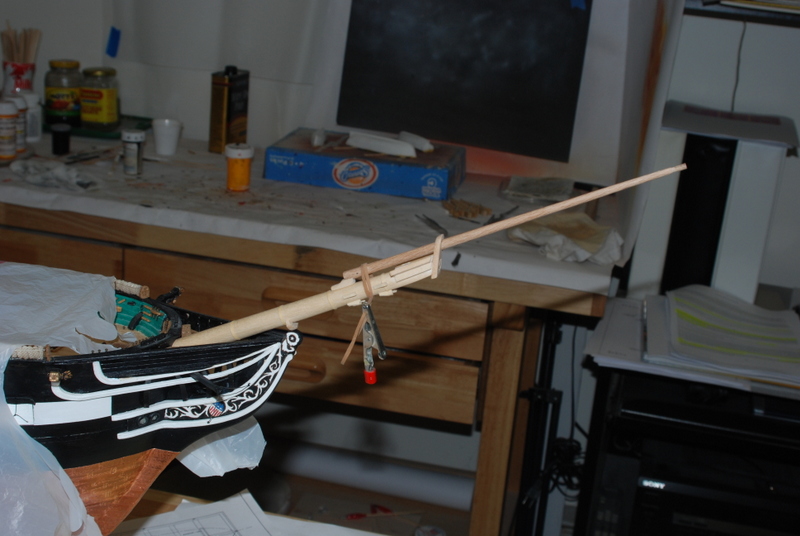
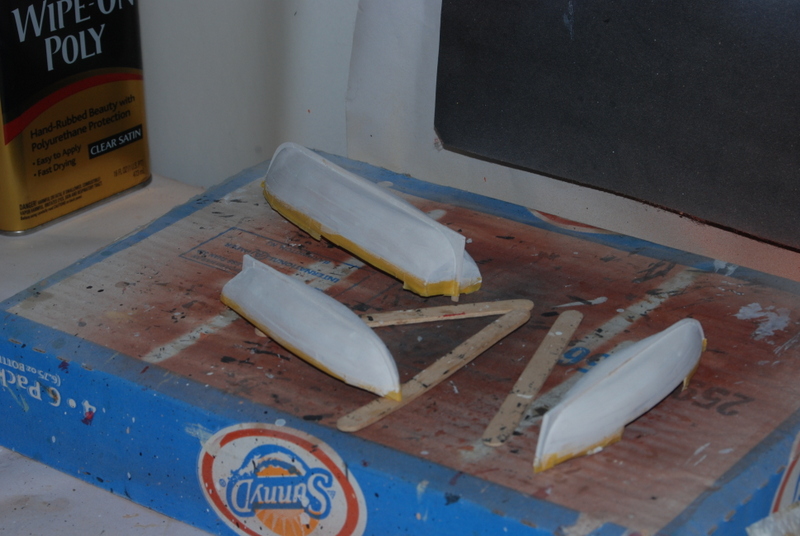
Thanks Popeye. Nothing real special here on the bow sprit, there are just lots of pieces to make. Since this is such a prominent piece of the ship, I am trying to be a little more careful. Here are the pieces with some white paint on them. I continue to make up the three ship boats. I finished painting the insides and outsides with white paint. I had a little bleed through of the white under the masking tape on the rails in a couple of spots, but I was able to scrape and file the paint off. I added the outside rub rails on all three. For the gig, I was able to CA glue one end down then slowly bend it around, gluing with wood glue, then more CA on the other end. For the two cutters, the curve at the bow was too much for this technique, so i soaked them and clamped them on the boats to set the curve, then glued them down with wood glue. I then added the keelson and floor boards to all three boats, and the platforms and mast steps to the two cutters. I am going to stain the rails and the interiors at this point before adding the next layers of stuff, so I can get to it all.
- 1,354 replies
-
- 5
-
-
- constitution
- model shipways
- (and 1 more)
-
Really beautiful Pat. A great job you have done,
- 517 replies
-
- 2
-
-
- Endeavour
- Artesania Latina
- (and 1 more)
-
Hi Fright. I see you do have a build log, so I will check it out. I used the blocks from Model Expo for the guns. These are pretty blocky as they come, so I round them up with some files to get them to look better. For the single blocks I used 2.5mm blocks which I kept at that size. The smallest double blocks they sell are 3mm, so I filed them down to 2.5 mm before rounding them off.
- 1,354 replies
-
- 1
-
-
- constitution
- model shipways
- (and 1 more)
-
Thanks Fright. It hasn't been that long that I have been building wooden ship models but it is so enjoyable. Don't be intimidated to start a build log. You will get some great advice from this group.
- 1,354 replies
-
- 2
-
-
- constitution
- model shipways
- (and 1 more)
-
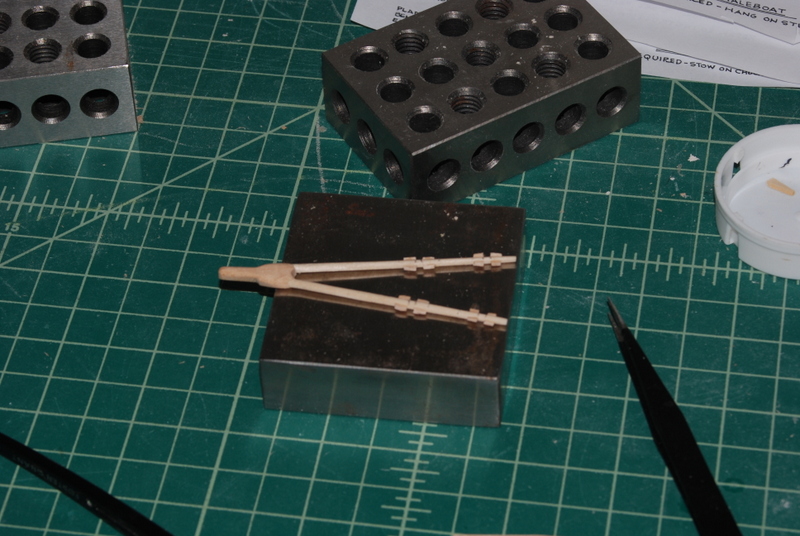
In between cleaning the gutters today I made some good progress. I gave the boats another two coats of white paint, and I think they are good to go now. I'll be started to fit out the interiors when this final coat dries. Over the last few days I have been working on the martingale. I started with two 1/16" square pieces that I planed and turned into the two legs. I took a piece of 1/16" sheet stock and at a 90 degree corner I marked out the angles and drilled two holes that the legs just fit in. I wanted a really secure joint for these, as I will probably bump them a few times while rigging. I then drew out the shape for the "head" and cut it out with the jig saw. I glued the legs in and shaped the transitions between the legs and the head with files and sandpaper, then finished the shape of the head. I drilled small holes into the legs and glued on small piece of wood for the chokes, which I am in the process of shaping. I had to glue a couple of these back on that fell off while sanding them, which is where I am now. I have also been test fitting the bow sprit and jibbooms and making the metal pieces that hold them together. I am almost ready to paint them, once the martingale is ready. As always, thanks for looking in.
- 1,354 replies
-
- 5
-
-
- constitution
- model shipways
- (and 1 more)
-
How about a large self healing cutting mat, which is what i have on my work table. Amazon has some that are 48" on a side.
-
Yes, modern art is what went through my mind when I saw the pictures. That is a great looking jig and I bet it works even better than it looks.
- 749 replies
-
- 4
-
-
- albertic
- ocean liner
- (and 2 more)
-
Beautiful sheaves, Ken. Those masts are really tall!
-
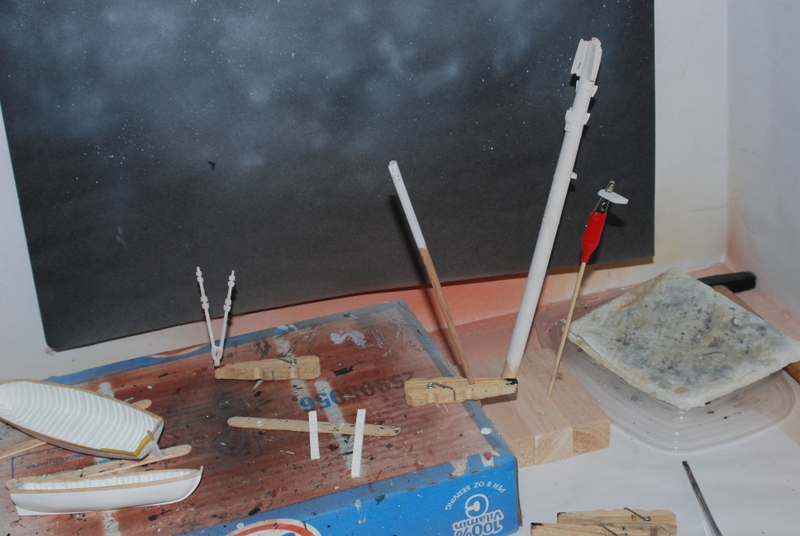
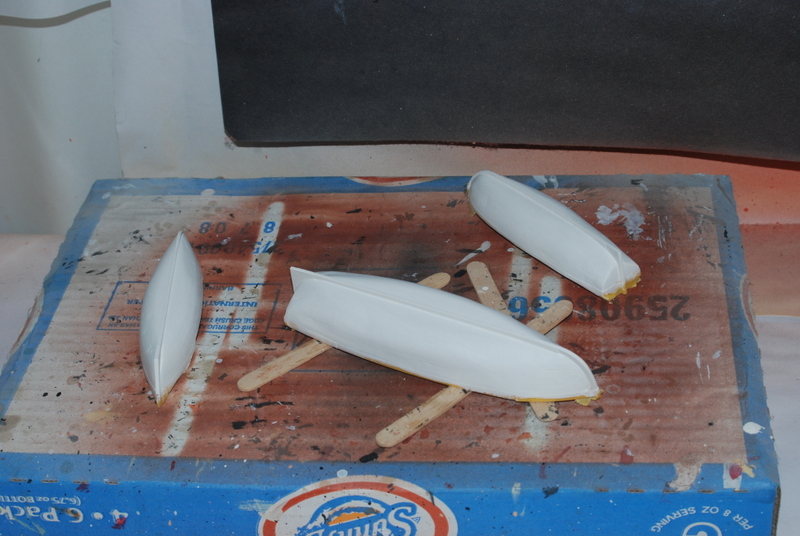
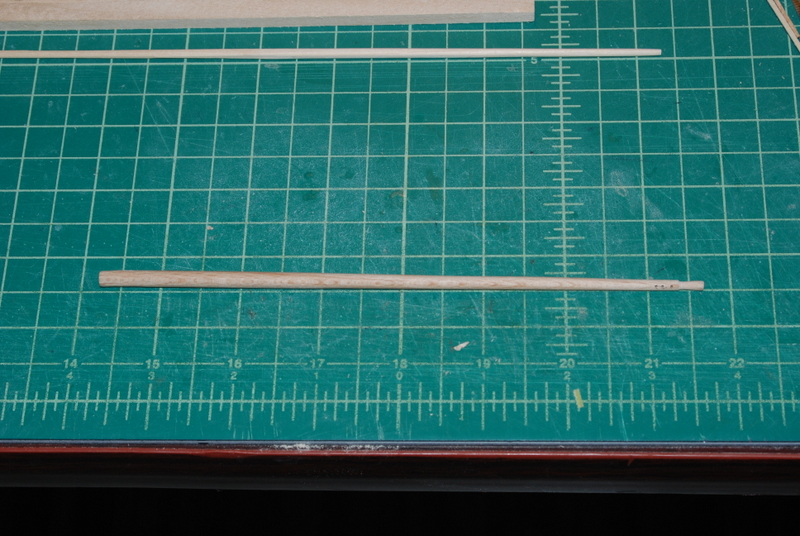
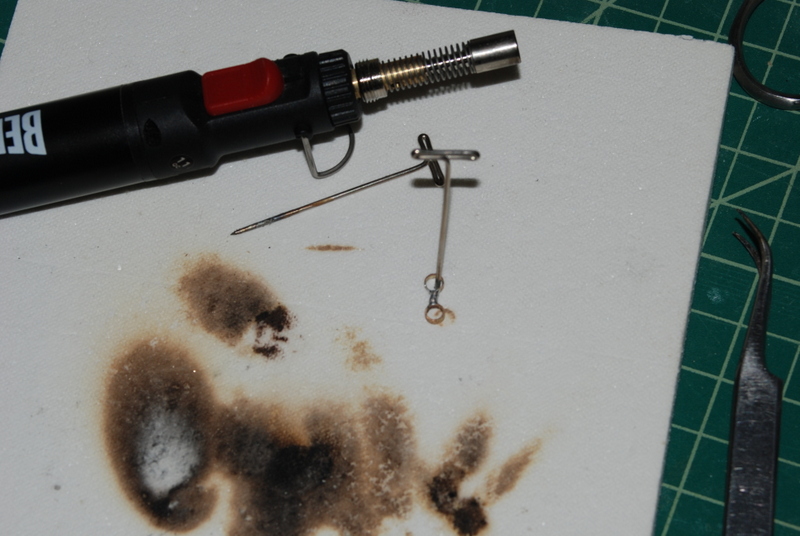
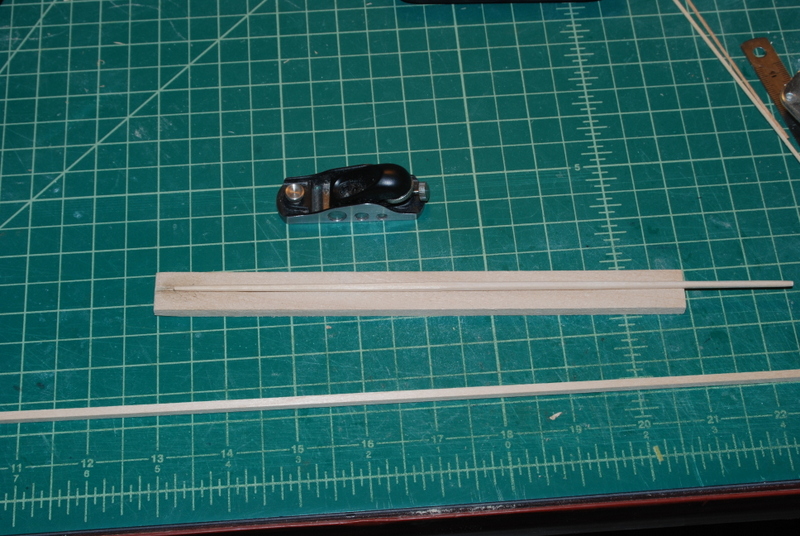
A proper update with pictures. First, I masked off the rails on the three ships boats, then gave them a coat of primer and the first of many coats of diluted white paint, inside and out. Between painting I continued working on the bow sprit and jibbooms. I did end up remaking the cap because once I got the jibboom to its reduced size, the hole I had filed out was too big. The nice part about making my own was that I was able to hold the raw material in the drill press vise at the proper angle and drill the holes just about at the correct size. Then I just had to file out the round hole a little, and square up the other hole. I did make these a little further apart than the original cap had them, so the jibboom and its support piece fit better. Once I was happy with the holes, I cut the piece out of the sheet stock and sanded in the appropriate bevels on the top and bottom. This proved to be a little more challenging than I thought it would be to get the top to look right. I ended up making a few of these until I got the one I wanted. I then turned to making the flying jibboom. I did this one a little different from the other spars, in that I made it out of square stock instead of starting with a round dowel. EdT has a great tutorial on how he does this in his Young America build log, so I thought I would give it a try. I found it easier, less messy and less time consuming than making it out of dowel. I used a small plane to shave down the sides to the right profile, then used it again to plane off the corners. I chucked it in the lathe and sanded it round to finish it off. Kits don't usually supply large enough square stock to do this, but for smaller spars, like this one which was max 1/8", I had it in stock. I have found places on the net where you can order larger sizes of square stock, like 1/2", though if you do want to use this method for larger spars.. I used the mill to drill holes in the jibbooms to simulate the sieves, then used an X-Acto knife and small round file to finish them off. I then had to make the metal bracket to hold the two jibbooms, which I made from slices of two different diameter brass tubes with a smaller tube to connect them. I placed the three pieces together, put a drop of flux on them, then placed a small piece of silver solder on the connecting piece, and hit them with a pencil torch just until the solder melted and ran into the joints. When it cooled I cleaned it up with a small file. It still needs a little more clean up and to be blackened. A few pieces to add to the bow sprit, then I will make the dolphin striker.
- 1,354 replies
-
- 6
-
-
- constitution
- model shipways
- (and 1 more)
-
Galley Washington by Mike40 - 1:48 - POF
usedtosail replied to Mike40's topic in - Build logs for subjects built 1751 - 1800
Looks great so far Mike. -
Very nice start, Steve. I like your reasoning for doing a cross section first, which is the same reasoning I used when I started. I will look forward to following along with your build log.
- 108 replies
-
- 5
-
-
- mamoli
- constitution
- (and 2 more)
-
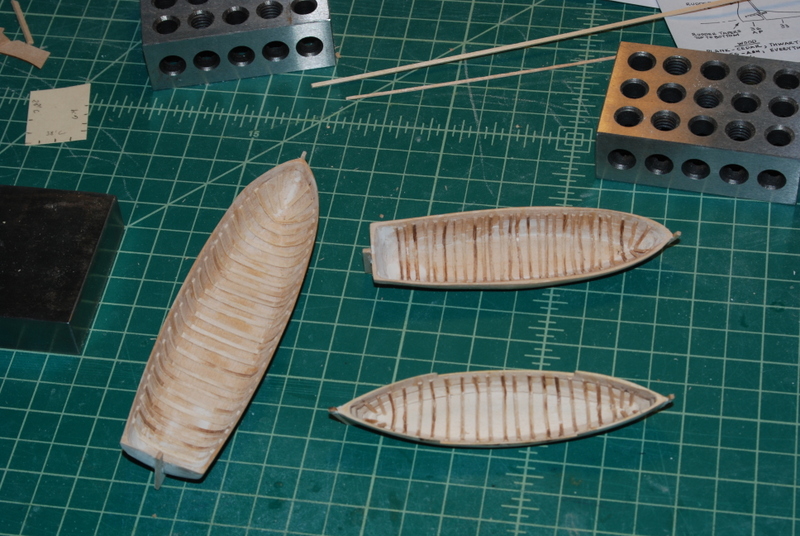
Thank you Geoff, Steve, Ronald and Bill, and those who hit the like button. I agree that the boats are little models in themselves and I have tried to tackle them that way. I am also hopeful that once all the interior stuff is in them the ribs won't be so prominent. I masked off the rails last night and will prime them tonight. I use AOS a lot and I am referring to the Anatomy of Ships series of books, particularly the Constitution book in this case. I have used others as references for other builds too. I shaped the jibboom this morning and now it looks like the bow sprit cap will work just fine. I'll have pictures of that later.
- 1,354 replies
-
- 2
-
-
- constitution
- model shipways
- (and 1 more)
-
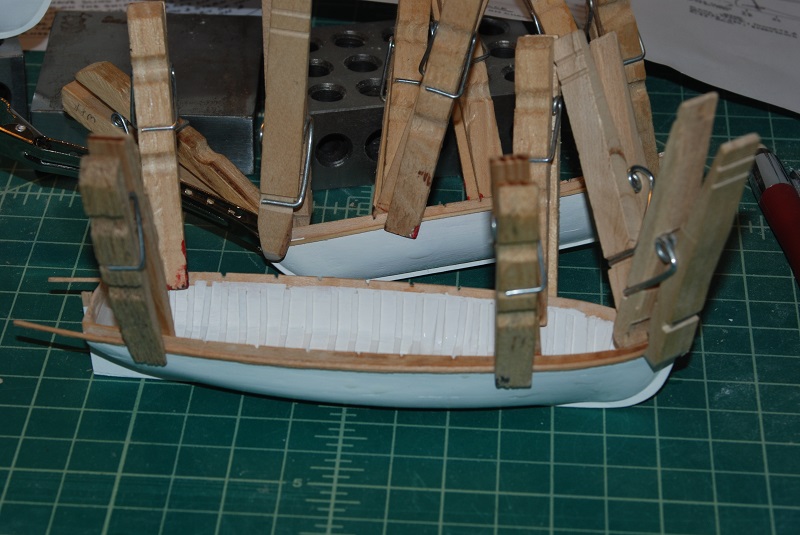
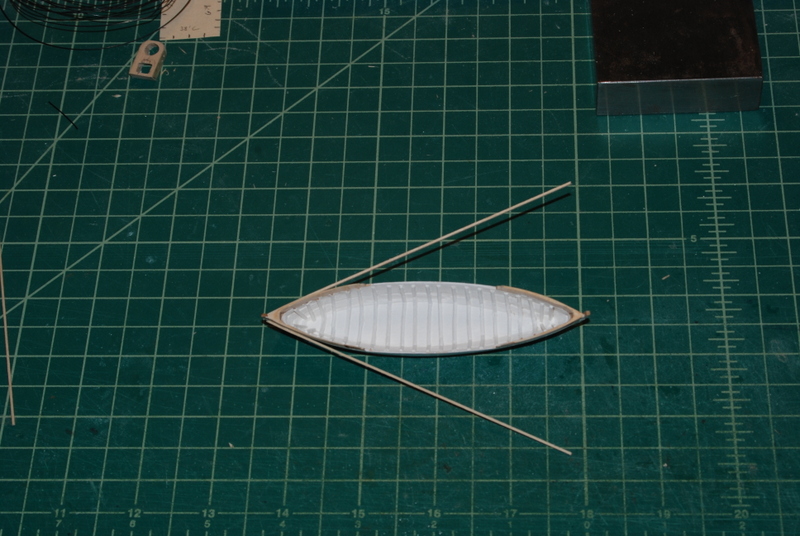
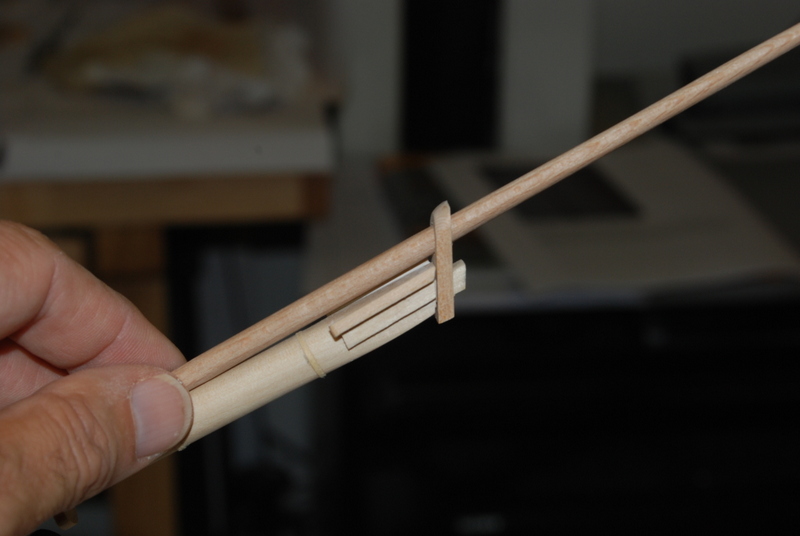
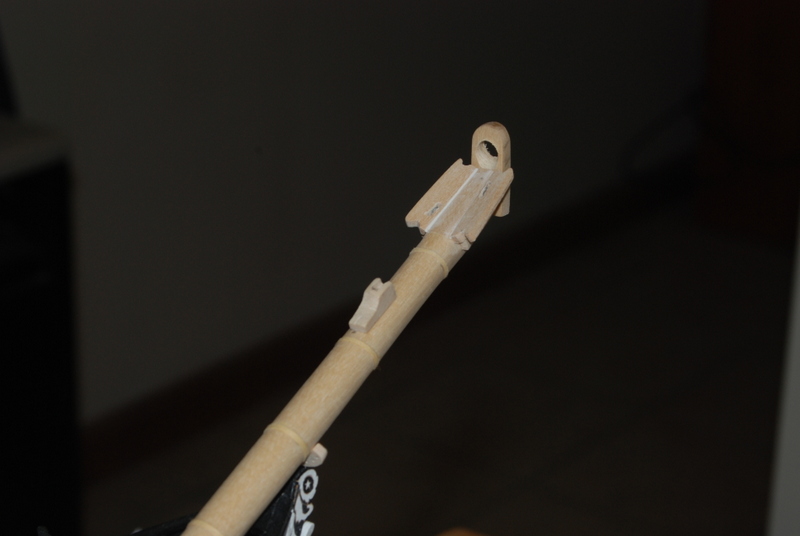
Thank you Greg and Popeye, and for the likes. I didn't make too much progress on Sunday but did have some time in the evenings this week, so some progress to report. First the boats. I have been bending and installing the keel sections for the two small boats. I still have to sand these out but the raw pieces are in place. Here is an ugly shot of the ribs, which have all been trimmed down. I am OK with the large cutter and the gig, but not with the small cutter. I am going to go ahead with painting and fitting out the interior of all three boats, but I may decide to leave off the small cutter if i don't like how it turns out. On the bow sprit, I have made and installed the bees, fair lead, and jibboom support. I also filed out the hole for the jibboom on the cap. This picture clearly shows a problem, however, in that the two holes in the cap are too close together, so I will not be able to get the jibboom to the same angle as the bow sprit. It looks like I am going the have to make a new cap from scratch anyway, but that is OK since I have a good pattern to use now. I have started building the jibboom too but so far I have the octagon section at the end done and the tab milled to fit into the slot on the bow sprit support piece. I still need to turn the rest of the dowel down on the lathe to get to the final diameters. Other jobs planned for this weekend, so next progress report sometime mid to end next week. Maybe I'll have some paint on those boats by then, so I can start fitting out the interiors.
- 1,354 replies
-
- 7
-
-
- constitution
- model shipways
- (and 1 more)
-
Frank, I like your latest technique for the chain plates. They look fabulous.
- 649 replies
-
- 4
-
-
- dunbrody
- famine ship
- (and 2 more)
-
Scott, the deck is looking great. I also like to use a Sharpie to simulate the caulk between deck planks.
-
Just getting home from work, which wasn't fun. Once home though, I got to spend a good couple of hours in the work shop.