-
Posts
2,421 -
Joined
-
Last visited
Content Type
Profiles
Forums
Gallery
Events
Everything posted by usedtosail
-

A method for making panelled sails using paper
usedtosail replied to Cathead's topic in Masting, rigging and sails
Very nice Cathead. I will be trying this in the future.- 49 replies
-
- sails
- sail panels
-
(and 1 more)
Tagged with:
-
I loved your Andrea Dorea build, Dan, so I am really looking forward to this one too.
- 287 replies
-
- michelangelo
- ocean liner
-
(and 1 more)
Tagged with:
-
I feel your pain, Vossie, literally. Haven't had one in a few years, and not looking forward to the next time. Hang in there and it will pass (sorry).
- 714 replies
-
- lady nelson
- victory models
-
(and 1 more)
Tagged with:
-
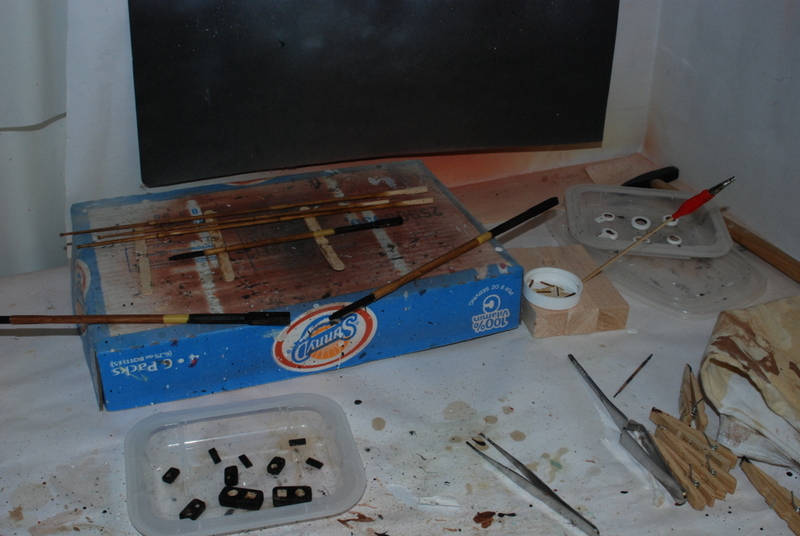
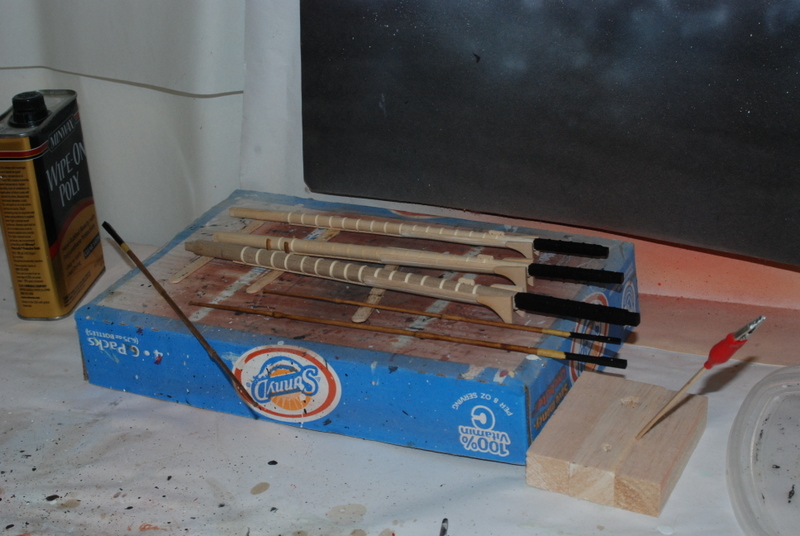
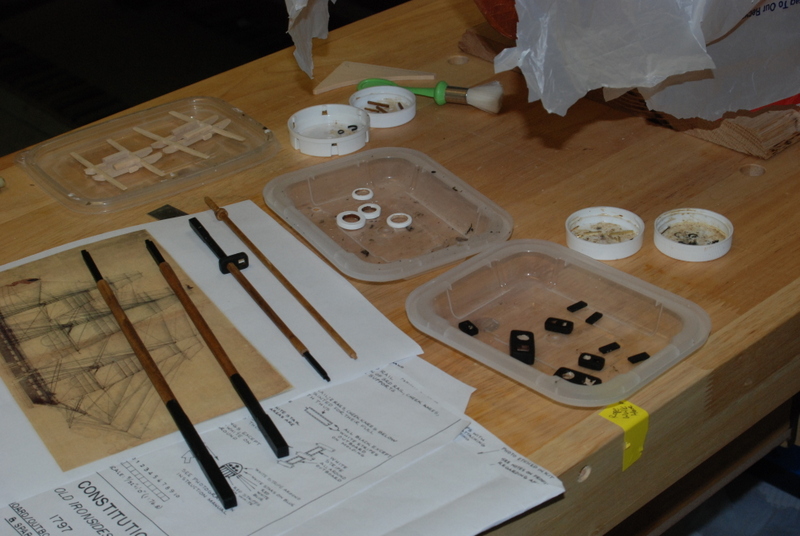
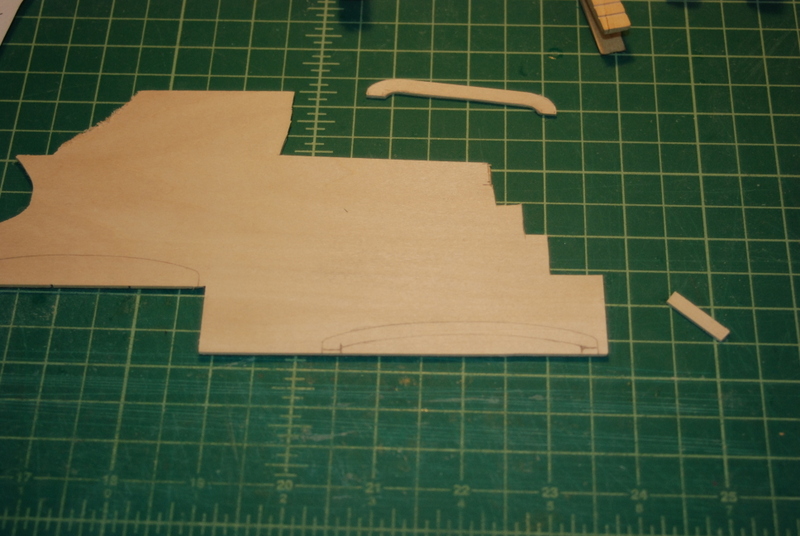
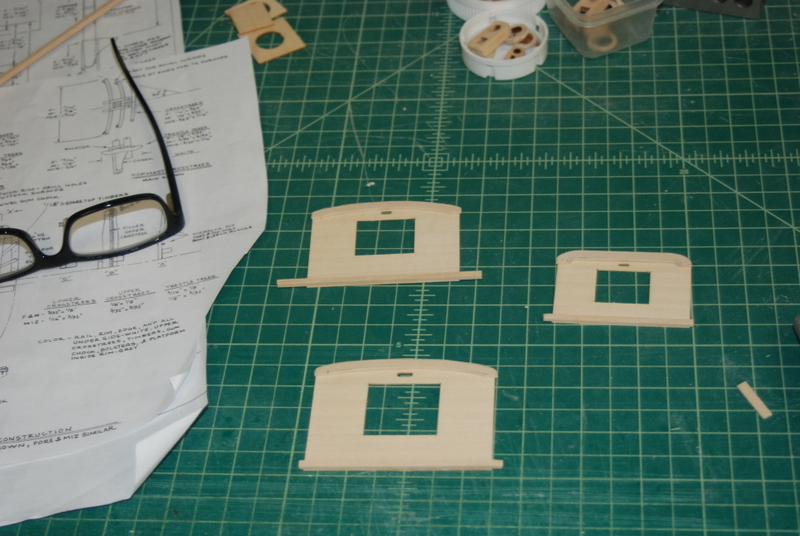
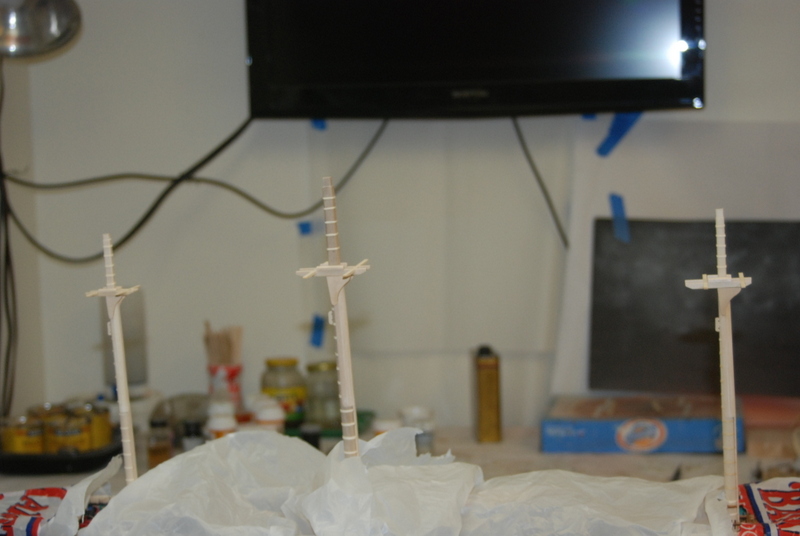
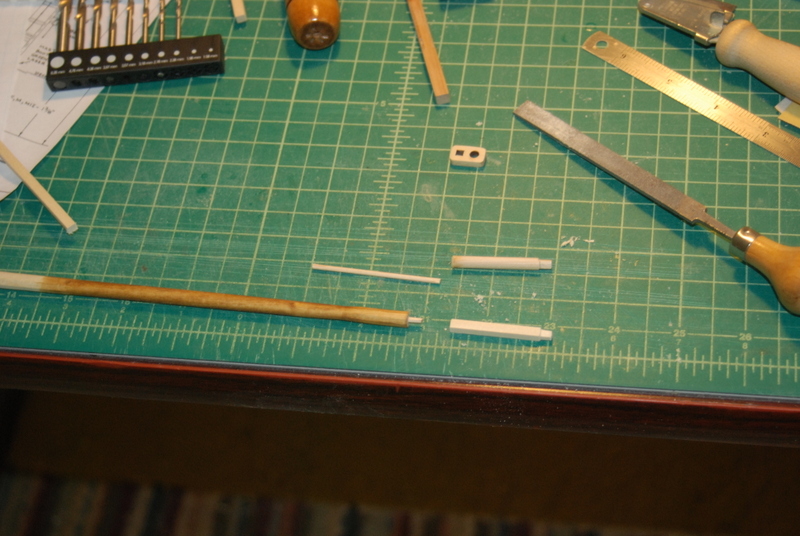
Thanks guys. Actually, some exciting things have been going on so I am not too upset about lack of progress. Last weekend we moved my daughter into her first home. She bought a nice condo which is so much better than the apartment she was in. Of course, I have been working off her to do list last weekend and she already has a pretty big one for next weekend. We stayed home this weekend because I needed a break. Been able to work on the Connie but the basement is pretty cold today, so have to work in shifts. This morning I am making the collars for the fore the main masts. Dan, I am so glad you reminded me about the crows feet. They would have been a feature of the ship in the 1812 era, so I should add them, right? At the beginning of the build I wasn't sure but now I have to decide. So you have convinced me by your reminder to add them. I will drill the holes for the them before adding the tops. I think they will make a nice addition to the model. UNLESS - someone tells me they wouldn't have been on the ship at that time. And no sadly I will not be attending the conference in New London this year. I have yet to make it to one and I am so close, but that weekend is always birthday weekend here - we have 5 birthdays in my wife's family that fall within that week, including myself and my two kids. Big family party every year on that Saturday. Here are the pictures I promised. Here are the topmast tops in progress. I made copies of the plans at each scale for the six different topmast and topG tops, then cut them out as templates for the curved pieces, which I cut out of sheet stock. The notches on the trestle trees I cut on the mill. Here are the topG tops after staining them. These are pretty small and fragile. And here are all the rest of the tops and various mast parts after painting. On the mast caps, you can see the metal sheaves on the ends that I made out of brass sheet and some brass nails. The hooks on the topmast tops I made from wire. There is netting under the mast top rails, which is just brown tulle glued to the stanchions. The bottom row are the bullseyes I made, the fids, and the traveler rings. Here's a close up of the tops and caps. Finally for you other Connie builders, when I was adding the head details I forgot to add these bullseyes and eyebolts for the jib stays. It was a little harder to add them now, but not too bad. I'll have more progress to show later of the mast collars. Thanks again all. You make this fun.
- 1,354 replies
-
- constitution
- model shipways
-
(and 1 more)
Tagged with:
-
Thank you TI, Rob, Vossie, and Greg. And for those who hit the like button. It has been a while since I updated this log. I have been doing many small jobs that just seem to keep taking my time from the larger ones, but I am getting close to start rigging. I have finished building the mast tops, topmast tops, and topGallant tops and painted and/or stained them. I still need to add the blocks and other bits of hardware to them so they will be ready to install. I tried using heat to bend the crosstrees for the topG masts, but they were so short it didn't work out well. I ended up cutting them from sheet stock and finished shaping them with files. I will have pictures of them tomorrow, as I forgot to bring them with me today. I made fids for the topmasts and topG masts using square brass rod that I blackened. I also blackened the travellers I made for the jibbooms and gave them a coat of Dullcote lacquer so hopefully the black won't rub off too much onto the stained jibbooms. I did give the stained parts of the masts and booms a coat of wipe on poly, too. I started to make collars for the bullseyes that go on the fore and main masts for the stays, but only had 1 1/8" bullseye left, so I found some dowel and started making more from it on the lathe. None have come out great yet, but I am getting the process down better so I should have some better ones soon. Sorry for no pictures, but I'll get some up here soon.
- 1,354 replies
-
- constitution
- model shipways
-
(and 1 more)
Tagged with:
-
Good idea using pins for the canon balls Dave. I have a few loose ball bearings inside my gun deck which are impossible to recapture.
- 601 replies
-
- constitution
- revell
-
(and 1 more)
Tagged with:
-
My first post to the new site - how exciting! I continue working on the masts and mast tops. I test fit the tressle/crosstrees to the masts and adjusted the cheeks so they sit square. I had to file out some of the tresstle trees on the main mast to get them to fit over the bands on the black parts of the lower masts. I also test fit the spanker mast to the mizzen mast and made some adjustments. For the topmast fids, I bought some 1/16" square brass rod that I cut to length and will blacken. I had to file out the square holes to get them to fit, but they look better than wood to me. For the topG masts fids, I filed down some smaller round brass bar to a square shape. I made the rails for the mast tops. The plans say to use 1/32" square wood for the rail and the supports, but if you have ever worked with that small basswood, you know it can break by just looking at it so I didn't want something that fragile. I started turning down some dowels to a smaller diameter, but in the end decided to just use round brass rod for the supports and 1/16" square basswood for the rail. These will all get painted white with the tops, but I won't permanently attach them to later in the build. The supports are glued into the rail but not into the top yet. I used the mill to cut the slots for the topmast deadeyes along the sides of the tops. I needed to support the tops from underneath so the bottom planks weren't pushed out by the mill bit, and I used a wood strip to clamp the the top without damaging it. The only problem I had was that I milled five slots into all the tops, but the mizzen top should have only 4, since the rigging plans show it with only 4 deadeyes. Luckily I caught this after only milling one side, so I was able to fill the extra hole and put 4 slots into the other side. Since these will be painted, this little mistake will be covered up (shhhh). I am going to start making the topG crosstrees. These look interesting to make because they are bent, and they are all a different size. I reproduced copies of the plans for these at all the different sizes and will use those to guide the bending. I bought one of those hot air soldering stations, so I will try bending with just heat using it for these. Stay tuned for that. It is interesting with the new site that there is no longer a Preview post button. It looks like what you see in the editor is what you get. These pictures look huge here, but we will see how they look when I post this. (Edit - they still look huge in the post. I wonder if there is a way to scale these?) Have a nice weekend everyone.
- 1,354 replies
-
- constitution
- model shipways
-
(and 1 more)
Tagged with:
-

Copper tape
usedtosail replied to Dan_L's topic in Building, Framing, Planking and plating a ships hull and deck
Look also for stained glass supplies. They use copper tape for wrapping glass pieces before soldering them together. -
Thanks Popeye. With all these snow days I was able to put some quality time into the build this weekend, and still had time to take the admiral out for a Valentines Day dinner on Saturday night, between storms. I have been planking the mast tops, both the upper and lower sides. It was a little tricky around the hole for the jeer lines, but I think I finally have them all. I have to clean up some planking on the mizzen top but the glue was still drying when I took the pictures. I have also been painting the masts, coats, and caps. Three coats of either black or white. White for the lower masts, trestle and cross trees, and tops is next up. The topmasts, mast coats, and caps are all ready to go, although I need to add some hardware to the caps. I made the two metal rollers that go on the backs of the fore and main caps from some brass strip that I bent into a U shape, and drilled holes in the bottom of the U for a nail to hold it to the cap, and two holes in the sides for a piece of wire to fit in. These are really small so I did not get any pictures while making them. I will say that I used the mill to drill the holes and it was a whole lot easier than the drill press. I only broke 1 bit in the process and that was my fault.
- 1,354 replies
-
- constitution
- model shipways
-
(and 1 more)
Tagged with:
-
That's good Rich. I guess it looks flatter in the picture. Great progress.
- 1,135 replies
-
- model shipways
- syren
-
(and 2 more)
Tagged with:
-
Hi Rich. Nice work on those sills. One thing you might want to be aware of is a problem I had with the sills on the Constitution. If you look at the first picture above, the third sill back from the bow is a straight line between the bulkheads, which is how I first did mine. But when I planked along this, there was a very defined flat spot in the planking between those bulkheads. I ended up replacing the sill with a curved piece that following the curve of the hull better and the planking looked much better. You might want to do that on a few of the forward sills.
- 1,135 replies
-
- model shipways
- syren
-
(and 2 more)
Tagged with:
-
We had about the same Denis - 12 inches or so. I waited until 8 last night to tackle it.
-
You are going to love that mill Dave. I love mine.
- 601 replies
-
- constitution
- revell
-
(and 1 more)
Tagged with:
-
Thanks Rich. I am enjoying following your Syren/Argus build too. Jay - I use them mostly for weights, but I do use the sides during glue up to get a true 90 degree angle. I have also used them to hold masts as I am working on them. I inherited them from my brother, so it keeps him part of the build, too. Rob, thank you. I try to keep things organized because I really hate clutter, but it slowly creeps back in until I have to stop and take care of it. if you look closely though you will see a lot of stuff on the work surfaces that just wants to accumulate.
- 1,354 replies
-
- constitution
- model shipways
-
(and 1 more)
Tagged with:
-
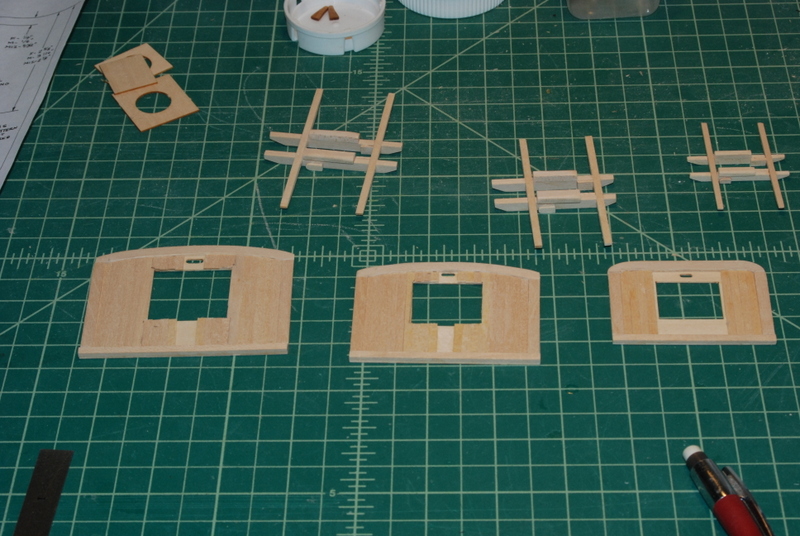
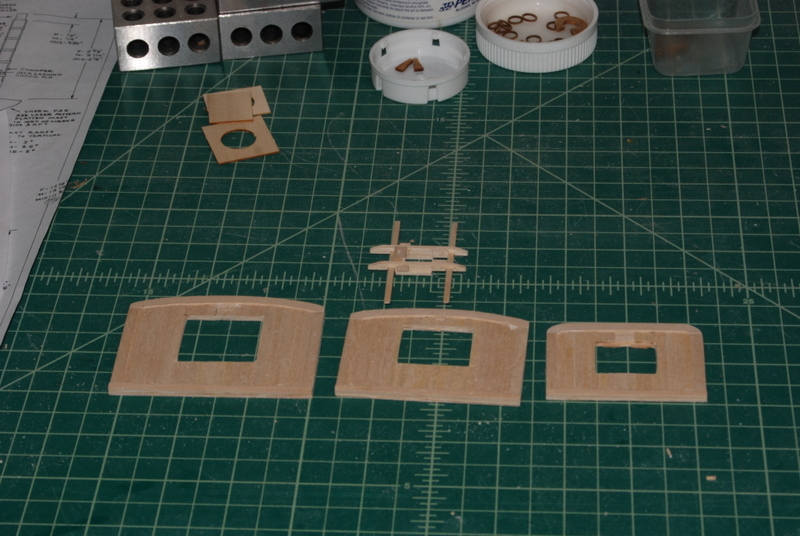
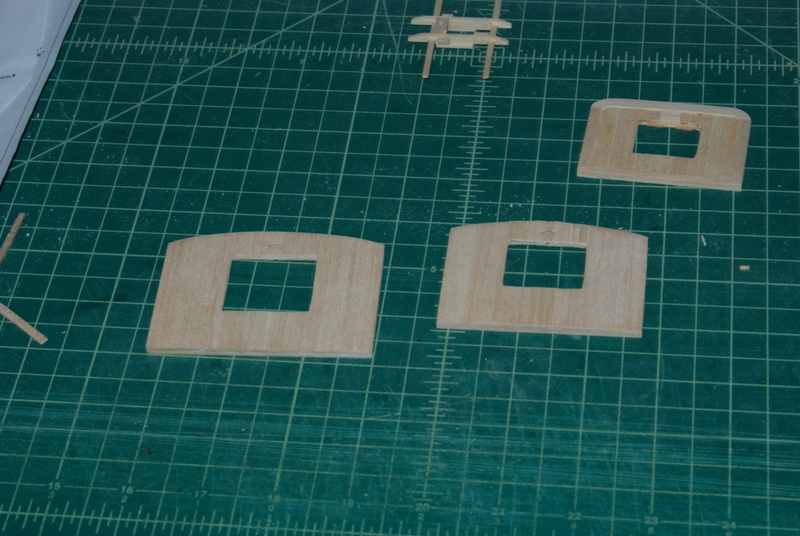
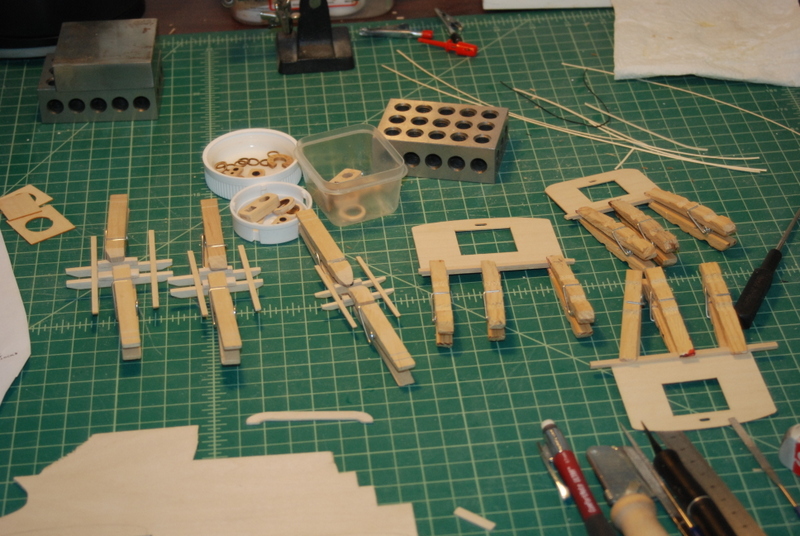
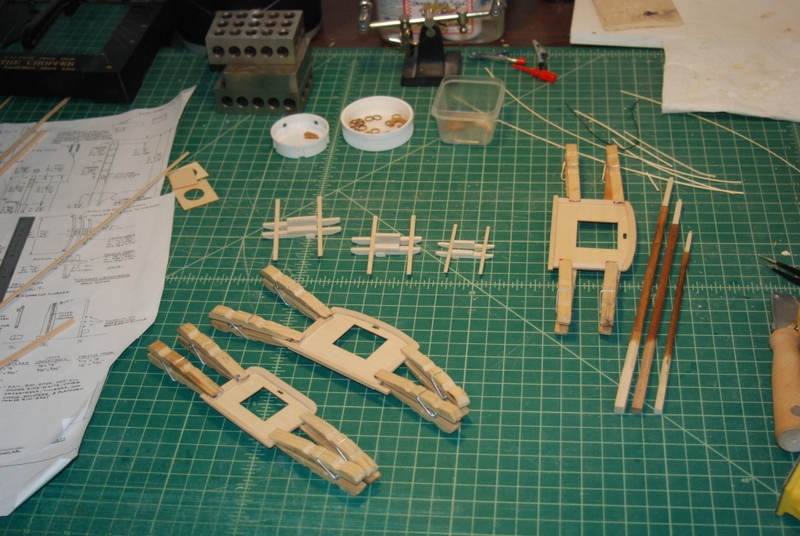
The mast top factory is in full swing. I started with the trestle and cross trees for the three masts, and added the bolsters and sheaves for the jeers. I thought I would stop there but decided to make the upper parts of the tops too. I started with the laser cut sheets and cleaned them up, then added the timber along the aft edges for the rails to fit into. I traced the forward edges of these pieces onto some 1/16" sheet and drew out the shapes for the forward edge pieces. I cut these out roughly with an X-Acto knife and sanded them to almost final shape. I glued them to the sheets and will finish sanding the outside edges later. These are supposed to be only 1/32" high, but I am going to plank these tops on the top and bottom sides, because pictures of the tops in the instructions clearly show the planking. After planking with 1/32" strips, these edge pieces will be exactly the right height. I used straight 1/16" wood strips for the side pieces. Here are the trestle and cross trees resting on the masts. I can now start painting the masts, mast coats, and tops. I am going to make the holes for the fids in the topmasts larger so I can fit a 1/16" square fid into them. The way they are now the fid would look too small to me to hold up these topmasts. Another thing I did was to add small strips of wood inside the trestle trees at the foremasts, because the trestle trees had to be pretty far apart of fit over the bands at the tops of the masts. These strips give the topmasts some better support so they aren't so floppy.
- 1,354 replies
-
- constitution
- model shipways
-
(and 1 more)
Tagged with:
-
Let me add my congratulations to this beautiful build. You are a craftsman with tools and the camera.
- 728 replies
-
- le fleuron
- 64 gun
-
(and 1 more)
Tagged with:
-
Rich, that's a good way to make a tenon. She is looking great.
- 1,135 replies
-
- model shipways
- syren
-
(and 2 more)
Tagged with:
-
Yeah - snow day. I got to work from home today. Haven't done that in a while. Those fishing rigs are just fascinating. I have no idea what the finished items will look like from the parts, but you do which is cool.
-
Hi Jay. I am glad I found your build log and now have a real name to call you. You are doing a great job, even with the redos. You should put a link to this log in your signature, so others can find it too. I love those riffler files you use. I have seen other builders use similar ones too, so they are on my list of tools to get.
- 714 replies
-
- lady nelson
- victory models
-
(and 1 more)
Tagged with:
-
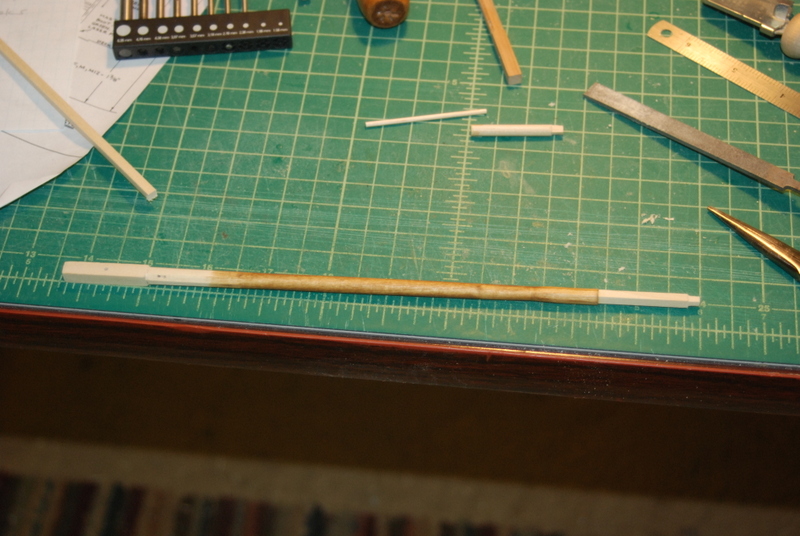
Thanks so much Robert. OK vossiewulf, you saved me some work. When I got home tonight I thought I'd give your method a try. I had nothing to loose since I was going to remake the topmasts anyway. I cut off the round sections, drilled holes in a piece of square stock and the topmasts for a piece of dowel, filed in the tenons at the top of the new square section and glued them on. I made sure the square section at the top lined up to the square section at the bottom and the new part was lined up lengthwise with the rest of the mast. Overall, I think they came out pretty well. The joint is hard to see and will be covered by the topmast trestle and cross trees, and this part will be painted black to boot. I think they will be pretty strong with the size dowel I used, too. Thanks for the advice.
- 1,354 replies
-
- constitution
- model shipways
-
(and 1 more)
Tagged with:
-
Thanks vossiewulf. I had thought of that but I was not sure I could get the new tops to line up nicely, especially centered on the old mast. Making new topmasts is not that hard - I remade the mizzen topmast last night. Now that I have the process it goes quickly. I have wood for the main and fore topmasts coming, which should be delivered today. If not, I will rip down a wider piece and make them from that. I did use your suggested technique on the mizzen topG/royal mast. The sky sail portion was slightly bent to one side, but very noticeable, with no lines on it that I could use to pull it into straightness while rigging. So, I got brave and cut it off, bore out the octagon section just under it, and filed off some of the bottom of the sky pole so it fit in the hole, I glued it and lined it up before the glue set, and now it looks straight over the whole length.
- 1,354 replies
-
- constitution
- model shipways
-
(and 1 more)
Tagged with:
About us
Modelshipworld - Advancing Ship Modeling through Research
SSL Secured
Your security is important for us so this Website is SSL-Secured
NRG Mailing Address
Nautical Research Guild
237 South Lincoln Street
Westmont IL, 60559-1917
Model Ship World ® and the MSW logo are Registered Trademarks, and belong to the Nautical Research Guild (United States Patent and Trademark Office: No. 6,929,264 & No. 6,929,274, registered Dec. 20, 2022)
Helpful Links
About the NRG
If you enjoy building ship models that are historically accurate as well as beautiful, then The Nautical Research Guild (NRG) is just right for you.
The Guild is a non-profit educational organization whose mission is to “Advance Ship Modeling Through Research”. We provide support to our members in their efforts to raise the quality of their model ships.
The Nautical Research Guild has published our world-renowned quarterly magazine, The Nautical Research Journal, since 1955. The pages of the Journal are full of articles by accomplished ship modelers who show you how they create those exquisite details on their models, and by maritime historians who show you the correct details to build. The Journal is available in both print and digital editions. Go to the NRG web site (www.thenrg.org) to download a complimentary digital copy of the Journal. The NRG also publishes plan sets, books and compilations of back issues of the Journal and the former Ships in Scale and Model Ship Builder magazines.


