fnkershner
-
Posts
1,595 -
Joined
-
Last visited
Content Type
Profiles
Forums
Gallery
Events
Everything posted by fnkershner
-
Chuck Never mind. For someone who works in the IT industry this is a bit embarrassing. All I needed to do was scroll down. Thanks I will be placing an order soon.
- 269 replies
-
- 7
-

-
- Queen Anne Barge
- Syren Ship Model Company
- (and 1 more)
-
Chuck - You do such beautiful work. I love just watching your models take shape. I noticed the instruction for a boxwood wheel on your site. Are you selling that assembly?
- 269 replies
-
- 6
-
-
- Queen Anne Barge
- Syren Ship Model Company
- (and 1 more)
-
Rich - As you may notice in my log I am back at Chapter 4. Finishing the transom. Lots of sanding here. I had a question - Did you have a solid sheet that included the Transom? I don't see it in my kit. I have fond the 1/32" thick sheet with the raised piece for the decoration but not the transom itself. I can use planking strips. but just wanted to confirm that I am missing a piece. Can you tell me how thick your transom piece is? By the way I appreciate you taking several steps in your planking. I am looking to that next.
- 1,135 replies
-
- 1
-
-
- model shipways
- syren
- (and 2 more)
-
I have found a mark 1 for sale in the WA area. the price depends on if you want the engine running.
-
The Naval Museum at Bremerton Washington has a special display currently devoted to small costal patrol craft. A friend of mine is the author of the book this display is based on. My Friend currently owns an 83 ft Coast Guard Cutter launched in the 1940s and 3 PBRs. If I can help you with any details let me know.
-
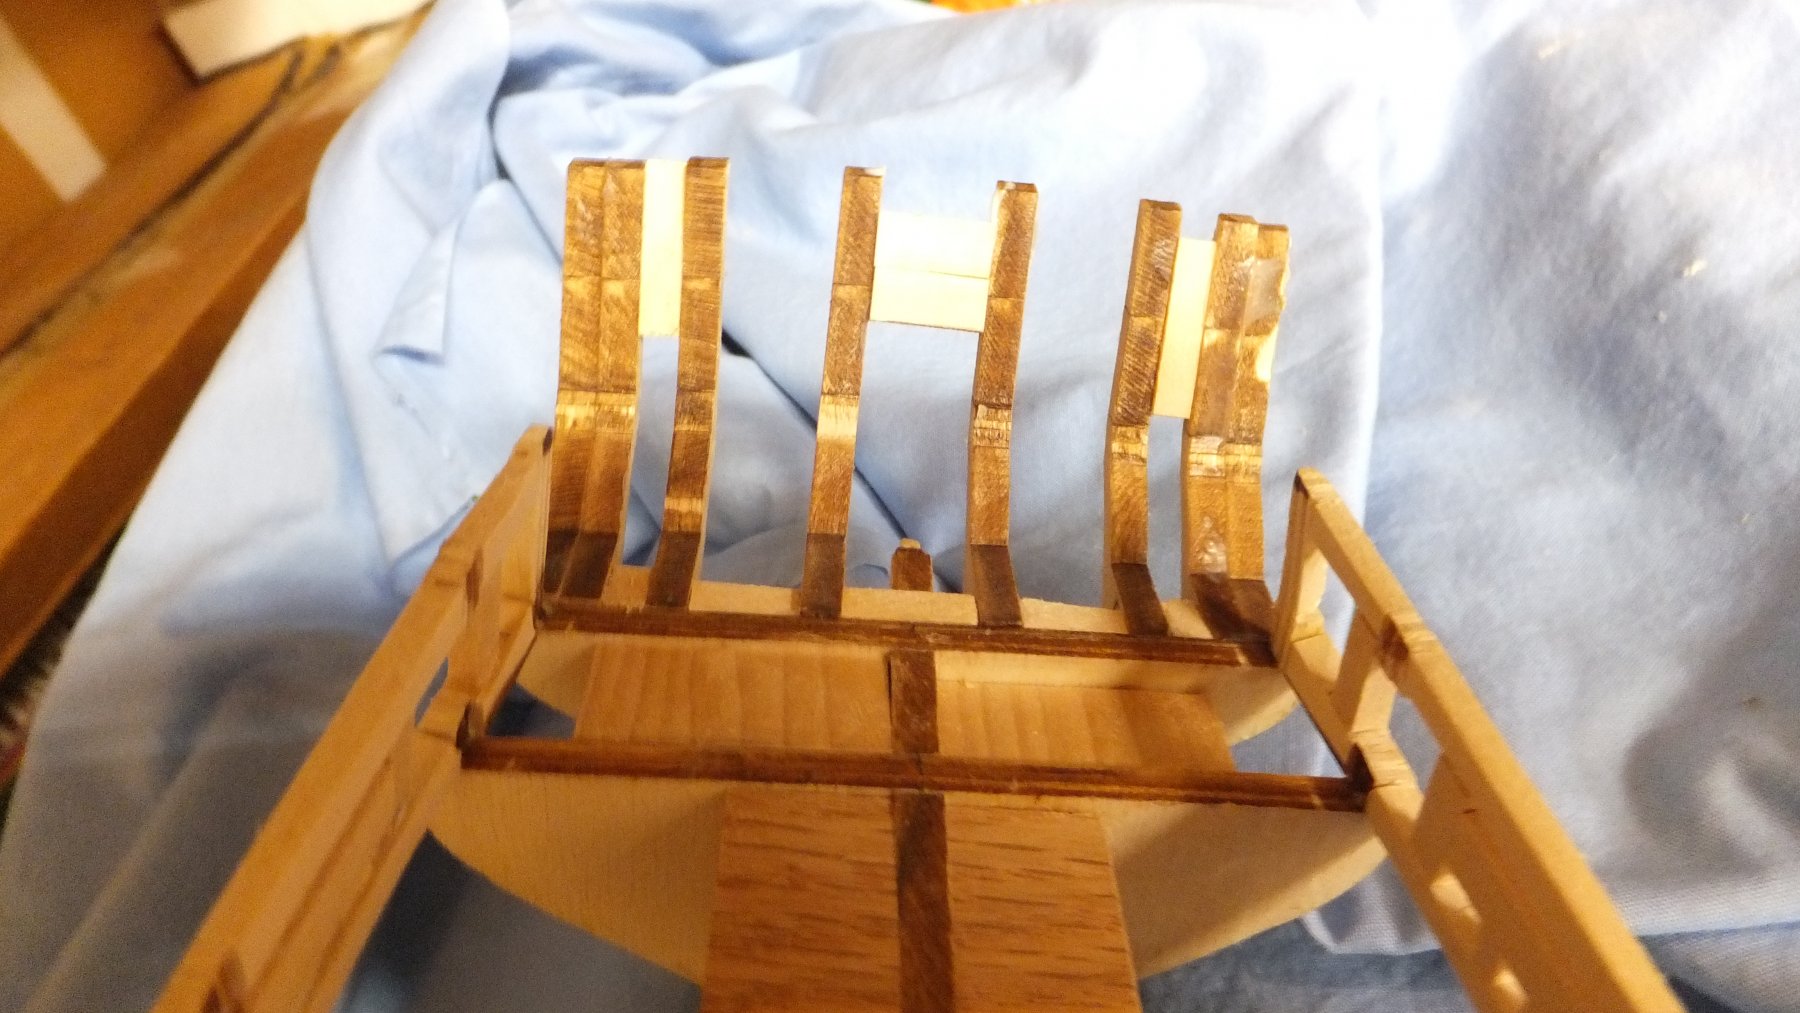
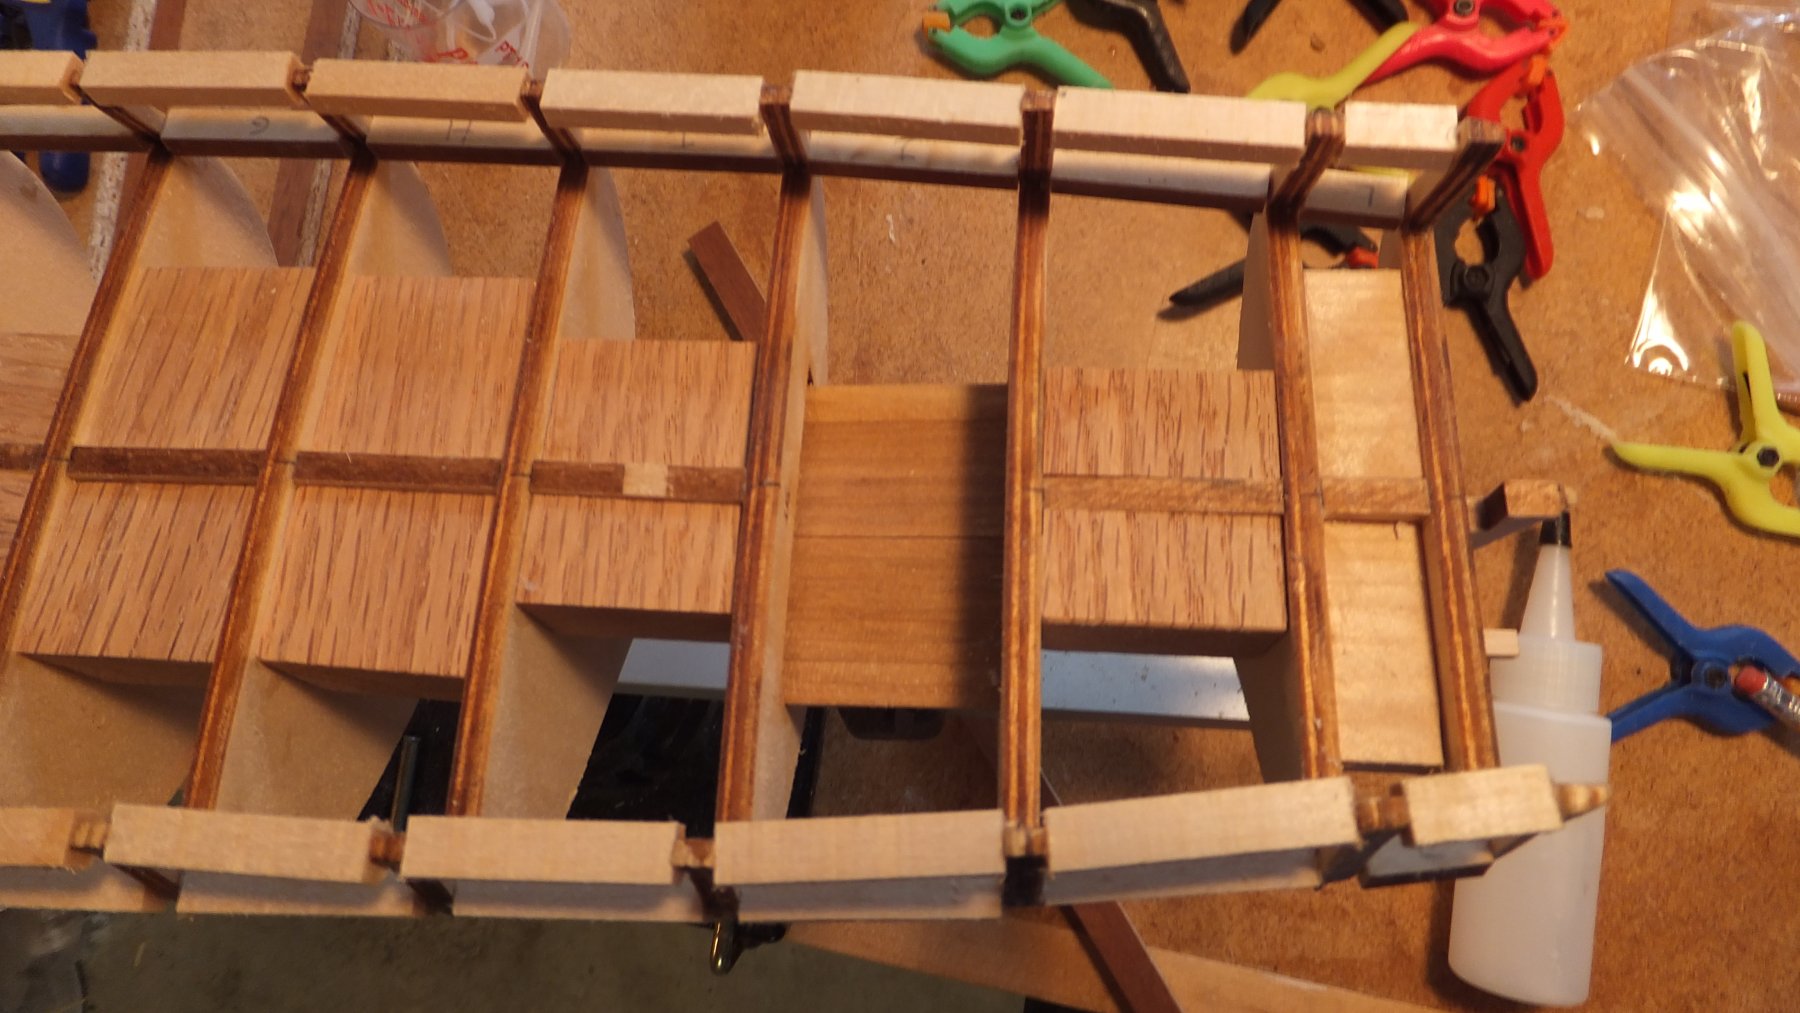
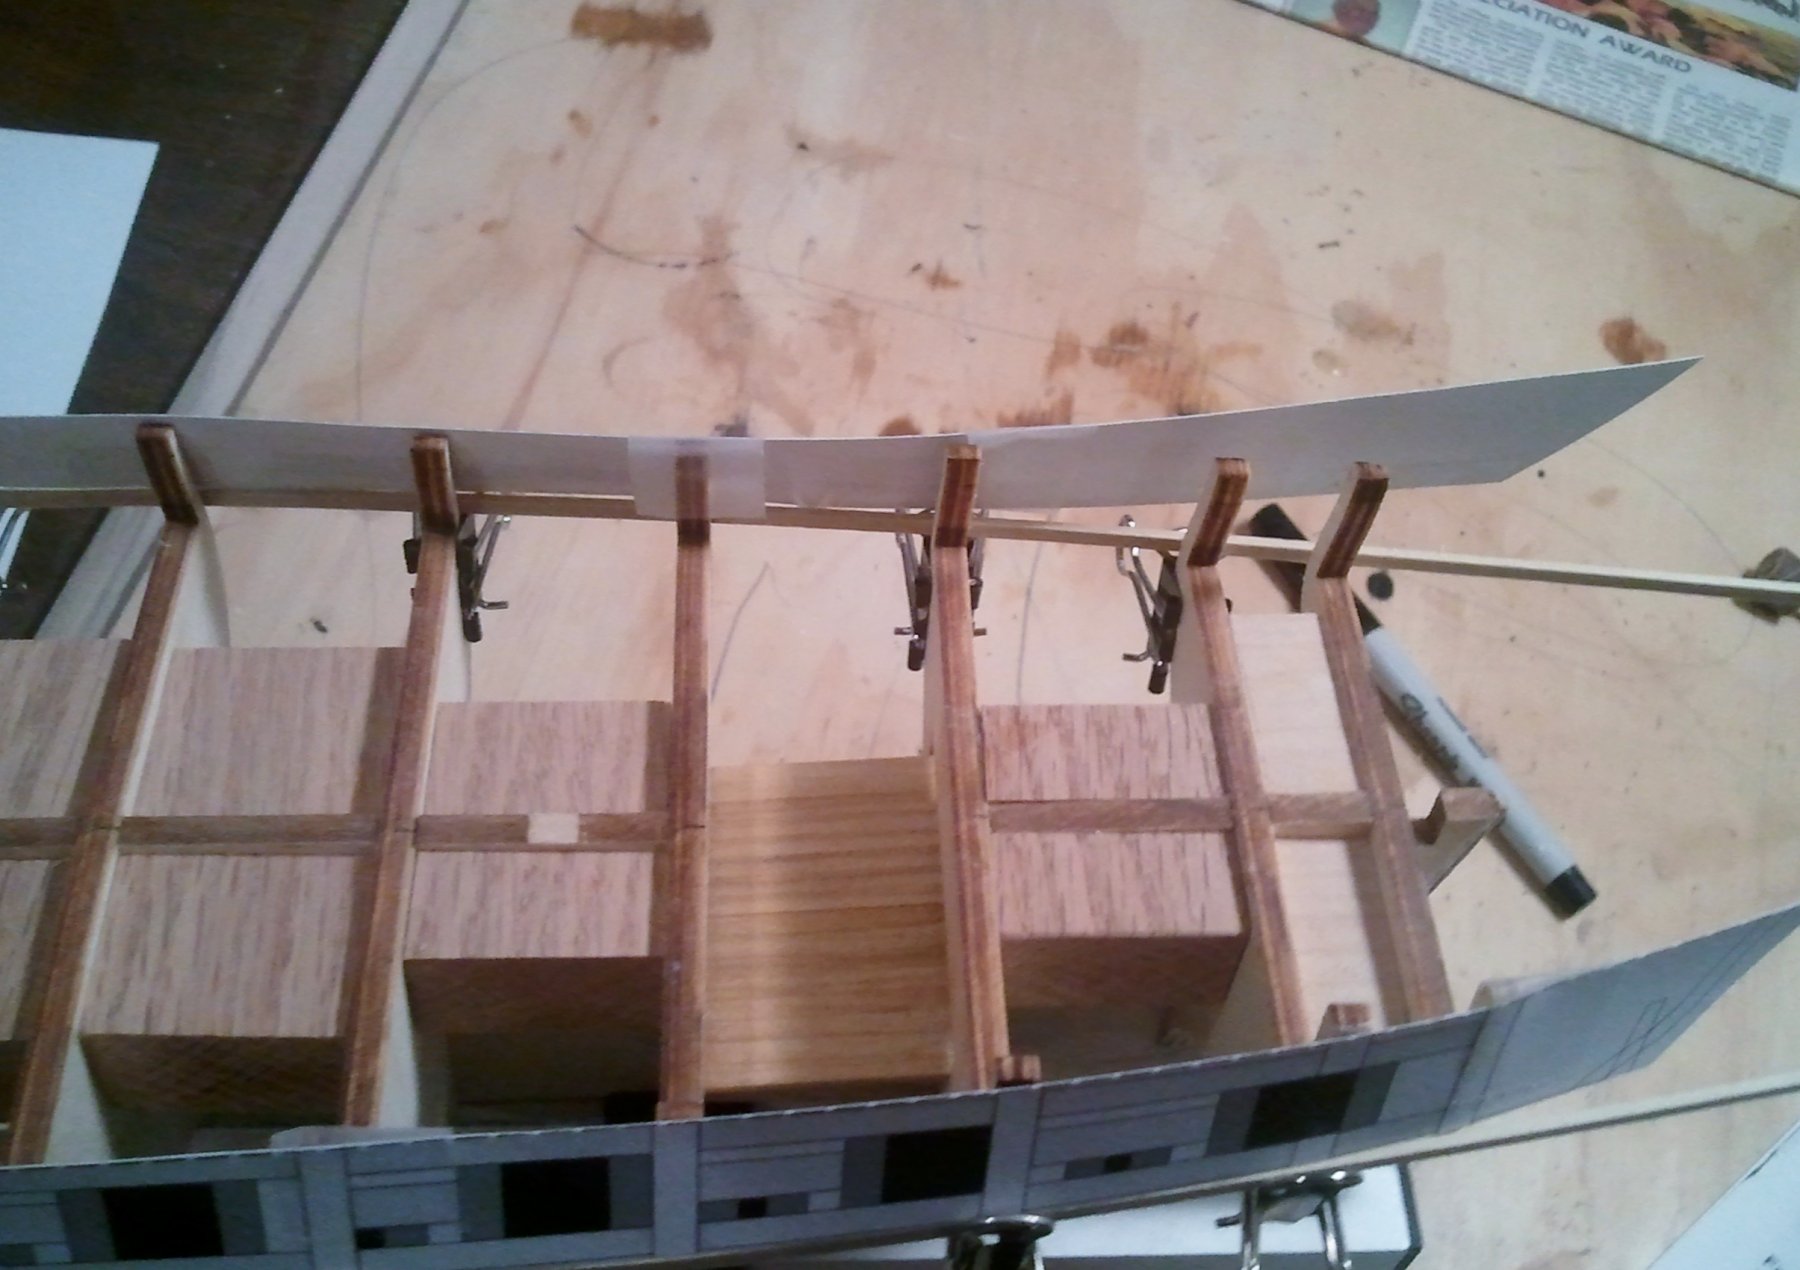
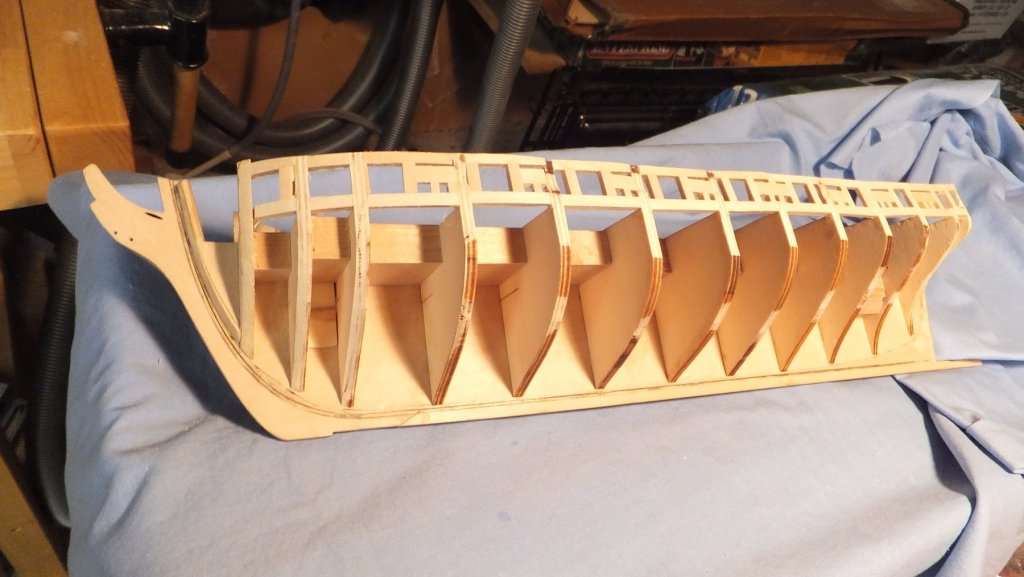
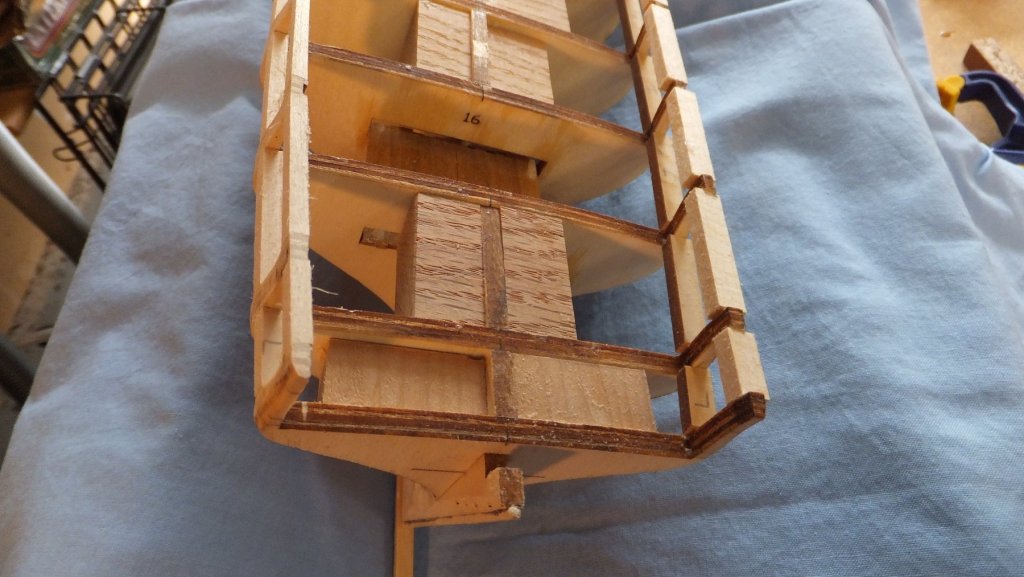
Just a quick note for other Syren builders - at the beginning of Chapter 4 step 1 it talks about cutting a spacer to fit into the slot next to the stern most bulkhead. I suggest that when you cut this piece. you should be aware that you will be cutting 4 pieces the exact same size as this piece. The other 3 will be used later in the chapter. 2 of them can be edge glued to strengthen the gap between the tops of Frames "A". Similarly when you cut the spacers between Frames "A" & "B" you will need to cut a total of 8 pieces the same size. I am not planning to use the same wood for the spacers between "B" & "C". I cut small blocks from the same 3/8 X 1/4 material and turned it sideways for the bottom of this gap. But I found a piece of material that is 3/8" square and I will use that for the spacer above the sills between "B" & "C". I am currently at step 6 waiting for Glue to dry and I will post a pic later today.

-
Greetings from the Pacific Northwest
fnkershner replied to ErRains's topic in New member Introductions
Eric & Al - I am the president of the Puget Sound Ship Modelers. We meet monthly in the Seattle area. Occasionally we meet in the Foss Seaport Museum in Tacoma. we have members as far east as Idaho. You are welcome to drop me a line and I will add you to our mailing list. We also have a significant collection of tools, book, & wood for dues paying members. Send me an email address and I will get you connected. Also Eric there used to be a club in Portland. I am not sure they are still active. -
Dave, I live in Fear of over doing it with power tools. But I cover my lack of skills with efficiency. And Dave where is your log? I guess I need to look in Scratch models.
-
Nicely done Dr.!
-
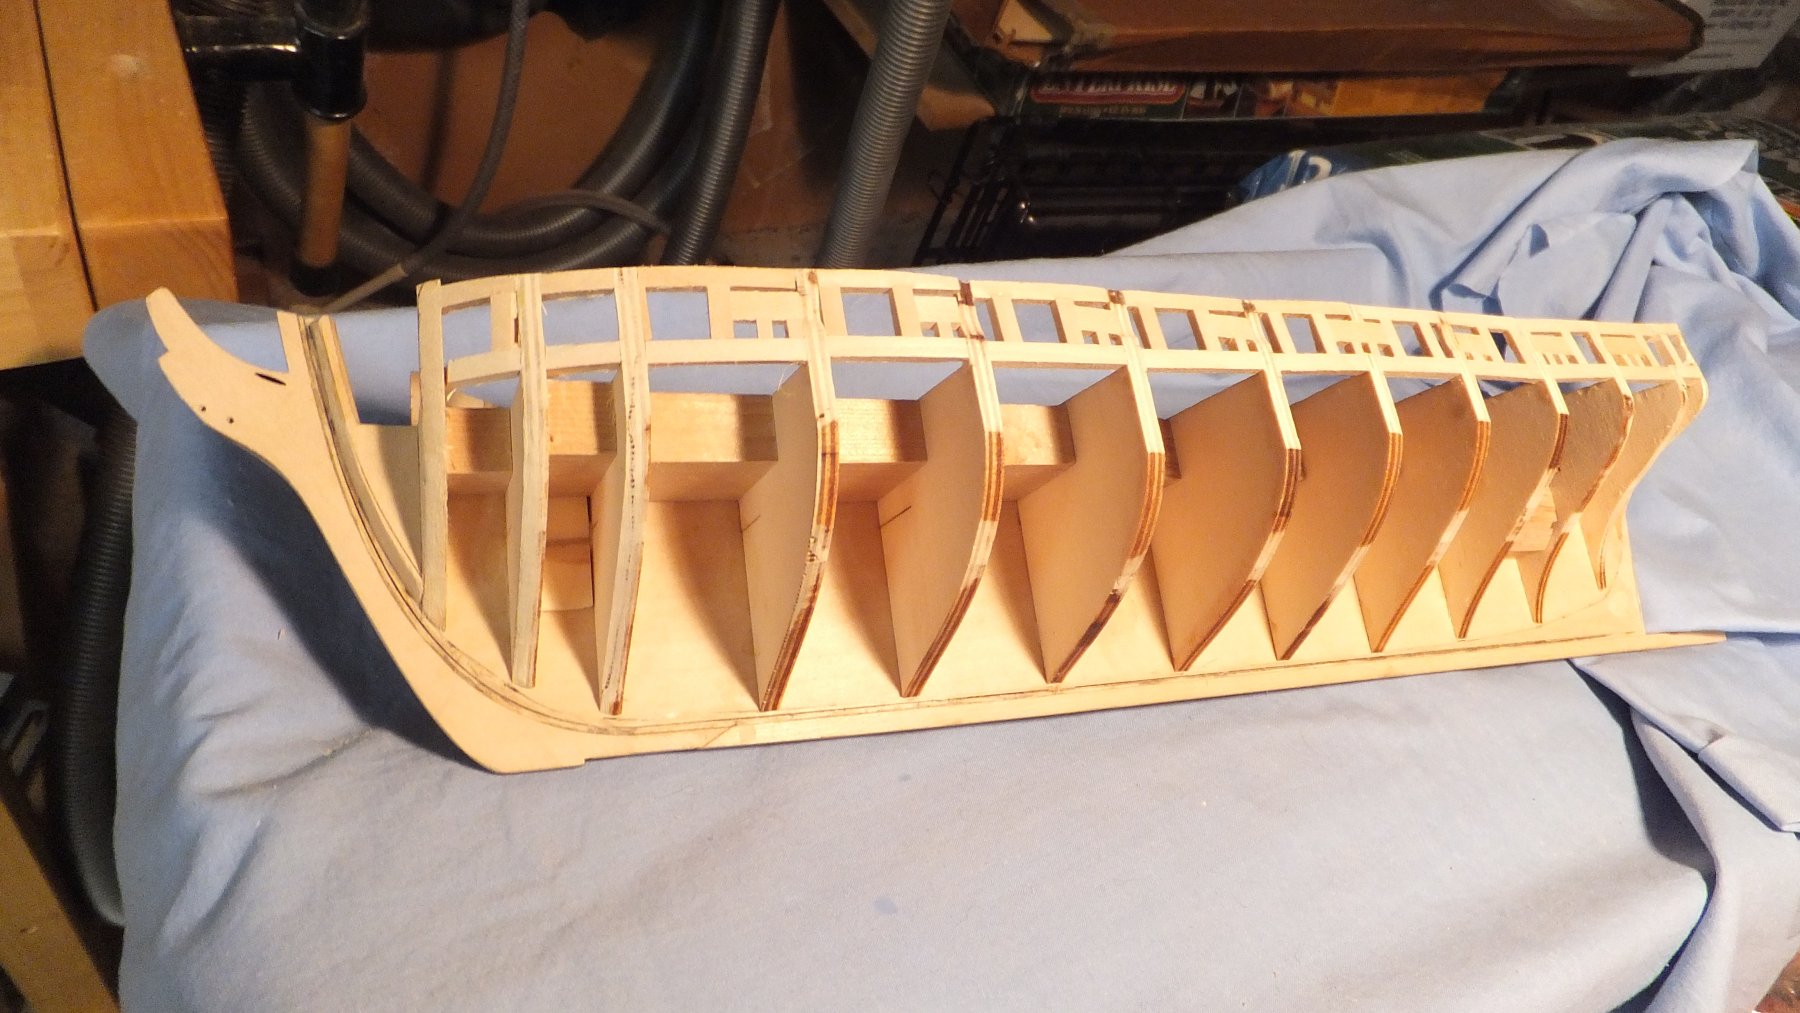
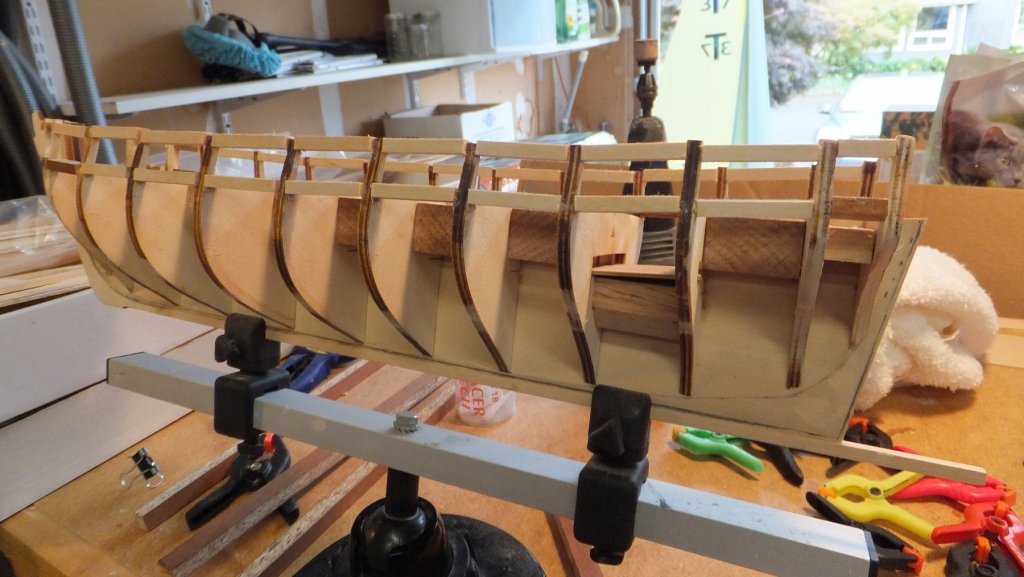
OK after a long pause here. Chapter 3 is complete!! I like sanding as much as the next guy but Jeez! As mentioned above I installed the "blue" pieces first so that the tops of the sweep ports would fit snugly. And I believe someone estimated 5 hours of sanding. Even with Power tools I think it is a bit longer. Also I am absolutely in love with the professional Nail files. They fit perfectly last longer and do a great job. Thanks for the tip. Enjoy all! Now on to that scary stern.
-
Rich - I have some Boxwood left over from another project. it is the same dimensions as the hull planking above the wale except it is 1/2 the thickness. Can you see a problem with using in for my Syren? I think Boxwood would be a great solution on the most visible part of the hull.
- 1,135 replies
-
- 3
-
-
- model shipways
- syren
- (and 2 more)
-
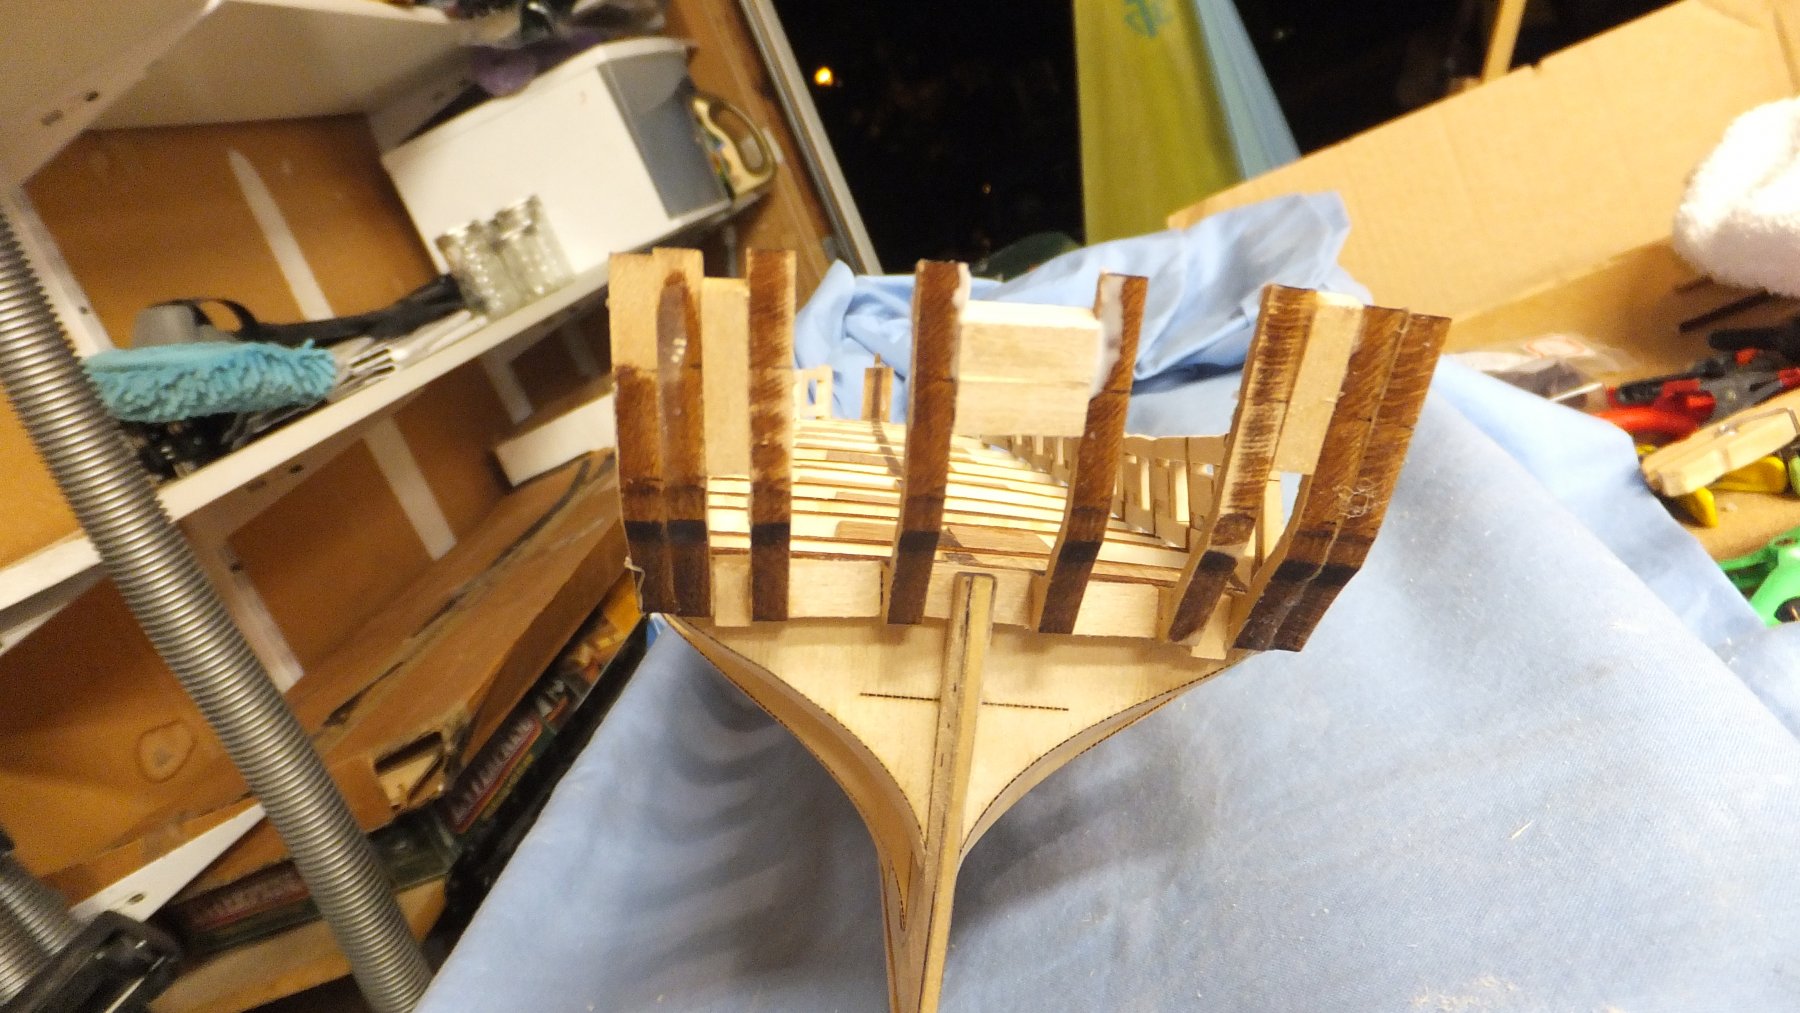
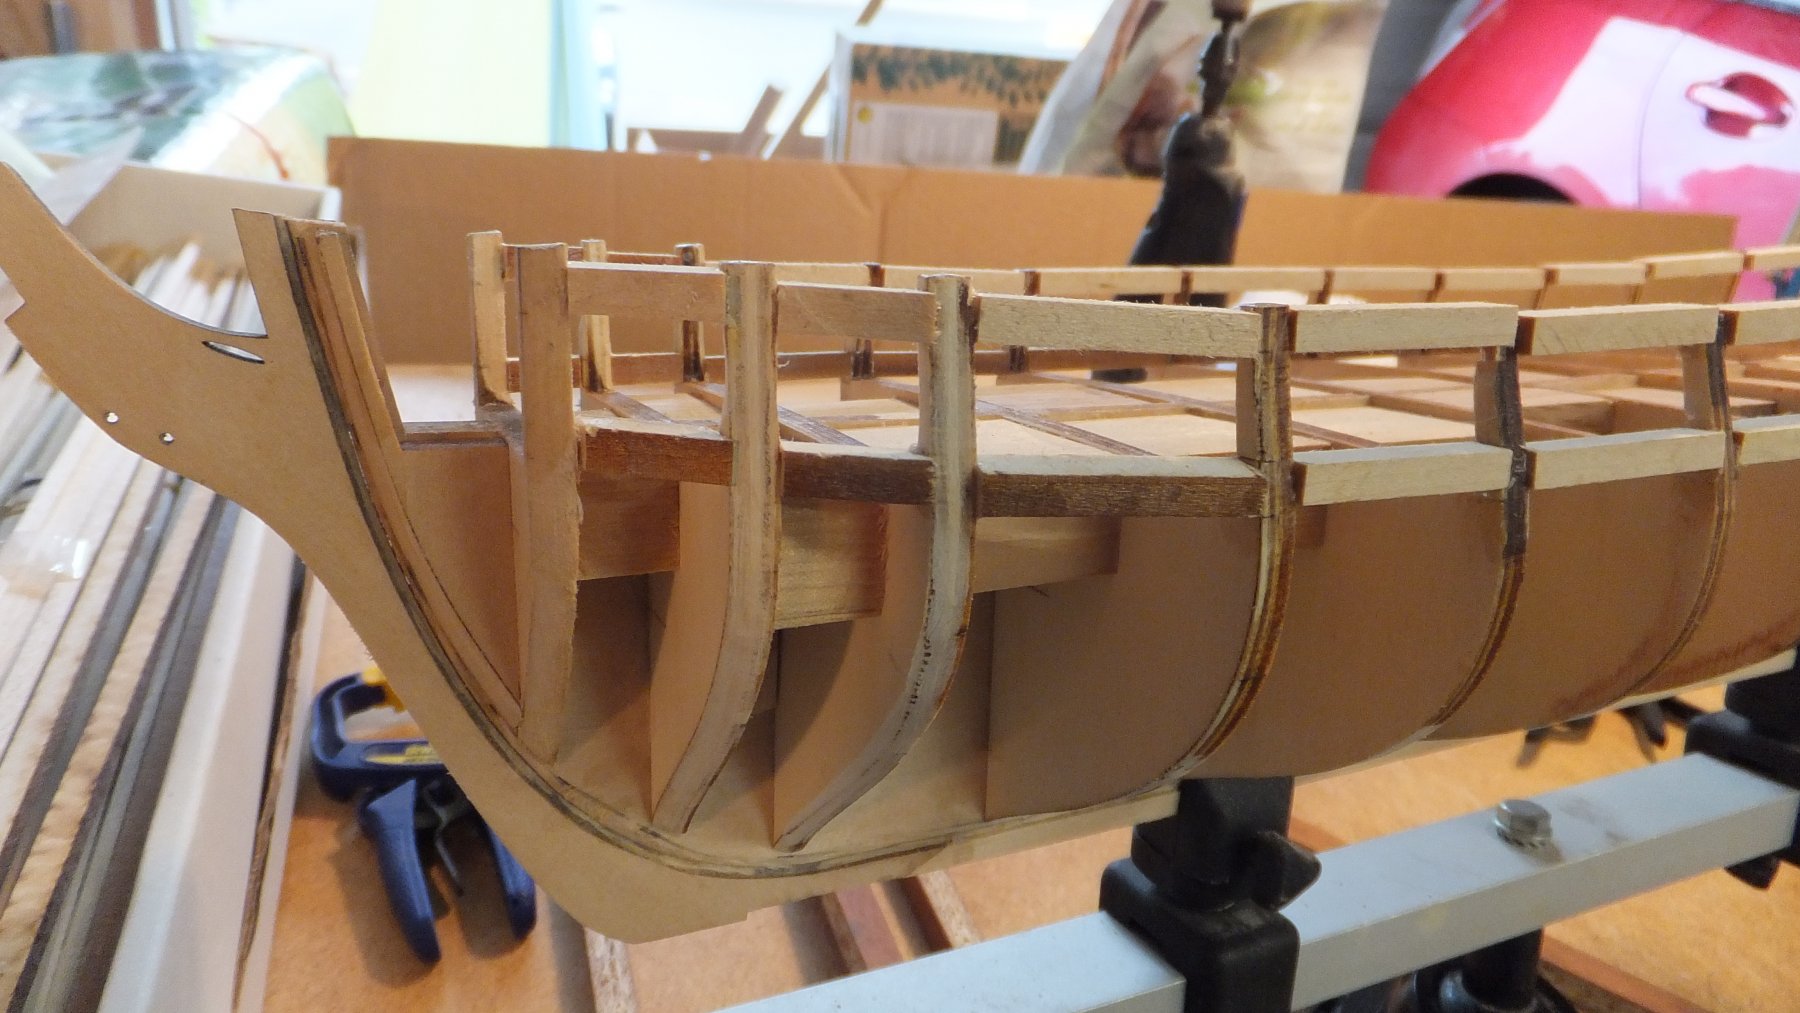
Ok so the sanding is done and I am installing the gun port sides. Cutting out that last bulkhead gave me a bit of a scare. It almost broke. So I stopped sanding and glued the port sides in to give more strength. Then I finished the sanding where the bulkhead was removed. I also took this opportunity to remove the bulkhead that will be in the way of a sweep port. I figured it would be easier to work with before the port sides were installed. So now the port side gun ports are complete. And I am moving to the Starboard. (Waiting for the sun to go down. It is very warn in the workshop/garage) So I have a question - any advice is welcome. I am reading ahead about installing the "red" pieces that define the top of the sweeps. and the Blue that define the sides of the sweeps. The instructions say the sweep ports are 1/8" X 1/8" on page 13. How is it possible to fit a wood strip that is 1/4" by 3/16" into a 1/8" space? are these "blue" pieces 1/8" long? !!
-
Jesse that is an amazing Long Boat. Can I hire you for my Syren? o)
- 1,306 replies
-
- 8
-
-
- syren
- model shipways
- (and 1 more)
-
Did you use the putty for the treenails? I found that the putty was just enough different color that it works for this purpose.
-
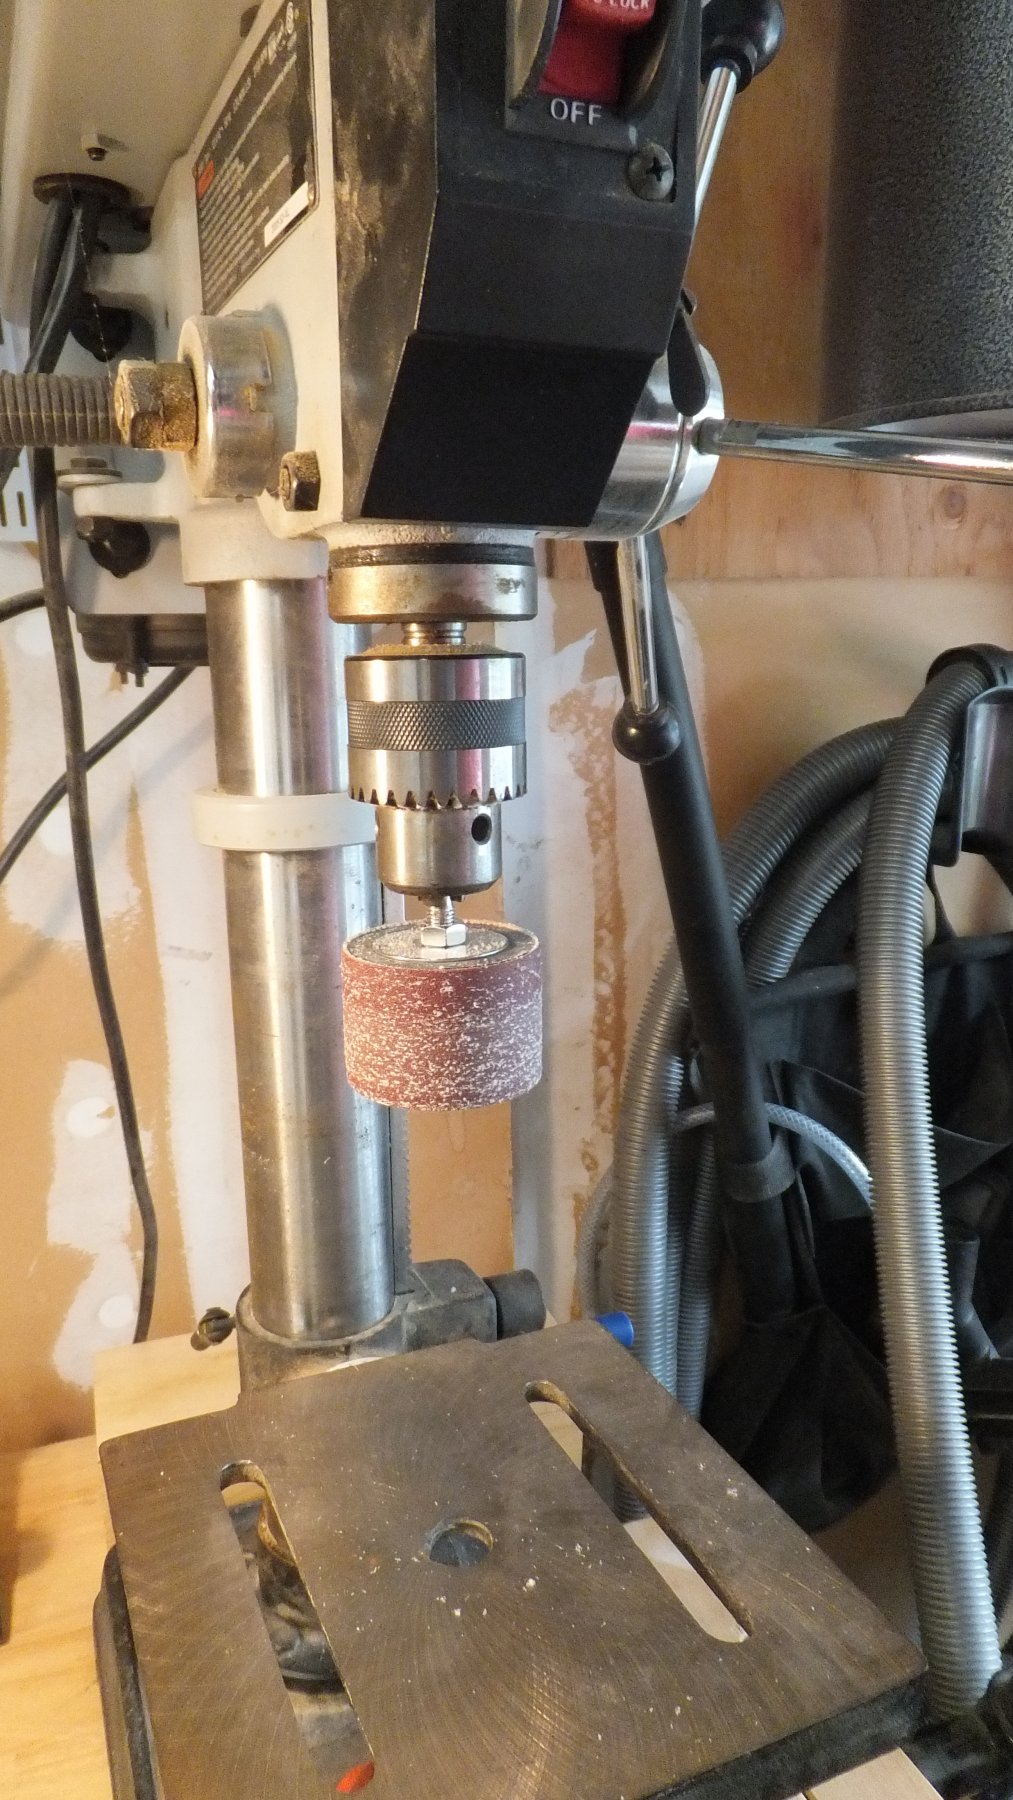
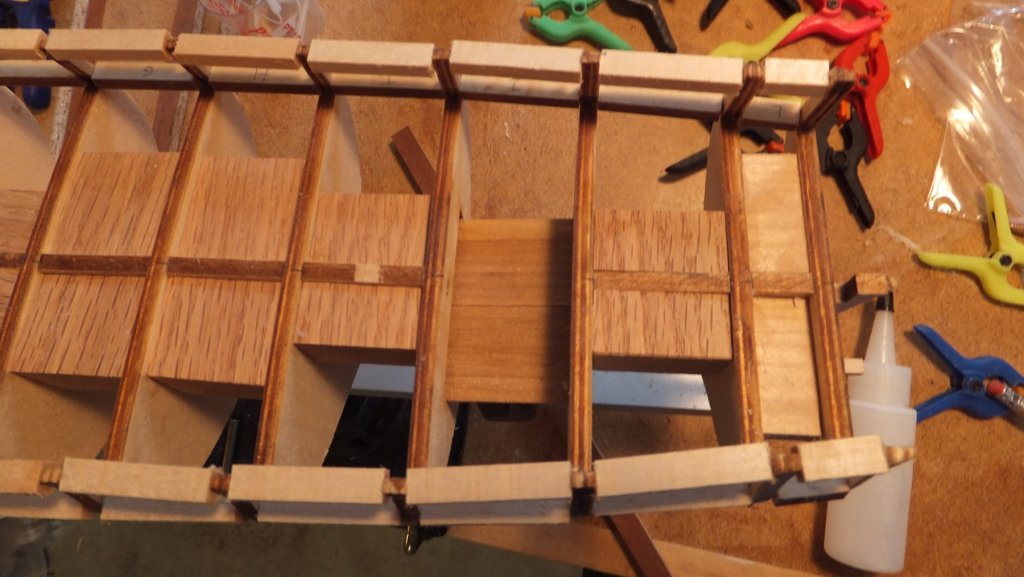
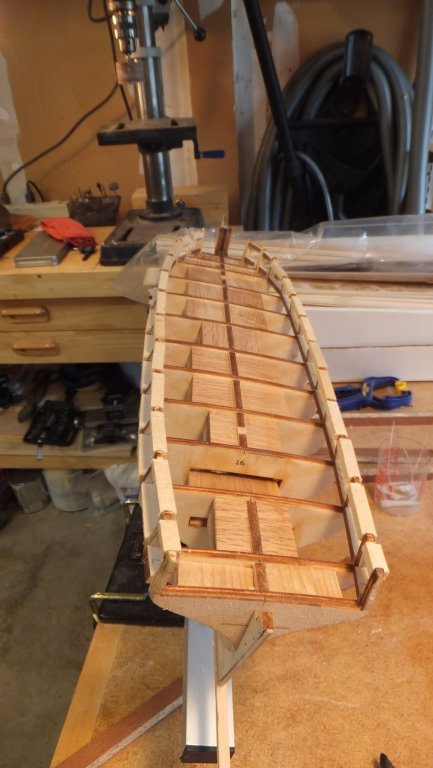
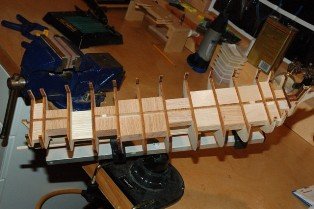
Ok so here is the weekend report. You will also see in the pictures below my secret weapon. After 4 hours of sanding the Port side is done! And using a Micrometer I am proud to say that all of the port sills and lintels measure as directed in the instructions. The Starboard side is close. still have some finish work to do. Somewhere in the forum (I can't remember where) it mentions the use of professional Nail files for the sanding. They are the perfect tool. They are flexible enough for the curves and have both 120 & 240 grit. and the are water proof. The tool if you can't figure out from the picture is a sanding drum on my drill press. The last 2 pictures are essentially a before and after. you will see the port side complete and the starboard side has yet to begin.


-
Well Doug you should see the damage I can create with a Dremel. I can only guess what would happen with a set of chisels. It might take longer but much safer to sand.
-
By the way, I forgot to mention that like any good modeler I have already christened my Syren with a little blood. I was sanding some of the lintels to fit when my knuckle got to close and made a bloody mess.
-
Ok now comes the moment of truth! Sanding! I have questioned whether it makes more sense to install the cannon port sides before or after Sanding. but given the challenges up to this point I will follow Chuck's lead. Some Syren builders have suggested chisels and other implements. With my lack of skill and the plywood bulkheads, this scares me so I will resort to just sanding.
-
So along the way in this build there have been a few setbacks. As I mentioned above the Lintels were installed incorrectly. A Dremel with cutoff wheel and lots of sanding took care of that. And the wonderful Model Shipways Guarantee replaced the wood. I also discovered (thank you Dr. Per) that for some reason the prow where the figure head would sit was not tapered. This was resolved. And then I began the install the sills and lintels. I had an alignment problem and had to install the sills and lintels again! While finally getting this right my Jim Byrnes Sander gave out! (Small Commercial for Jim) - I sent an email to Model Machines. They told me that I purchased the sander approx. 9 years ago. and it was likely that the power switch had just worn out. And for $7 postage they would overnight a replacement! Well long story short in 48 hours I had 2 new switches and a functioning Sander! So as you will see below finally I have completed my sills & lintels! Now comes the sanding!

-
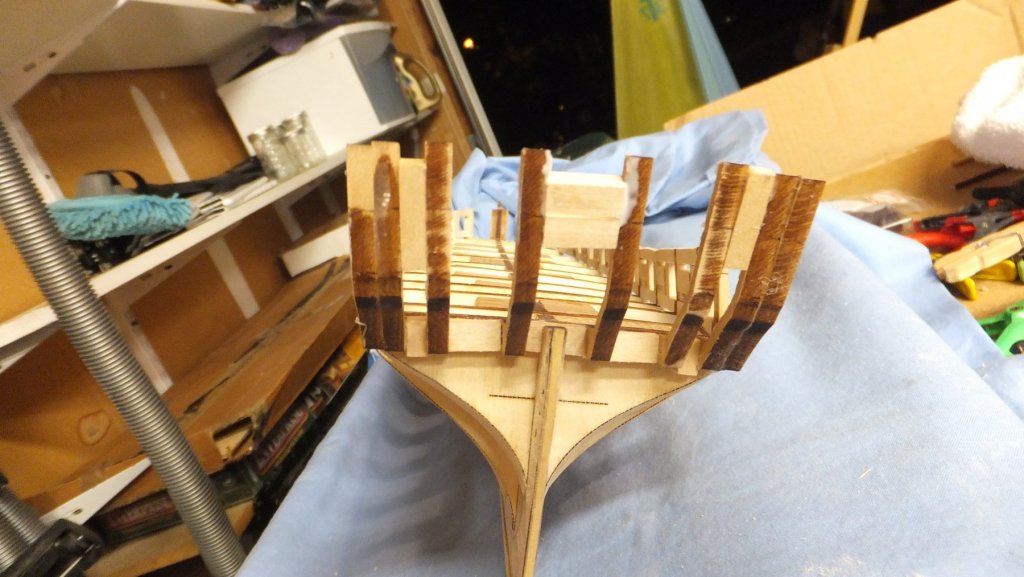
So let me bring you up to date on this build. As you can see from the pictures I got to adding the Lintels and stopped. For reasons I cannot explain I did not notice that my templates were out of scale and I added the lintels before the sills. And to add more salt to the wounds I also had rotated the lintels 90 degrees. So now 4 years latter I am revising much of my work. ( I guess I should mention that during those 4 years real life got in the way. I moved and changed jobs a couple of times.)
.jpg.80dd7195b1494f757acfe362f00164ad.jpg)

-
Well as else where mentioned I need to create a log. Actually I thought I already had an existing log. But I dug thru the logs back to 2013 when I was much more active. And I found a lot of logs from me by not this one. So here we go! First off I have been digging around for the pictures from the work I did up till now. But unfortunately what you see here is all I have.
-
Erik - is your first name Svein or Erik? Its great to see another Syren. I am just a bit ahead of you. It will be great to compare notes.
-
David - I ordered these same emory boards from Amazon. They arrived on Friday and I got a chance to use them over the weekend. Thank you! great idea. I will use these a lot.
-
Jack look at Amazon I got mine for $30. I wasn't going to bother but the wood for these parts are just big enough that other methods can be an issue. I have the Chopper II. which I love and use frequently for things like this but this time the wood is just too big. PS Idea #2. if you notice that Dr. Per is using one of my custom bulkhead braces for a stop on the chop saw. I went to home depot and bought a 3 ft length of aluminum 90 degree angle and cut it down to a handful of 4 inch high braces. I use these and any handy clamp when installing bulkheads to ensure they everything is square. Now if only I can get them back