DONATION DRIVE - SUPPORT MSW - DO YOUR PART TO KEEP THIS GREAT FORUM GOING!
×

the learner
-
Posts
757 -
Joined
-
Last visited
Content Type
Profiles
Forums
Gallery
Events
Everything posted by the learner
-
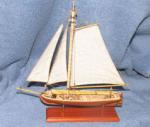
 Daniel, your build looiks fantastic and I see you have started the wale's! I will wait until I have some of the interiour completed. Great pictures! what is the name of the ship in the sand picture? Guy
 -
Had a hard time finding the log it was on page 3, looks like every one is busy! some great photos of your detail for the Standing and ceiling strakes. Guy
-
Harvey, Perhaps 4x4mm but I just pulled out what I had avaliable in my junk box as they are only temporary to hold the frames in place and will be removed once I have all the framing completed inside the hull. I am finishing up the gun ports and still have some fairing to do inside before I start on the internal framing Edt I wished I had installed the fillers I notice that I now have a little hogging perhaps after I installed the Keelson Guy
-
Thanks Greg, I will have to look up and put in my notes, I do have the book in my Library. On the Brodie stove there is a good drawing of it in AOS Brian White's "The Frigate Diana" with an internal drawing. whats missing is the top view. Guy
-
Chuck a fantastic build, it looks just a good as Dave Yotter's Philadelphia though a bit smaller I look foward to seeing her in person Guy
-
Ed the beams appear to be sitting just proud of the knees, is that how they are suspose to fit?
-
The little camera I use is just not going to cut the mustard
-
Looks tight! gona be a nice little model for some ones desk
- 142 replies
-
- 1
-

-
- buzzards bay
- herreshoff
- (and 1 more)
-
Still working on the temporary ribans, the gunports and will clean up the ends of the frames before I start internal works. Guy

-
Thanks Alexandru! I have printed out this bit of information and will attache to McKay's AOL book for future refrence Guy
-
I finally broke down and put in 2 mounting bolts (Like EdT's) through the keel....2? I hope that is enough, I can now tie down my Keelson and start constructing the lower decks. One of my Unimat lathe belts broke and I have no replacements and will have to order some, so I had to do the tie down bolts the old fashion way using my drill and a file. I did have a 4-40 die also I am not going to bury the nut in the keel but just let it set on top of it, the keel just seems too fragile. pictures to follow Guy
-
Thanks Ed! Thats how we learn! actually this build has been nothing but a learning experience for me, up to this point I have only built POB or Harold Hahn method and never have I constructed any decks below the main deck. watch out! I am catching up with you. Guy
-
Thanks Daniel! Ed, I understand why and I also wish the I had started using the fillers from the start as spacing of the frames on the keel would have been more accurate. It would be difficult now to start adding the fillers because of the many diffrent thicknesses. I will have to think long and hard on adding the fillers now. Guy
-
I think I will stick to my glue stick or rubber cement. I scrape the patterns off when I get them close to shape and it seems to work ok. I am working on putting the gunport framiing in but all the frames are not in the proper places so there will be some padding up of the inside of the port to bring them near the correct size. The next time I will use the jig to do the framing will post some pictures next time
-
Both builds look very good and well executed!
-
A fantastic build! I like your method construction that allows so much of the construction of the interiour to be viewed. I contacted John McKay about purchasing a full set of plans. The cost was a little prohibitive but but from his book I believe them to be worthwhile! some where down the road I might be able to purchase. I assume you are using his plans in entirety?
-
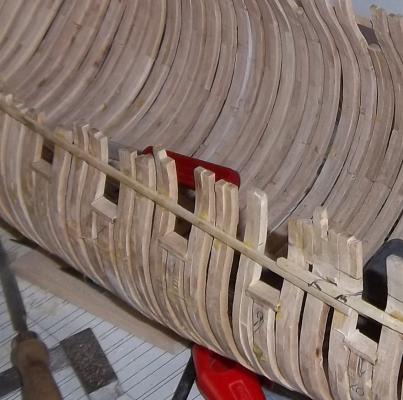
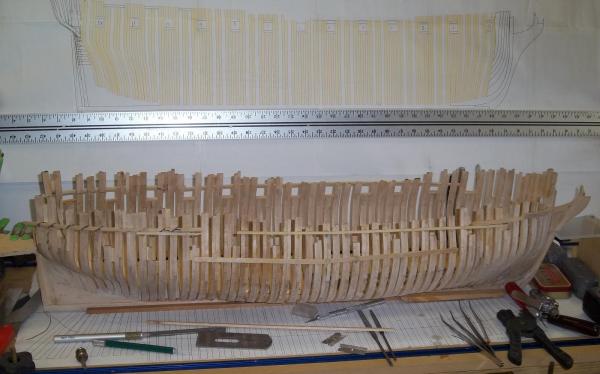
I have attached a riban around both sides and will now be removing all the other scrap pieces that I have glued on the outside to support the frame, then finish the gun ports and start the lower deck perhaps by the end of this comming week. Pictures to follow
-
Kelly, I like this and will have to tryit ! I normally use a stick glue and find that I do need to dampen the pattern to remove but the good part is not leaving any residue that will affect future finishes
-
I would think that the drawings could be adapted to single frames but remember that even the single frame construction had some sistering.I am sure the community would love to see you draw up a set of frames for the triton....start a whole new build! lookin good keep up the good work
-
Thank you for all the likes!
-
Looking fantastic! Ed, you make it hard not to go out buy new tools or build new jigs.
-
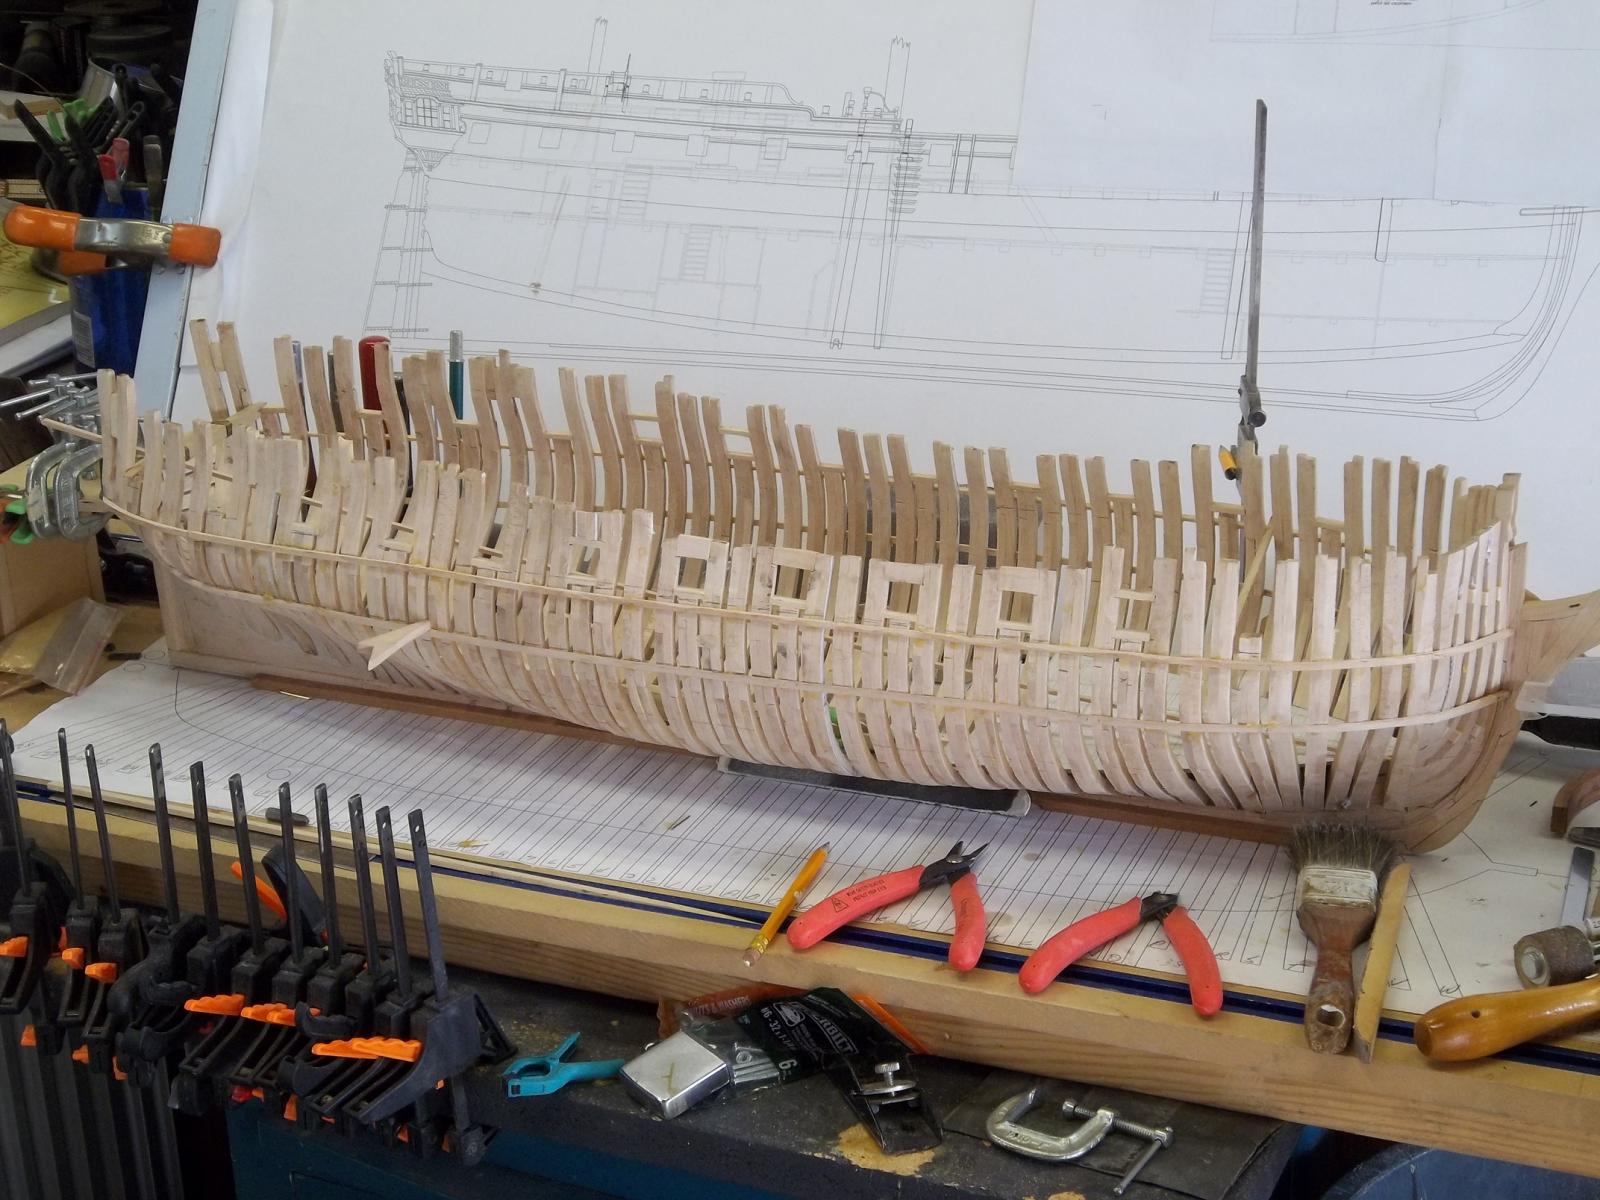
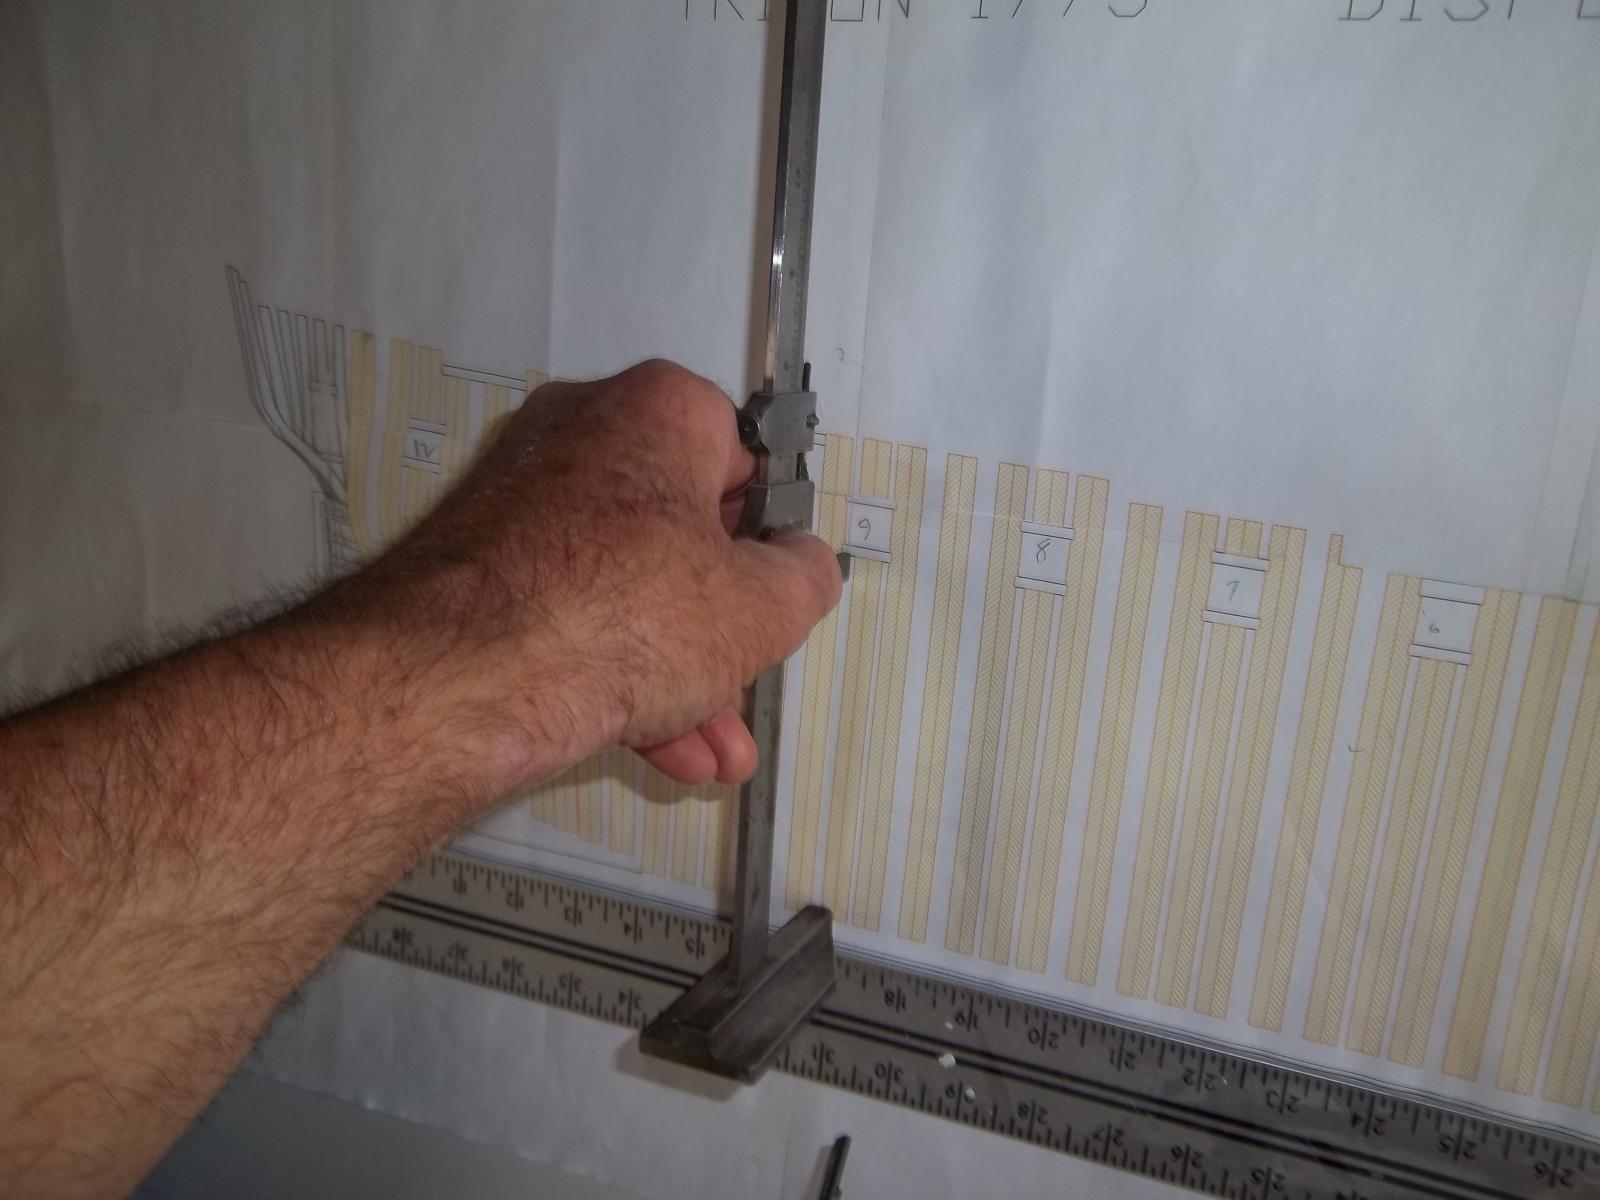
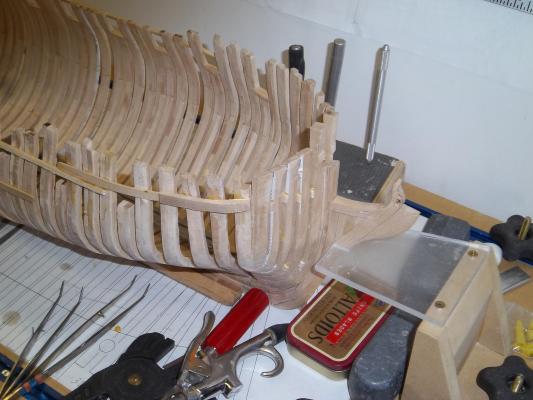
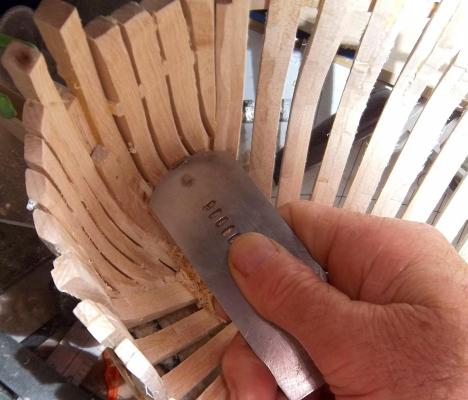
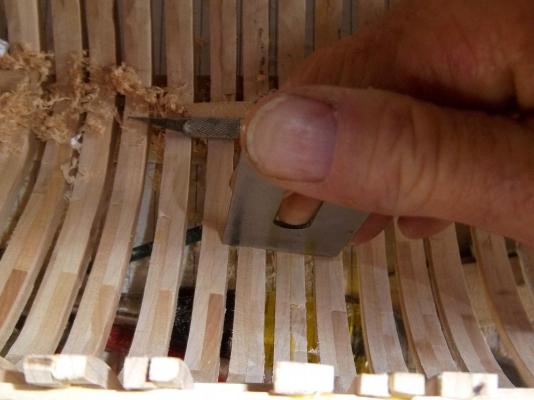
So some more pictures...I have been busy on a job but try to work a bit every day on the Triton. I am pretty much at this point fairing the inside, adjusting frames and adding the gunport sills. Here I am fairing the inside using and old plane iron both ends work well. Measuring the sill height from the frame plan I printed our and taped together, the rueler across the bottom in my Drywall T I need to put a new outside support (riban) for the frames then I will start build the lower deck To be continued:


- 205 replies
-
- 12
-
-
Thanks Mij! Richard, I looked at the framing between 26-28 feel that they will fair out OK.
-
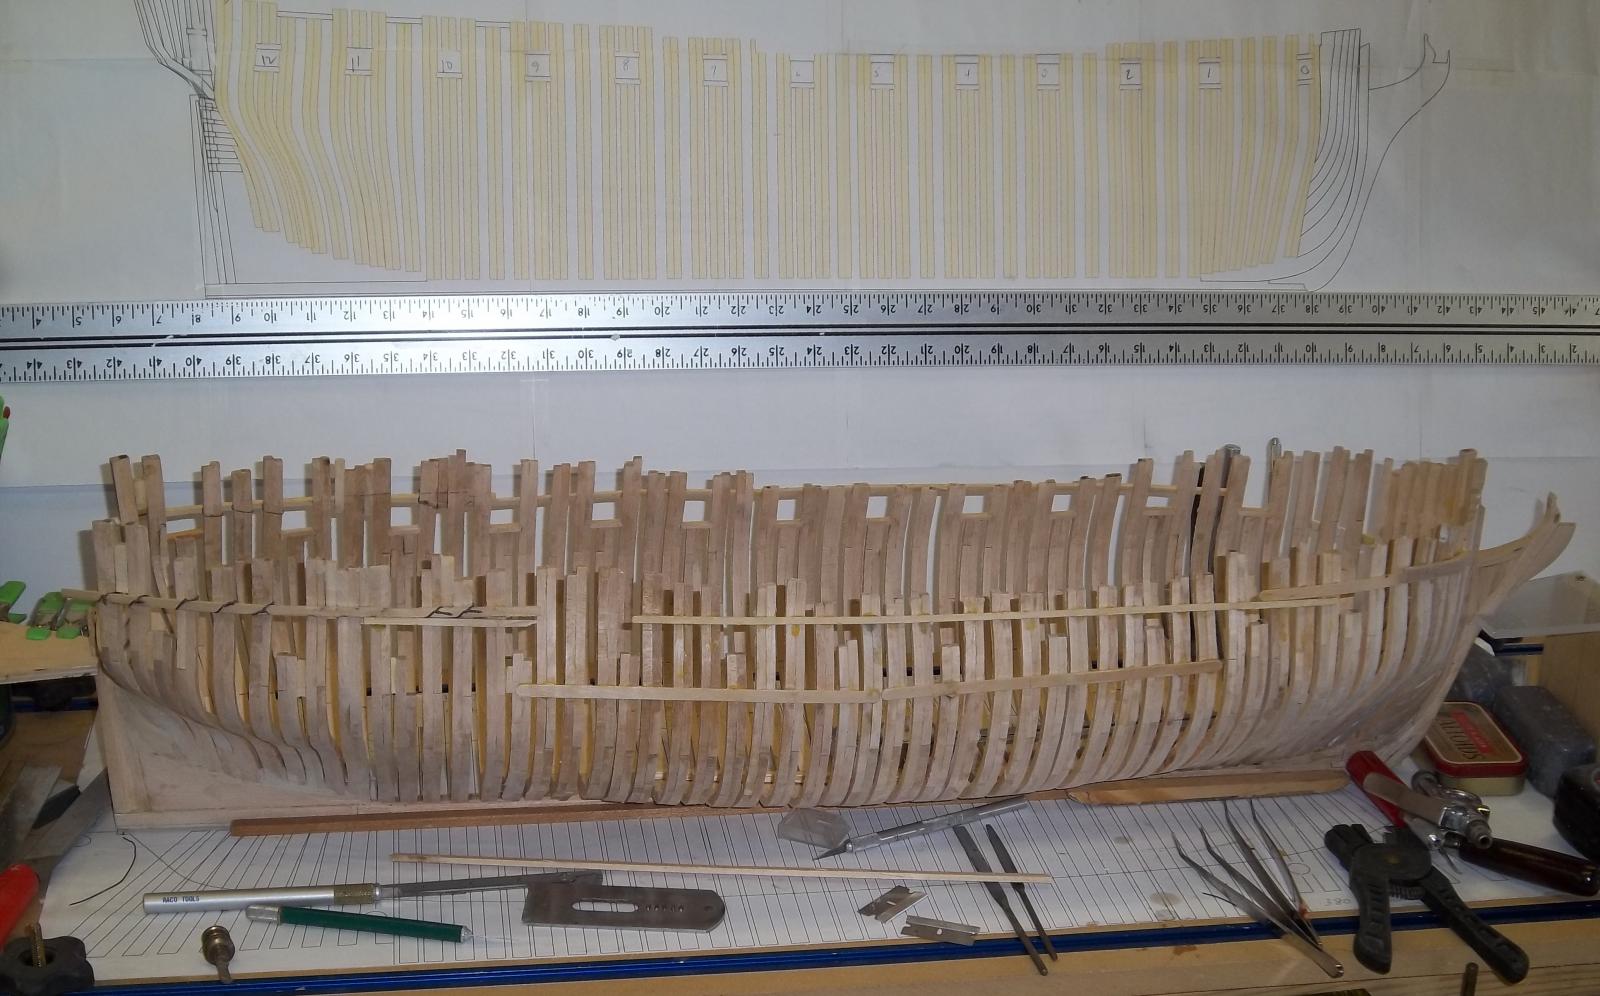
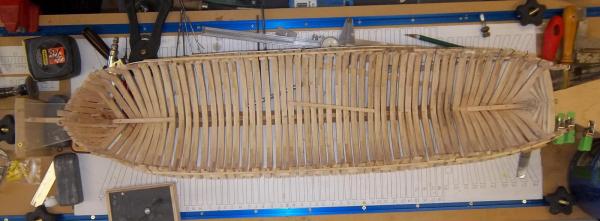
I wanted to upload some more pictures but need to shrink them down to meet the 2K size so I will post them later. Below is pretty much where I am at now
-
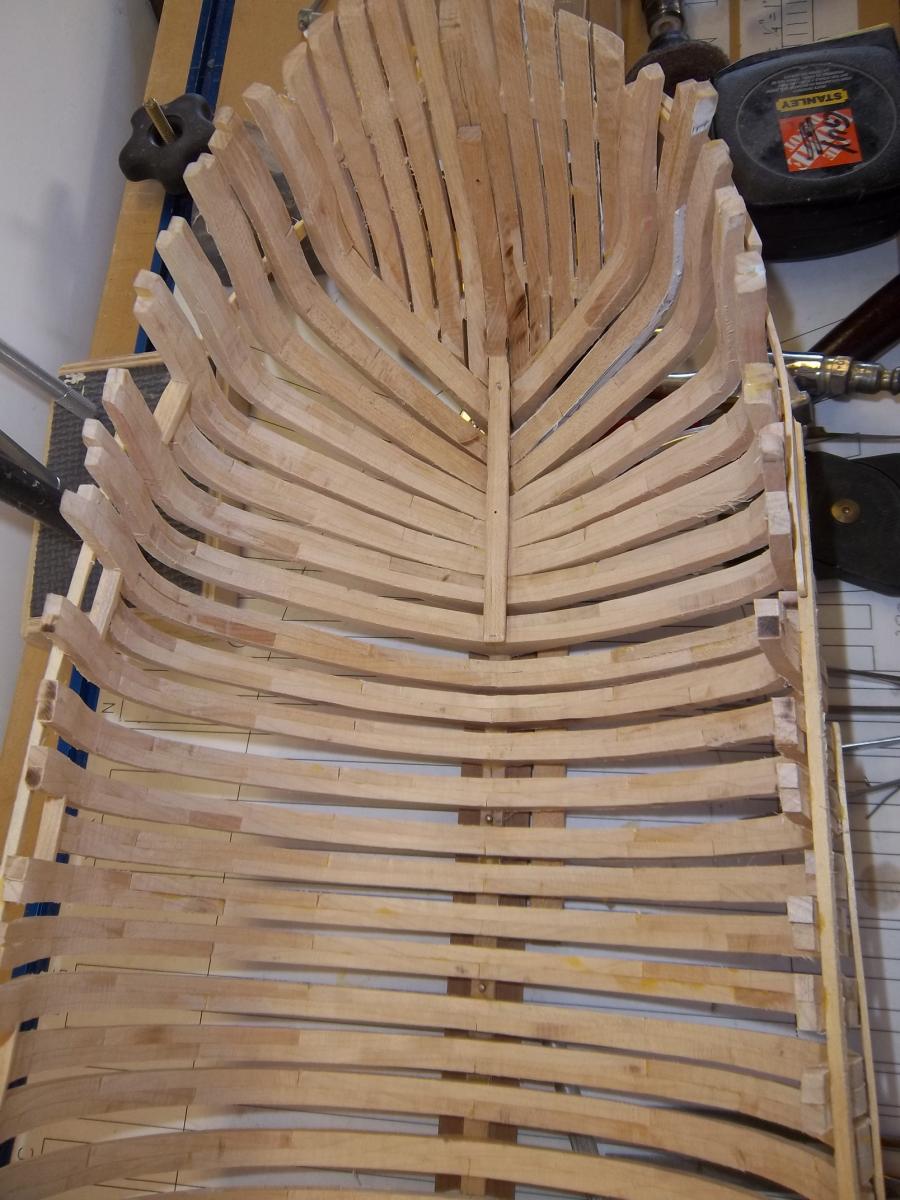
Jaerschen, sorry for the delay but work comes first! Above is a pictureof the fwd cant frames. I was a little concerned about the shape but both sides are the same and it looks ok so it appears I am going with this Guy