

kirill4
-
Posts
907 -
Joined
-
Last visited
Content Type
Profiles
Forums
Gallery
Events
Posts posted by kirill4
-
-
-
Good day John,
May be there is sence don't use original kit rigging diagramm at all?
But use the rigging diagram for the St Philippe instead of?
I'm planning to do so...🙄
-
-
Goodday Bill,
Agree with Backer,and also need to be considered its location,it passes by side of the foremast and secured on the sbs( commonly for english built vessels) or port side of the mast...
Pay attention, finaly it must be secured and pozitioned in such way that nock of the bowsprit will be located on the centre line of the hull..
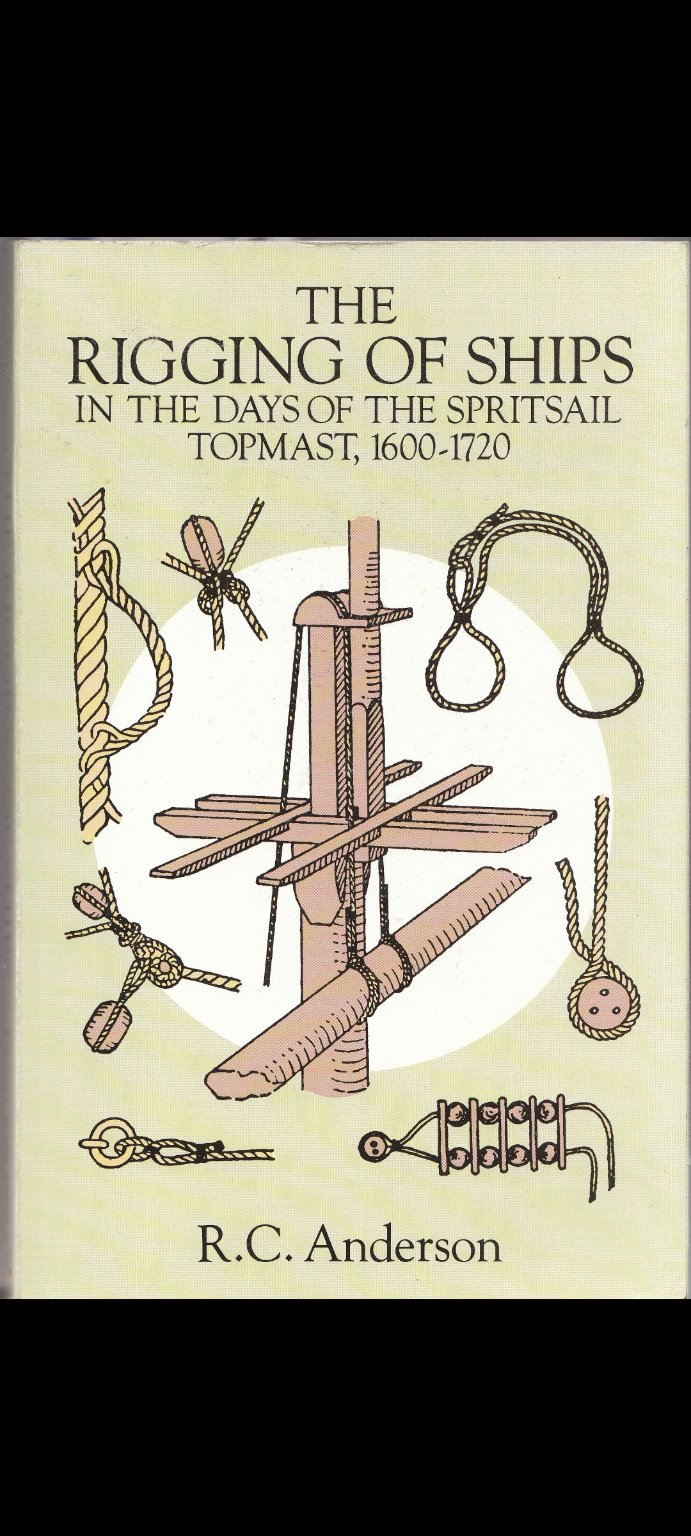
there is a very good ,I would say briliant book abt all such specific questions of 16-17 cntr rigging...
if You don't have ,I reccomend to find it...or I could share my electr.copy with You,if You want
-
Good day Bill,
Thank You for the information - this set of" old and new wood effect " is very interesting!
I will check more details abt this set in internet...
Thank You!:)))
-
Good day Bill!
I heard many positive feedback about Vallejo acrylics paints...
And You and your model confirmed it again! :)))
Do they have stains for making wood and weathered effects?
-
Good day Bill
To paint cannon I used "Plaid FolkArts" acrylic paints and stains...color wrought iron for burrel, caramel color for wood parts as base and after brown stains were used...
For model hull and masts and rigging coloring I used ordinary artist acrylic paints which I found in nearest shop, I mix them to the color I wanted, mainly I used ochra,broun,black colors for making mix...
as stains I used also !dry !artistic pastels which I grounded to powder...and mix with water...
to fix painted area I used deep matt acrylic warnish,as final coating...
I could say ,that one, paints which You use for Your model( I saw them on your pictures) seems to me are much better!


-
Hi Bill,
Painting Looks very nice!!!
All the best!!!
ps
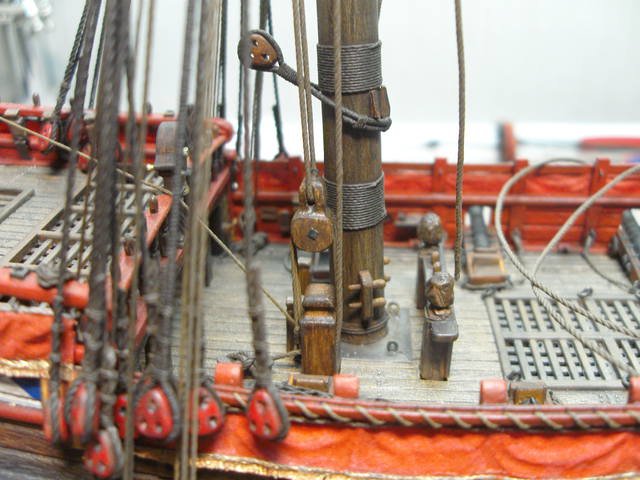
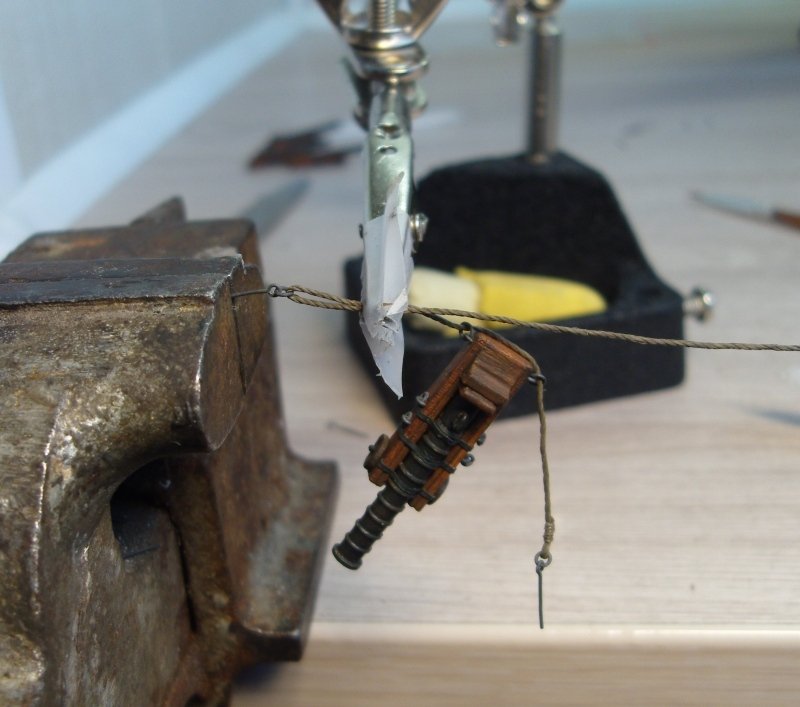
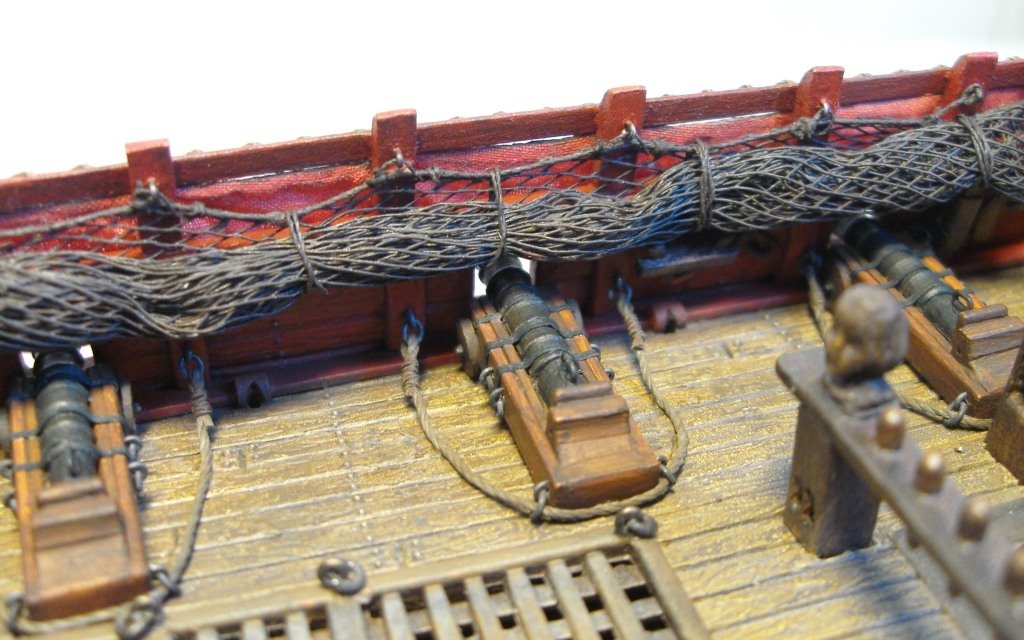
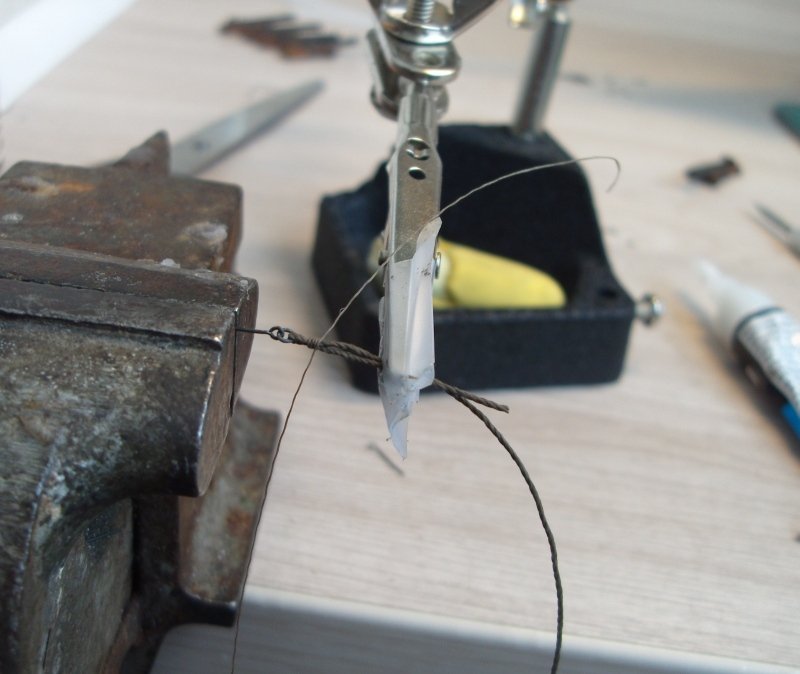
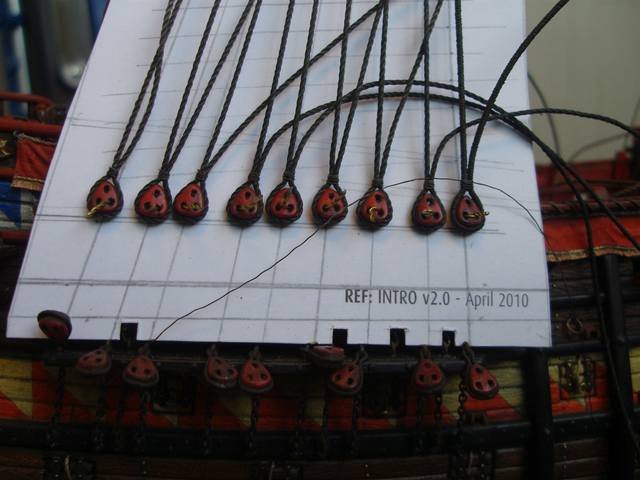
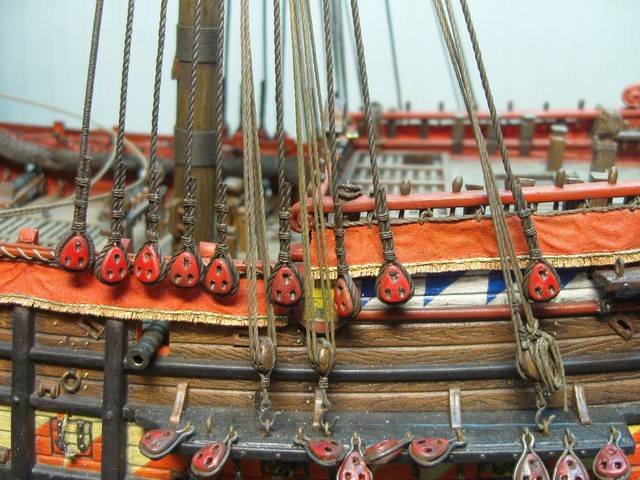
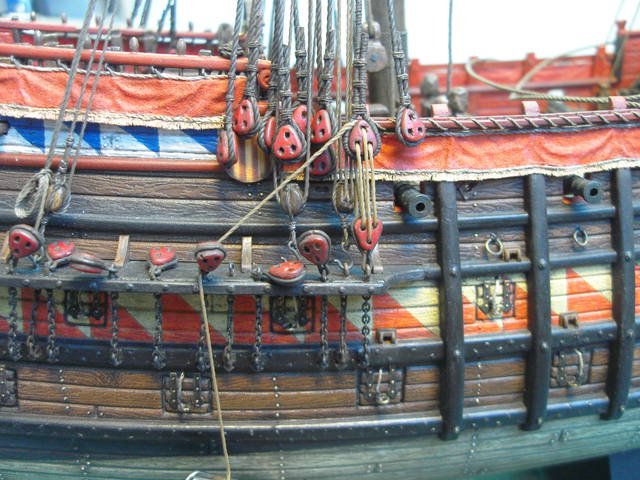
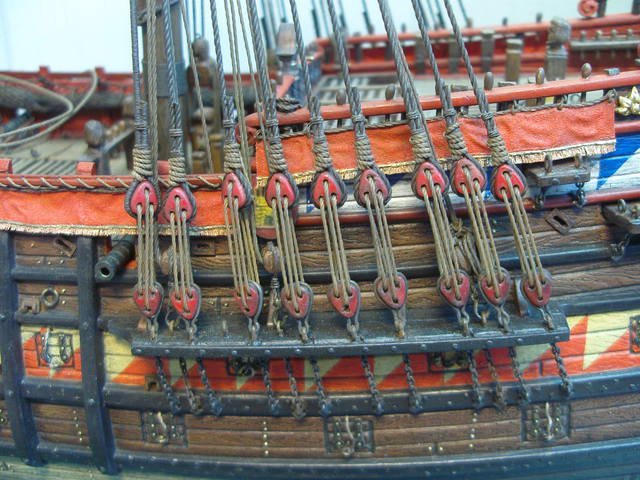
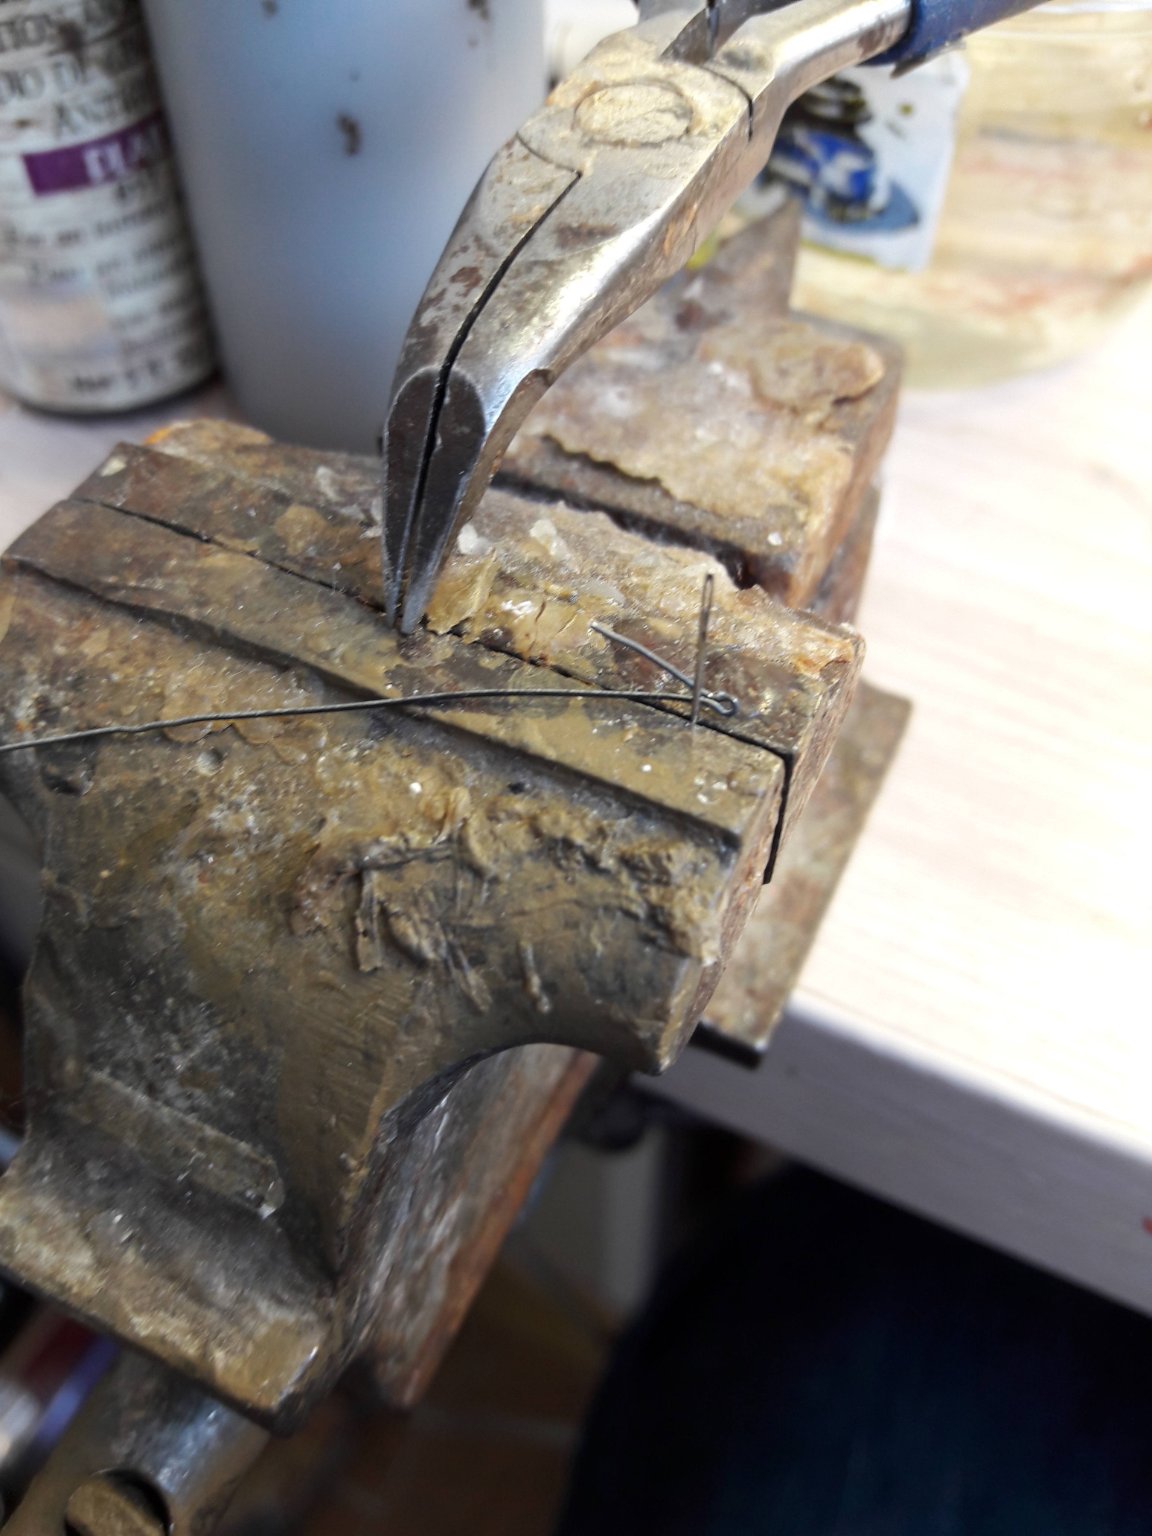
don't You think to make metal rings ( ring+eye bolt),imitation for rope securing on the cannon port lids?
it could be easy made from copper or brass wire,but add more realistic vew...I used drill 1 mm for the rings calibration , and some sweing needle smaller diam.for the ring bolt calibration...

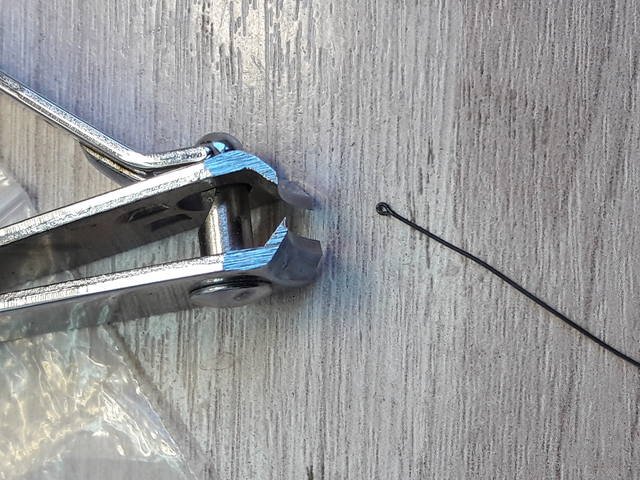
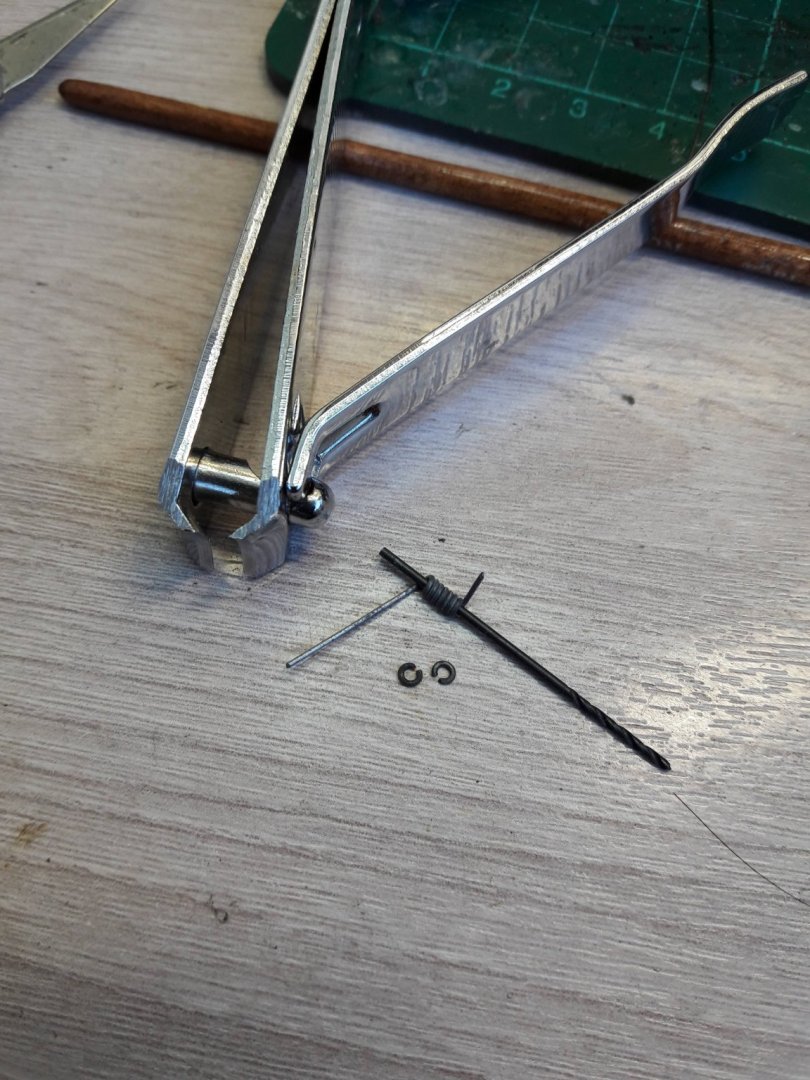

same /similar method You could use for making rigging cannon for example...or various tackles ,when tackle standing parts need to be secured on deck or board
-
Hi Bill,
Looks nice!!!
All the best!!!
-
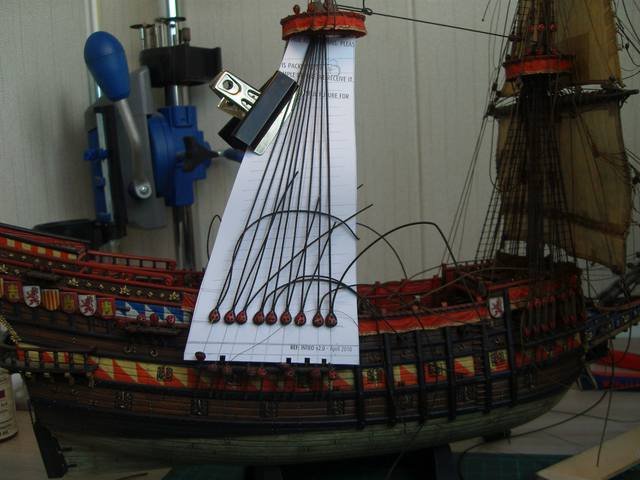
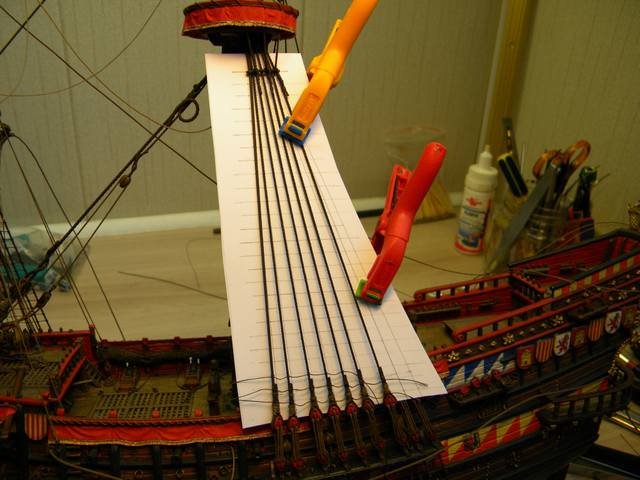
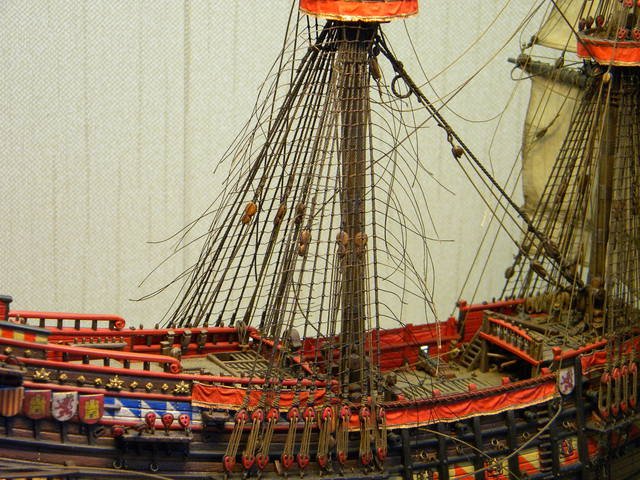
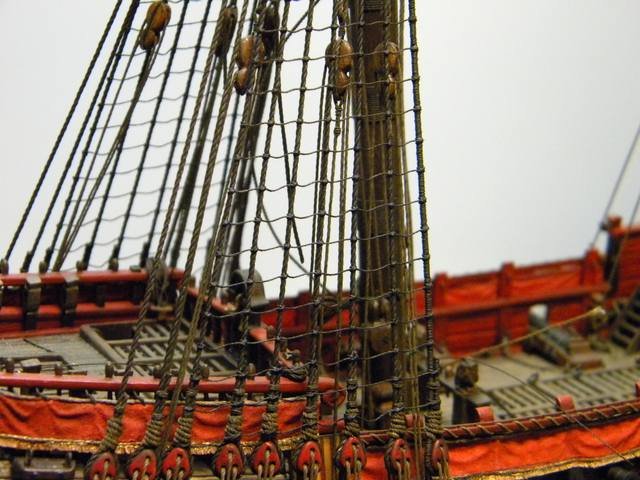
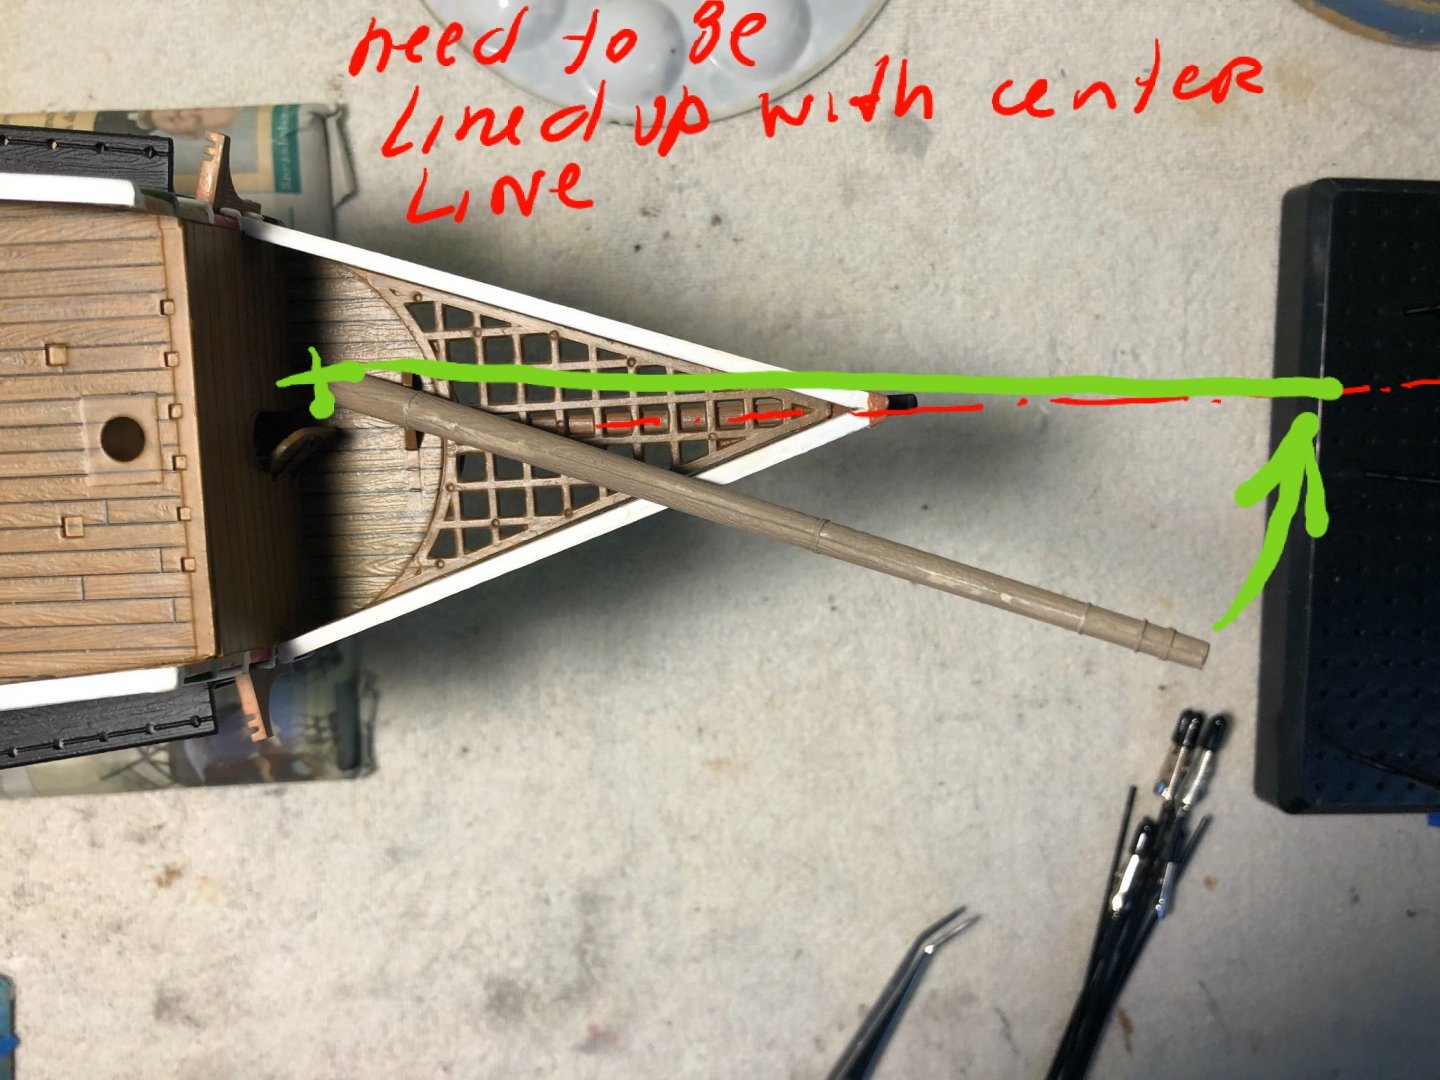
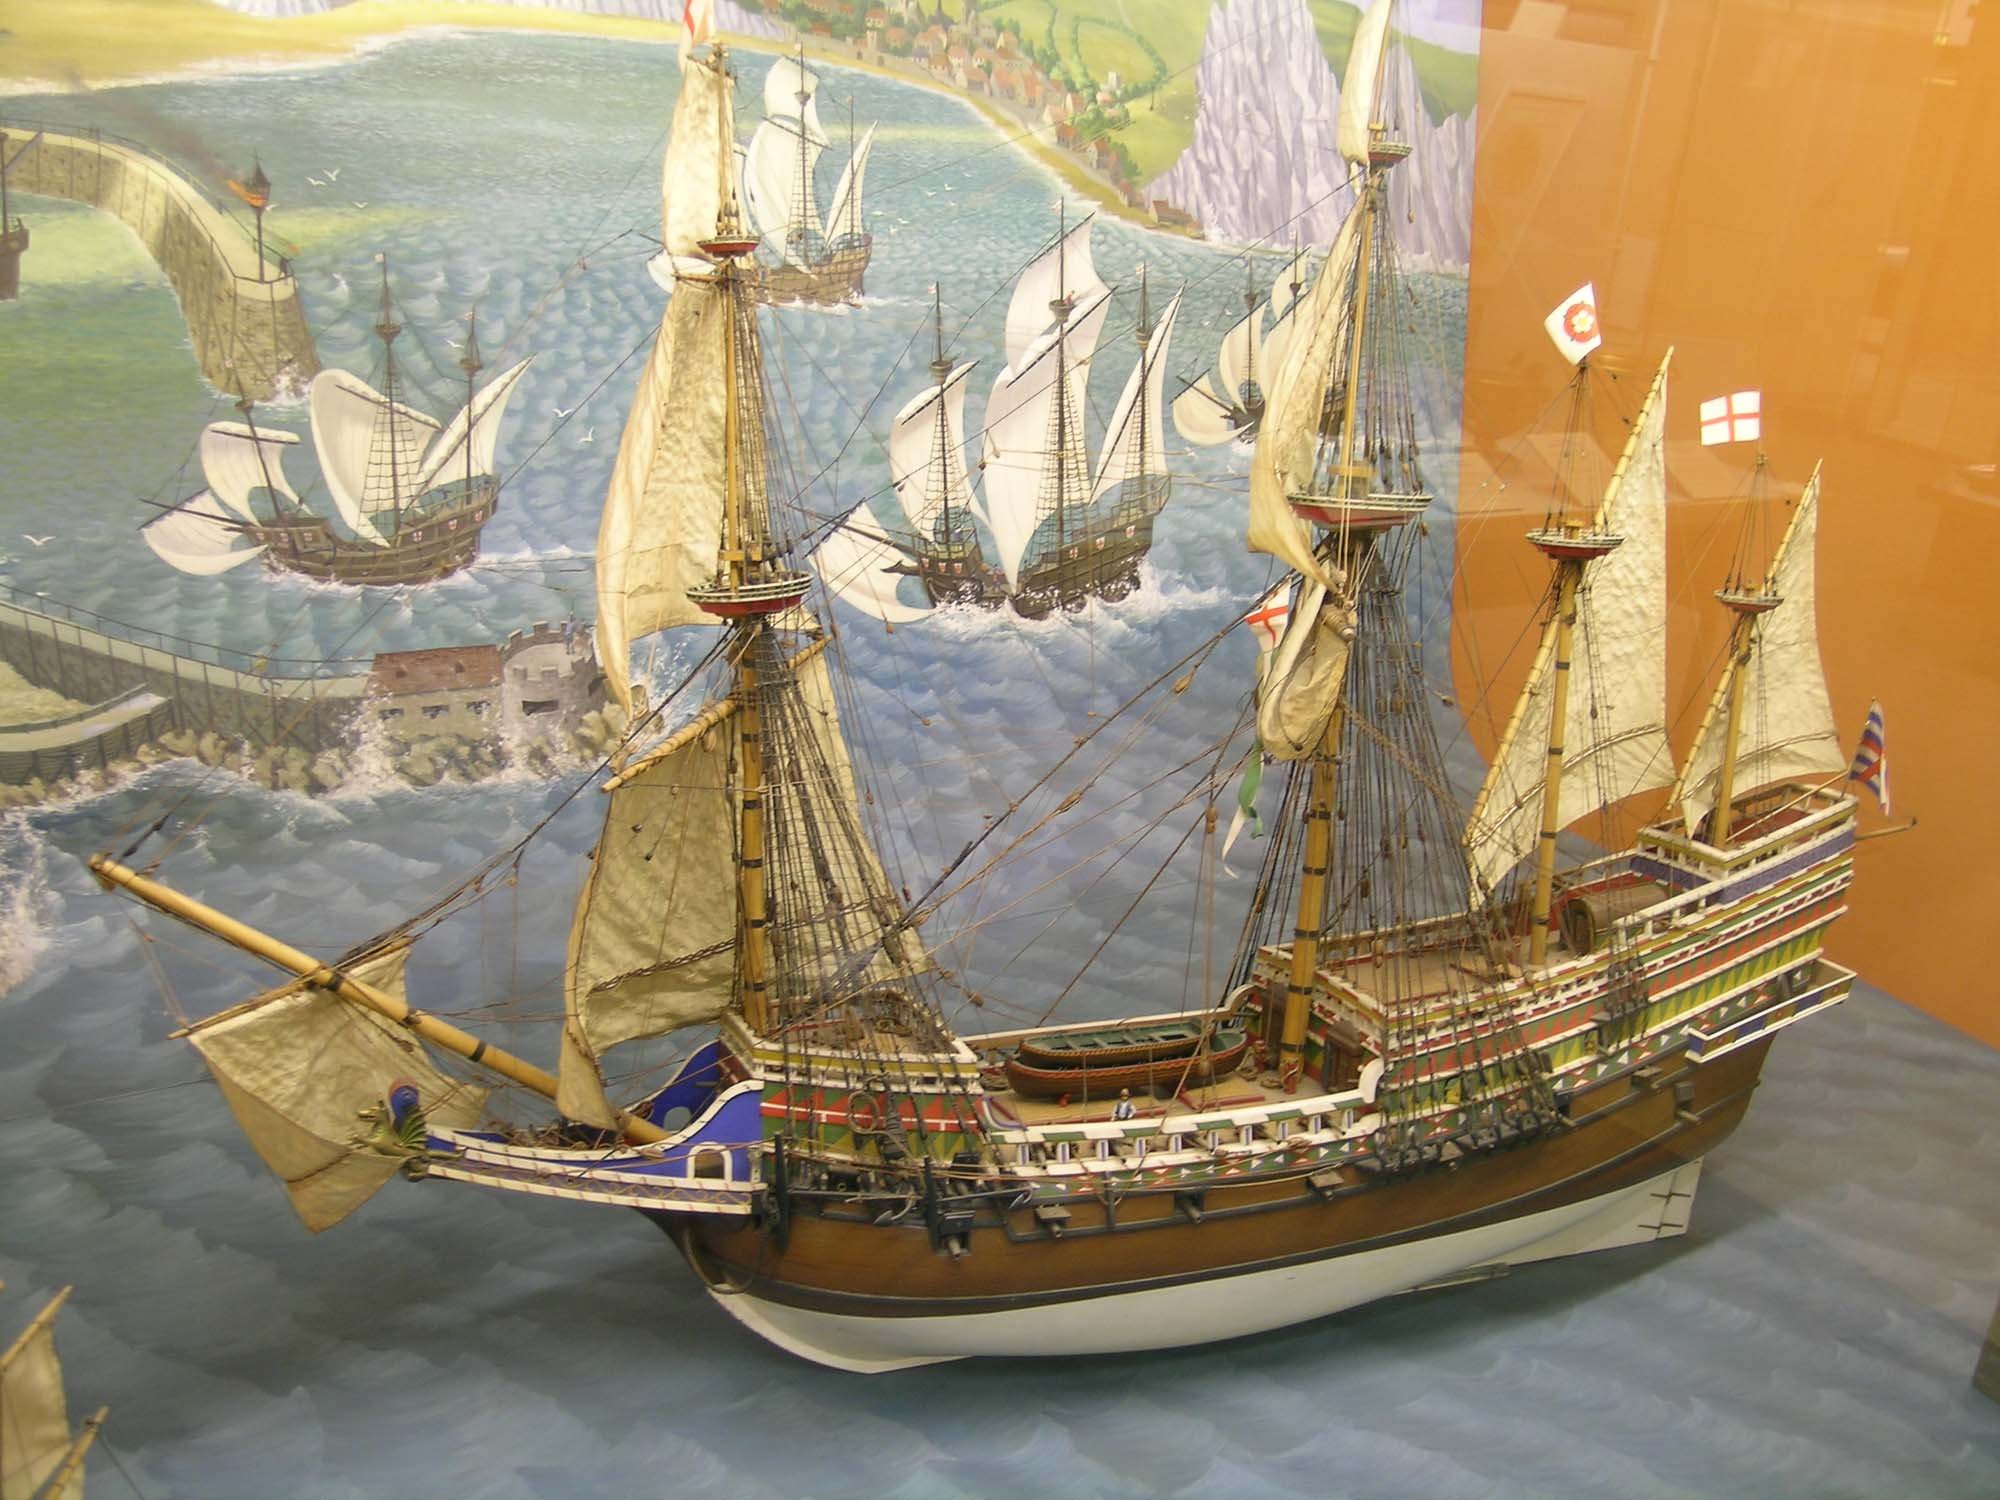
As soon as You are busy with standing rigging, but didn't start fore stays yet ,
as seems to me ,my be there is sence to check bowsprit length???
It looks like kit's bowsprit too short!...
compare to the contemporary pictures and even modern reconstraction, such as Elizabeth Jonas model for example ,which looks made based on the same lines :))) as yours model...
It could happened too short bowsprit make some negative effect in general appearance/vew of the model...???
At least when look on the picture of complete model posted on the kit box , bowsprit seems too short...
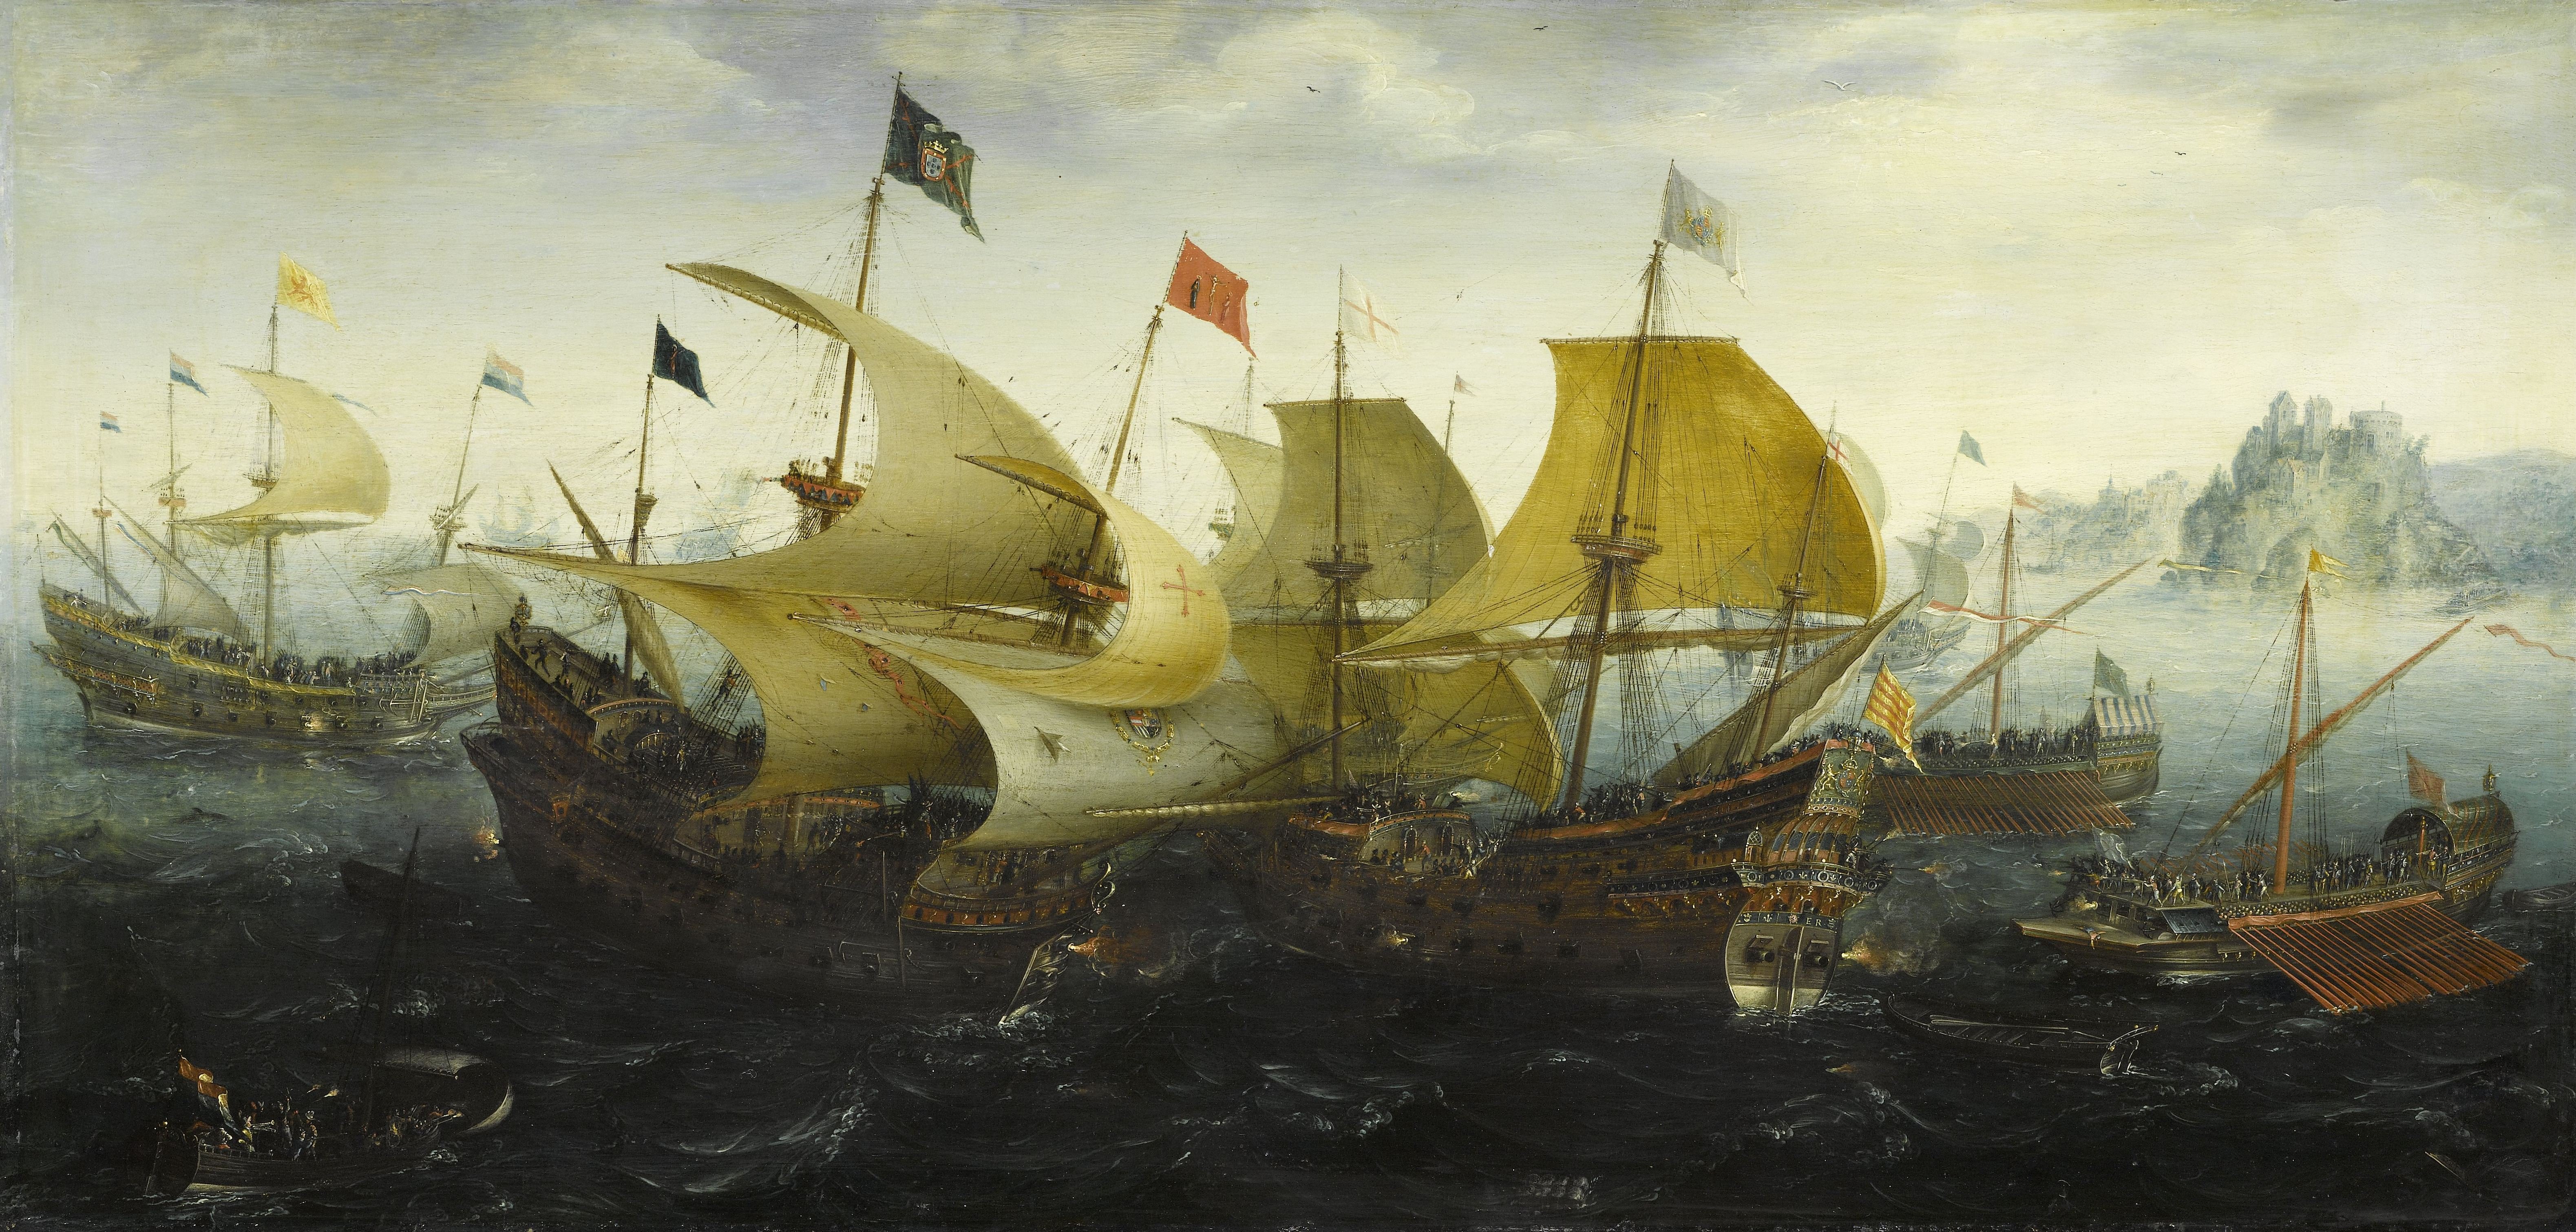
In general, if Im not mistaken,in cas of "galleon" period visiable part of bowsprit should be not less than visiable part of fore mast, or may be slightly longer...?
as example some contemporary pictures
modern Piter Kirsch reconstruction
All said above just my personal opinion, based on ipression of assembled original kit model,picture on the box, may be in reality there is nothing wrong with kit bowsprit length...

- Cirdan, Bill Morrison and GrandpaPhil
-
 3
3
-
Jeff,
Looks very nice and accurate rigging job!!!
Wish You All the best!!!
-
Good dy Bill,
My name is Kirill,
I'm from Saint-Petersburg... from that one ,which is in Russian Federstion :)))
-
there is another way of rigging... it looks more close to that You posted early
you could scroll couple of pages, starting from post #360
https://www.shipmodeling.ru/phpbb/viewtopic.php?f=65&t=5418&start=345
-
Good day Bill,
Yes, this is what I meant ,in general...
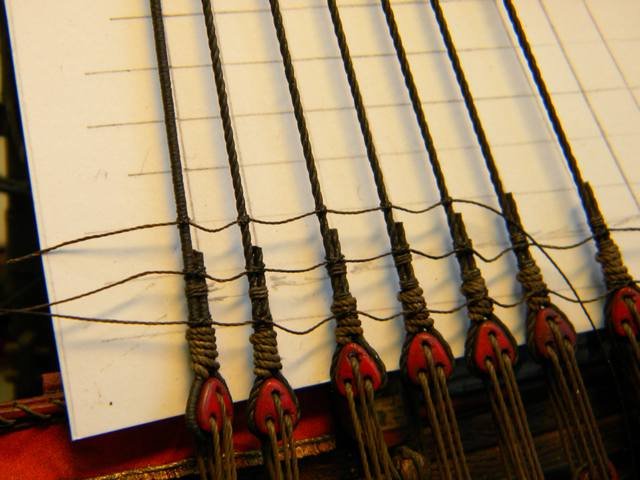
To make process easy, easy to adjust individual shroud length, You could use
*piece of carton with drown lines of the shrouds on exact positions.
*On the same piece of carton upper deadeyes could be secured temporary by piece of wire, they need to ge secured at their places as well
*than free end of shroud running purt need to be turned around deadeye and secured.
*in this way each shrouds could be adjusted to the nessasary length and secured - I use CA gel for final fixation and than apply a few turns of very thin tread above place where I used "CA gel"
*when length of all shrouds adjusted in this way, we could remove wire which temporary secured upper deadeyes to the carton sheet and lanyards could be installed
*other side shrouds could be made in similar way...
*when both side done ,we could made final adjustments of the lanyards and shrouds tensions...
*finaly we could attach ratlines using the same carton with drown positions of ratlines
as soon as galleon deadeye have triangle shape, there is not ness-ry to make" troat seizing" but round seizing only... and free end of the shroud after final fixation ,
will run to the other side of standing prt of the shroud compare to the shroud secuiring in normal way - with troat seizing and round shape deadeye...
there are other methods of securing shrouds exists,
shown by You
when upper deadeyes connected to the preinstalled lower deadeyes by pieces of wire cutted to ness-ry length of lanyards or paper clip
and than running end of the shroud passed around upper deadeye and secured in ness-ry position with troat seizing( in case of round deadeyes) and round seizings...
when upper deadeye is turning in , type of the rope need to be considered - is it cable-laid rope or hawser-laid rope...
on the galleon model we don't need to use sheer pole...
when You will turn in upper deadeye, shroud better to keep in "relaxed " shape and don't upply too much forces during final lanyards adjustments to avoid shrouds twisting and turning under load...


-
I would like to offer you some other way to make shrouds... I saw it somewhere on the shipmodels sites and than try to use this methid on my model...actually it was very simple to use it
from post #32
-
Good day Bill!
How do you plan to fitt shrouds and stays?
I asked due to your very perfection style of making / painting hull of the model...
I saw a few models of very big scale displaied recently( mostly Wasa's models)...and our colleagues demonstrated some interesting methods of making shrouds...which didn' t make good natural appearance at the end...
frankly speaking I don' t understand why they used this way of making shrouds ,which is more suitable for the shrouds of models in 1:200 and less scales,but not for such big scales, by my opinion...
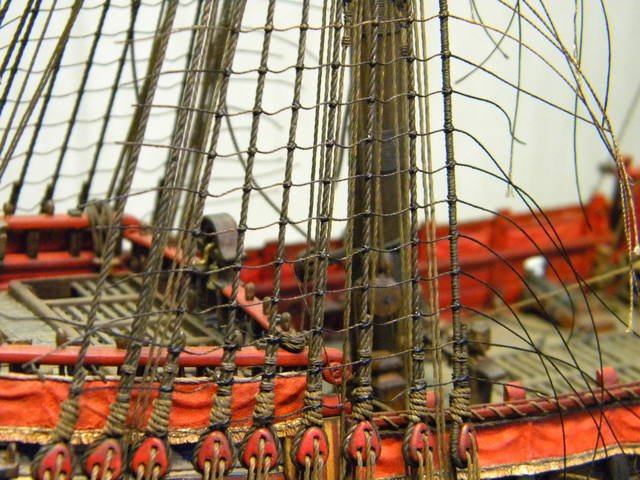
In such big scale You could reproduce almost natural way of making shrouds and stays and making ratlines knots... all what just need some patience, couple of tweezers , CA , and paints...
There shroud loops above mast tops need to be made , with seized loop need to be done...
than upper deadeyes need to be installed by using cartoon patern plates with marked upper desdeyes positions,and upper deadeyes temporary secuerd by thin wire ,shrouds location and ratlines positions need to be drown...and than, just need to make all ness-ry connections of all components need to be made...
But I saw our colleagues made shrouds complitely assembled on the table and than try to fitt it on the masts.,with cutted off loops :(((
..and final results looks not so good by my opinion...still don't understand why don't try to do the same things ,spend same skills and time ...just do the same job in little bit different way...?
So, what is Your plans regarding rigging? :)))
-
-
there are a few links for various written works and studies devoted to 16-17 ship building... oops,sorry, direct links were already given by Backer
https://cloud.mail.ru/public/Uxt8/b6Lu2ZZKr
https://cloud.mail.ru/public/FwxT/jrM6vVqTq
https://cloud.mail.ru/public/WejJ/SsqeAg8Cg
https://cloud.mail.ru/public/dBCL/7YizAZCFB
https://cloud.mail.ru/public/cdG4/8PiyPcSGZ
https://cloud.mail.ru/public/zybz/mLi9ZgaQC
https://cloud.mail.ru/public/7Jkk/P5EVxgBMA
https://cloud.mail.ru/public/4VWW/ZDKKpXoaM
https://cloud.mail.ru/public/AT9D/RD4f3MQpW
https://cloud.mail.ru/public/qZPN/5pA8oUrho
https://cloud.mail.ru/public/wtWt/df1kKHdKL
https://cloud.mail.ru/public/za1C/j55UJkF7K
- popeye the sailor and rkwz
-
2
-
Dear Backer,
Thanks for the links!:)))
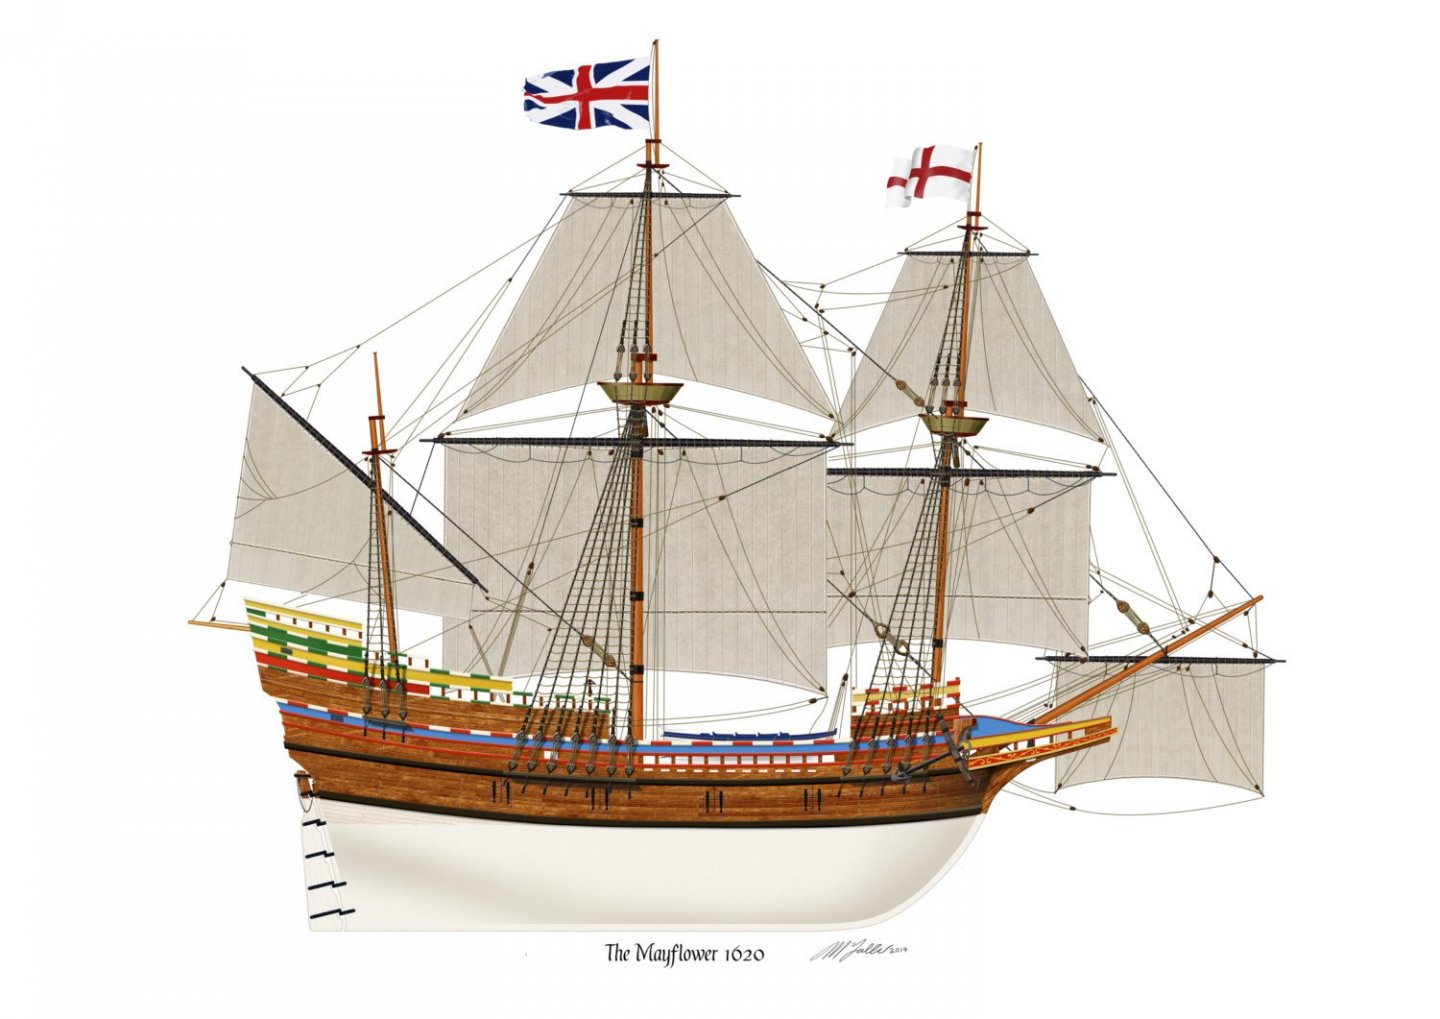
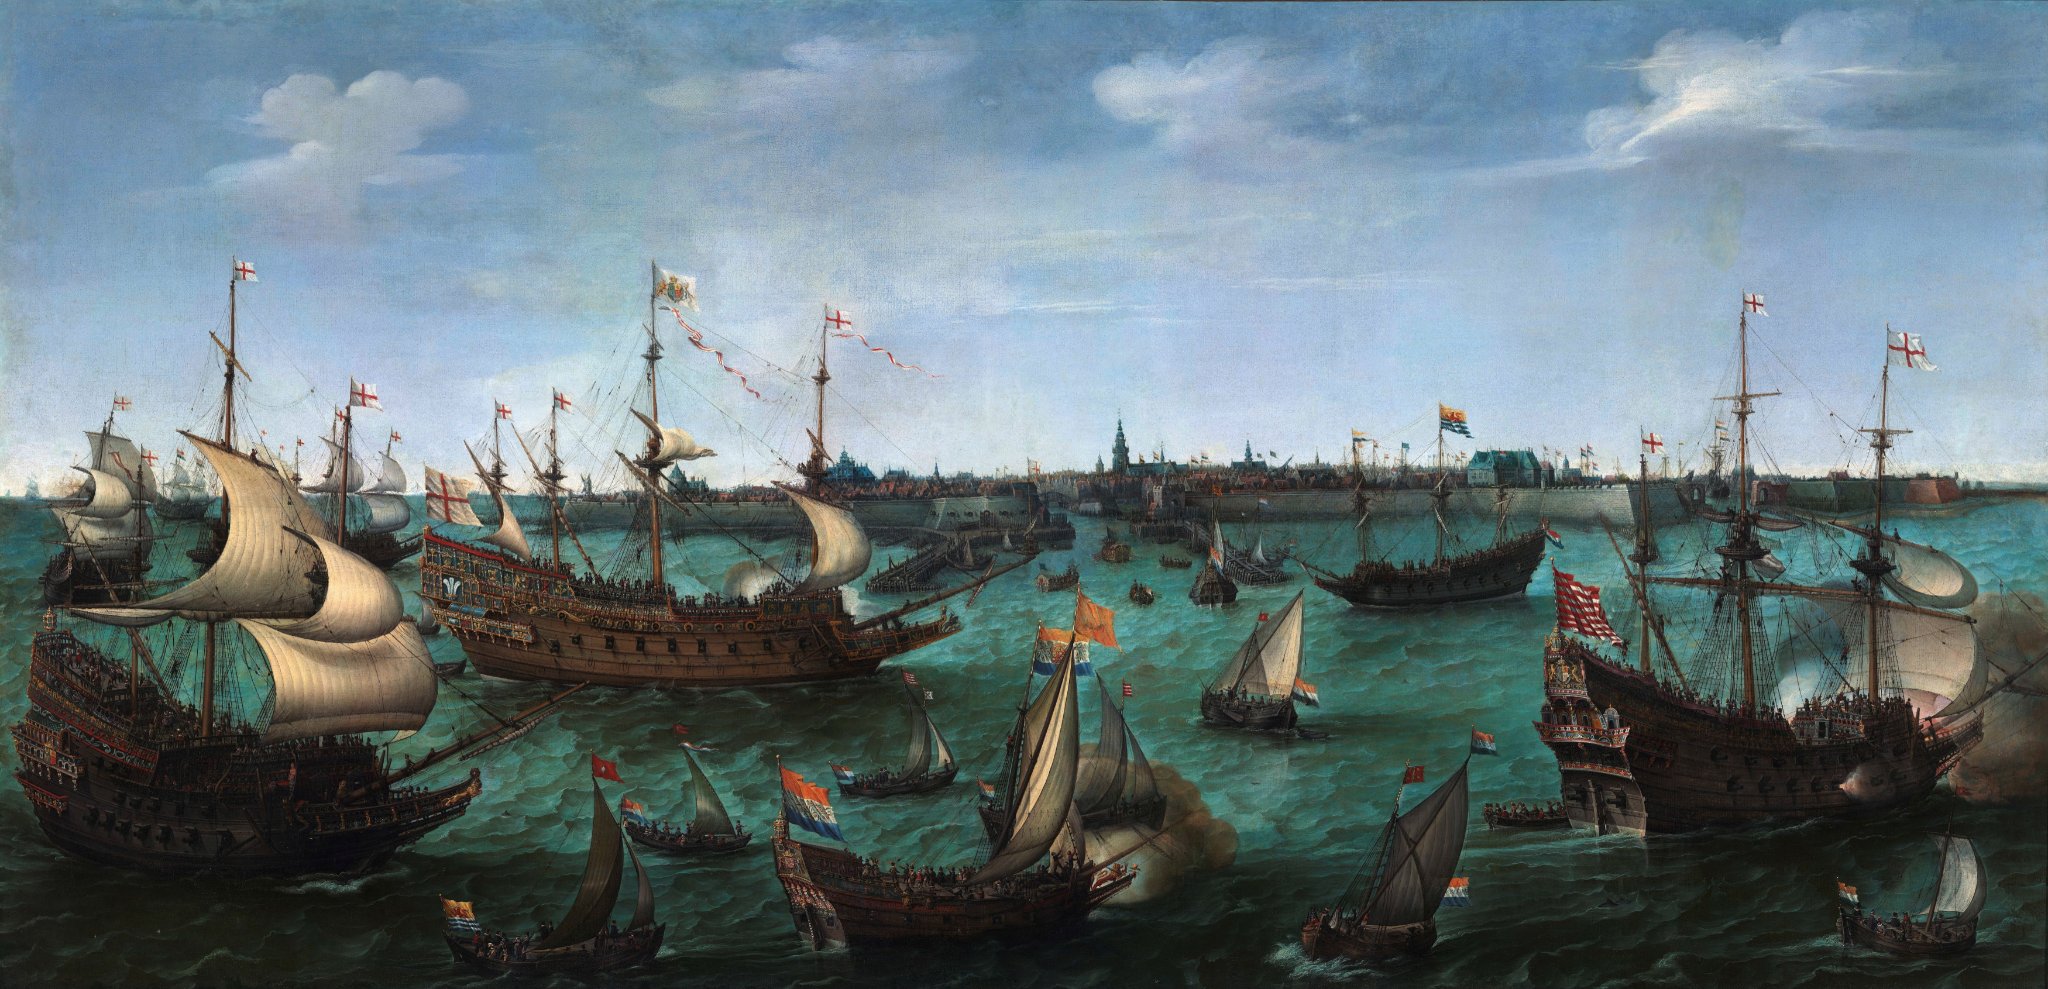
As we could see there are a few modern things implemented on replica bu authority requests which couldn't be seen on contemporary vessels of that period - steering wheel, foot ropes, some of ratlines made from wood planks...
in that book which I refered early author of the Mayflower replica explained why such modernization were done ...
-
-
Good day,
Before repaint ,it better to be tested on some piece of plastic or back side of the decks plate for example ,using the same paint as before...
If result will be good, than model could be repainted ... or if there is a risk to destroy painted , just leave it without repaint...
also , first may be need to paint all surface by same dark brown color,and to repaint white after?
-
Good day,
Dear Bill
By my opinion,
there are two ways,
A
if You making exact model of replica Mayflower II , than bottom part need to painted as You did, as they did it on real replica
B
if You making just hystorical model of Mayflower , as piligrimm vessel , than
entire botom part of the hull need to be painted white...
No, not white but let's say white-grayish ...
- this white -greyish color will simulate color of protecting substance which used in 16-17 centures to protect under water part of the hull against ''sea worms''...
of cause this will be very simplified simulation of protection coating, when model will be painted this white-grayish,
while real underwater coating consisted of several layers of different materials finished with thin wooden planks or even ,more often, lead sheets...
I think creators of Mayflower II replica did this white color painting for hystoric acuracy only, but real underwater modern protection layer has this red-brown color...
I don't think we need to reproduce it( this two color painting underwater part) on the model...
And as I know, in this time there it was not ness-ry to draw waterline in modern style yet... just to paint grey-white entire hull till first strake...
detailed and very interesting information about construction Mayflower II and 17 centure shipbuilding You could find in this book , writen by creator of Mayflower replica

-
Good day!
Nice painting job, very accurate!
Нave question about under water part color...
Never see before such color scheme for underwater part, white-black? ...as I know in Tudor time under water part usually covered with a dark, black-brown compound- such color You could see on Antony roll fo example, but later on ,starting from Elizabethuan period , components of this compaund were changed,and color became white-greish color... on the model it could be shown as white ( with add of grey and ochra color...)
This combination of both colors looks very unusual...
Why did You use such two colors scheme?

- Bill Morrison and Danstream
-
2
-
Dear friends,
To All of you,
Merry Xmas and happy New Year !!!
- ccoyle, Archi, GrandpaPhil and 5 others
-
8


Revenge 1577 by xodar461 - FINISHED - Amati - Scale 1:64
in - Kit build logs for subjects built from 1501 - 1750
Posted · Edited by kirill4
Good day Jeff,
Thanks for information abt this model , I didn't know about designer of this kit - It looks like this Revenge model designed by Chris Watton almost identical to R.Hoeckel's Revenge reconstruction/ model, as seems to me they are like twin brothers! 😆
exept Chris Watton didn't fitt his model with topgallants which is quite correct for english galleon of that period and in case of northen area of operation...
returning to bowsprit length , I still don't understand, if all calculations correct, how than spritsail will work when bowsprit such short and there is no room for the sail....just for fun I've checked some contemporary pictures with galleons... and it looks like bowsprit in this kit somehow lost 2-3 cm of its nessesary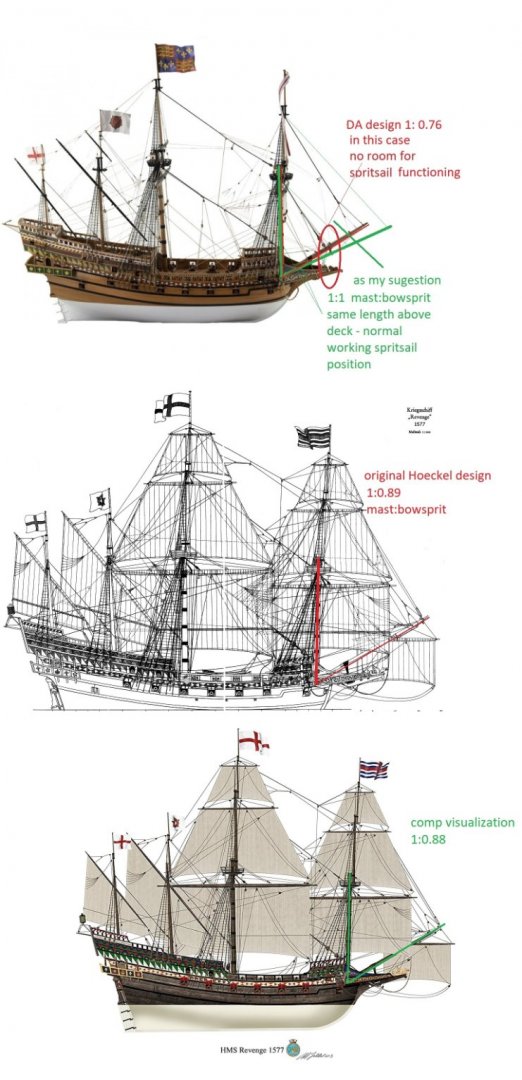 length...
I dodn't insist on my sugestions, just strange for me ... at least , if You are not going to fitt your model with sails , such short bowsprit and as consequence wrong location of spritsail yard will be not important...