Ian B
-
Posts
654 -
Joined
-
Last visited
Content Type
Profiles
Forums
Gallery
Events
Everything posted by Ian B
-
 Well I have started planking and made the monumental decision -- to make my Cheerful Oak coloured, I just like the idea of her looking slightly weathered. This afternoon I shall paint and fit the two layer of the wales. so more pictures to come later today which 'should ' show the Oak colour better.
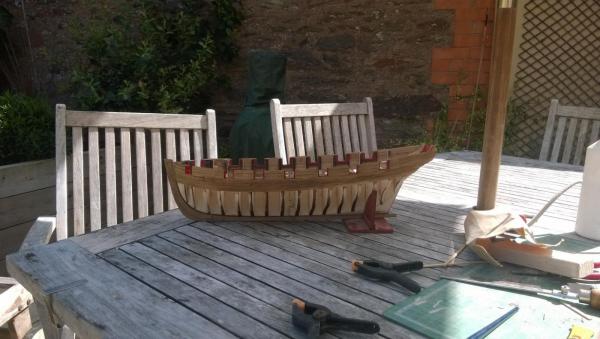
- 39 replies
-
- 9
-

-
- cheerful
- Syren Ship Model Company
- (and 1 more)
-
Cutter Cheerful 1806 by rafine - FINISHED
Ian B replied to rafine's topic in - Build logs for subjects built 1801 - 1850
Looking great, I am at the same stage--- it took me three attempts to get the stern correct--- my problem??? I never read the excellent instructions that Chuck had written until the third time I did it ha ha ha- 525 replies
-
- 3
-
-
- cheerful
- Syren Ship Model Company
- (and 1 more)
-
Thanks Druxey.I definitely wont be going back to it---
-
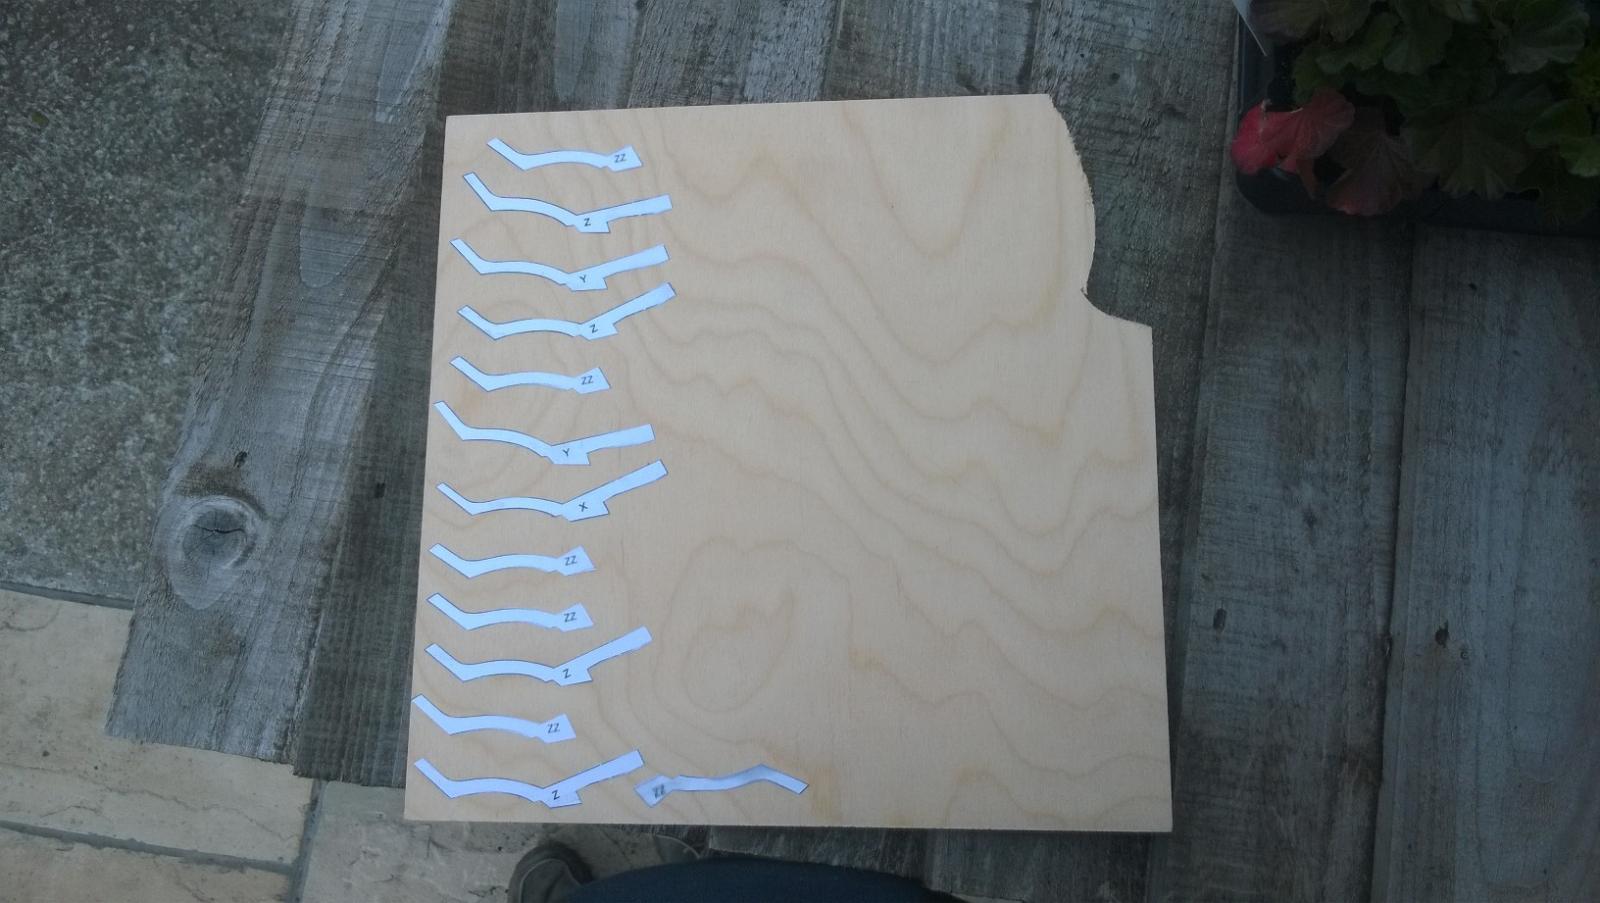
I now have a good source of Boxwood and it was only 40 minutes up the road from me , so I started cutting the stern parts out yesterday and what a difference working with boxwood is-- it is so nice compared the bass wood and ply wood etc from my Billings kit experience. More pictures when the stern is finished PS I used www.Originalmarquetry.co.uk in Bristol...
- 39 replies
-
- 3
-
-
- cheerful
- Syren Ship Model Company
- (and 1 more)
-
top paint job--- super use of traditional looking paint shades and patterns
-
I have only just caught up with this super build. I am really really REALLY!!! not a fan of figures on model boats---- until....... I saw what you have done-- and totally converted -- amazing ---love it :D :D :D :D :D :D
-
brilliant , I have been dropping in and out of this build and it has been fascinating to watch it grow-- well done
-
Thanks Guys I am sure I will get sorted now I will let you know how I get on. Ian
-
Hi I am building Chucks 'Cutter Cheerful' and would like to try using Boxwood as per his example but having trouble sourcing in the UK. I have mailed a couple of model wood supplier but they have not got back to me yet..so being impatient not a trait good for model boat building LOL!!-- Is there a UK supplier someone can recommend or is there another similar wood that is available in the UK I could use? Thanks Ian
-
Hi Chuck. I was thinking the same thing as they will be quite prominent. I still need to look for a UK supplier of box wood, then invest in a decent saw so I can cut the planks etc.... What does not show up on the picture but to my mind looks great on my keel are the mock nail/bolt holes using your drill-pencil mark and fill technique.
- 39 replies
-
- 1
-
-
- cheerful
- Syren Ship Model Company
- (and 1 more)
-
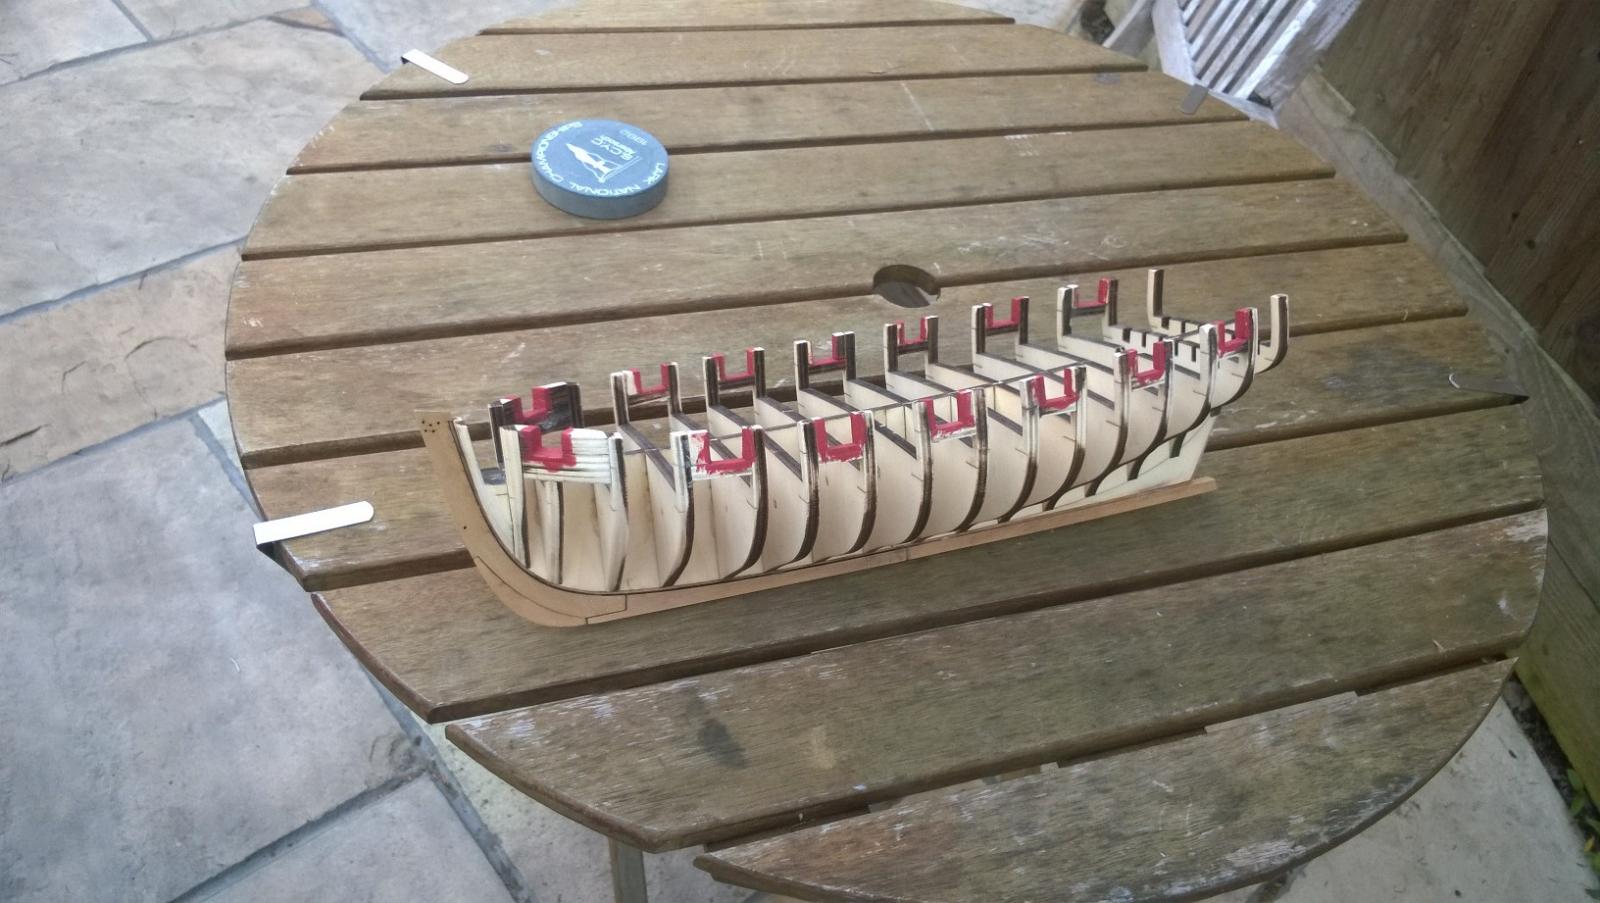
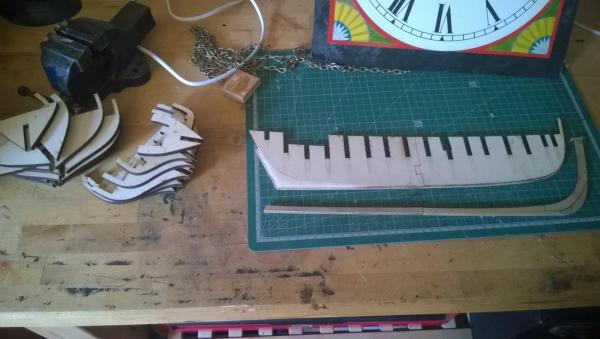
well 6 days later and it is really taking shape All I need do next is cut out all these cheeky little monkeys LOL!


- 39 replies
-
- 8
-
-
- cheerful
- Syren Ship Model Company
- (and 1 more)
-
Thanks Chuck-- really pleased with the parts and plans you sent Ian
- 39 replies
-
- 1
-
-
- cheerful
- Syren Ship Model Company
- (and 1 more)
-
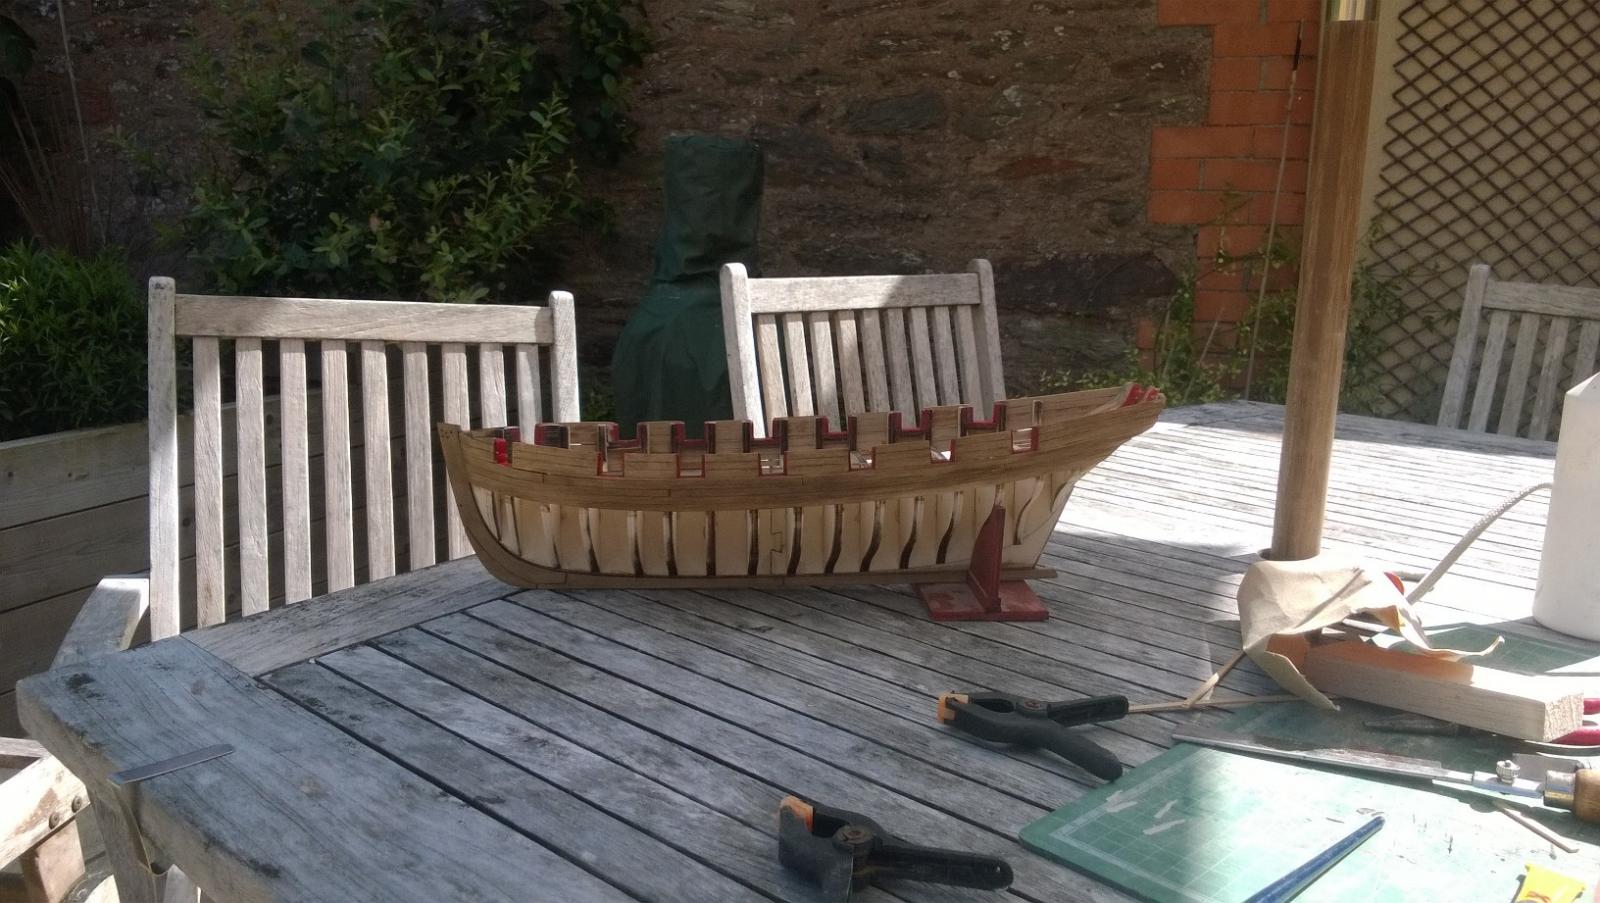
At last!! I have managed to create a little space to work and finally started. I have dry fitted everything ready for the bulkheads to be fitted. So far I have glued the two halves of the hull and the rabbit strip. I also have thinned and shaped the stern hence the lighter shading showing on the picture. I was considering attaching the bulkheads etc then shaping it before attaching the keel, that way it should be easier to shape and also not damage the keel. Can anyone see a reason not too do it that way around?
- 39 replies
-
- 5
-
-
- cheerful
- Syren Ship Model Company
- (and 1 more)
-
I love the display stand it really does show the ship in a great fashion.
- 215 replies
-
- 1
-
-
- convulsion
- caldercraft
- (and 1 more)
-
The plans arrived yesterday and my Wife has phoned me in work to say the bulkhead parts have arrived too--- Now to work out a cunning plan to start work on it over the Easter Weekend and avoid any house DIY
- 39 replies
-
- 2
-
-
- cheerful
- Syren Ship Model Company
- (and 1 more)
-
One last question on the ports, how were they fastened shut was it hook and eyes or sliding bolts or something else on the inside..? Thanks Ian
-
love the port lids, sorry to be a pain but can you show the reverse side of the lid to see how you constructed it? thanks
- 1,051 replies
-
- 2
-
-
- cheerful
- Syren Ship Model Company
- (and 1 more)
-
mmmmmmmmmmmmmm the title may be confusing with the 'Master' himself build log-- not sure how to edit it to differentiate?.
-
Yes, I have taken the plunge. I have been following the progress of this project from inception and cannot wait any longer. I ordered my plans last week so they should arrive soon (fingers crossed) and today I ordered the bulwark and keel kits from Chuck... Now how do I explain to my wife that yes we moved house 2 weeks ago and I don't yet have a workshop or area to build it... but' where there 's a will there is a way'....DIY and unpacking whilst multi tasking to create a workshop Happy days
- 39 replies
-
- 5
-
-
- cheerful
- Syren Ship Model Company
- (and 1 more)
-
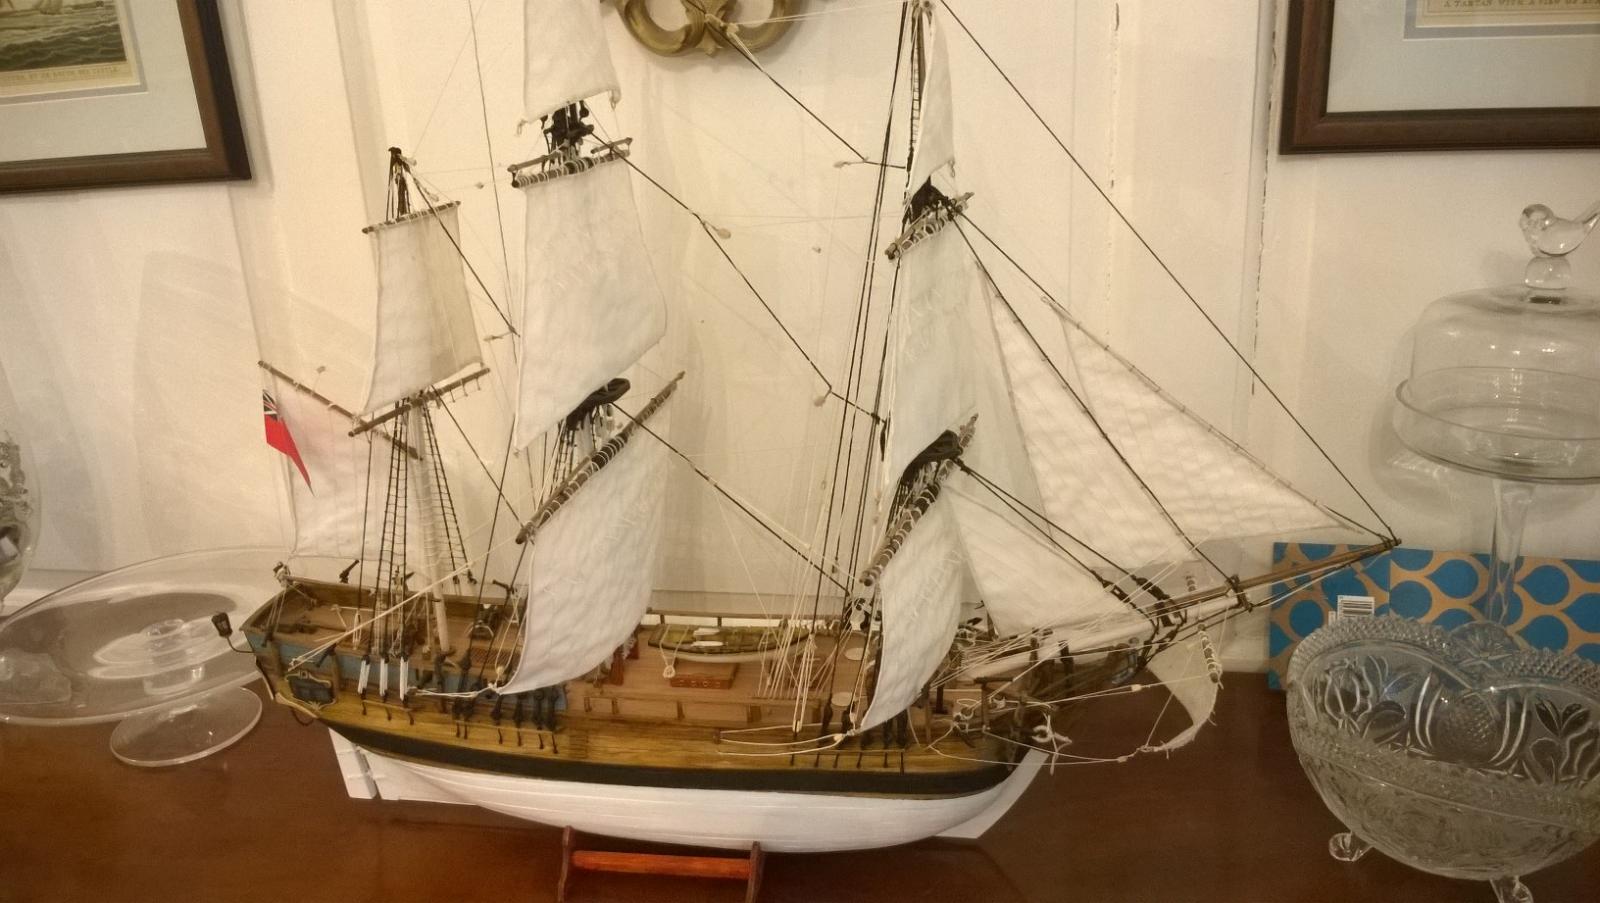
I have finally finished it. I really enjoyed the kit even if the instructions (for a new starter) were very poor. I have learnt so much my next build will be so much better.


- 51 replies
-
- 7
-
-
- bounty
- billing boats
- (and 1 more)
-
For what it is worth I think it looks so right in wood-- good choice--- and super build Joe
- 302 replies
-
- 2
-
-
- granado
- caldercraft
- (and 1 more)
-
Hi I came new to this hobby in Dec 2013 with my first build 'I assumed' wrongly as it turned out that the kits being sold reflected as near as possible the real thing just taking into account the level of detail and complexity you were paying for. This is the only thing I find disappointing in this fascinating hobby. . Is it time where distinguished clubs/societies award their seal of approval or scoring scale that manufactures can quote so people know it is right and good as it can be for the given price and complexity,,e.g an HMS Victory at £300 can have a top rating the same as a £1000 model it just shows quality for that price range.. OK so it opens a million cans of worms about who and how it is done... but would have been nice
-
Gaff peak flag
Ian B replied to Ian B's topic in Discussion for a Ship's Deck Furniture, Guns, boats and other Fittings
brilliant -- thanks