Ian B
-
Posts
655 -
Joined
-
Last visited
Content Type
Profiles
Forums
Gallery
Events
Everything posted by Ian B
-

A fully functional submarine from Spain 1858
Ian B replied to dgbot's topic in Nautical/Naval History
love it -
Hi I know it is a long shot but does anyone have this kit un built gathering dust in a shelf I could buy? My Daughter and Boy friend got engaged on her the other week and really would love to make it for them. He severed as a regular on her and my daughter as a reservist. I have tried contacting White Ensign and they could not help as it is out of production, Atlantic models has a similar ship but I am not to keen to start reworking or scratch building-- I'm just not that good !! Thanks for reading this Ian
-
- 1
-

-
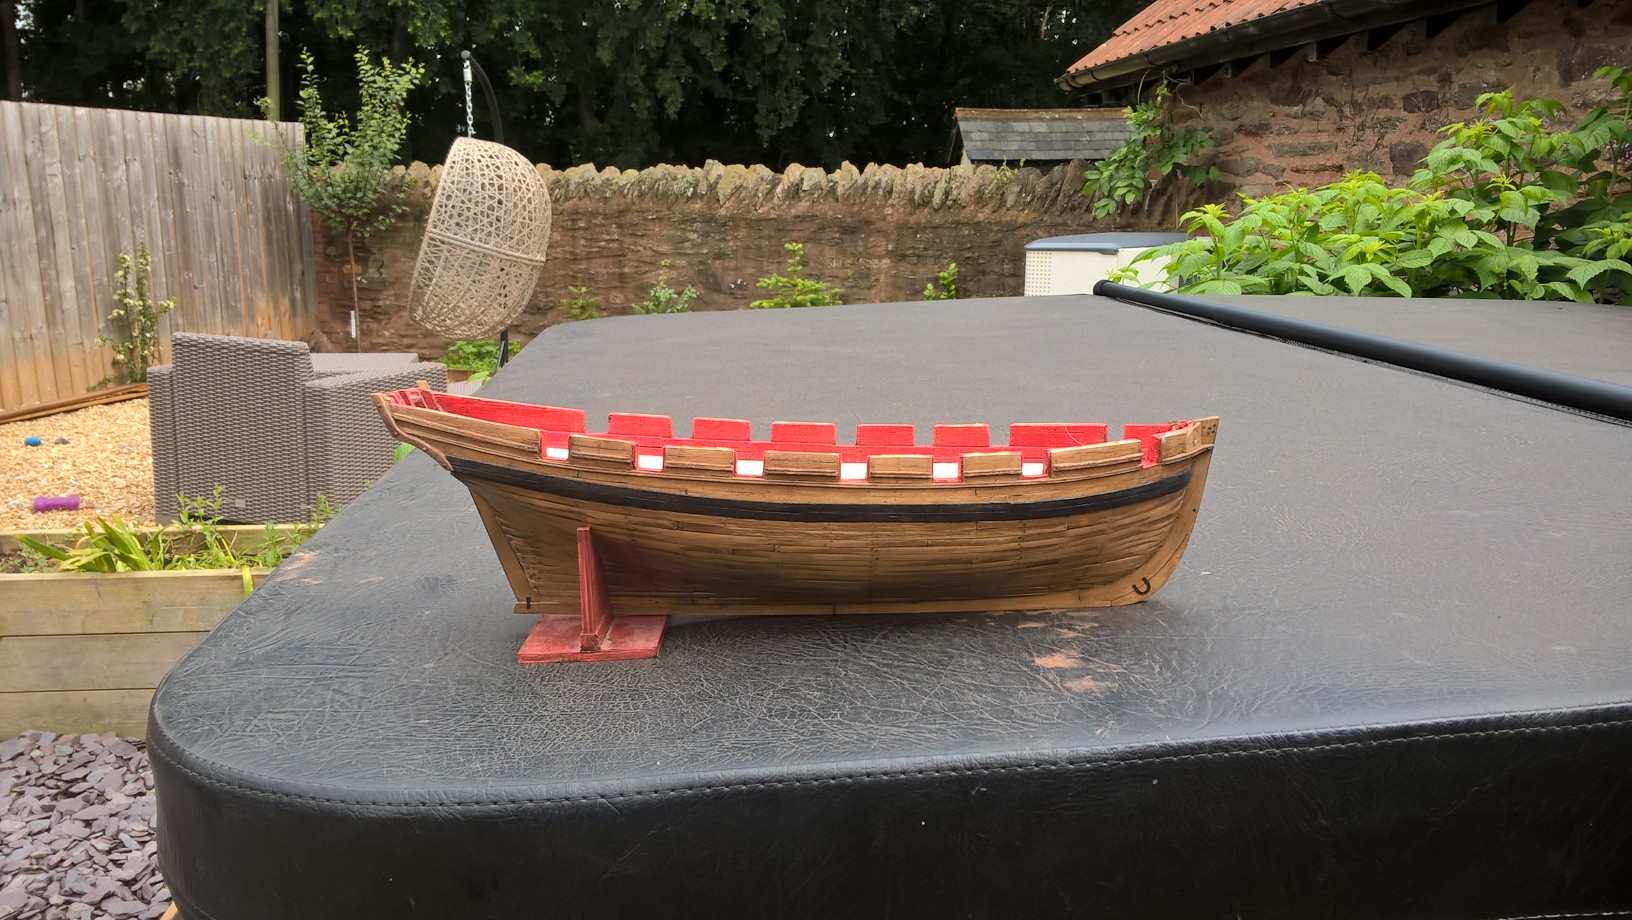
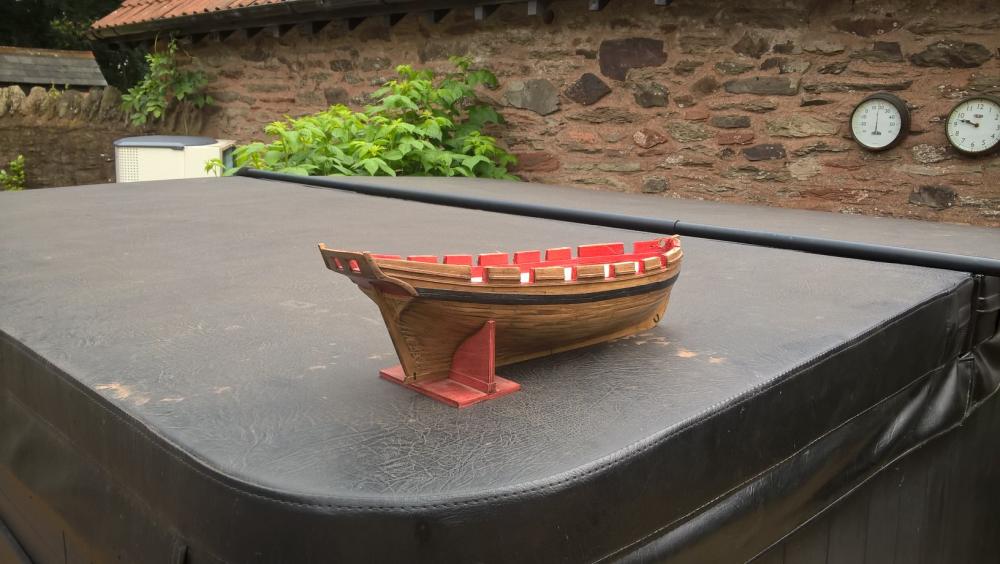
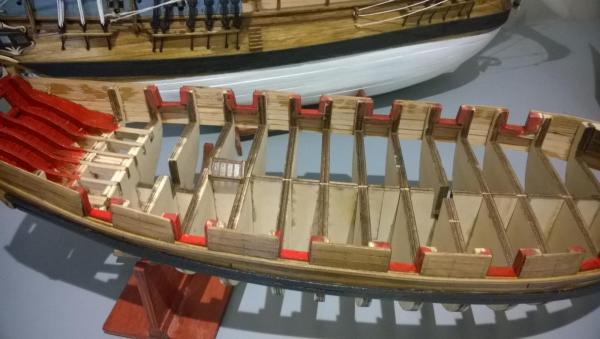
Well after a long time I have finished the planking and ready for the decking. The planking pattern is not 100% right and the picture makes her look like the sides are uneven ---but they are smooth honest LOL ---she looks fine to me and I want that slightly beaten weathered look I will now start the decking after that I promised myself I would order all the nice stuff (cannons etc) from Chuck ..

- 39 replies
-
- 12
-
-
- cheerful
- Syren Ship Model Company
- (and 1 more)
-
I shall have a look at the Amazon offering -thanks
-
I have just loved watching this project-- I had no interest in plastic model ship building but thought I would follow out of curiosity. AND NOW---- I so now want to rush out and build this model myself...Brilliant detailing -- so when its finished what's next to wet our appetites ?
-
I am fascinated by this log the detail you are injecting is superb It is the first time I have followed a plastic based build and am really tempted to do one myself when the current builds are complete. , thanks Greg -
-
Cutter Cheerful 1806 by rafine - FINISHED
Ian B replied to rafine's topic in - Build logs for subjects built 1801 - 1850
Looking great Bob , very tidy. I am exactly at the same stage of planking and about to start from the keel up....- 525 replies
-
- 4
-
-
- cheerful
- Syren Ship Model Company
- (and 1 more)
-
amazing work on the whole steering and wheel -- great detail and looking forward to the 'how too' post to make it.
-
18th Century Shipwreck Found In Maryland, USA
Ian B replied to thibaultron's topic in Nautical/Naval History
a really interesting find, looking forward to seeing the 3d. -
ha ha I thought they were rings on the plans and something to do with the rigging silly me
- 1,051 replies
-
- 4
-
-
- cheerful
- Syren Ship Model Company
- (and 1 more)
-
Hi-- did the Cheerful have scuppers or some other way of clearing water? If some waves broke over her she could end up with a foot of water sloshing around?
- 1,051 replies
-
- 3
-
-
- cheerful
- Syren Ship Model Company
- (and 1 more)
-
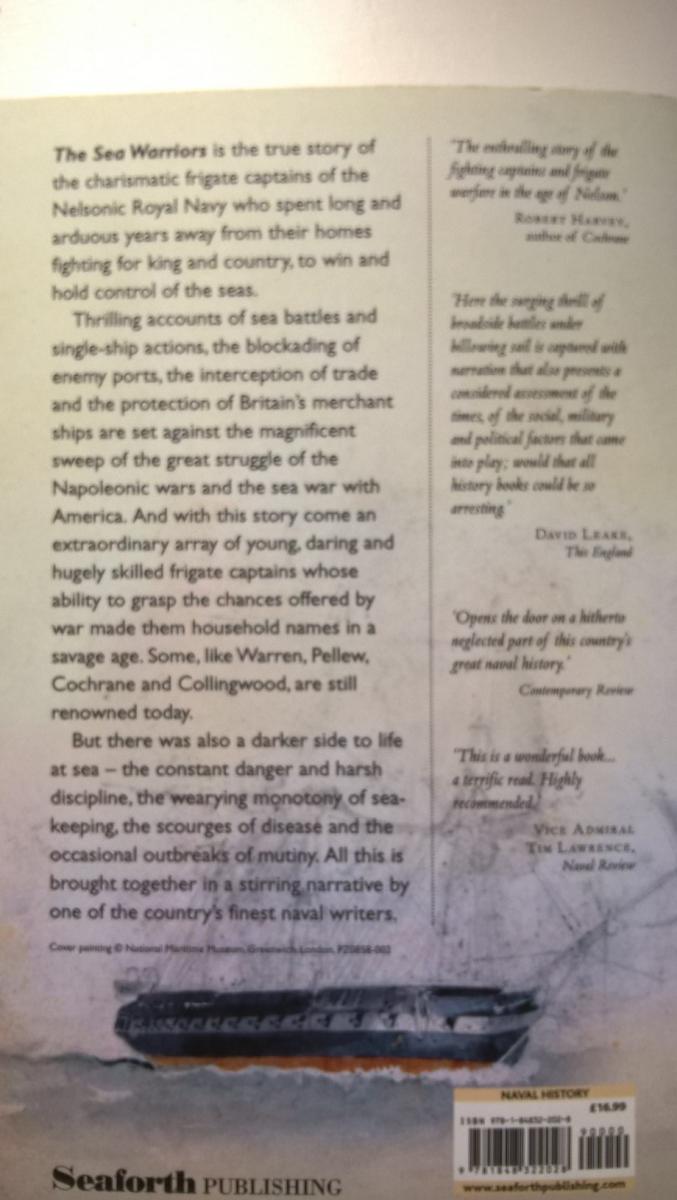
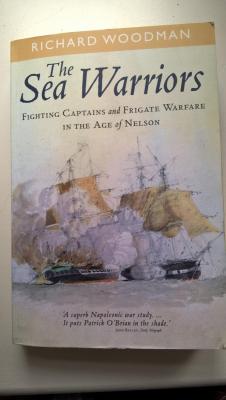
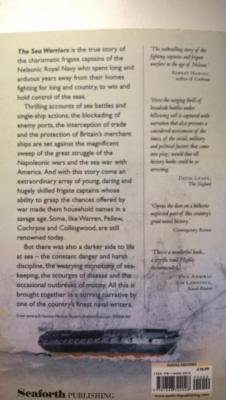
Hi I have just read 380 pages of pure pleasure, it was like a ship spotters guide to models from MSW. So many of the ships mentioned on the MSW website appear in this book. Tactics, sailing and fighting techniques, maps and diagrams and the tales of those who served in them-- not Only Royal Navy but US, French Dutch and Spanish ships of the same period... a true insight to that period of sea warfare. I have read lots of books on this topic but this one trumps them all. and 'no' I have no link with the book, publisher or Author LOL!!
-
Thanks Chuck, really enjoying the build. Once I get the planking done and I make start the decking I shall be placing my order for the cannons, windlass and things. Will you be doing a blocks/tackle and rigging list for us to order?
- 39 replies
-
- 1
-
-
- cheerful
- Syren Ship Model Company
- (and 1 more)
-
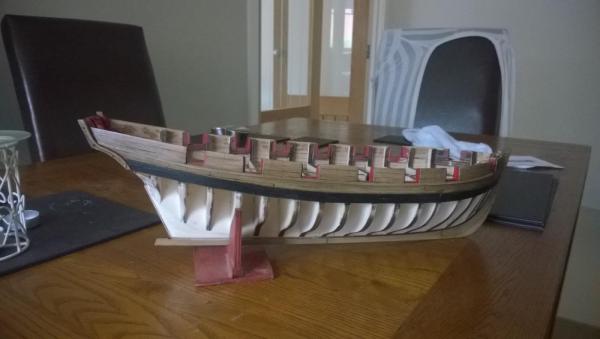
Well I have spent the last couple of days planking and just over the half way mark on both sides--- The 'dark' Cheerful gets darker LOL! Any more darker in colour and I will rename her HMS Miserable I have given the lower planks a light sanding and one coat of stain, but the whole hull will need a proper sanding when I finally fill the gap.
- 39 replies
-
- 6
-
-
- cheerful
- Syren Ship Model Company
- (and 1 more)
-
I wonder if it was just the Victory or are all the other yellow/ochre stripped ships of that era pink? It was interesting to hear that the captains cabin and at least one gun deck was baby blue...
-
Cutter Cheerful 1806 by Maury S - 1:48 - POB
Ian B replied to Maury S's topic in - Build logs for subjects built 1801 - 1850
your doing great, I am just starting my planking and it is well worth seeing your approach to it.-thanks -
Regardless of true scale debate, the new barrel looks so right and menacing in the bow -- loving the build so far Matt..
-
super model, I am a sail ship fan but I am now so tempted to build something similar after following this build, looking forward to your U47 :D
-
I know I said it was a great build etc, and I am sure that are some super model builders around but it was the extra time taken to document, photograph and explain as well as building it that I know we all appreciated
-
Brilliant Dan, loved following this superb build. So many great ideas and tips I am sure we will all use. Ian
-
ha ha, looks great and lovely workman ship, I am glad it is just not me that does not always read Chucks super instructions ,
- 452 replies
-
- 2
-
-
- cheerful
- Syren Ship Model Company
- (and 1 more)
-
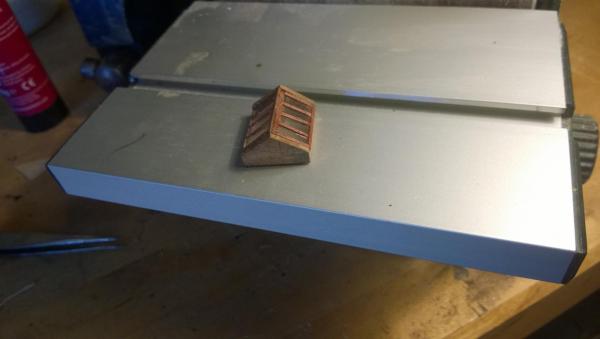
I got a little distracted today so had a 'practice' at making the window vent section. It looked and felt big making it but looks so small on the model...
- 39 replies
-
- 6
-
-
- cheerful
- Syren Ship Model Company
- (and 1 more)
-
great unusual boat--- good luck with the build
-
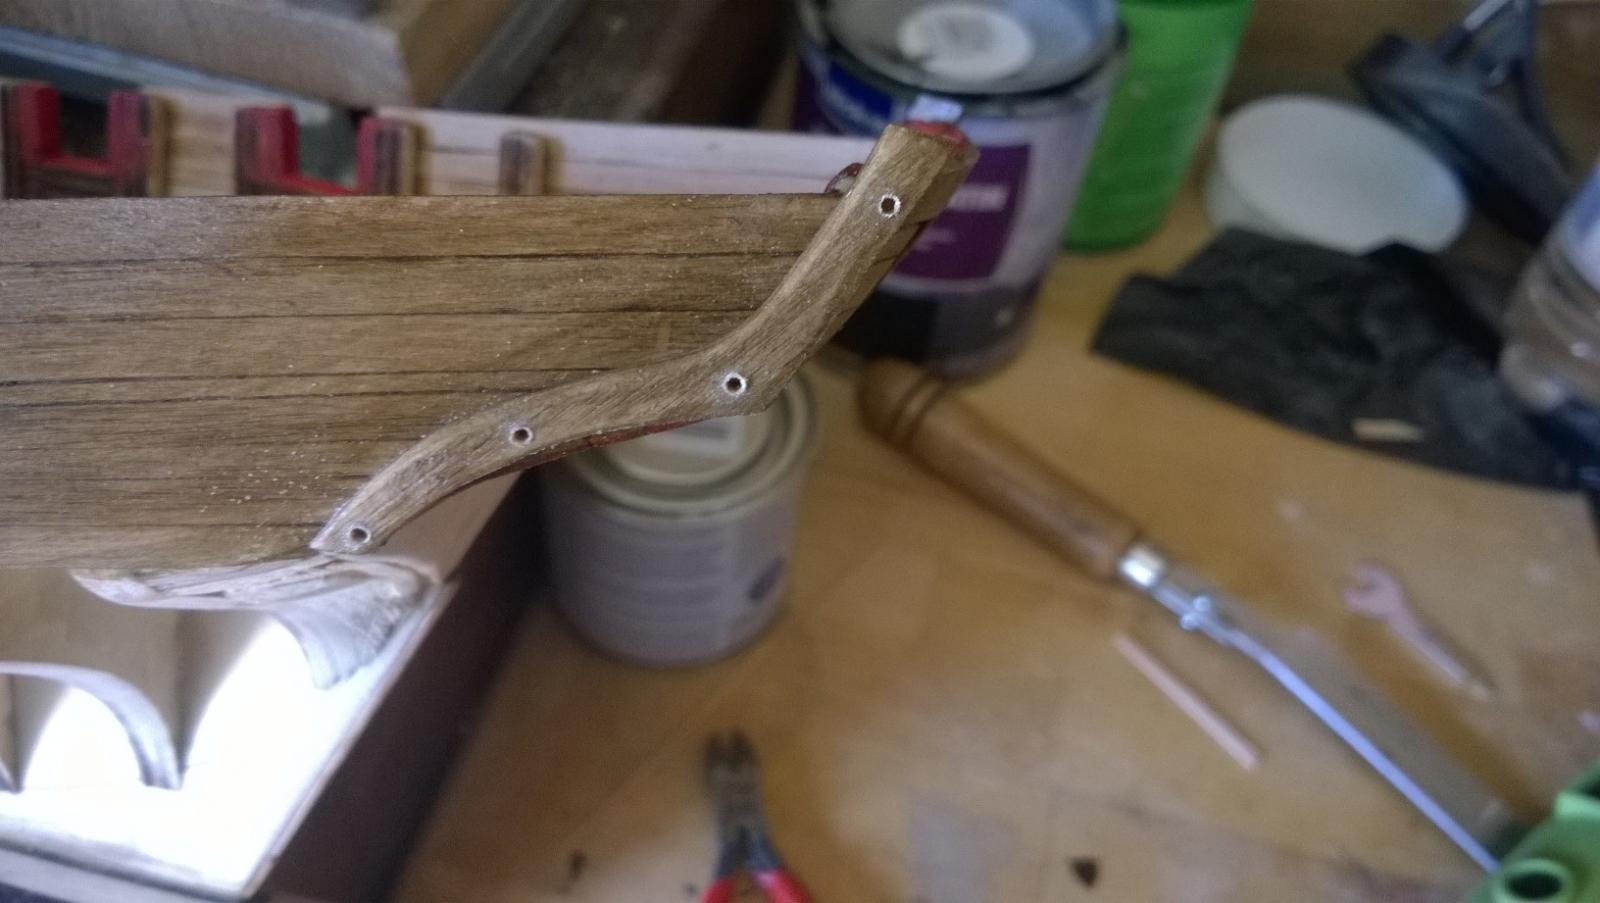
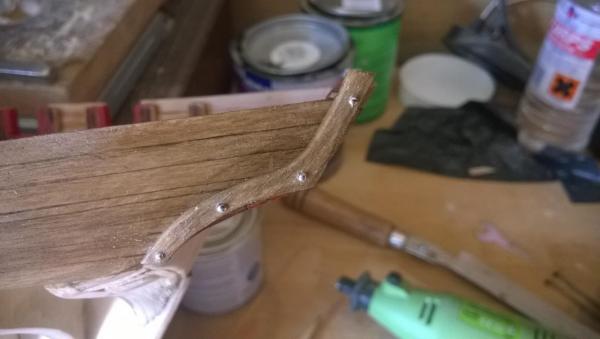
The 'dark cheerful' now has wales and I sat down last night and put in all the nails (using Chucks drill, pencil and fill technique) on everything above the nails on either side, It does not show up in the picture but does look good (in my eyes) in real life-- very subtle.
- 39 replies
-
- 10
-
-
- cheerful
- Syren Ship Model Company
- (and 1 more)
-
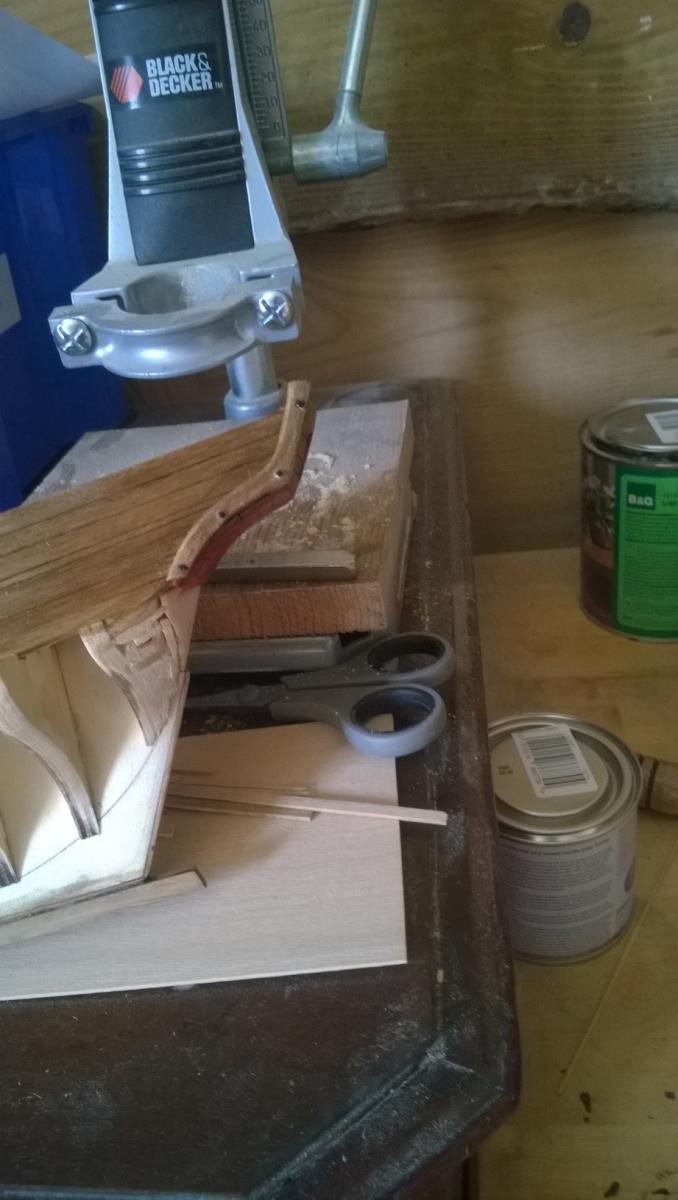
Now add a bit of detail-- I drilled the holes ,cut down some pin heads and painted them black . It is amazing how much you can get done when you have a day off work....


- 39 replies
-
- 8
-
-
- cheerful
- Syren Ship Model Company
- (and 1 more)