


mtdoramike
-
Posts
2,089 -
Joined
-
Last visited
Content Type
Profiles
Forums
Gallery
Events
Posts posted by mtdoramike
-
-
Well, it's about time they got off the stick, welcome AL.
-
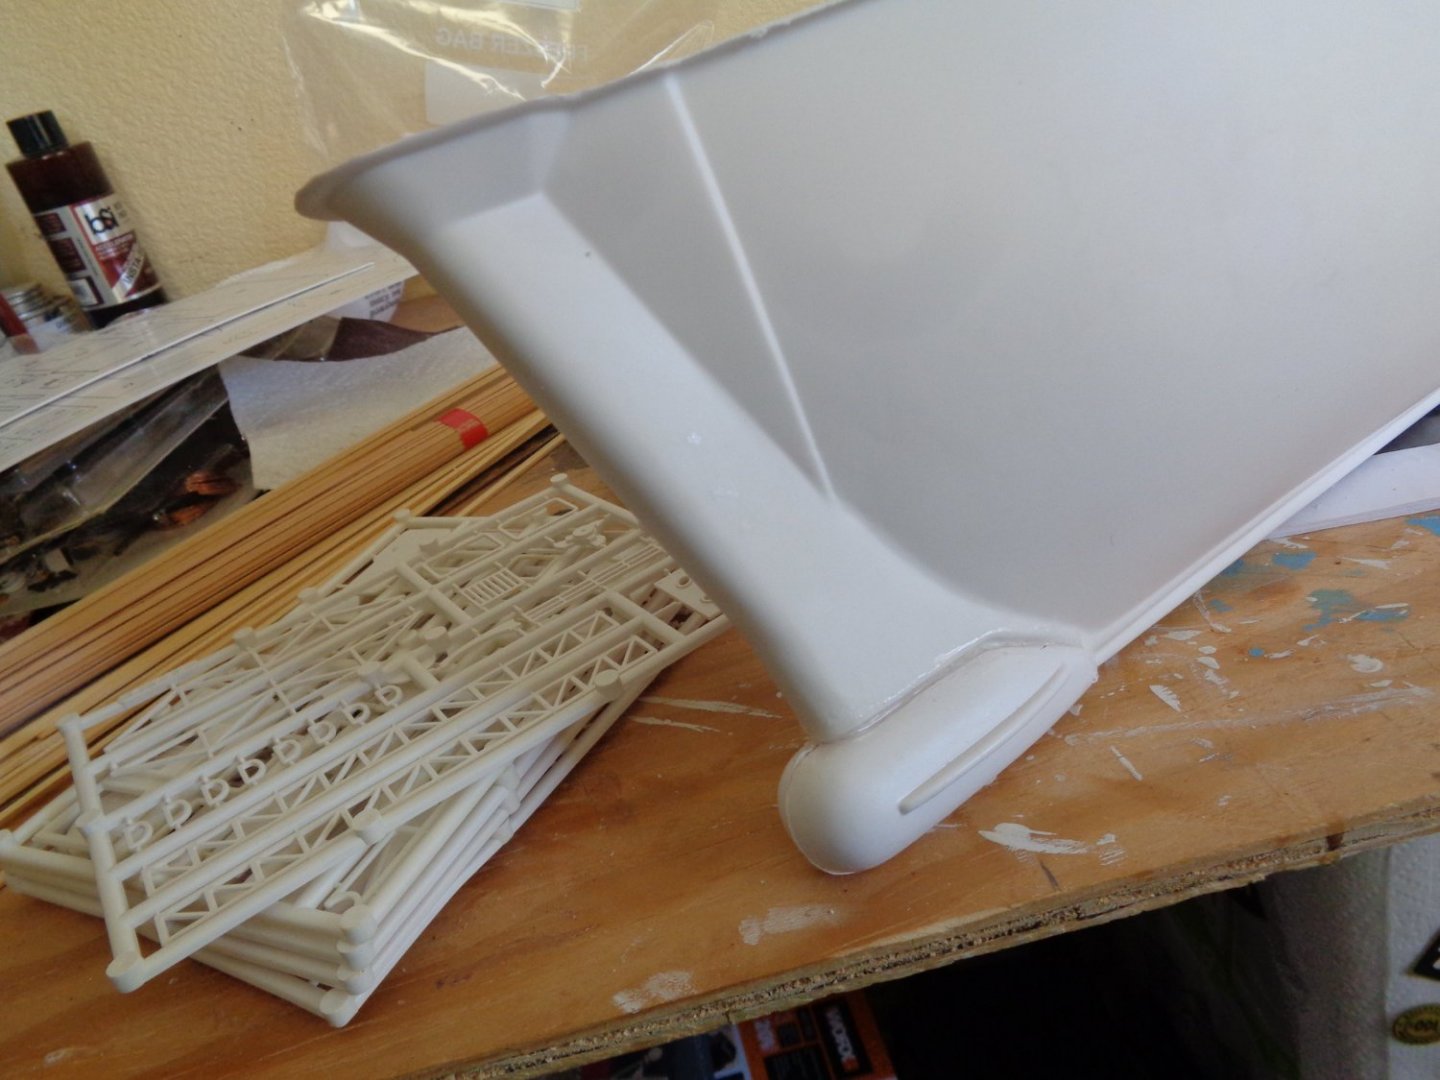
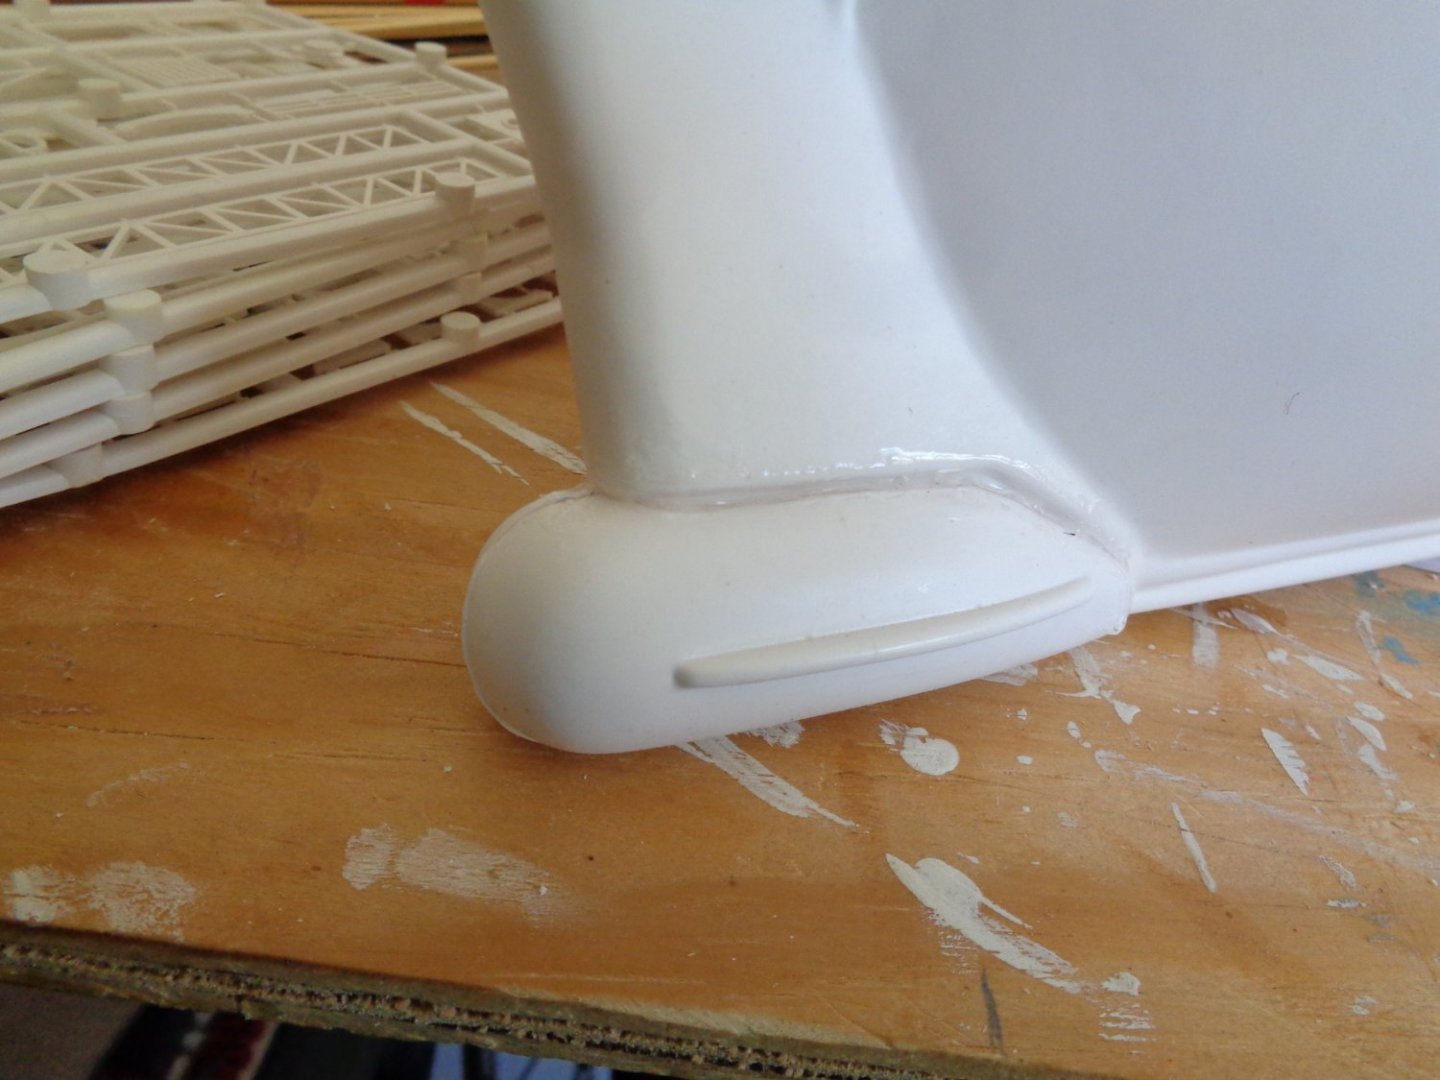
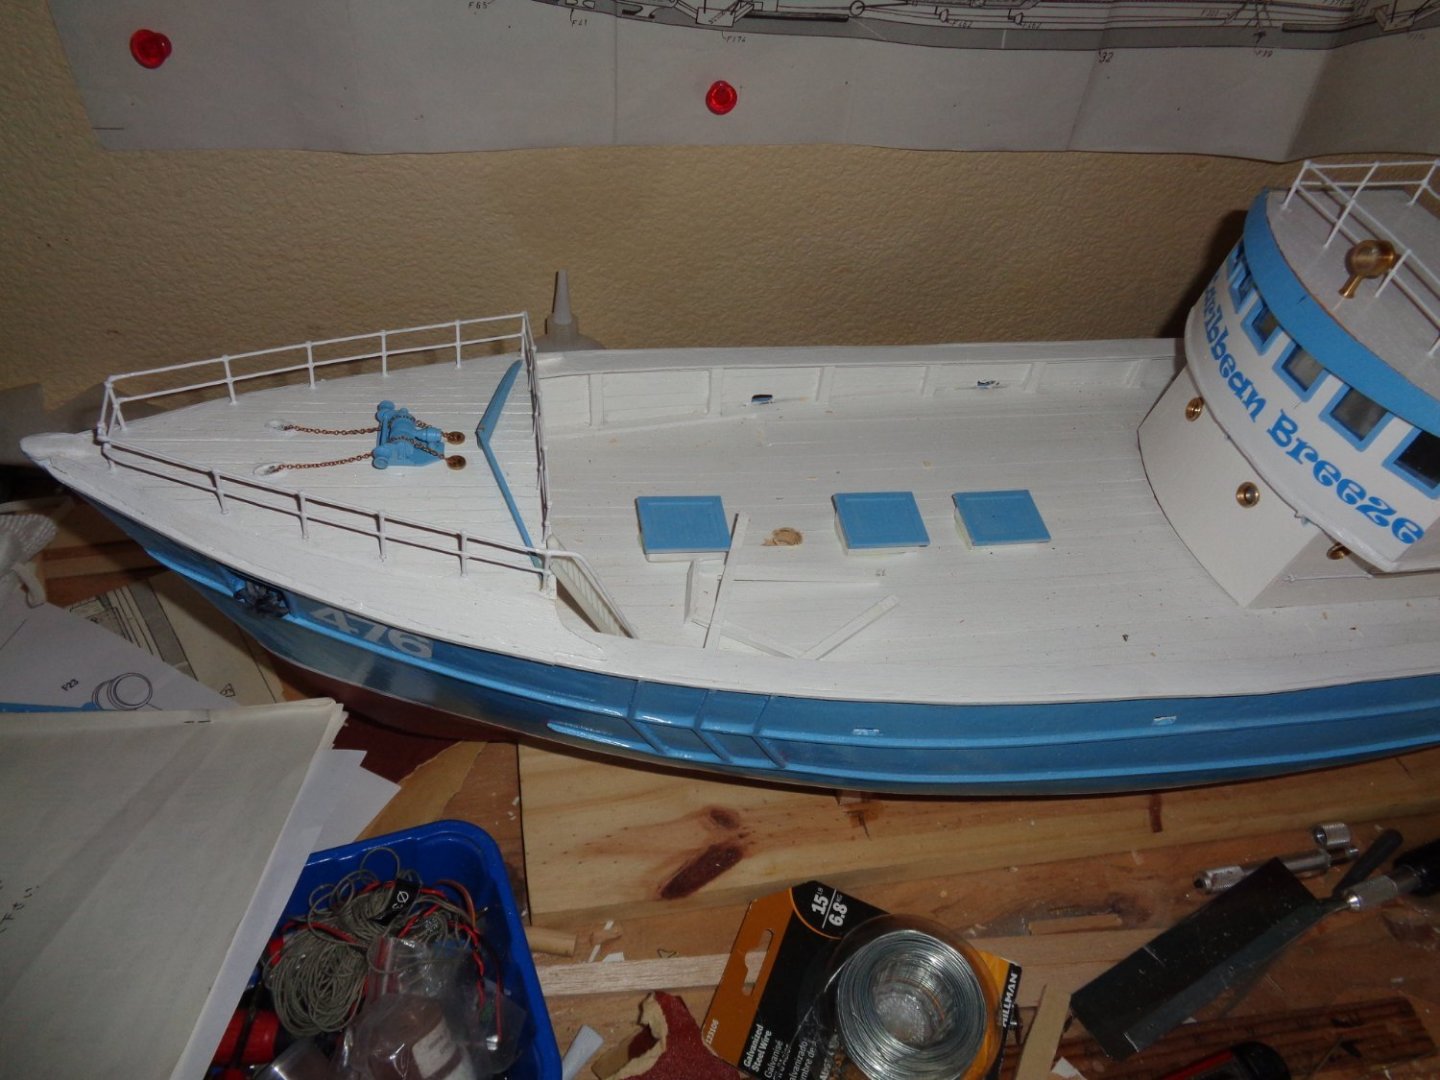
I'm going to fair in the observation pod on the lower stem of the boat using bondo body filler. I'm then going to drill out for the port holes on the observation pod. But before I install the port holes, I'm going to inject some clear silicone caulking into the pod through the port holes to make sure the is no open void that water could by chance leak into the pod.
I'm going to order some 7mm glazed port holes because the once furnished in the kit are unglazed meaning their open, which might work fine for the upper cabins, but not for the observation pod.

-
-
You ever hear the old saying, "No Good Deed goes unpunished". Well, it rang true for me today. I took the Nordkap orphan to the shipper this morning to get her sent off to her new owner and the shipping was $150.00. They first told me when I called to get and estimate the shipping would be less than $130.00. But when I arrived at my local shipper, when she plugged in the owners address, she said Fedex was charging a $27.00 surcharge fee due to the package being delivered to a rural address. I was stunned, but I broke out the wallet and dug a little deeper. This was after spending about $60.00 for packing material like 1x2 wood for framing, tape, staples and $40.00 worth of packing peanuts.
Now I have had to pay surcharges before by the P&O and UPS for over sized packages or due to the package weight, but this was a first for me. I have been pondering that this one would be my last orphan adoption and if it were, would I stick with my decision this time and I think this kind of sealed the deal for me. I have a couple of builds left like the Calypso and a small tug boat for my grandson, but after that it will be scarce.
- Keith Black, BobG and mtaylor
-
 3
3
-
Beautiful job on the repairs, so many times I see people chunking them in the garbage when a boat gets damaged that bad. I would make a suggestion that you paint the ratlines black, on the real ship they were tarred to weather proof them.
- thibaultron, mtaylor and Keith Black
-
 3
3
-
-
Well, this little orphan has found a new home and has been adopted by a nice older gentleman living in Minnisota. I hated to see her go, but knew it was for the best. He will provide for her better than I. I just shined her up and made her more adoptable hahaha.
- Keith Black, BobG, mtaylor and 1 other
-
4
-
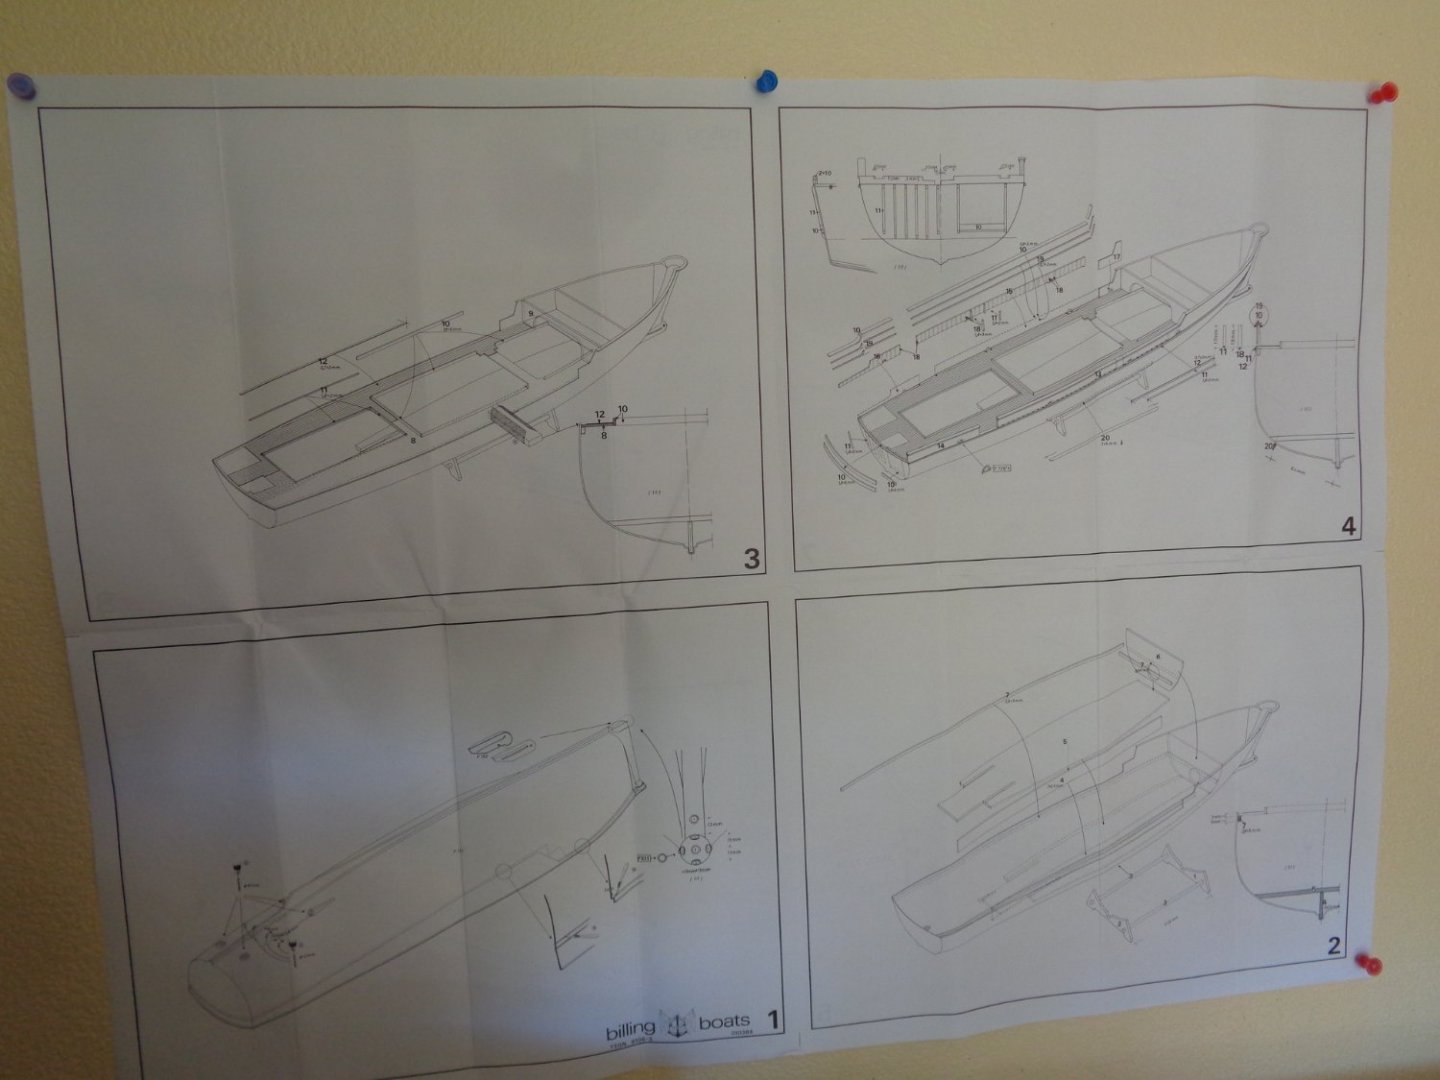
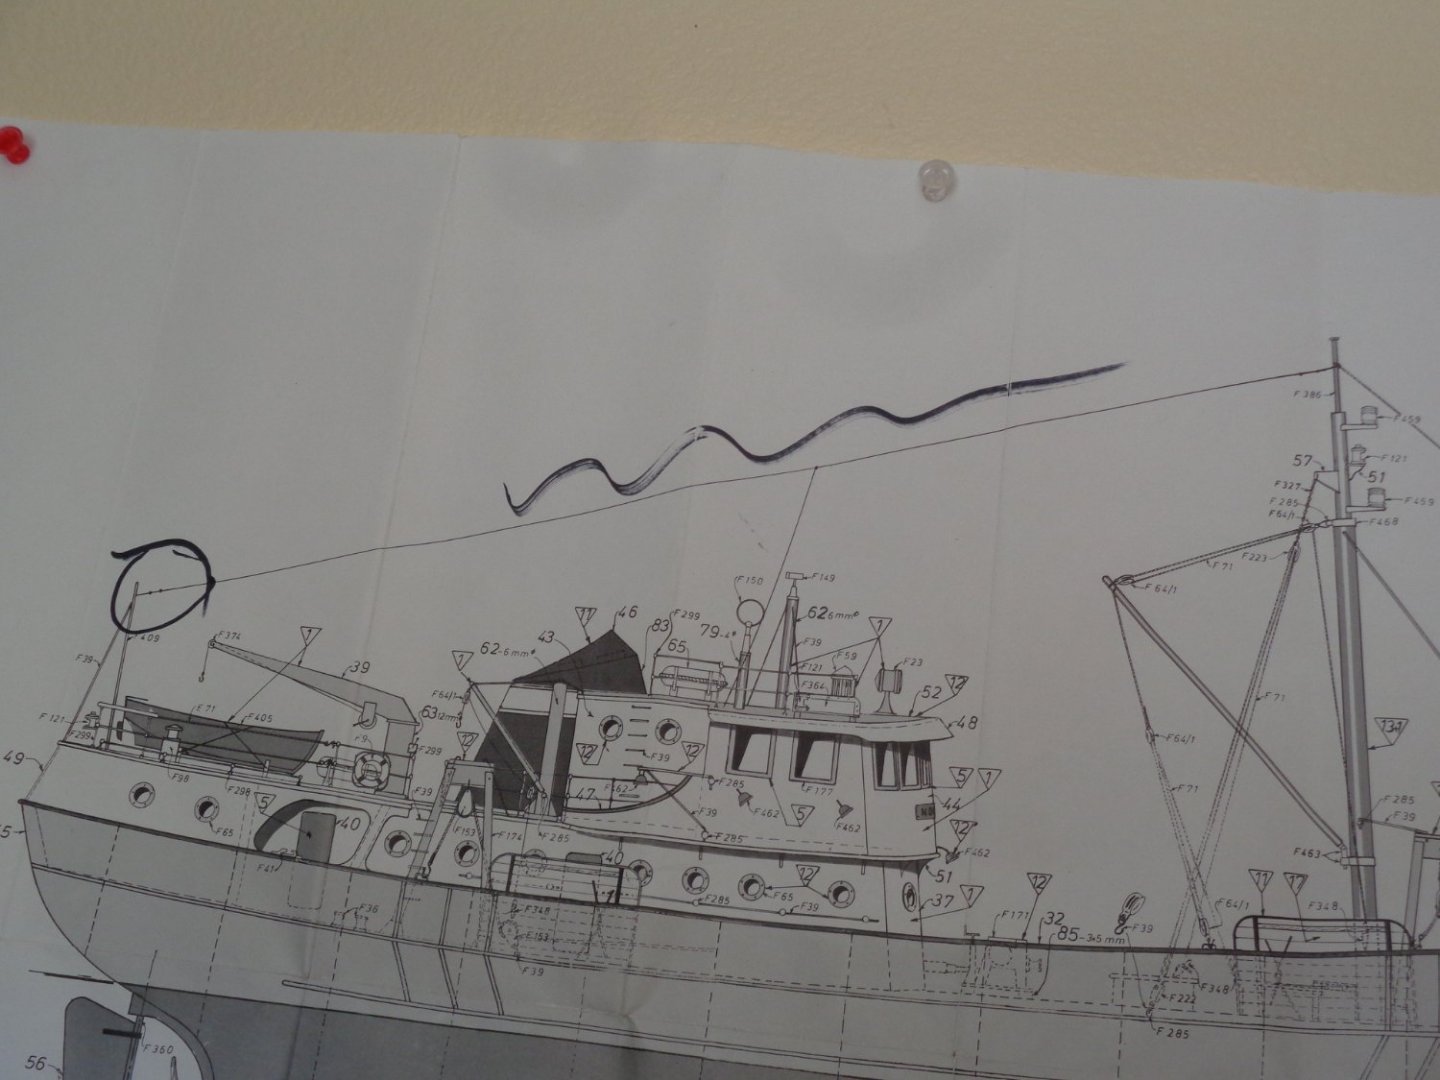
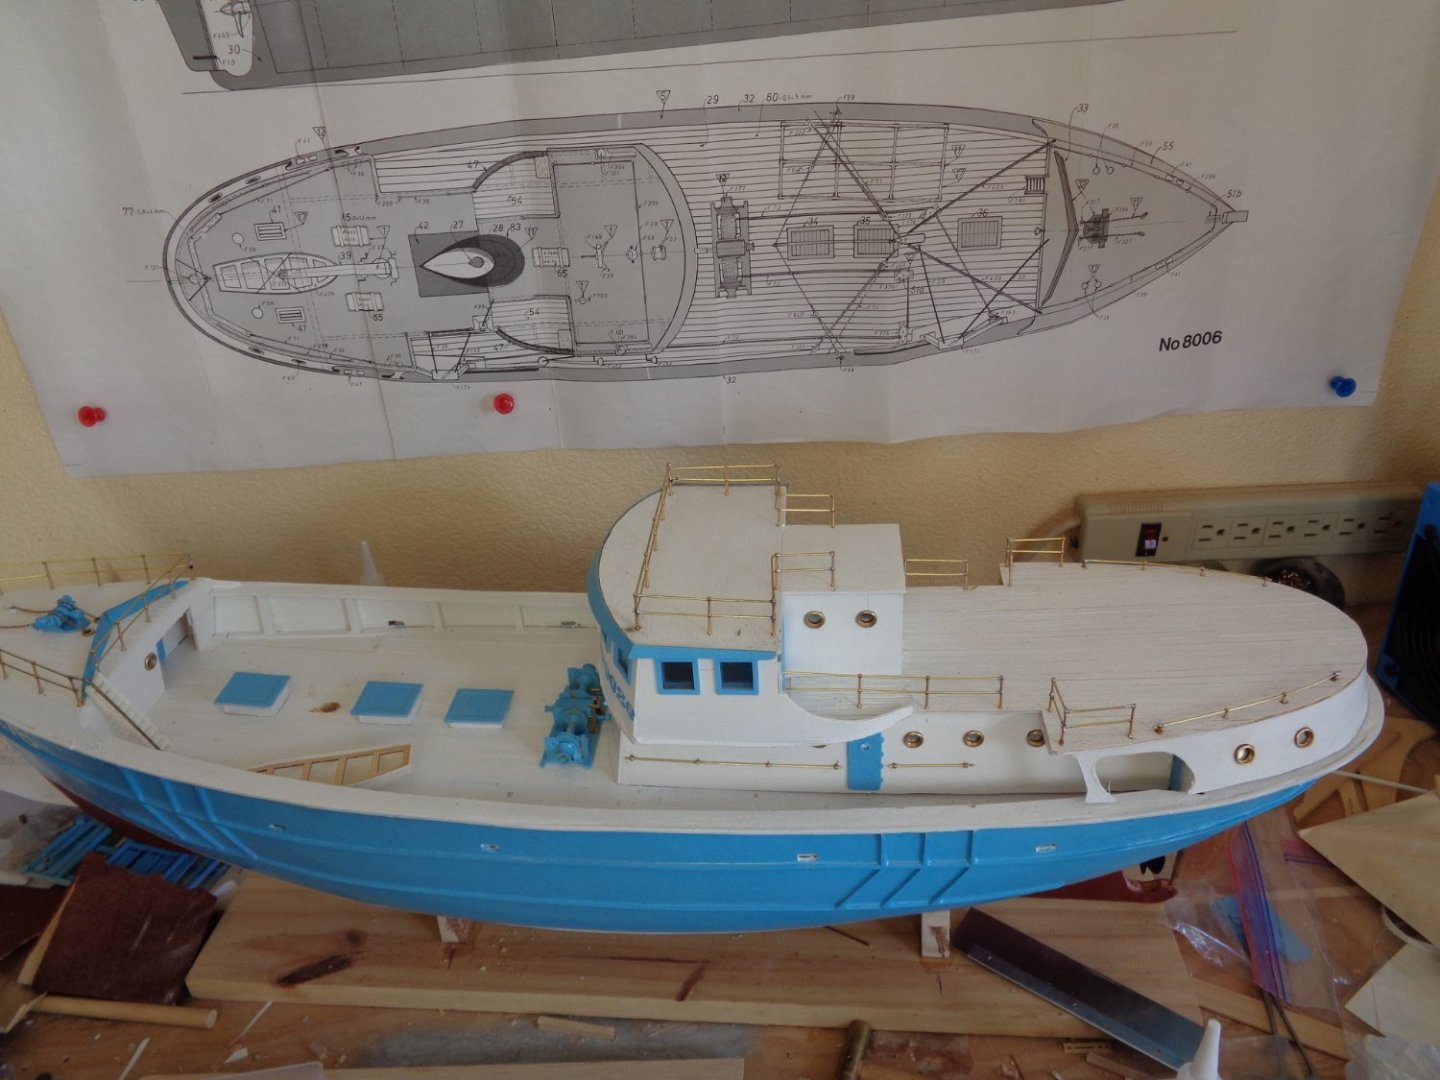
This is usually the way I start a new build, I put up the plans and stare at them for days until I decide today is the day.
- clearway, Nunnehi (Don), BobG and 3 others
-
6
-
Yep that would be me alright.
- Keith Black, BobG, mtaylor and 1 other
-
4
-
Your right Popeye the Progress does look quite sililar to the Nordkap with subtle differences too. But then again, most fishing trawlers looked about the same with just diferent names.
-
-
Thanks Mike and Popeye, I did the same, I flipped my belt sander upside down on my outside work bench and went to work on it. The kit supplied a balsa block, which I relunctantly used. But if I did it over, I would have glued together some pine or similar wood blocks, it would give a nicer finish. I skim coated the balsa smoke stack with auto bondo and sanded it smooth to get a better finish.
- BobG, popeye the sailor, Keith Black and 1 other
-
4
-
Thank you Bob.
-
I hope the previous owner is looking down on the model from heaven with a huge smile on his face on finally see it become the finished model he had hoped it could be and be very pleased. I tried not to think about it when I was finishing it, but now that she's pretty much complete, it brings a tear to my eye now that I'm thinking about it and knowing that this will be me one day looking down or up what ever the case may be hahahaha with a bit of admiration for the person who finishes my unfinished projects.
- Ian_Grant, Keith Black, mtaylor and 2 others
-
5
-
-
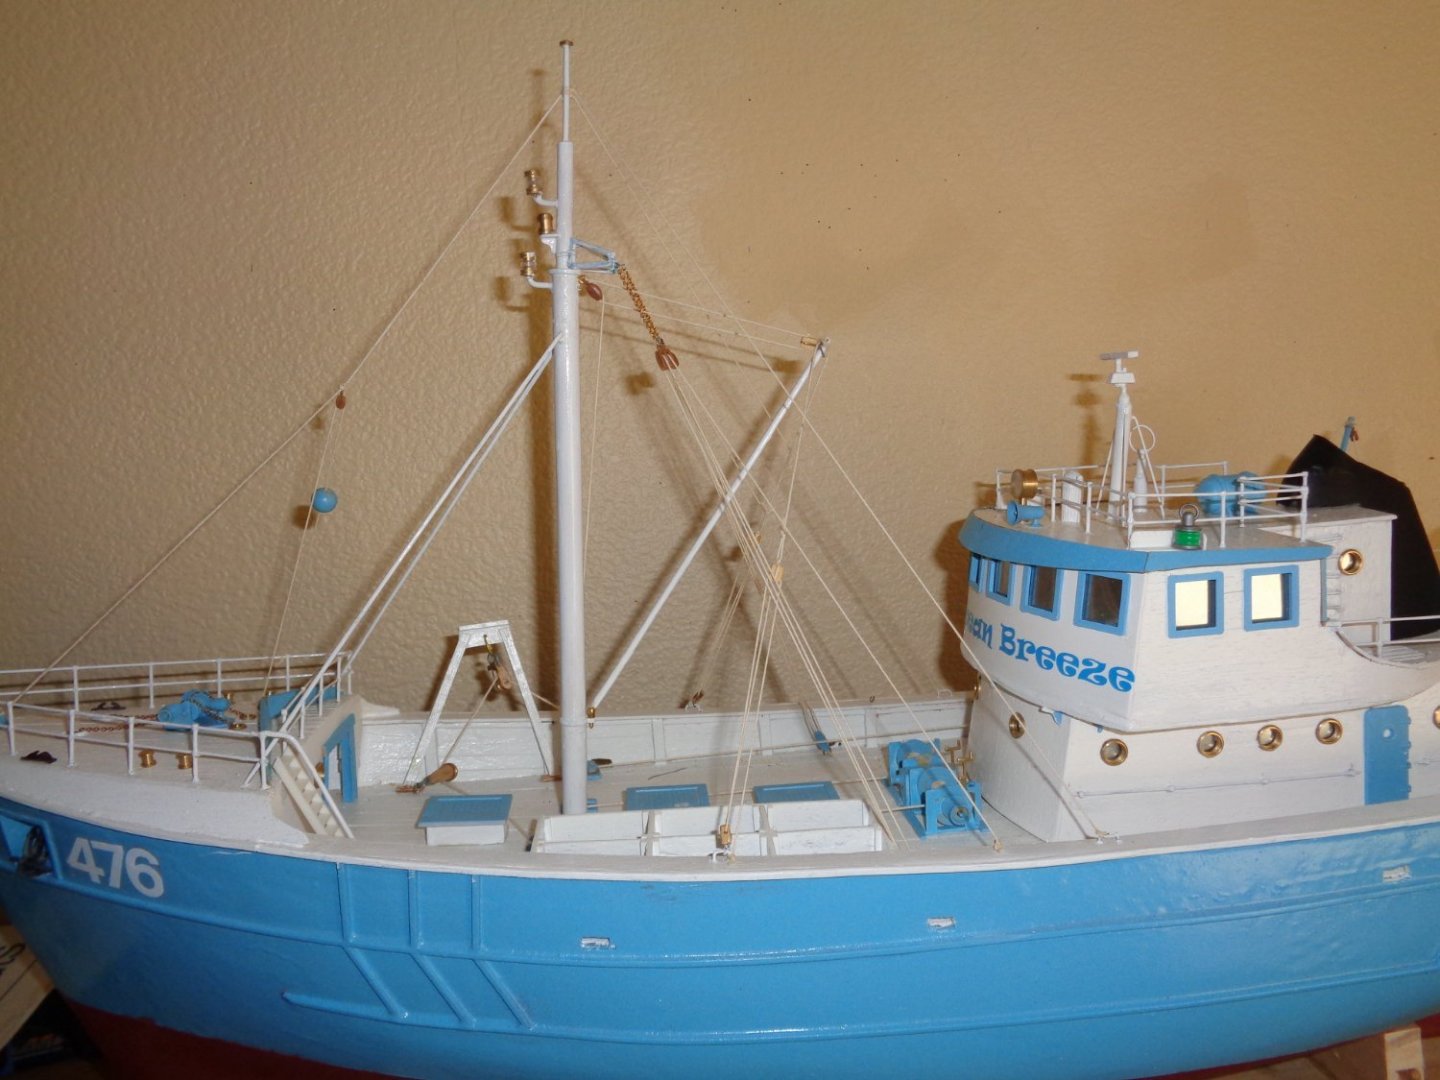
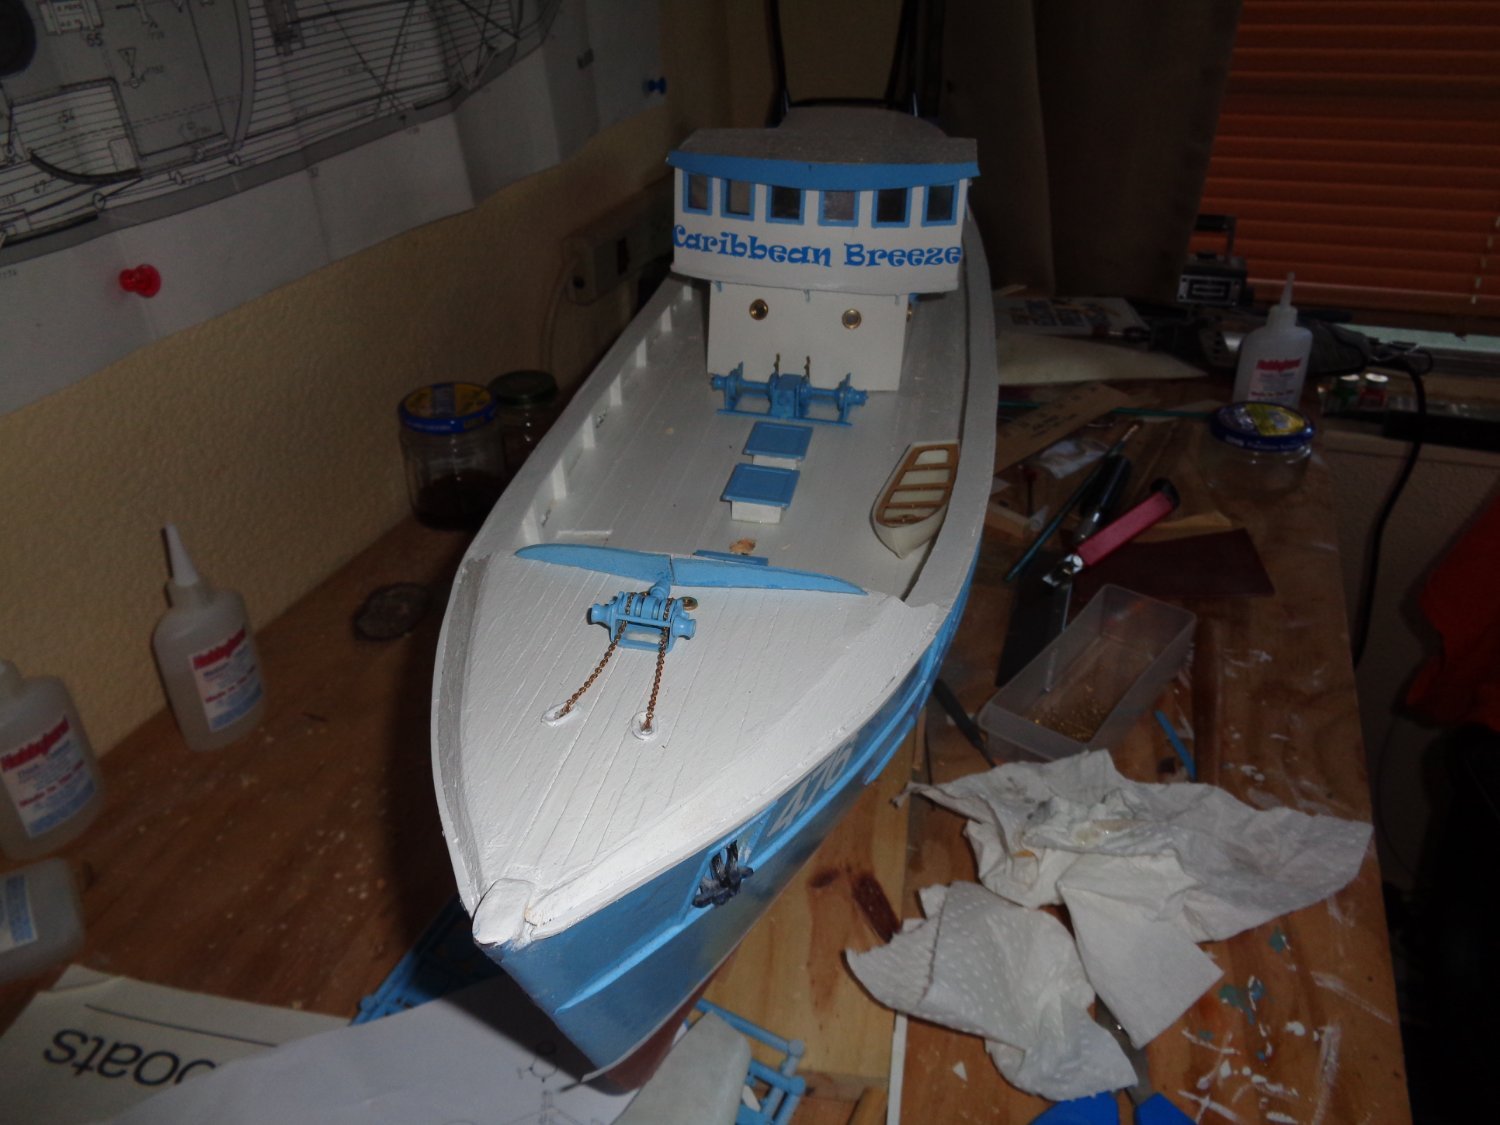
Well she is pretty much done, I just have to tiddy it up a bit, finish off the display shipping board and a few other do dads.


- BobG, Keith Black, Landlubber Mike and 5 others
-
7
-
 1
1
-
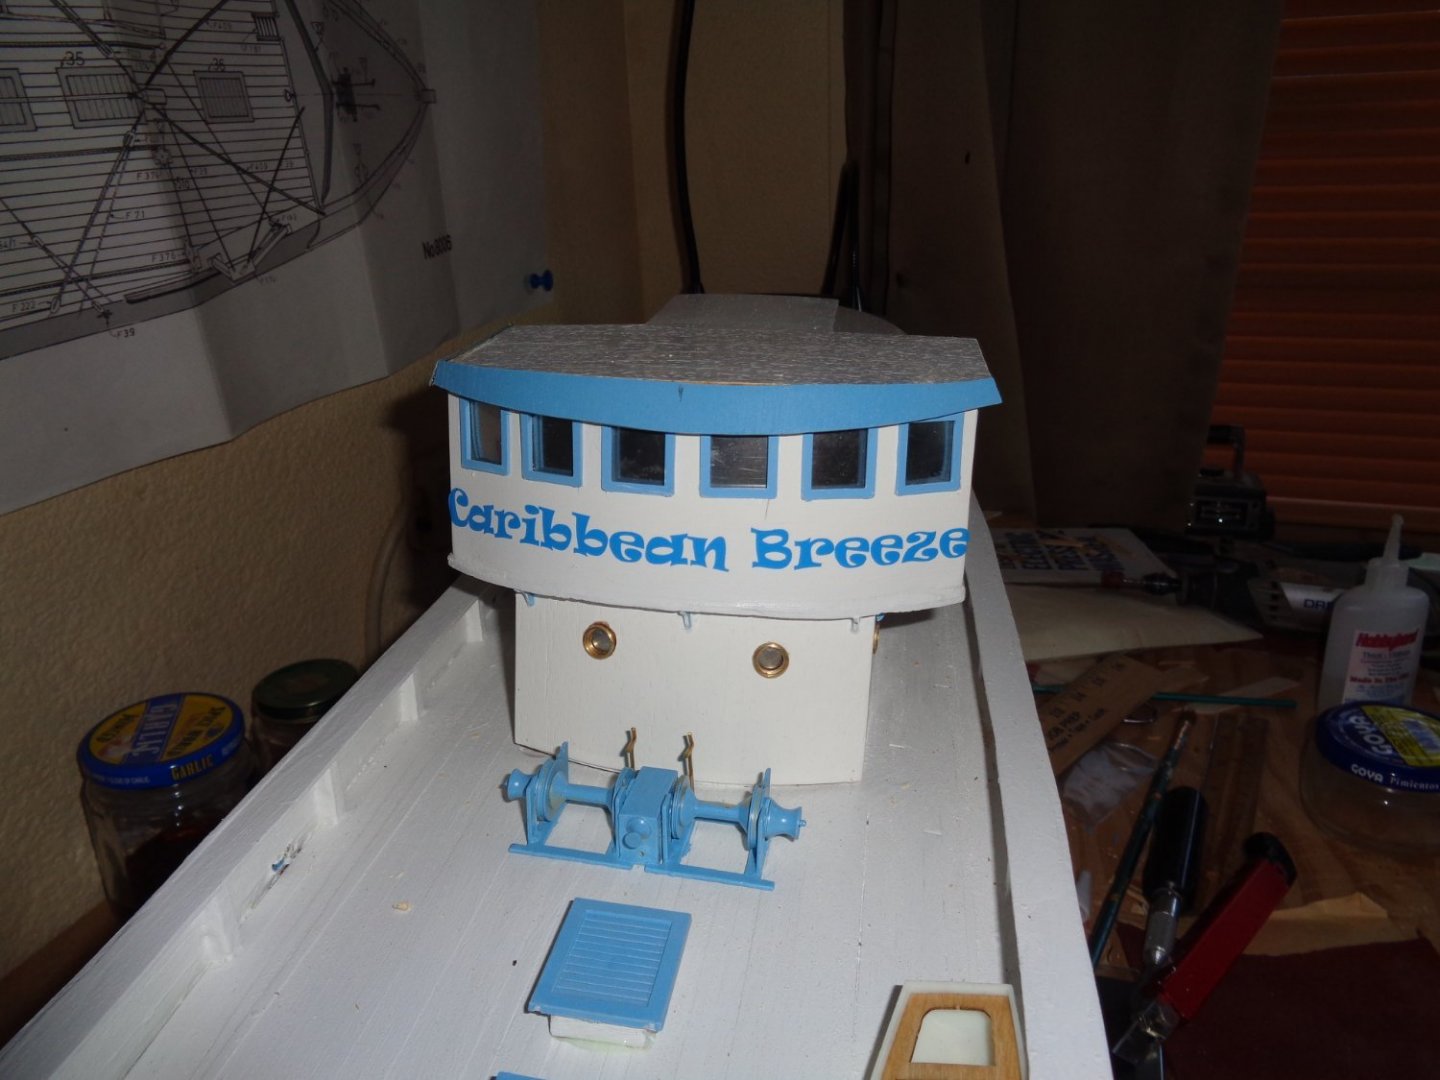
I'm going to refigure the top rigging line where the squiggly line is on the plan because where it terminates will not work for RC operation. The rear post termination point is removable as is the entire cabin area to gain access to the interior compartment.
-
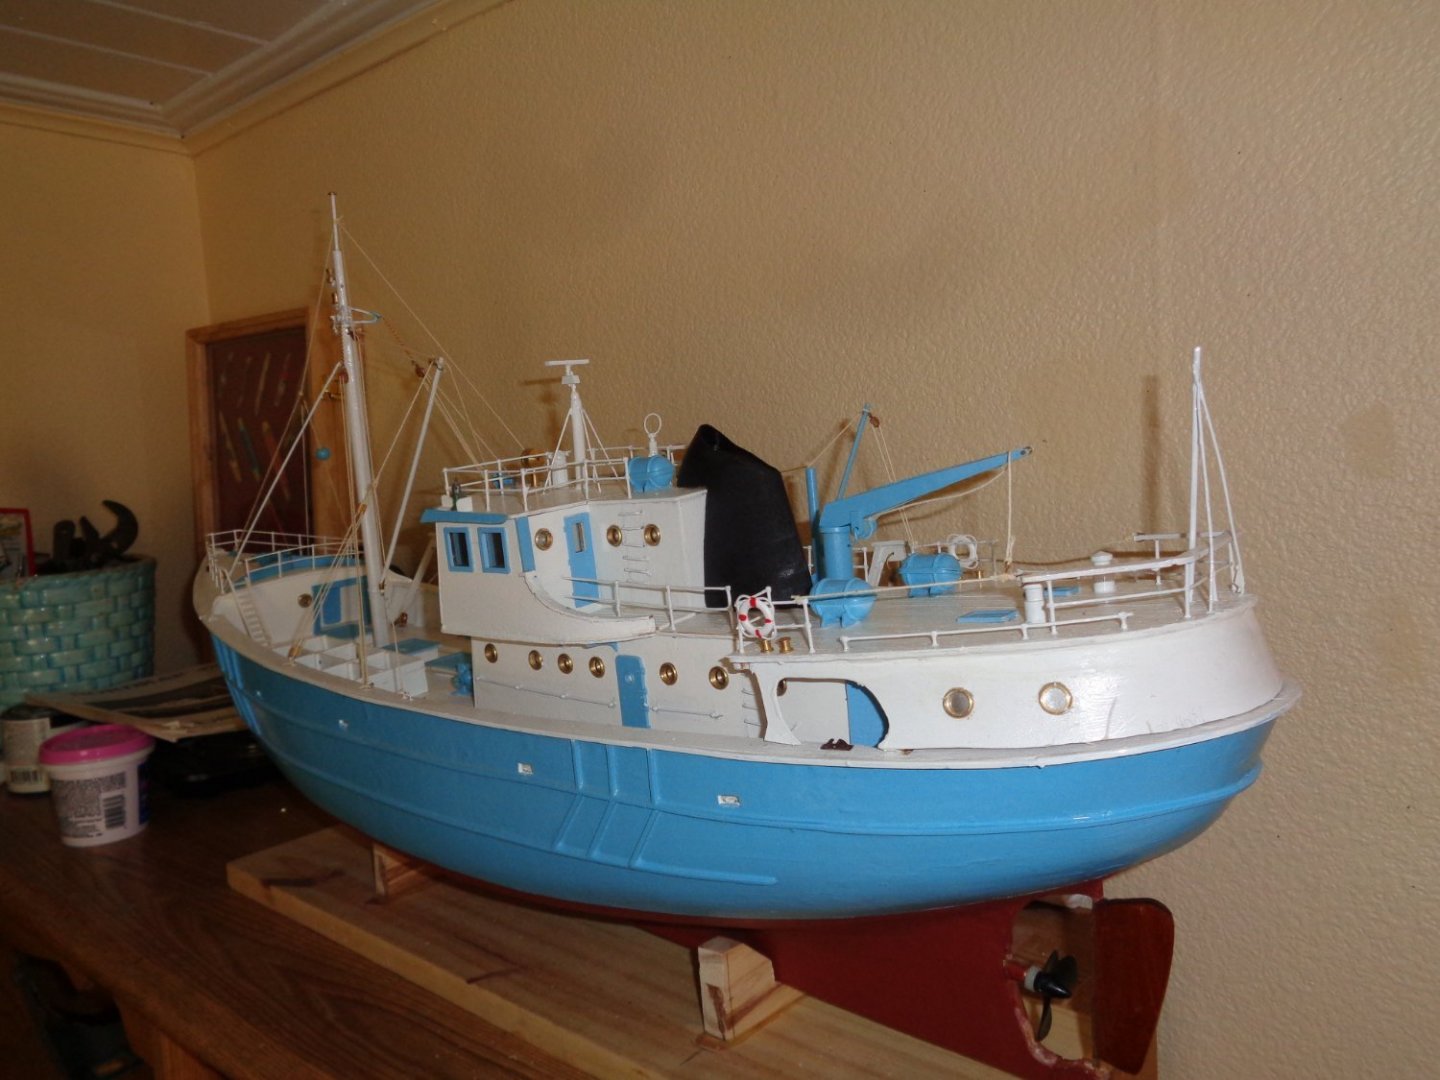
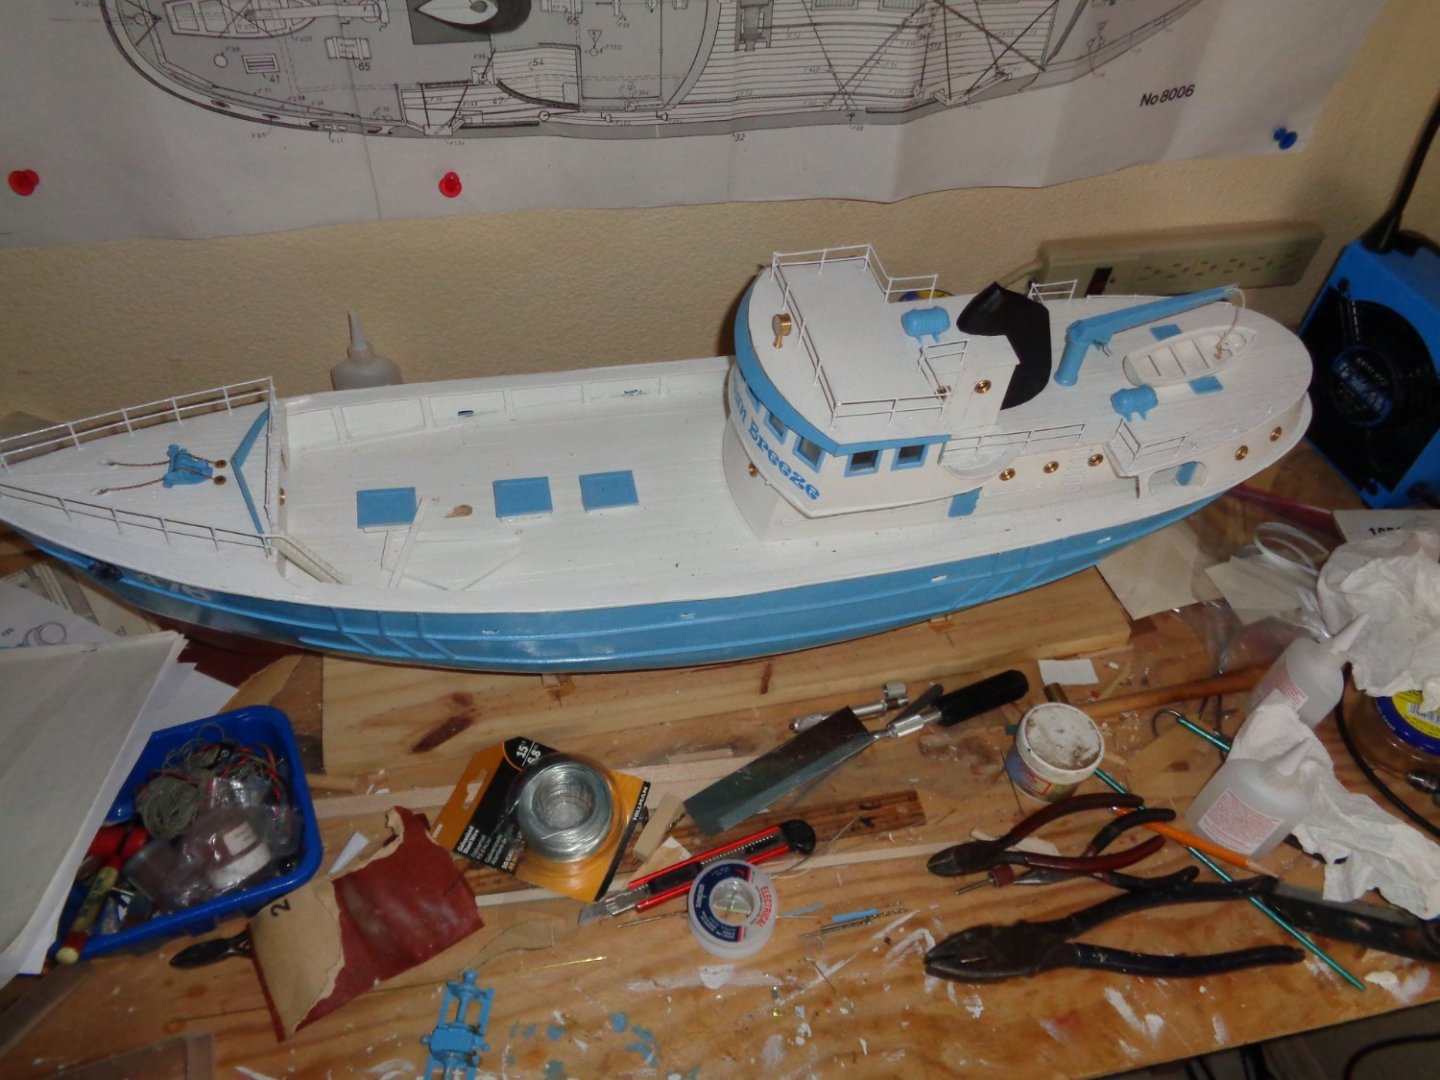
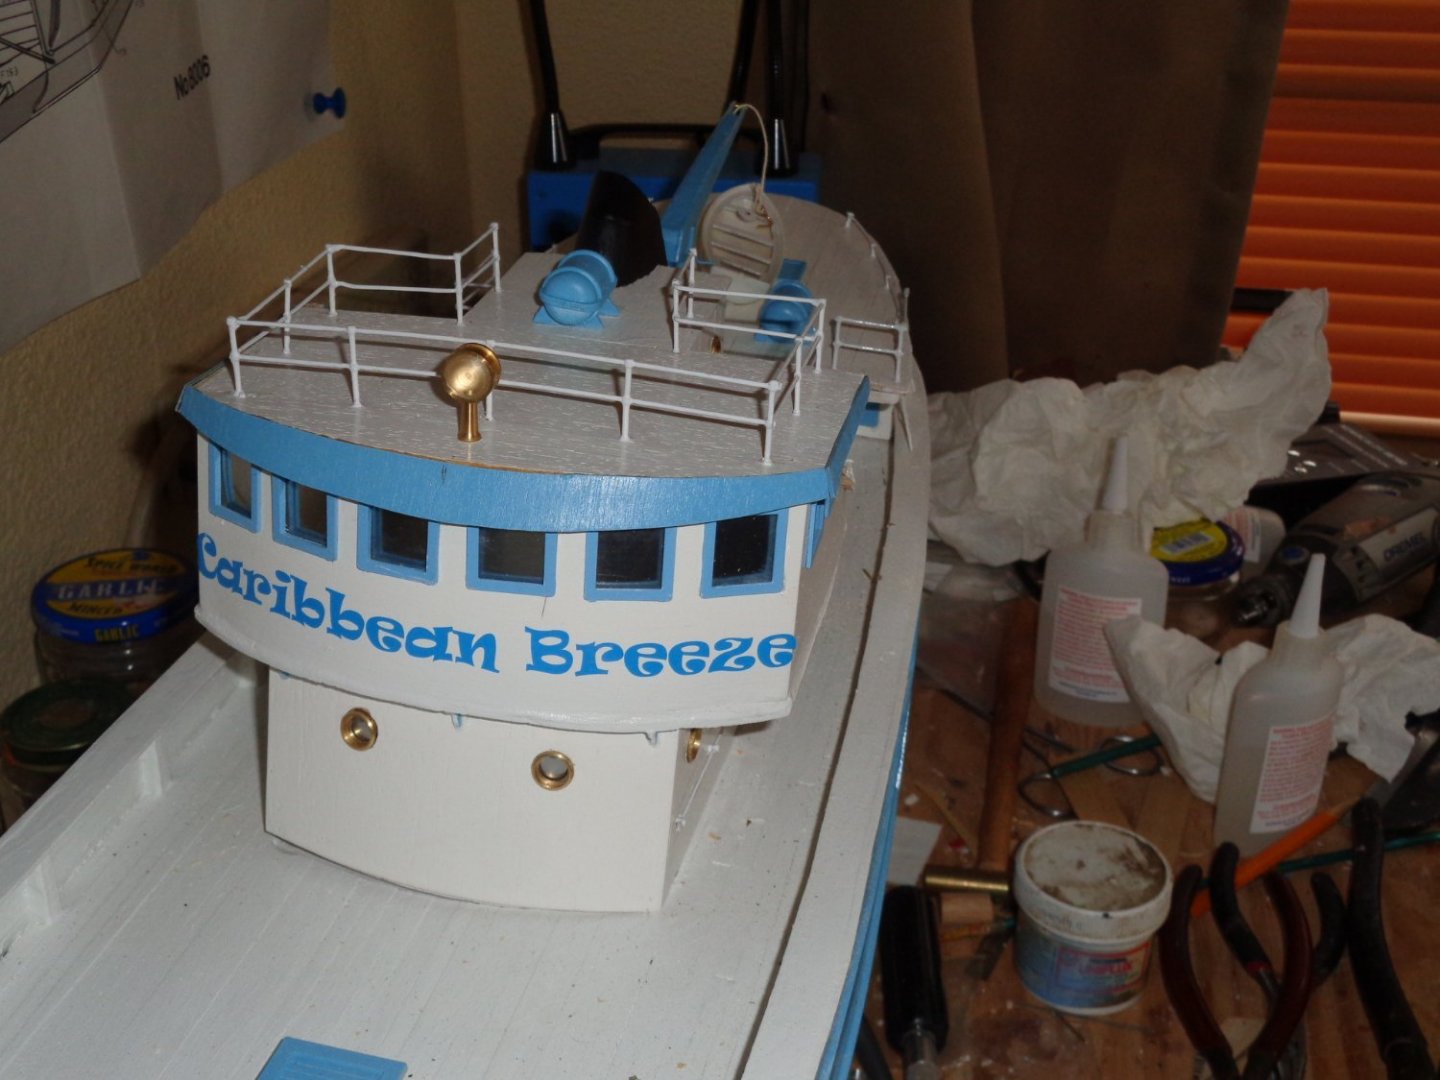
I also fashioned the smoke stack, painted it black and installed it. Now Billings supplies a chunk of balsa wood that is kind of in the shape of the stack, you just have to sand it down in order to get the final shape. I used what came in the kit, but if I did it over, I would use 3 to 4 pieces of white pine or similar wood stacked together, which takes sanding better and gives a better finish in the end.
And yes I know, my work bench is a mess, but to me it's an organized mess at least that is what I keep telling my wife every time she brings up "How can you work like that, how can you find anything?"
-
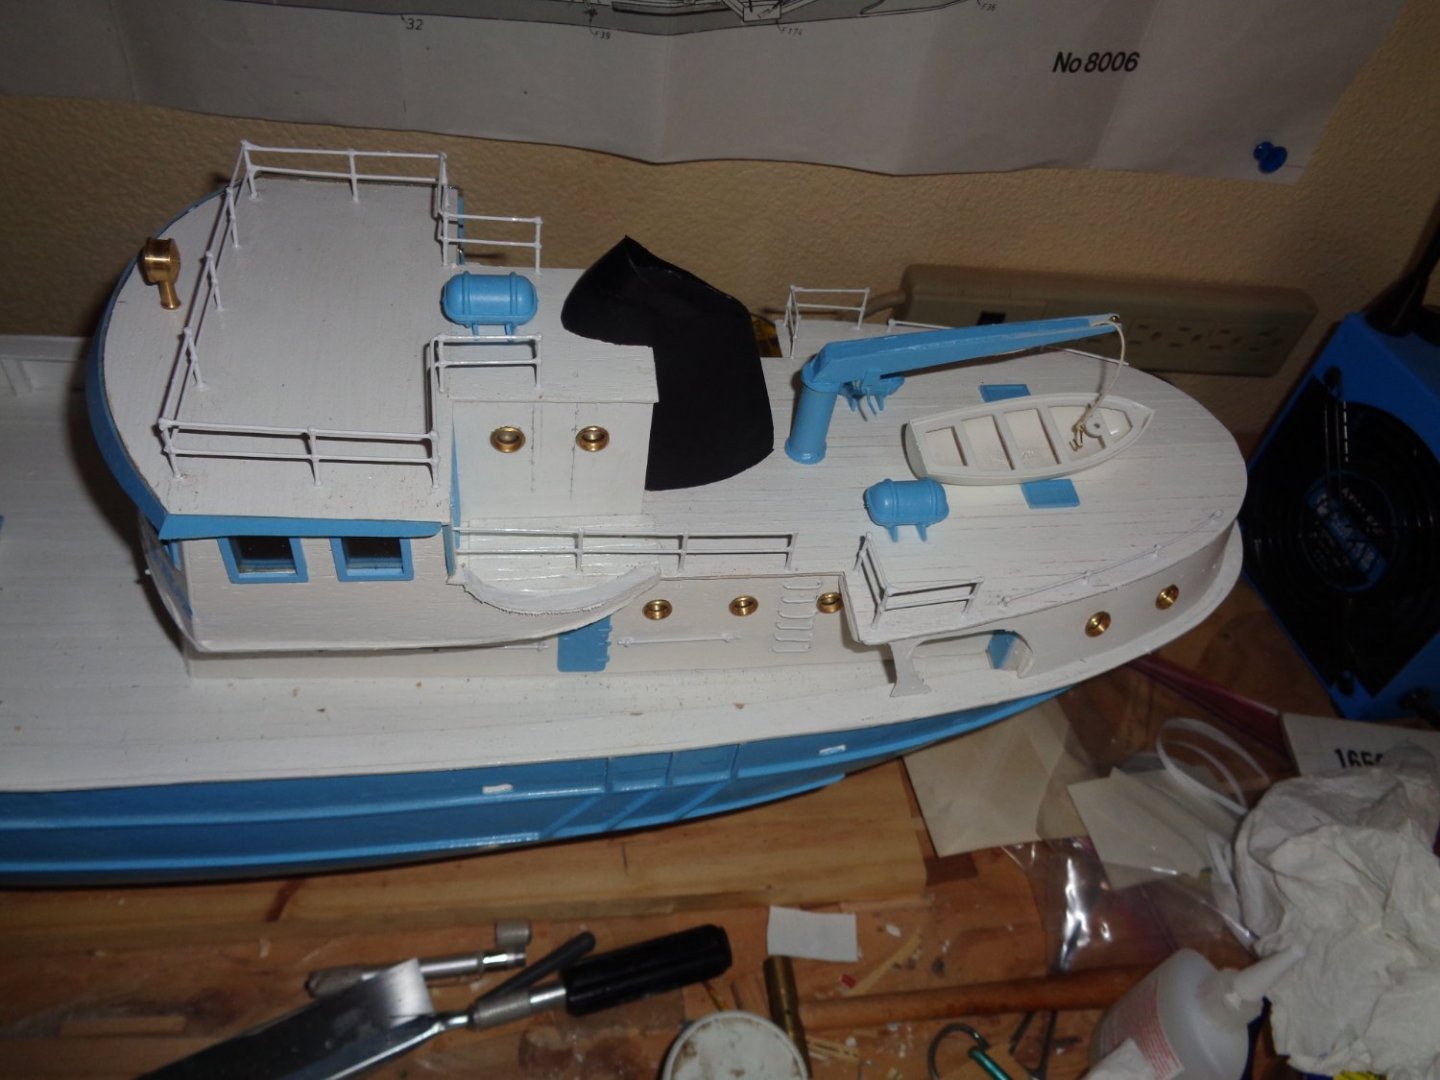
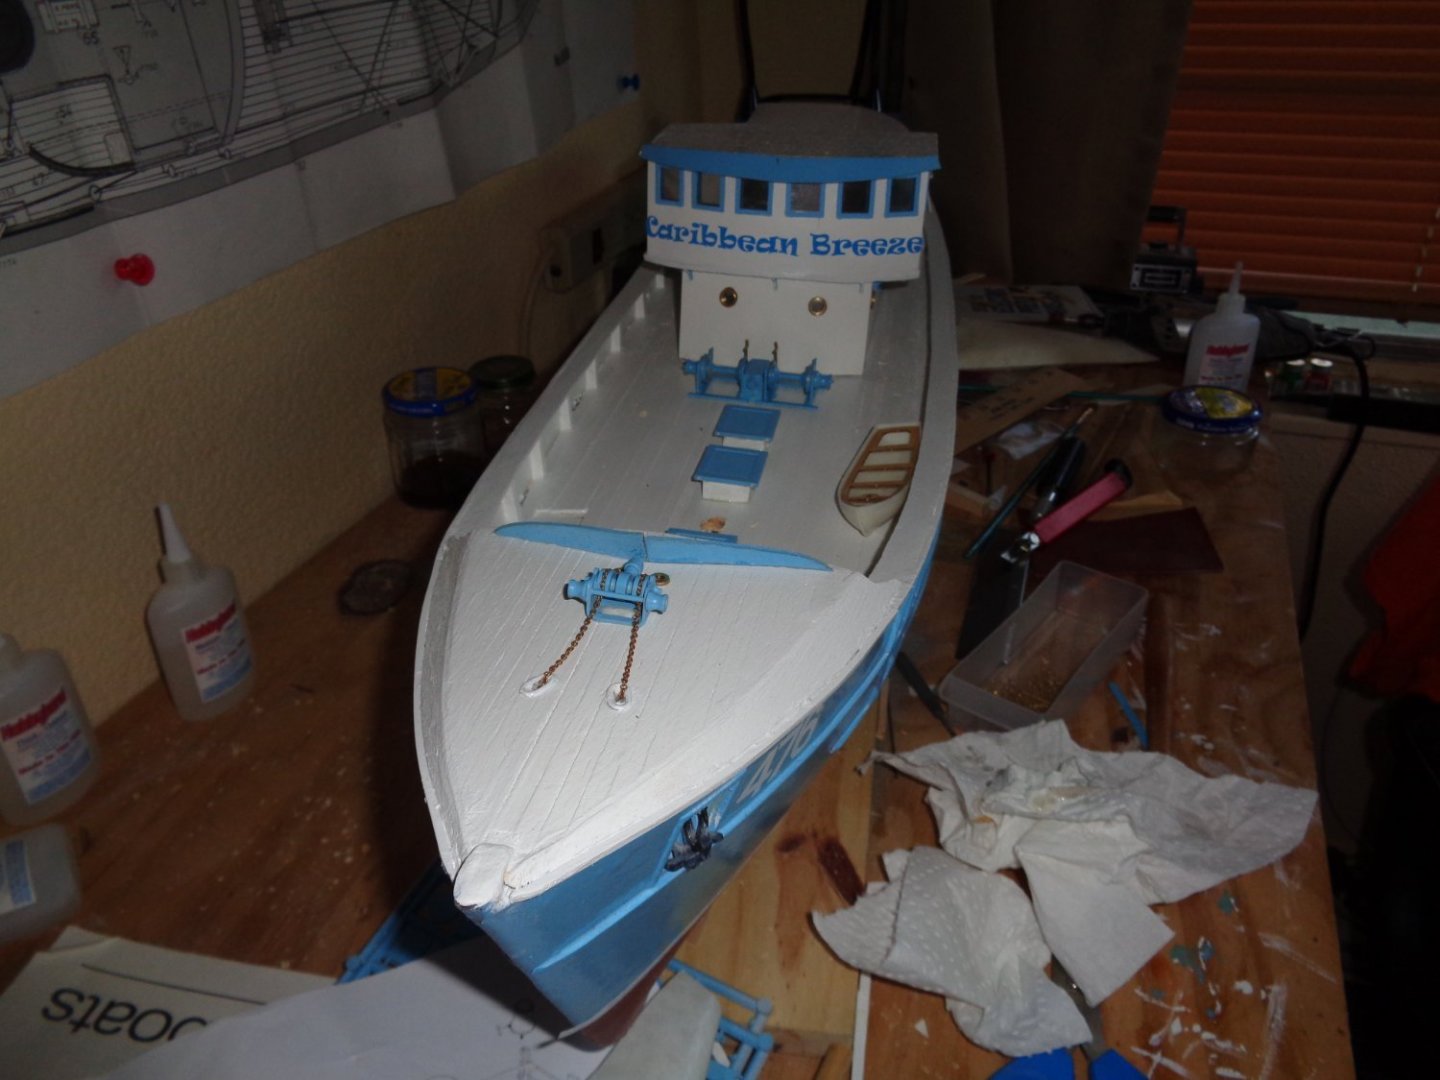
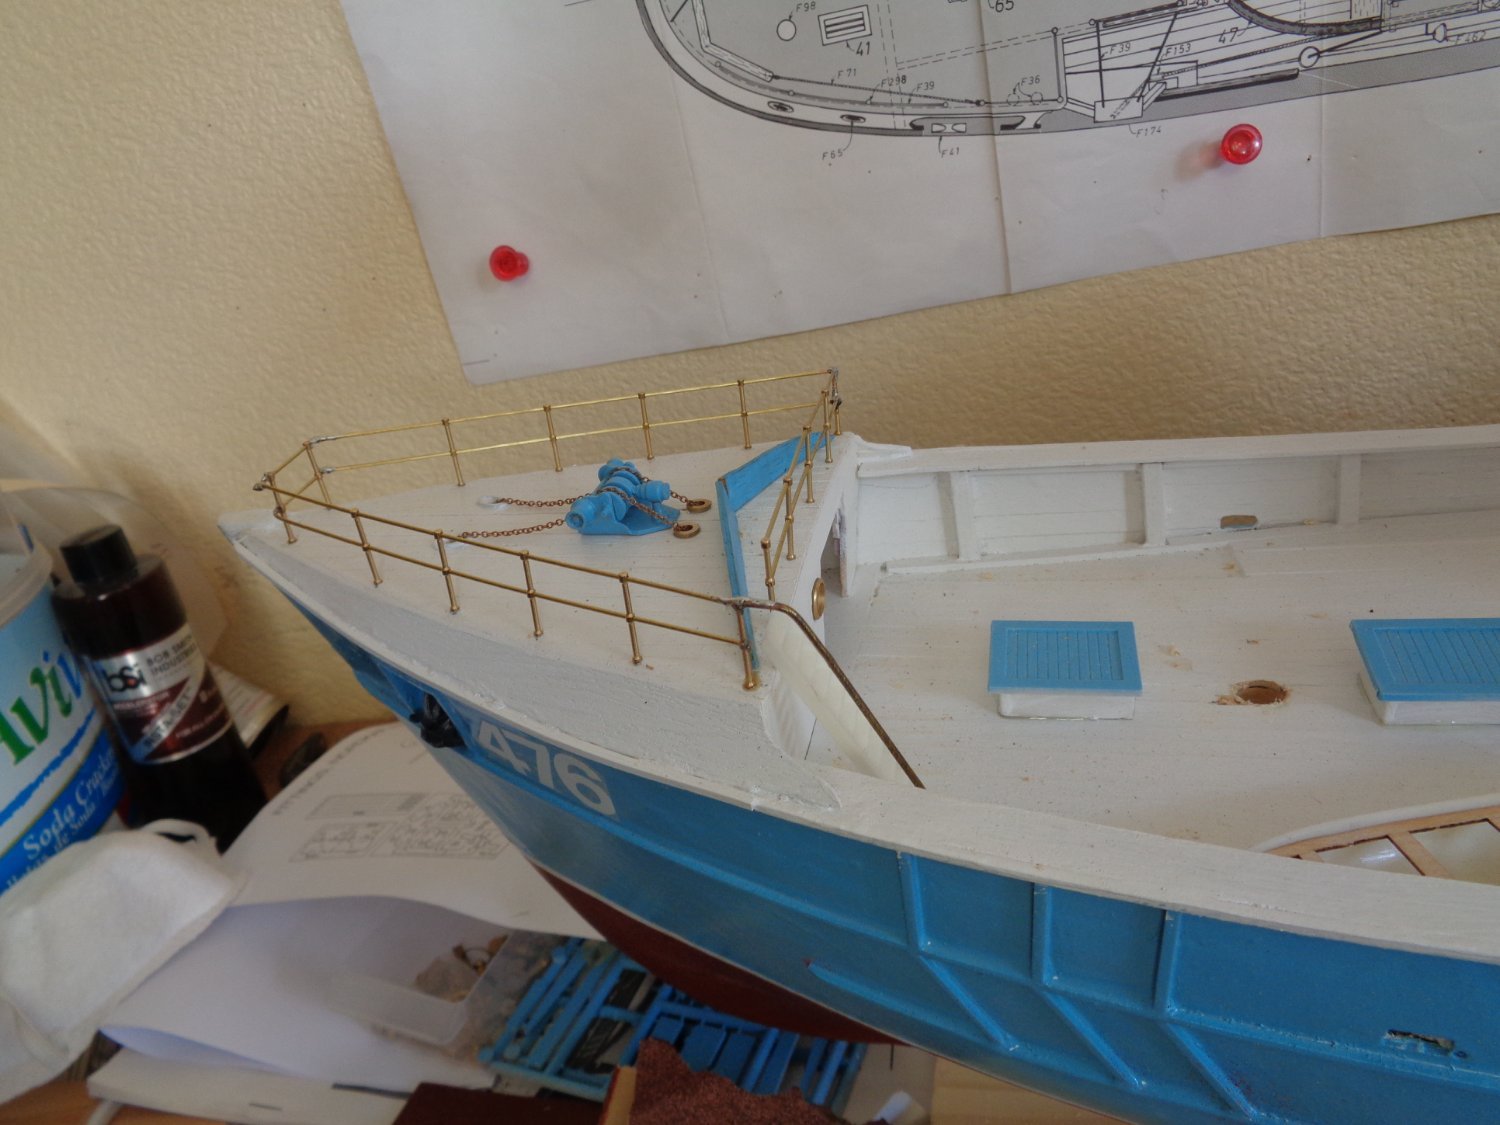
Thanks CD, blue is my favorite color, plus I had some left over from a previous build. I was able to spend a few hours on the Nordkap/Breeze yesterday and got the railings all cleaned up and painted, hand crane built and installed as well as several other fittings.
-
I know what you mean Popeye, the crane in the upgrade fitting kit is plastic in mine as well, but the kit also included the wooden version. I'm going to see which one looks better.
-
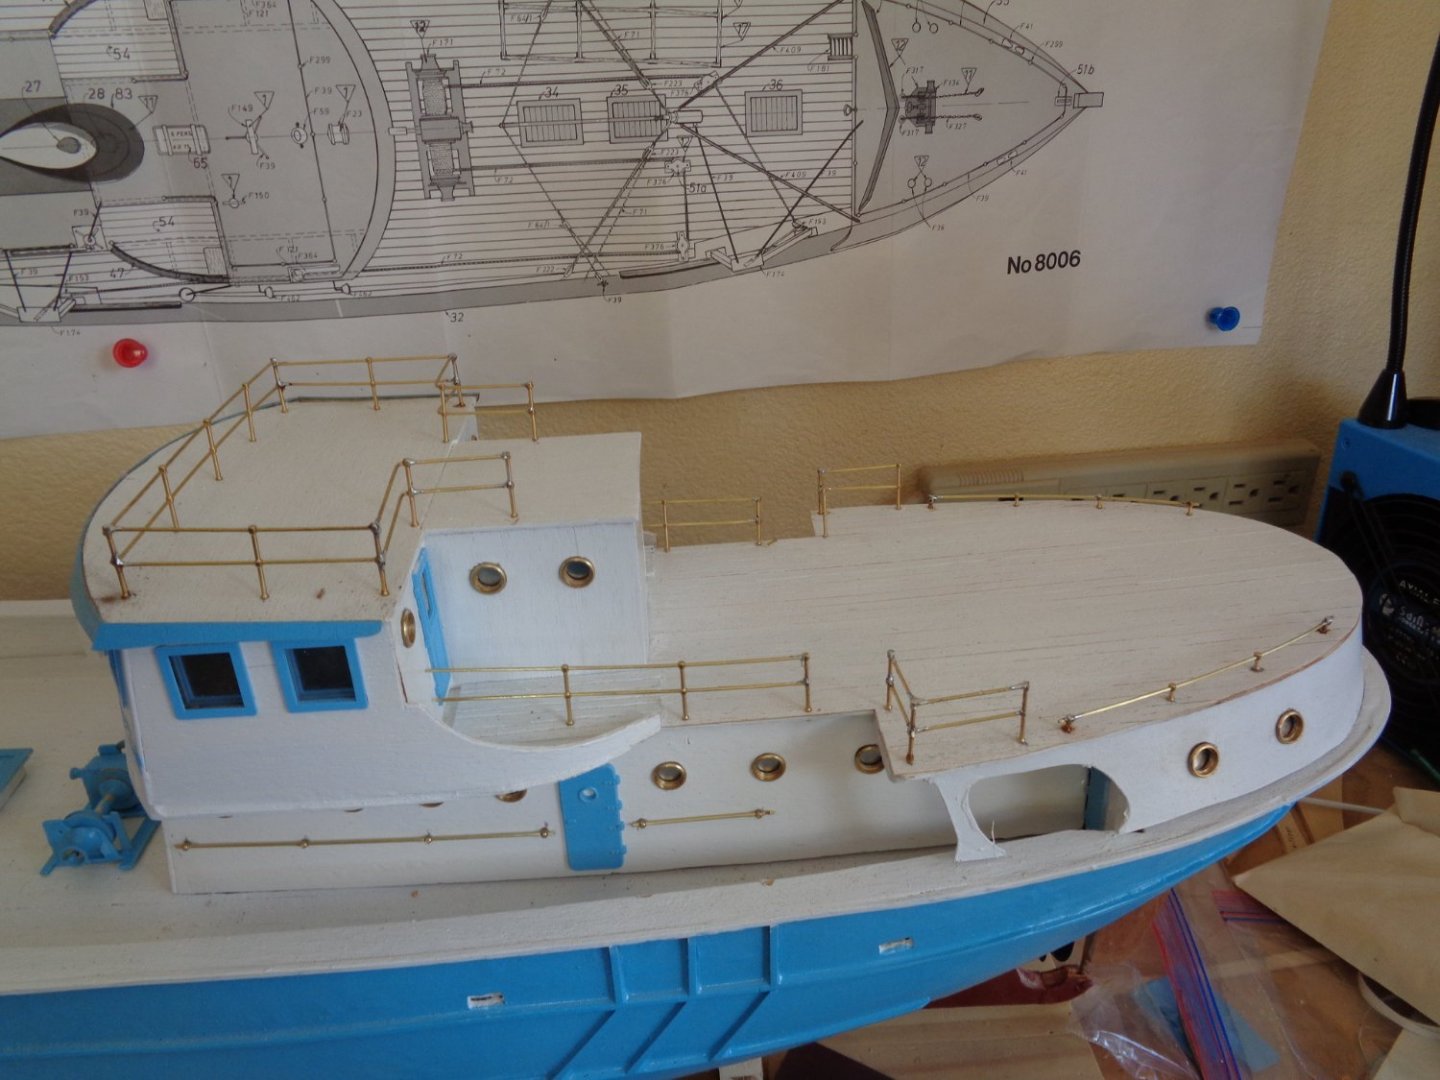
Thanks guys, I really had to practice my solder skills or the lack there of before doing the railings. I started out making a jig, and make the railings laid out on my work bench. Short story long, that was a couple of hours and materials wasted. I found the easiest and most efficient way was to just build them on the model. You know what they say about hind sight. Now to clean all that flux off the railings before painting them white.
-
Finished making the railings, which was quite a bit.

- Keith Black, BobG, Paul Le Wol and 2 others
-
4
-
1
-
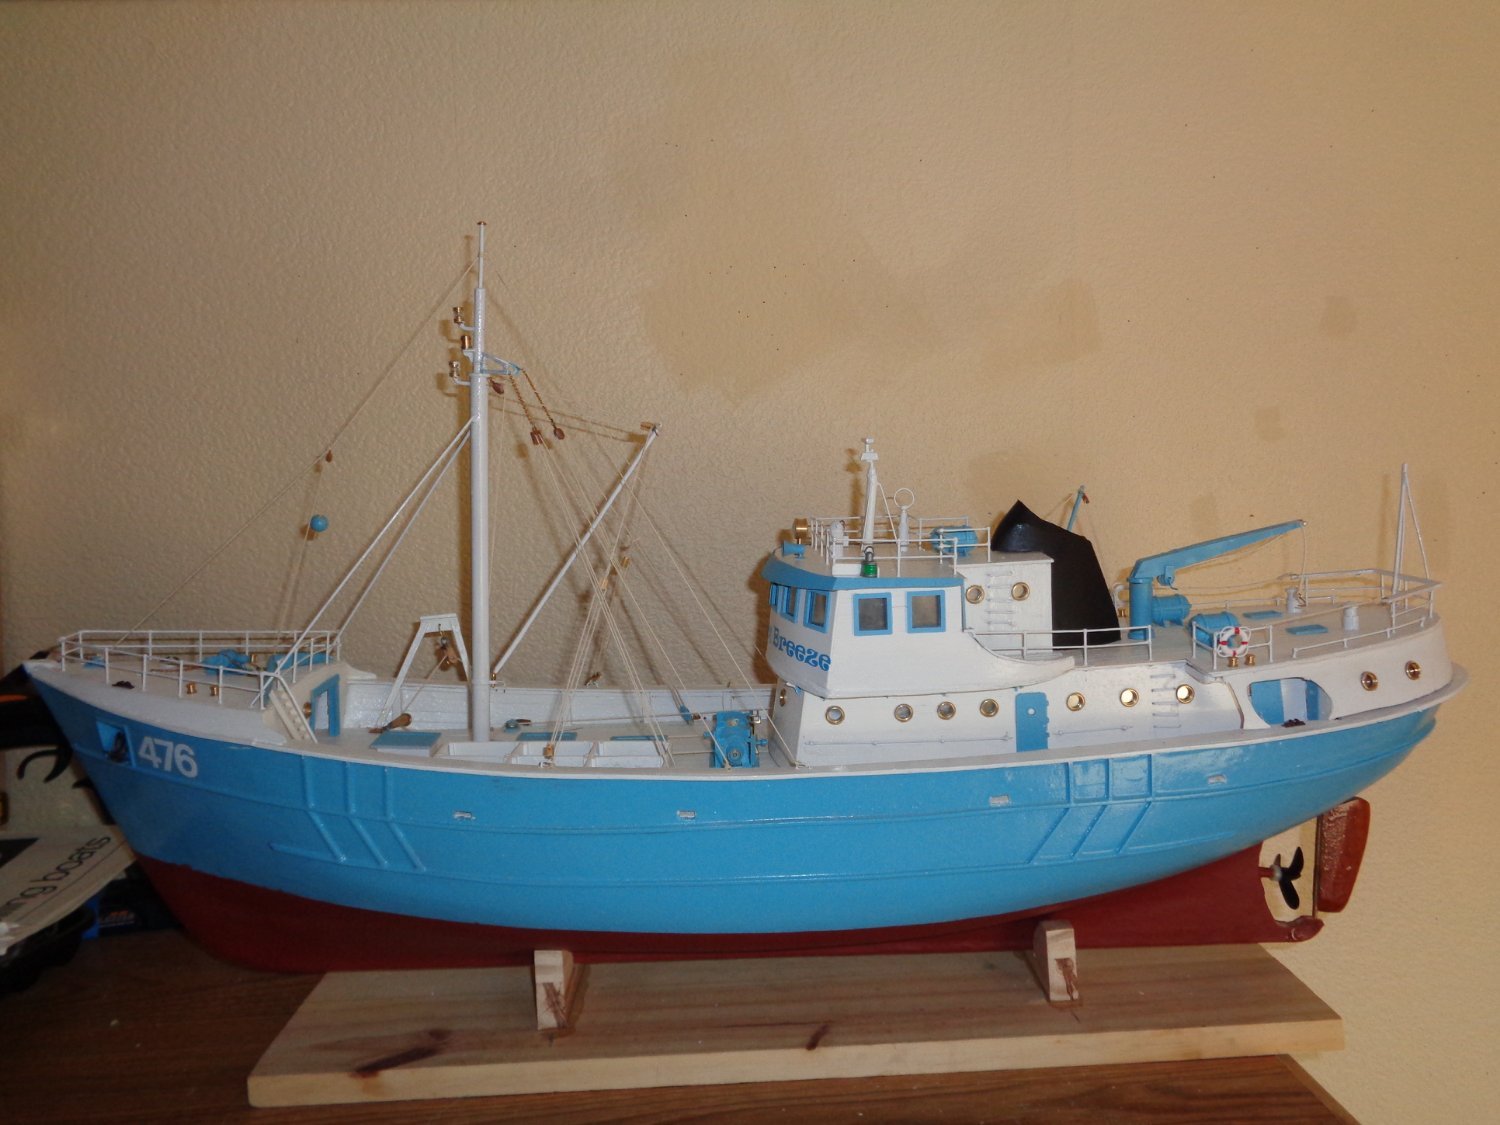
Thanks Keith, another couple of weeks she'll be ready for her maiden voyage.
- Keith Black, BobG, popeye the sailor and 1 other
-
4
-
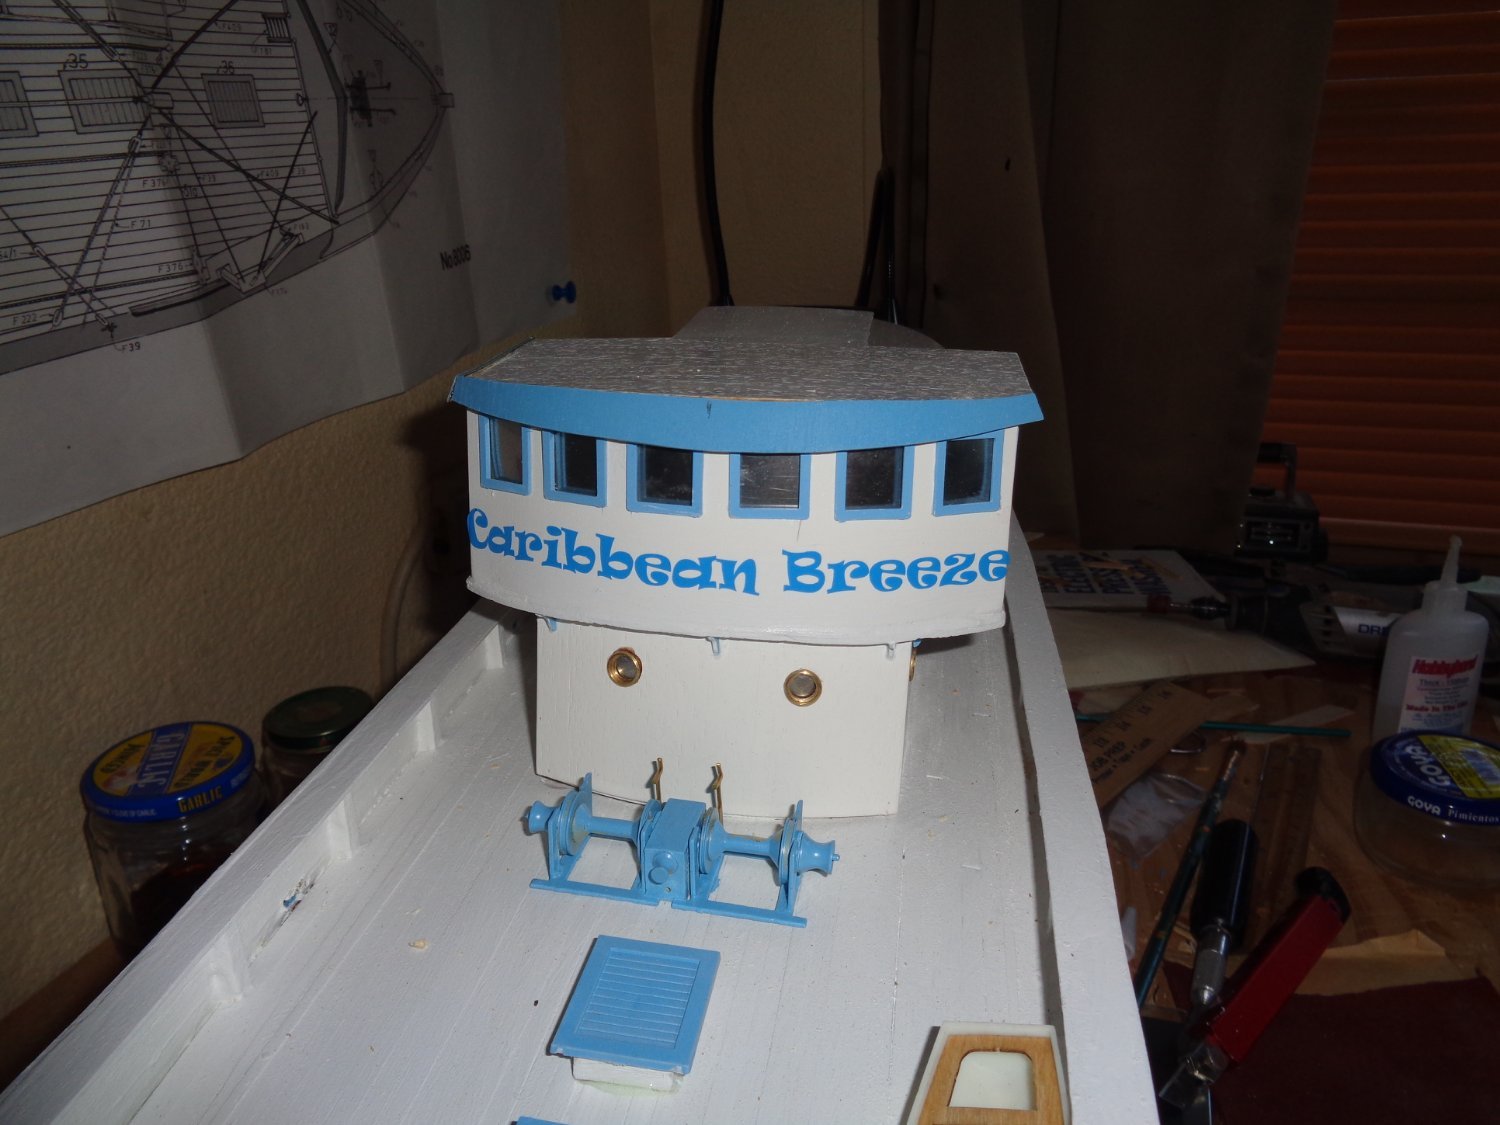
I Christen thee Caribbean Breeze.
- VTHokiEE, gsdpic, Keith Black and 6 others
-
9


1955 Cobra by mtdoramike - Dumas
in - Kit build logs for subjects built from 1901 - Present Day
Posted
Well, The little 1955 Chris Craft Cobra orphan that turned into a beautiful swan has found a new home up in Jacksonville FL. The new owner couldn't wait to adopt the little beauty, it was love at first sight. I'm really going to miss that for sure. I miss all of them when they get all beautified up and sail away, but there are a few that really makes me a bit heart sick for a while, but then another poor little deliquent will show up and the process begins all over again.
I'm building the Billings Calypso now and feel that it could very well be my last one for a while. But we'll see, I never like to say never.