mtdoramike
-
Posts
2,094 -
Joined
-
Last visited
Content Type
Profiles
Forums
Gallery
Events
Everything posted by mtdoramike
-
I built the Billings Danmark and WOW, what a set of fittings that was, I was really impressed with the kit from start to finish. The hull planking was the easiest that I had ever done. I t was just a beautiful kit that made into a beautiful model. But like I always say, a kit is a kit is a kit, it's up to the modeler to make that kit into the best representation that he or she can and if that means replacing some or even half the kit then that is what it will have to be. mike
-
AND, there is a Wasa Bills Boats kit on the classifieds. Calling your name. mike
-
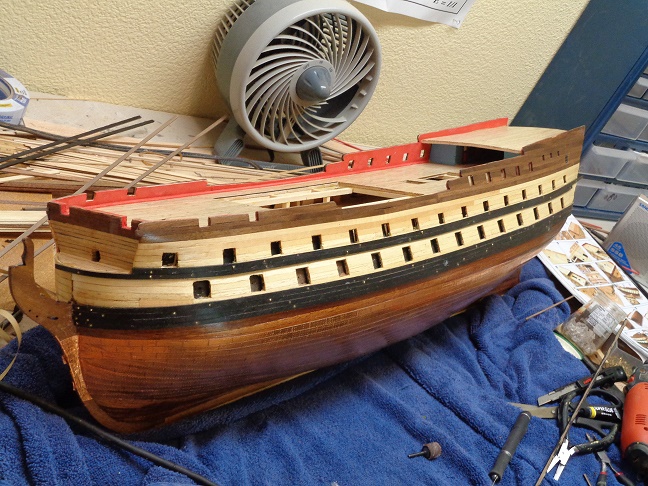
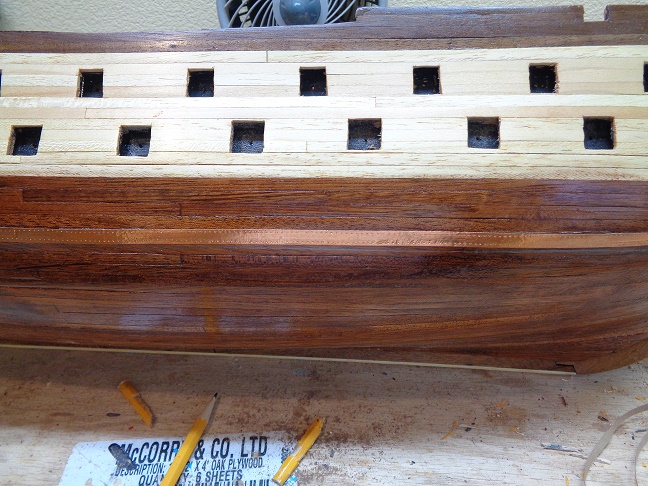
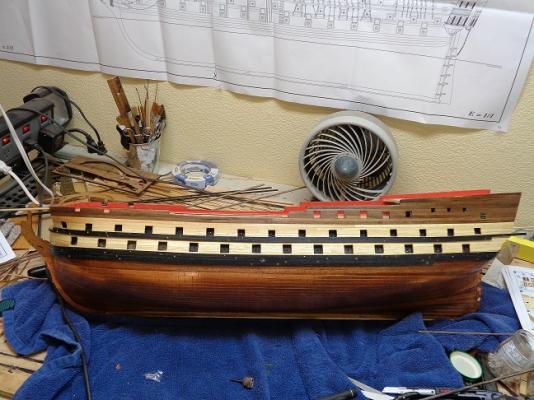
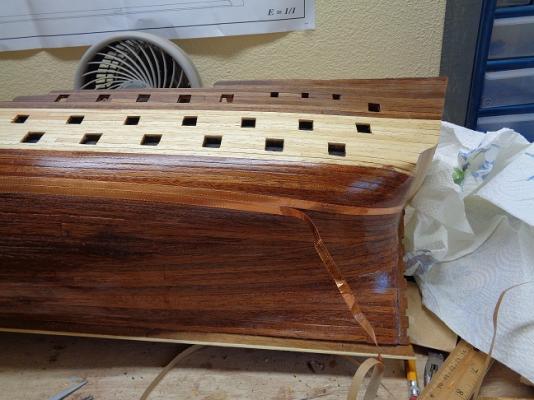
Took a break from the coppering and decided to add some detail like the rubbing strakes, which are painted black and will be some of the few painted parts on this model. mike

-
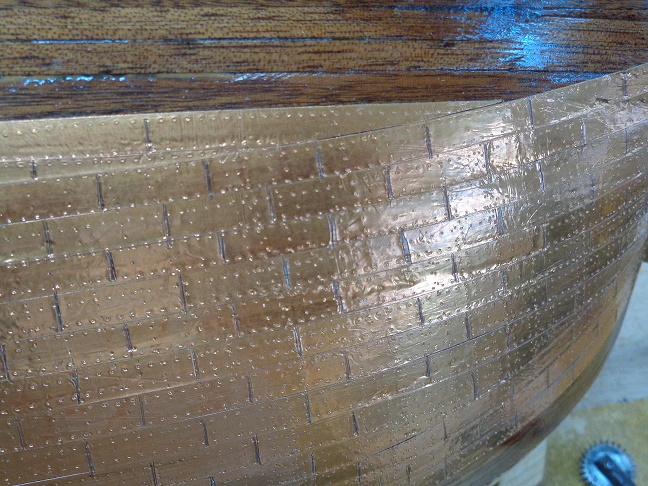
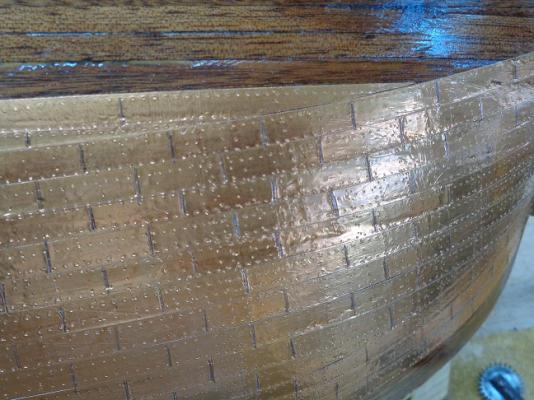
No apologies needed mate, The stupid question is the one that was never asked. So if you have any questions, ask away. Yes, the tape is scored with my hobby knife once it's measured and marked out with pencil. This is to mainly so definition between the plates. But this needs to be done once the tape is applied to the hull and also make sure and not get too heavy handed with the knife. Here is a couple of pictures of the plating progress. mike

-
The tape comes with adhesive on the back. You have to remove the white paper on the back of the tape and then stick it onto the hull. But you need to have a smooth hull and sealed with something like paint or poly. It will stick to the bare wood, but just not as well especially if you don't get all the dust off of it. I have used this method for the last 20 years on numerous ship models and have never had any of the copper plating fail. Now the copper tape is a tad thinner than the actual copper plates that you can get from Cornwall, plus you have to add the rivet markings yourself where the actual copper plating comes pre-marked. mike
-
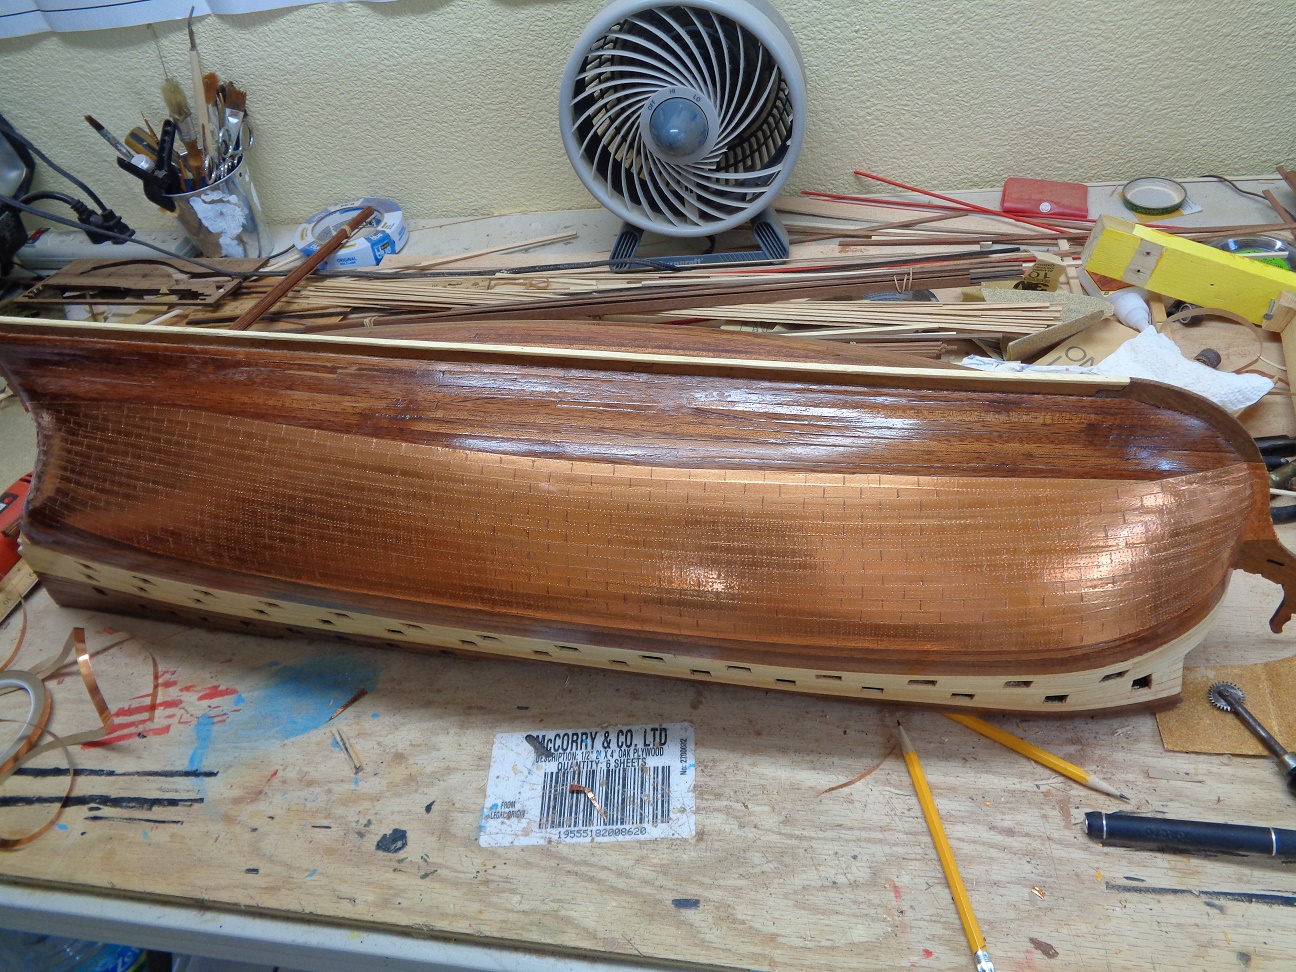
I know what you mean Tomasg, but that copper really looks sweet when it's done and the wow factor you get is way above what you get with the natural wood finish. It takes a certain person really appreciate the look of natural wood and I am one of them, which is why I plan on very little painting on this model compared to what I did to the Victory. My wife agrees with you. mike
-
Hi Craig, actually the plates are 1/4" wide by 3/4" in length, which is the same size that I used on the Victory.
-
I laid three rows of copper on each side and scored and was done with it within 30 minutes. So I hope to have it coppered within the next couple of days. mike
-
To further answer your question, as long as the scale is right, there are on line hobby stores that have Mamoli stock and if they run out, you can use items from other manufactures as long as the scale is close. So it would be no biggie, but it's a shame if such a disaster has happened to mamoli as it has always been a fine company that made great kits and supplies. mike
-
Well if you mean did they just jump up in value then NO! Kits no matter who makes them and what disaster befell the company will only bring about half of what the retail price was or is. The only real exception to this would be if a kit collector or builder really, really wanted that particular kit. mike
-
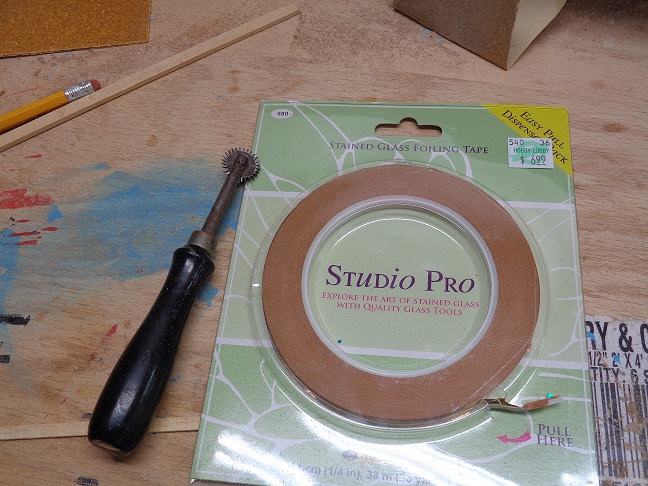
That is a shame Craig, I would have thought that Michaels would sell about the same thing as Hobby Lobby. Did you check in the stained glass section, this is where I find it at Hobby Lobby, it's actually the copper foil tape that the stained glass people use on the edges of the glass where they insert it into the lead cane channels before applying the flux and solder. But either way, it's a sight better than paying a couple hundred bucks for copper plates from Cornwall and it's a lot easier to apply it. I usually apply the tape in one log piece from stem to stern and then come back and measure out the length of each plate, mark with a number 2 pencil and then score it to separate each plate. I can usually plate a hull in a couple of days. mike
-
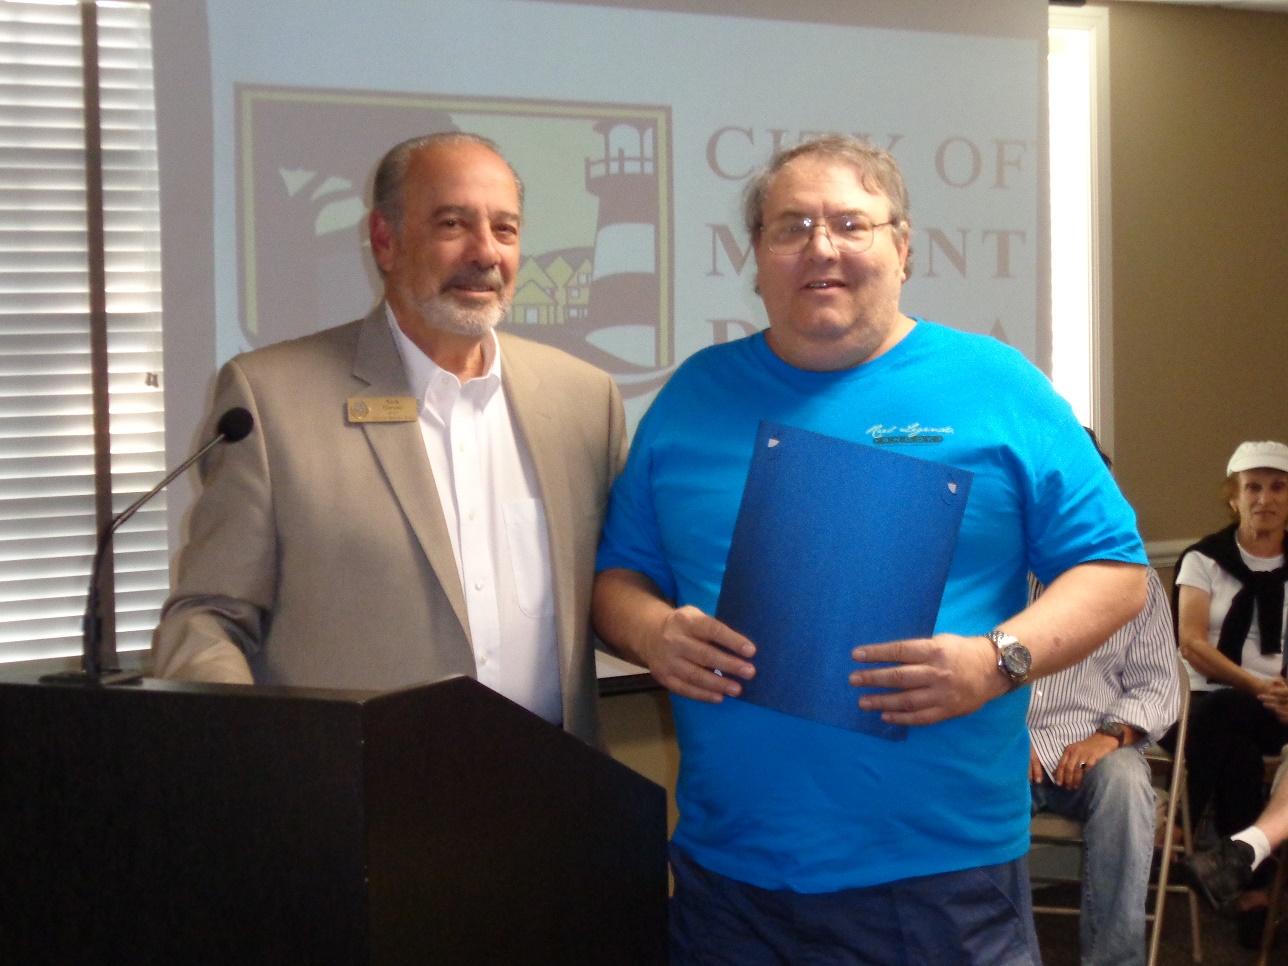
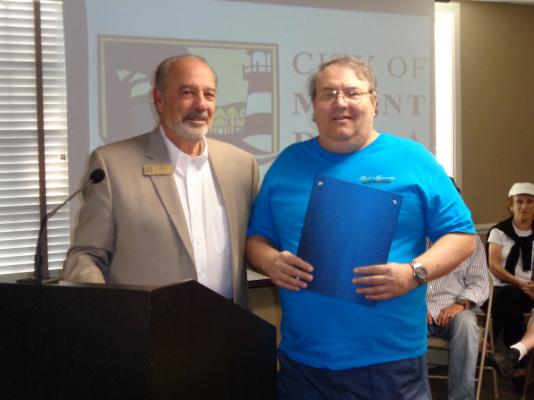
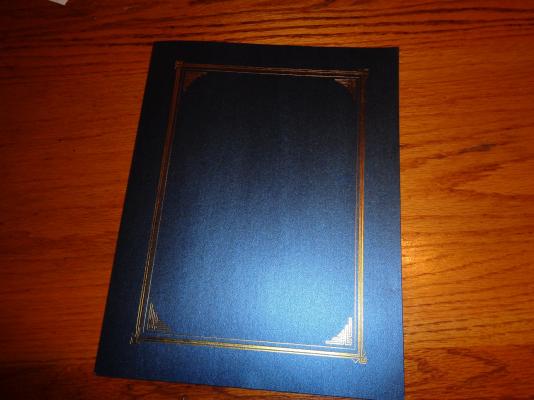
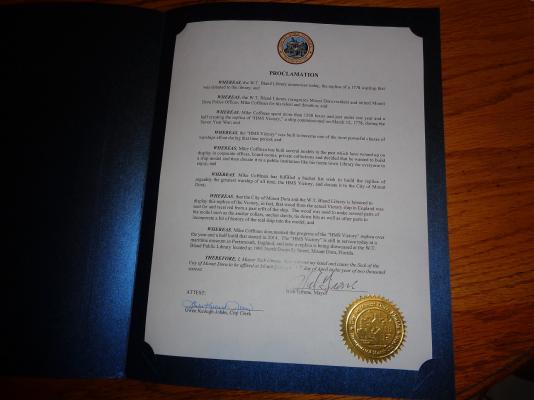
I went to the Council meeting last night and was honored with the Proclamation and while there, I also met with a news reporter, who was looking for a story and found me, so she is wanting to do I guess one of those human interest stories about the models that I have built and why I do what I do I reckon. Like I told the council last night, I didn't want all this pomp and circumstance because my motives weren't all that pure. I always wanted to build a large Victory and my house was a bit small to house such a large model. So donating it to the Library seemed like the best thing to do and I could visit the model when ever I want to. Here is a picture of me and the Mayor. I'm the fat guy in the blue shirt. Then a picture of the Proclamation. mike
- 230 replies
-
- 6
-

-
- victory
- artesania latina
- (and 1 more)
-
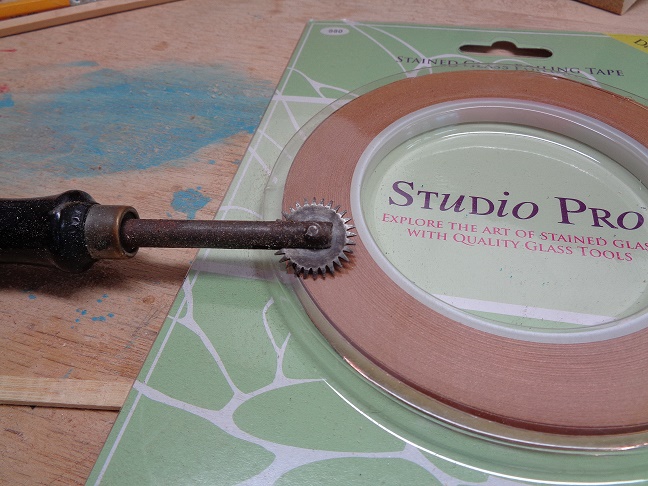
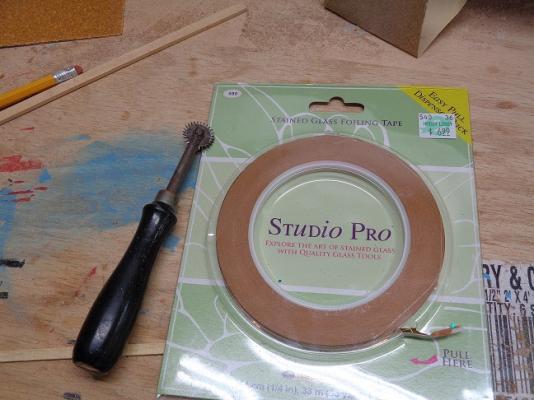
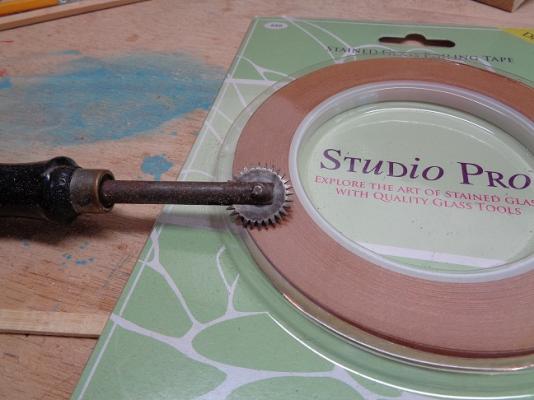
Craig, I also use this little tool to get those rivet dimples on the copper tape. It's a dress makers tool that they use to outline the pattern onto the fabric before cutting it out I believe. But it works perfect. mike
-
I used to get my copper tape from Amazon, but now I get it from Hobby Lobby, which has it in like 3-4 different sizes. The Hobby Lobby has only been in Mount Dora for about a year or so, before that, it was Amazon or Ebay where I also found the copper tape.
-
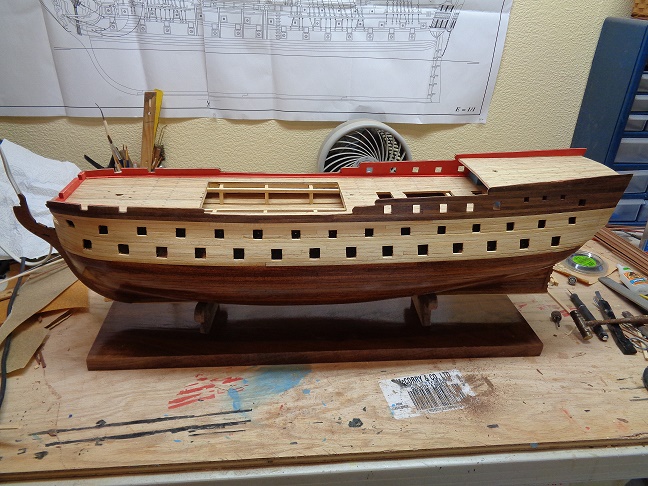
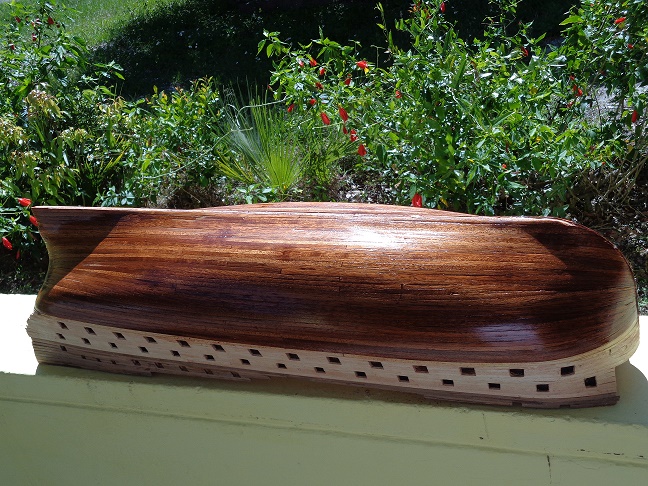
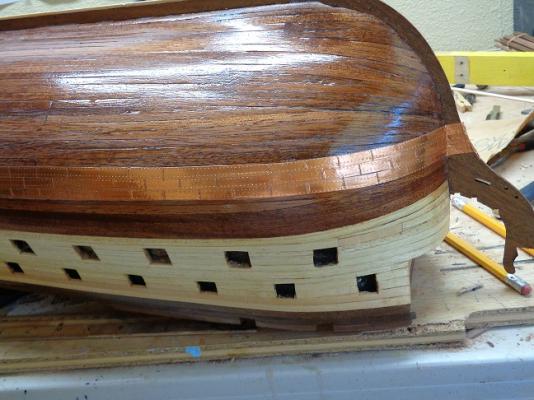
I have to say that the planking on this model is absolutely gorgeous when finished and is one of the prettiest hulls that I have seen on a model. My wife hates the idea of putting copper on it, but as the builder, I have the last say and copper it will be. mike
-
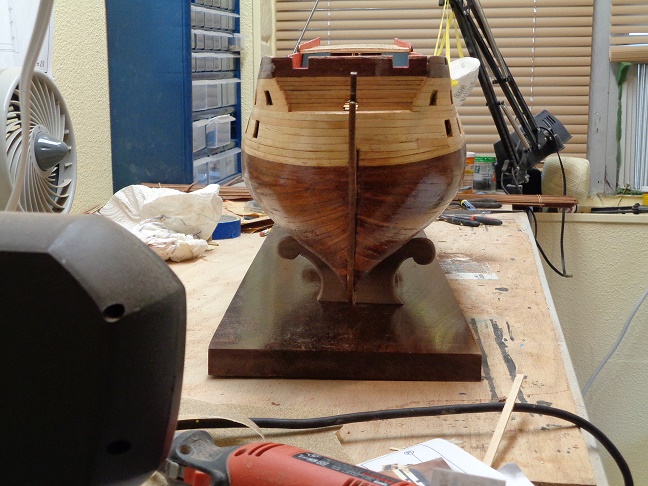
Nope, just the copper foil tape with no added adhesive. I have never had an issue with the copper foil tape holding on the numerous ship models that I have built and coppered except one that I decided to re-do and that was because I didn't seal the hull with anything before taping and just laid the tape down on the bare planking, which I guess you could do if you really and I mean really clean the hull thoroughly, which I didn't. So after that incident, I either paint the hull first with a paint or varnish or poly first and then lay the tape over it especially if there is any major puttying to be done because unlike a bare hull that has been finished naturally, some imperfections or blemishes will disappear for the most part. But when you lay down copper, that hull had better be smoother than a babies you know what or else it will show every time. mike
-
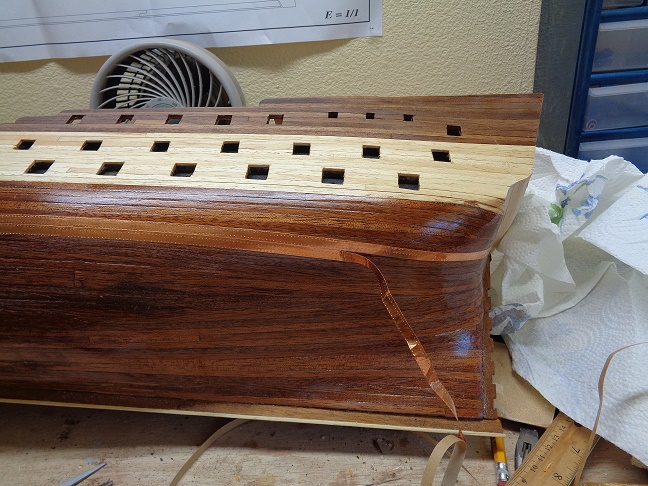
I gave it a good coat of Poly and set it outside to dry. This will seal the planking and also will allow the copper plating to stick to it especially after I rough the finish up with a little 220 grit sand paper. mike

-
Fantastic work, I picked up a trick from you already and that was those wafer stacked filler blocks, it looks a lot easier to work with than cutting large filler blocks. mike
-
Thank you for the kind words Paul, I'll try and post a few pictures of the council meeting Tuesday. mike
- 230 replies
-
- 1
-
-
- victory
- artesania latina
- (and 1 more)
-
This has got to be one of the best builds going, I love the finish you have given the wood and those strategically placed nail heads are superb. For some reason I never gave this model much thought, but after watching this build log, I'm very impressed and now I'm considering this model. mike
-
Thank you Lawrence, I tried to mimic your beauty and I think I came pretty close. mike
- 230 replies
-
- 2
-
-
- victory
- artesania latina
- (and 1 more)
-
I have tried numerous fillers to try and match the wood color and epoxy is about the closest that I have found that dries clear without it being noticed. I have tried wood glue with sawdust, which works, but I have found that the water based glue tends to stain or mis-color the wood once an oil based poly is used on the wood. I actually use a bit more hardener in the epoxy than normally required, but the trick is to smooth it out and much as possible before it starts to set and get sticky. Then I let it dry over night and get nice and hard then I take a piece of 150 grit sand paper and smooth it out. I would be curious to know of others that use something else that works as well or better because I'm willing to try it. mike