-
Posts
5,666 -
Joined
-
Last visited
Content Type
Profiles
Forums
Gallery
Events
Everything posted by Jack12477
-
I used to do this instinctively with a hand held light meter and a mechanical Pentax SLR, especially with nightime "available light" photography. I'd meter the scene, put a little right or left English on the meter reading and snap the photo and 95% of the time get the photo I was looking for. Now I'm trying to get a computer to do the same. Kinda like driving the new 2023 cars, you're driving a computer not a car. I'm still trying to master the DSLR. My brain knows what to do but getting the camera on the same page is sometimes a big challenge. I got my first 35mm camera for 8th grade graduation, bought my first 35mm Pentax SLR after my Freshman year in college where I also learned my way around a darkroom, setup my own basement darkroom 2 years later. Don't know what my kids are going to do with the tens of thousands of B/W and Color negatives and Color slides when I pass on, but ............ Oh and all the Pentax cameras too .......... I have probably the only 110 film SLR with interchangeable lenses (Pentax 110) ever produced.
-
I don't think that's the problem. The camera's meter is trying to average all the light sources together to get an exposure. The meter is reading the brighter white background and underexposing the foreground image. Likewise with the bright blue background, the camera is trying auto white balance the entire photo and the blue is throwing it off. Try setting the camera on aperature preferred mode, A or AV on dial, set the camera's metering system to "Center-weighted", pick any F-stop that gives you good depth of focus (f/8 to f/22), zoom in on the model and get an exposure reading, press the AE or AEL button to lock the exposure in the camera, zoom back out to compose the frame, then take the photo. If you're still not happy with the exposure, use the cameras exposure compensation feature ( + or - ) to auto adjust exposure, then repeat the above to take another photo.
-

Attn: ALL LINDBERG Model fans! (Test your knowledge?)
Jack12477 replied to BoSmith_12's topic in Plastic model kits
I built that kit also while on Charge of Quarters (CG) duty in US Army 1965-1967. The real W37 in Baltimore's Inner Harbor was stripped of her name, she's no longer known as Roger B Thaney, now simply W37. Thank the "woke" generation for rewriting history. -

US 6” gun by RGL - FINISHED - Panzer Concepts
Jack12477 replied to RGL's topic in Non-ship/categorised builds
That is a very impressive camouflage Greg ! Great looking model -
Nice job Sal, looks good and it covers the overspray 😉
- 144 replies
-
- Harriet Lane
- Model Shipways
-
(and 1 more)
Tagged with:
-
I have this Allwin sander from MicroMark which is perfect for my small workarea and is quite portable.
-
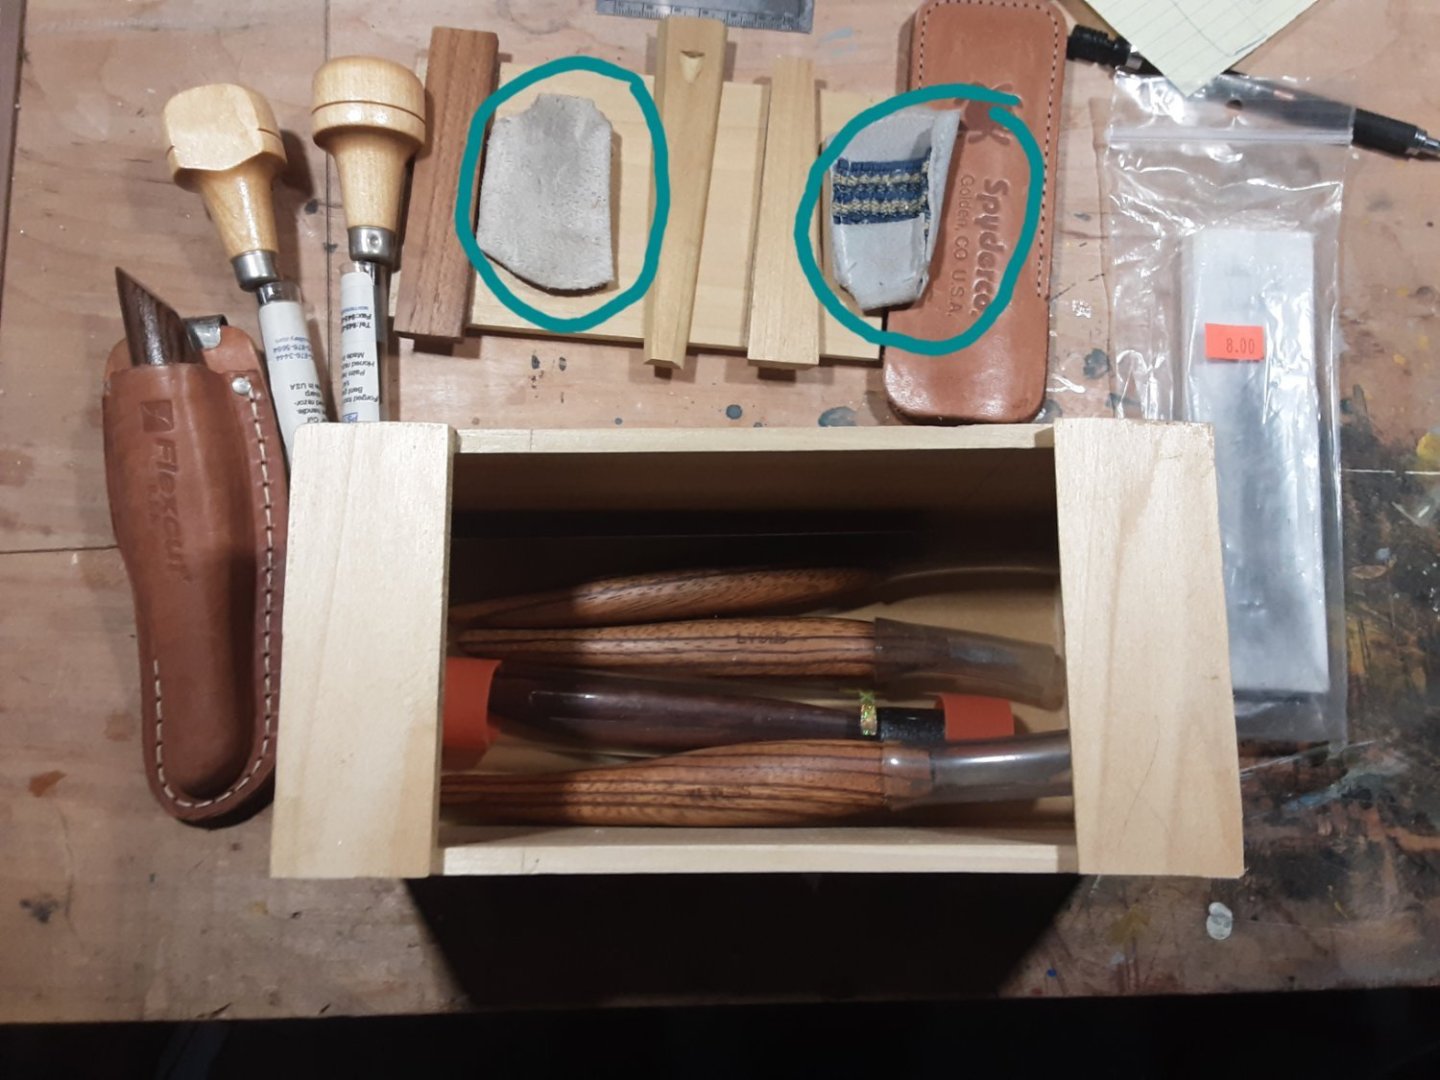
Ole woodcarver trick: using a sharp blade, make a stop cut across the plank perpendicular at two points along the plank. Then use your Veritas miniature chisels to carve away section of plank till you get to the base decking. If you place the bevel edge of chisel down flat against the plank then raise it slightly you can use it as a small knife blade. Reverse it so the bevel is up after you have enough material removed and use it as a regular chisel. The stop cuts will prevent any unwanted tear out. Practice on a piece of scrap planking. You're using the chisel as if it were a plane.
-
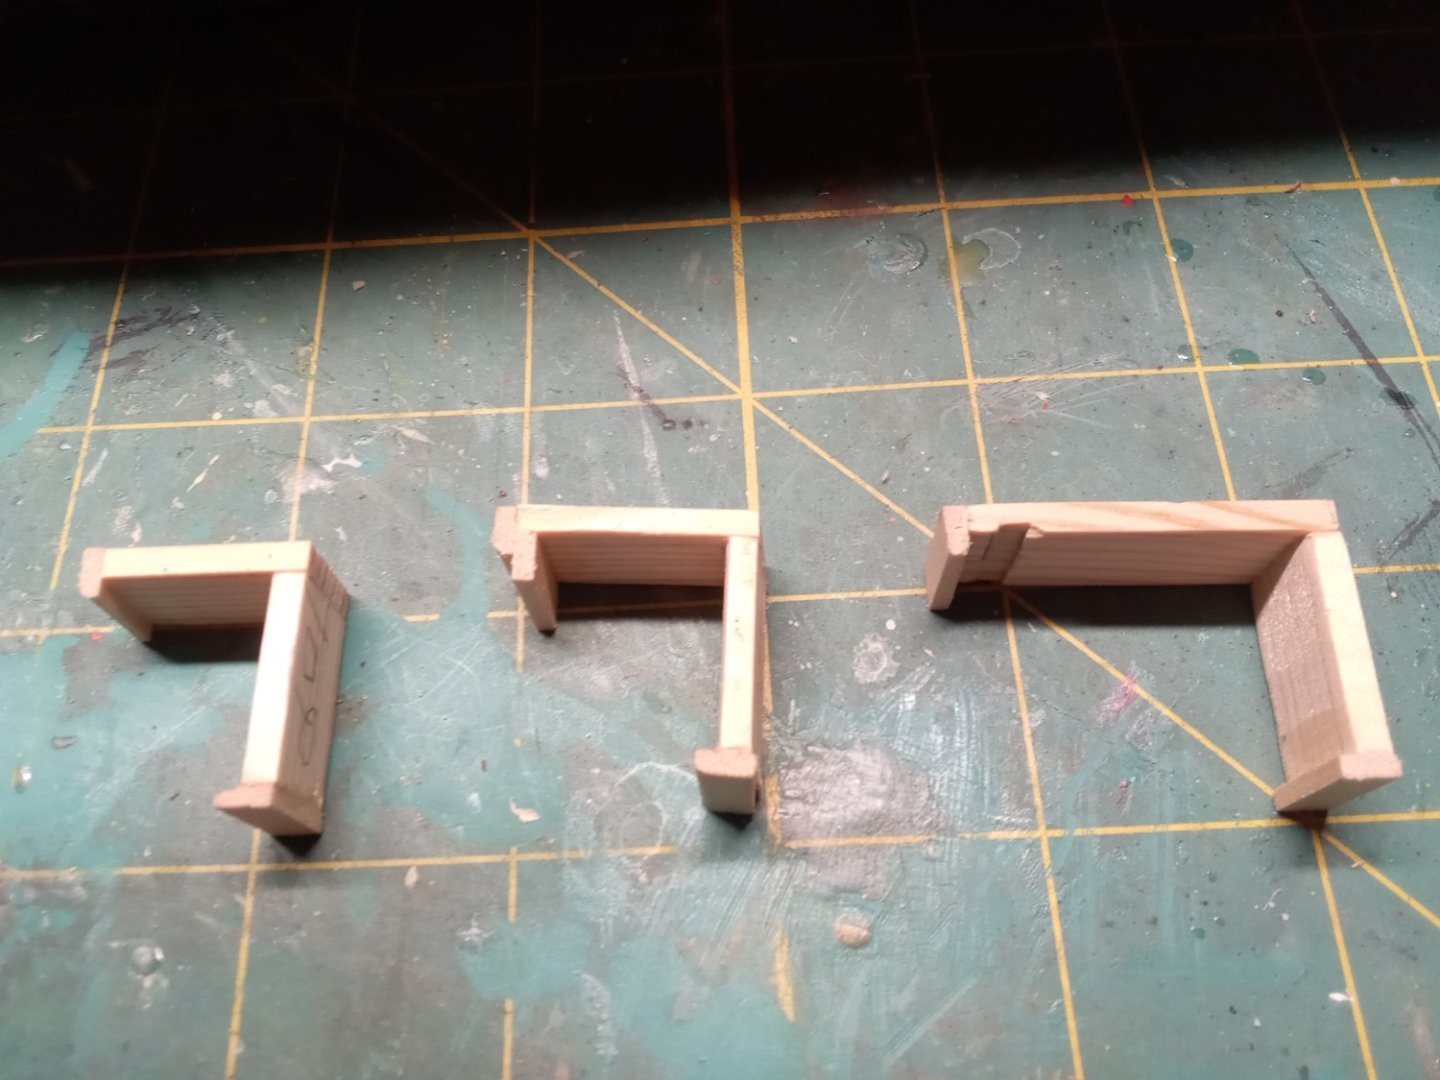
Thanks guys! The jig was created out of frustration. I was using 25 second gap filling CA glue to attach the lids but it just wasn't setting up and trying to hold the lid flush and level with just my fingers wasn't working. PVA glue was even worse setting time. So I had to wing it with the jigs (see photo below), they just hook over the rail and keep the lid snug and level. The weight of the jig provides enough clamping pressure. Gary, @FriedClams the paint collection is a result of all the plastic models I have built over time plus some new jars purchased in anticipation of my next plastic model. 😀 I still have a few jars of Floquil left over from my now defunct N-Scale Model Railroading projects. The layout is gone but the buildings and rolling stock are safely packed away. I'm really enjoying your shadow box dioramas. I
About us
Modelshipworld - Advancing Ship Modeling through Research
SSL Secured
Your security is important for us so this Website is SSL-Secured
NRG Mailing Address
Nautical Research Guild
237 South Lincoln Street
Westmont IL, 60559-1917
Model Ship World ® and the MSW logo are Registered Trademarks, and belong to the Nautical Research Guild (United States Patent and Trademark Office: No. 6,929,264 & No. 6,929,274, registered Dec. 20, 2022)
Helpful Links
About the NRG
If you enjoy building ship models that are historically accurate as well as beautiful, then The Nautical Research Guild (NRG) is just right for you.
The Guild is a non-profit educational organization whose mission is to “Advance Ship Modeling Through Research”. We provide support to our members in their efforts to raise the quality of their model ships.
The Nautical Research Guild has published our world-renowned quarterly magazine, The Nautical Research Journal, since 1955. The pages of the Journal are full of articles by accomplished ship modelers who show you how they create those exquisite details on their models, and by maritime historians who show you the correct details to build. The Journal is available in both print and digital editions. Go to the NRG web site (www.thenrg.org) to download a complimentary digital copy of the Journal. The NRG also publishes plan sets, books and compilations of back issues of the Journal and the former Ships in Scale and Model Ship Builder magazines.


