Louie da fly
-
Posts
7,990 -
Joined
-
Last visited
Content Type
Profiles
Forums
Gallery
Events
Everything posted by Louie da fly
-
 After a few months in the water it would probably be supporting a fine growth of underwater weed - particularly if (as I suppose) it's the Golden Hind sailing into tropical waters. But I don't think that would be very pleasant to look at - I agree with Druxey - do what you want to do. Steven
 -
Perhaps to make them easier to find in dark/overcast/mist? Steven
-
I agree with Druxey and Carl. There's a doctoral thesis in the TAMU records online which consists of a speculative computer reconstruction of a dromon which is certainly no better nor better researched than your own model. I think if you showed this to a knowledgeable nautical academic, he/she could not fail to be impressed with the breadth and depth of research you've undertaken in constructing this model - as I am. Of course, there's a good chance that the Black Sea discoveries will prove some of your conclusions incorrect. This is always the case in research, and doesn't invalidate your work in any way. I'm in the same boat (sorry!). One part of me is dreading the discovery of a complete dromon, with my own model only half completed. The other part of me is looking forward to it with great excitement. Steven PS: I think this era is exactly the time to be calling them gunwales - this is when they first attached guns to the upper wale, so what could be more appropriate?
-
We'd probably say "freehand". It's looking very good, Patrick.
- 756 replies
-
- 2
-

-
- galleon
- golden hind
- (and 2 more)
-
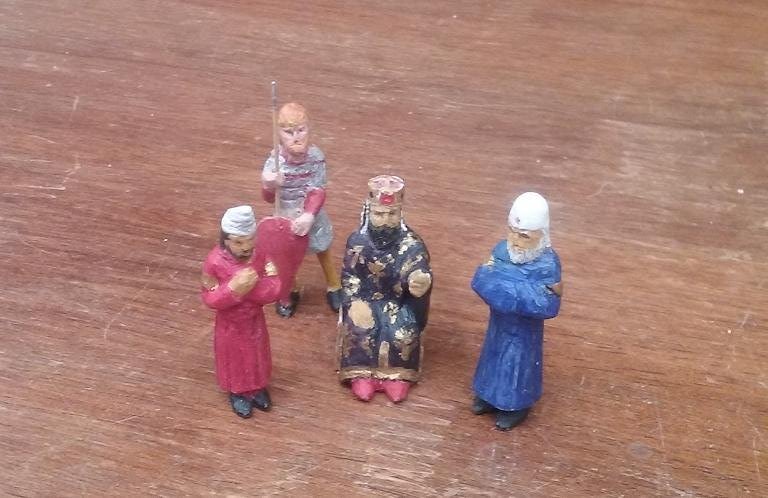
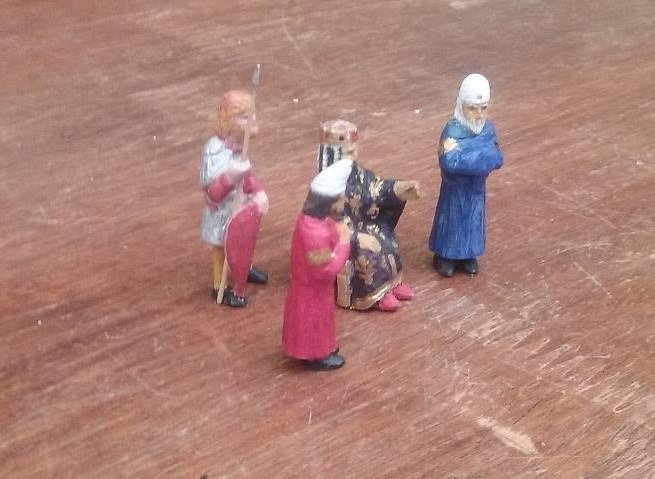
Yes, and he's about a head taller than everyone else - the Arab chronicler Ibn Fadlan described them as "tall as date palms". Steven
-
* Fixed now. All photos the right way up. Sorry for any neck injuries as people craned to see them. Steven
-
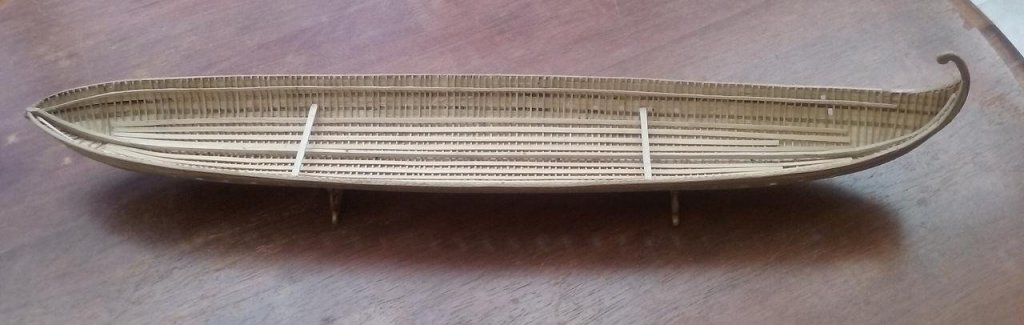
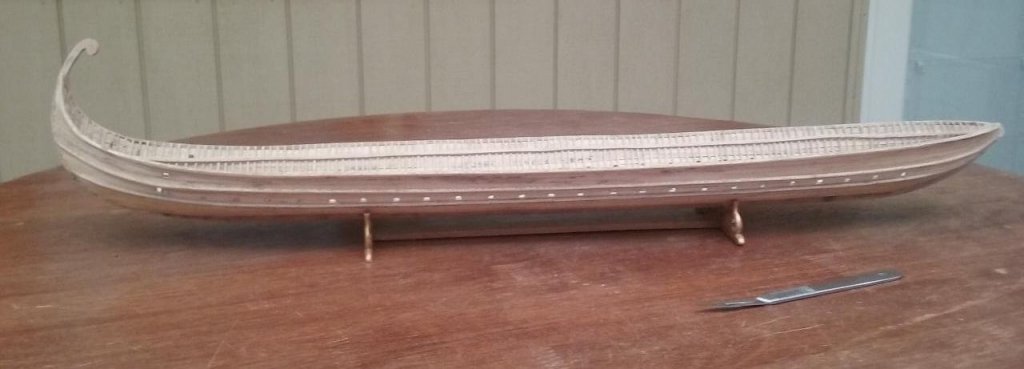
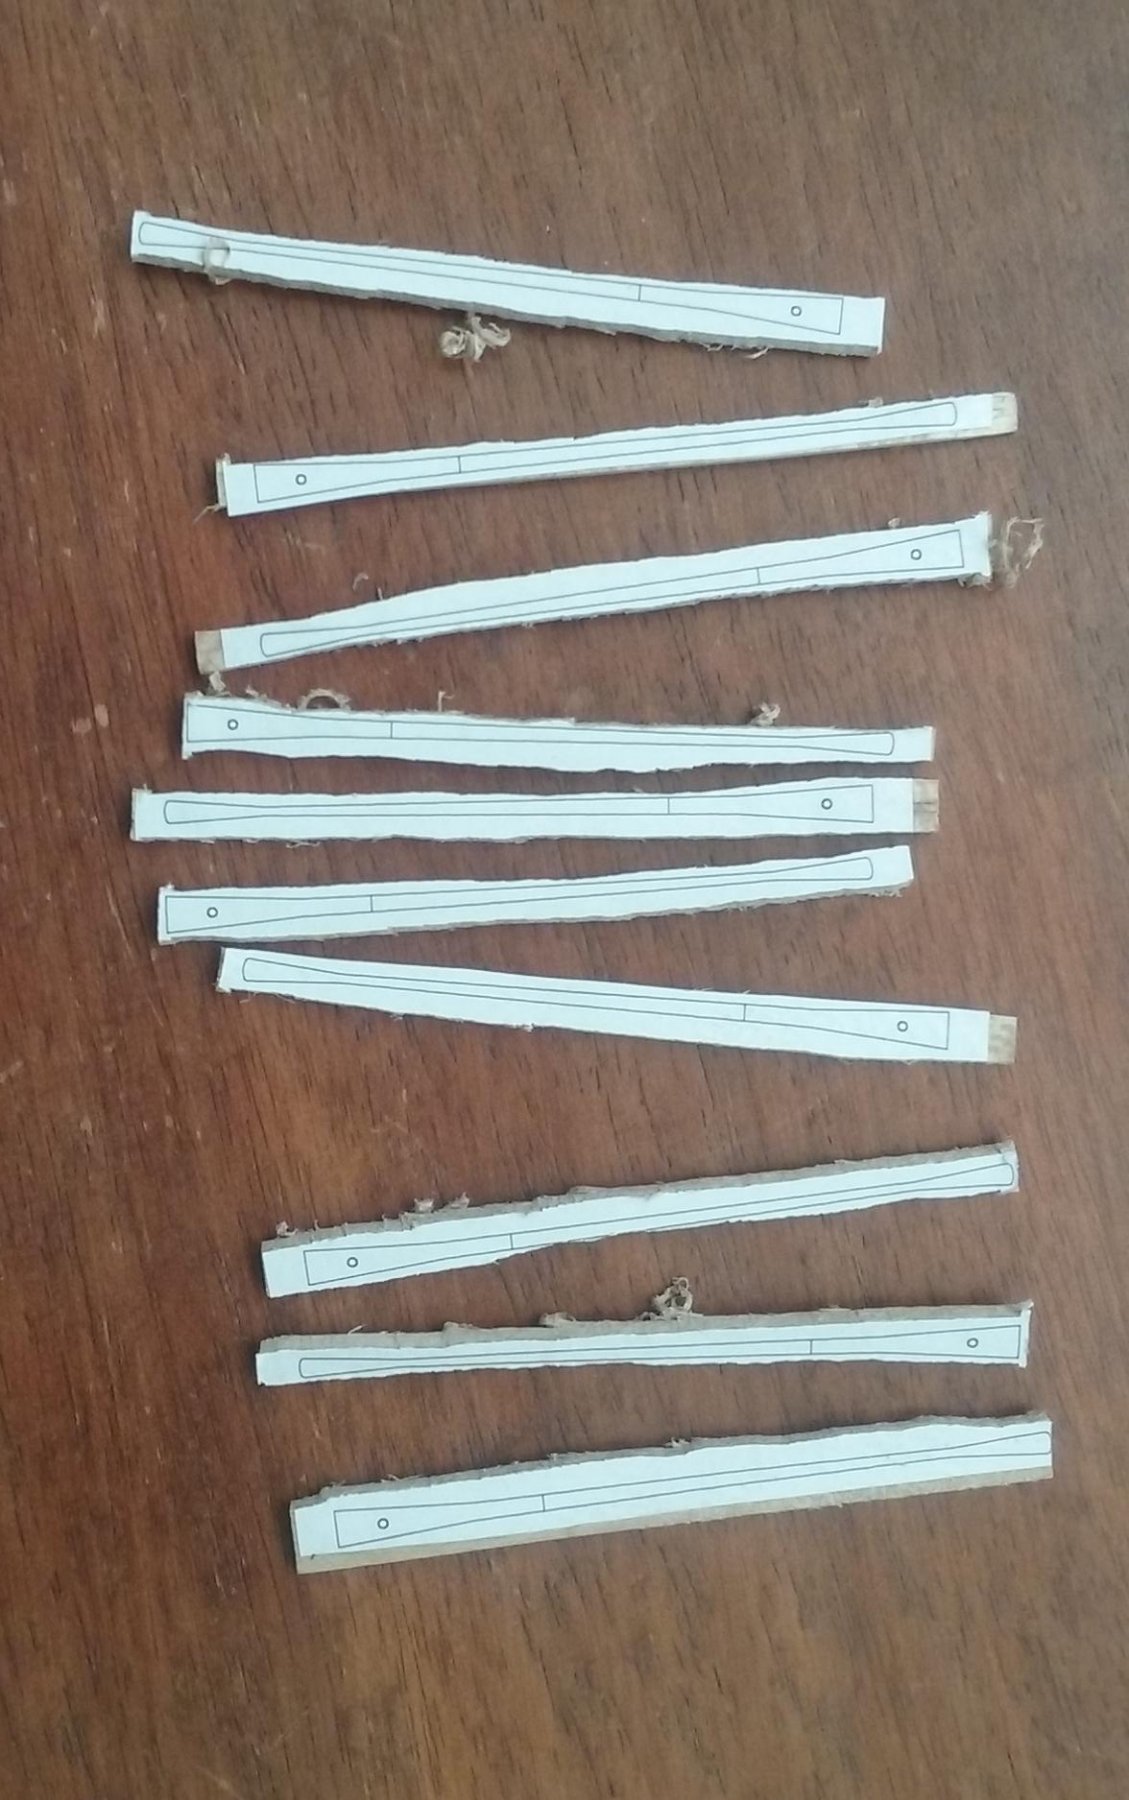
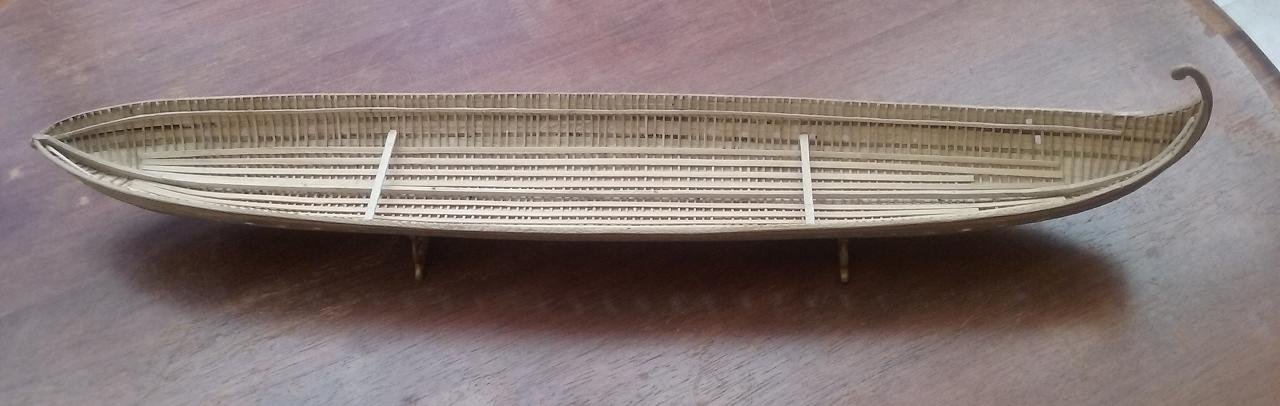
I haven't updated the log for a while - camera problems meant I couldn't post photos - but I haven't been totally idle. I've cut out all the oarports - the photo was taken yesterday and shows it with a few still to go. Very fiddly trying to get them all the same with the tools I have. And I've made a start on the lower deck oars - here are the first set of blanks I've cut out. The "business" end is as usual, but the handle end won't be visible and I'm experimenting with a shape that can be pinned to the "oarframe" (see photo from two posts ago) and will swivel easily when attached, so I can get the angle of the oars right before I glue it in its final configuration. I don't know why the photos are in the wrong orientation - they were ok when I was working on them. * I've added a beam shelf each side to support the deck beams when the time comes, and I've also added a couple of crossbeams to support the oarframe. And I've completed Emperor Alexios, two of his courtiers and one of his Varangian Guardsmen (I may or may not make a second one - depends on the space available on the poop deck). Next on the list will be making and fitting the mast step(s) and re-fitting the "wings" for the rudders.

-
I thought that was Treebeard . . . Steven PS: Looks like a very nice project to undertake. Good looking boat.
-
Another thought - perhaps the line they followed is a "Great Circle" - a curve joining the ends of a diameter of the Earth - that is the shortest route over the surface f a sphere. I don't have the math to work this out, but it may be a possibility.
-
Two thoughts occur - Both ships may have been staying well clear the coast until they reached the right latitude and then sailed east along the parallel until they reached the coast. Unless I was totally certain of the accuracy of my chronometer I'd be treating the longitudinal calculations not as totally reliable but "more of a set of goideloines". I wouldn't risk the safety of the ship on them unless I had to. The other thing is the prevailing winds. If they are westerly, the coast becomes a lee shore - much to be avoided. Even if they only got occasional westerlies, I'd be staying well away from the coast if possible until it was time to go into port. Steven
-
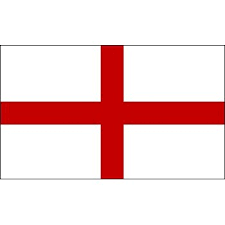
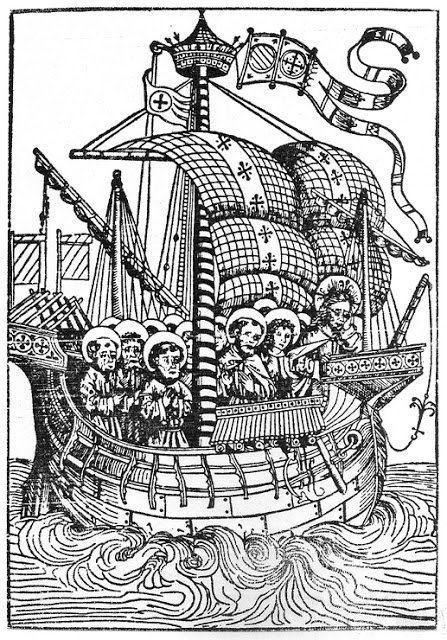
The cross of St George relates specifically to England - a red cross on a white background. The "Union Jack" - the flag of Great Britain - is a combination of the Cross of St George (England), with Scotland's cross of St Andrew - white saltire (diagonal cross) on a dark blue background and Ireland's Cross of St Patrick (red saltire on a white background) Steven
-
Thanks, Dick. I was originally thinking of getting an old cotton sheet from an op shop, sufficiently worn to be thin enough to make a sail at 1:50. But silkspan might be a better option. Fortunately I have plenty of time to think about it. There's plenty to do to the ship before it becomes an issue. And yes, I think I get what you mean about the bulging. I wish you every success with your cunning plan for the half deck. Looking forward to seeing it when it's done. Steven
-
Good to see you back, Dick. The mizzen sail looks very good. Do you find the silkspan easy to work with? It seems to be the only fabric fine enough to simulate sails properly, and I've been thinking of using it myself when the time comes.. Merry Christmas to you and yours. Steven
-
On further consideration I should also say that there'll be no permanent harm done by loosening off the clamps - you'll just have the sides spring outwards, which can be remedied as above. But before you do, make the temporary clamps so you can push the hull back into shape when it's time to glue in the stringer and the beam shelf. It's best to make them while the hull is still being held "shipshape" so you have a shape to return to. Do as many as you need to, probably at fairly close intervals, and ensure the hull and the clamps are marked to show where each one goes, as the distance apart of the bits of bamboo skewer varies depending on the shape of the hull. Good luck with it. Steven
- 8 replies
-
- 3
-
-
- deformation
- ribs
- (and 1 more)
-
I would advise against taking off all the reinforcements and hoping it will sort itself out. It won't. I had a similar problem - my dromon had bentwood frames which spread outward when I took it off the plug. My idea was to use crossbeams to hold the sides in, but I also had a lot of work to do inside the hull before I could glue the crossbeams in place. So I made some temporary "clamps" out of popsicle sticks and bamboo skewers, rather like your braces, to hold the hull shape while I worked on the rest (see page 9 of my build log - posts from Aug 27 to Sept 7 of 2017). Each clamp was sized to sit in one particular place on the hull (and marked accordingly). The beauty of these things is they are so easy to put on and take off. Your problem is more difficult but I believe putting in more temporary clamps would help a lot. You can take off one clamp at a time to work inside the hull without the hull deforming too much (particularly if you work fairly fast!). And adding the stringer and especially the beam shelf should solve the problem permanently. Steven
- 8 replies
-
- 2
-
-
- deformation
- ribs
- (and 1 more)
-
Maritime figures are a bit thin on the ground in Oz, but it might be possible to "bash" wargaming or model railway figures to look right for your purpose. It would also depend on the period you're portraying. Your 22mm figures would be about 1:83 scale. Railway figures in HO scale (3.5mm=1 foot=1:87) would be just over 21mm tall for a person 6-feet tall, though as I recall, most figures are what they call OO/HO, which is 4mm to the foot (=1:76) so a 6-footer would be be 24mm high. Then there are military figures at 1:72 scale (about 24mm high). But I did find this link https://www.1001modelkits.com/small-scale-soldiers/16329-hat-industrie-hat8098-british-sailors-and-marines-x-80-figures-and-8-naval-cannons-0696957080983.html?iPage=1 and I'm sure there are others out there if you're prepared to look overseas. Steven
-
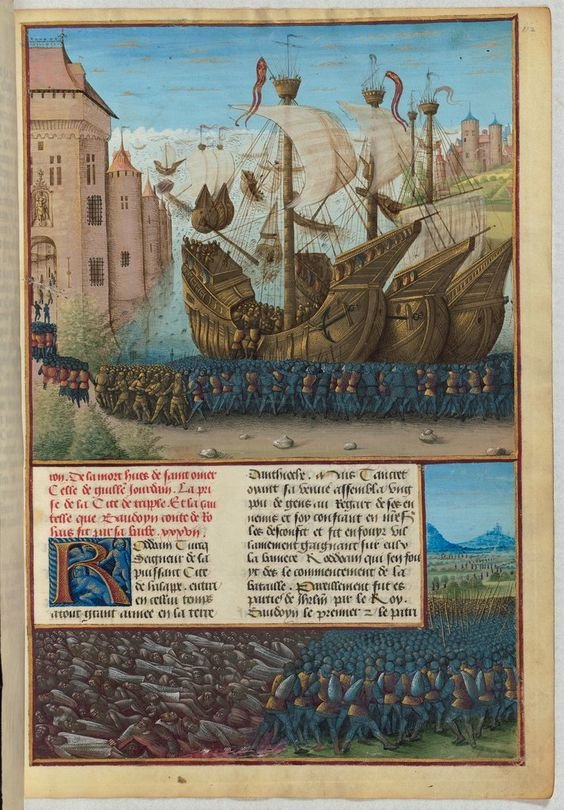
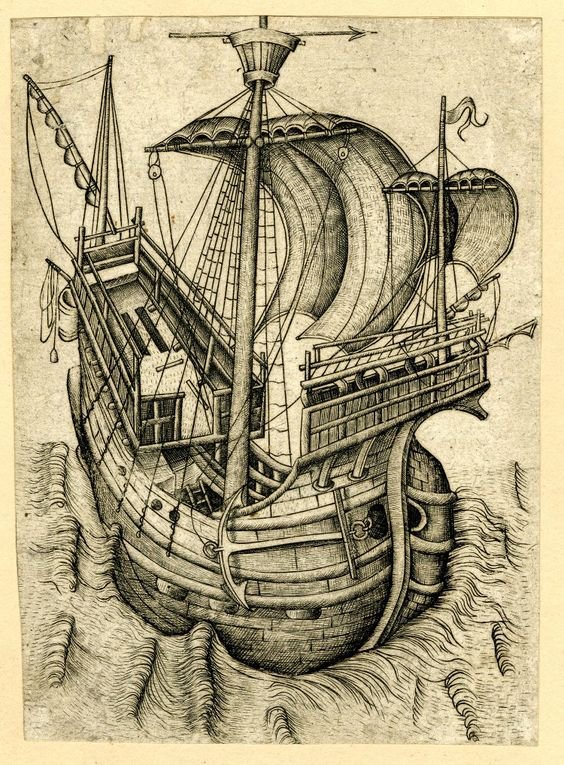
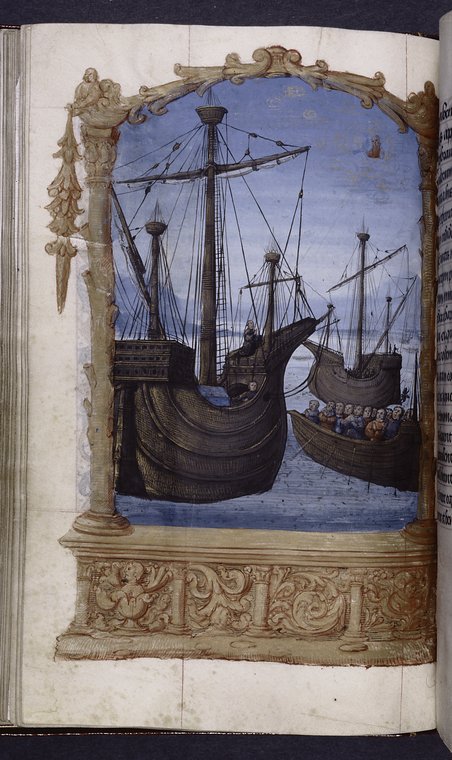
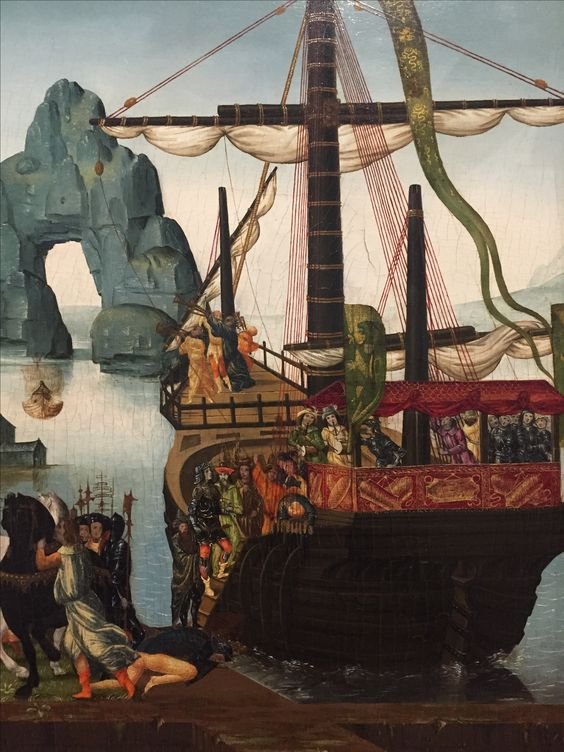
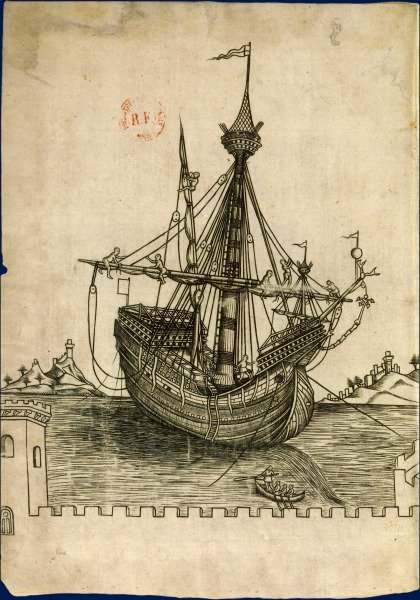
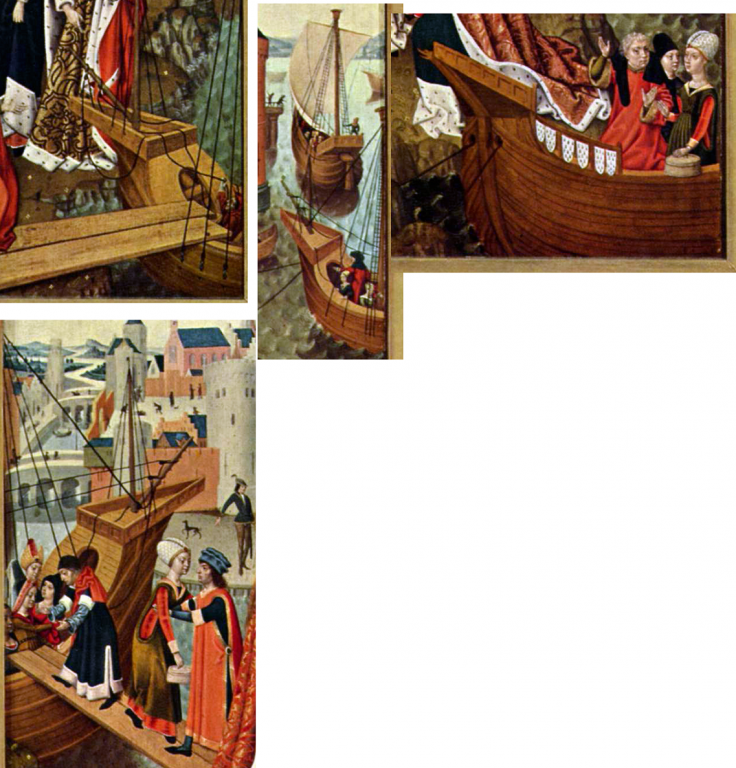
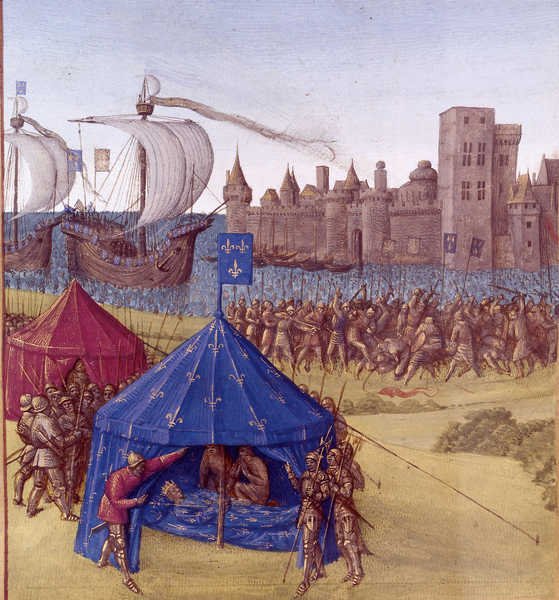
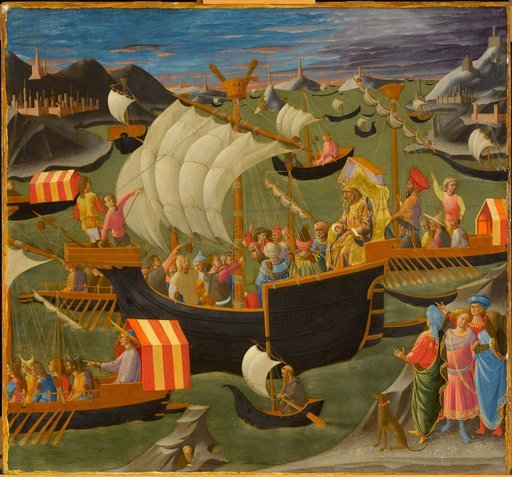
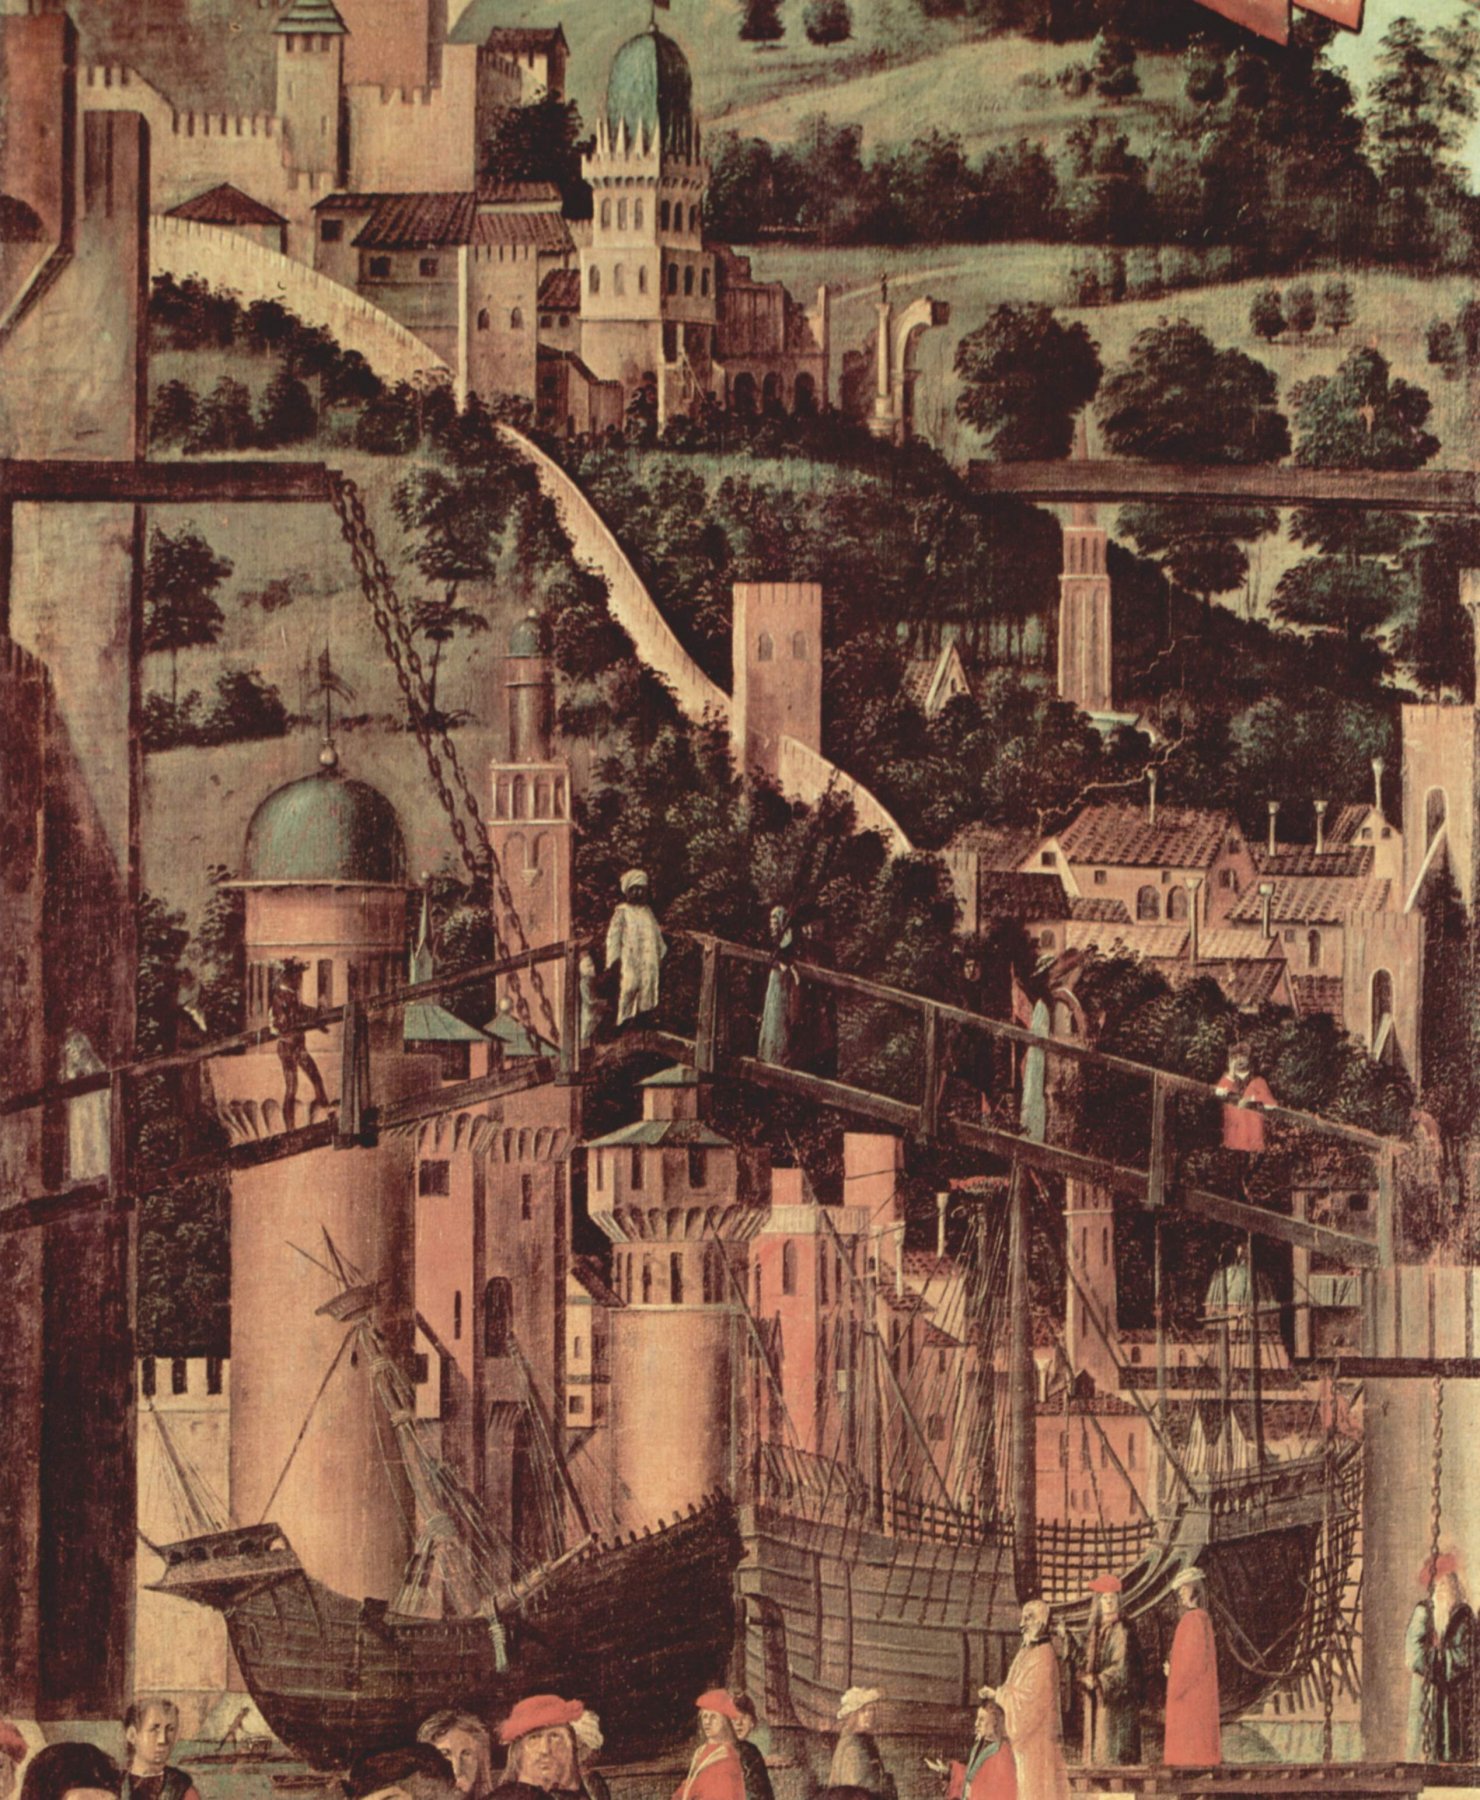
Dick, I got it from Pinterest, a source that is both valuable and occasionally extremely frustrating for its lack of attributions. It is ascribed to Gregorio Dati, a Florentine merchant and diarist who lived from 1363 to 1436, (wikipedia entry at https://en.wikipedia.org/wiki/Gregorio_Dati ) and is apparently held in the New York Public Library, Spencer Collection MS MA 110. It is only vaguely dated (c.1400, which seems to be definitely too early). It could be an illustration from one of his books, but seems definitely later than when they were written. Regarding the strange "stunsails", the have me flummoxed. A very pretty picture, but I have no idea what connection it has with reality. There are several navi tonde (I think that's the plural) with only a single extra mast - the Reixach carrack has a mizzen but no foremast and the picture with the blue tent (above) and the picture immediately above it both show carracks with a foremast but no mizzen. I think you're right to do the mizzen at the very least. As far as I can recall, you built the upper works on the assumption that they'd have to make room for a mizzen mast. It's a beautiful build, I'm really looking forward to seeing her complete. Steven
-
Yes, that makes sense. Perhaps only later did they start thinking of the extra masts in terms of providing extra power rather than just aid in steering. Certainly, as the fore and mizzen masts and sails got bigger the main course got smaller, providing a more balanced play of forces (though that's not necessarily cause and effect). But then how did they mount those slim foremasts (apparently) on the stempost, without the mast just ripping out in the first big blow? Steven
-
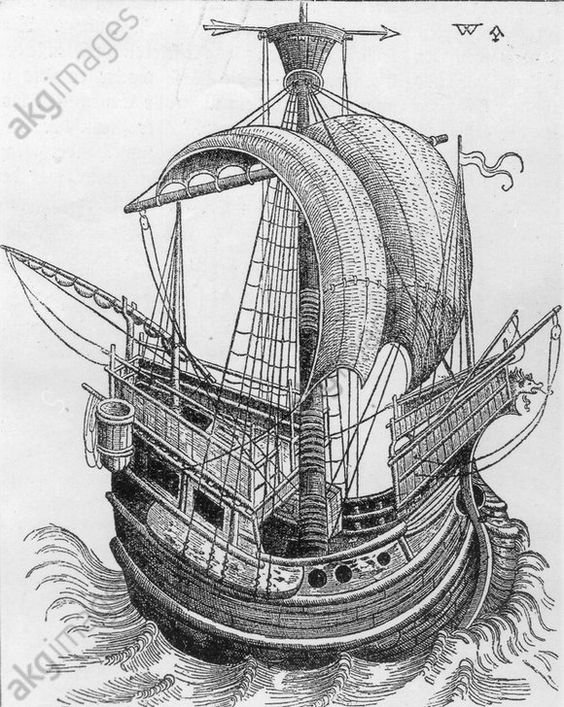
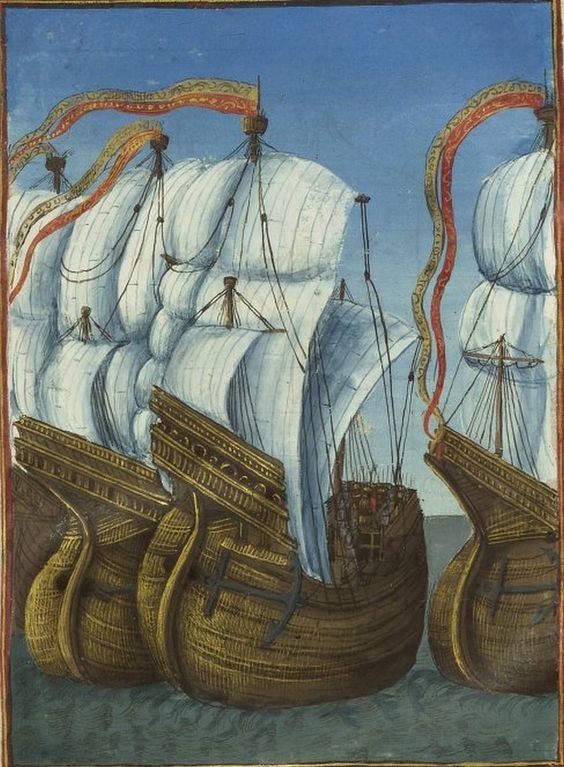
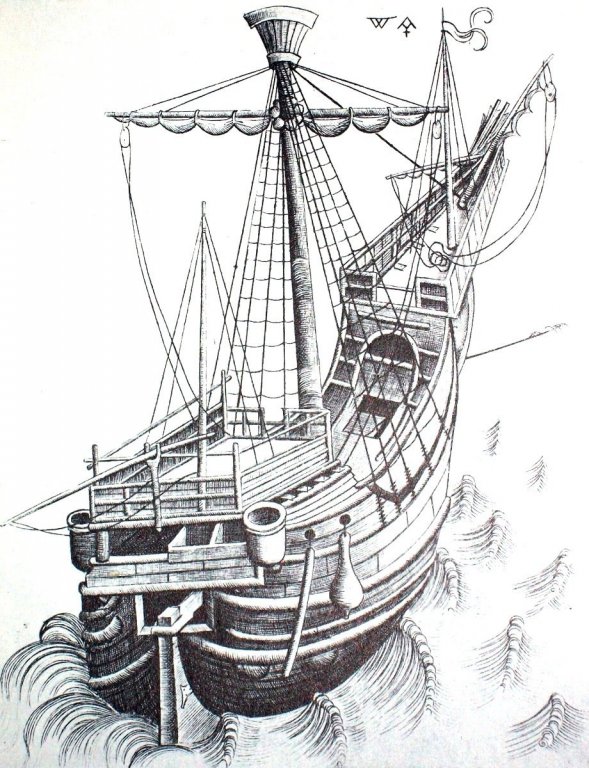
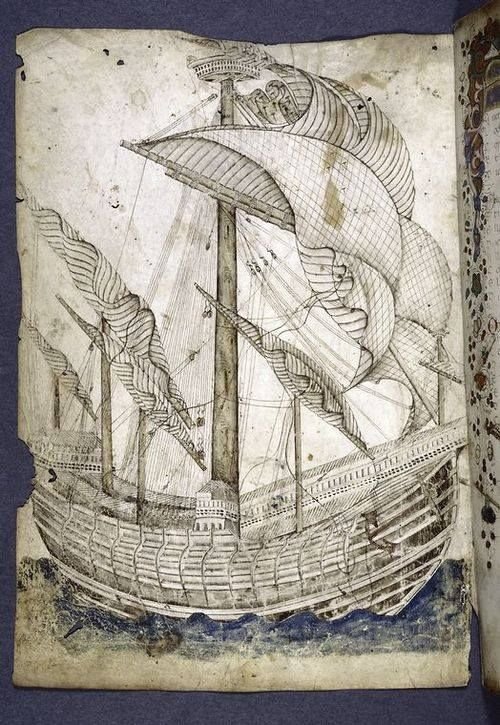
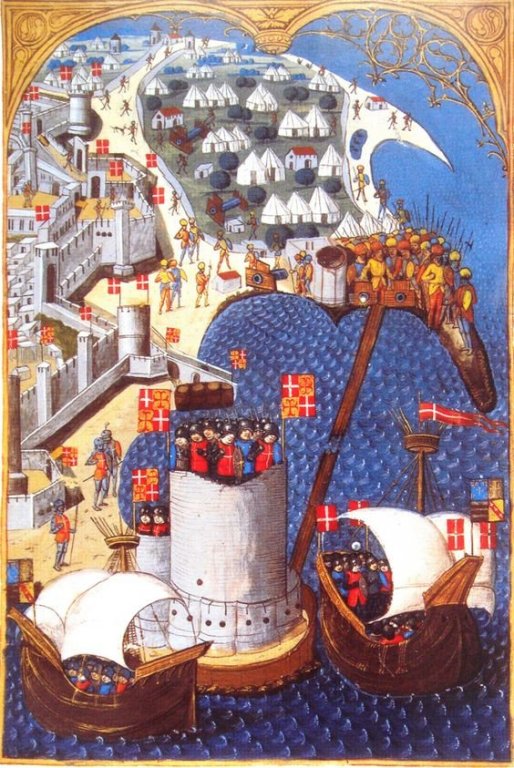
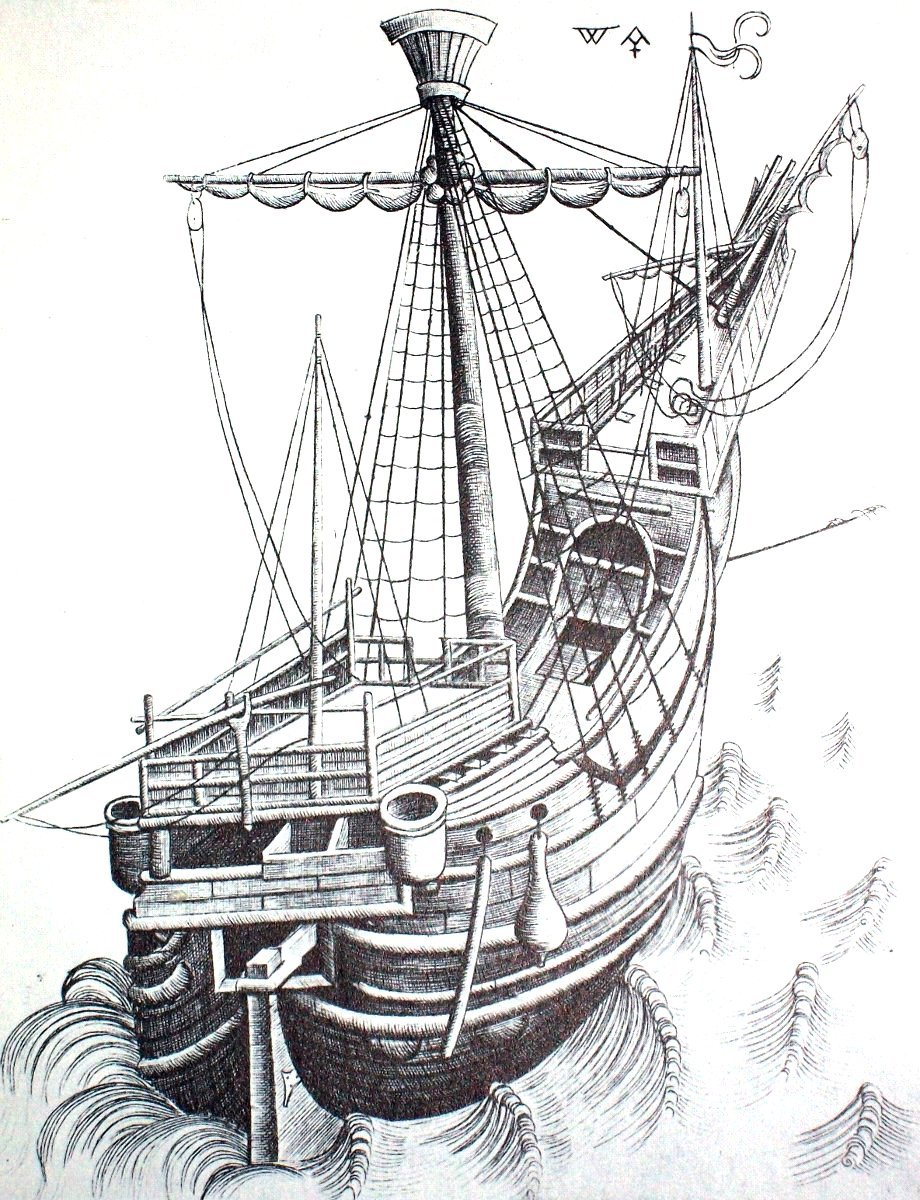
Well, perhaps you're right, Dick. I've collected quite a few contemporary pictures of single masted (and two-masted) "proto-carracks" and though as a general rule the single-masters seem to be somewhat more basic (with less superstructure, for example), there are plenty of exceptions - three-masters with simple superstructure and single-masters with the whole box and dice. And enough from this part of the century - and later - showing what are obviously meant to be cutting edge ships (such as the invasion fleet at Rhodes) with only a single mast. (Note, wherever I've been able, I've included the date and place of the picture in its title - you can see it by hovering the cursor over the picture). Regarding the impracticality of the foremast, I'm not sure where the problem lies, but it seems to me that many foremasts of the time were thin and short and seem to be a bit of an afterthought. As I think you mentioned earlier in this build log, some of them were very far forward - so far forward that they must have been founded on the stempost rather than the keel. One at least is shown off-centre Others were thick and stumpy, and yet others quite respectable masts in their own right. Obviously, the date of the representation is important - presumably the later the picture the more likely the ship is likely to have a foremast, and the more likely it is to be fairly substantial. And a lot of these pictures are several decades after your own representation. However, I think the further north you go, the more behind the times the ships are likely to be - Venice was at the cutting edge of ship design at the time. So a later picture from, say, Flanders, is likely to show what was common decades earlier in Venice. However, consider also that in 1445 at the time of your model, there were quite a decent number of three masters (40% is still quite a few) and that it seems unlikely that the Doge of Venice, who could easily afford the maritime equivalent of a Rolls Royce would content himself with a Corolla, particularly at a time when one's prestige was so dependent on a conspicuous display of wealth. Anyhow, this is all just for your consideration. I'm sure you'll work out something you're happy with and for us all to admire. Steven

.thumb.jpg.e0d965fb66b760f1765ea6d584dae570.jpg)

-
Nice work, Götz. It's taking shape well. Steven
-
Coming along nicely, Robin. Where would we be without balsa? Steven
- 91 replies
-
- 3
-
-
- kolderstok
- duyfken
- (and 1 more)
-
That's beautiful work. What kind of wood was used? Steven
- 11 replies
-
- 4
-
-
- decor
- enterprize
- (and 1 more)
-
I stand corrected, but it's a pleasure to be so. That's really fascinating information, and I suppose after all that furniture would have been regarded as part of a ship's "establishment". Steven
-
Thanks everybody for the likes and especially thanks Robin. (Of course I got the idea for the "waterline" from you.) Steven PS: My wife also thinks it looks like a basket.


.jpg.349d31a9e065812de88067b0ce5c4bc8.jpg)