


Kevin Kenny
-
Posts
1,308 -
Joined
-
Last visited
Content Type
Profiles
Forums
Gallery
Events
Posts posted by Kevin Kenny
-
-
-
I decide to build a sliding table for my Jim Byrnes table saw. I have attached a video on the finial product. Hope you enjoy it.
- Landlubber Mike, Mahuna, Julie Mo and 3 others
-
 6
6
-
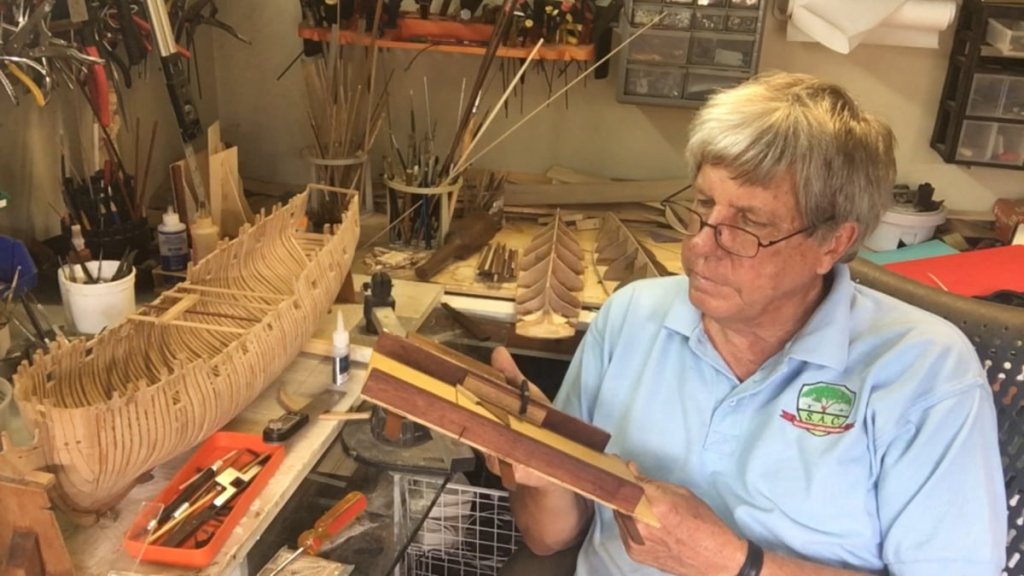
To celebrate this years Americas Cup i decided to build a model of the original ship. This was a kit i had for many years. When i open the kit i was shocked to find that powder post beatle had attacked the wooden parts.
At first i decided to just remake the damaged parts but as the work progressed i decided to make a second scratch built model using the kit to make the scratch built parts.
As with my other projects i plan to make a video of this build.
- Elijah, Ryland Craze, Chuck L and 1 other
-
4
-
-
-
I have had a bad month electronically. Following the swimming lessons of my ipad, my imac died a fatal death. So i am in computer rehab trying to come to terms with surfing the net on an iPhone. Not good.
Just got my new ipad pro set up and the new camera and built in video flash is great. I also was able to recover the files off the cloud so should be able to start post in in the near future. I actually took a break from modeling, married my last daughter so am ready to get going again.
- mtaylor, AON and AnobiumPunctatum
-
3
-
It was in a water proof camera bag, in a water proof cabin. Unfortunately neither of them turned out to be very water proof. I also lost a DSL camera and my friend lost his laptop. I suppose i was lucky as the boat could have sunk twice and we were 20 miles out to sea when it happened. in terms of back up i do subscribe to iCloud service and some of the footage seems to be there, its just impossible to work on it on the iPhone. When i get the new iPad well see. in the mean time i will just clean up the model as i have a number of small things i can do.
- Ryland Craze, druxey, mtaylor and 1 other
-
4
-
I had an unfortunate incident last week travelling from Tobago back to Trinidad in a friends boat. We stuffed the bow through a wave and the entire boat got flooded. Unfortunately my iPad got wet and is now dead. I lost the files that I had taken so will be waiting on the launch of the new iPad from apple this month before restarting the build.
-
-
Thanks for all ypur frank comments. The purpose of doing the video was to be instructive and once you admit to one mistake the other 100 are easy to admit to.
Just thinking ahead. I have no idea what the figuerhead on the Thorn was. Any though on how i should try to identify the figuer head? Should i just leave it out?
Kevin
-
-
i have to tell you i have been to the wall a few times and did get discouraged. But i am a stubborn SOB and have spent most of my life dusting myself off and getting back on track. This build is no different. I still have to take out two frames which i will do next week. This group of modelers deserves a clap on the back, because it is a word here and there that kept me going.Congratulations, Kenny, on reaching this milestone. You've done a fantastic job! I hope you won;t be disappointed to know I had to abandon my first effort after a year due to cumulative and rookie errors and even David's first POF model (although it looked pretty damned good to me) had some significant errors. Look forward to your continuing video series.
Keep well.
Kevin
- KentM, AON, Ryland Craze and 3 others
-
6
-
-
Kevin! As always - a huge thank You for a great video ! By the way, a good friend of mine built a Piper in 1:1 scale! In this plane there was my very small contribution...
The plane you see in the shop is a 1/3 cub kit from Yellow aircraft. She flys beautifully.. The build was actually started by a friend who got cancer and eventually died and i furfilled a promise to him to complete the build for him.
-
-
This is the last Video this year. Many thanks for all your support and help.
Kevin
- aviaamator, dgbot, zoly99sask and 8 others
-
11
-
First of all my frame plan ZAZ 4691 A aft does not show a " cast" at the top.
My gut feels to follow the book and not the plan in this case? Your comment.
I am a bit confused on the frames sent to me via email. Greg Can you see if i have it right
There are 11 frames left. I have use the "@" to depict the center. Starting at the back,
- 1 aft. floor
Spacers
-1 fore. crosschock
-1B , floor, top timber shifts aft.
-1A , crosschock,
-@1 fore. Floor, scarf joint
Spacers
-@ center, crosschock
Spacers
-@A, floor
-A aft., crosschock, maybe cast at the top?
-A fore. floor
-B aft., crosschock
Spacers
-B fore., floor
-
I had to change some errors in the video so had to repost.
Kevin
- mmdd, James G, AnobiumPunctatum and 5 others
-
8
-
-
I had to take a rest after a real bad bout of flu. But i am back and used the time to clean up the inside of the frames on the model. In the process i modified one of my Proxxon sanding tools and have invited Proxxon to produce some accessories that may be of use to our hobby.
-
I wouldn't worry too much about the timberheads and quarterdeck stanchions at this point, Kevin. I think you will find them much easier to shape off the model then installed later after the various plankshears (rails) are in place. The most important thing to do is to get the toptimber levels correct, with smooth graceful lines. They are also parallel athwartships. This is much easier to do without timberheads and stanchions in the way. Later on, you can form the various plankshears from two sections with slots left to receive each timberhead or stanchion. David illustrates this beautifully in his book.
so waht you are saying is that all the tops of the frames are cut flat and added after. I wondered how i was going to cut holes for each of the timberheads to pass through the rail ( not sure of the correct term) . This makes so much sense.
-
-
-
The reason i chose Vimeo over YouTube was the quality. The down side to Vimeo is that ypu will need at leat 2m to view. Sorry about that.
- AnobiumPunctatum, Elijah and mtaylor
-
3

Power tools in a modern work shop by Kevin Kenny
in Modeling tools and Workshop Equipment
Posted
This is a short video of the power tools in my shop