hornet
-
Posts
690 -
Joined
-
Last visited
Content Type
Profiles
Forums
Gallery
Events
Everything posted by hornet
-

Black wire for eye bolts/rings
hornet replied to Johnnyreg's topic in Metal Work, Soldering and Metal Fittings
Might I suggest when you use the blackening solution, you treat the wire BEFORE you make the eye bolts. Run the wire through some very fine emery paper then soak in white vinegar to remove any grease, such as the natural oil on your fingers, then follow the instructions on the blackening solution bottle to blacken your wire. Steve -
Black wire for eye bolts/rings
hornet replied to Johnnyreg's topic in Metal Work, Soldering and Metal Fittings
Have used this for years. Available on eBay. Can be reused over and over.
-
Occre diana 1/ 85 scale
hornet replied to Snow's topic in Painting, finishing and weathering products and techniques
Try Admiralty Acrylic Paints sold by Cornwall Model Boats. They make a yellow ochre which may be what you are looking for. -
Airbrush question
hornet replied to Antonio Vasquez's topic in Painting, finishing and weathering products and techniques
Yes, you will get some overspray. I solved the problem bu purchasing a small, portable spray booth from eBay. Cost around $100 au. As long as you vent it to the outside via the supplied flexible hose, you can spray inside to your hearts content. The booth folds up into a small ‘suitcase’ for easy storage. -
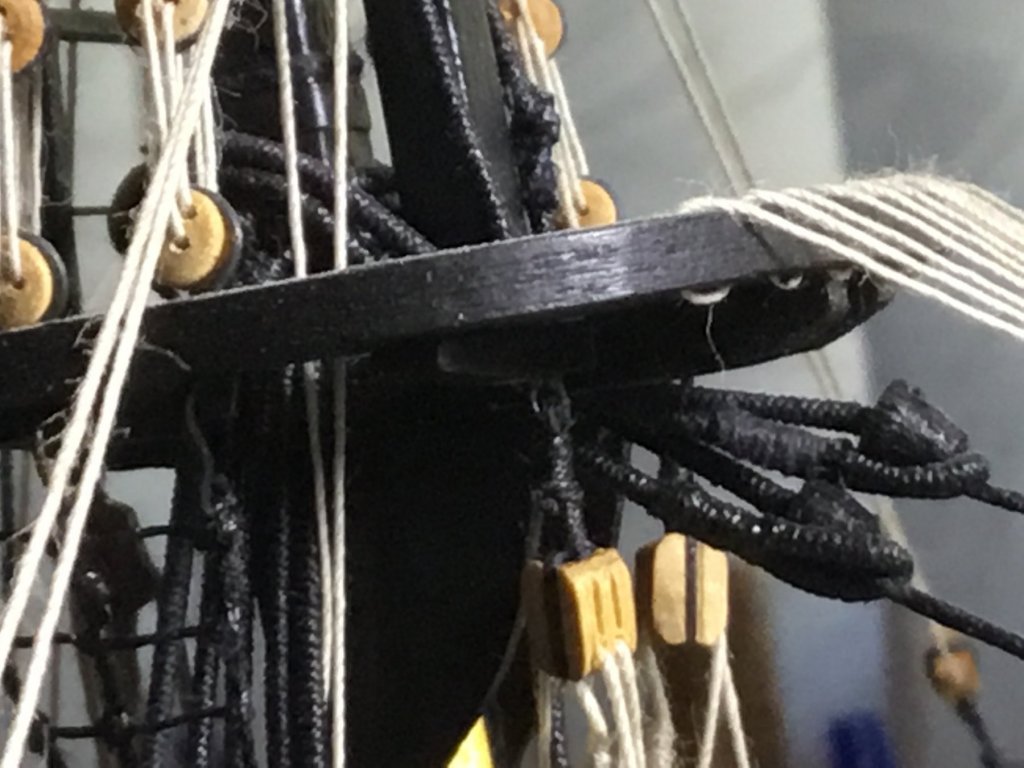
Adding to what Amateur has explained, the shrouds were also wrapped or ‘served’ in a smaller diameter tarred rope where they looped around the mast and for some distance below the cross tree. The forward shroud was actually served for its entire length. This was done to prevent wearing or chafing of the shrouds against each other or against other components of the rigging. You can buy a serving machine from the Syren Model Ship Company (manually operated) or from Domanoff Workshop (motorised) both are listed in the SPONSORS tabs on the right of the MSW Home page. I have the Domanoff version which works well. For this aspect of rigging and many others that are often not well explained in model ship instructions, I can thoroughly recommend the book Rigging Period Ship Models by Lennarth Petersson. It has many great illustrations and I refer to it constantly. See below the rather dusty pic of ‘served’ shrouds from one of my models. Cheers Steve
-
Having built a number of models myself, I know that every mistake I make, and don’t fix or replace, stand out to me (even though nobody else would notice). For that reason, if it were my model, I would sand and strip the affected area back and redo it. Put it down to experience and since you have not planked a Hull before, take advantage of the chance to practise and develop your planking skills. Take Druxey’s advice and always test your stain on a piece of the SAME timber next time. This way when you finally finish you will be much happier with your model than you would be if it is compromised by such a large boo boo.
-
Air Brush Paints
hornet replied to Worldway's topic in Painting, finishing and weathering products and techniques
Admiralty acrylic paints (see caldercraft website) are excellent quality, accurate colours and thinned with water to the consistency of milk. Have used them for a few years and am very impressed. Steve. -
Ropewalk
hornet replied to Worldway's topic in Rope Making/Ropewalks's Rope Materials and parts resources
Hi Wefack May be a simple machine to someone with an engineering background, but to us mere mortals, building one that actually works is quite a challenge:) -
Ropewalk
hornet replied to Worldway's topic in Rope Making/Ropewalks's Rope Materials and parts resources
I have posted this before. Maybe it will give you some ideas to build your own. Steve -
I have both. The scroll saw gets a lot more work when modelling. If you get a band saw, make sure it is a decent size. I'm my opinion the smaller ones are pretty useless.
-
Belaying pins
hornet replied to bluenose2's topic in Discussion for a Ship's Deck Furniture, Guns, boats and other Fittings
The belaying pins provided with my Caldercraft Bounty also looked more like bowling pins. I remedied this by reducing the diameter of the top section by about 50% using sandpaper and my proxxon lathe. -
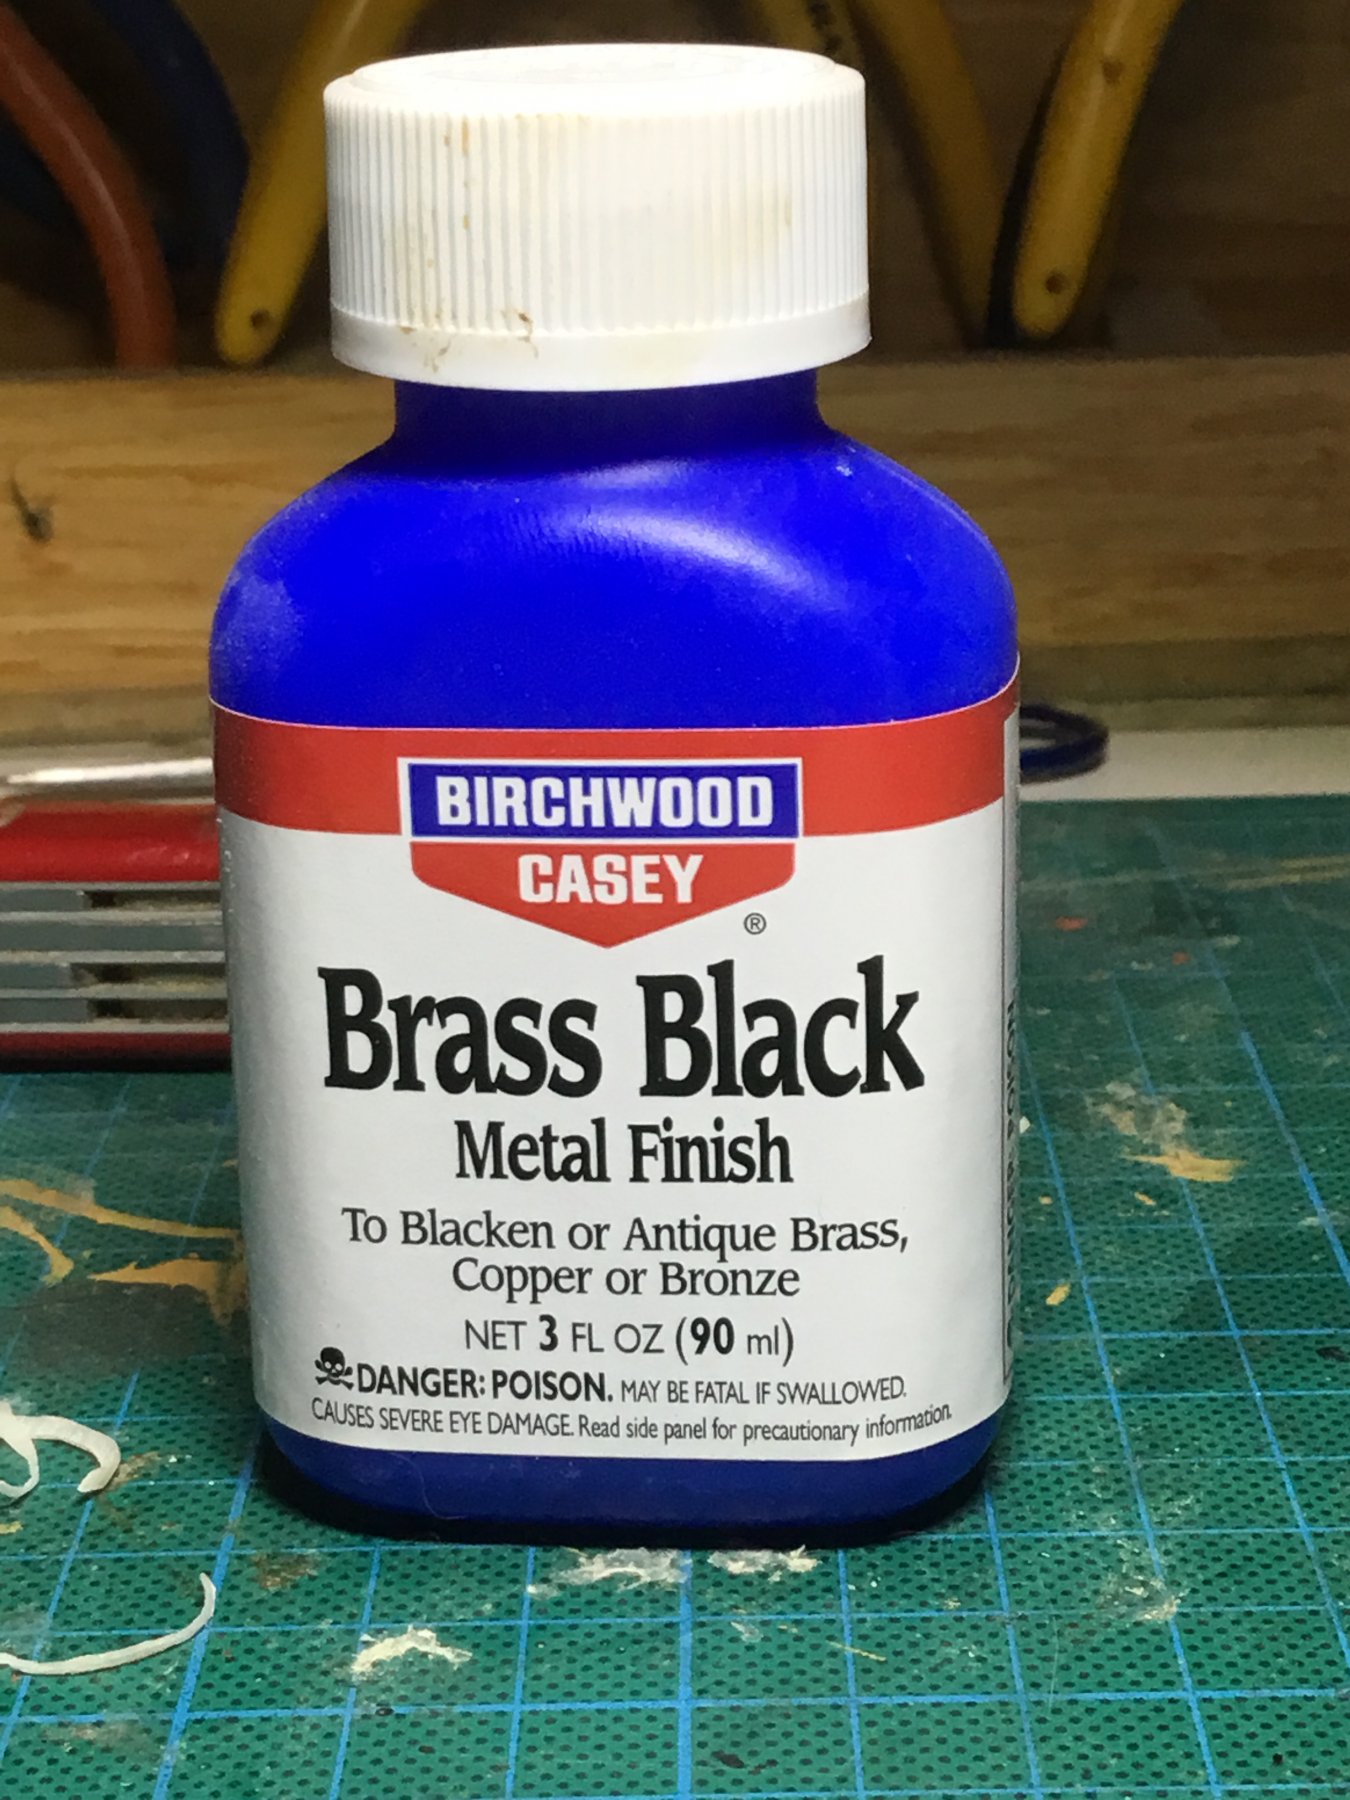
Great result Graham, certainly a lot better than you would have got with flat black paint. cheers Steve
-
Great Graham. A couple of tips when using Birchwood Casey. Make sure your cannon are free of any contaminates such as grease ( from your fingers) by soaking them in white vinegar then drying with a tissue ( without touching them with your fingers) Don't soak them in the Birchwood Casey for too long - about 30 seconds. Remove, wipe with a tissue ( some of the blackening will come off) and resoak. Continue doing this until the cannon is sufficiently blackened. I have found that submersing the cannon for too long results in the blackening not working evenly. Some folk dilute the Birchwood Casey, but I don't. I also pour it back into the bottle to reuse. Not sure if everybody else uses it in this way, but I have done a bit of experimenting over the last couple of years and this method works best for me. One bottle lasts a long time. Hope this helps you, cheers Steve.
-
I use Admiralty paints a lot too. I agree with the 50:50 mix that Nick suggests. However, like Nick, I have come to the conclusion that for some jobs, brushing is quicker and easier. Admiralty paints provide very good coverage and finish. I have completed one Caldercraft model, The HMS SUPPLY which I painted with Admiralty Dull (metal) Black because the guns were Britannia metal. However my current build, HMAV Bounty has brass cannons. I use Birchwood Casey (available on eBay) and get a nice burnished finish. If your Victory is supplied with brass cannons, I'd suggest blackening as you get a much better finish and it is much quicker.
-
New member from North Sydney Australia
hornet replied to Fernando E's topic in New member Introductions
Errrr it's Steve not Chris..... but yes I will add Bounty to my Gallery but it probably won't be finished for another 6 - 12 months. I tend to tinker with the basic kits, replacing or modifying kit parts and ropes with ones I make myself. If you haven't built many kits, I would suggest the Suppy or Bounty before attempting the Endeavour ( I have all three) as the Endeavour is a lot more complicated. You will find build logs for her on this site if you want to get an idea. The Supply is a great little kit. I did a fair bit of research and made quite a few modifications to the basic kit. The Bounty is a good kit too, not much harder than the Supply and seems fairly accurate when compared with the AOTS reference book. -
New member from North Sydney Australia
hornet replied to Fernando E's topic in New member Introductions
Welcome Fernando I've built most of the Modellers Shipyard/Central kits (see my gallery) The instructions are quite good and the accompanying DVD's are great for beginners. However, I think they are overpriced. If your mind is not totally made up, have a look at the Caldercraft range that is available from Miniature Steam Models in Melbourne. I have completed HMS Supply and am currently working on the Bounty. Their Endeavour will be next. They have a couple of 'easier' kits too. All in all good value for money and Miniature Steam Models is great to deal with. cheers Steve. http://www.miniaturesteammodels.com/jotika-models-nelsons-navy -
I can see the need for using a drill, powered or hand, to drill into a solid hull, but I have never used either to drill through the deck of a POB hull for fear of damaging the deck. Much easier to cut through with a #11 hobby knife and then make small angle adjustments with a round file. Only very small adjustments are needed to achieve the correct angles and the hole is usually covered by a mast base anyway.
-
Carbatec 10" Bandsaw any good?
hornet replied to Eddie's topic in Modeling tools and Workshop Equipment
Eddie I have been looking for a reasonable band saw myself. The range sold by Hare and Forbes seems to be worth a look Steve http://www.machineryhouse.com.au/Bandsaw -
I will be watching with interest Danny. Your post prompted me to read up on HMVS Cerberus. A very interesting story. I did not realise it was still visible and recognisable after being scuttled in 1926. My stepson trained at HMAS Cerberus and now serves on Collins Class Subs in Perth. I now know the origin of the name of the base cheers Steve
- 193 replies
-
- 5
-

-
- cerberus
- paper shipwright
- (and 1 more)
-
Just an observation, but why have you cut your deck planks so short? At that scale I would guess each plank should be at least 120mm in length. By making your deck planking longer, you avoid having so many joins. It also means that it is both easier to 'line up' your planks and they are less likely to lift at the ends. My advice is to sand back and have another go. It will take more time but, in the long run, you will be happier with the result. Also, I assume by your reference to WW1 Aero Historians, that you are an Aussie. If so I would suggest you get to Bunnings and buy some Aquadhere quickset pva glue. It is great stuff and as the name suggests, it sets very quickly. I would also advise that you use CA glue very, very sparingly. I only use it on copper plates and sometimes on the end of planks that have a very tight curve and need to be kept in place while the PVA sets. All the best with your Endeavour build. Steve
-
Hi all A trick/ technique that I use is to trace the 'false deck' onto paper and then draw up planks and planking pattern on it before beginning. Experiment by drawing up a shift pattern, say 4 or 5. If you are not happy with how it looks, flip over and redraw on the other side. You can then track/ check off on this pattern as you plank your deck. The image below is of the deck of my current build (HMS Bounty). Note that I have written the plank pattern near the bow and ticked off each plank as it is fitted. This technique may not be for everyone, but it helps me

-
I bought an Aeropiccola plank bender about 35 years ago. Have built 10 ship's with it and it is still going strong. I usually clamp it in a vice when bending planks over it. While the one shown in the link below has a different shaped head and no spring loaded roller (as the Ralt RA5 has) I think it would still work quite well if held in a vice and presoaked planks were bent over it. http://www.hobbytools.com.au/electric-plank-bending-tool-240volt/
-
Hi Druxey. I have used heat and steam for over 30 years. However, there are still times, particularly on buff bows where you need something - planking screws - to hold planks in place until glue dries. Cheers Steve
-
I have used the plastic ones but screw shaft tends to come loose in the plastic over time. This can be remedied, in some cases, by applying heat and melting the plastic a little so it grips the shaft more tightly. Pushpins are great on the first planking of a double planked hull but tend to damage the second planking if you are not careful. I designed some of my own using plastic clothes pegs. I have posted the method of making these previously but here is the link fir anyone who has not seen it and may be interested. Cheers Steve http://modelshipworld.com/index.php/topic/3734-planking-screws-moved-by-moderator/
-
Precision router base for Dremel 4000 etc.
hornet replied to vossiewulf's topic in Modeling tools and Workshop Equipment
Dupree I have found one advertised on eBay if that is any help to you. Cheers Steve http://www.ebay.com.au/itm/Precision-Router-Base-For-Dremel-Tool-Freehand-Routing-Inlaying-Luthier-Tool-/111179440399