HOLIDAY DONATION DRIVE - SUPPORT MSW - DO YOUR PART TO KEEP THIS GREAT FORUM GOING! (83 donations so far out of 49,000 members - C'mon guys!)
×


hornet
-
Posts
690 -
Joined
-
Last visited
Content Type
Profiles
Forums
Gallery
Events
Everything posted by hornet
-
 Well I can vouch for Cornwall model boats. The plates I ordered were very quick in getting here and (at that time) were less than half the price of Modeller's Shipyard (including shipping)
 -
Vossey I bought copper plates for my current build - HMB Supply. After a lot of searching, I found it was cheaper to buy them from Cornwall Models in the UK. That was when the Aussie Dollar was worth more though. Modeller's Shipyard will sell them to you but they are hideously expensive. Float A Boat in Melbourne may have them. They are not listed in their catalogue but it s out of date. It would be worth calling them. Nice people to deal with. http://www.modelshipyard.com.au/fittings/copper-plates-sheathing/
-
Just make sure you don't put the second layer of planking over the copper plates. :)
-
Hi Vossey Link below. https://m.youtube.com/watch?v=9JWlSFzJ8uA Steve
-
Hi Vossey Modellers Shipyard/Modellers Central has put out a DVD on the art of hull coppering. I bought it and found it OK for a beginner. I think part of the DVD is on YouTube. You may find it useful.
-
For me the choice was too, too difficult so I bought the lot.
-
double planking a hull
hornet replied to pugman11's topic in Building, Framing, Planking and plating a ships hull and deck
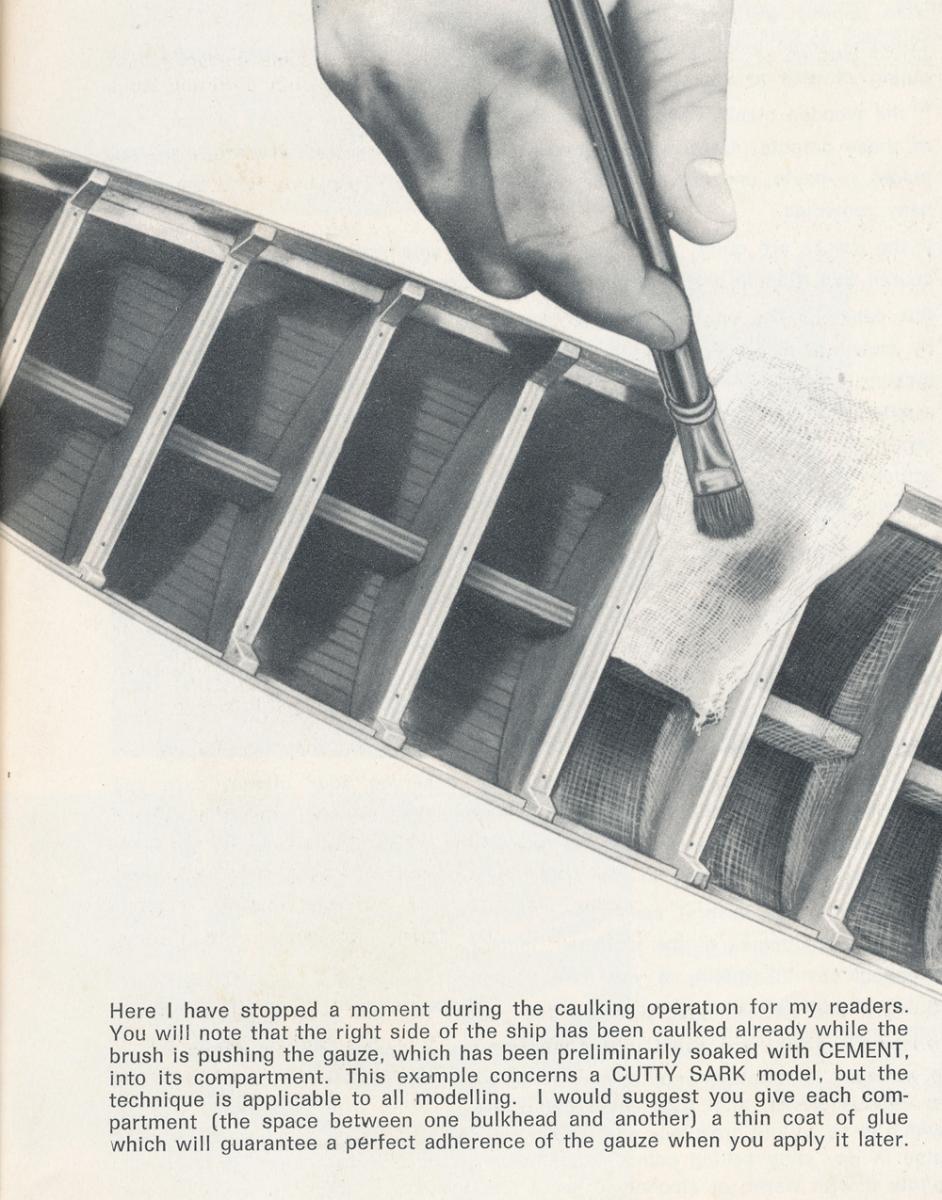
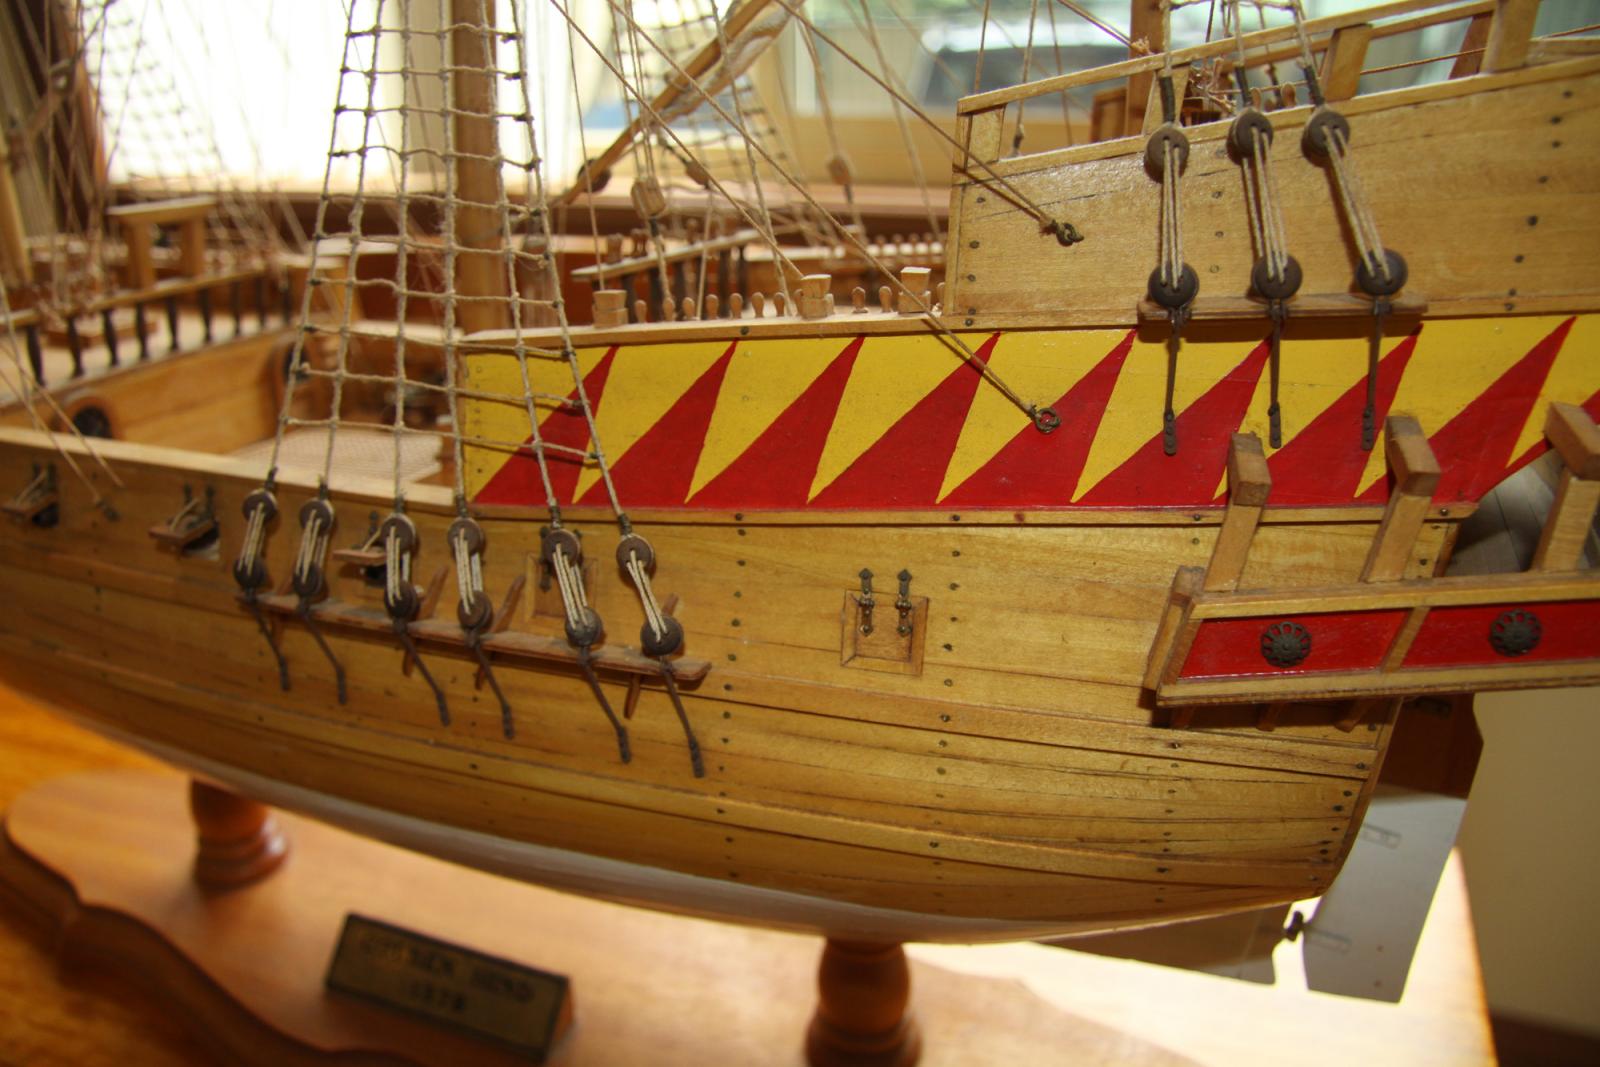
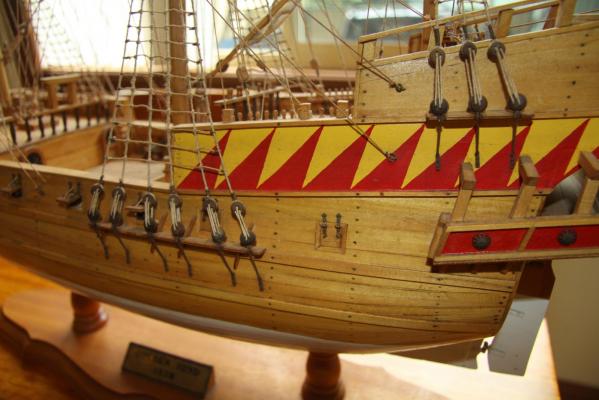
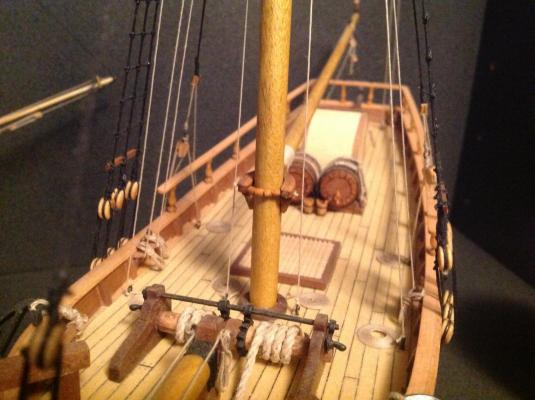
Jbshan, you mention `plank separation' in your post regarding single layer of planking. My first build (over 30 years ago) was the Aeropiccola `Golden Hind.' It was single planked. The book `Period Model Boat Manual' which I bought at the time (don't know if it is still in print or not) recommended `caulking ' the inside of the hull to prevent this happening. This was done by layering bandage dressing `gauze' into the interior of the hull and coating with thinned wood glue. It was a similar method to fibreglassing. I used the method and after 30 years still no cracking or plank separation. See pics below. extract from `Period Model Boat Manual' Hull of the `Golden Hind' 33 years after construction (no plank separation)
-
Ulrich, because are only using sandpaper to reduce the diameter of the dowel, you may be able to fix the dowel into a collet after drilling it out and sand it back using your hobby drill clamped in a vice. I am assuming that you have a hobby drill that uses some form of collet.
-
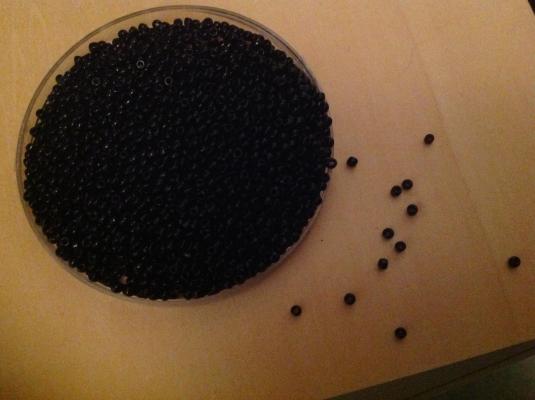
On a recent build, drilled through the centre of a small diameter dowel using my drill press and then turned the dowel down to the desired diameter using sandpaper on my lathe. I then cut the parrel beads to length and carefully sanded the ends. It was fiddly but worked well. The beads were around 1.5 mm in length but could be made even smaller. See below Alternatively, you can buy beads in a range of sizes and colours from sewing shops. See below.
-
Steam tool for bending wood model ship planks?
hornet replied to mobile1's topic in Modeling tools and Workshop Equipment
I have been using an Aeropiccola heat/steam bender for over 30 years. Works well for me. See my post about it from another thread below. http://modelshipworld.com/index.php/topic/602-how-long-do-you-soak-the-planks/page-2?hl=%2Bplank+%2Bbender#entry216387 -
I have used both basswood and balsa. I found that balsa was very soft when trying to screw in planking screws. I partially solved the problem by giving them a few coats of a PVA and water mix. When dry this firmed them up a bit. I still preferred the basswood though.
-
Have you looked at this resource? I know that I found it useful. http://modelshipworldforum.com/resources/Framing_and_Planking/BowandSternFillerBlocks.pdf Steve
-
I have the Caldercraft Version 'On the Shelf'. I have been through the box. As with all Caldercraft kits fittings and plans are good. Walnut hull planking strips are so so. I anticipate doing quite a bit of scratch work as I have done with the Caldercraft 'Supply' but I'd be happy to recommend it.
-
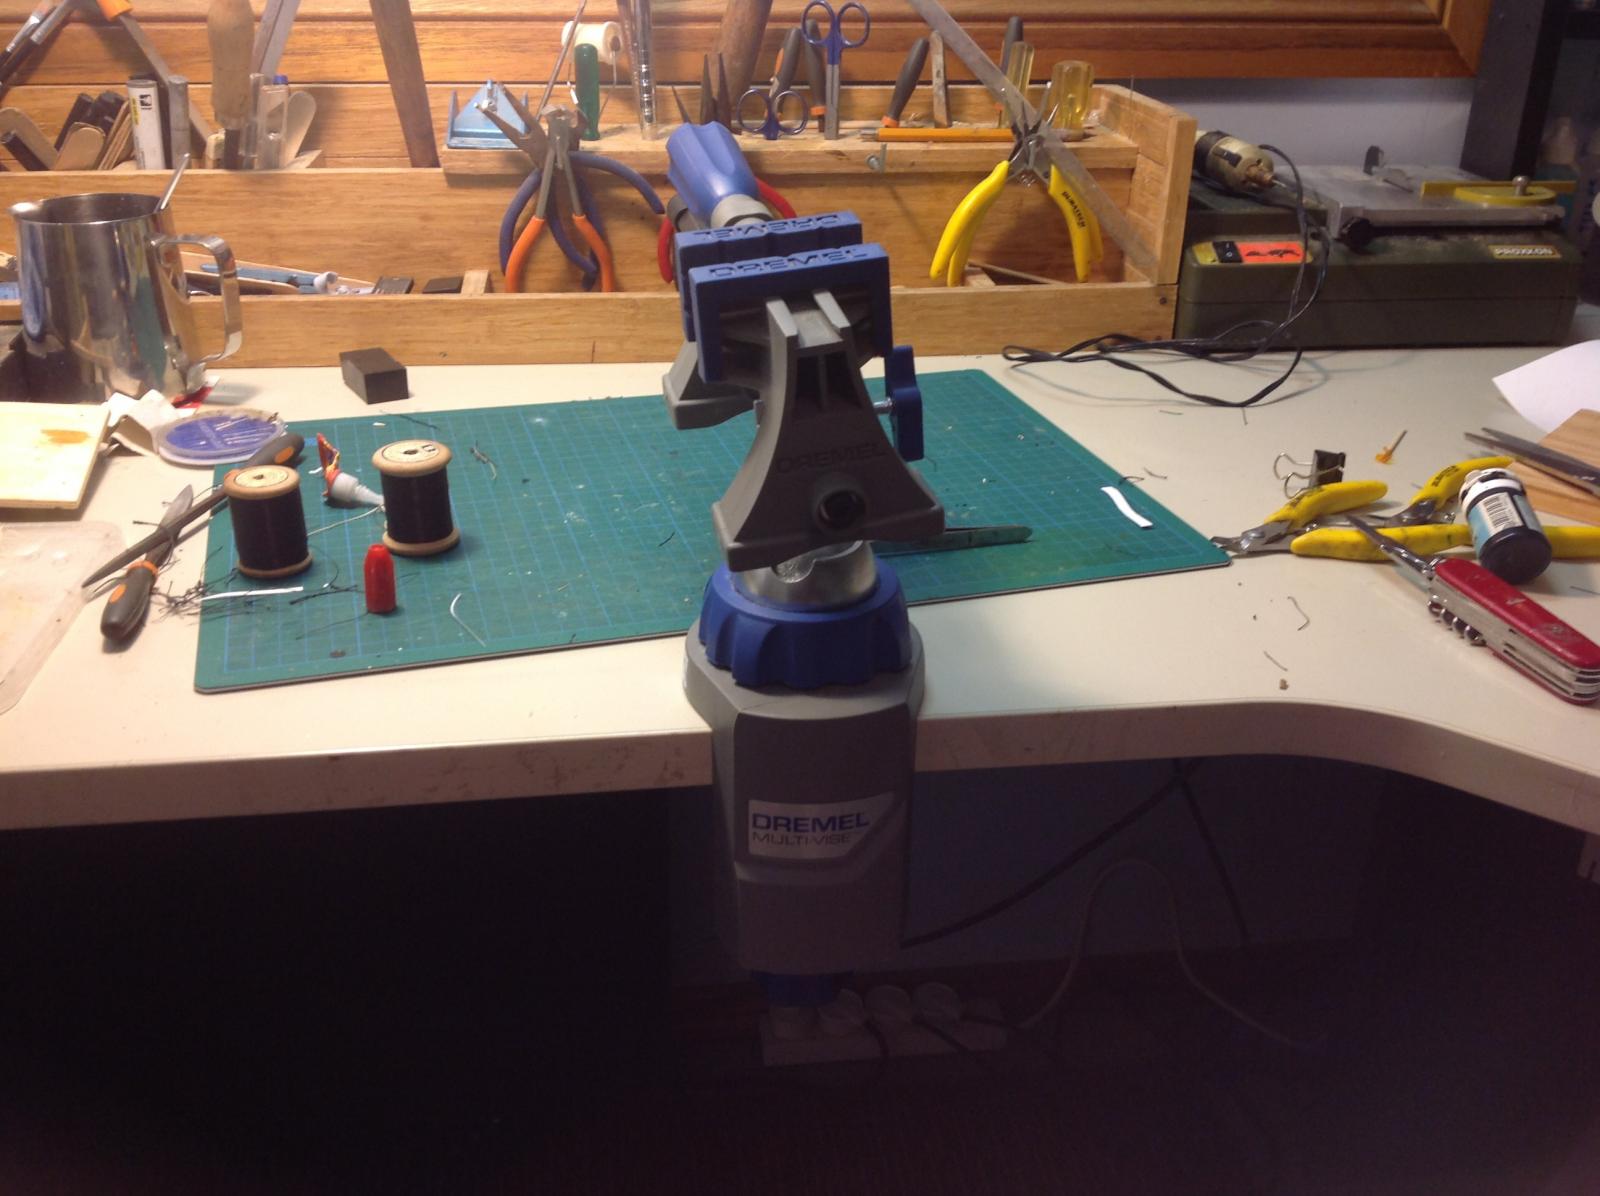
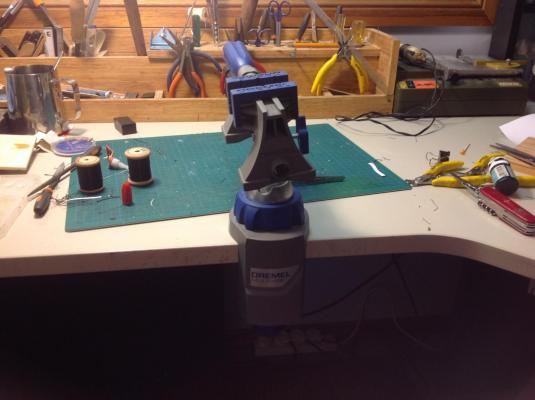
I WOULDN'T recommend the Dremel Multivice (pictured below) I purchased one a while ago and am very disappointed in it. Adjustment is sloppy and the jaws are 'wishy washy' Steve
-
You may find this useful - as long as you can get past the Aussie Accent https://m.youtube.com/watch?v=bSyVTYBwOmc
-
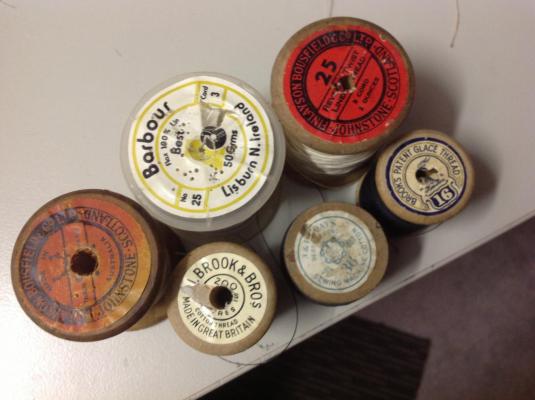
Jaager I have found a supply of old linen and cotton threads is available at antique and collectible stores. Apparently the actual wooden spools are now seen as collector's items. They are never more than a couple of bucks to buy. A few from my collection sure shown below.
-
Spend the extra and buy a compressor designed for airbrushing. They are small, portable and best of all very, very quiet. If I tried using my regular compressor for airbrushing, the Admiral would probably have me walk the plank. I have a Sparmax (see link) it is a ripper. http://www.air-craft.net/acatalog/Sparmax-TC-610H-Airbrush-Compressor.html
-
Least enjoyable - Corel Victory. I didn't have the skills to take on this beast at the time. In addition instructions were awful. Took me 20 years off and on to complete. Most enjoyable - current build Caldercraft 'Supply'. I have scratch built almost all of the fittings, learned how to use and airbrush and how to silver solder while working on her.
-
Proxxon 12v Pen Sander?
hornet replied to Landlocked123's topic in Modeling tools and Workshop Equipment
I have this sander. Yes, you do need to purchase a transformer for it - Proxxon make a couple which are fairly cheap. You can buy a single outlet transformer or one with multiple outlets just in case you invest in other 12 volt tools.. The pen sander comes with a variety of different shaped attachments. Sanding pads fit onto these attachments via an adhesive backing. From my experience, the pads don't last very long but they are inexpensive to replace. I don't use mine a lot, but it is good for getting an even sanding job done on hard to get at spots such as the edges of a deck. It is not a 'must have' but is inexpensive and handy at times. -
Better known for selling Caldercraft kits.
-
Lionfish, between 20 and 25 psi. Much the same as for acrylic paint. I use a dual action Sparmax model DH 103 for Acrylic paint and a single action badger model 200 for poly/turps mix.
-
Matt or satin poly, diluted 50:50 with low odour turps and applied to larger areas (hull /deck ) with a single action airbrush. Very light sand between coats. 4 coats applied. The 50:50 mix dries a lot quicker than undiluted poly and gives a smooth even finish.
-
This thread may help. http://modelshipworld.com/index.php/topic/413-chamfer-a-plank/?hl=%2Bchamfer+%2Bplank
-
Gluing 101
hornet replied to CPT_D's topic in Building, Framing, Planking and plating a ships hull and deck
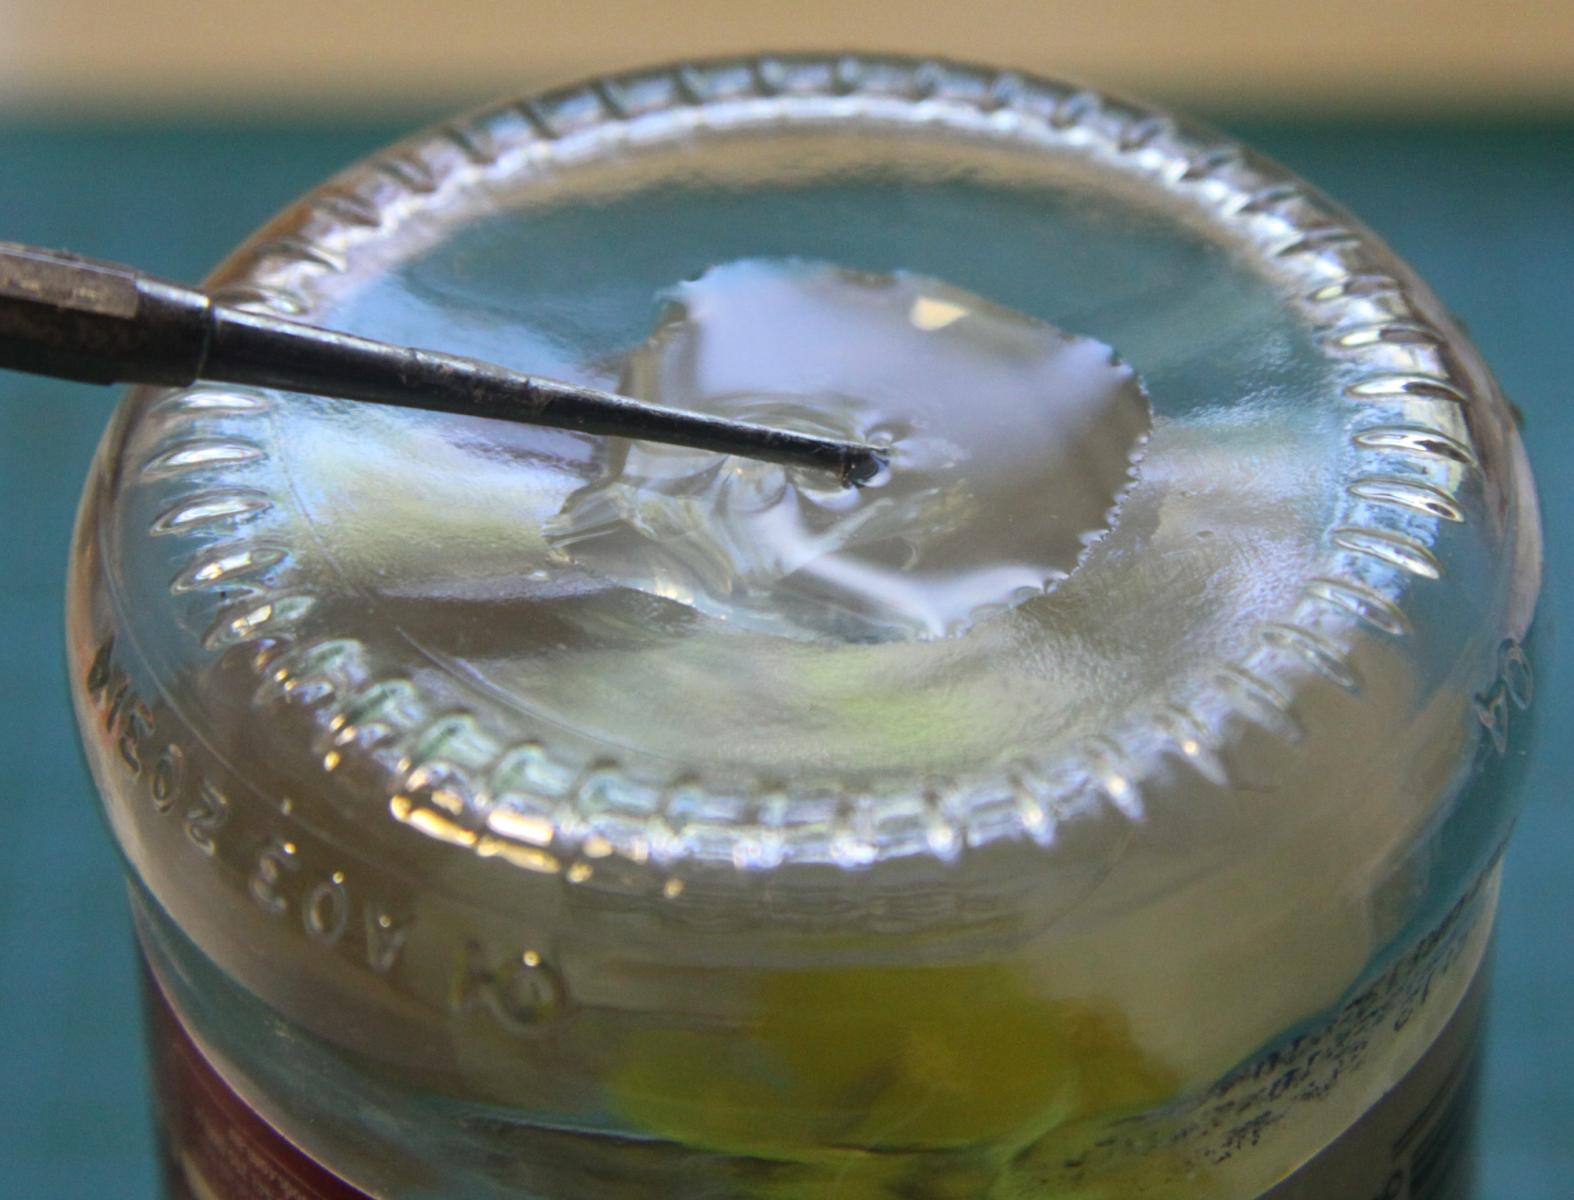
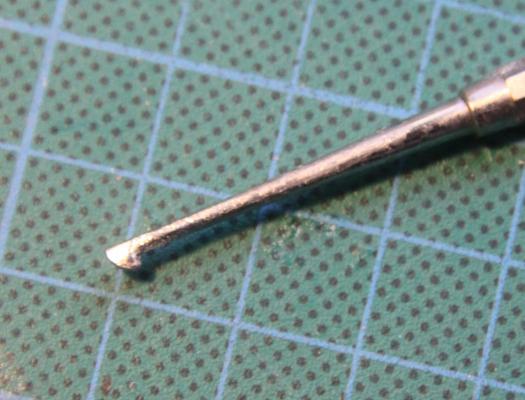
While coppering the hull of my HM Brig Supply, I came across this handy CA glue applicator from Squadron (just google Squadron glue applicator) The hooked end of the applicator traps a small amount of CA glue which is transferred to the copper plate as soon as the applicator touches it. Very clean and easy - no plates stuck to fingers The applicator is made of stainless steel and was quite inexpensive to buy The hooked end of the applicator holds a small drop of CA glue As I mentioned in a previous post on this thread, I use the concave end of a glass jar as a reservoir for my CA glue. Steve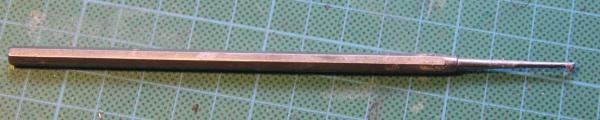

-
I use CA for gluing down copper plates, holding the end of hull planking down until quick dry PVA glue sets, making a pointy end on thread. Other than that I avoid CA glue. The flu like symptoms resulting from inhaling even a small amount of fumes from it is a real issue for me