ccoyle
-
Posts
10,575 -
Joined
-
Last visited
Content Type
Profiles
Forums
Gallery
Events
Everything posted by ccoyle
-
 Sharing the files for discussion is fine. The question becomes a bit trickier should it ever seem that you are actually distributing the files -- that would bring up the question of whether your work is sufficiently derivative to not be considered a copyright violation (a determination that ultimately can only be decided by a court). One way to avoid that might be to make the files read-only.
 -
Artesania Latina 1/50 Jolie Brise cutter kit
ccoyle replied to Mike Esposito's topic in Wood ship model kits
Only AL can answer that question. But, good news -- there are plenty of other cutter-type kits available out there. Keep looking until you find an in-stock example that grabs your interest. -
I don't treenail, either, at the scales I work in. It's not because I don't like the look, which is fine when people do a good job of it. It's just that real-life treenailing is very subtle in appearance, and at scale viewing distances treenails are pretty much invisible. It's the same reason I don't do any sewing on my sails -- scale needlework is impossible to do.
-
Nice! Congratulations!
-
I took care of it. I'll send the bill. 😉
-
Welcome aboard!
-
The publishing company I work for has been incorporating an uncomfortable level of technology for some of us reluctant, old school paper-and-ink guys, but ya can't halt the march of progress. Good luck with the new platform!
-
We have had dogs for years (I'm allergic to cats). We raised nine guide dog puppies. Most of our own have been mixed breeds of one sort or another, but our Old Man at the moment is a 15-year-old Cavalier. He is very dominant (I call him the 'anti-Cavalier') and is not completely thrilled about the new addition 😅. Our youngest daughter has a super-sweet-tempered Cavalier as well.
-
Okay, Keith, you get a bonus photo for that comment. 😉

-
Few of us ever do! Your work looks perfectly acceptable from here.
-
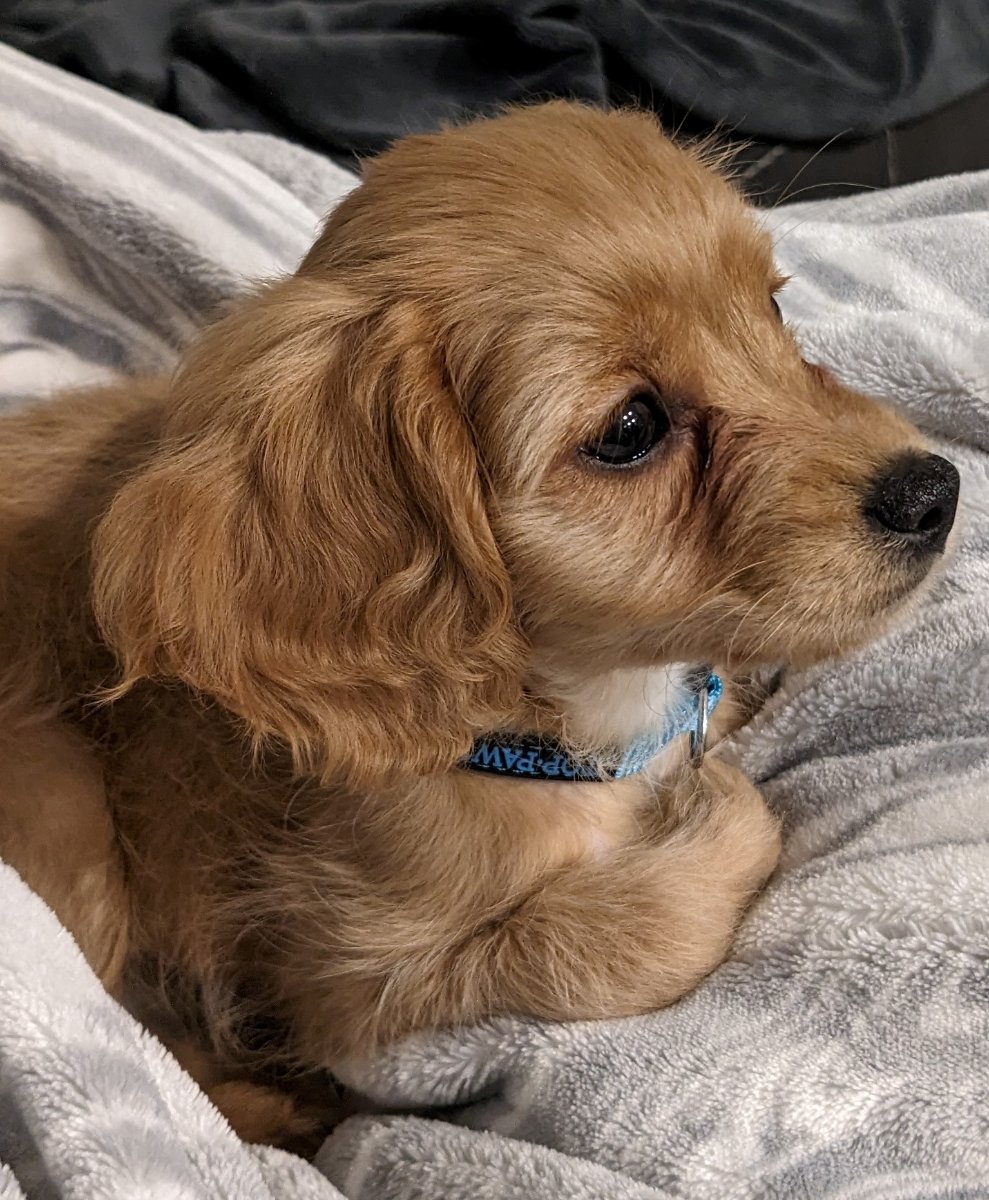
Update: All modeling work at Casa de Coyle has temporarily been grounded, as we have new addition to the family. Keeva is a ten-week-old Cavapoo, and despite her innocuous look in this photo, she is much like any other puppy at this 'terrible twos' stage -- she needs lots of training and socializing. It will be quite awhile before she can be crated long enough to get some modeling time in, and longer before she will be trusted enough to have free rein in the house. So, for now, models are in a wait-and-see holding pattern. Cheers!

-
The original is in no way a 'novel' -- it is a well documented historical treatise. It doesn't sound like you have read it, in which case your comments seem unduly harsh.
-
Swan-Class Sloop by Stuglo - FINISHED - 1:48
ccoyle replied to stuglo's topic in - Build logs for subjects built 1751 - 1800
Beautiful result -- congratulations! -
Very convincing furled sails! (P.S. I always have mixed feelings when I see a 'sailing ship' motoring along with all her sails furled.)
- 114 replies
-
- 1
-

-
- Pride of Baltimore II
- Model Shipways
- (and 1 more)
-
Yes.
-
The hull lines and rig are not beyond the reach of a motivated beginner. The only reservation I would have is the scale -- some modelers find 1/100 to be a challenge when working in wood. Also, some details are really hard to pull off with scale fidelity at anything smaller than about 1/64, e.g. gun tackles. It depends in part on how much detail you want to incorporate. In my case, I have done gun tackles at 1/64 (tedious, but doable), but I do not plan to add them to the 1/72 scale build I have in my queue, as the necessary blocks would simply be too small.
- 1 reply
-
- 2
-
-
I figured as much, but are you sure there isn't a nod to Bob Seger in there as well? 😉
- 4 replies
-
- 1
-

-
- Cutty Sark
- Billing Boats
- (and 1 more)
-
And thank you for coming out of the shadows! The more active members, the merrier!
-
I think I just now figured out your username.
-
Okay, someone is gonna ask: What kits might those be?
- 440 replies
-
- 1
-
-
- niagara
- model shipways
- (and 1 more)
-
Short answer: no. But they are helpful when it comes to keeping everything square and providing a base layer for planking.
-
Very neat work!
-
😳😳😳