


toms10
-
Posts
897 -
Joined
-
Last visited
Content Type
Profiles
Forums
Gallery
Events
Posts posted by toms10
-
-
-
Hi MSW
I am looking to find out if the bolt ropes on my 1790 HMS Leopard were tarred or not. Did a search but didn’t come up with any definitive answer. I believe I read somewhere that Stockholm tar was used but I did not find out what time period the post was talking about. I just want to make sure I use the right color rope before I start.
As always, any help is appreciated.
Tom
-
-
Hi Tom,
Thanks for insight. The results in your pictures speak for themselves. Really nice. I will need to take advantage of my NRG membership and look into getting the NRG shop notes.
Tom
- Bluto 1790 and mtaylor
-
 2
2
-
-
I changed the pace a bit and started construction on the sails. There are 27 including all the staysails. I intend on furling the main and fore course sails so as not to obstruct the deck too much. Possibly the fore stay, lower main and mizzenmast staysails as well. Not sure about those yet.
i borrowed a technique from fellow CT club and MSW member Ron Neilson aka Hollowneck on this forum. He gave a demonstration at the Northeast Joint show in New London back in 2019... someone at the show filmed it and posted it on YouTube.
So far I have the base construction for all the sails completed. Now I need to add the linings, bolt ropes and crinkles. Then I can bend them to the yards and start assembling the yards to the masts. Sounds simple but that is a ton of work and will take quite a bit of time.
Below are some pics of a few steps of the sail construction. I did take pics of each step and may put together and post (when I find the time) a more in depth tutorial of what I did.
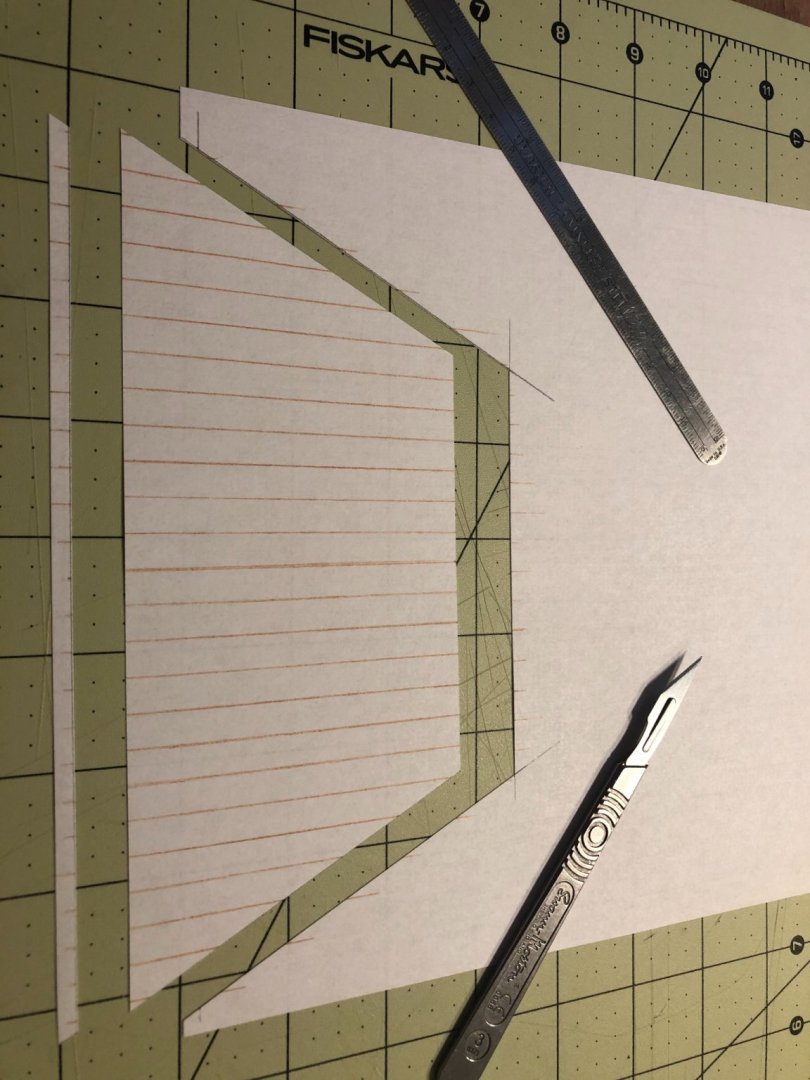
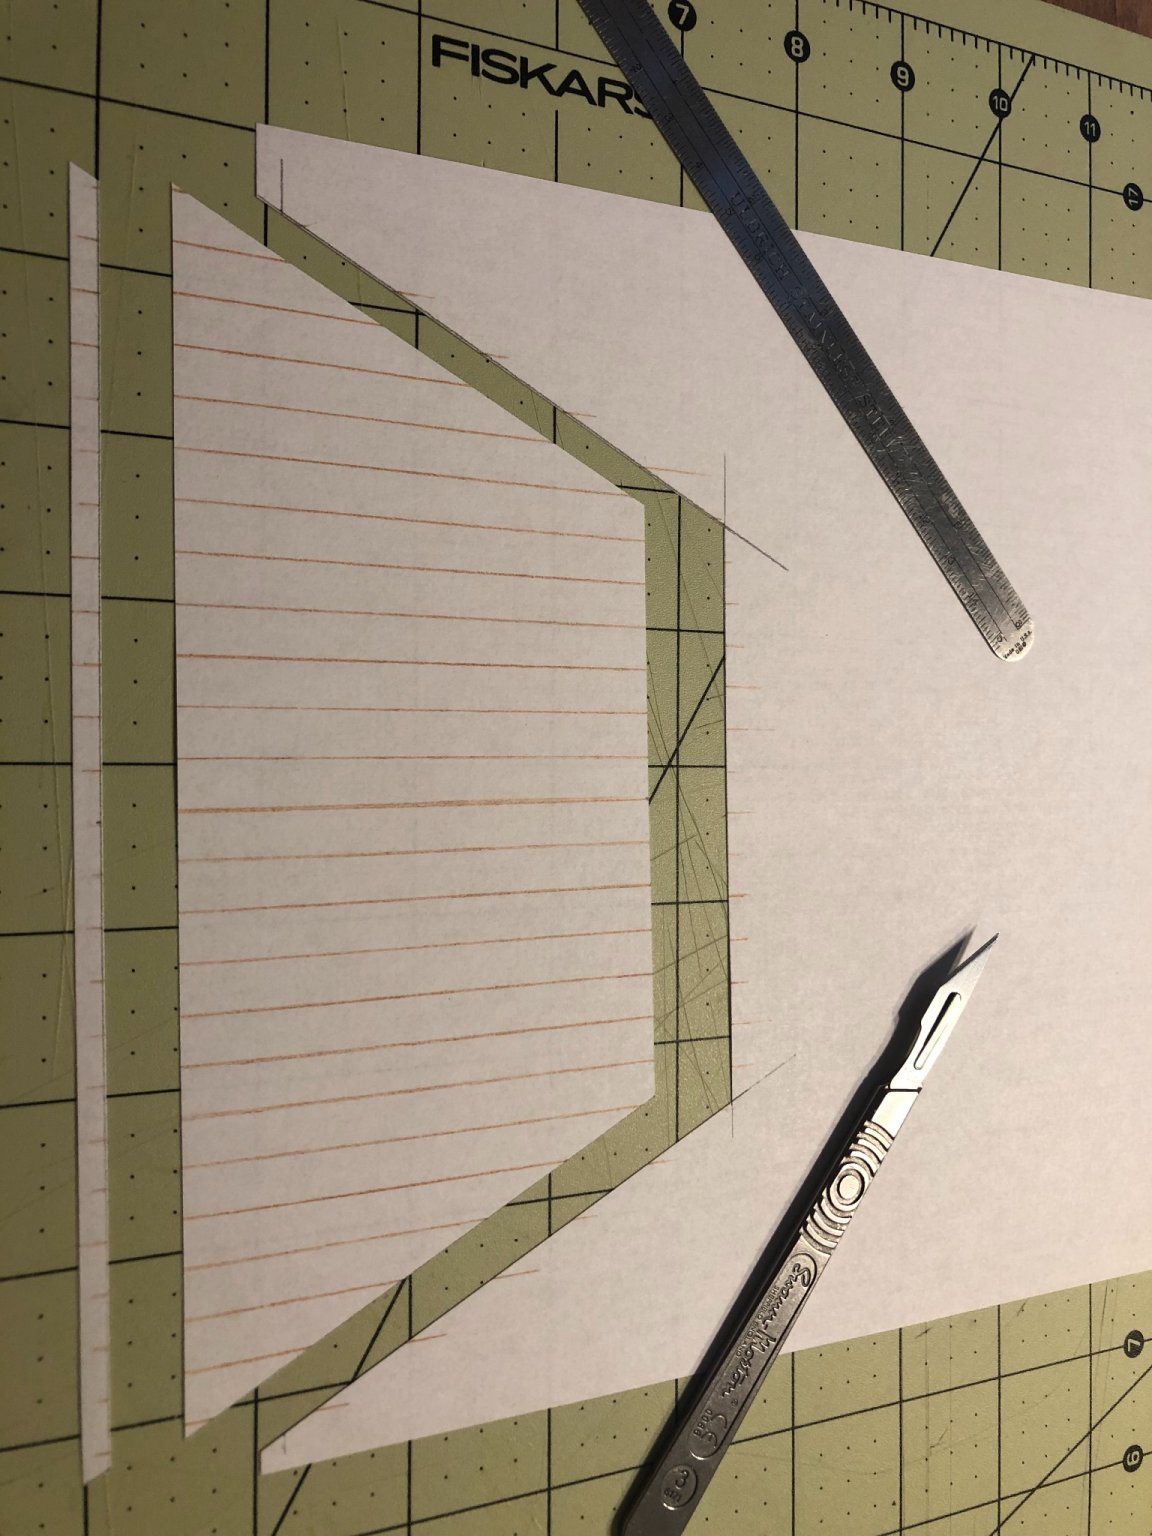
Here is the paper cutout with seam lines done with colored pencil.

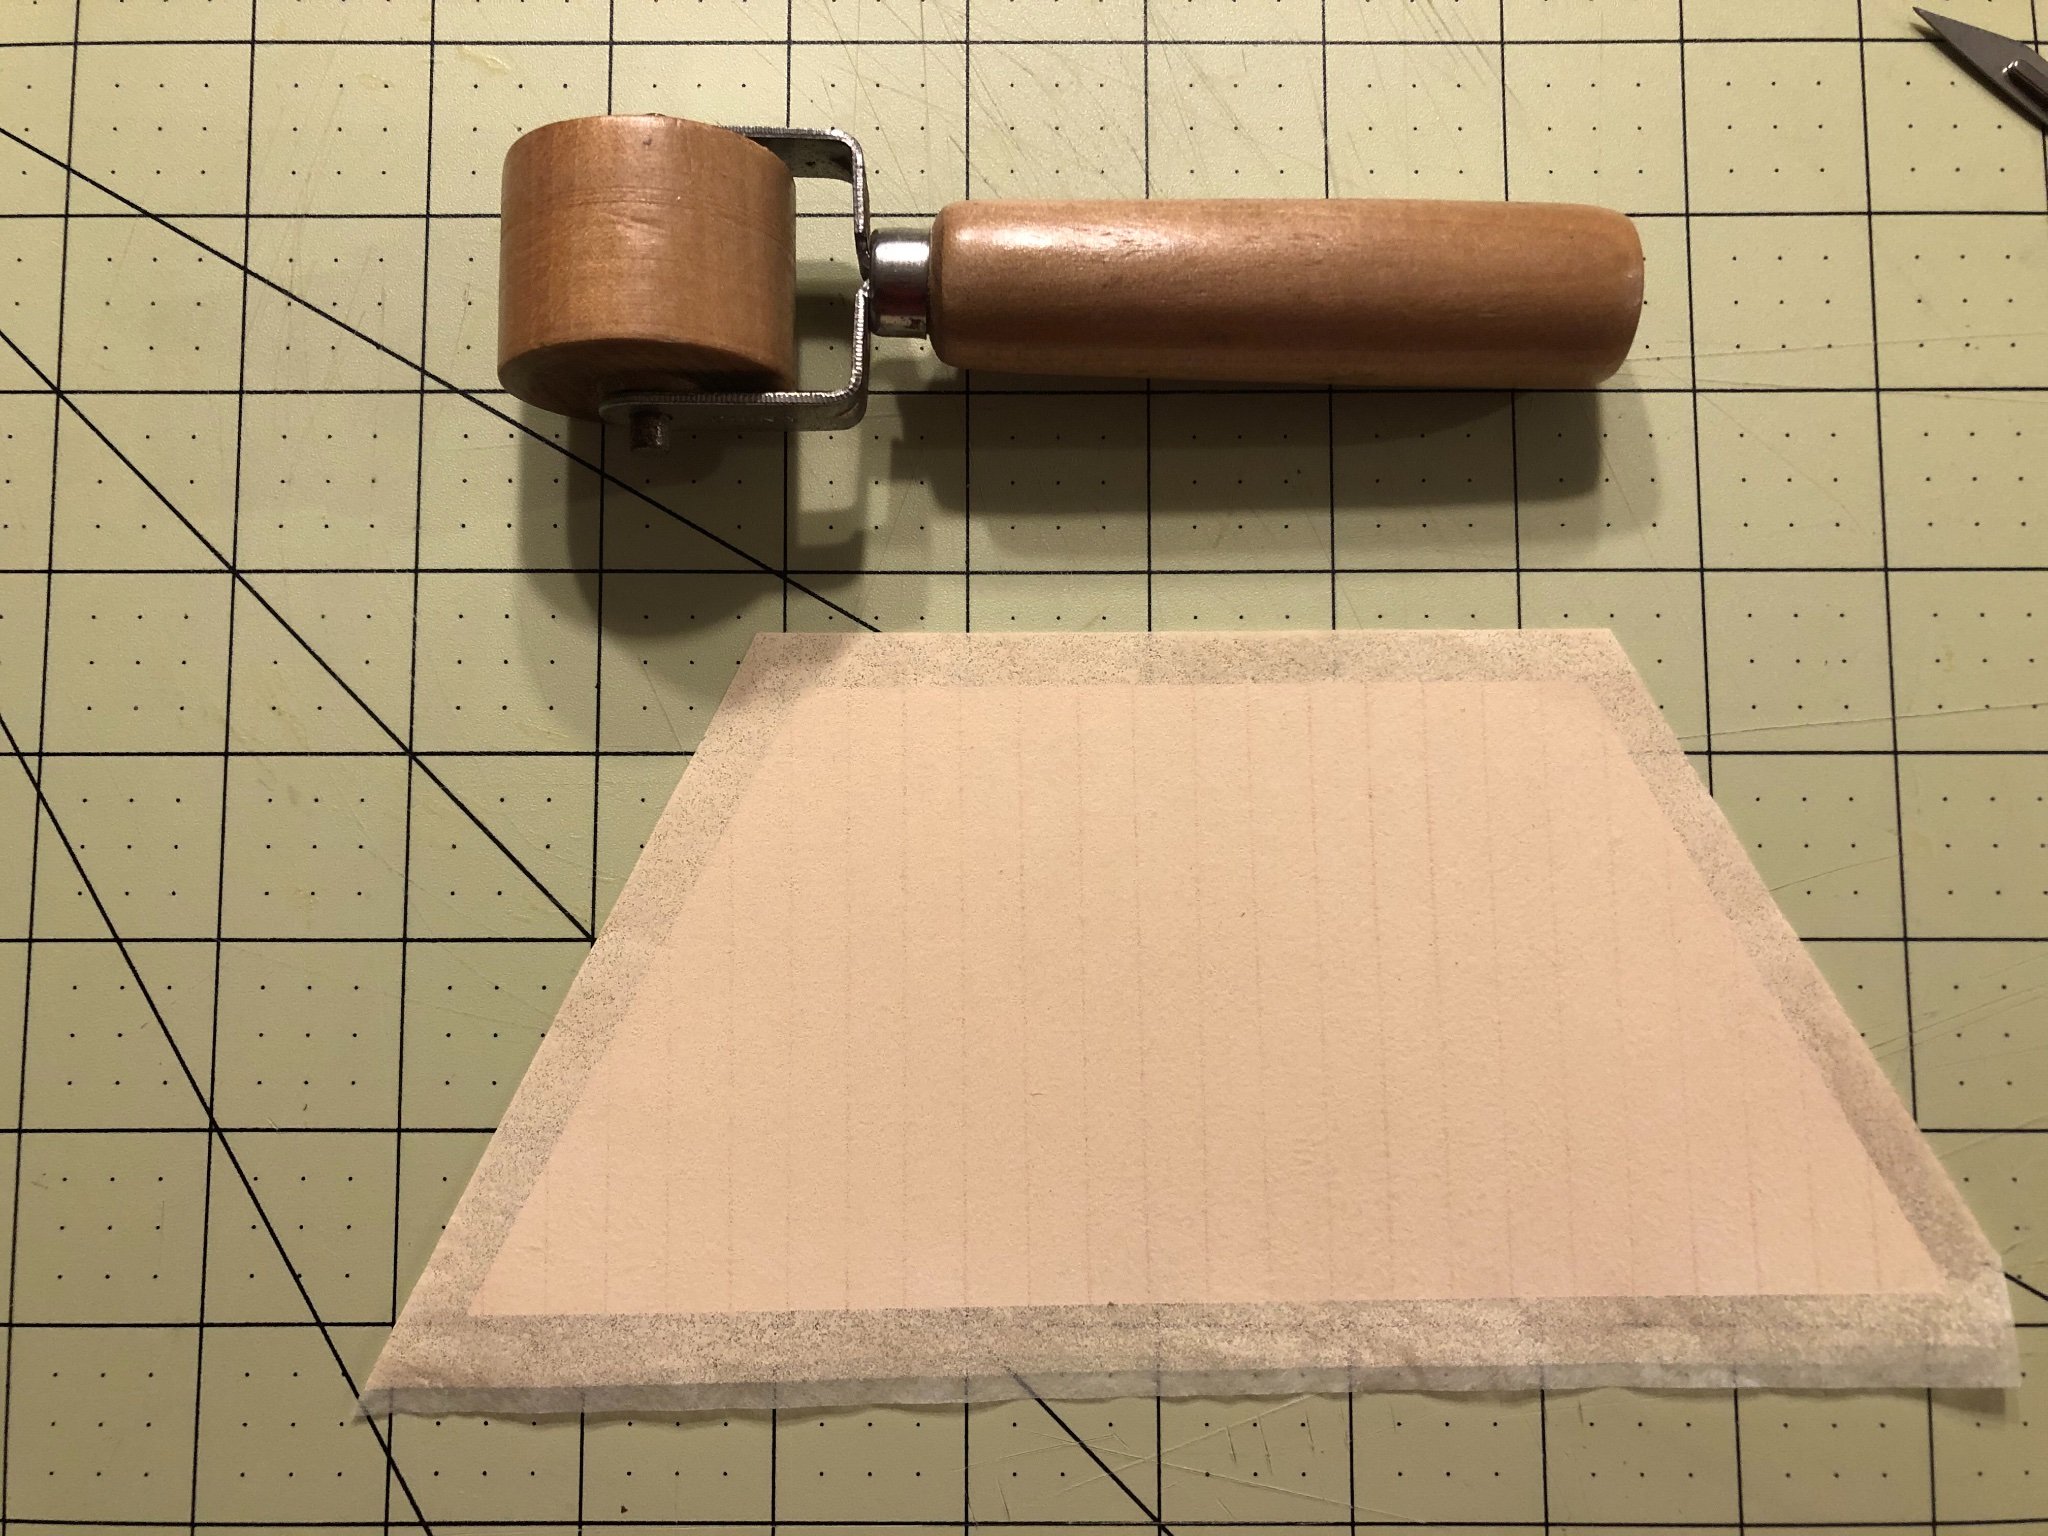
A piece of painted silk span was then attached to the paper on both sides with spray adhesive. On one side the silk span was cut to the exact size of the paper base. The other side was cut oversized to be folded over the edge to hold the forming wire and act as tabling.
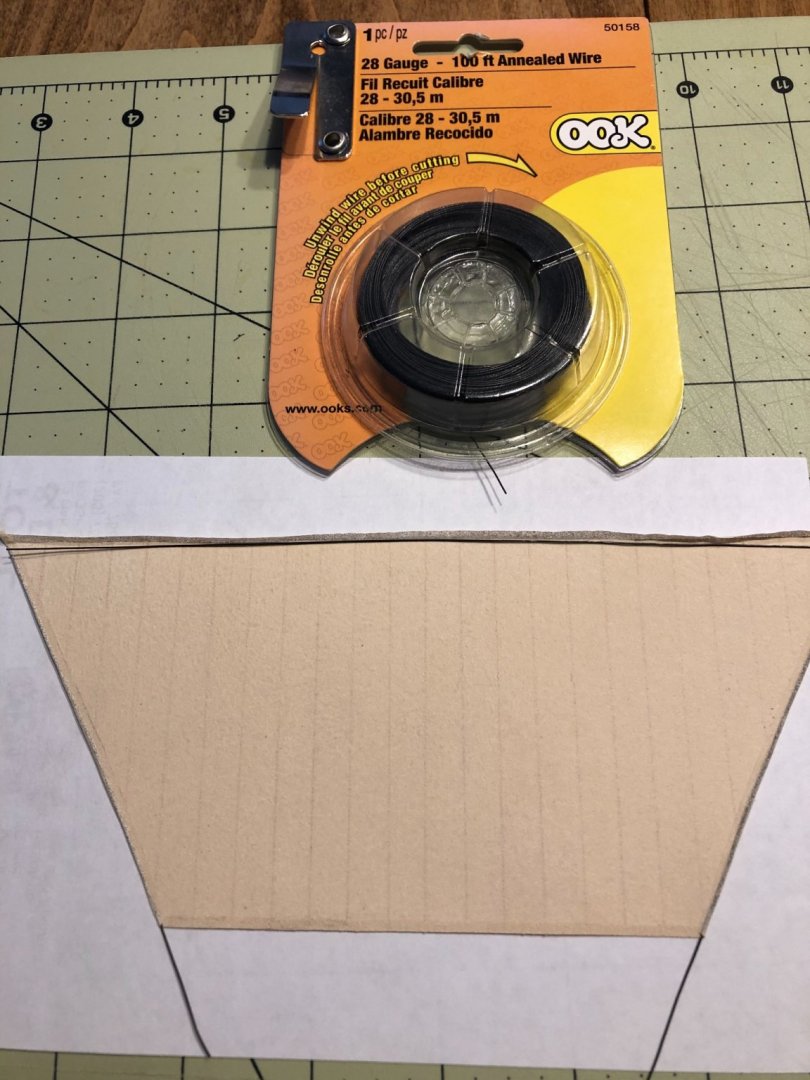
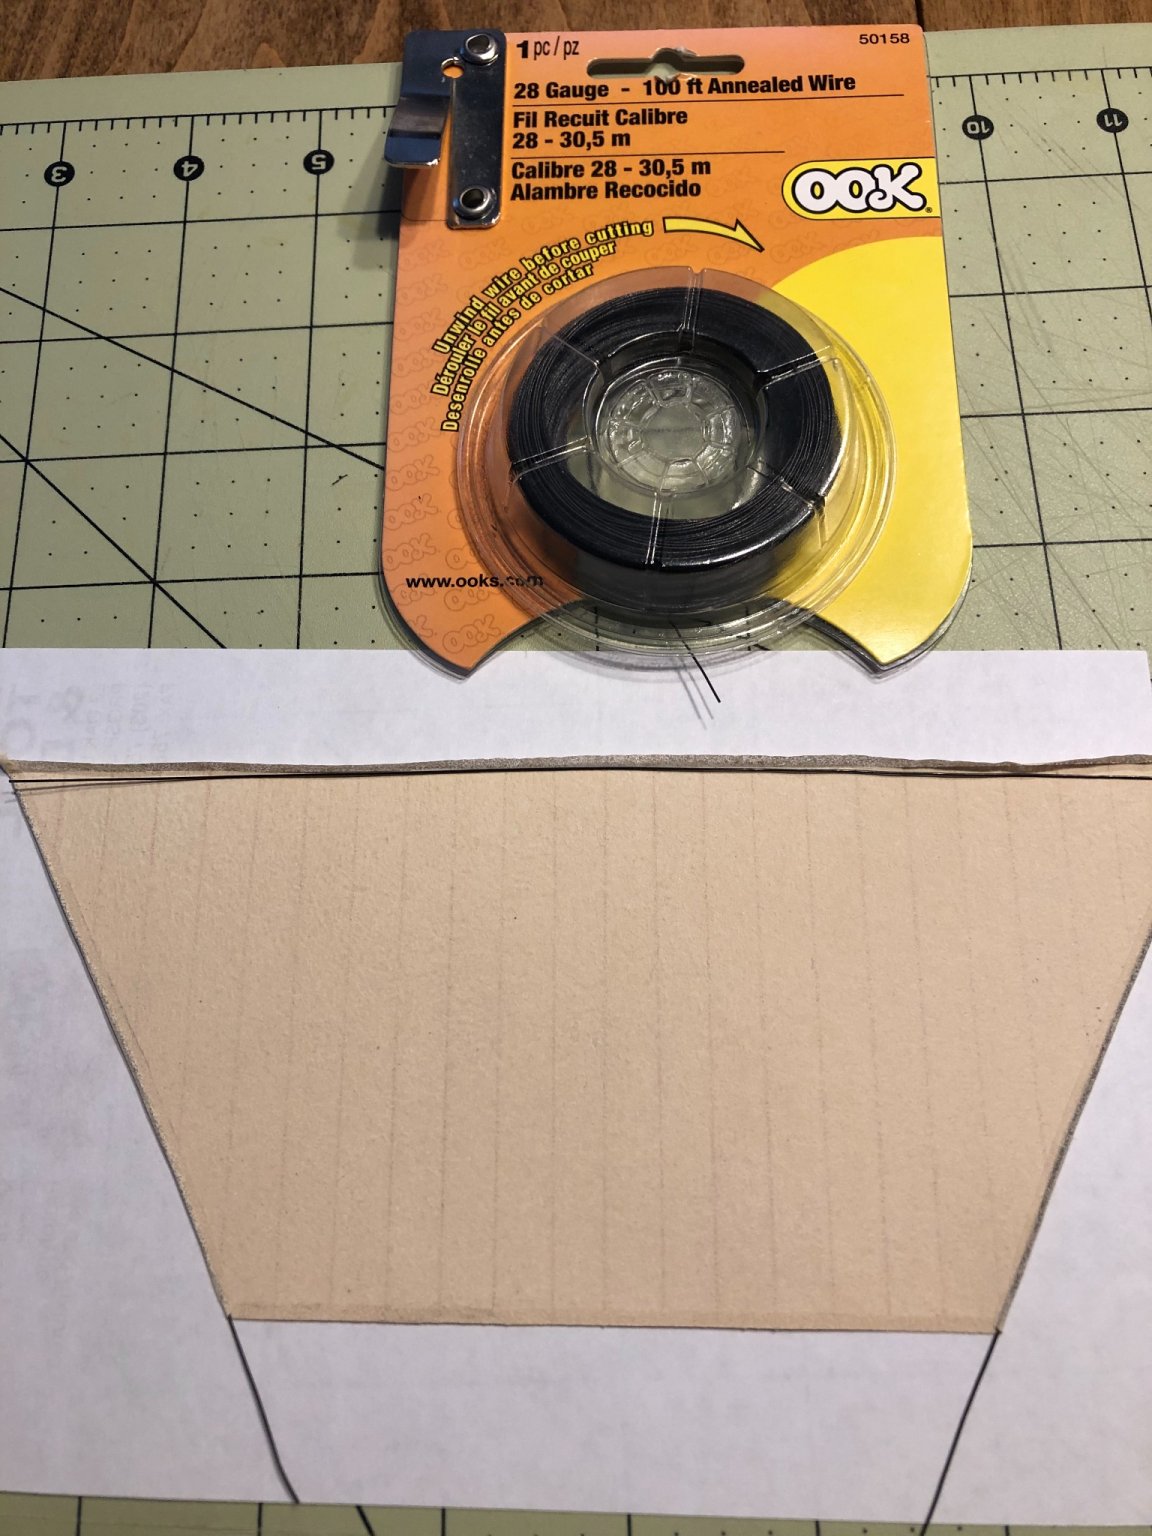
Inserting the annealed wired along the edges. This will allow me to form the sail to get a billowed effect. This was done by folding the silk span edge over the edge of the sail while capturing the wire underneath.
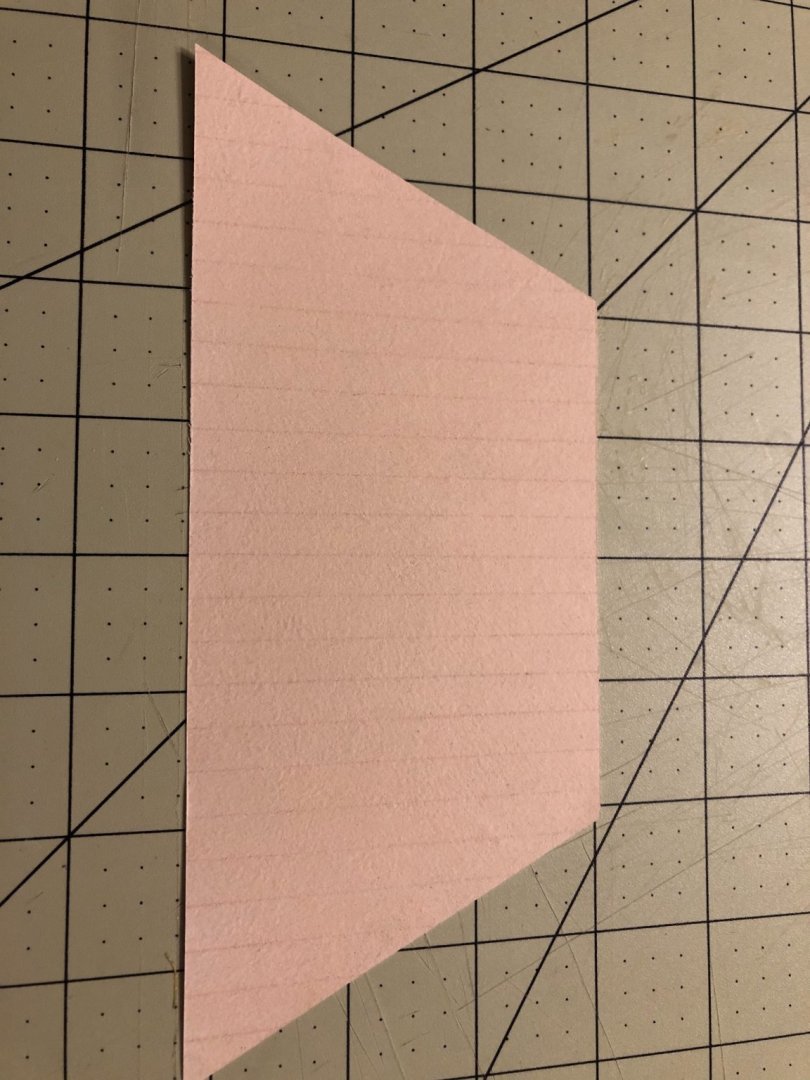
Here is the finished fore top gallant sail awaiting linings, bolt ropes and cringles.
time for more research and learning as I go. Good thing this is a hobby without a deadline as this project is taking forever. Half the time actually building and half the time figuring out how things worked and what to do next. I guess that is the “scary” part of doing your first scratch build. 😜👍
Tom
- Jack12477, WalrusGuy, Bluto 1790 and 8 others
-
11
-
Hi John
The heart rate is starting to increase, palms are getting sweaty, the anticipation builds as the moment gets closer. Then you realize there is one more detail and the cycle starts over. Kind of like the instructions on the hair shampoo bottle, “rinse and repeat” but it never tells you when to stop. 😜😁 This can be an exhausting hobby! 😁🤣Tom
-
-
Hi Jack
I cut the gun ports before the final planking. I then brought the planking up to the edges of the gun port linings. I then framed each gun port on top of the planking.
Tom
-
Hi John
You have go a lot more nerve than I. I am not sure I would want to go through the rework of the chain plates and retensioning of the shrouds. Not only did you do a great job but you did it quickly. I was not sure how I would like it but it looks great. Well done.
Tom- Duanelaker and John Ruy
-
1
-
 1
1
-
Nice job Jack. I remember when I did mine it was a real nightmare to get everything bent and fit.
Tom
- Edwardkenway, Canute, mtaylor and 3 others
-
6
-
11 hours ago, Jack12477 said:
499 inches (126 meters??).
11 hours ago, Edwardkenway said:126 metres!! Most of the hills we have would disappear beneath that much😄
Yes we tend to get much rain but I've noticed we've been getting heavier, longer rainfall for the past few years, coupled with milder winters
Actually I think Jack had a typo and meant 12.6 meters. When you are shoveling it seems to be 126 m!!!
Tom
-
I just started using Swann Morton #3 handle with a 10A blade and for a bit heavier work I have a #4 handle with a #26 blade. I was using an Exacto handle with #10 blades but found they dulled quickly and the handles never lasted. I am very happy with the change.
Tom -
If you are going for how she was in 1941 then you should go with the full mizzenmast rigging and fake gun ports. the black with white stripe is similar to the scheme used on the Constitution and Constellation I believe.
Honestly, one of the things that made me think I might not want to build the CWM was the solid black painting of the hull and the white masts. I then to like the natural wood look. But then again that is all I ever built and I have only built 1 and 3/4 models. After seeing your model in black and white I didn’t mind the color scheme as she sits today.
My thoughts on the gun ports are that they are going to be really difficult to paint on at this point in your build. It is going to be difficult to get them to come out looking crisp just painting them. They would most likely have to be built up from tiny mouldings that were painted first then attached.
My thoughts so far on my build are to build her as she sits today but I am not convinced yet. I have only built warships so far so that is where cannons belong. This is a whaling ship so it shouldn’t look like a frigate. On the other hand it was painted as one in the period you are modeling. Is it more important to you to be historically accurate or just pleasing to the eye. I think that question comes up often with many modelers other than the pros.
sorry for the “definite maybe” answer but in the end it boils down to your value of historical accuracy or what you would like it to look like. These boats go through so many changes unless you are an expert or building for a museum who would really know?
Tom
-
Hi John
You should like the way it looks! It looks great! You are creating quite an itch for me to start on my Morgan. Not going to scratch it until I finish my Leopard and then my 9000 piece puzzle of Trafalgar. One project at a time. I am hoping for the beginning of the summer. I will then hop on over to Mystic with my video and regular camera and go wild. Lucky for me she is only an hour away.
Your build log will be a great reference. Thanks for sharing.
Tom -
-
Hi Allan,
Thanks for your input. The copy paper was to draw light lines with a #2 pencil then a quick spray coat of matte sealant to keep the lines from smudging. I would then put a light coating of spray adhesive on the paper to adhere the silkspan on each side. The silkspan is lightly spray painted with Liquitex unbleached titanium as you mentioned. Now when the pencil lines show through they will be muted and less noticeable. I was also thinking of white tissue paper between the silk span or maybe just draw the pencil lines on the back side of one sheet of silkspan and then cover that side with another piece of painted silkspan.
I like your idea of the Liquitex marker pen. What color did you end up using to contrast the unbleached titanium for the seams? Sounds like some experimenting is in my immediate future.
Tom
-
Hi George
thank you for your response. This is exactly the information I was looking for. I was also curious about the actual thickness of the cloth used for the sails. I only found reference to a number that was designated for a particular thickness in my reference books but was unable to correspond that to an actual inch measurement.
I am going to be using a silkspan on both sides of a sheet of paper. The total thickness is .008” which might be a bit heavy at the 1:85 scale I am using. I may substitute the center paper ply with tissue. This technique was developed by a fellow member of my local club, Ron Neilson and looked excellent on his model
thanks again for your valuable insight.
Tom
-
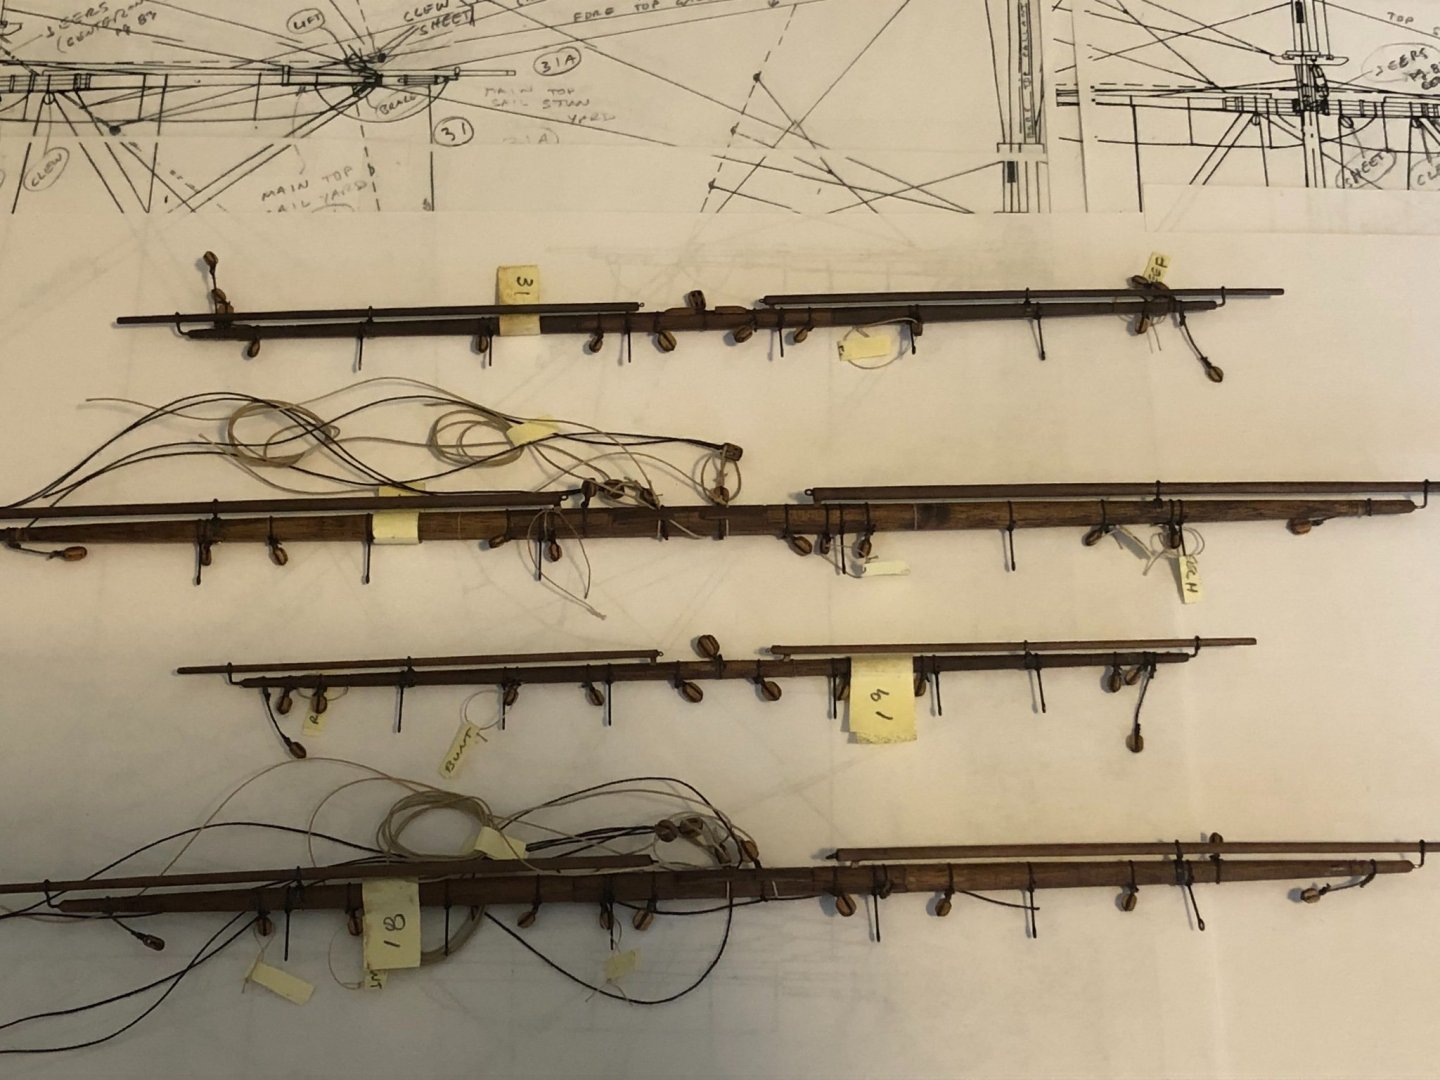
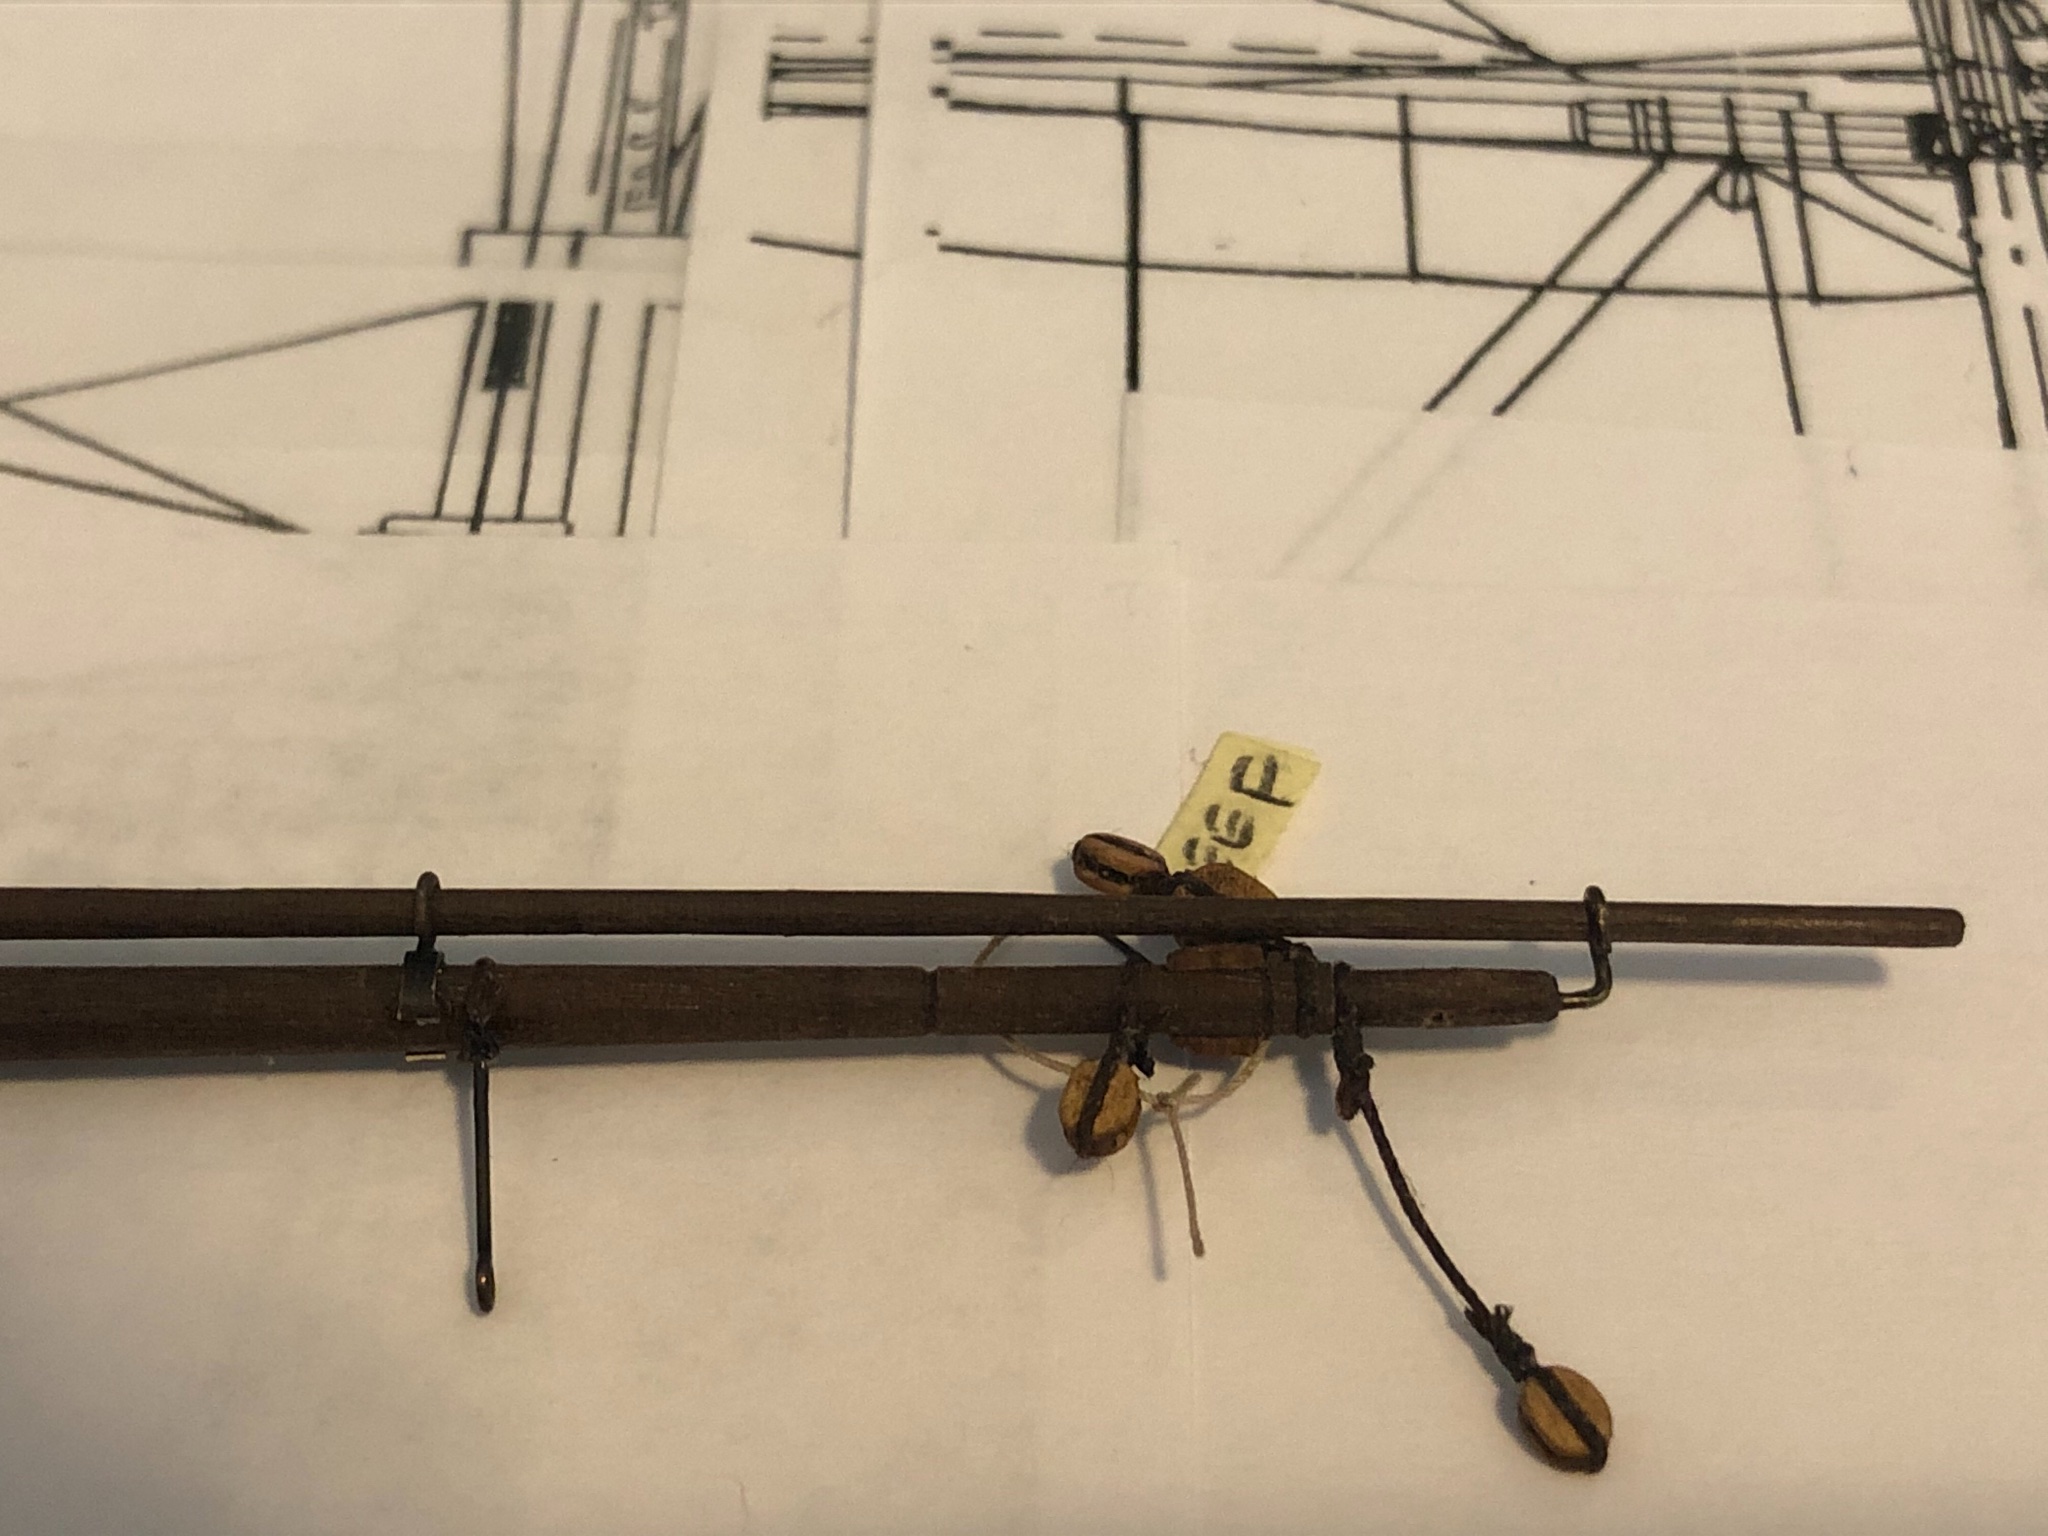
Got a little farther. In the words of a fellow member, “Taking baby steps”. 😁. Added the stuns’l booms to the main and fore course and top yards. Just need to add the foot rope and then they will be ready to have the sails attached. Of course I still need to make the sails but that’s a minor detail. 😁😁😁
When I do get to attaching the yards to the masts I think it would be easiest to start with the bow sprit and work my way back to the mizzenmast. I also think starting with the royals and working my way dow would probably be the easiest since the lower sails will make it more difficult to work around. I’m not sure what the best way to go is right now. I’m just learning as I go.
In hind sight I probably should have waited to put the backstays on. Now I need to work around them to tie the running rigging off. Oh well next time.
Tom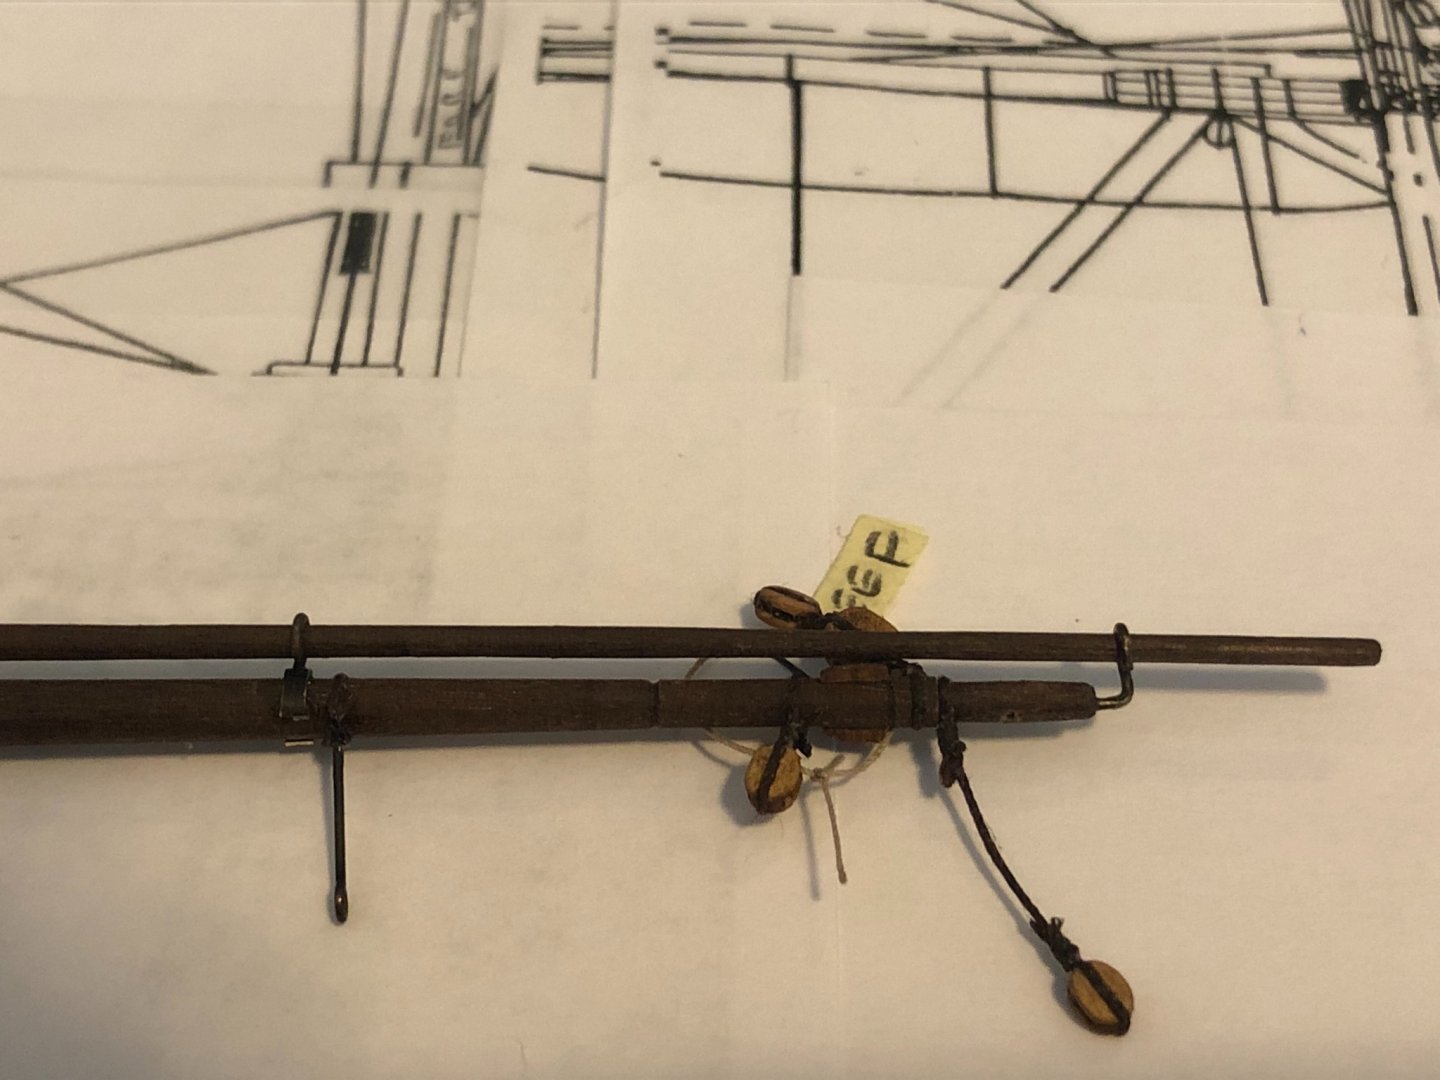
- Jack12477, PeteB, GrandpaPhil and 5 others
-
8
-
-
-
Hi MSW,
I have a question regarding the running rigging lines when a sail is furled, specifically lines that are secured to the kringles on the sail itself such as bow, leech and reef lines. I am assuming these lines are loosened from their belyaing pins but stay attached to their kringles and "rolled up" into the sail so the lines come out near the yard arms and then reattached to their belaying pins. I just want to make sure as I am going to furl or at least partially, the fore and main course sails on my Leopard as not to obstruct the details on the the decks below them.
Thanks for the help,
Tom
-
Antti,
I have an AL Constellation kit build log here on MSW. It was my first build and introduction into a hobby that always intrigued me. I picked it up for a $100 and thought it was a modest investment to try this hobby. Not knowing how bad the design of the kit was I dove in. After 13 months I thought I had a pretty good looking model for my first attempt. After all, my own contentment is all that really matters in the end.
Truthfully, now that I am on my 2nd build, a scratch of the Leopard, I am very much less impressed with the Constellation only because I know it is a mishmash of boats. I guess all the research required for scratch building has placed a greater importance on accuracy for me.
To Jack’s point above, there is nothing wrong with just enjoying a build. After all isn’t that why we are in this hobby? I do feel that the more experienced we become the more we appreciate the historical accuracy blended in with the fun of the build. Would I recommend the AL Constellation kit? No, not unless you build it to learn techniques and then give it away as your appreciation for it will probably fade quickly as you grow in this hobby.
Just my opinion and experiences. 😁
Tom
- thibaultron, Canute, mtaylor and 1 other
-
4
-
Happy new year John. Glad to hear you have the sail layout figured out. I am looking forward to seeing her with full sails. I know the feeling about the research thing. That is basically all I have been doing the past month. The Vikings had the right idea, one sail in the middle of the boat! Keeps it very simple. 😃 LOL
Tom


Jaws Orca by neilm - WIP
in - Build logs for subjects built 1901 - Present Day
Posted
Really nice job. Love the scuff marks on the yellow barrels. 3D printed jaws?? Pretty cool. Extremely cool if they are actual jaws from a micro-shark! 🤪
Tom