KeithAug
-
Posts
3,980 -
Joined
-
Last visited
Content Type
Profiles
Forums
Gallery
Events
Everything posted by KeithAug
-
 Yep - I agree. Over here we have a programme called "The Repair Shop" where a group of restoration experts demonstrate their skills over a wide range of treasured and sentimental possessions. It is surprising the range of techniques they use. Some are counterintuitive and are learned from many years of experience. Experimentation with a restoration project might get a 90% success rate. The problem is the damage caused by the 10% of failed interventions.
 -
Your woodworking skill continue to impress. I know this log is recording an historic build but even with such a fine saw I would have expected a "chopping" action between the brass and the teeth. It is remarkable how you managed so well. I wonder whether a jig and a hand held triangular needle file would have been an option for the notching process? Never the less it turned out pretty well.
-
Sympathhetic restorations can be challenging but with a good base model they are very worthwhile. This looks like a very interesting subject. Is it just the deck that is metal or is the hull metal as well? I look forward to seeing how this one turns out.
-
Thanks Rick It is amazing the bits of detail that can be picked up from your photos. The one of the rudder shows a lifting eye on the hull above the prop, presumably for attaching the prop hoist. Also good detail of the anode on the rudder and having seen this it makes sense of the attachments on the keel. I also see the scroll work at he bow isn't a continuous carving but has a definite joint towards the forward end. A picture is worth a thousand words. I really must start a build log and copy all the Cangarda preparatory chats into it. I'm with my sons and family at the moment (doing various maintenance jobs) so it will be later in the week for starting the log.
-
Rick, thank you for the photos - I see Keith B got in quick with the good advice. I have been doing a lot of internet trawling but as I explained some time back I have little pictorial information on the deck fittings and in particular nothing on the masts and rigging details. So any help will be most welcome. It looks like it was a beautiful day for her roll out. P.S. that’s certainly the best detail I have seen of the bow decoration and of the stabilisers, very useful thank you. Is that a seam running the length of the hull below the portholes? I hadn’t noticed that before! I am already a bit daunted about how I am going to model the bow decoration. 😬
-
But unfortunately not from beyond the grave. RIP 😐
-
Denis This is one of the better renditions of Miranda that I have seen. https://www.modelboatmayhem.co.uk/forum/index.php?topic=12497.0 I am guessing you have already found it, but have you thought of contacting the builder and asking him what he did about defining / constructing the hull. I find that most builders are only too willing to share their knowledge. I am planning to start a steam yacht in the next few months and it too has rather few defined frames so I’m quite interested in what you are doing.
-
My guess is that you may struggle with curvature. My worry is that the wide spacing will cause the curvature to tighten adjacent to the frames and flatten out between the frames. If I were taking on the project I would try to use the existing frame information to generate a series of horizontal sections and then use the horizontal section to generate more vertical frames. This may sound complicated but it is very easily done and can produce remarkably smooth hull contours. For a 42" model I think I would be typically looking for about 25 to 30 frames. However feel free to ignore me as trial and error is the fun part of the process and everyone develops their own preferred approach. Good luck.
-
Scroll saw versus band saw
KeithAug replied to Juddson's topic in Modeling tools and Workshop Equipment
I think you misunderstand. I was referring to the parallel link type of scroll saw. These tend to have more pivot points and link bearings than the parallel arm type. The Henger is a parallel arm type. The advantage of the parallel arm type is its greater simplicity but this is achieved at the expense of a greater oscillating mass. Parallel arm types tend to need heavy construction (mass) to limit the vibration. The parallel link type have a much lower oscillating mass and hence the vibrations are inherently less but the disadvantage is that wear is more pronounced. -
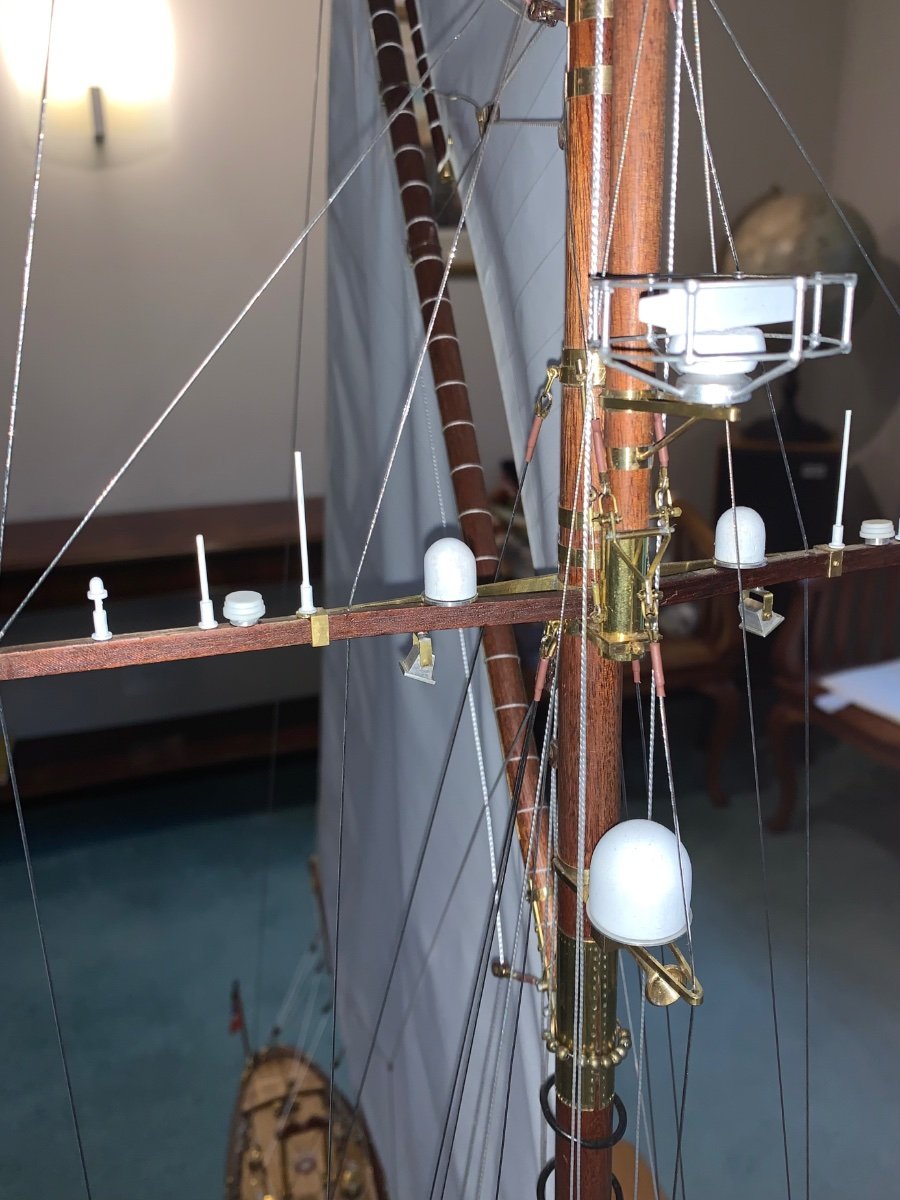
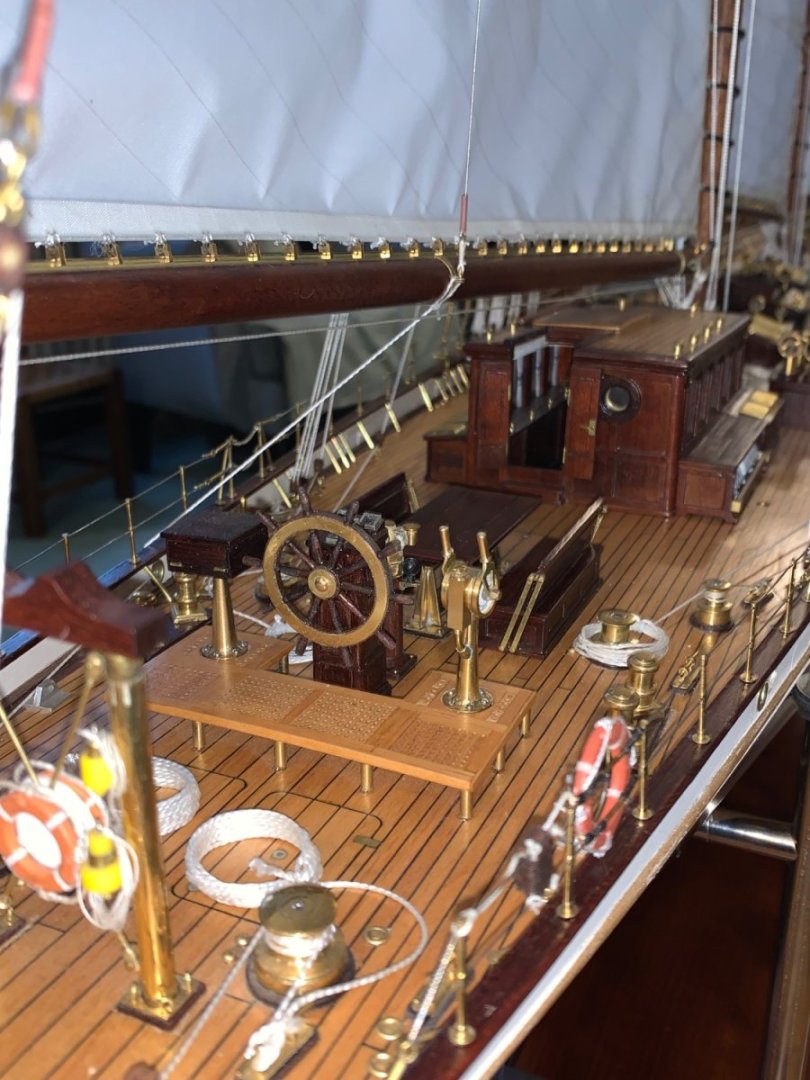
As you commented some time ago, postage stamps images are the way forward. It all looks pretty crisp to me. I guess the stanchions are quite delicate.
-
Scroll saw versus band saw
KeithAug replied to Juddson's topic in Modeling tools and Workshop Equipment
I would think twice about buying a second hand parallel link saw. The linkage is prone to wear and is pretty costly to replace. With worn linkage it will dance itself off the table, even at moderate speeds. Only consider second hand if you can give it a really good test run. -
Nice work on the guard rail. I have a very pedantic sailing friend who goes apoplectic when anyone refers to the guard rail as "railings". Your build should wind him up nicely. 😀 Notching the stanchions on the table saw looks like a very delicate task. I imagine the notches are very small? Presumably you have a very narrow and fine toothed blade?
-
Hi Brian Between battling global warming, diplomatic missions and global pandemics I'm surprised you got anything done. Have you considered running for President?😀
-
I’m looking forward to this Mark.
-
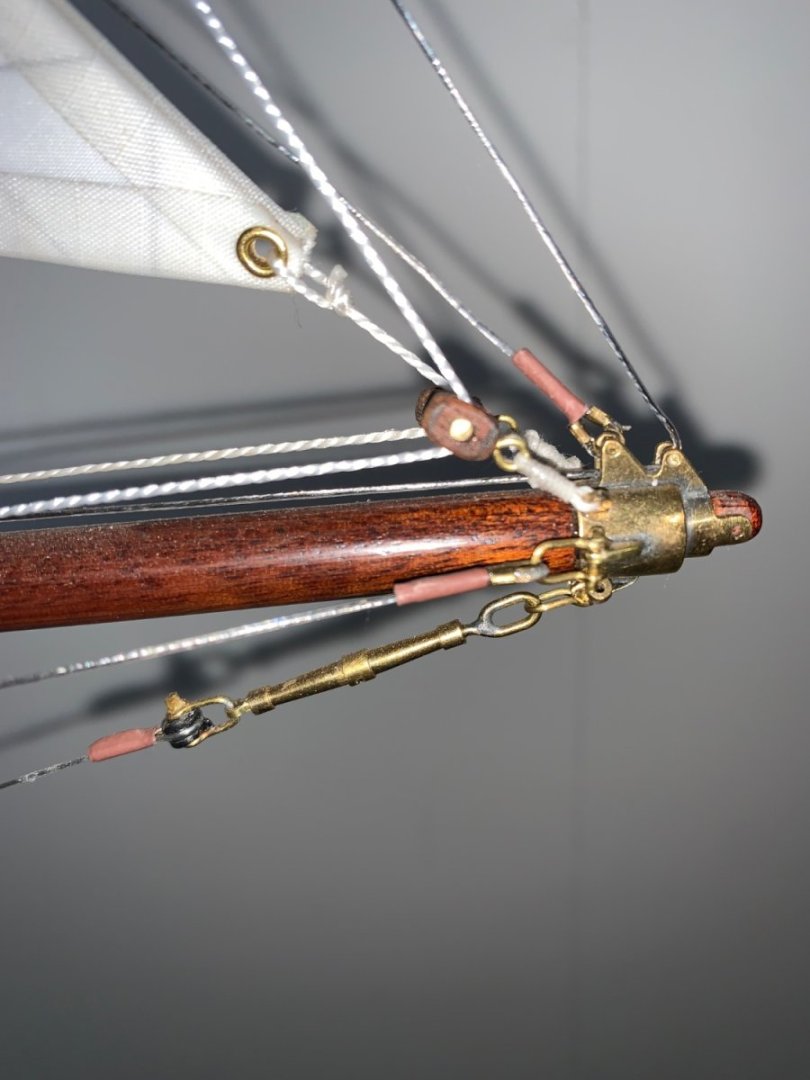
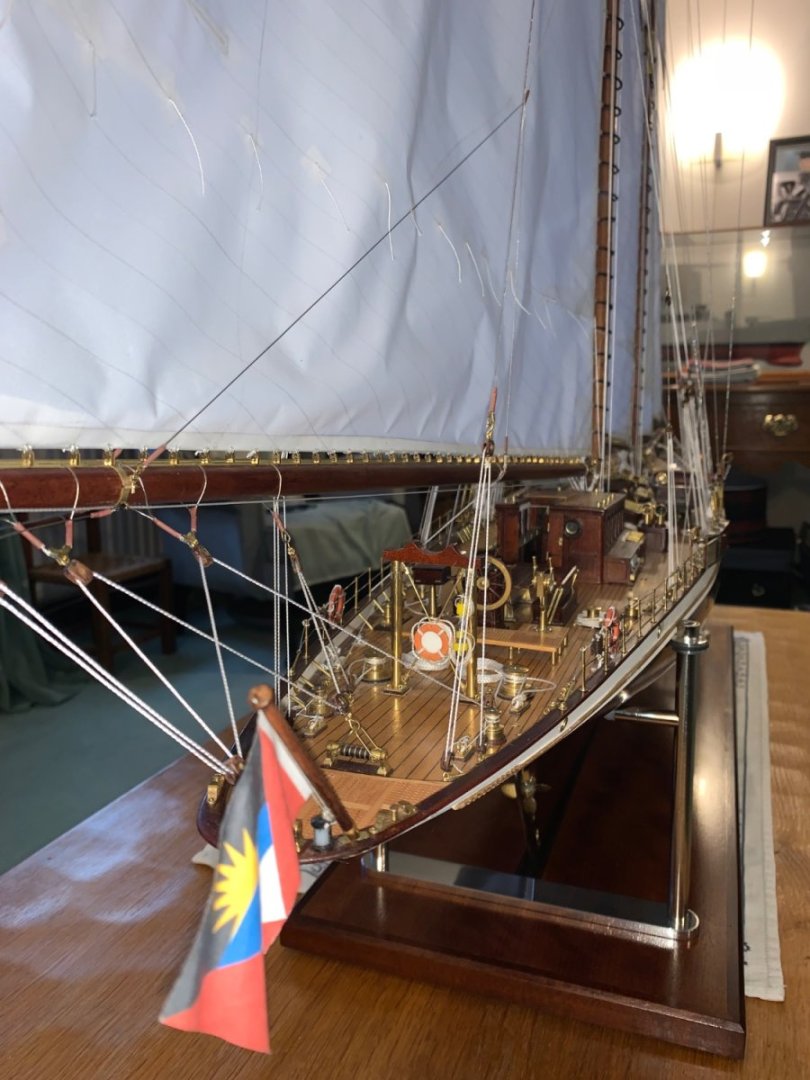
Eberhard - I am planning to move it outside for a photoshoot when the weather improves. I need the right light conditions and most importantly no wind.
-
Hi Keith. Georges said - Hello Keith, I just looked at the whole build for the third time, and am increasingly impressed with the quality of the workmanship. After finishing The Endeavor (in 2011 version) I had decided to ride a Schooner and had considered the Eleonora, but your presentation made me change my mind, and I am modestly starting this Germania Nova. I don't plan for a second to reach such a level of quality, but your post represents assembly instructions of such quality that I hope to arrive, thanks to you, at an acceptable result. I apologize for the post in French, but my level of English is terrible and I prefer to trust the translator. I am starting this boat and will publish this assembly on La Royalemodelisme. Thanking you again for the joy that the sight of this publication has given me. I replied:- Thank you for commenting and good luck with your build. If you need any help with any of the plans or photographic detail please let me know. I am willing to bet your English is far superior to my French so I hope the translator makes sense of this reply.
-
Andy, Montagine, Keith, Chris, CPDDET, Brian, Greg, Eberhard, Gus, Druxey, Pat, Gary, Mark. Thank you all for cheering me over the finishing line and of course thanks to everyone who watched and cheered my efforts in this egg and spoon race. I must really try to run faster on the last lap next time. I must also catch up on other builds.
-
Georges Merci pour le commentaire et bonne chance pour votre construction. Si vous avez besoin d'aide avec l'un des plans ou des détails photographiques, faites-le moi savoir. Je suis prêt à parier que votre anglais est de loin supérieur à mon français, alors j'espère que le traducteur donne un sens à cette réponse.
-
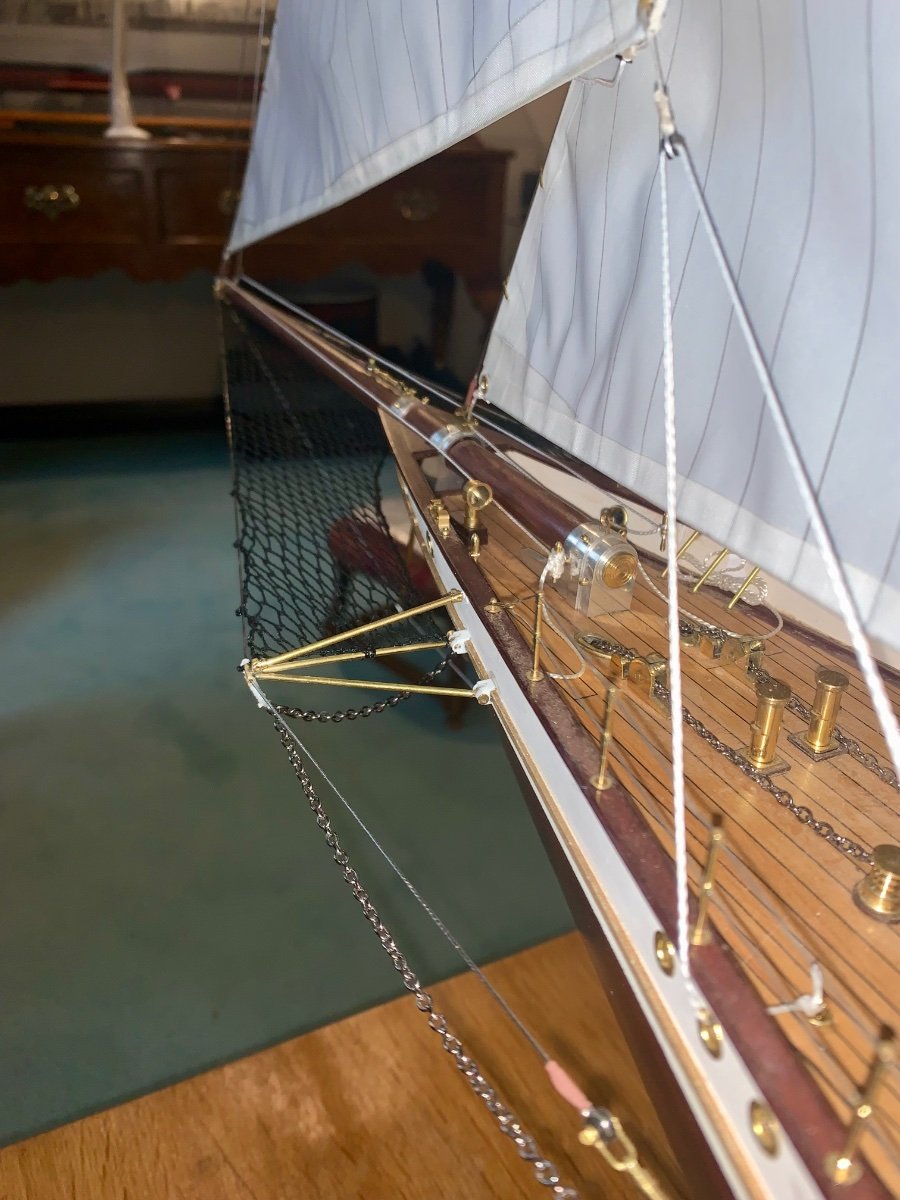
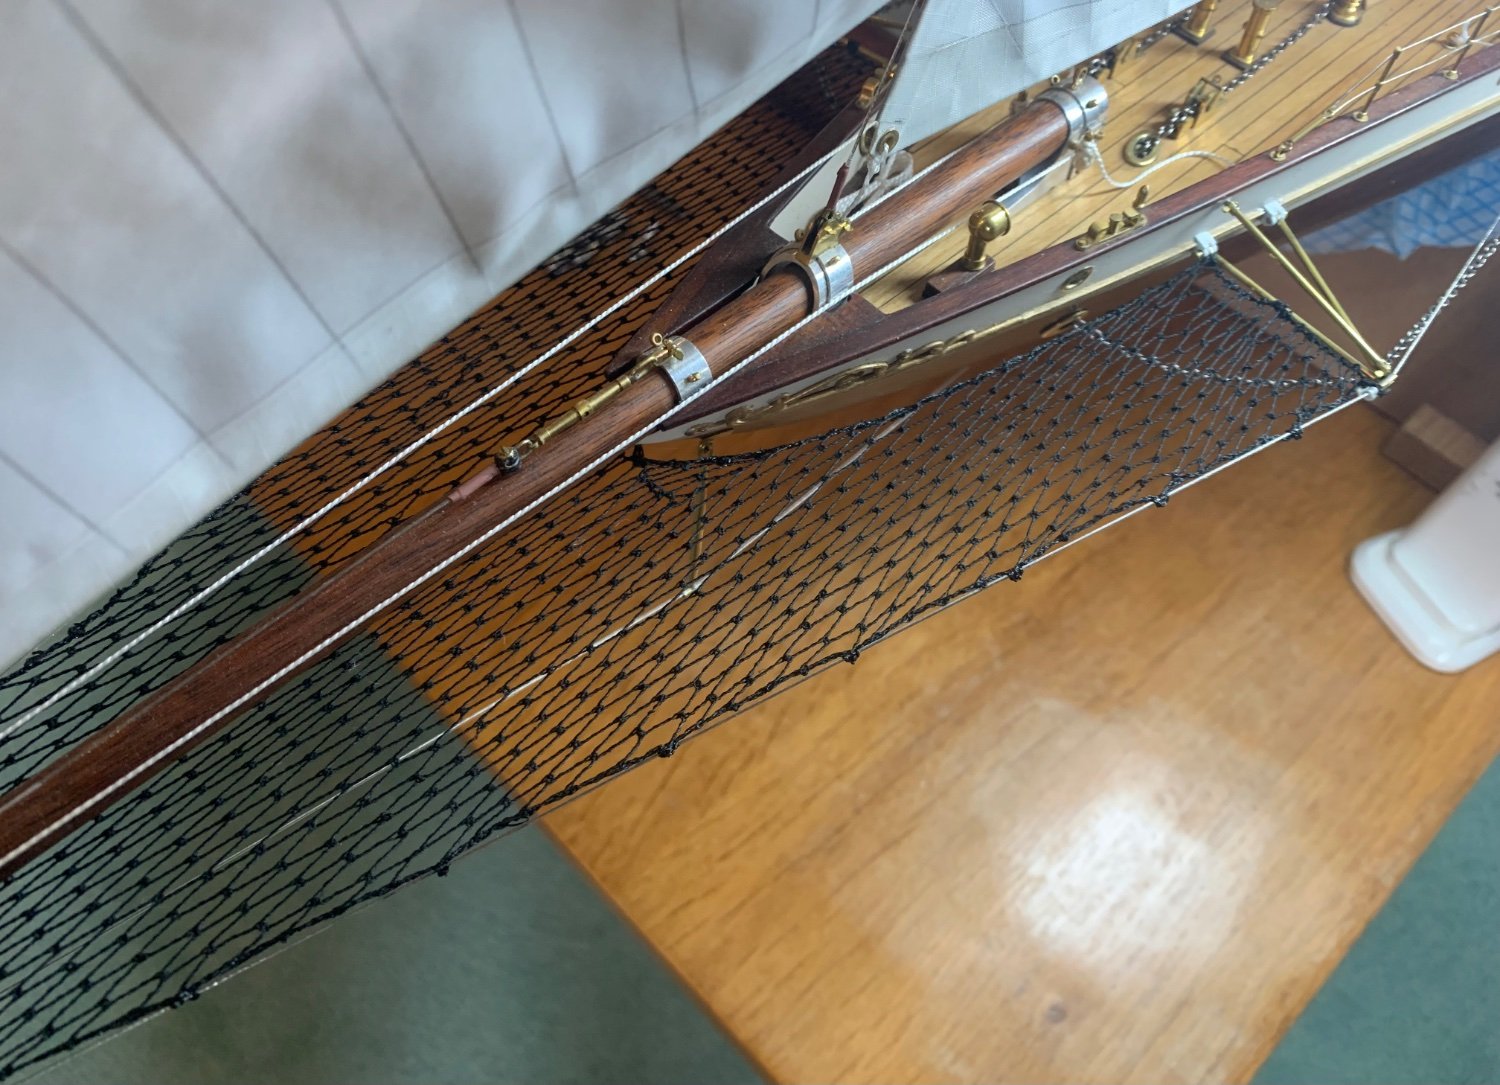
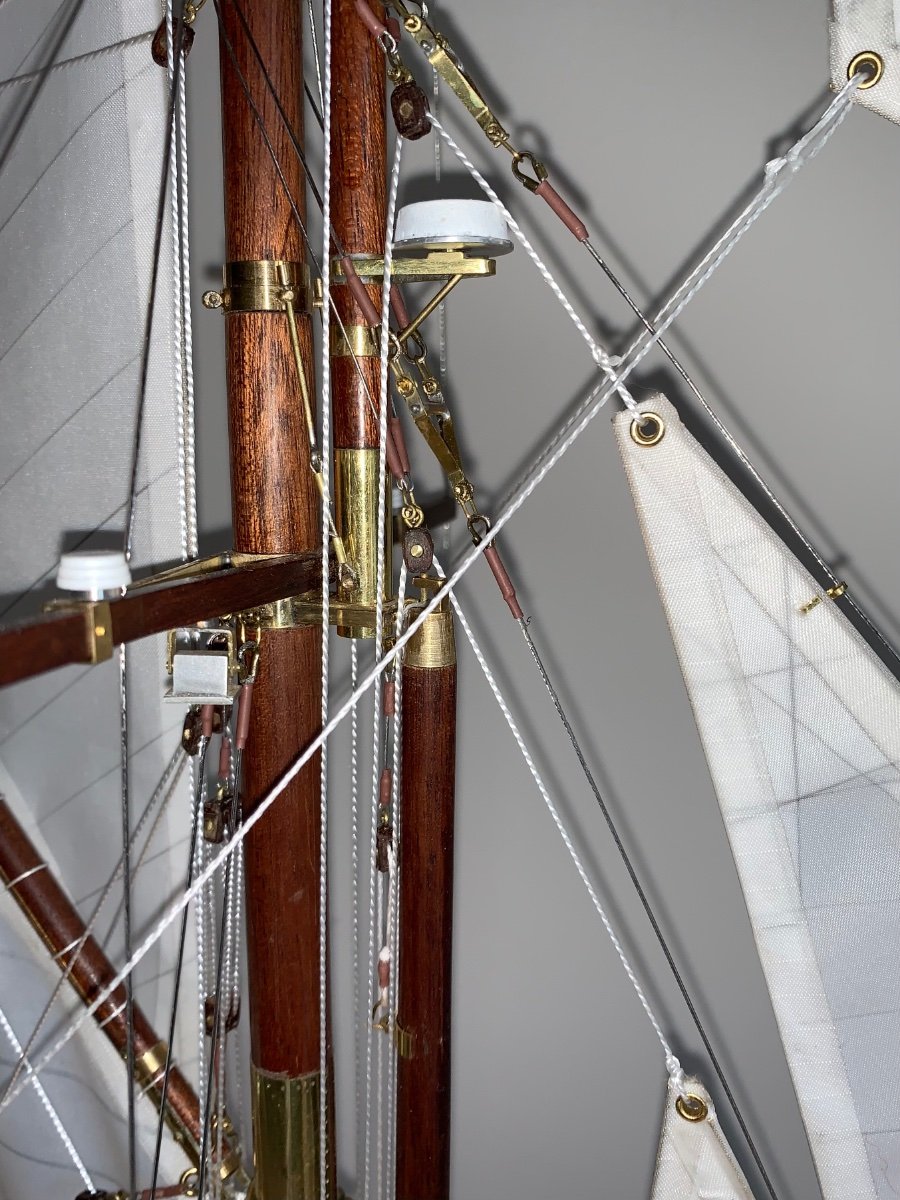
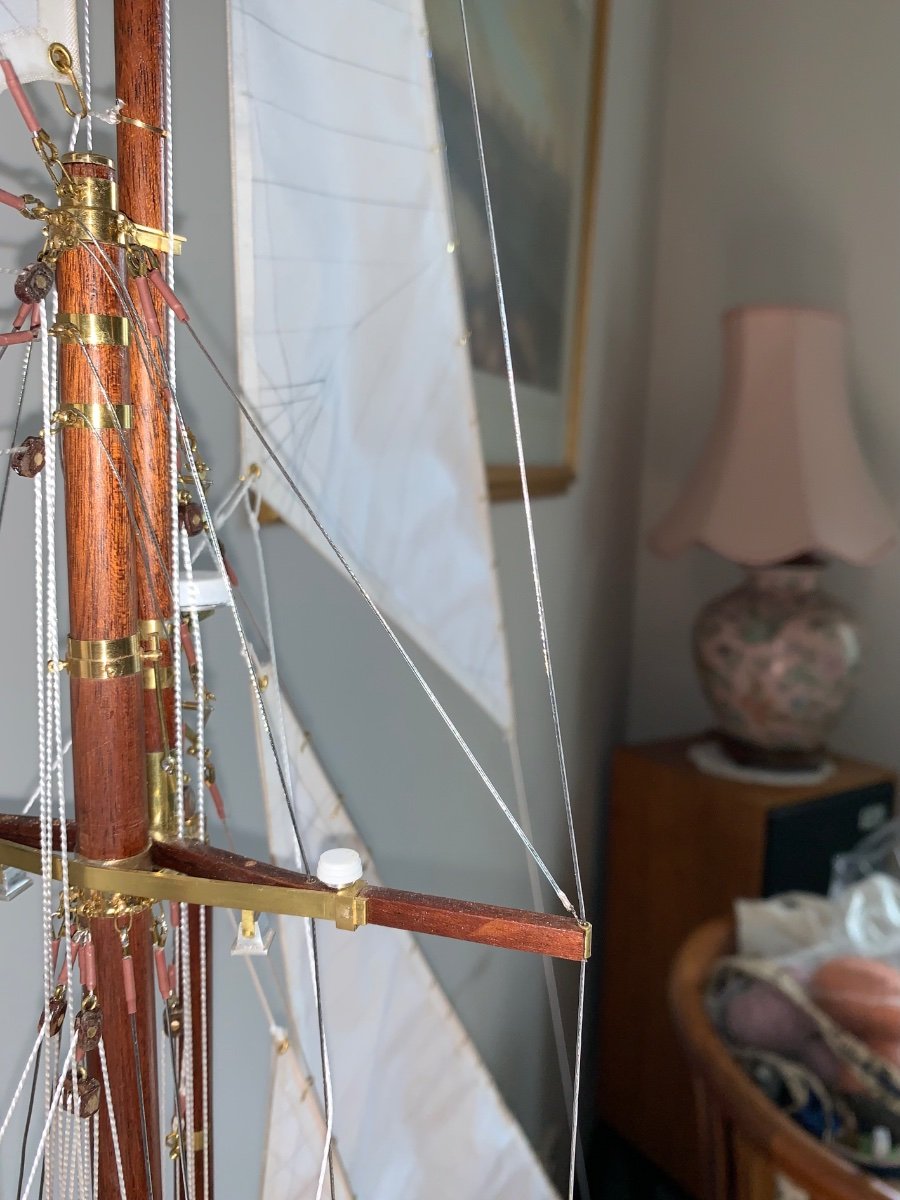
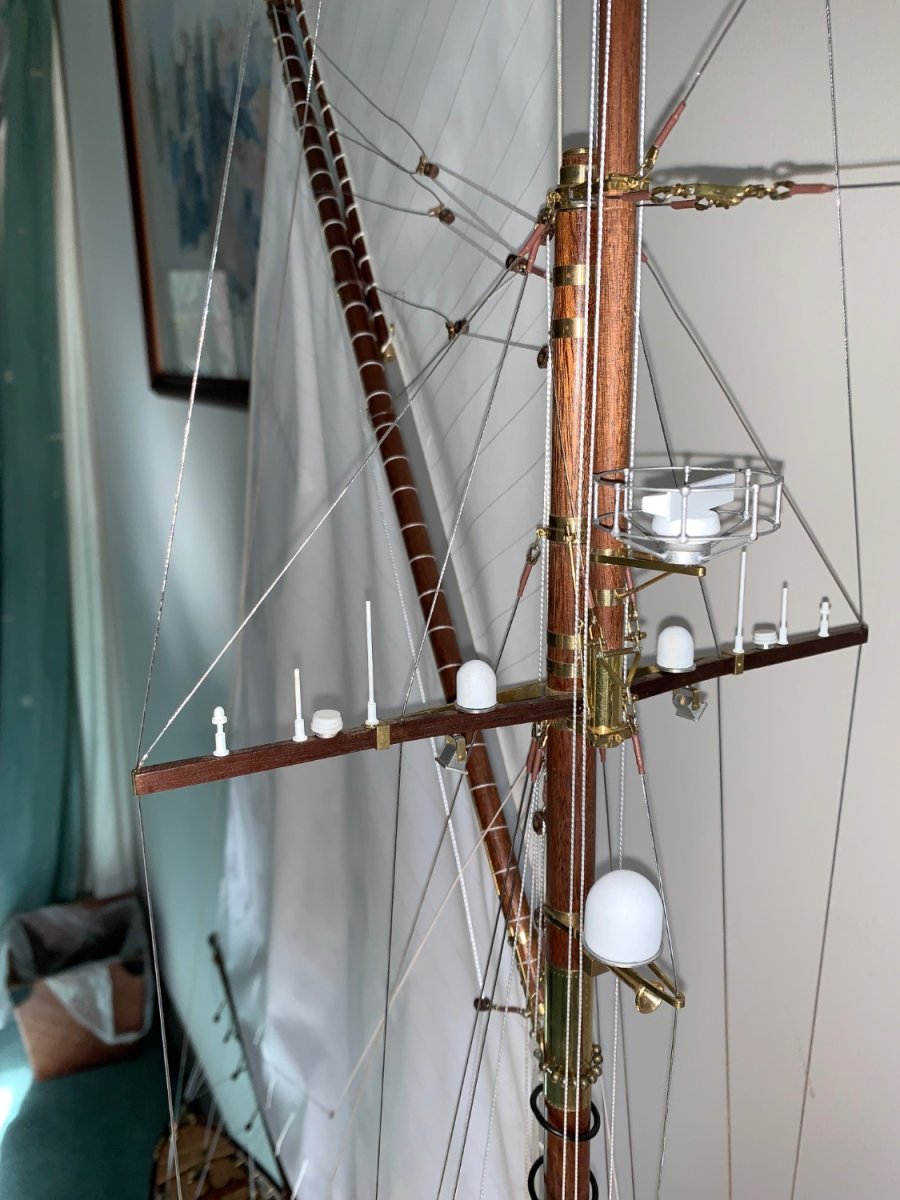
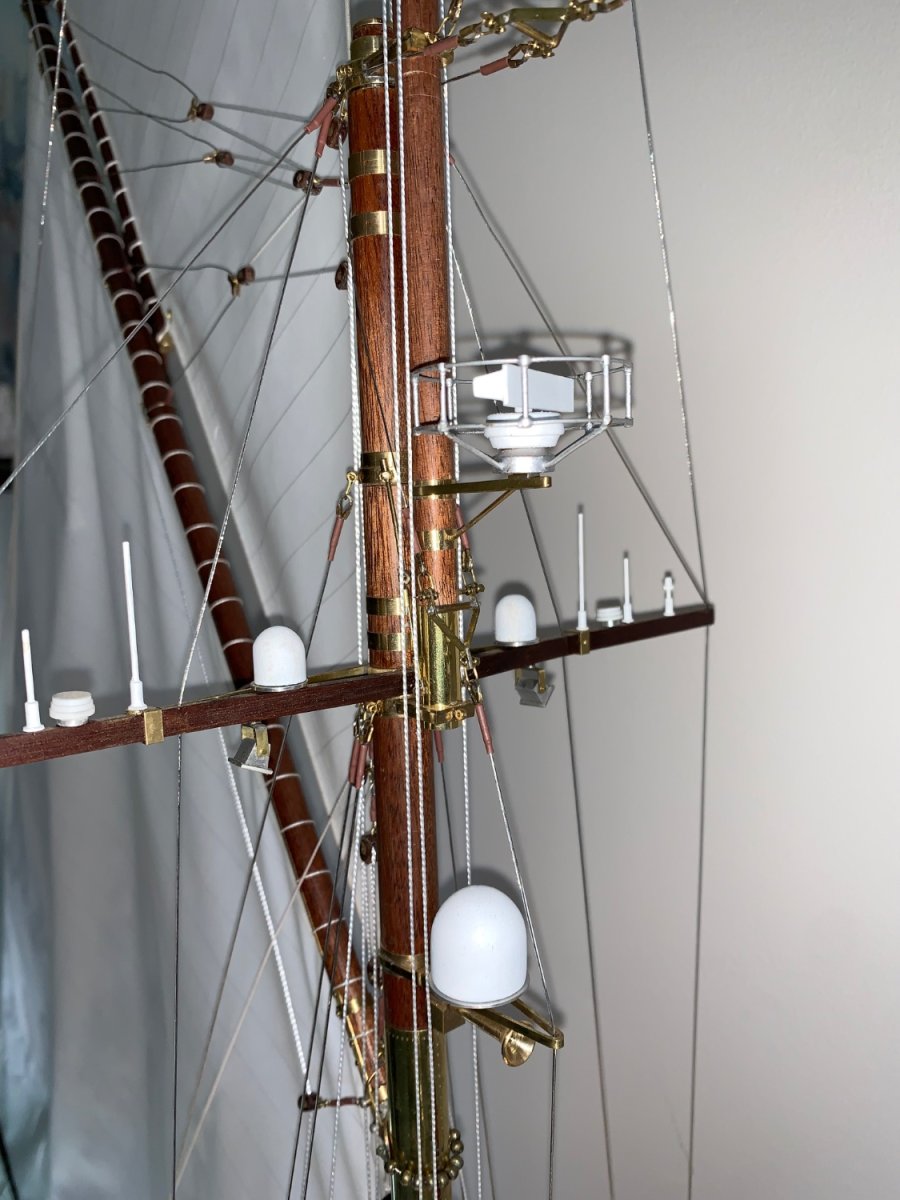
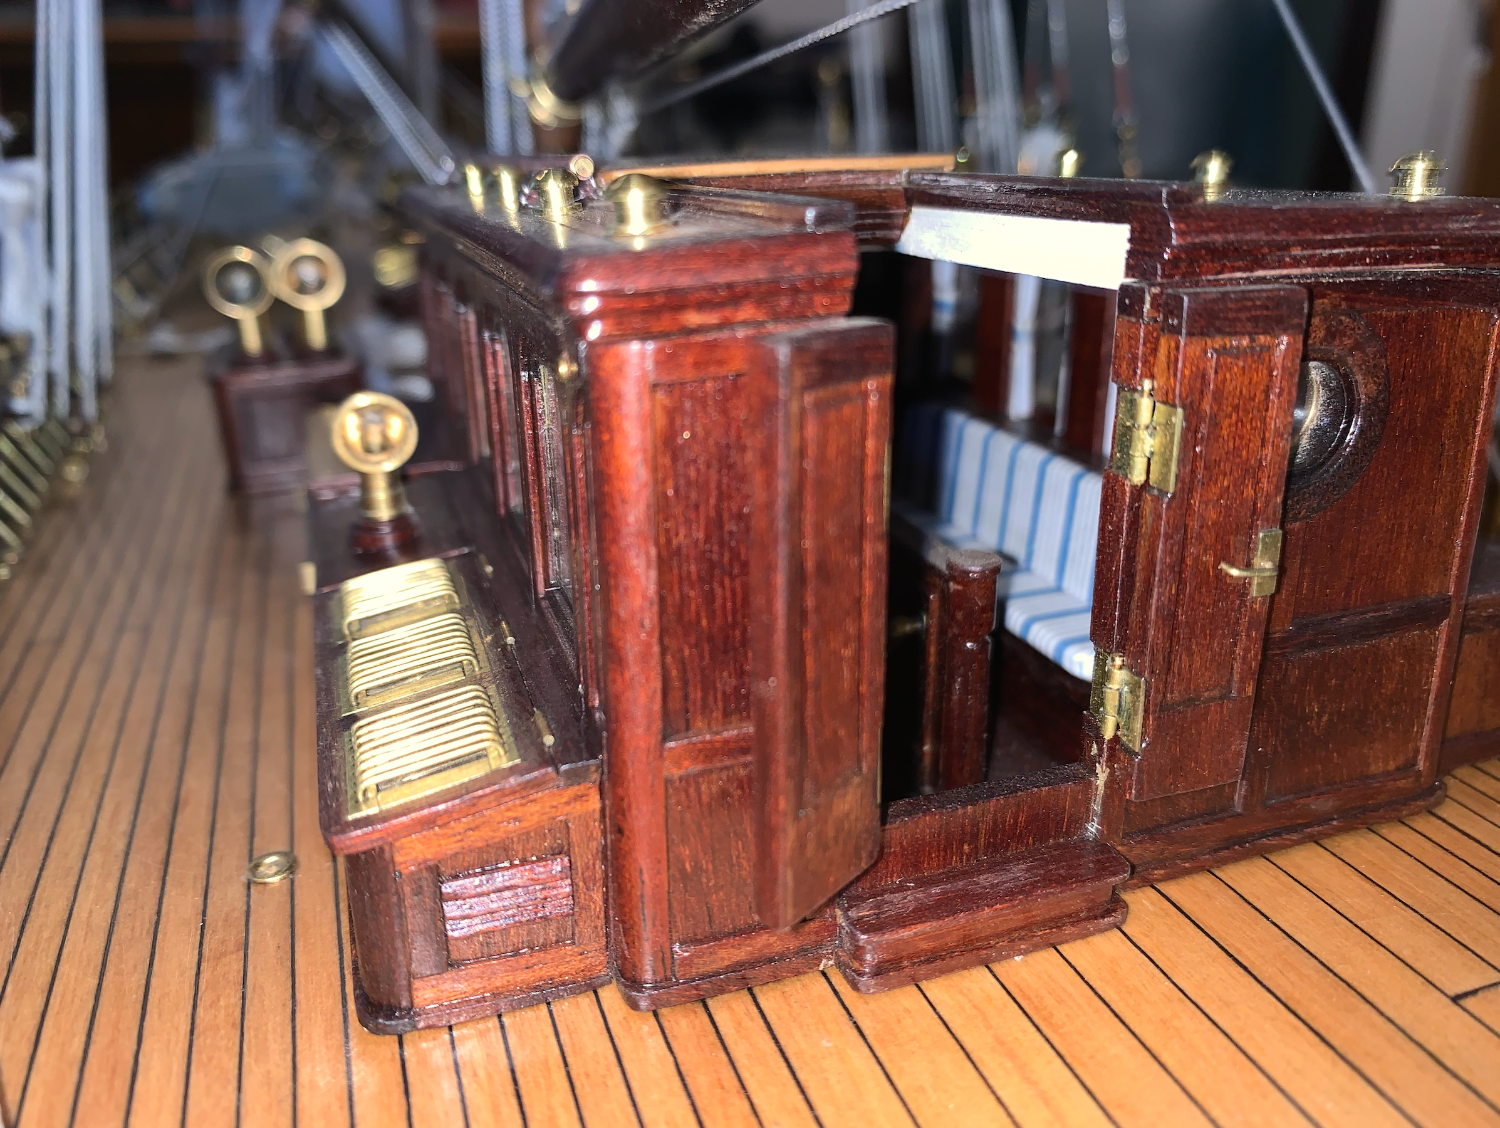
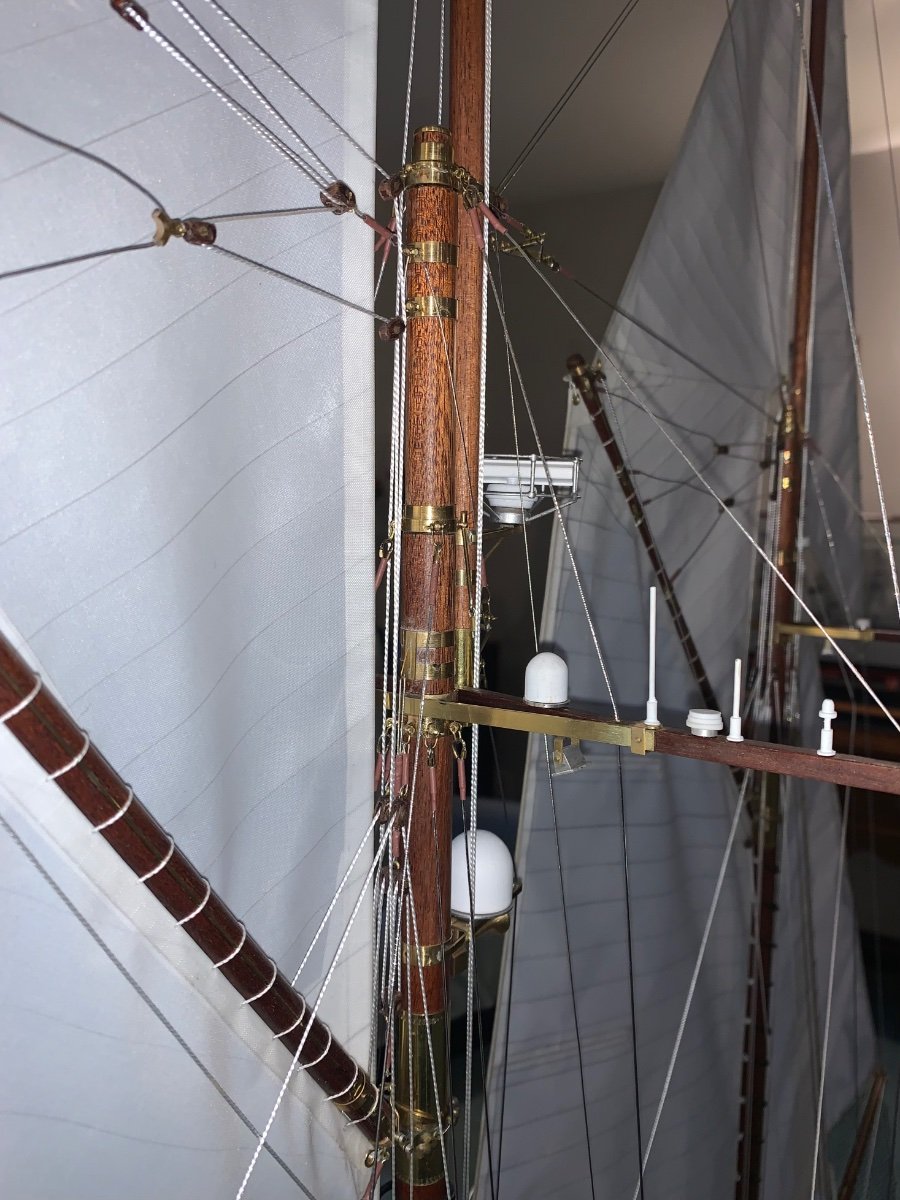
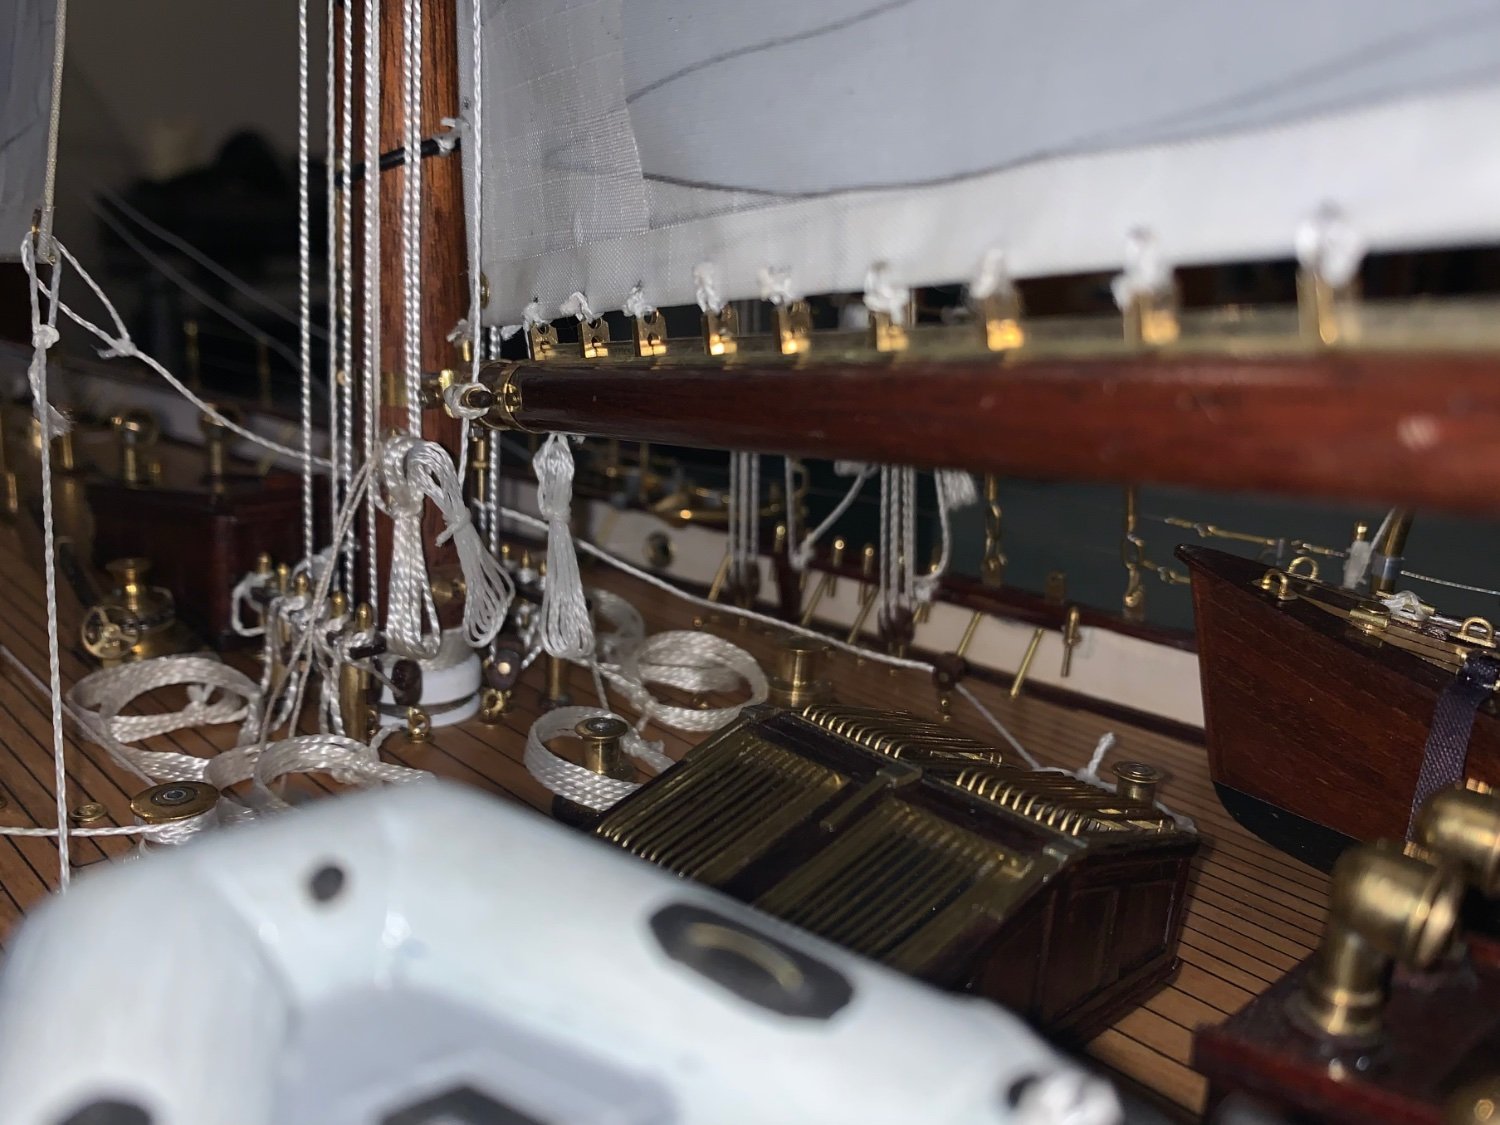
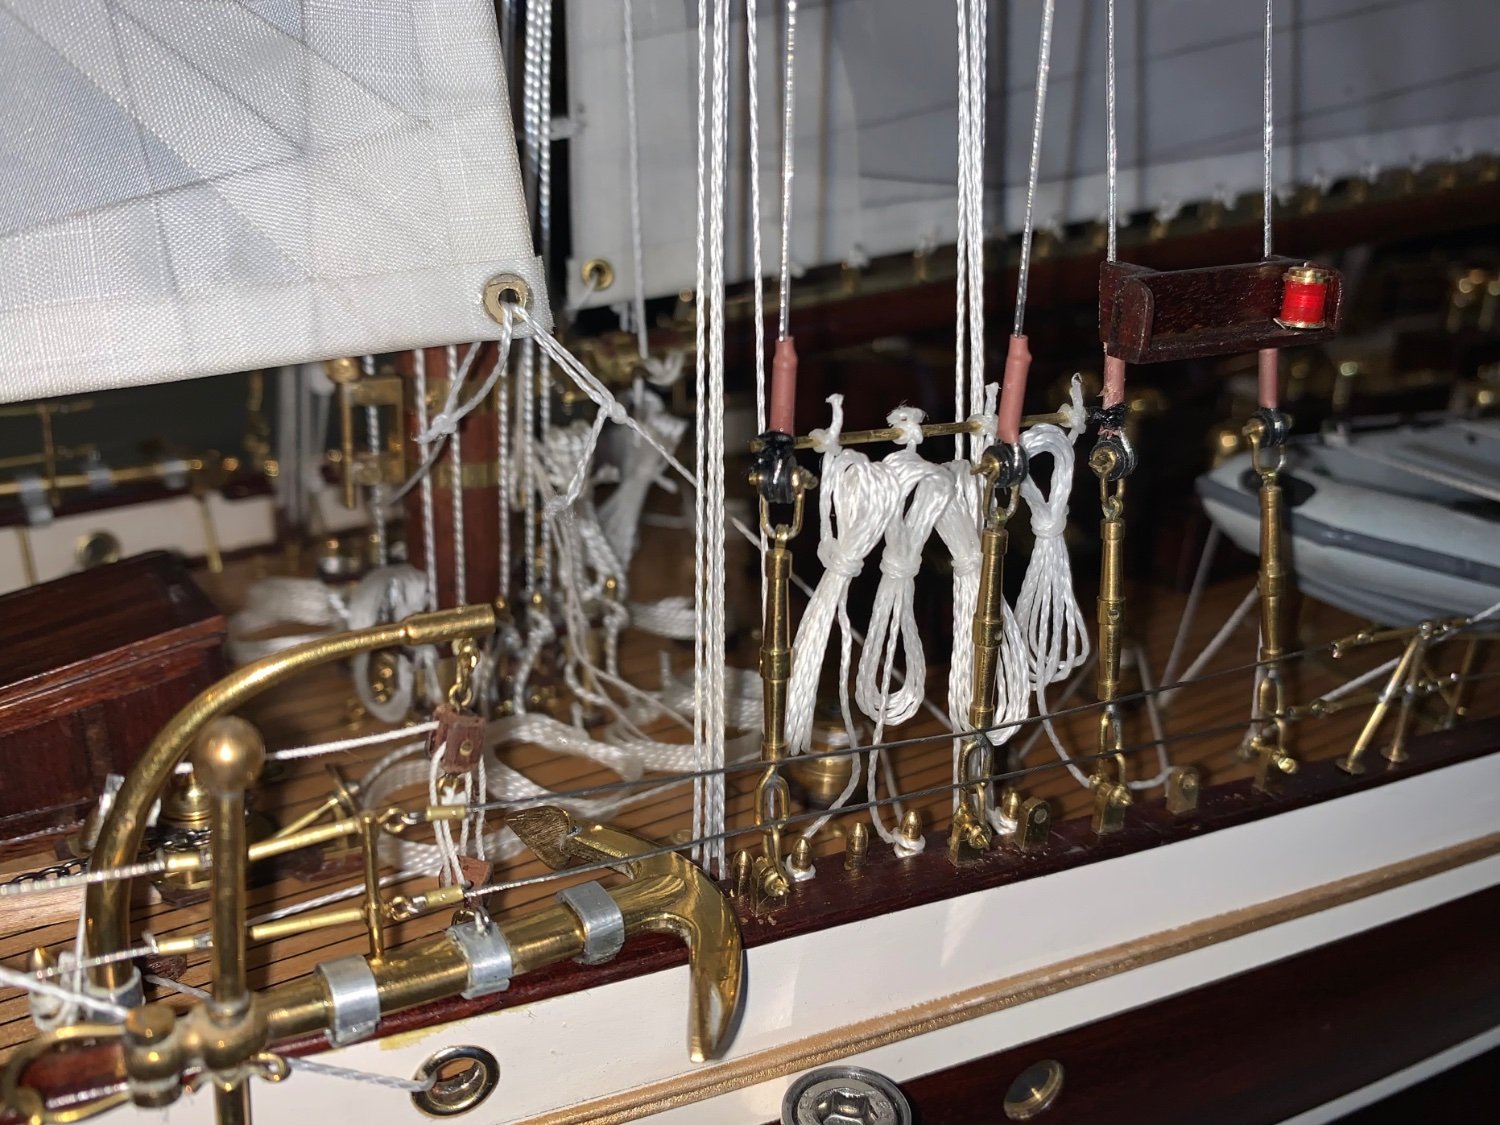
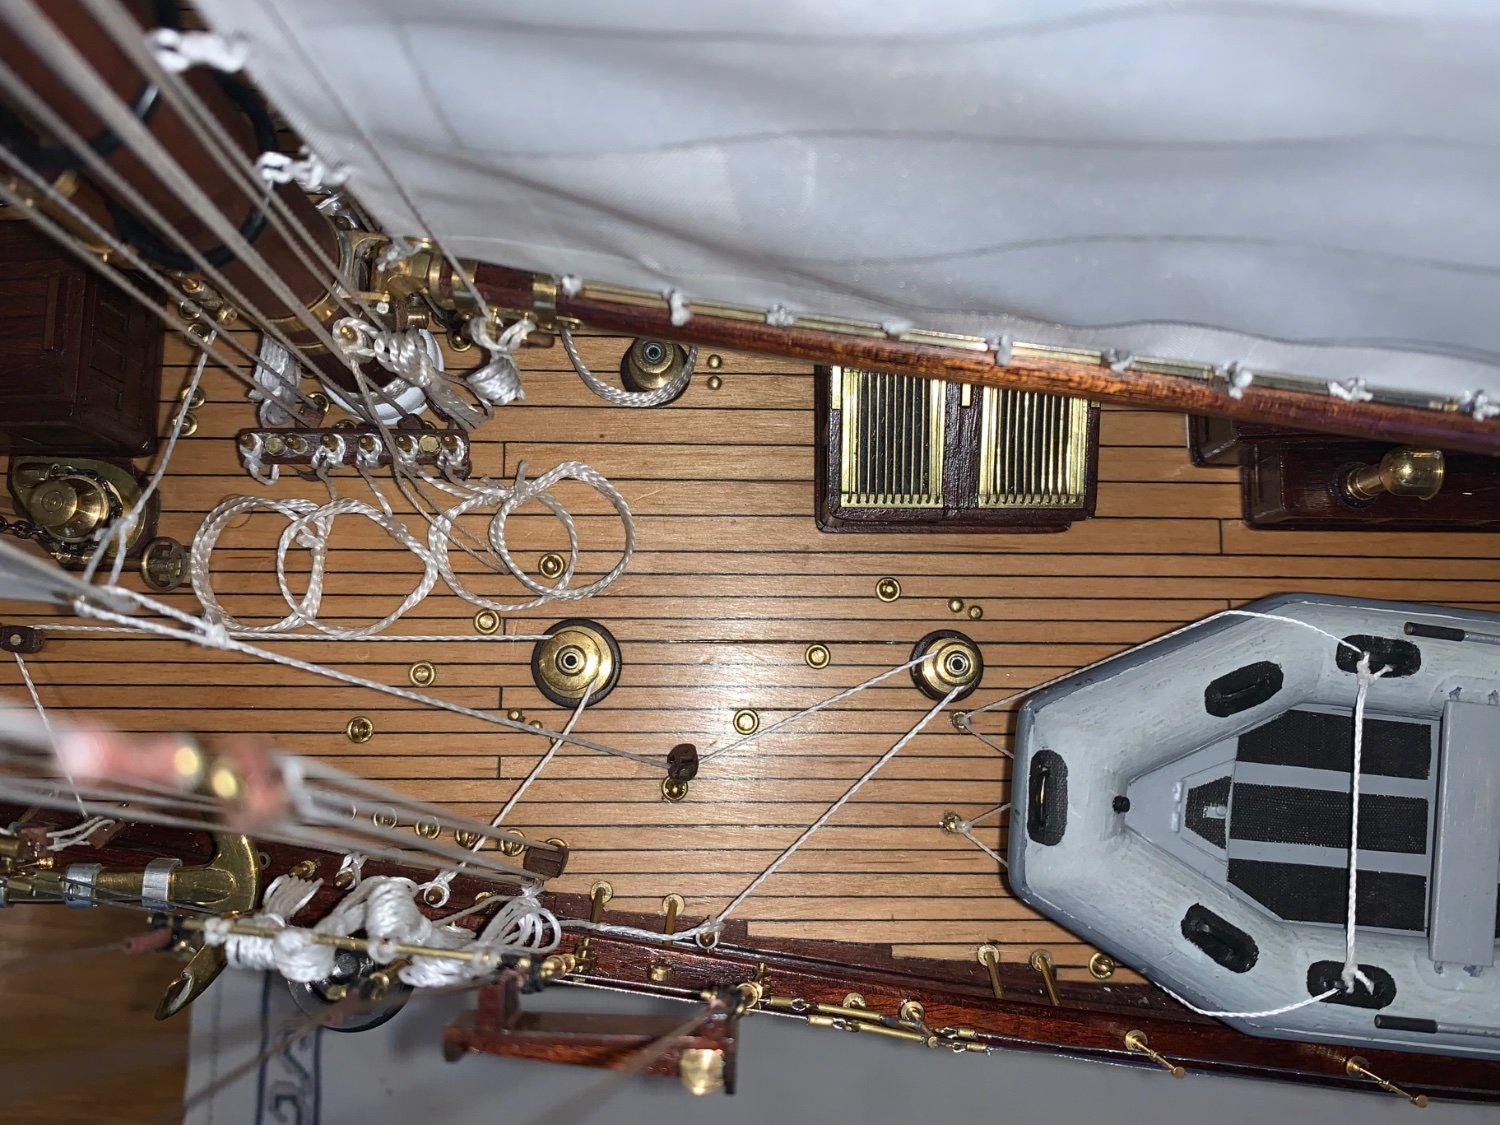
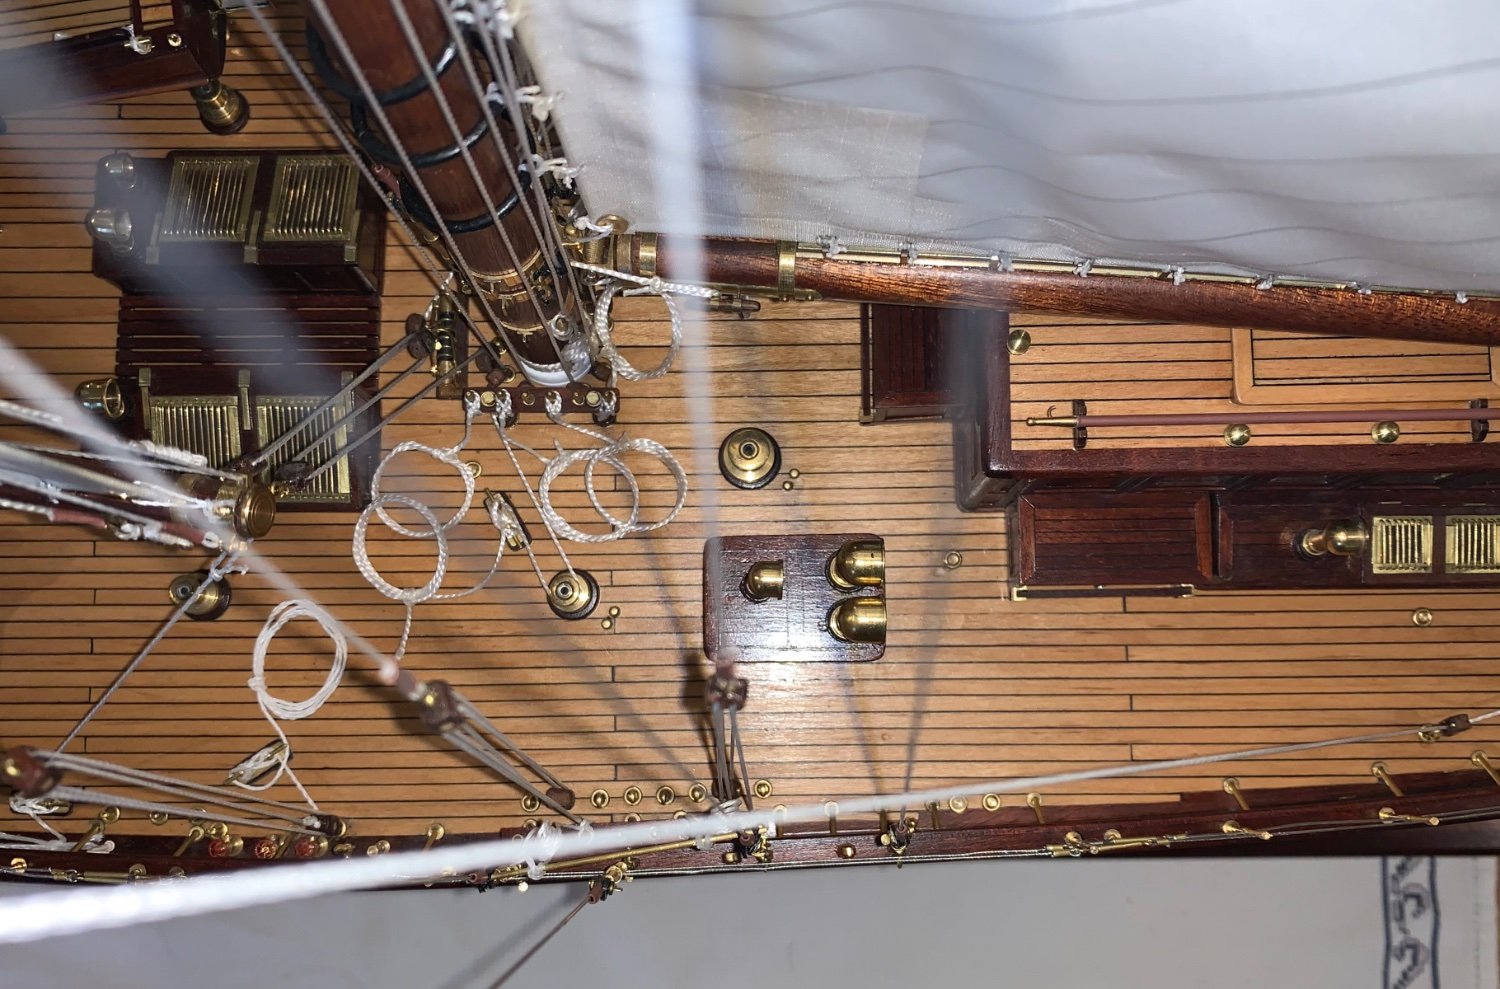
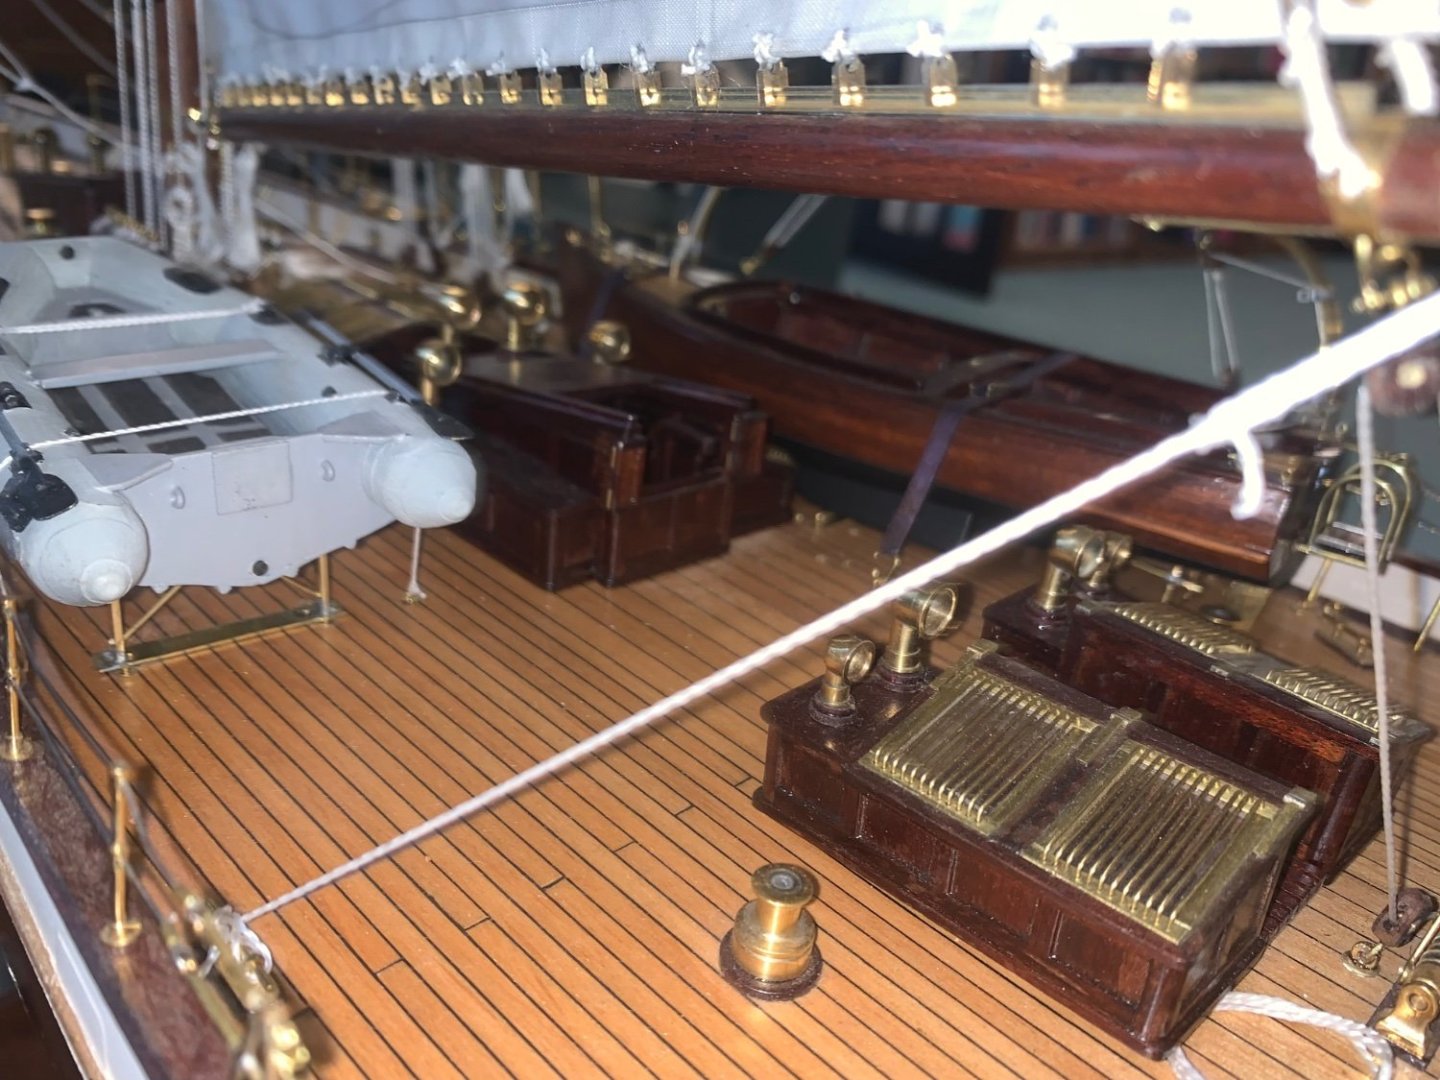
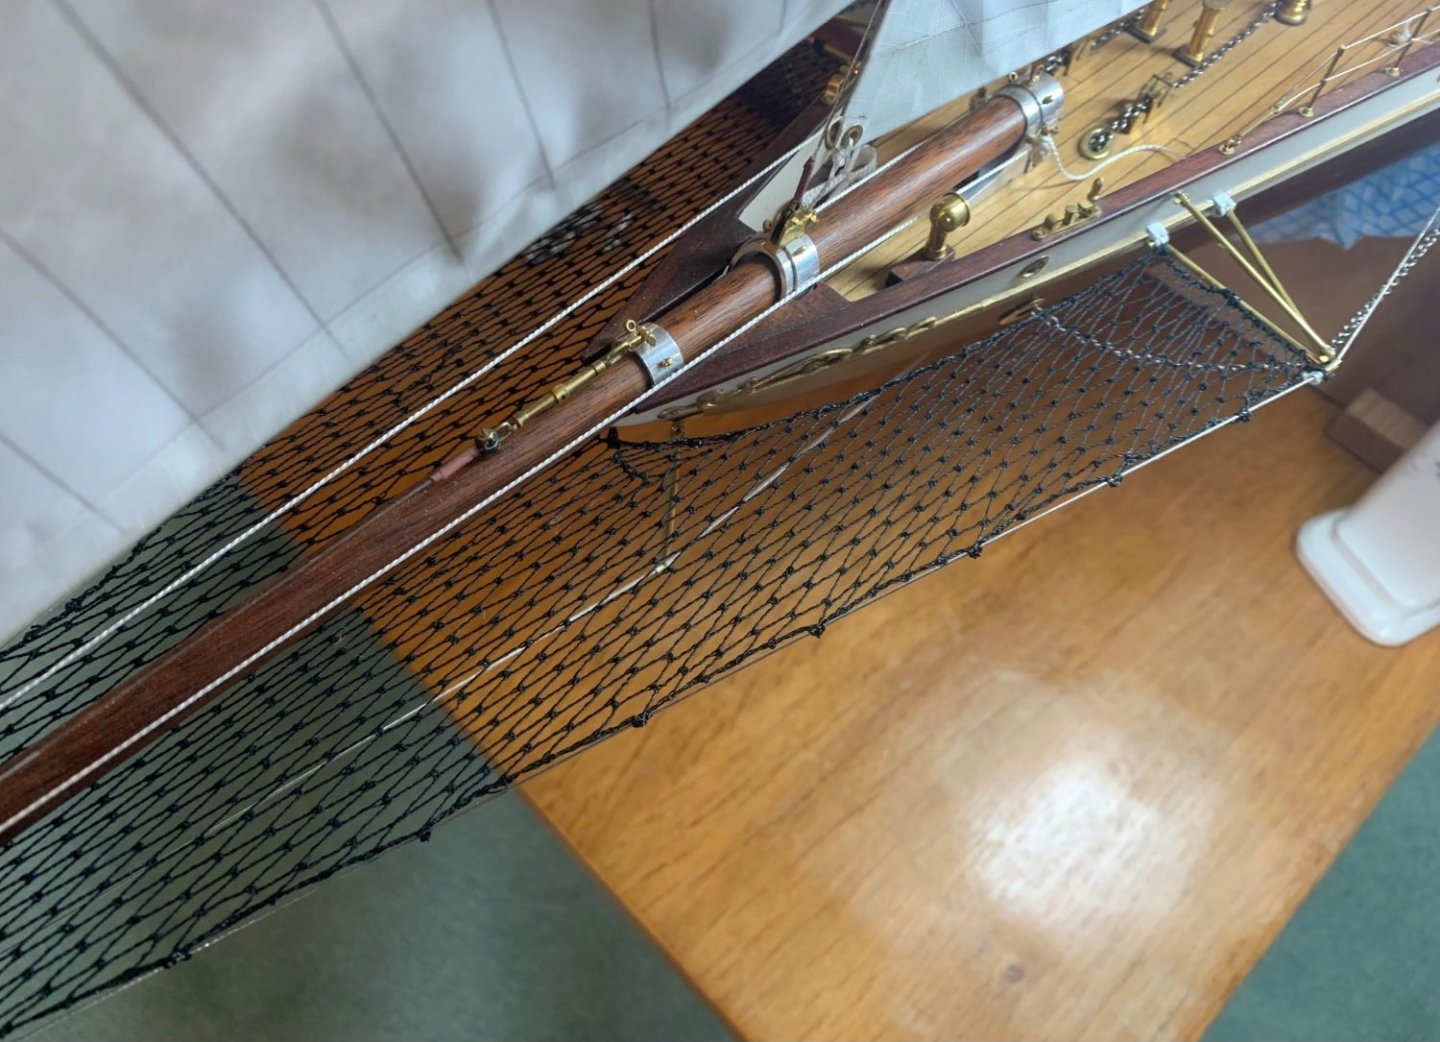
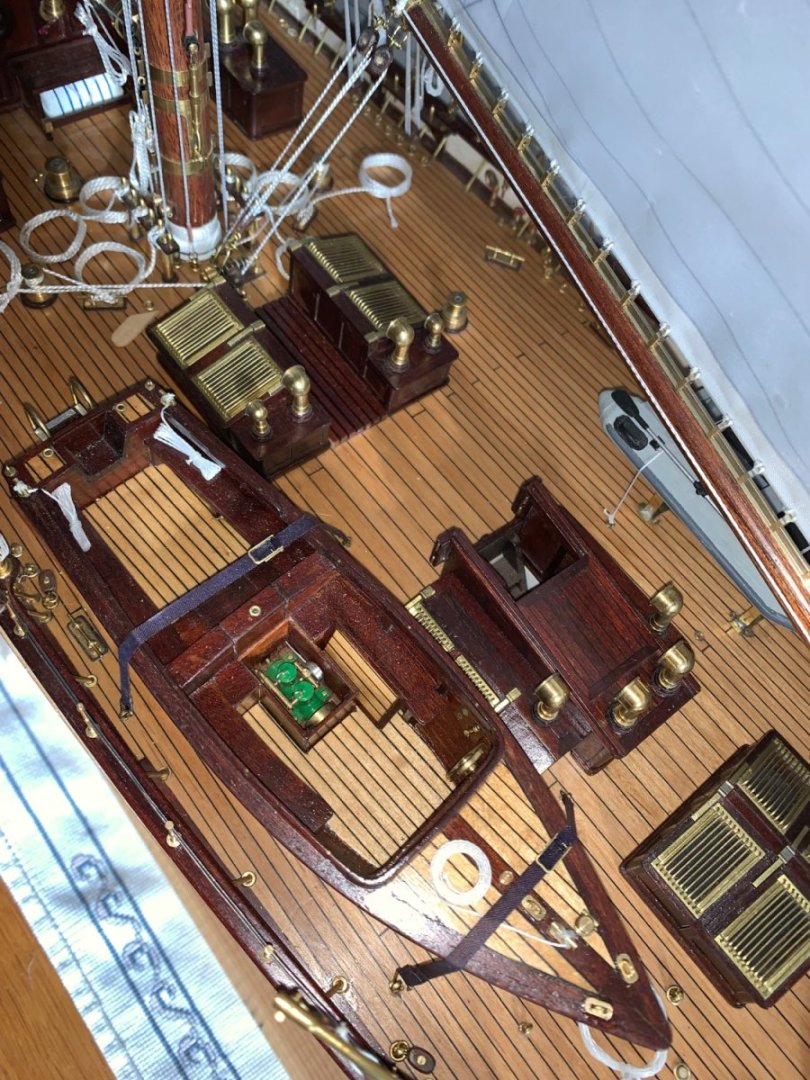
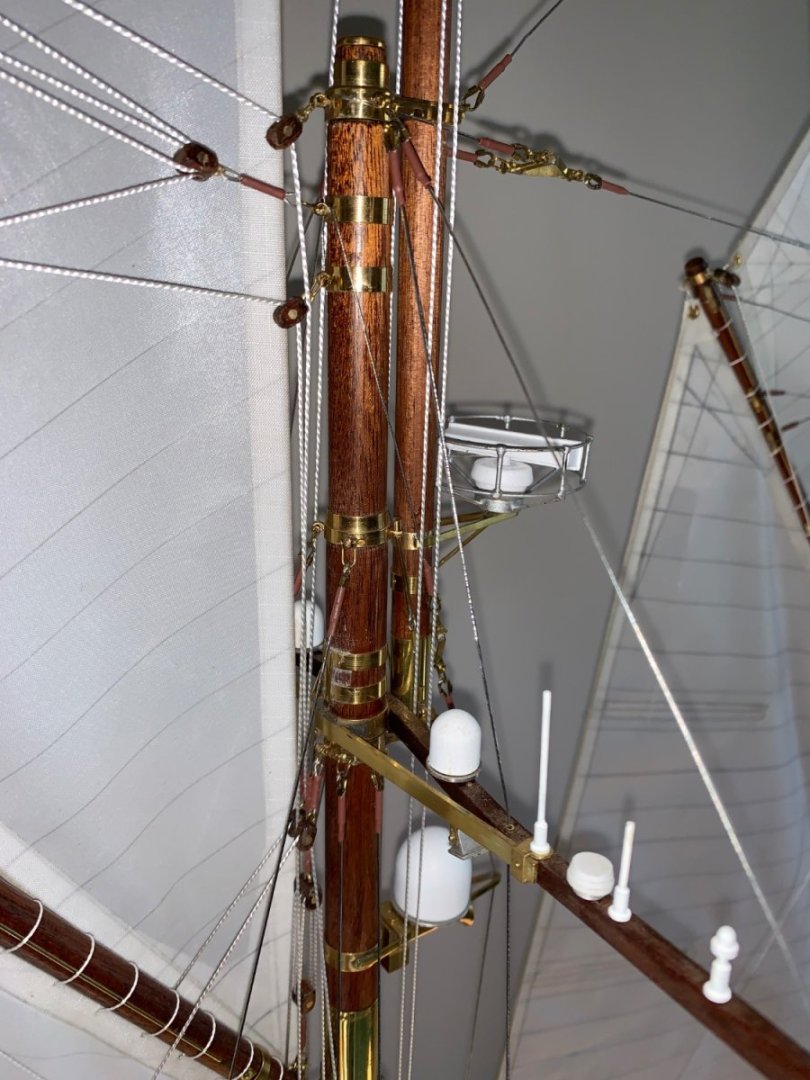
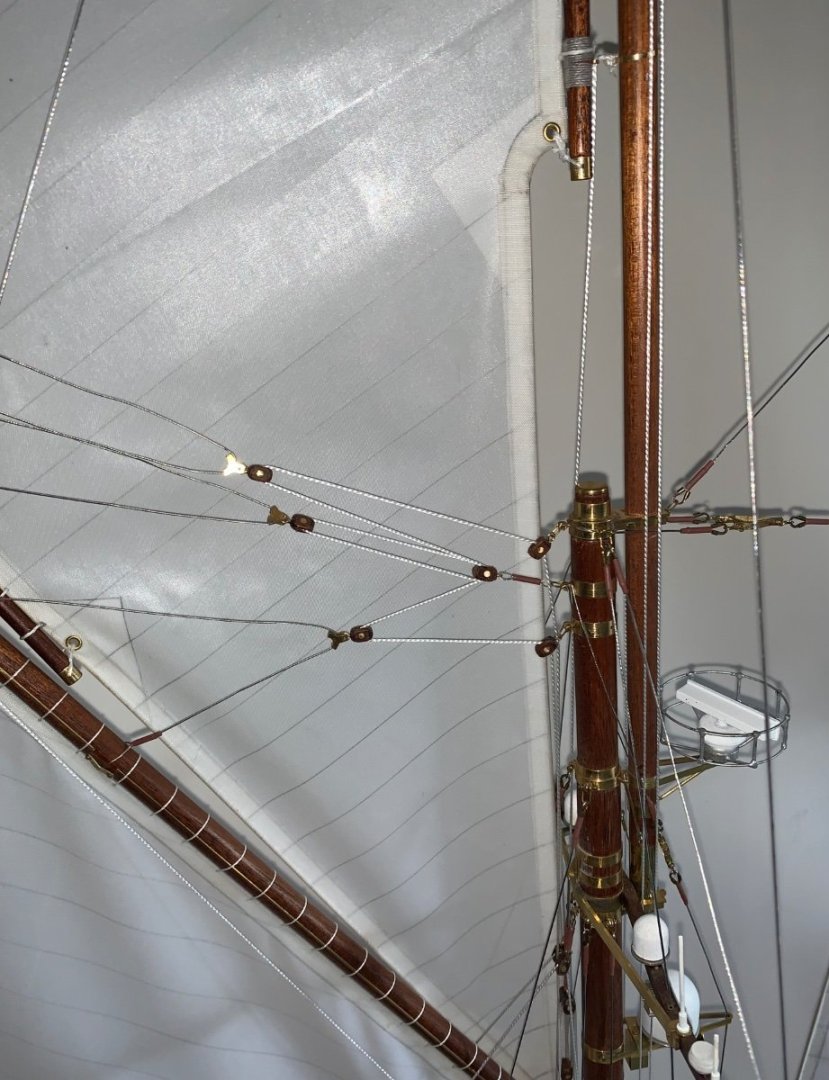
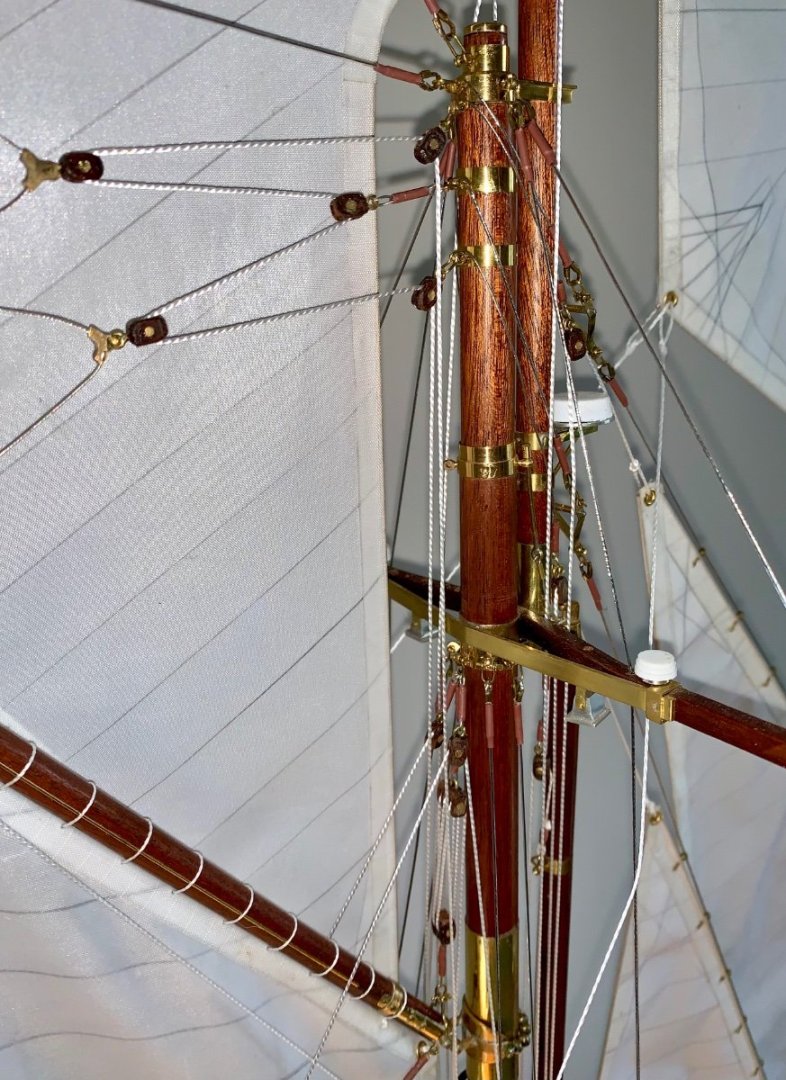
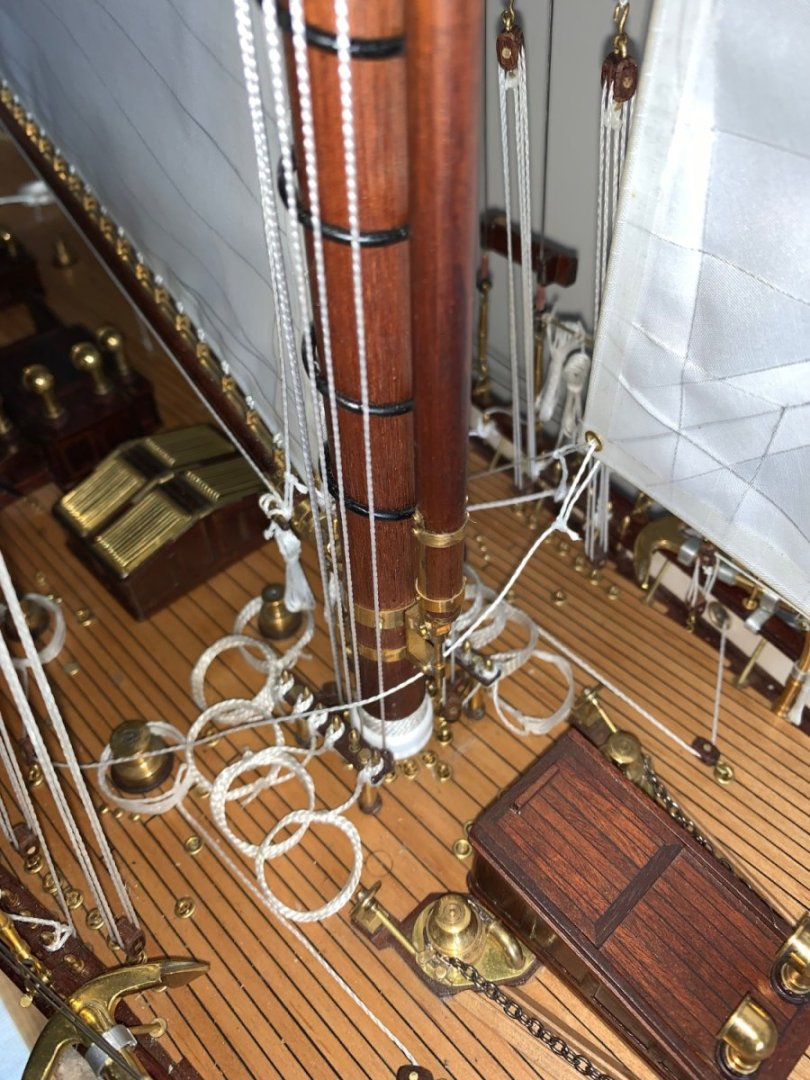
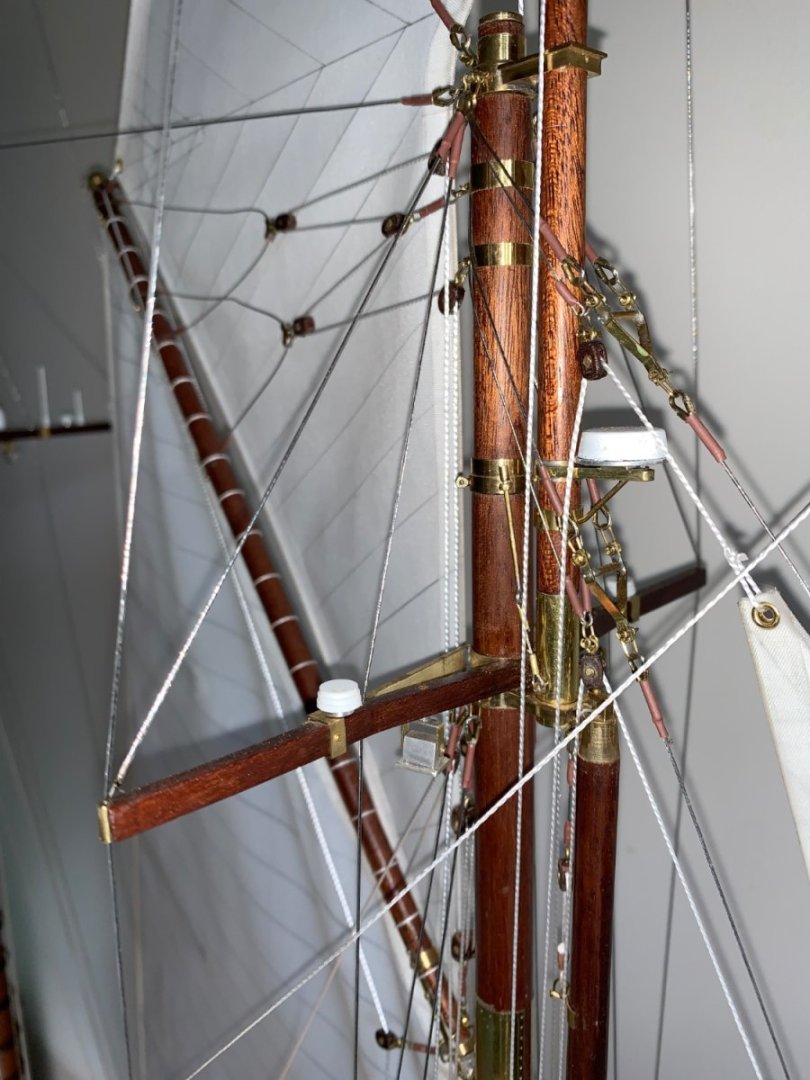
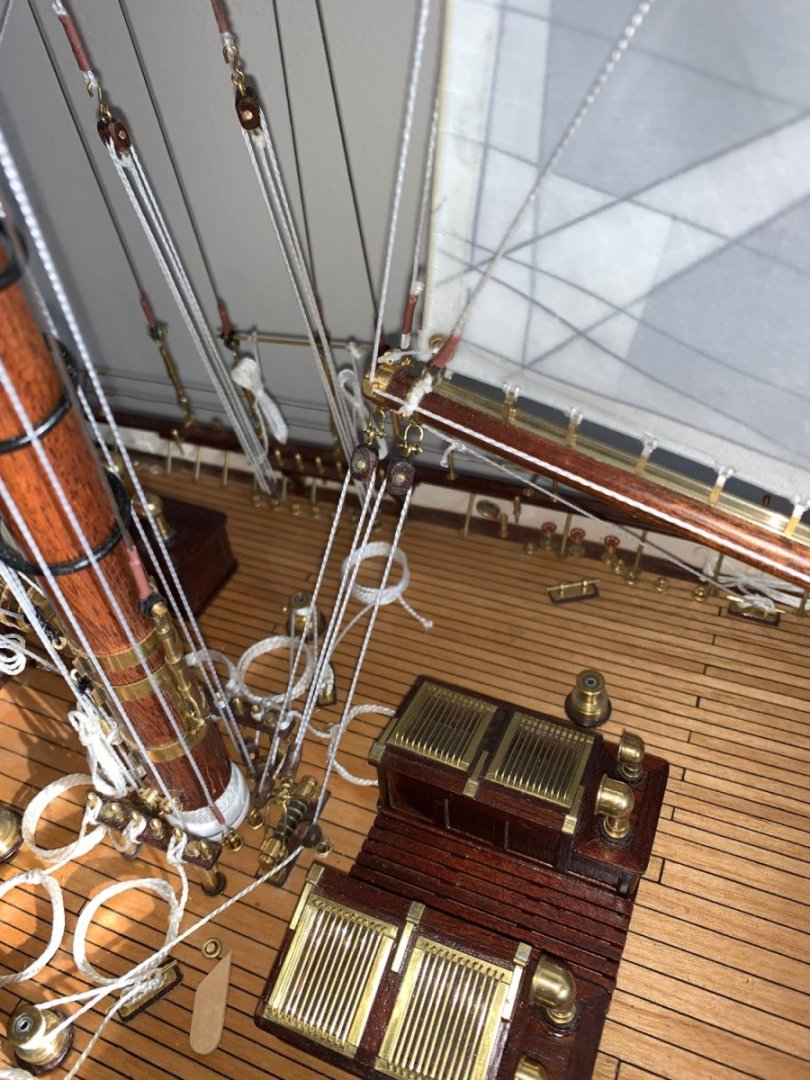
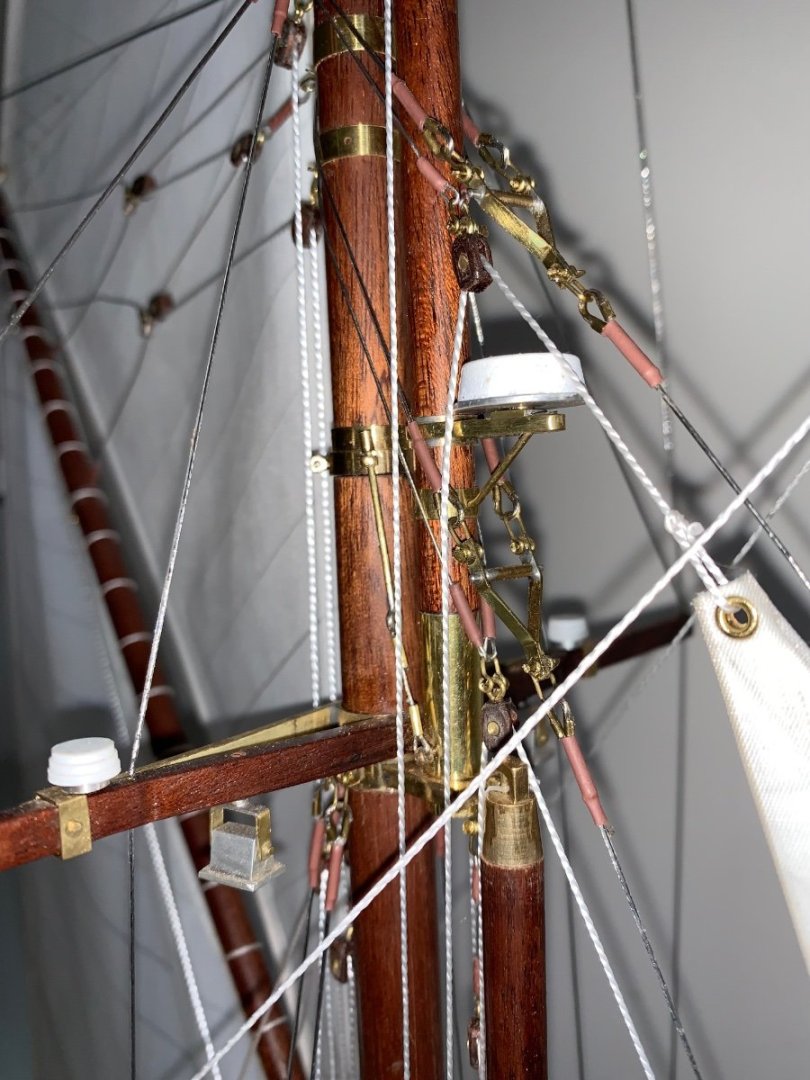
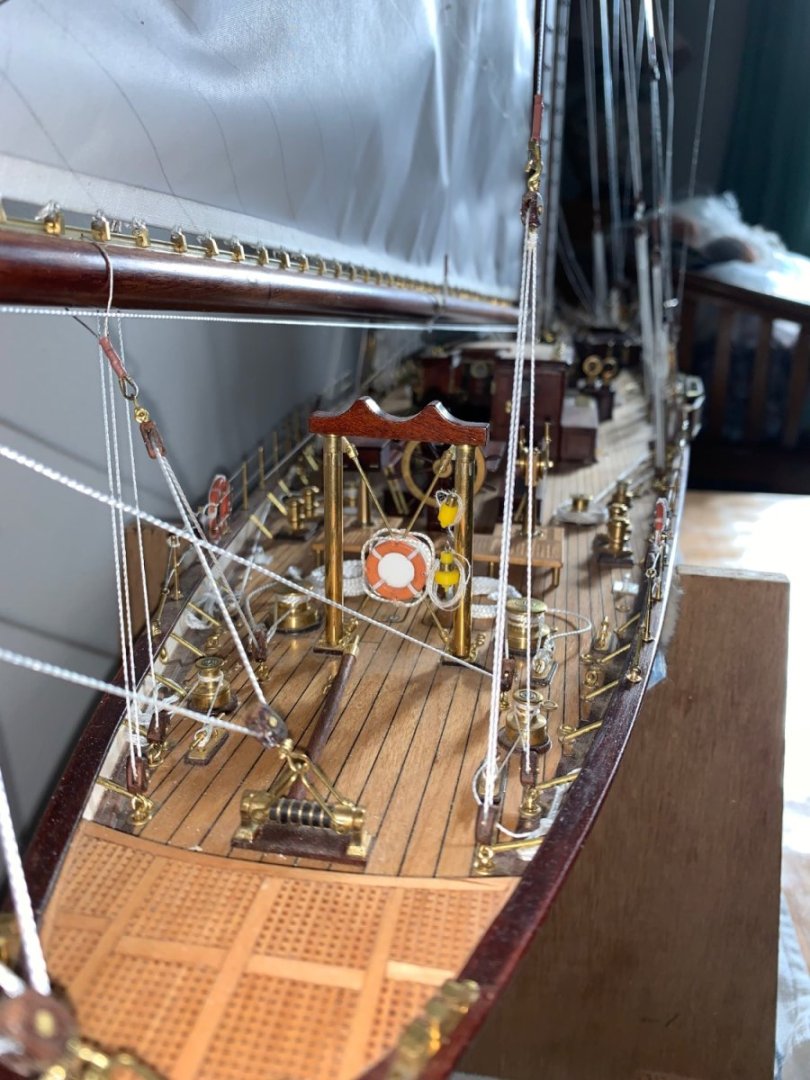
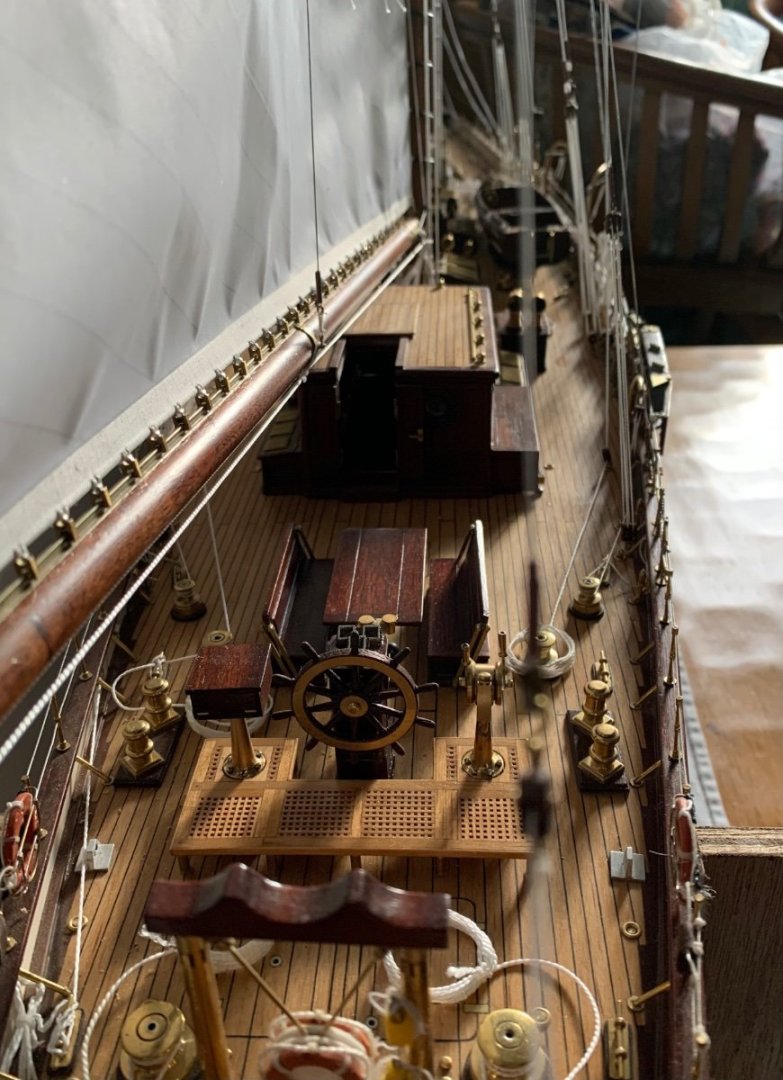
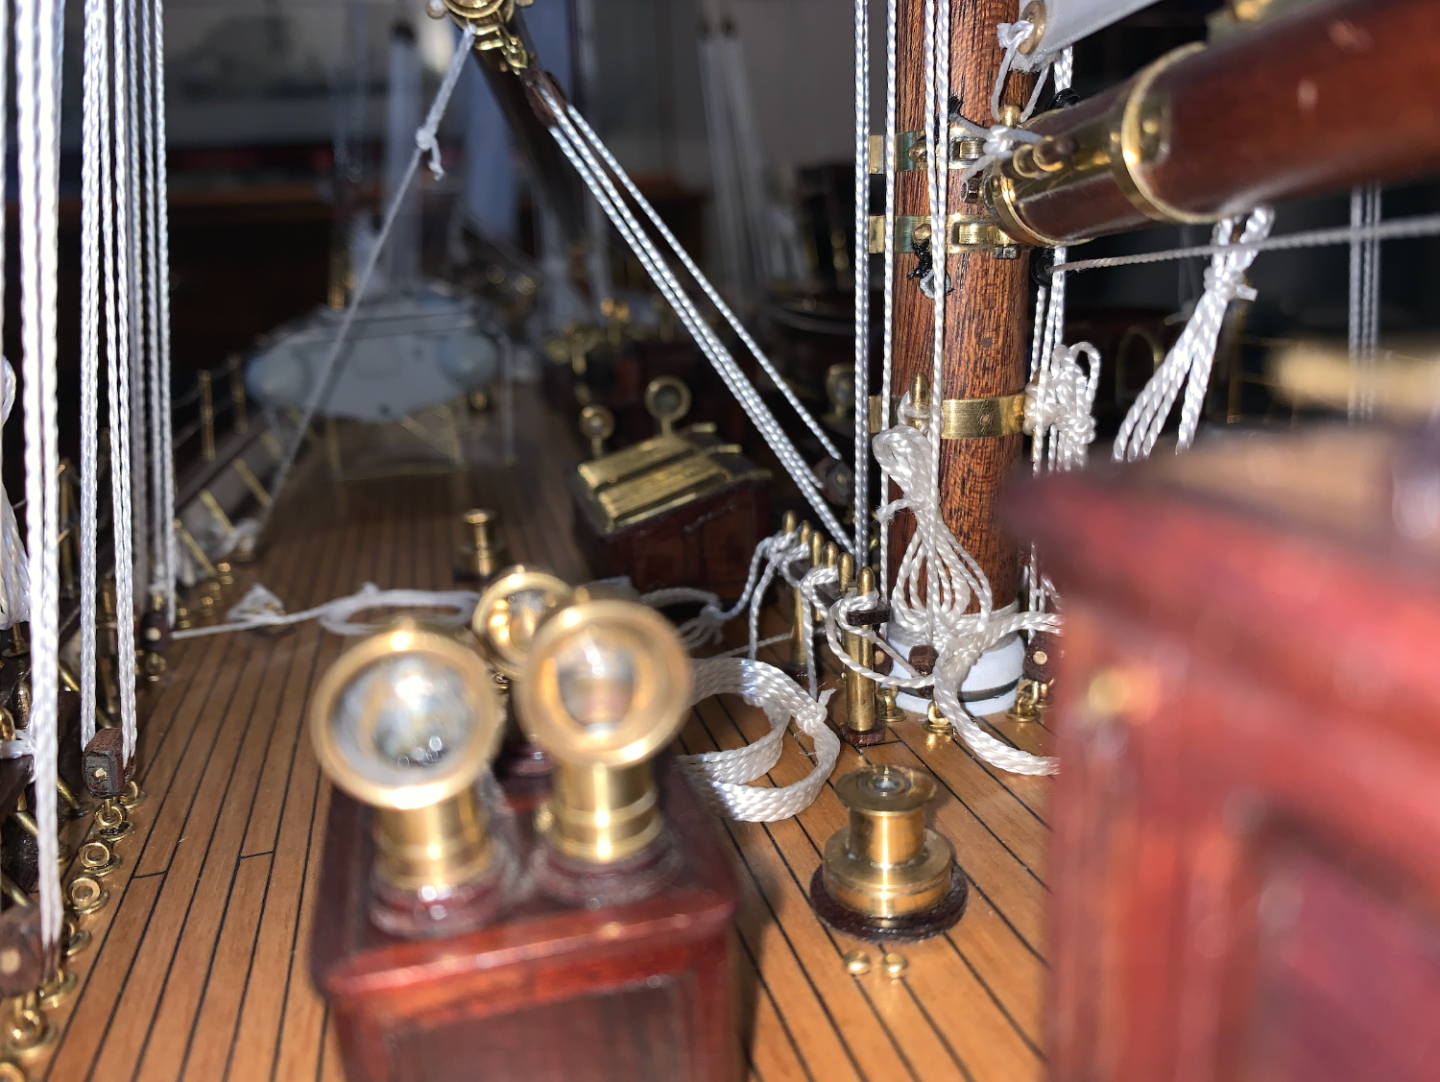
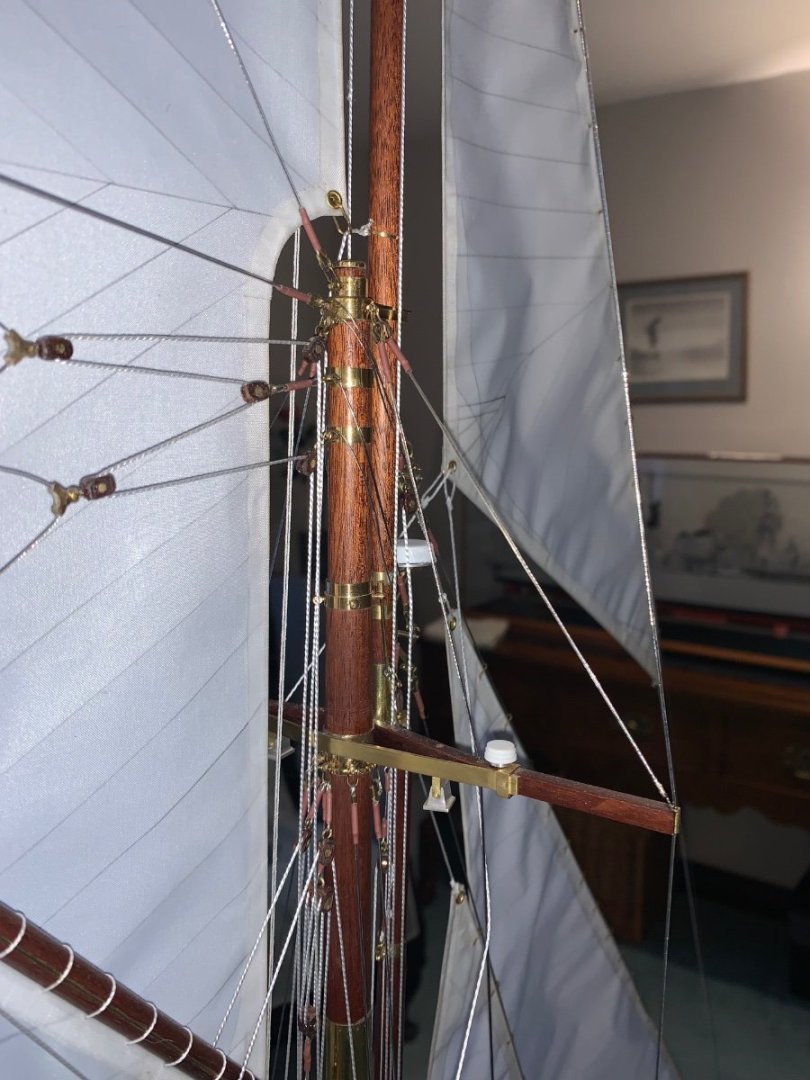
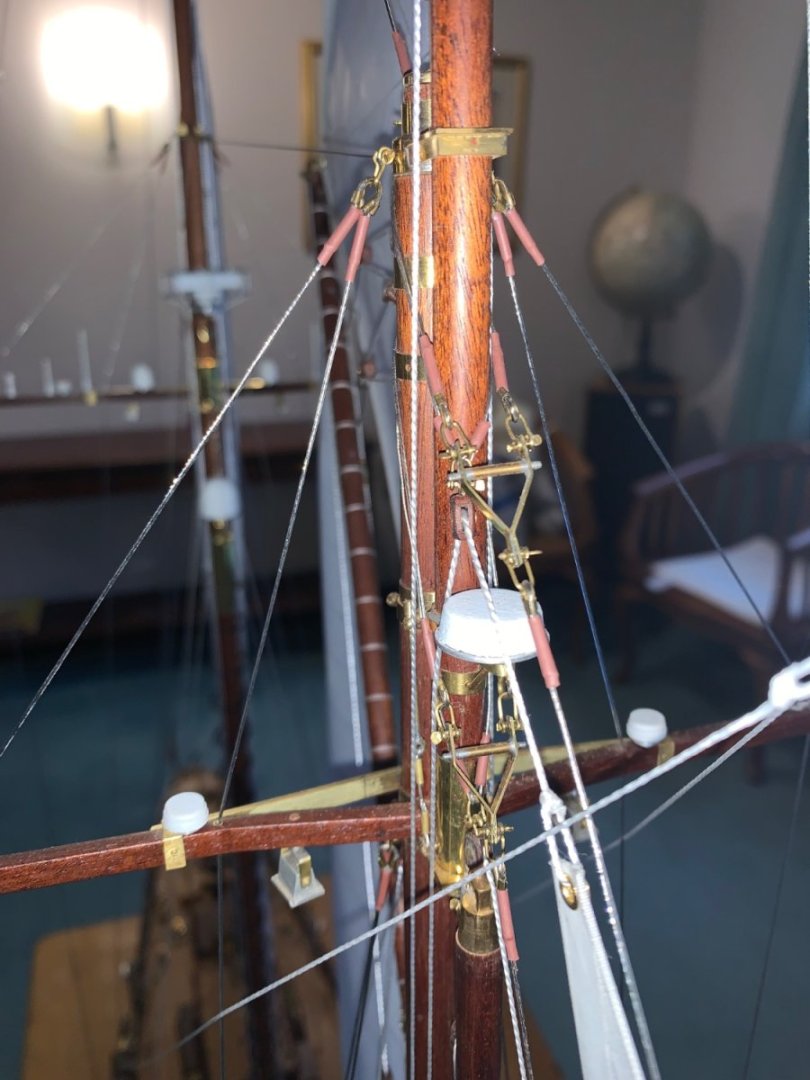
Keith, Druxey, Mark, Rick. Thank you for your comments. Fortunately here are the final few photos. I was having some trouble extracting these from my phone but a teenager helped and sorted me out. So this is the final batch. Thank you for everyone who has supported me throughout the build. I usually take some time off before I commence my next project so this will be my last post for a while. But as ever I will be supporting the rest of you during my period of inactivity.


-
Hi Keith, I think the critique of experts is by far the most valuable resource and what better review group that all my MSW friends. Gary, Eberhard, Andy, Gus - thank you all for your comments. I not getting much modelling done at the moment. My son and daughter have added to my wife's list of home improvement jobs. Never mind. I am approaching the end of my build log photos but here is the next batch. Probably two more batches left after this lot.


-
I agree with the comment above. I bought the saw and find it invaluable. I bought a cheap (eBay) disc sander to go with it and modified the table to accept the saws mitre gauge - this gives me all the accuracy I have ever needed at a fraction of the cost of the Byrnes disc sander. My advice would be not to try to convert the saw to become a disc sander. The though of sanding grit getting into the saw mechanism doesn't fill me with glee and I thinK you would be forever switching the saw between saw and sander.
-
Proper Technique for Jim Byrnes Saw
KeithAug replied to ChrisLBren's topic in Modeling tools and Workshop Equipment
Chris - A few pictures to illustrate what you are doing would help a lot with diagnosis of the problem. All the above comments are pertinent but to be absolutely sure the photos would help. I regularly rip long lengths of 1/4 inch mahogany using a .032" slitting saw blade. This isn't the easiest of jobs but generally it works fine. I have have to say however that a lot of variables come into play which can undermine the process. These include. - The dryness and type of wood. (Some wood don't cut easily, and some that do cut easily don't always cut easily. I sometimes find switching one piece of wood for another cures the problem). - The run of the grain ( the grain is rarely parallel with the edge and the blade can try to follow the grain - sometimes cutting from the other end cures the problem ). - Pressing the wood too hard against the fence ( can cause the plank being cut to progressively thicken (due to blade flexing) - creating a taper effect. Keep the pressure towards the fence positive but light). But as I said earlier - more info would help with the diagnosis.