KeithAug
-
Posts
3,986 -
Joined
-
Last visited
Content Type
Profiles
Forums
Gallery
Events
Everything posted by KeithAug
-
 i assume she doesn't follow your log. She may however start in the future!😀
 -
Hakan - Belated best wishes re the surgery. It's now Tuesday evening and hopefully it will all be over and you will be on the mend. I hope the nurses are pretty and that you are chasing them round the ward by midday tomorrow.
-
Ras - I quite often use a mixture of solder and CA on components. I start with soldering but when I think structures are too complicated or small to protect from the heat of further soldering I revert to CA. Take care not to heat up brass which has been joined using CA. The heating will break the bond. Great job on the gun.
-
Eberhard - yes you are right - but the option of lowering the table might have ended in divorce and that is very expensive option at my time of life. Druxey - it doesn't look that bad in the flesh, I was clearly focusing on it in the photos which I think emphasised it. Brian - I'm not sure. I tried looking up compatibility but couldn't find rubber against poly. Fingers crossed. Eberhard, Druey, Rick, Keith, Tom, Steve, Brian, Mark - thank you all for your comments.
-
Mark - Thank you for you kind comments. A pig stick (occasionally pigstick[1] or pig-stick[2]) is a staff that carries a flag or pennant, usually the burgee of the boat owner's yacht club or private signal, above a mast of a sailboat.[3] The pig stick is connected to a halyard so that when raised to the top of the mast, it extends above the mast, allowing the flag to be seen flying above the boat's sails.
-
Byrnes saw belt source in UK/EU?
KeithAug replied to bruce d's topic in Modeling tools and Workshop Equipment
Thank you Bruce. -
Byrnes saw belt source in UK/EU?
KeithAug replied to bruce d's topic in Modeling tools and Workshop Equipment
Bruce - where please? -
Keith - Interesting technique for the rat lines - must remember. I'm impressed - my head is rarely in the game for long periods these days!!!!!
-
Very impressive detail at this scale. Good job!
-
Cap San Diego by mikegr - 1/160
KeithAug replied to mikegr's topic in - Build logs for subjects built 1901 - Present Day
The deck structures somehow jar with the sleekness of the overall ship design. The designer must have gone into utilitarian mode when he drew them.😀 -
Interesting looking little craft. It will be interesting to see how it turns out.
-
Tom - as you rotate them they move closer to the hull - hence they clamp against the hull. If they were concentric they wouldn't do this. In effect they are acting like a cam.
-
Nice work on skinning the hull. Well done.
-
Lovely work on the deck beams. Like the jig. I hope you got the drum sander in your birthday present pile - if not perhaps next year! Like you I don't have a drum sander but I can't decide if I really need one. I have a sanding drum which I mount on the mill which sort of works. The issue I have with drum sanders is that I am sure that I would constantly want to change between coarse and fine grades of sand paper and most drum sanders don't seem to make this a quick and easy operation (unless someone knows better).
-
Ras - well done but as per Eberhard it would be good to see something to show the size.
-
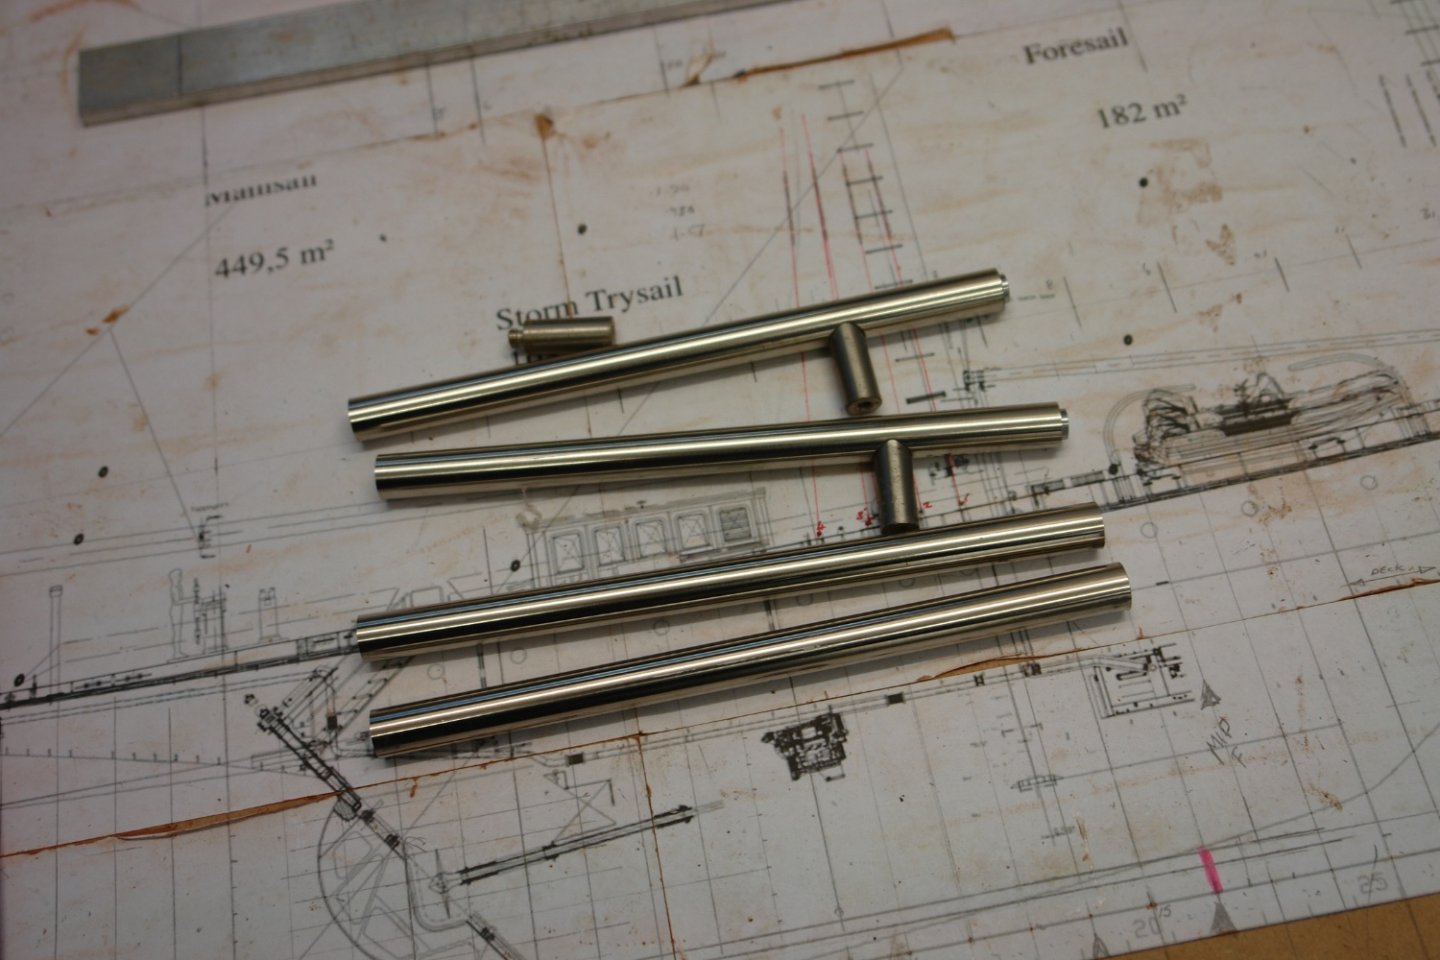
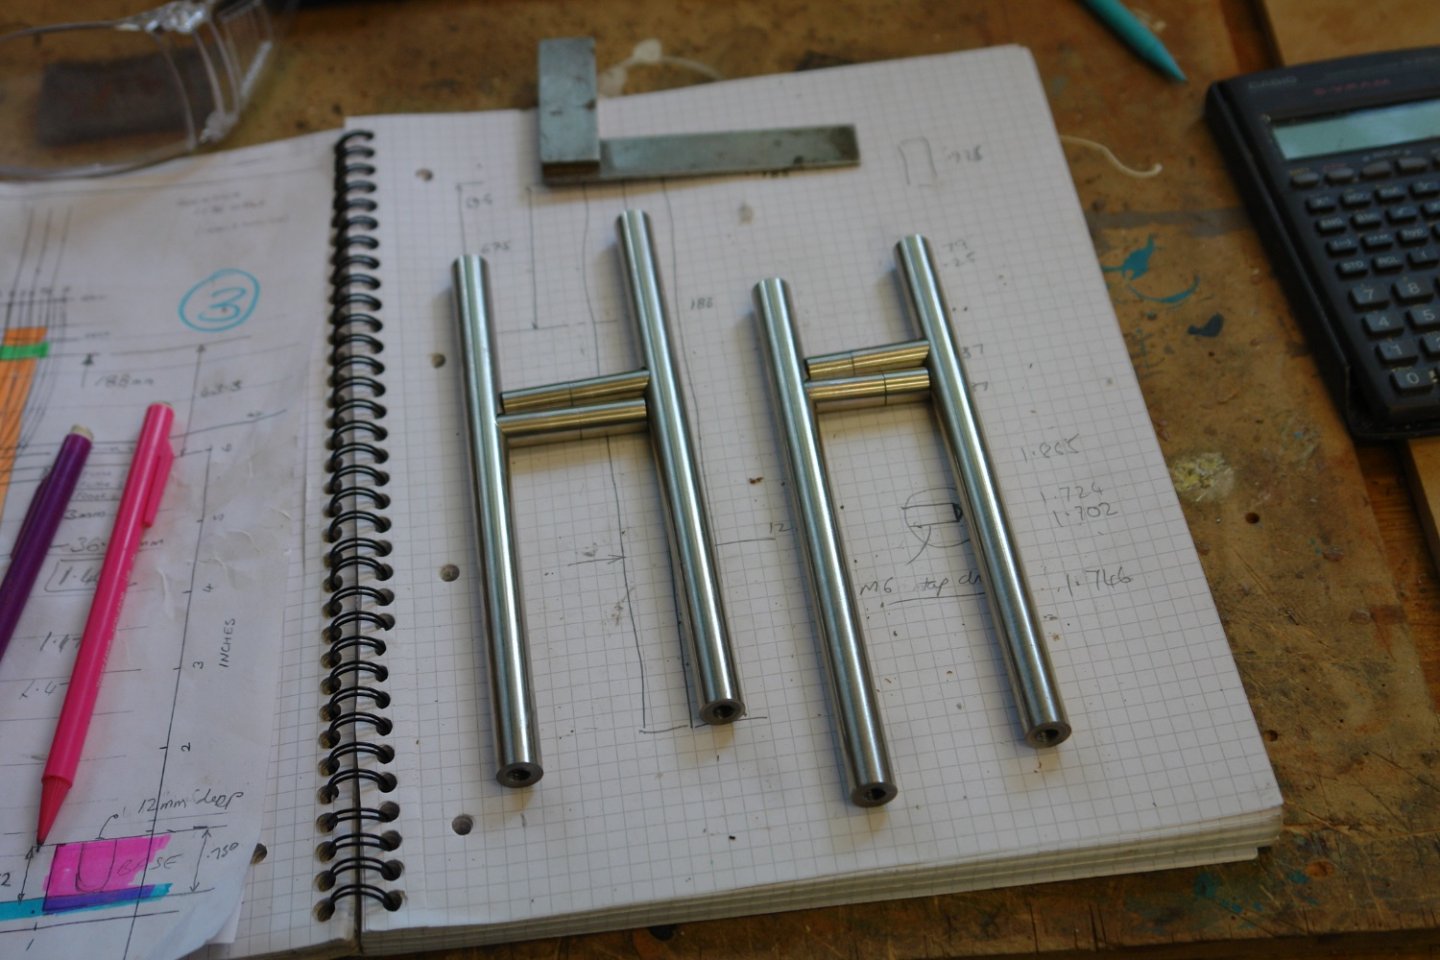
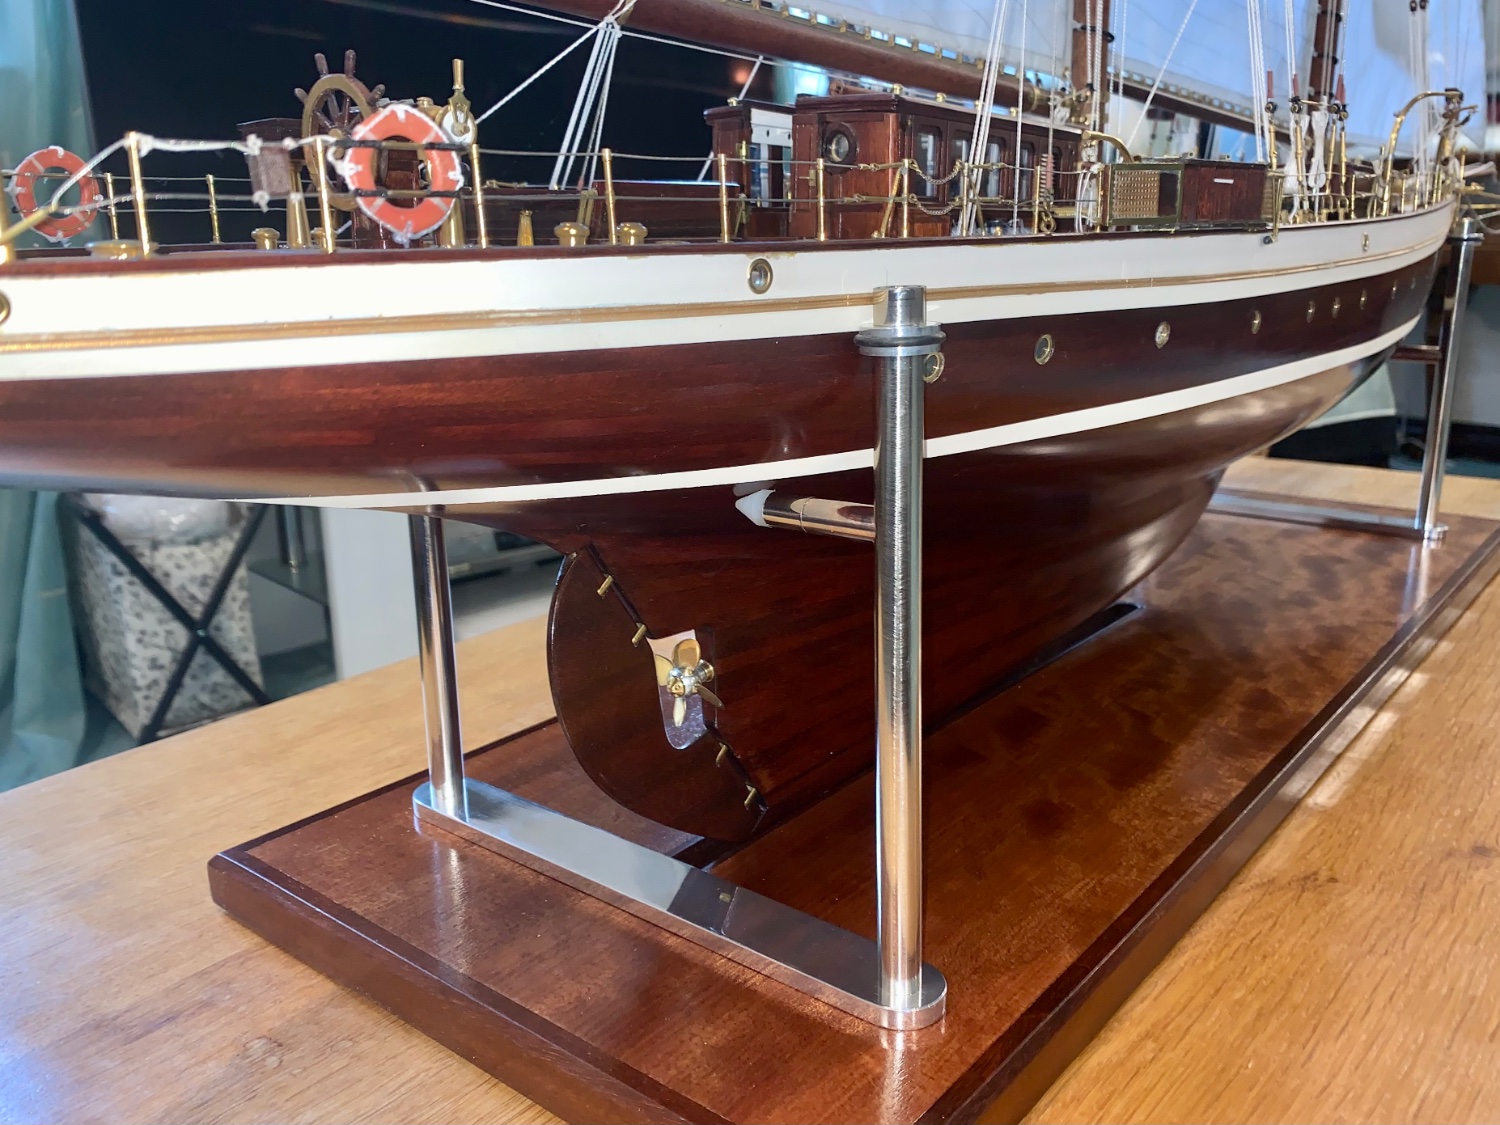
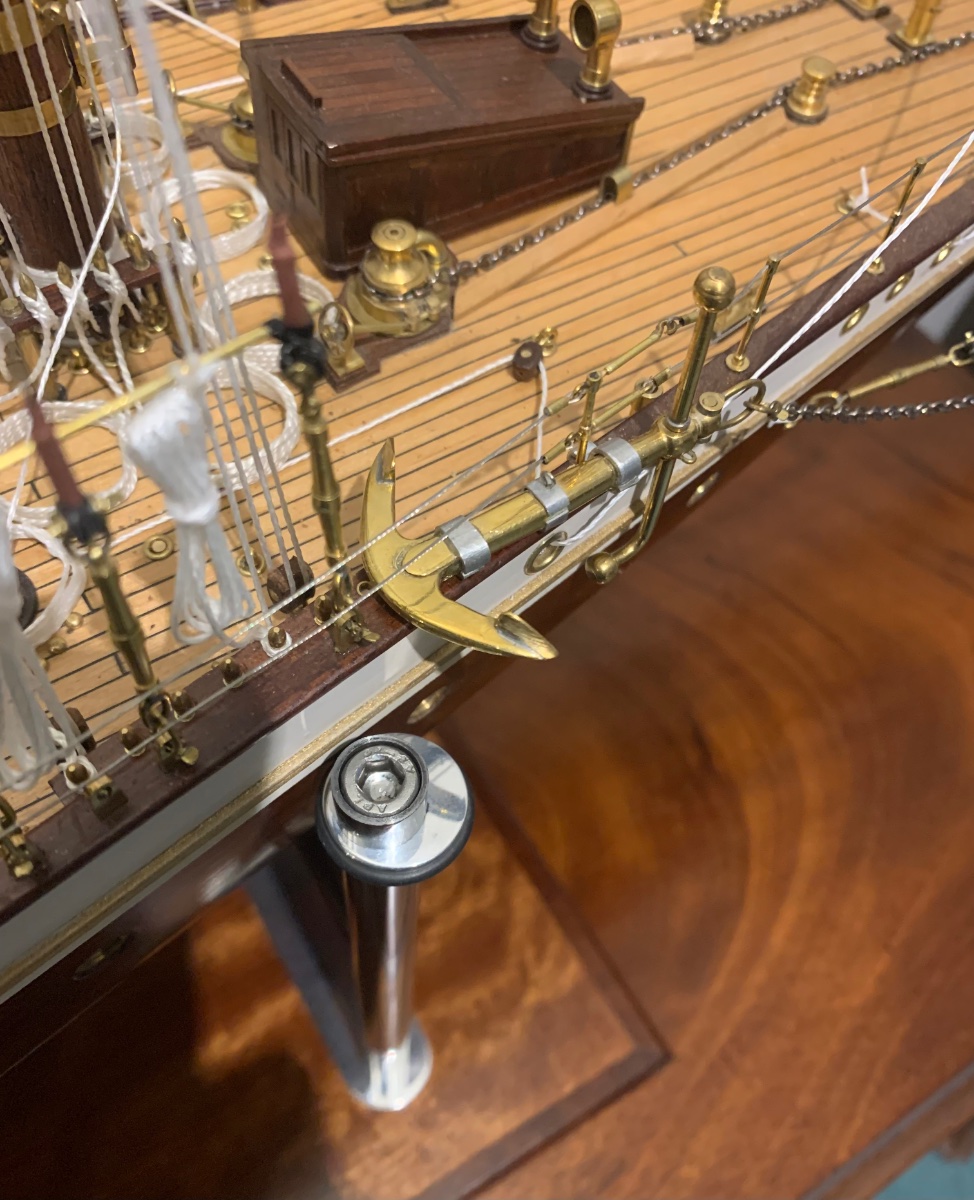
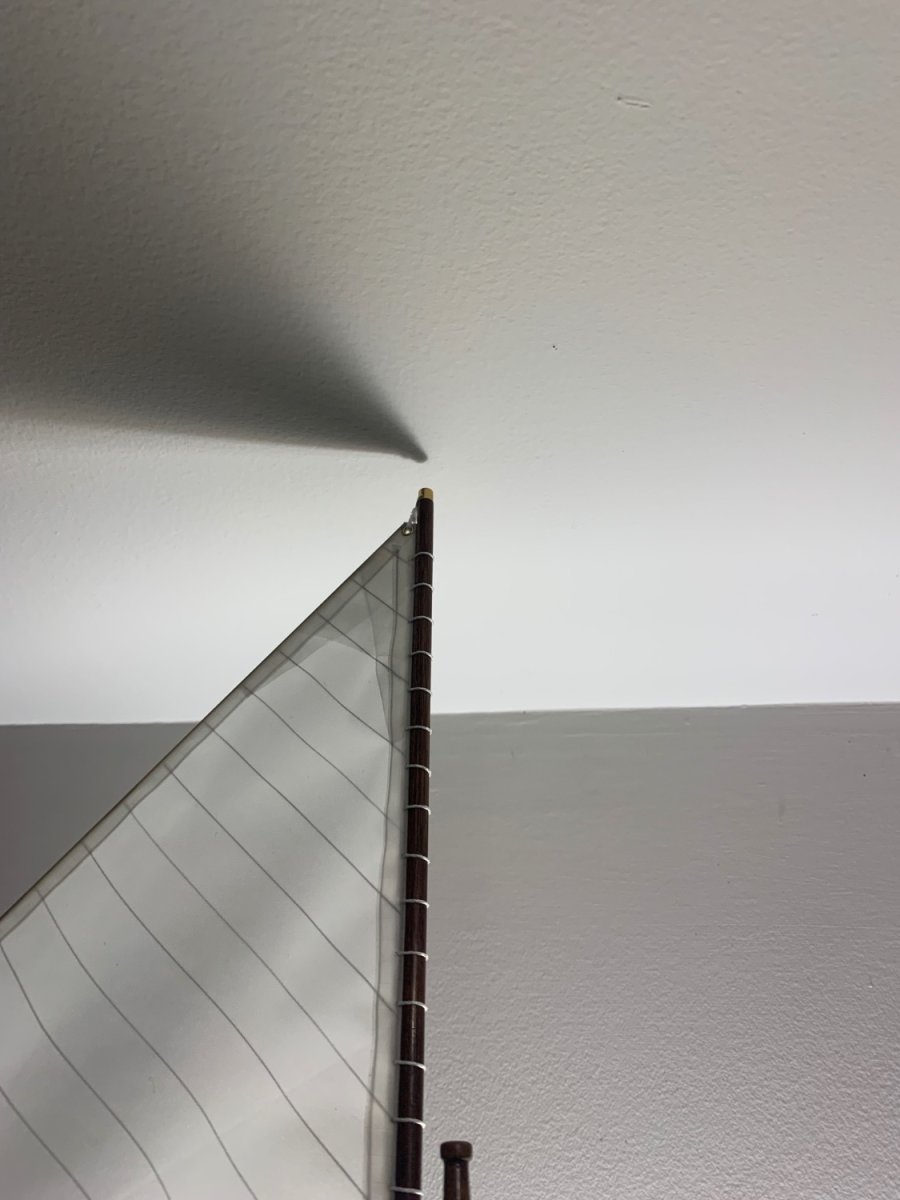
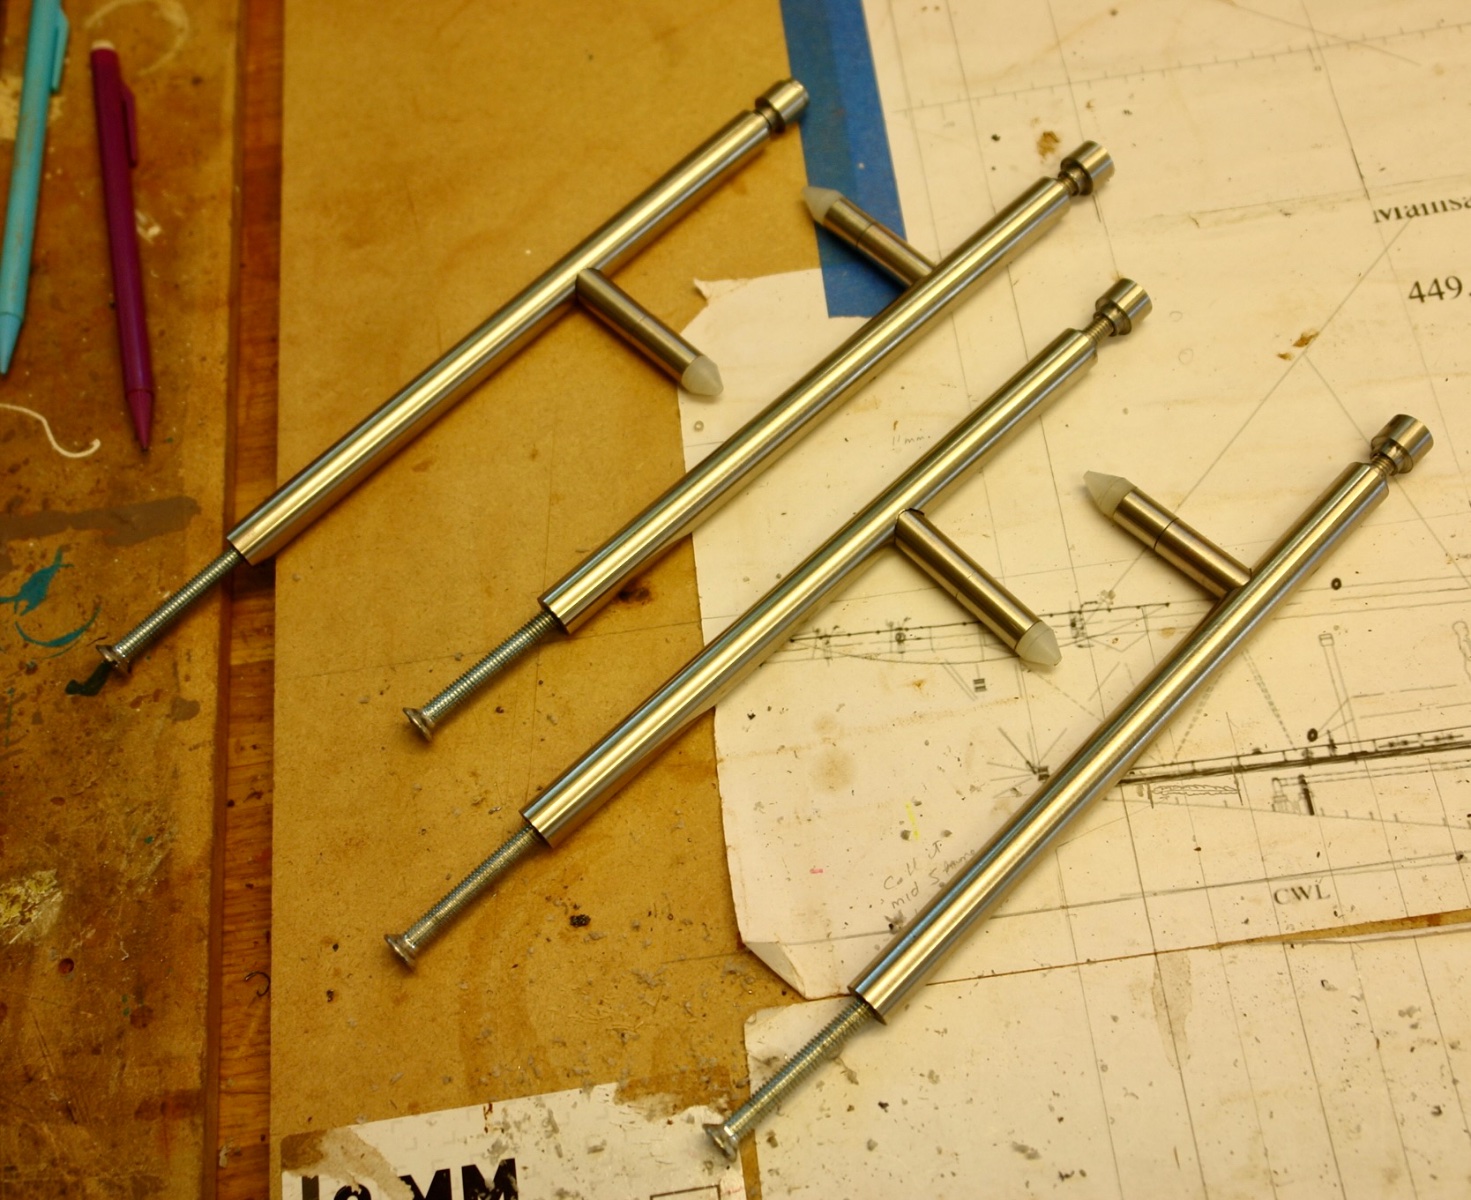
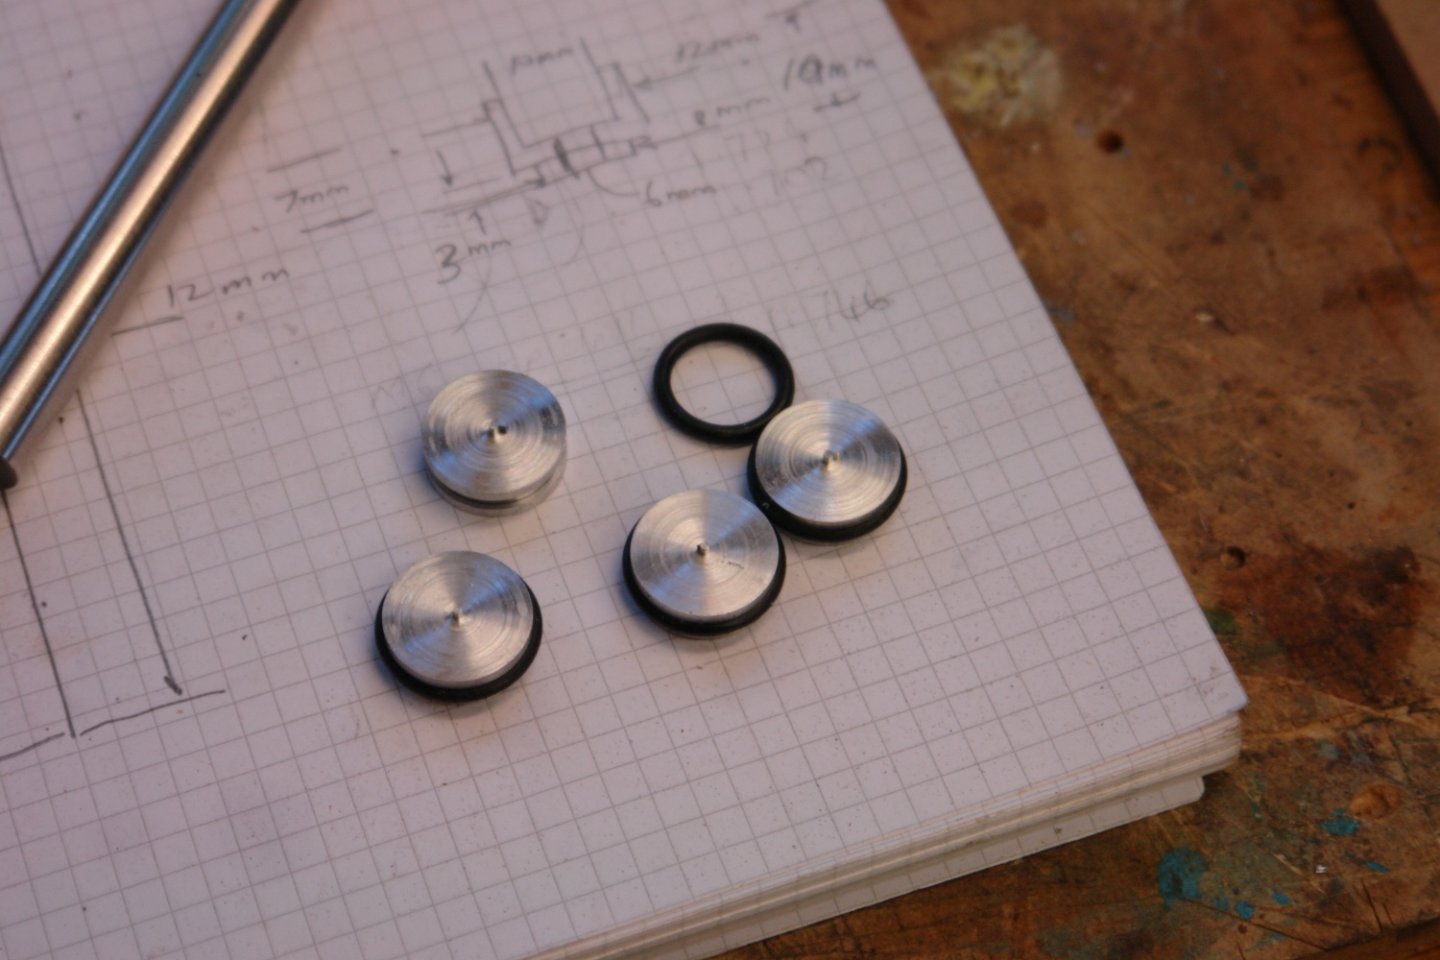
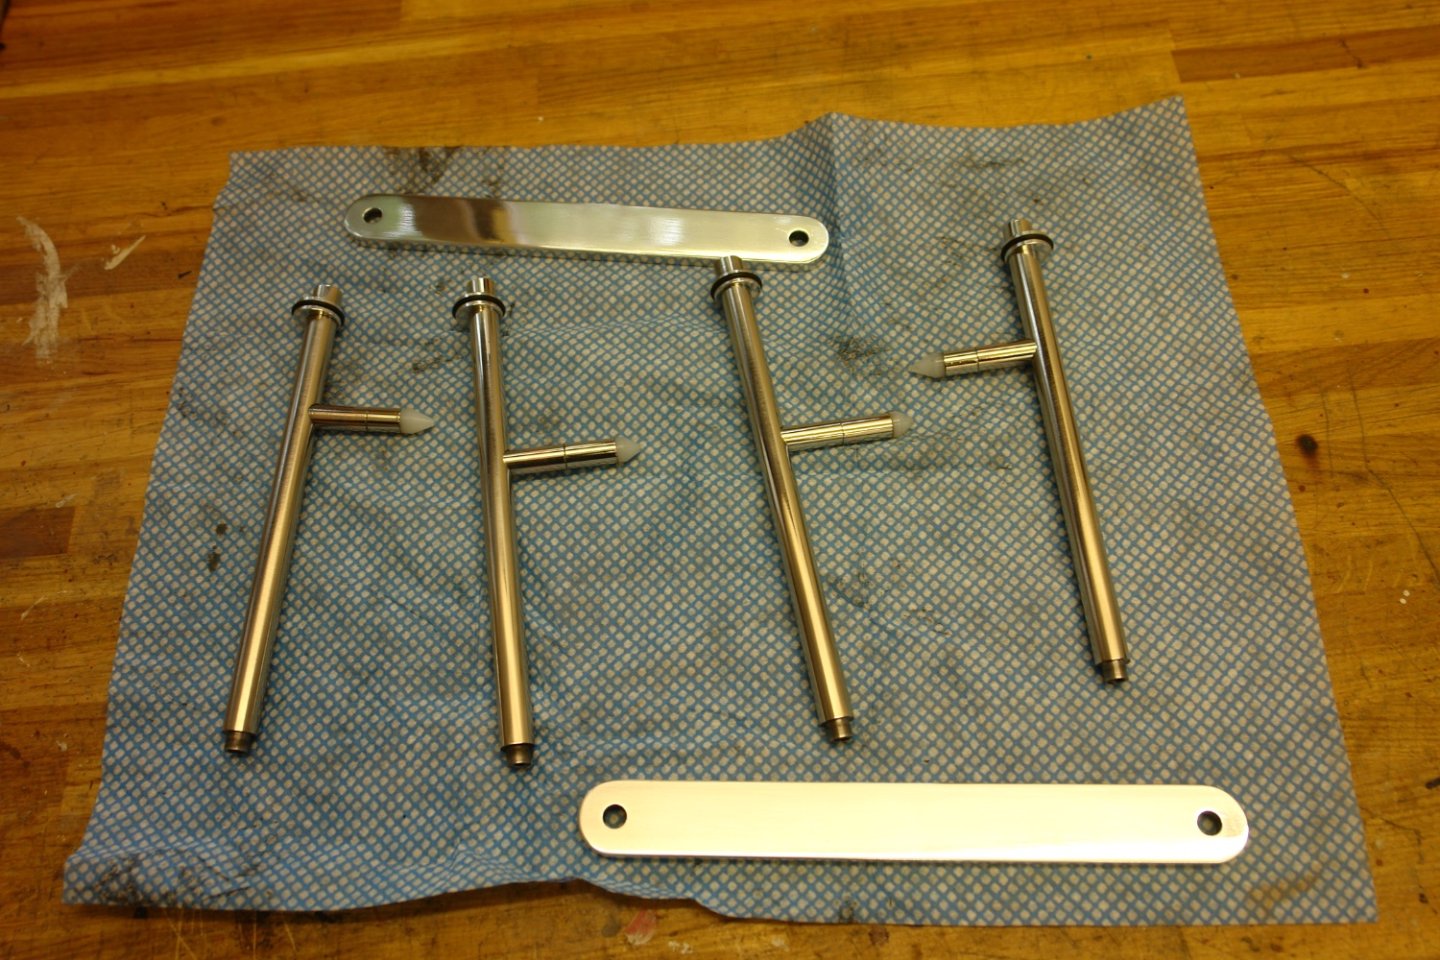
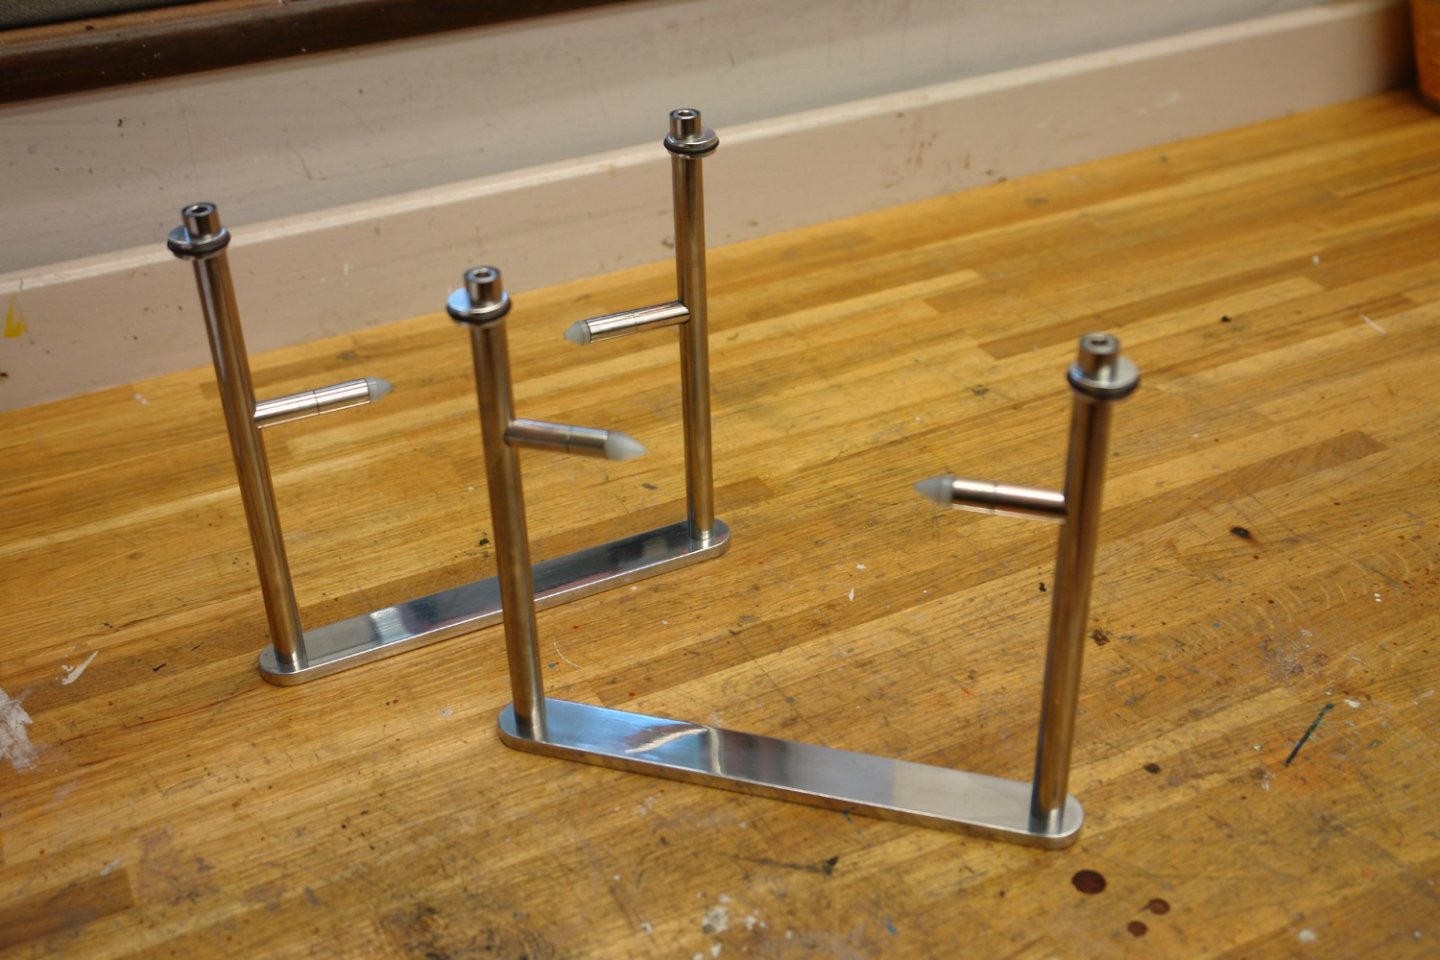
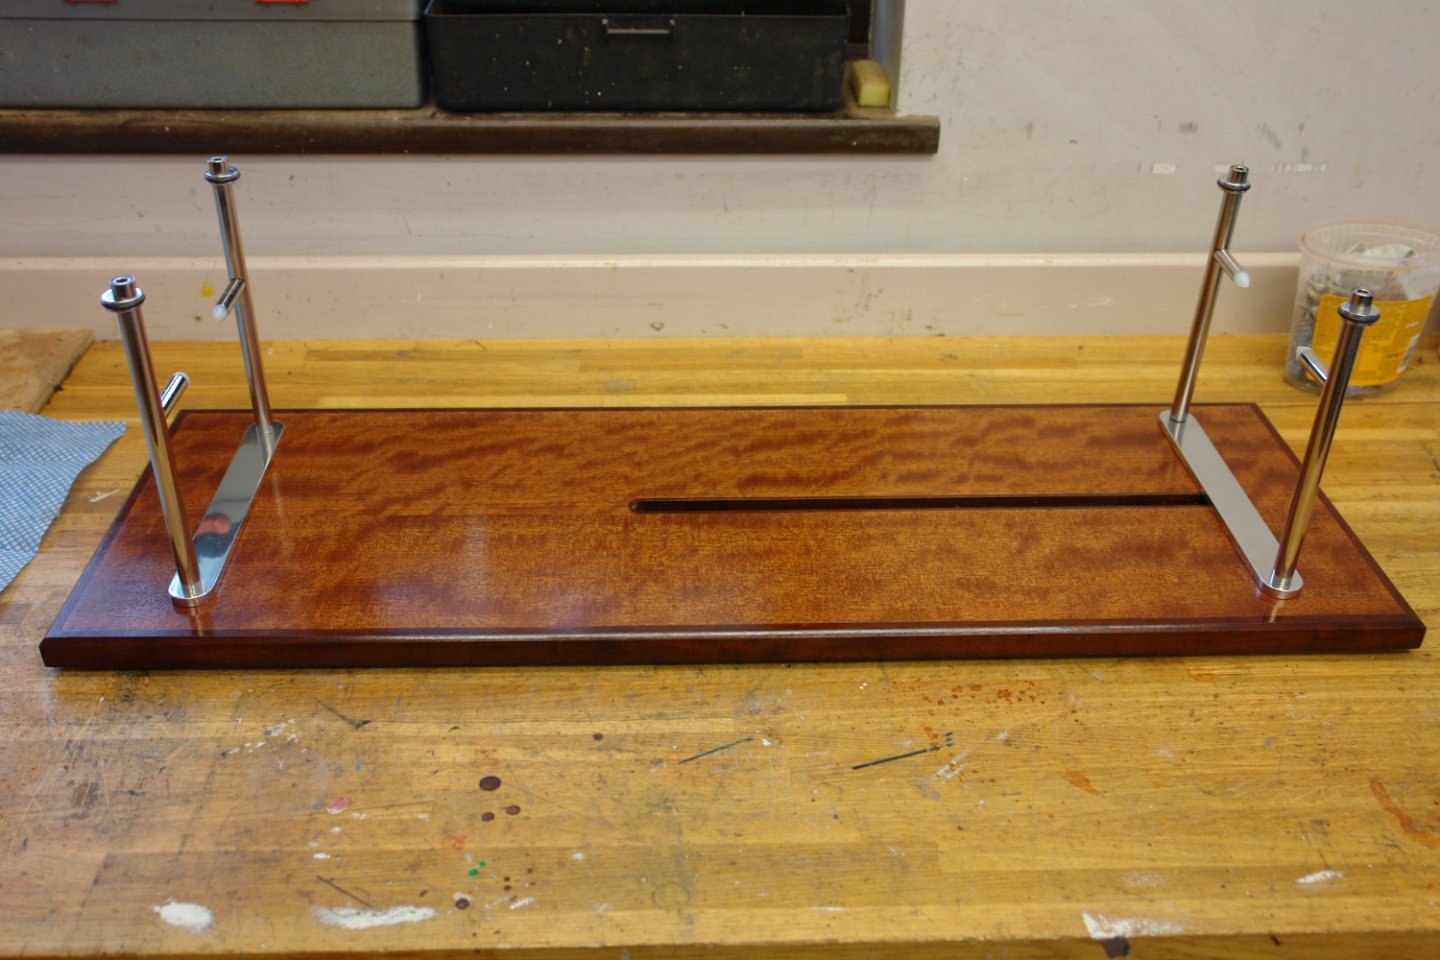
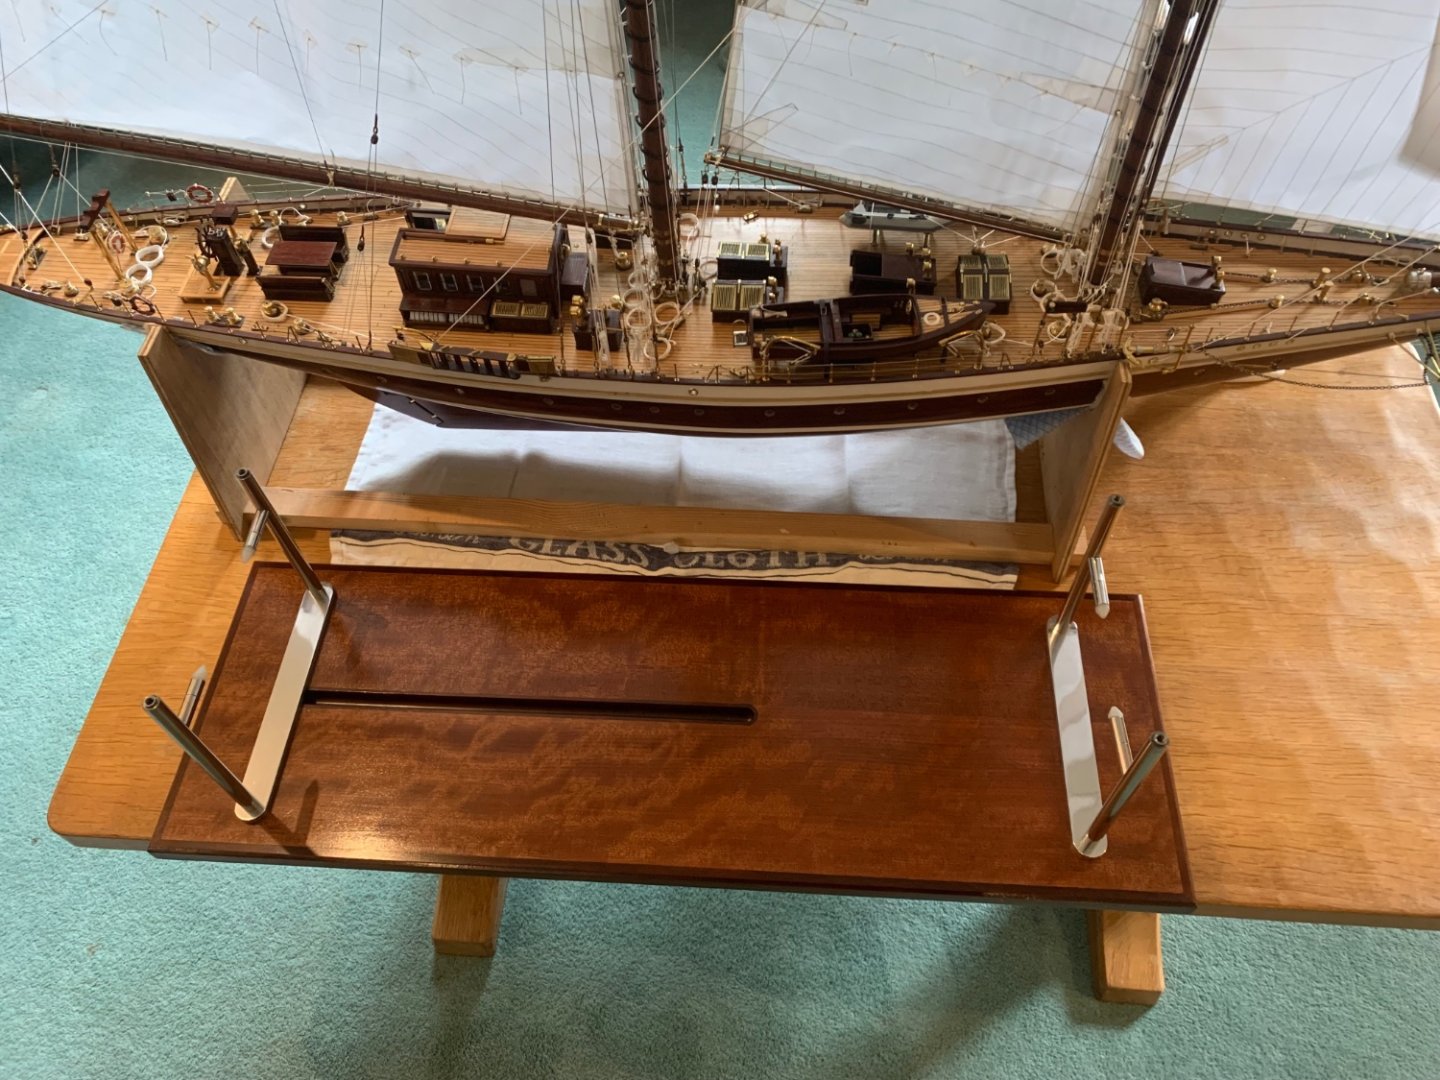
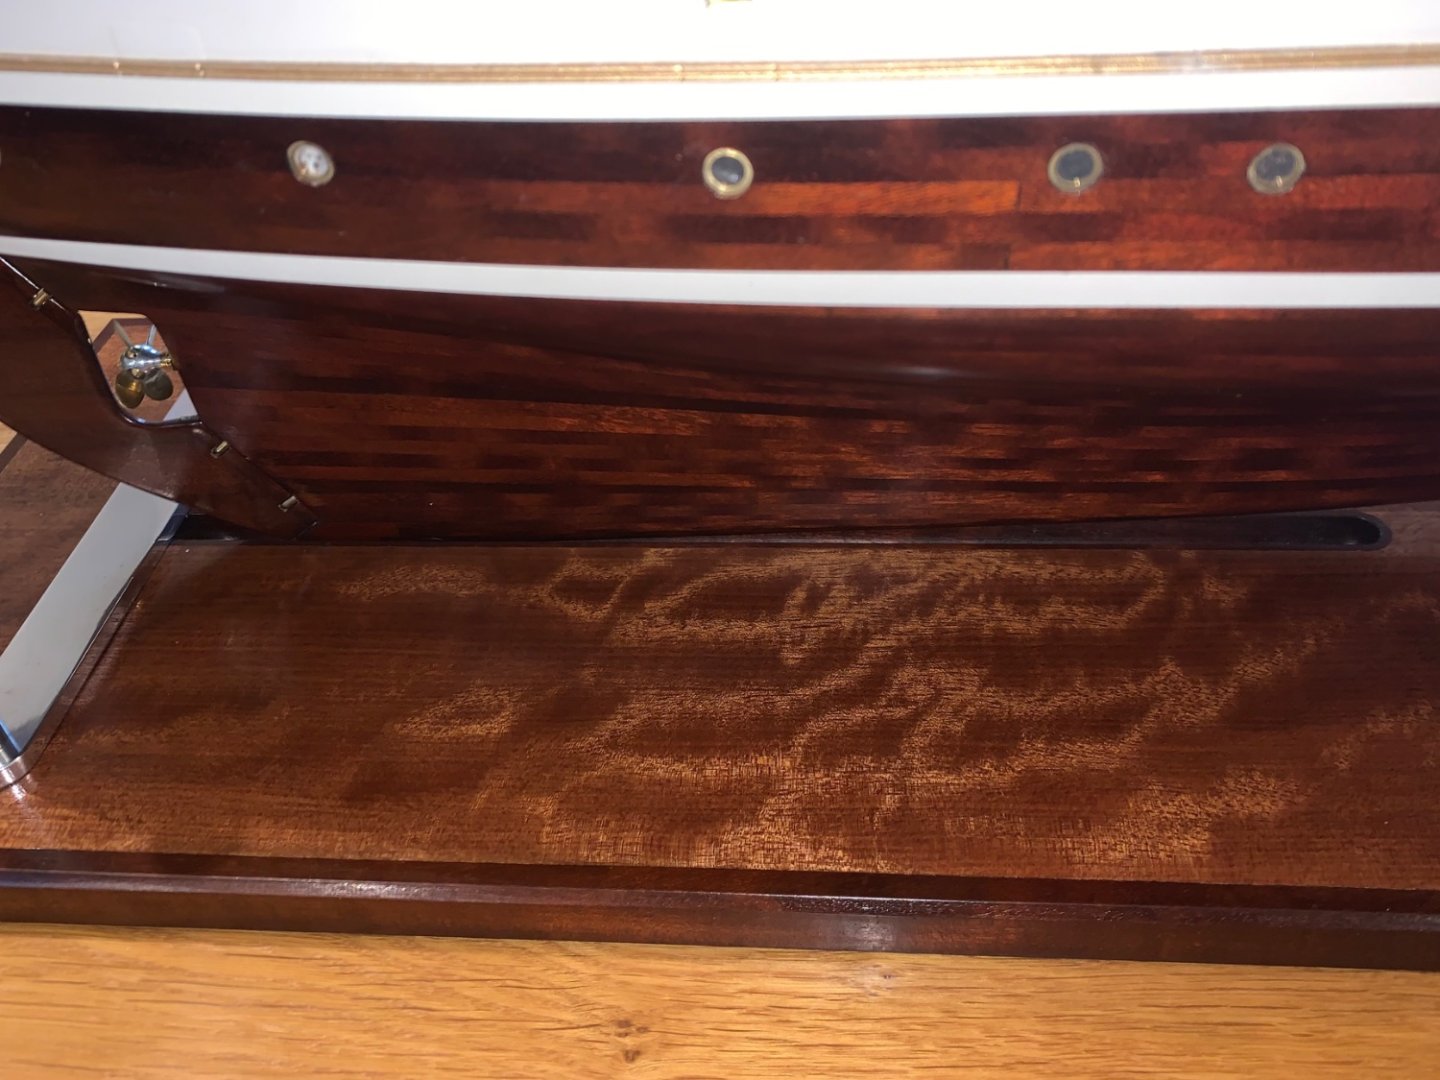
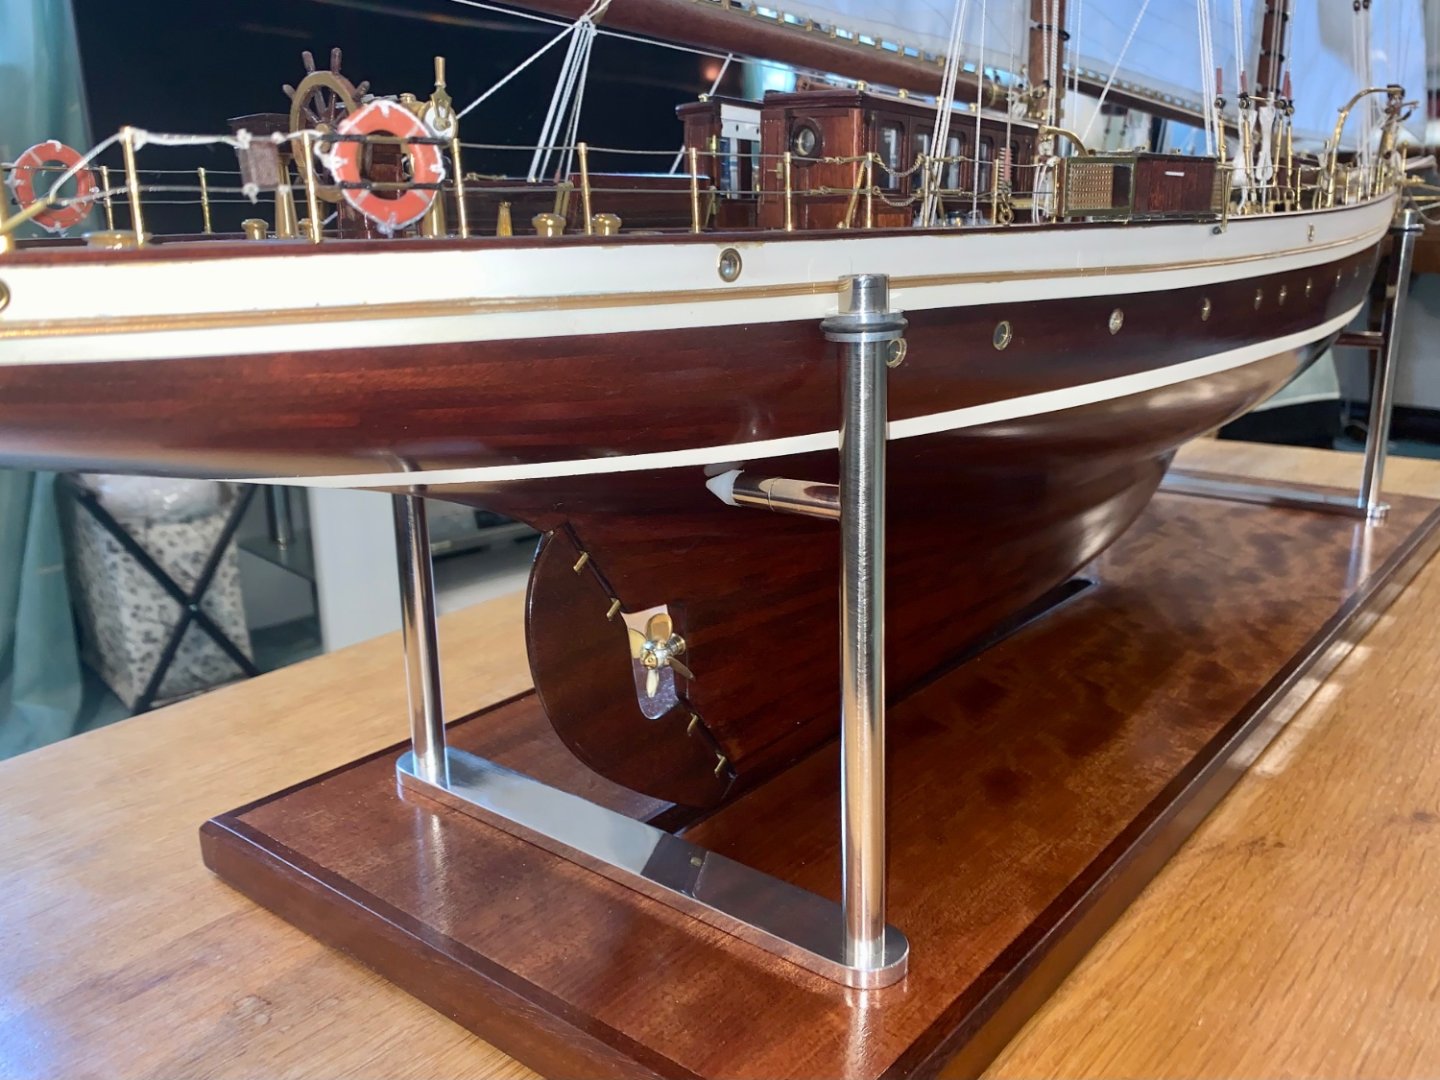
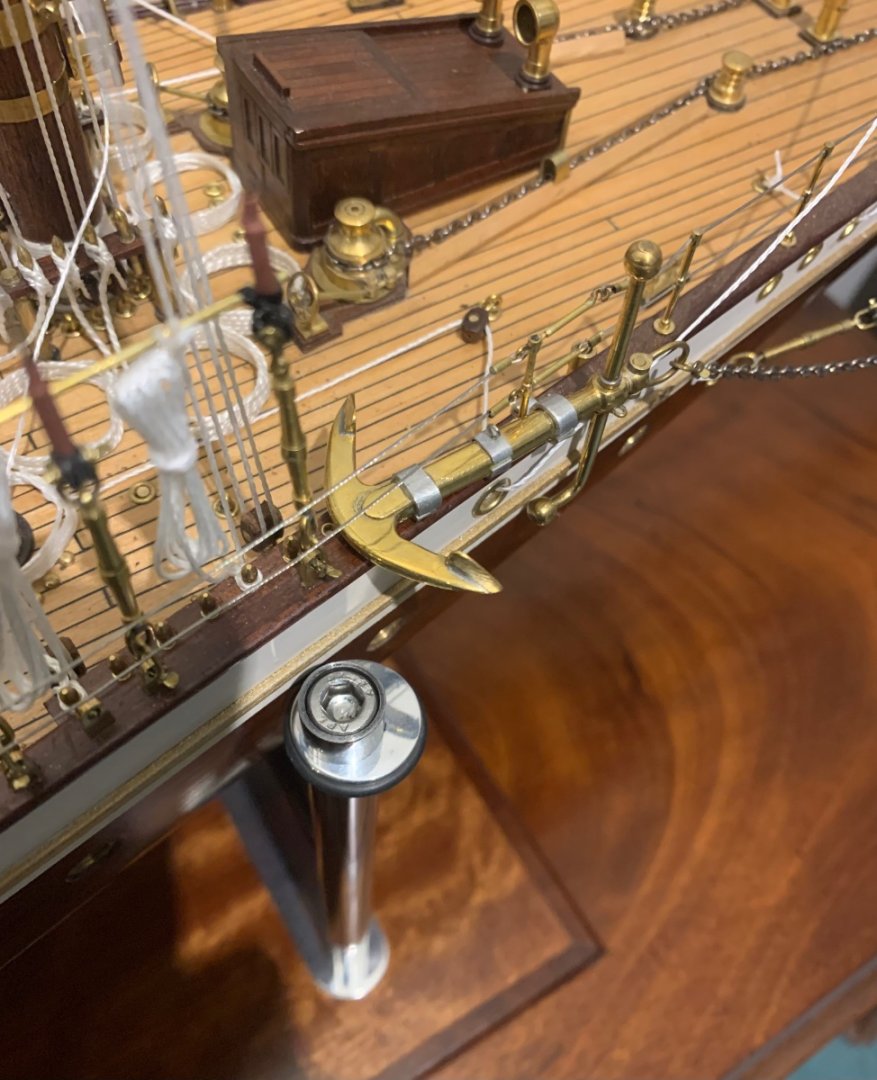
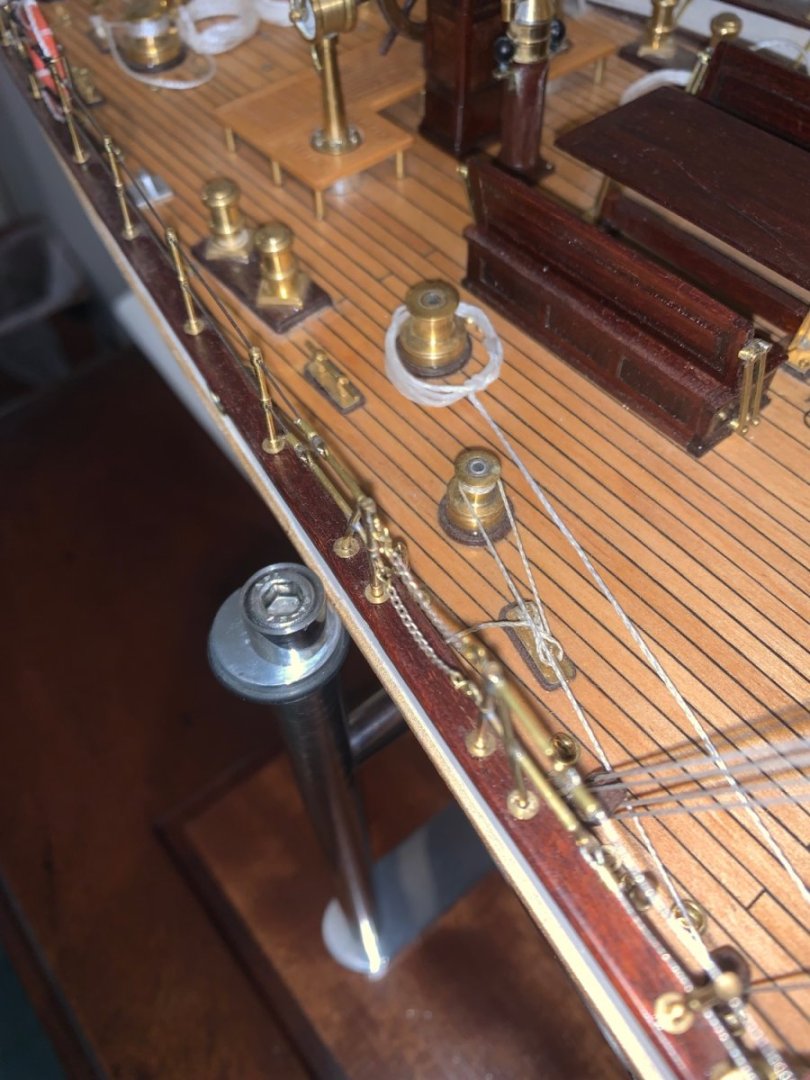
Despite the continuing cold weather and many hours discretely studying my next build I did brave the worksop to finish the display cradle. I wanted the model to be lightly clamped by the cradle at deck level so I turned some eccentric rings to act as clamps. I also machined an "o"ring groove in the rings to provide a soft bearing surface. I also machined a spigot at the lower end of the supports to fit into a cross brace. The cross brace is necessary to prevent the supports splaying under the weight of the model. The cross braces were machined from 1" x 1/4" aluminium bar and polished to finish. The base was given 5 coats of wipe on poly and wire wooled between each coat. The supports were then attached to the base using 6mm screws. Then it was time for germania to say bye bye to the building frame that she had occupied for the best part of 3 years. The critical element of the move was the tolerance between the model and the keel slot. Fortunately I got the cradle dimensions right. The position of the clamping rings was also a bit tricky but this also turned out well. And finally the most critical check------------ That was a bit too close for comfort - about 3/8" Now just a few finishing touches required - a good clean, make the pig stick and burgee and the ships flag. Then it will be time for a major photography session. I must think about starting my next build log. P.S. Damn - I just remembered that I installed the for top fore mast back stay as a single fixed back stay when it should have been a pair of running back stays. Im sure no one will notice but that's not the point!!!!!!!!! 5 more blocks required and some rigging rework.


-
But that would destroy the fun of working out how to correct the problem!!!!!!
-
Brian, Ouch! Somehow I missed this. It’s good how you guys can plan your health issues around the annual insurance cycle. Get well soon and remember to thank your driver! 🙂
-
A man after my own heart. I’m all for open ended commitments and flexible targets. At our age it’s good to have a bit of wriggle room. Lovely neat work on the rigging. May the sun shine brightly on your next task.
-
Today my wife caught me on the computer studying images for my next build. She commented "there are plenty of other jobs to do before you get into that".
-
Maximizing Model Work Area: Lathe Table
KeithAug replied to Thistle17's topic in Modeling tools and Workshop Equipment
Nicely done. How do you avoid the artists wrath when you create your dust? -
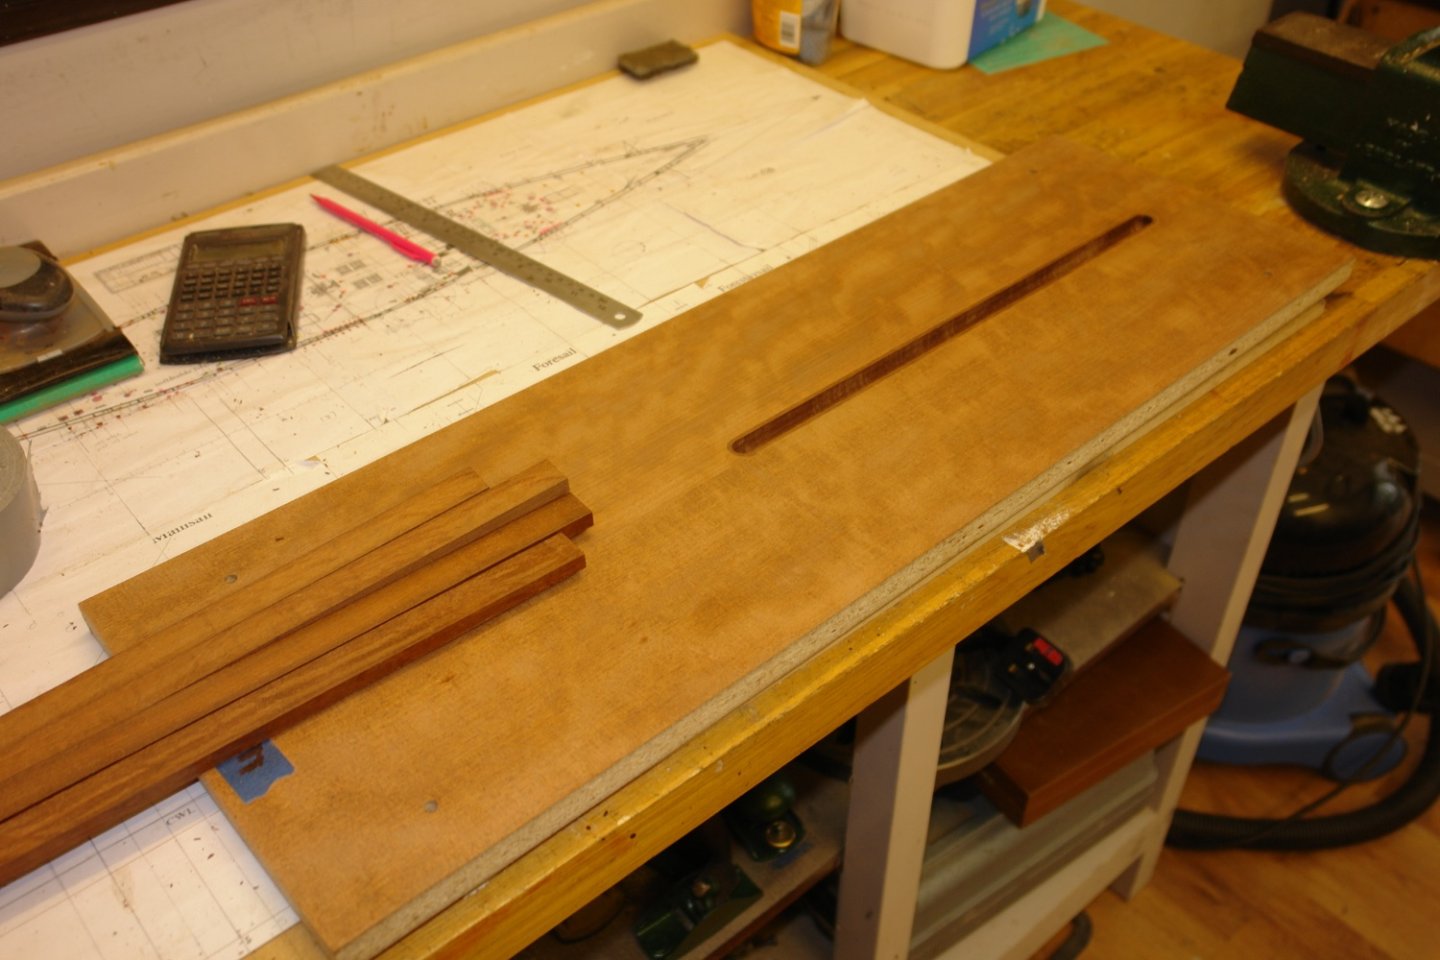
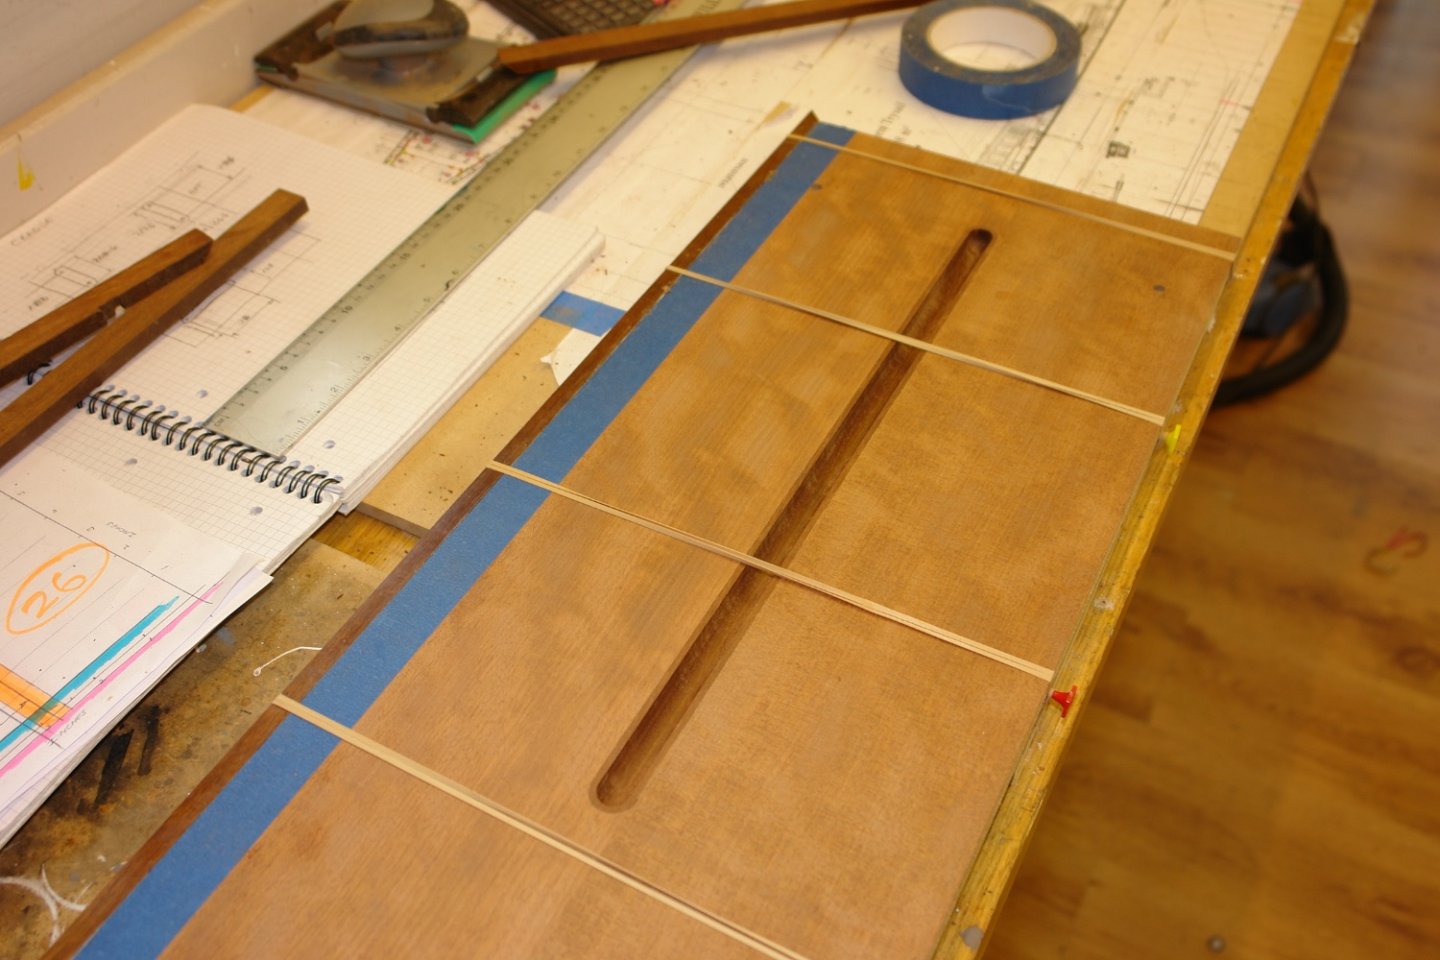
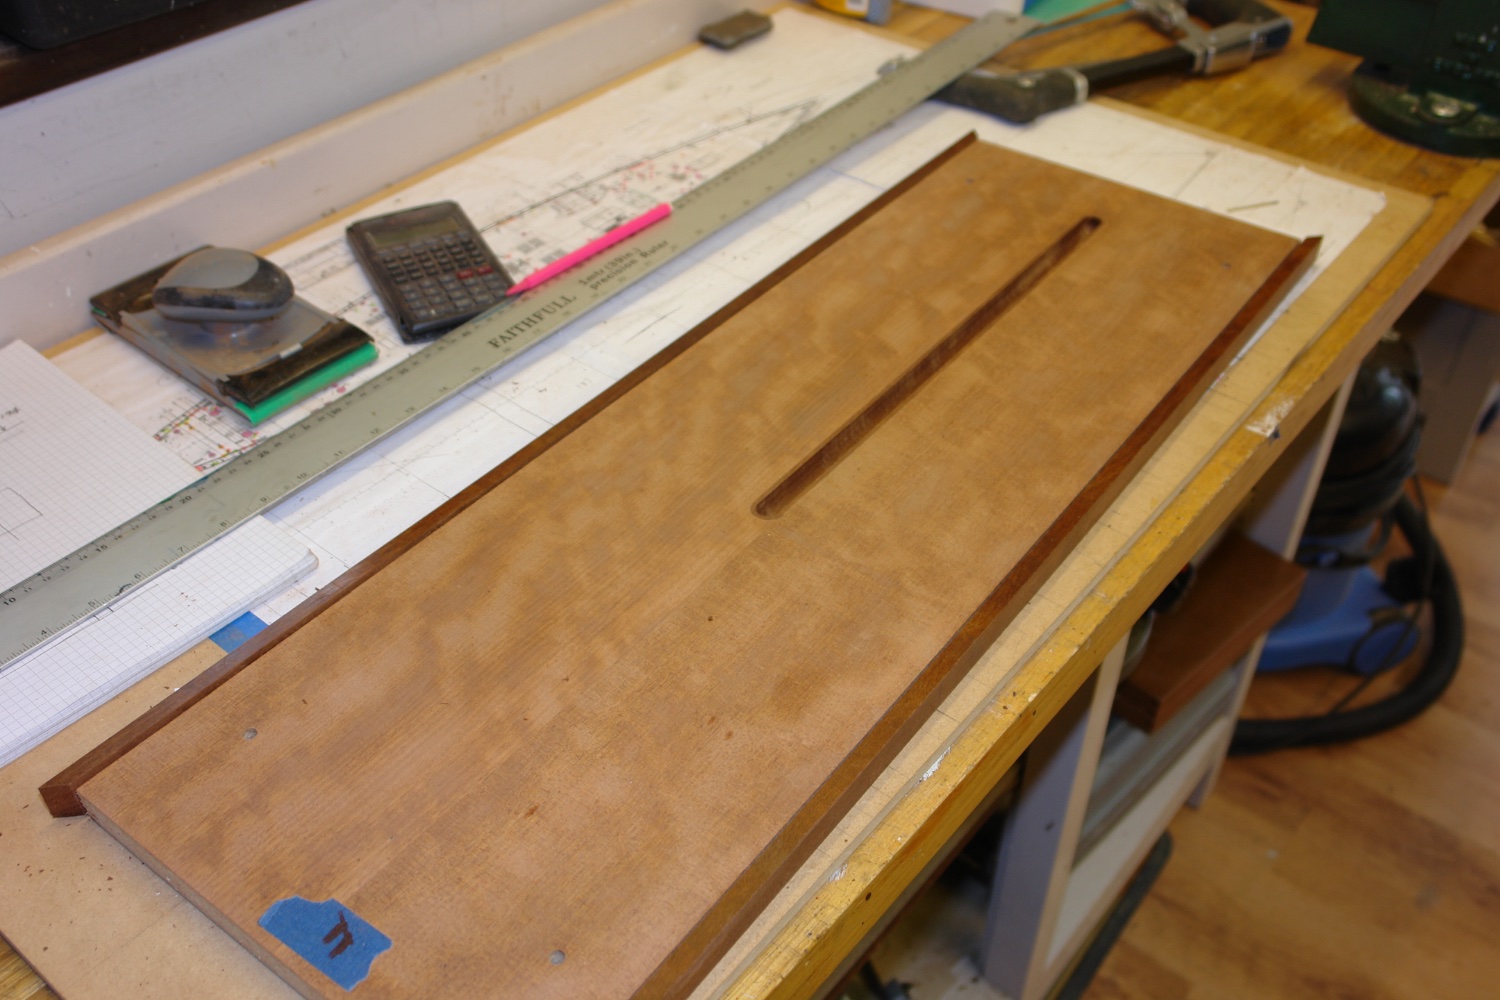
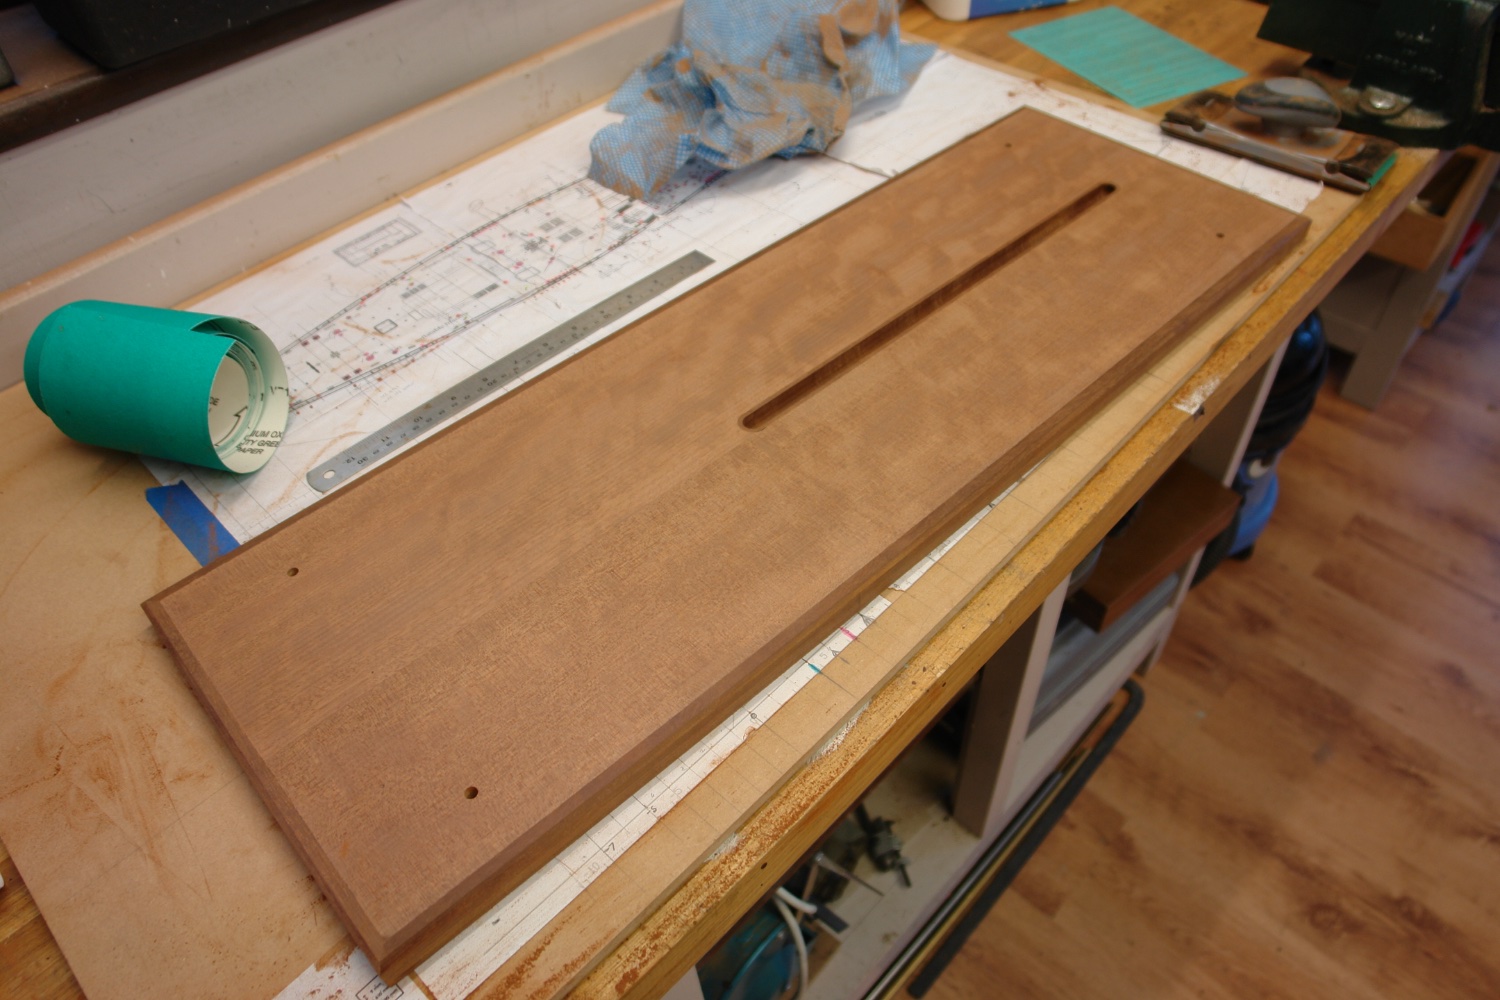
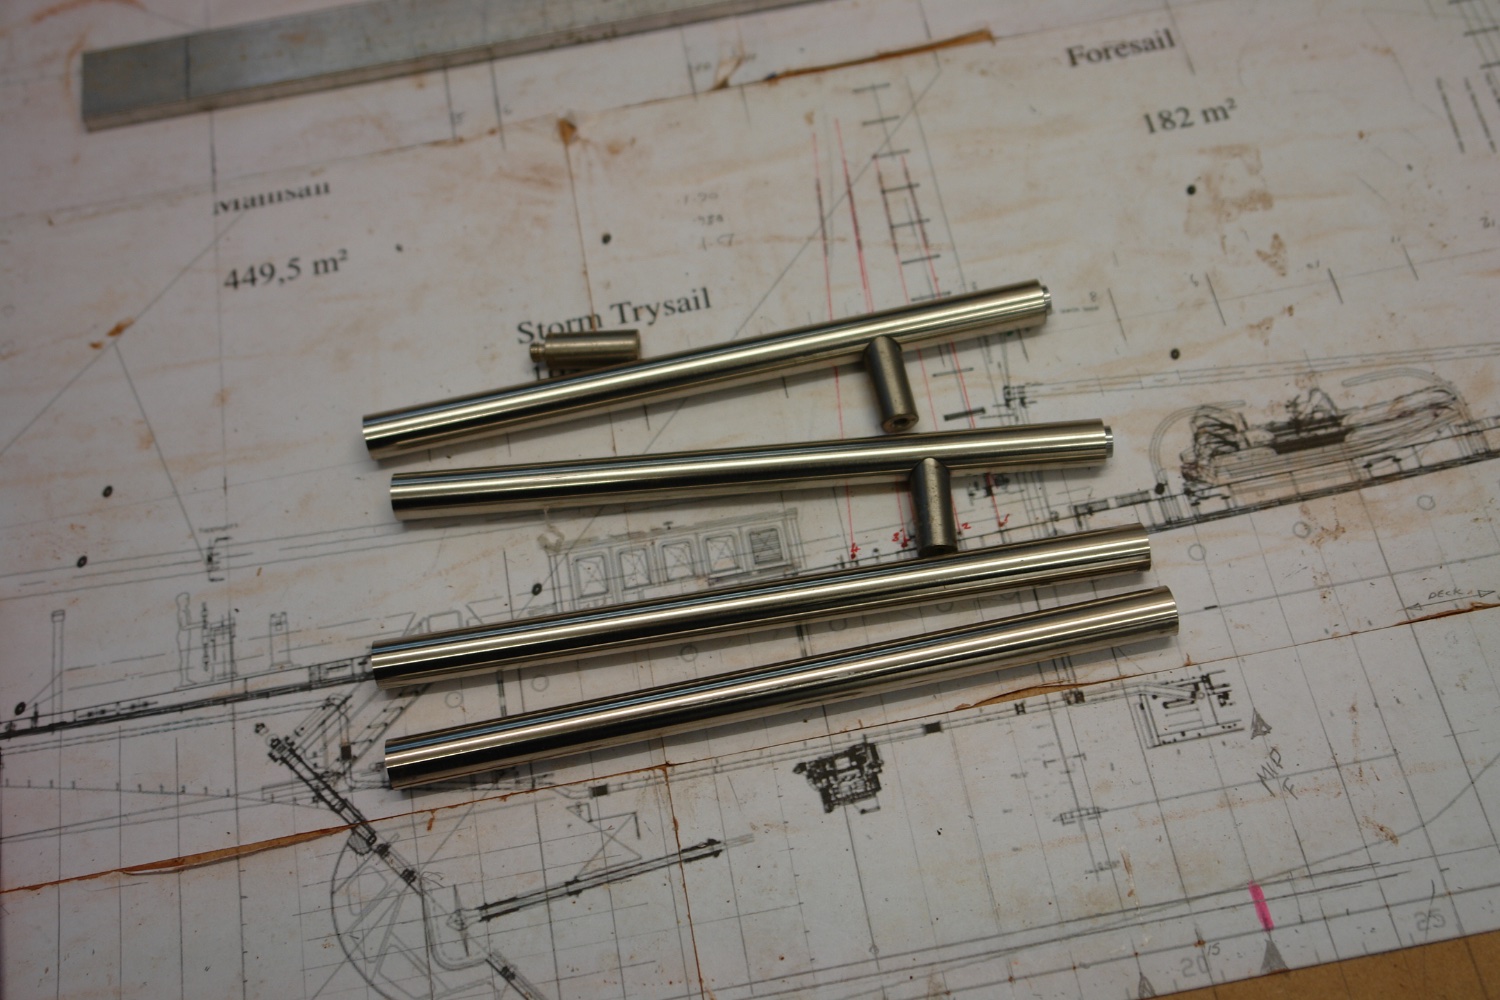
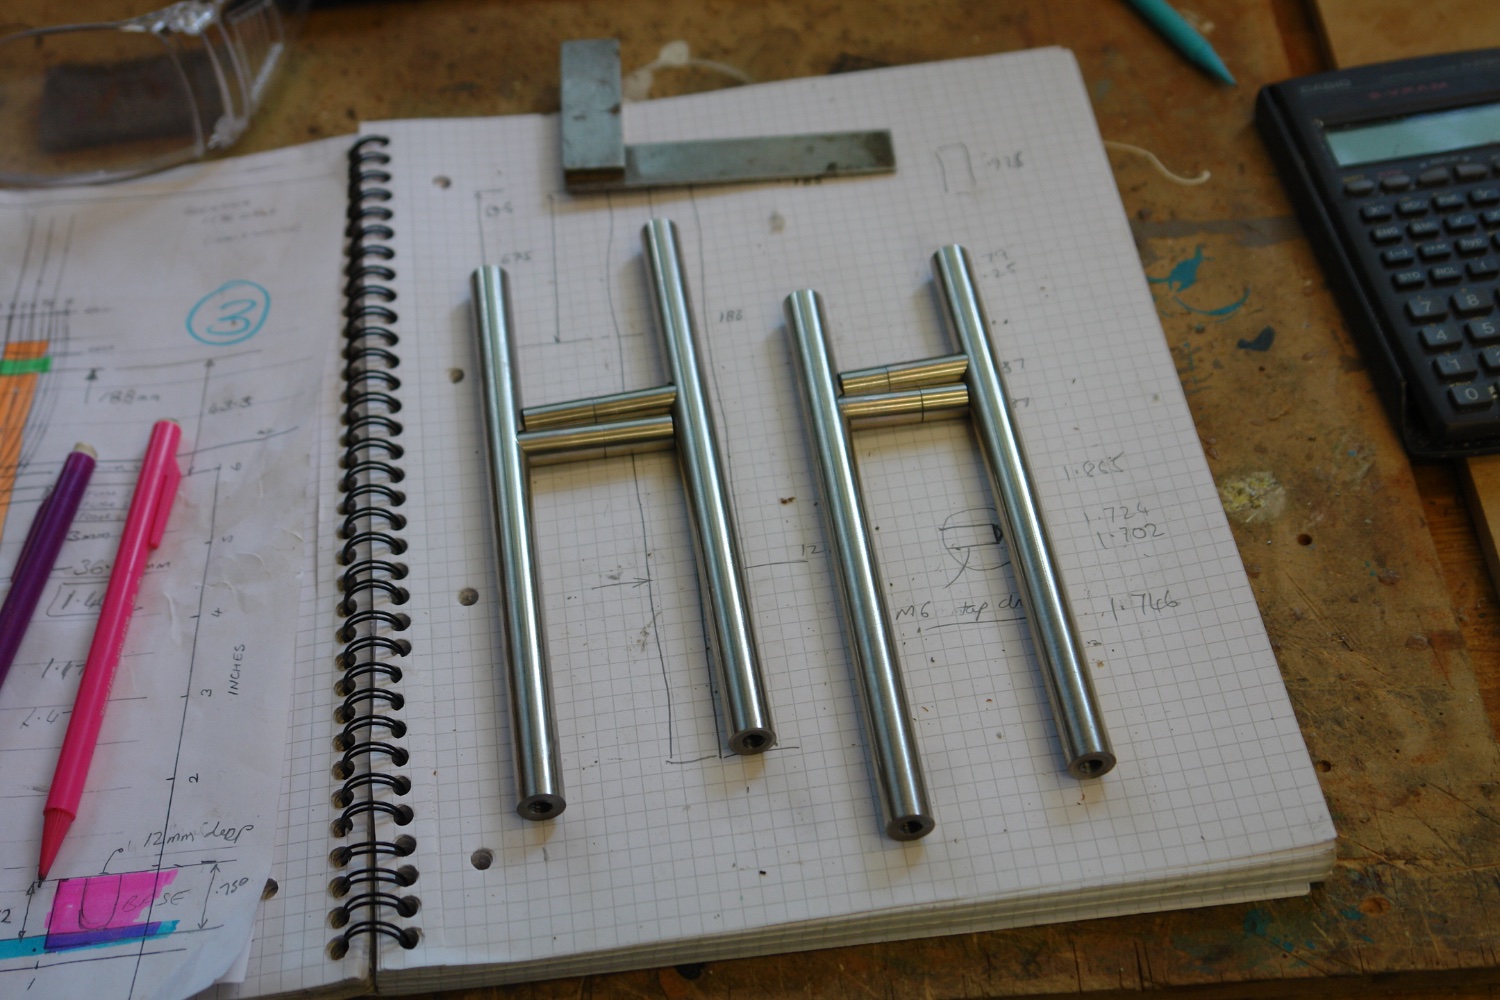
Roger, Tom, Andy, Keith, Brian, Druxey, Veszett and Gary thank you all for sticking with my lamentably slow progress. Also thanks to everyone else for their visits and likes. The workshop is rather cold at the moment as I am trying to do my bit for the energy crisis (as well as monetary prudence). The lack of heating is persuading me to sit in the lounge while drinking tea and researching my next build - quite pleasant but not conducive to completing Germania. Anyway here is a bit more progress:- Having glued the keel slot insert in place I moved on to covering the edges with mahogany strips circa 1/2" x 3/4" section. For years I have been thinking that I need to buy some sash clamps - but I never do - so improvising with rubber bands is my default option. The masking tape is to stop the PVA glue spreading on to the prepared board surface. With the edges attached four holes were drilled to take the pedestals of the cradle. As with my previous builds the door handles from a previous household kitchen were pressed into service. I had just enough left for Germania so this is the last time that they will feature. The next model will need a different solution. The bearing service for supporting the hull was made from nylon rod. This was machined to the correct cone angle to bear against the hull. The support ends were drilled and tapped to take the base mounting bolts at the lower end and clamping cams at the upper end. More next time - if the temperature improves.