kurtvd19
-
Posts
3,048 -
Joined
-
Last visited
Content Type
Profiles
Forums
Gallery
Events
Everything posted by kurtvd19
-
 Check the link below - the Scale Hardware section has what you might need. Excellent quality - have purchased many different sizes of nuts/screws, washers from them. https://www.modelmotorcars.com/scalehardware/
 -
I only use a spray booth because Badger gave me one to test. Before that I did all my spraying on top of a hospital table (for use in bed - adjustable up and down) with a folded blueprint paper protecting the table surface. If the object is too big for the booth I go back to the paper protecting the table's top. The over spray with Badger Acrylics is dry by the time it settles on the paper. I use acrylics 95+% of the time due to the fumes of solvent paints. When I do use a solvent paint I move the spray table and direct the fan exhaust tube to an open screened window in the shop - otherwise I spray in an open area where I can walk around the table.
-
Use acrylics and there is no need to exhaust to the outside. In addition to the air filter materials at the back of the booth I add a nylon sock over the exhaust tube and it catches any particals that make it past the filters. No odors to worry about either. Kurt
-
All digital Journal subscriber members should check your email inbox for the emailed link to the Spring 2020 Issue 65.1. Print copies are still in the printing plant. Kurt
-
Paint for Models
kurtvd19 replied to silbchris's topic in Building, Framing, Planking and plating a ships hull and deck
What kind of paint is causing your headaches? Acrylics have solved problems for a lot of modelers. Particle protection is still needed. Kurt -
Special Sale

-
- 5
-

-
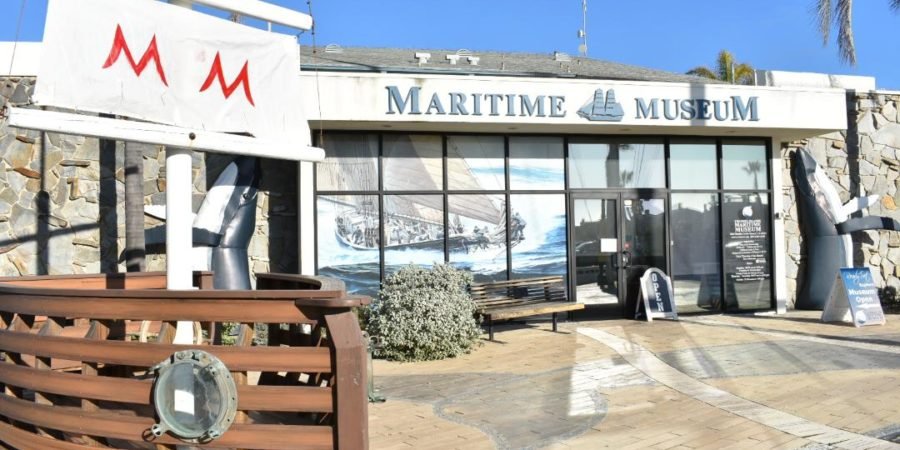
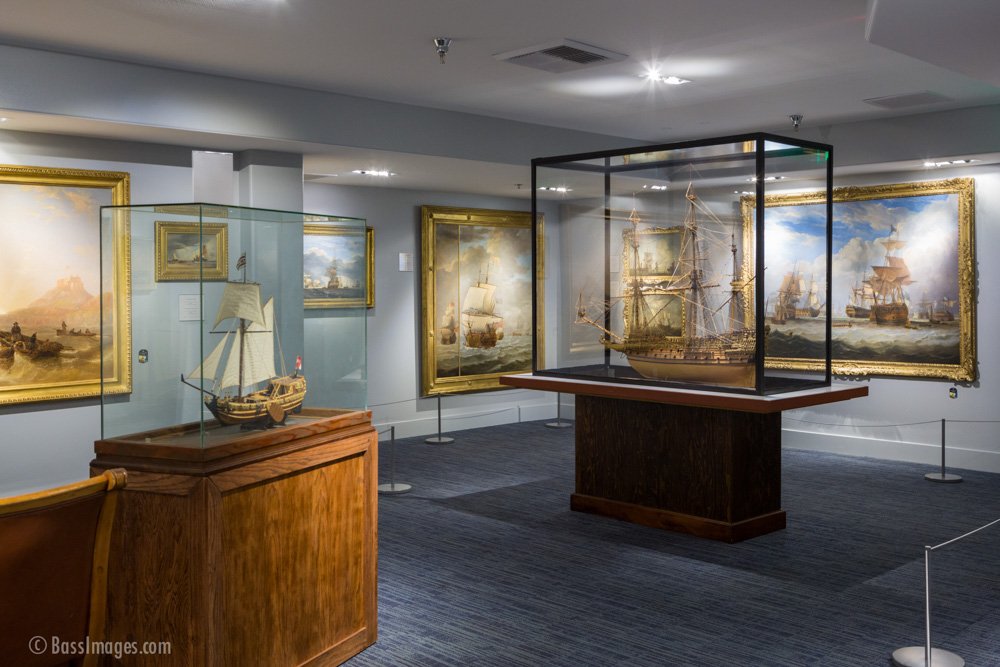
2020 NRG CONFERENCE October 15, 16 & 17, 2020 CANCELLED WILL BE HELD IN 2021 The Nautical Research Guild is pleased to announce the 2020 conference to be held in conjunction with the Channel Islands Maritime Museum. The conference will be held October 15, 16 and 17, 2020 at the Channel Islands Maritime Museum 3900 Bluefin Circle, Oxnard CA 93035. The Museum is located in the Channel Islands Harbor about 50 miles north of Los Angeles. LINK TO CONFERENCE 2020 ON WEB SITE Collections at the Museum consist of seascape and marine art from the early 17th to the mid-19th century featuring such artists as Van de Velde the Younger. A large model collection with over 50 models is on display including one of the largest prisoner of war and bone model collections in the country. See the following links to learn more. https://cimmvc.org/old-site/paintings https://cimmvc.org/old-site/models The exact conference schedule is still being finalized but a tour is being planned for Thursday, modeling subject speakers and round-tables on Friday, social hour and banquet Friday evening. Saturday will feature general subject speakers and Nautical Research Guild membership meeting late in the afternoon. Lunches will be furnished Friday and Saturday. Please note that all events of this conference including registration will be held at the Museum. The selection of hotels in the area consists of resorts and smaller chain hotels. The lower priced hotels are too small to handle a group of our size. The larger hotels are all resorts and thought to be too expensive for some of our members. For these reasons there is not a designated Conference hotel. A downloadable list of area hotels is provided on the website for your convenience. The hotels are listed in descending order of the closest hotels first. A group of attendees including most of your directors will be staying at the Embassy Suites. The museum is providing a space on the main floor of the museum for us to display our models. Space is limited, first come first serve, so register early. Models not preregistered can not be accommodated. Models will be shown at the owners risk but will be in the same area as the museums models and the museum proposes to have docents in the area to watch over models. It is highly recommended that all models be in a display case. There may be a space on the main museum floor for vendors. If you wish to display as a vendor please contact Mike Lonnecker NRG Director and conference chair. The nearest airports are Los Angeles (LAX), Santa Barbara (SBA) and Burbank (BUR). LAX is approximately 70 miles from the museum. There is no regular airport/shuttle service to this area. Further details, a detailed schedule and registration forms will be will be posted and emailed as they finalized. There is plenty of free parking at and around the museum. The NRG Conference Committee Mike Lonnecker - NRG Director 2020 Conference Chair
-
Home centers sell shelving material made from MDF with a covering of melamine type plastic. Cheap and comes in various widths so you only need to shorten the piece - most home centers will cut it for you for a very nominal charge.
-
Here is the link by doing a simple search as Ben suggested - first item in the list; https://www.researchgate.net/publication/323691614_A_Forensic_Investigation_Of_The_Breakup_And_Sinking_Of_The_Great_Lakes_Iron_Ore_Carrier_Edmund_Fitzgerald_November_10th_1975_Using_Modern_Naval_Architecture_Tools_And_Techniques I will be reading the paper later and it will be added to my Fitz documentation. Thanks, Ben. I too purchased a 1/700 Fitz kit from Iron shipwright and it was not up to my standards but I have other kits by them and they are super. The USS Panay is one of the best resin kits I have ever seen and I have several of their tugs and they are great too. The story of my Fitz was that the hull had a warp to it and I talked with one of the two owners at IS who suggested I heat the hull in a microwave for 1 minute and see if it was warm, but also said that it might take 2 or 3 times, and to then set it onto a flat surface and to apply some pressure to force the warp out of the hull. I put it into the microwave for 1 minute and went to change a record on the turntable and half way to the turntable I heard a very large bang. Enough that I ducked thinking somebody had let loose with a 9mm. I ran to the kitchen to smell a horrendous stench coming from the microwave and I had the good sense to not open the door. Unplugged it and took it outside. When I opened the door the hull was in several pieces and through the longitudinal center of the hull pieces it looked like strawberry jelly that was starting to harden. Needless to say I contacted IS again and the reaction was - "that shouldn't have happened". They sent a new hull but it had the same warp to a much lesser extent and I sold it to a club member who said he would tackle it. Later talking with IS they speculated that for some reason the resin mix must have been improperly measured or contaminated and that the resin had not cured in the center of the piece and the microwave caused it to boil. Kurt
- 40 replies
-
- 4
-
-
- edmund fitzgerald
- iron shipwrights
- (and 1 more)
-
Rick: I suggest you search here in MSW for topics of interest. Search GLUES and you will see many discussions about glues. Do the same for PAINTS. My suggestion would be to search Acrylic Paints rather than just Paints. Check out each of the topics you want to gather the current information for - there is a lot of it available here. Once you have a bit of current knowledge then if you have specific questions ask in the appropriate areas and you will get answers. Kurt
-
Do the search as suggested but do yourself a favor and get glass lenses. Kurt
-
Derek: I don't build models with treenails but I do use the draw plate for making small dowels for strengthening joints just like in full size carpentry and attaching parts to the model so it's not just glue holding the piece in place. Kurt
-
Question on aluminum soldering
kurtvd19 replied to BlueOcean's topic in Metal Work, Soldering and Metal Fittings
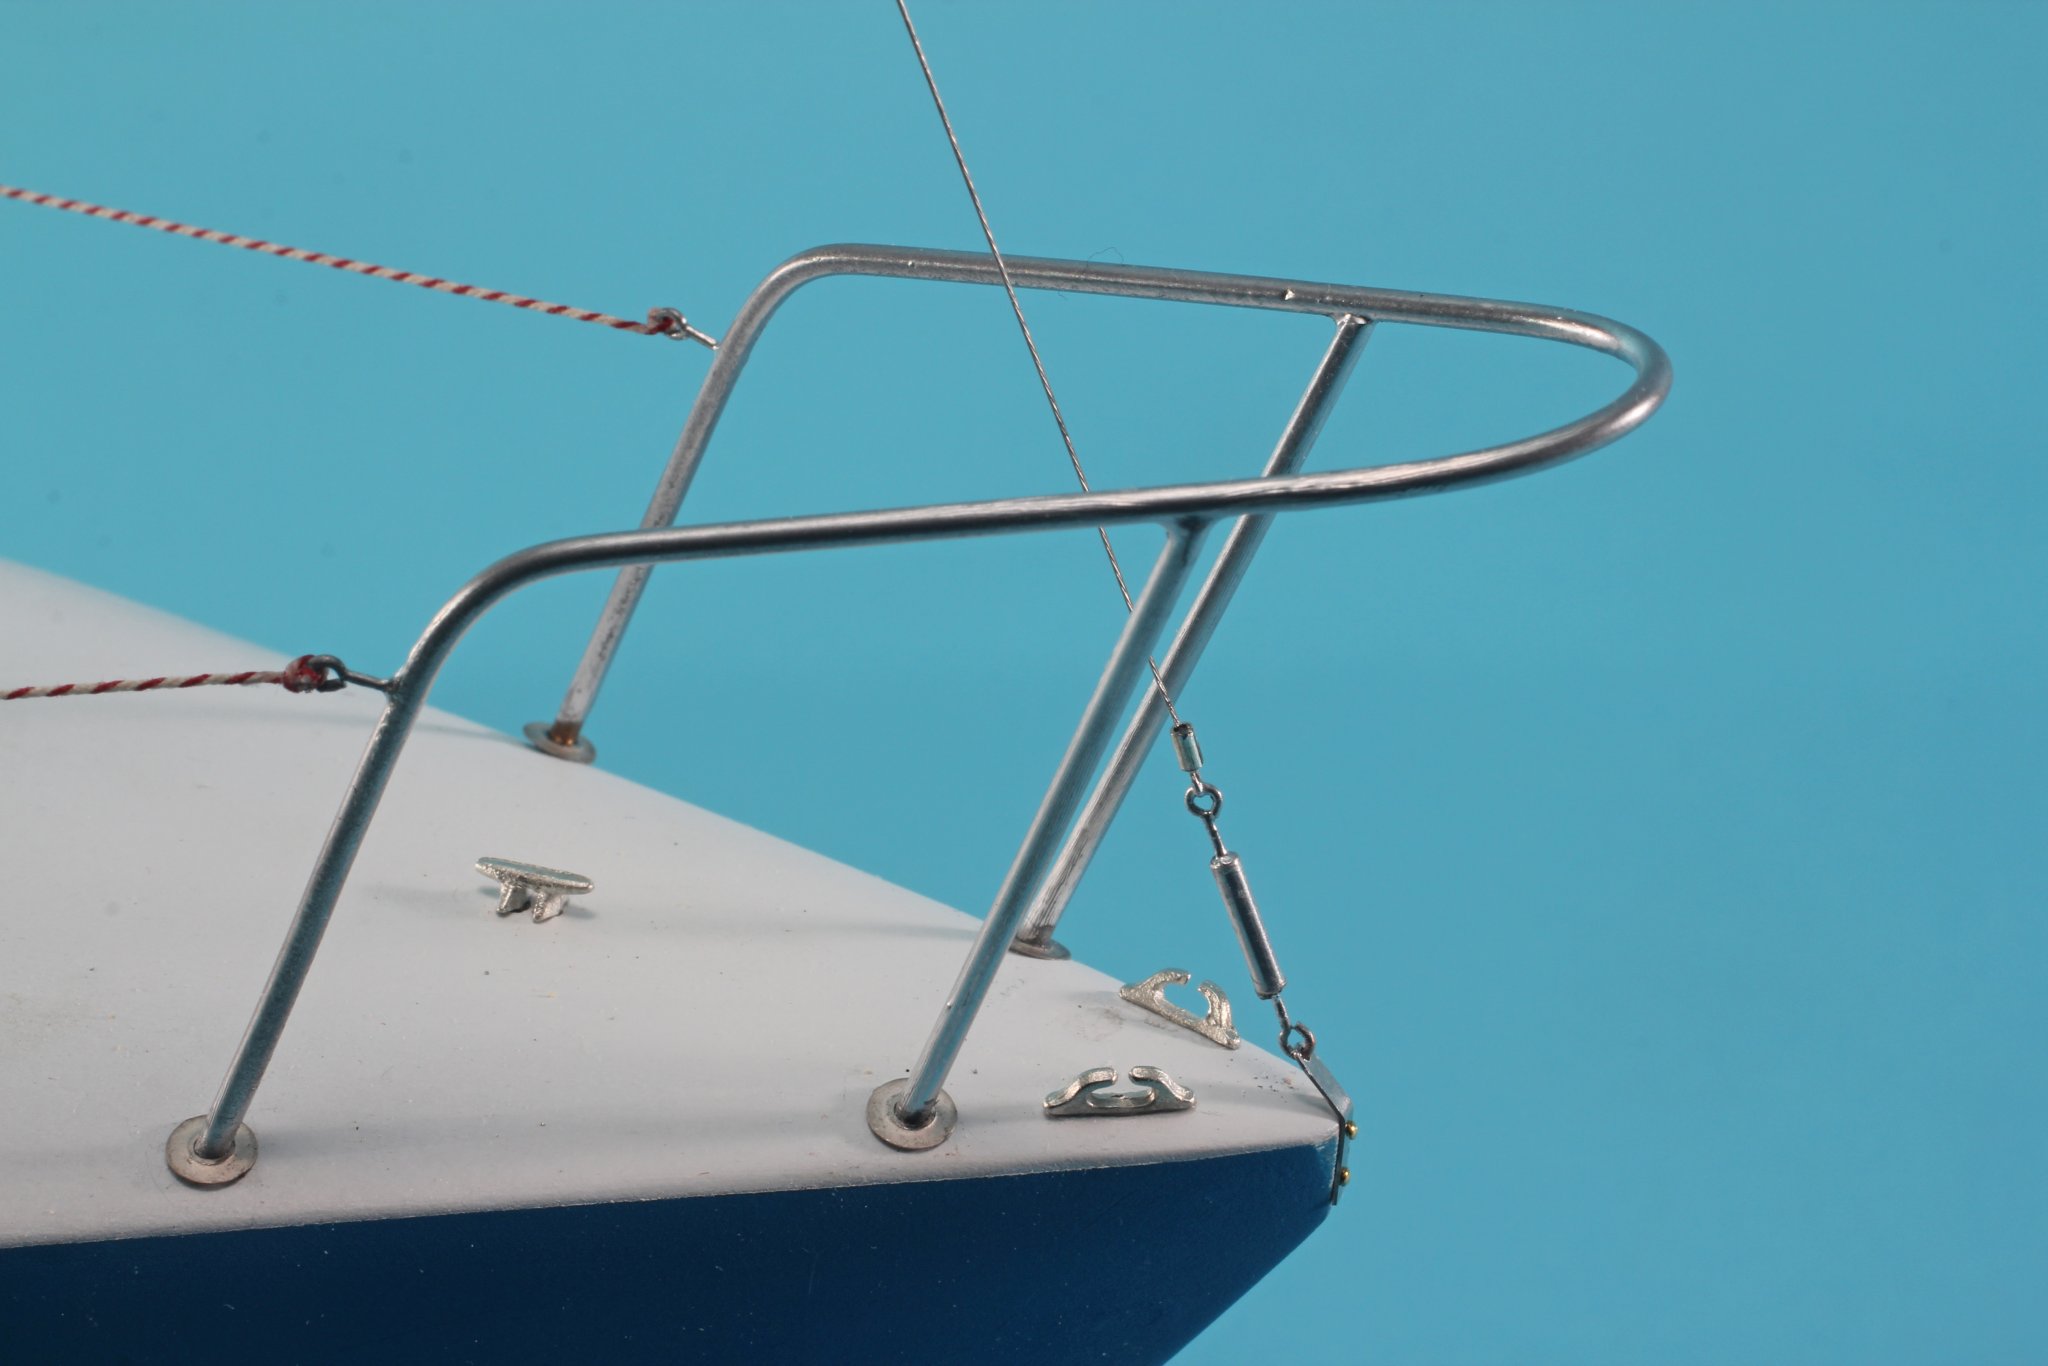
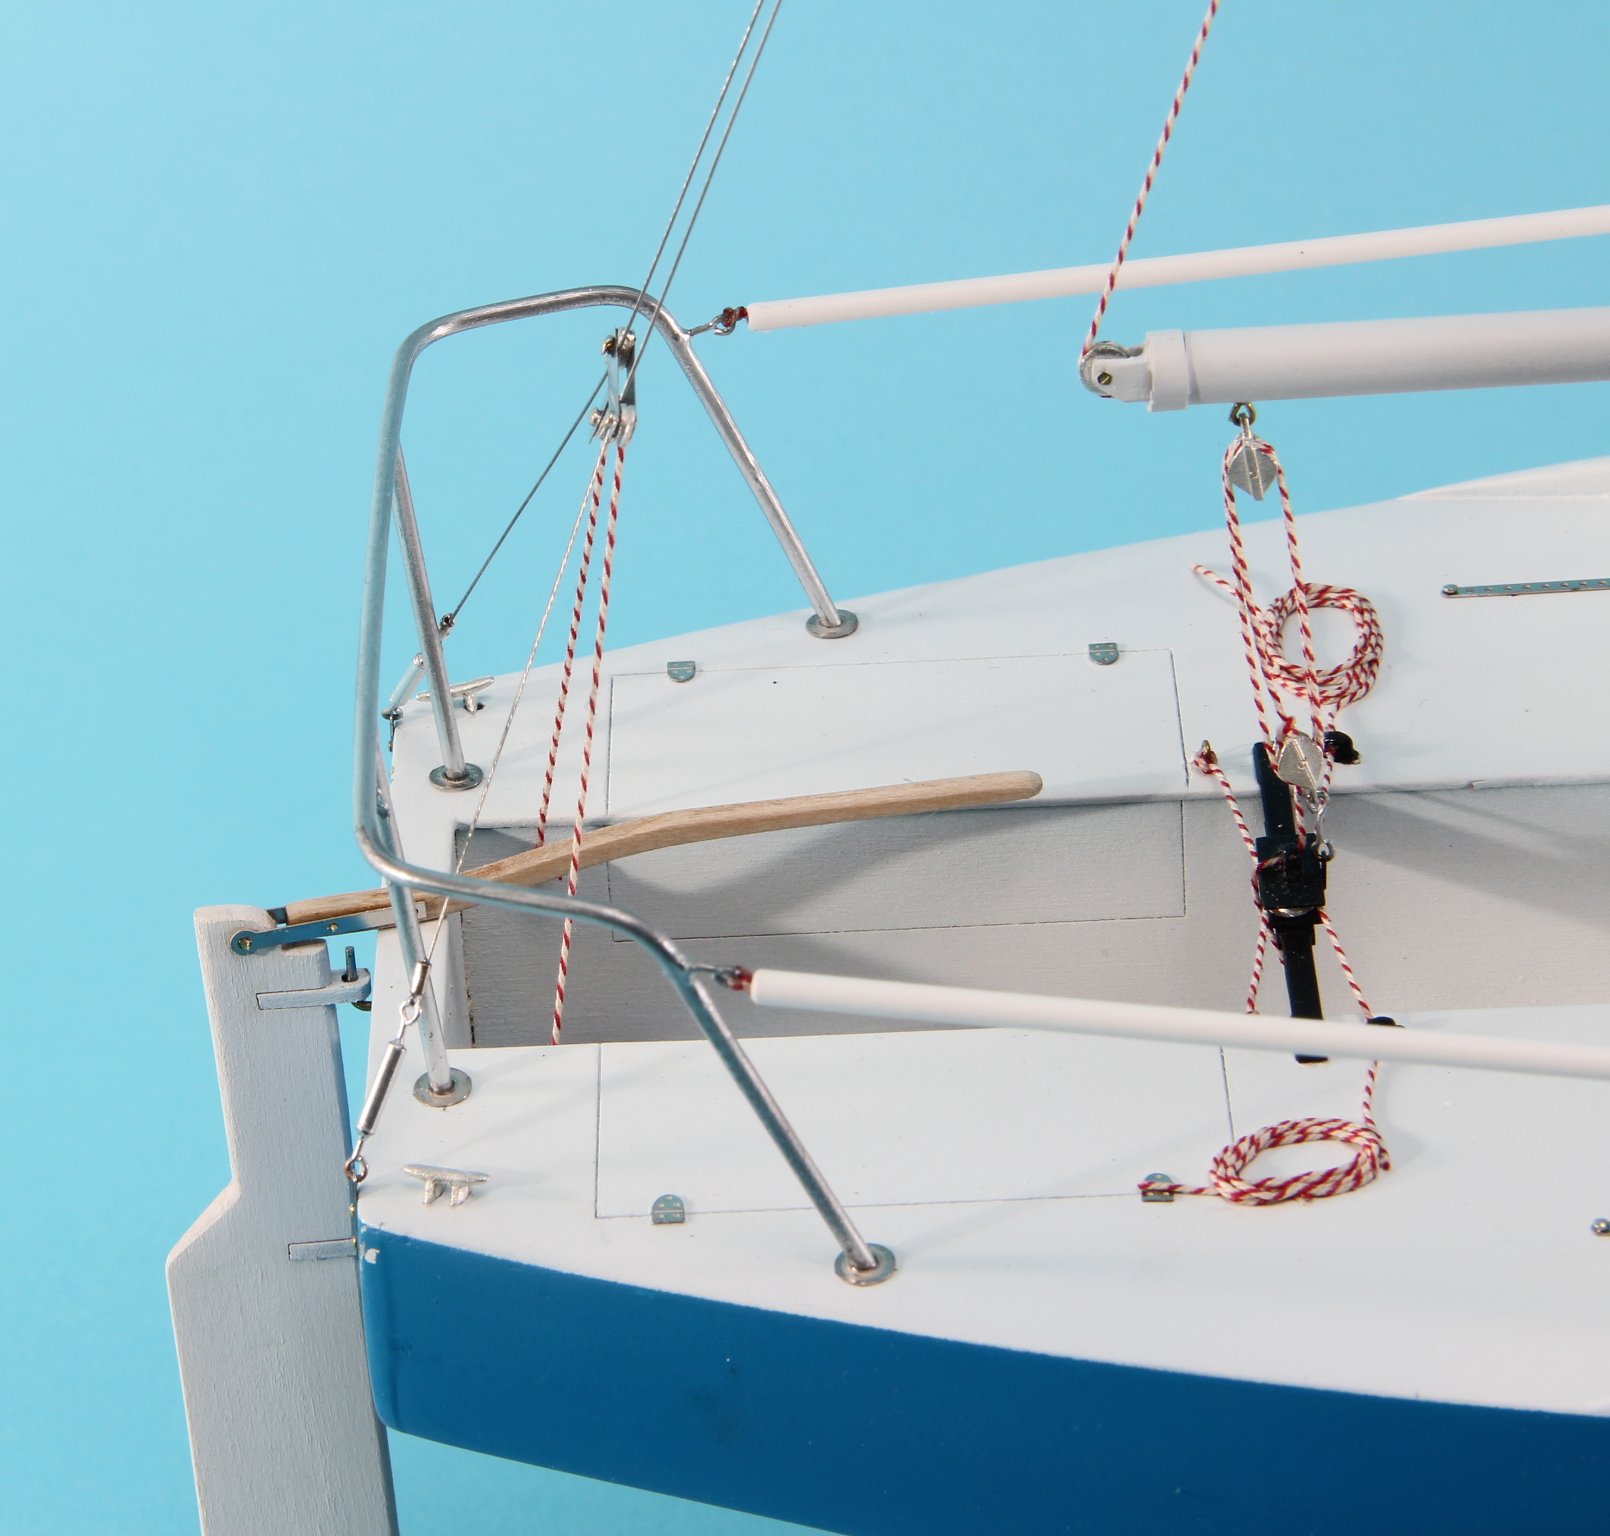
With the difficulties of soldering/welding aluminum why not just use brass rod. It's easy to bend to shape and can be soldered easily. The photos show brass rod bent to shape and soldered together (the kit provided aluminum tube that was to be glued together). The brass rod can be plated or painted. Krylon makes a spray chrome paint -Premium Metallic Original Chrome that was decanted from the can and then airbrushed onto the parts in the photos. Stay-Brite solder was used with resistance soldering with the parts on the model - the perfect jig - the resistance soldering doesn't transmit enough heat to affect the model. The parts were removed from the model, painted and reattached to the model after the hull was painted.

-
Got mine this AM. It sure was quick. Thanks Frank Kurt
-
Go to the link below to see the clubs that might be near you. Not every club is listed Note to others reading this: If your clubs isn't listed send your info to the NRG so it can be put up onto the lists - also check if it's accurate - things might have changed since the info was put up there. Kurt https://thenrg.org/links-and-sources-for-the-ship-modeler.php
- 61 replies
-
- 2
-
-
- crabbing skiff
- finished
- (and 2 more)
-
Byrne's Table Saw additions/add ons
kurtvd19 replied to blackjack40's topic in Modeling tools and Workshop Equipment
I have the tilting table and have used exactly one time. It was critical to the job and it more than paid for itself with the time and materials saved on that job. I can't think of another use for it - at least in my case - so unless I am commissioned to build another barge with sliding covers it will probably just gather dust. The sliding sled is much more useful for future consideration. Kurt -
Welcome to MSW and model boat building. This is a great place to learn about the hobby. You might want to check out the local area model ship club in Denver - The Rocky Mountain Shipwrights. A great group who will welcome you. https://rockymountainshipwrights.org/ Kurt
-
Welcome to MSW Tom. We welcome you and your company. Note from Admin: CAF now meets all criteria as a legitimate MFG of ship model kits. They have stopped producing all kits based on source material they did not have the rights to use, mainly from Ancre. The kits currently available on their website including the Enterprise, are perfectly fine and original works not taken without consent from other authors, designers and mfg's. We are currently helping Tom at CAF to acquire the proper rights through an agreement with Ancre to make any Ancre kits legally allowable. Until such time all CAF /Ancre inspired kits are not allowed on MSW. But we are hopeful they soon will be. CAF has stopped mfg them and selling these Ancre related kits voluntarily after admitting he copied the material from Ancre without consent. Negotiations are currently underway to rectify that situation. We will make an announcement as soon as they reach an agreement. Yes there is some leftover stock of these Ancre CAF kits available through distributors which you can buy but they are still prohibited from being built within a build log here on MSW until the agreement is finalized.
-
Denatured alcohol will wipe away pencil line - just remember to only use a white cloth or the alcohol will leave a colored rag's color on the wood.
- 90 replies
-
- 3
-
-
- finished
- Midwest Products
- (and 1 more)
-
The video Ron posted of Ken's Intro to Airbrushing is something I recommend to all those new to airbrushing. The most complete short seminar out there. To Dave's question about cleaning between coats (sorry I didn't see your text message till just a few minutes ago) there is no need when using acrylics to wait between coats on something like a hull. By the time one paints the port side with a second coat the starboard side is ready for it's second coat. There is a tendency for paint to dry on the tip of the airbrush with any paint but with acrylics it collects quicker and heavier. It's always best to preemptively flick the dried paint off the tip than to wait till you see it affecting the paint application. Experience will help to know how long this takes with the paint, pressure and atmospheric conditions. But as long as the airbrush isn't set down for other than short periods there shouldn't be any need to clean it between coats of paint. If stopping for lunch, clean it to the point there is no residual paint showing on a clean paper towel. At the end of the day always do a thorough cleaning. Take care, Kurt
-
I like the natural look. Might the shingles be a use for laser board? Being thinner to start the might not need sanding. Kurt
- 1,784 replies
-
- 1
-
-
- winchelsea
- Syren Ship Model Company
- (and 1 more)
-
If you are only blackening then I would have no concern using a stainless steel sieve. But if you plan to do any plating the Sparex may be contaminated by the SS if it isn't of high quality and then interfere with the plating process. Copper tweezers or the plastic alternatives mentioned are needed if plating is a possibility. Kurt
-
JUST TO LET EVERYONE WAITING FOR THEIR COPY OF YOUNG AMERICA II BY ED TOSTI THAT THE BOOKS HAVE FINALLY REACHED THE WAREHOUSE AND SHIPPING OF ALL BACK ORDERS WILL BEGIN SHIPPING TODAY. IT'S JUST THAT MY PRINTER KEEPS FINDING NEW AND NOVEL WAYS TO CREATE NEAR "FUBAR" SITUATIONS. THANKS FOR EVERYONE'S PATIENCE. BOB fRIEDMAN
-
The Planking Kit is now available in the NRG Store. Please note the 3 options to buy - US, Canada, Other . Please click on the correct link for where you live. Remember NRG members get 20% off. https://thenrg.org/half-hull-planking-kit.php Kurt
-
Half Hull Planking Project
kurtvd19 replied to tlevine's topic in NAUTICAL RESEARCH GUILD - News & Information
The Planking Kit is now available in the NRG Store. Please note the 3 options to buy - US, Canada, Other . Please click on the correct link for where you live. Remember NRG members get 20% off. https://thenrg.org/half-hull-planking-kit.php Kurt