


kurtvd19
-
Posts
3,048 -
Joined
-
Last visited
Content Type
Profiles
Forums
Gallery
Events
Everything posted by kurtvd19
-

Byrnes machinery dust collection
kurtvd19 replied to Bill Hill's topic in Modeling tools and Workshop Equipment
I can listen to the TV or stereo in the shop with the vac operating - not silent but quiet enough. Some are more quiet than others - check the specs on their web site. -
Byrnes machinery dust collection
kurtvd19 replied to Bill Hill's topic in Modeling tools and Workshop Equipment
I have a very quiet Fein shop vac that I connect to my Byrnes tools. The OD of the Fein hose is 1 3/8" + a few thousandths - metric for sure. The thickness sander with it's port on top I just set the vac hose into it w/o worry about the gap and let gravity hold it in place - works fine. With the disc sander I use a rubber adapter that goes over the vac hose and slips into the sander's horizontal port pretty tight - the same with the saw that has the exhaust port as it came from Jim. The other saw I got long before Jim provided an exhaust port - I had a club member who had a machine shop cut a hole in the side piece where Jim attaches the exhaust port that the vac hose fits into. I had a cyclone hooked between the vac and the hose but it was big and it lives in the wood shop now. Will get a smaller cyclone soon for the model shop. 100% of the dust is grabbed from the disc and thickness sanders. Nothing catches the saw dust that comes off the top end of the saw blade (of any table saw as far as I know) - but it's minor compared to what comes off the bottom end and is caught up by the vac. Just like full size saws there is a lot of sawdust that has to be vacuumed out of the saw between uses from the corners. -
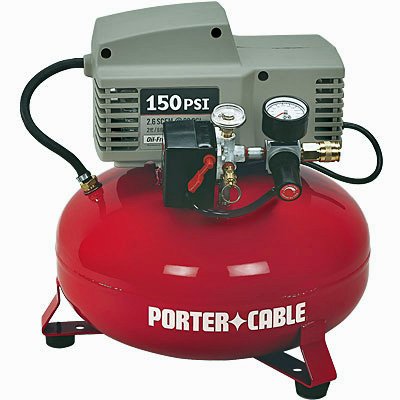
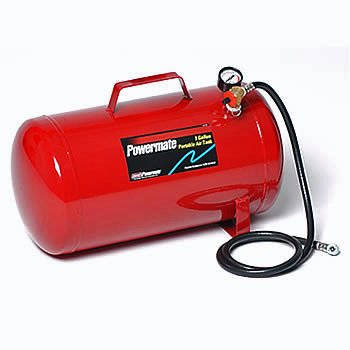
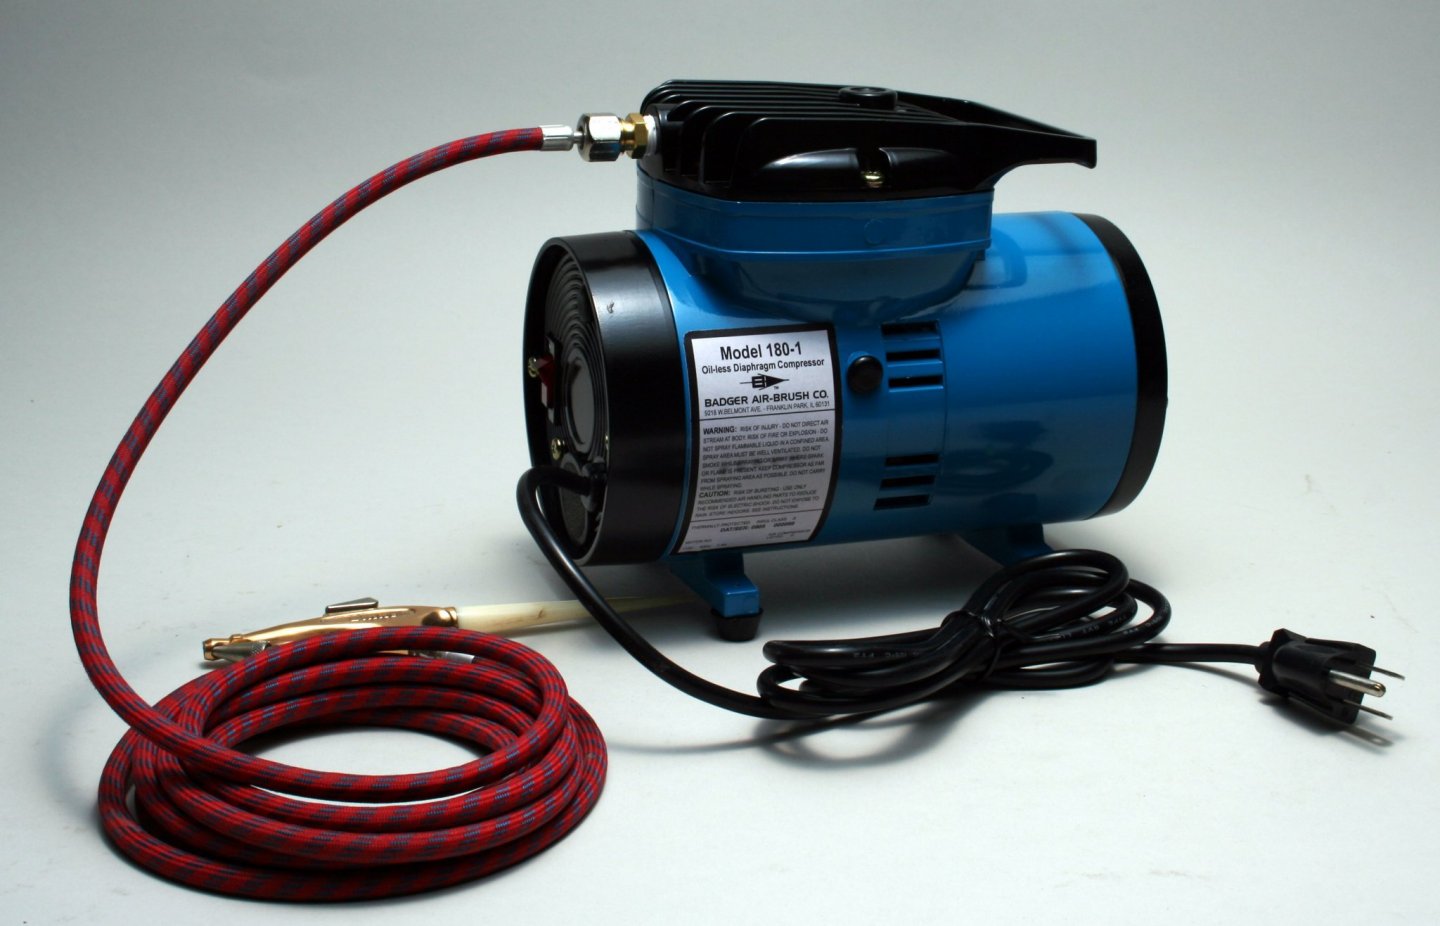
Compressors are not all that expensive. Unless you need the absolute smallest compressor - which the "airbrush" compressors sold by Badger, Iwata, etc are . There are many sold by Home Depot, Menard's and some chain auto parts stores that are quiet and will also pump up a car or bike tire that are less expensive than the small airbrush compressors. I have even used an air tank that one fills with a gas station compressor - completely silent and adequate for most model jobs. As to paints as long as it is a hobby paint with finely ground pigments, not house paint, most any hobby paint works. I use badger Modelflex Marine paints myself. Do a search for other posts I have made about these paints. Hope this helped, Kurt
-
The 350 airbrush is adequate for most -BUT stay away from the air cans - expensive and they always run out just before the job is done. I started with an earlier version of this brush in 1960 (Christmas of my 8th grade year) with the air cans - and I never got to be any good until I got a compressor. This was the brush I used for a long time and still use it occasionally. I know of 3 models that took gold medals in the advanced class at the WI Maritime Museum's competition that were painted with this brush (Steve Wheeler and I - can't remember the other guy but I do remember the model). As to fine lines - how often does one need to do a fine line on a ship model? Almost never. I can do a pretty fine line with it - but there are other brushes better at that. Kurt The 350 is a good first airbrush - I got my Grandson started with one when he was about 10. Both of these are available from MSW sponsor USA Airbrush Supply This is the 350 set with the air can adapter - $39.60 This is the set for use with any compressor - $44.00
-
System? Do you mean an airbrush, compressor, hose, etc.? Or just an airbrush?
-
I don't remember if you have mentioned looking at this build but they found many issues with the plans of the USS Cairo from the Park Service. They have done a lot of research while doing their project - they might have the answers about the hull you have brought up. Kurt Civil War Ironclad USS ST. LOUIS by thorn21g - 1:24 - POF - Gateway Model Shipcrafter's Guild
-
Using 400 or 600 there is adequate "tooth" for the paint to adhere it might feel smooth to your fingers but microscopically it's plenty rough enough for the paint. I rarely use anything finer than 320. A wide pattern is good for larger areas and a fan spray is good. I have a small detail touch up gun (Model 400) that Badger used to sell - a miniature body shop type gun. Perfect for a big hull. Since I quit the r/c boats I use a Badger 350 for large surfaces. The wider the pattern you are able to spray the number of passes you need to cover goes way down.
-
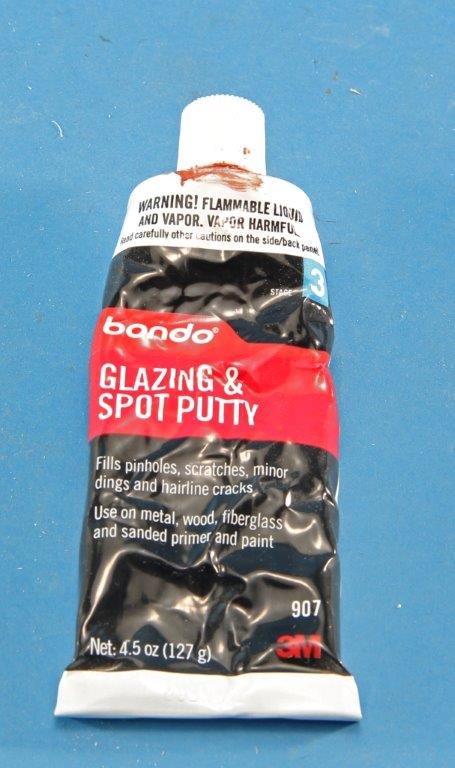
When I want a real smooth wood surface I use this auto body filler. It's meant to cover the scratches from sanding on metal/fiberglass not big dents. I use an old credit card or the ones we all get in the mail as a spreader. I force the filler into the surface as thin as possible. When it's cured I sand it and check as best I can that I have a good smooth surface and then I prime. Depending how the primer looks I either lightly sand and apply more filler in areas where it's needed and then sand again or if it's good at that point I skip the sanding and then paint. When the primer doesn't show any defects it's time to paint.
-
dull number drill bits
kurtvd19 replied to BETAQDAVE's topic in Modeling tools and Workshop Equipment
Heat it until it is an even red color then drop into water. How to apply the heat is dependent on the material thickness. Photo etch - a candle flame is adequate. Thicker brass can handle a torch - don't get it too close when it is thinner. Most of the time I use a butane torch - closer for thick stuff farther away for fine. I also use my Smith Torch (propane/oxygen) at times. -
Bob: The Spring 2020 Journal (Issue 65.1) has my Tips & Techniques article on exactly how to do it while only having to carefully mask once. Exactly as rvchima said above - Except that you should seal the waterline tape with a light over spray of the masking taped edges with the same white as used for the waterline before masking along the waterline tape with wider masking. The reason to lightly over spray with white is to seal the edges of the tape to prevent bleed of paint under the tape. If there is any bleed it will be the white that will be invisible over the original white. Spray at 90 degrees to the hull surface and don't let paint build up along the waterline tape and when the tape is removed there will not be a noticeable edge thickness of the hull colors. Peel the tape back over itself to avoid lifting paint.
-
I didn't always use a primer because I use Badger Modelflex paints and primer isn't required for them. I am starting to use primer more now that Badger developed a new primer called Stynylrez - for use over Styrene, Nylon and Resins. They started with gray, black and white but after it was released demand made them provide it in more colors as many are using it as a final coat when doing figures and sci-fi. They now provide it in 18 colors and I have used it as the final color coat on a couple of models myself. However, I always use a primer when I am painting over a model with any filler added or when different materials are used (not 100% wood or 100% plastic) to hide the different colors that will make the paint look a bit different over each underlying material. I also always use a primer when painting certain colors like yellow that don't cover well w/o many coats. As to using rattle cans - it depends on the size of the model. If it is large enough to be able to do a light sanding of the entire model then rattle can applied primer is fine. If I can't easily sand it because of size or nooks and crannies I don't use the rattle can. Or I decant the rattle can paint and use it in an airbrush. In the last couple of years I have switched to using Stynylrez primer on all work I do. If you are not using a spray booth I would recommend a particulate filter mask - the fumes of acrylics are not particularly harmful but all sprayed paint has particles you don't want to breathe in. Using a good spray booth makes a mask unnecessary - at least in my opinion. The fumes and particles are sucked into the filters of the spray booth. Using acrylics a good filter on the end of the fan outlet is sufficient unless you are in a very small area and should then direct the booth's output to the exterior. Absolutely do that if using solvent based paints.
-
Epoxy glue
kurtvd19 replied to Zooker's topic in Building, Framing, Planking and plating a ships hull and deck
I have used Bob Smith Industries 5, 15 and 30 minute cure epoxies for years and consider them the best I have used. BSI puts store labels on their glues so if you see a store label C/A or Epoxy glue look on the back label and you will probably see the BSI name and round logo. Model Expo sells both BSI Epoxy and C/A -
I use Badger paints exclusively - they are airbrush ready. Almost all "model" paints are air brushable - some with thinning some as they come. The pigment of model paints is ground very fine - a necessity so details are not hidden by thick paint. Don't even consider going to the hardware store and then thinning the house paint or other paint they sell. Most advertise "Cover in One Coat!" which means the pigments are very coarsely ground in order to cover in one coat. Thinning doesn't change the size of the pigment - just the viscosity. Model paints usually have very small pigment sizes in the order of one micron where the house paints usually have a pigment size on average of 37 microns. I can tell you that my fine detail airbrushes will instantly clog if I were to load one up with this stuff. Stick with a model paint that works for you. Try to stick with one brand so you are not constantly trying to make the new stuff work. Once you are experienced feel free to experiment (NEVER on the model itself) but maybe there is a new paint that will work better for you at some point.
-
Joe: Alcohol speeds up the drying of acrylics and promotes tip dry. I have seen this promoted many places - but think about it - alcohol evaporates much quicker than water. As to adding tap water - perfectly fine if adding it to the paint for the session only. But if adding water to the entire jar it is much better to use distilled water for longer storage. I offer the above not in any was as argument but as official policy of Badger Airbrush - who also manufacture the Badger Modelflex Paints as well as other acrylic paints under the Badger name.
-
Bob: I agree 100% with Joe's advice. There is another alternative. Plastic modelers have used the household floor finish FUTURE for a gloss coat finish - over all sorts of paints. They have changed the name several times but Future or Pledge was always someplace on the label. I had to buy a new bottle and the bottle now says Pledge - Floor Gloss. The thing I like about the newest product is that it isn't a true gloss coat with only one airbrushed coat. Semi-gloss with the first coat going to true gloss with additional coats. Makes it more suitable for my purposes. Applying any clear coat you have to watch how much is applied - I have found that a bit of practice off the model will give you the experience you need to judge how much is enough and how much is too much.
-
How to seal acrylic paint?
kurtvd19 replied to Bill97's topic in Painting, finishing and weathering products and techniques
I will only use a rattle can for primer - it will be lightly sanded so it spitting isn't a big deal. Any rattle can paint I apply other than primer is decanted and then put through one of my airbrushes. Kurt -
Connecting Pins - Need help on first build
kurtvd19 replied to Brianh526's topic in Metal Work, Soldering and Metal Fittings
The brass pin needs to be annealed before trying to flatten the end. Once it's annealed it is easy to flatten. -
Lead corrosion and lead free soldering
kurtvd19 replied to modeller_masa's topic in Metal Work, Soldering and Metal Fittings
It works the same as silver soldering - just less heat. I have a Smith Little Torch so smaller flame is easy. Kurt -
Lead corrosion and lead free soldering
kurtvd19 replied to modeller_masa's topic in Metal Work, Soldering and Metal Fittings
Stay-brite is lead free. And it is as easy to use as common solder. -
Lead corrosion and lead free soldering
kurtvd19 replied to modeller_masa's topic in Metal Work, Soldering and Metal Fittings
As the needed temperatures are much less a soldering iron can work if it delivers enough heat. I have used it with both a torch (that I am very comfortable with) and resistance soldering but because I have the small torch and the resistance soldering unit I haven't tried it with a soldering iron myself. It comes with a liquid flux but I usually use a common past flux - Nokorode is on the work are now. Parts must fit well it doesn't fill gaps. The advantage is that it is easier to use than a true silver solder. I have used stay-brite on parts that just wouldn't hold up to the temperature needed for silver solder. Stay-brite really works more like a common soft solder than silver solder but doesn't fill gaps. I used to silver solder everything - and I got real good at it. I had some parts I thought would possibly melt if I used a true silver solder and somebody told me about stay-brite. I tried it and it worked great. I have used paste silver solder and found it worked fine for some work but it still needs higher heat than stay-brite. Use what is easiest to use and works for the job. I wouldn't use anything but true silver solder if I was still doing radio control boats where rudder and other moving parts need a lot of strength. I defy anybody to break a good joint made with stay-brite on a static model - I sure can't put enough tension on a rigging line to break a stay-brite solder joint. Kurt -
Lead corrosion and lead free soldering
kurtvd19 replied to modeller_masa's topic in Metal Work, Soldering and Metal Fittings
I don't think there will be a problem with that small amount BUT there are lead free solders that are not silver solder requiring high heat. stay-brite by J W Harris Co is lead free, it blackens like silver solder and has a high silver content. I have used it and it has replaced true silver solder in all but rare cases in my shop. Nothing we do with scale models requires the strength of a true silver solder. Look at Jeweler supply outlets - there are lead free solders that are easy to work with. Kurt -
Clay's articles appeared in eight articles (as a practicum) in Seaways' Ships in Scale magazine during all of 2005 and early 2006 and in the"Nautical Research Journal" article -Summer, 2004; Vol 49, #2. The NRG has the entire series of reprints in a book put together by Clay - Building the Continental Navy Brig Lexington – A Practicum by Clayton A. Feldman, MD: A step-by-step practicum, including detailed plans, construction photos, drawings and diagrams on building a plank-on-bulkhead model in 3/16” = 1’ scale with a hull length of 16-inches. Dr. Feldman’s extensive research on the Lexington that was published in our Nautical Research Journal is also included. The cost is 39.9 + shipping (about $5) on a CD or flash drive. Available from the NRG Store - link at the top of the MSW home page. All that said I agree with Druxey - fiction but pretty. Kurt
-
My musician brother (Guitar) says he listens to his music loud because he listed to his music loud...
-
Making extremely tiny fittings
kurtvd19 replied to BETAQDAVE's topic in Metal Work, Soldering and Metal Fittings
Pat: Are you doing the casting or farming it out?

