HOLIDAY DONATION DRIVE - SUPPORT MSW - DO YOUR PART TO KEEP THIS GREAT FORUM GOING! (83 donations so far out of 49,000 members - C'mon guys!)
×

Cabbie
-
Posts
599 -
Joined
-
Last visited
Content Type
Profiles
Forums
Gallery
Events
Everything posted by Cabbie
-
 Good Morning Harry You must be getting close to finishing the first layer. I have been thinking there is more angst in the first layer, than the second. Because it sets up how the 2nd layer will look, making sure it has no lumps, and bumps. and that it has a good shape and lines. What sort of timber has the kit provided for the 2nd layer? Cheers Chris
 -
Thanks Michael, good to have you on board, and at MSW. Hooroo Chris
-
I am using the Jarrah below the wales and Kauri above. And I suupose that since I have started this way I will have to keep going and cut the rest of the timbers for the ship. Probably mostly using Jarrah. When I get to the masts etc they will have to be cut as well. Chris
-
Hi again, Harry, you had me tricked for a bit getting a post in while i was editing. Couldn't see what happened to my post. But all good now Yes its all in the name of good fun, and occupying the brain. Just between you and me I am going to screw the posts and keel on and cover with a thin strip, no one will notice. I can be pretty rough on the ship. I nearly broke the keel off on the Swift that i built. Hooroo Chris
-
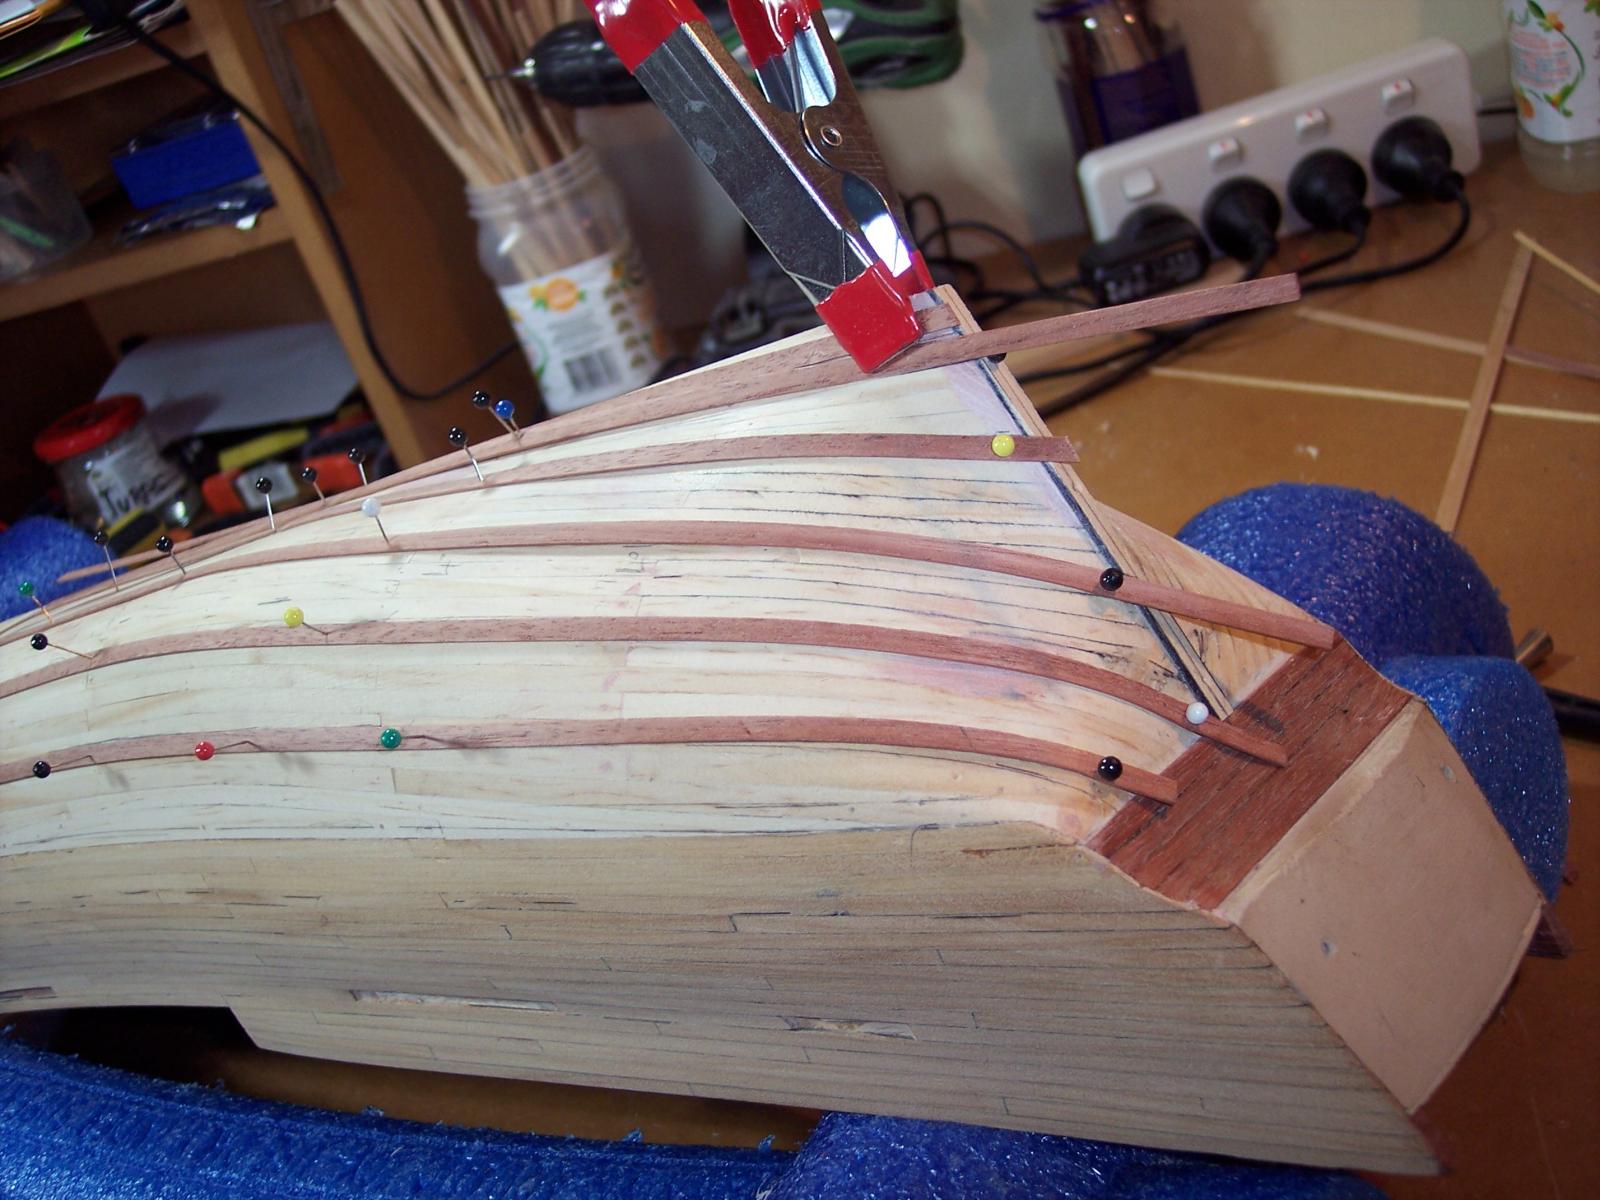
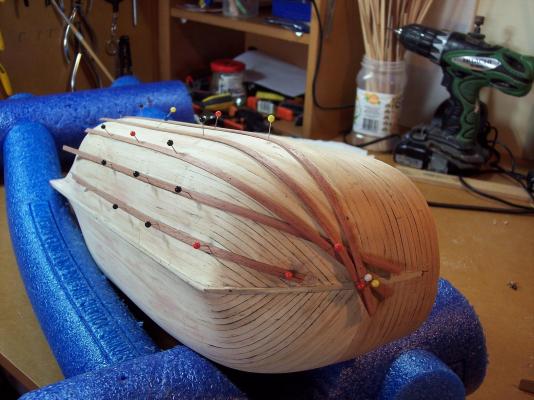
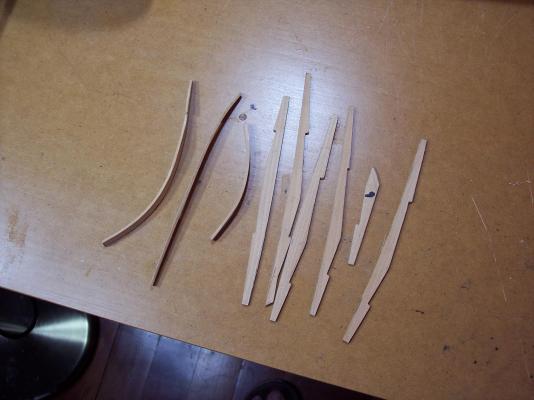
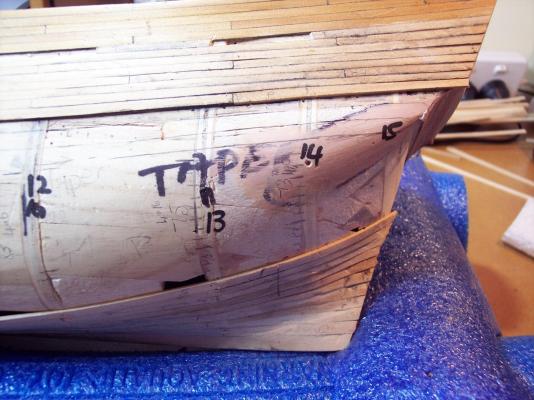
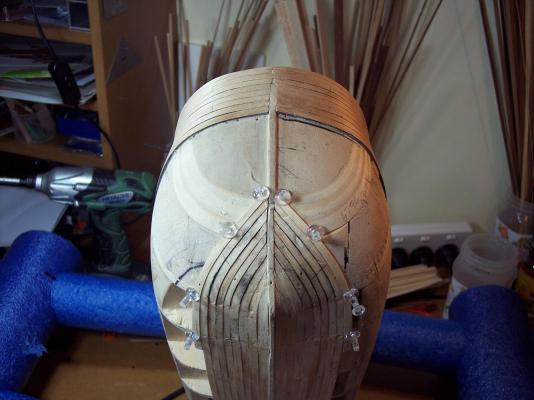
Hi Hof00, thanks for looking in. I'm going to do it in my usual back to front style and put them on after, i think that it will be easier to hold the planks, flat whilst glueing, and easier to sand. Anyway a few more pics to update. I have placed some planks to see how they lay on the hull. And surprise,surprise, they crossover at the bow. The stern was fairly straight forward, I am going to drop 2 planks under the wales, so that there is not much tapering to do. I have drawn up how they will look, but it will need refining a bit when i start planking And i have been making the wales to look like the replica. They are close i think, but my notches?? that make the hooks are to big to be scale correct. Terminology is going to do my brain in. I have been looking at the other logs that are rigging and get lost when they explain what they have been doing.(all beautiful work, just as well photos are provided) I am going to have to put some time in to learning this new language. Now off to start glueing on the wales, and then do the planks below. Cheers Chris


-
Hi Mark She looks mighty fine to me,that is certainly a lot of work that you are doing. The color and look of the hull is absolutely beautiful. Enjoy the sanding. Hooroo Chris
-
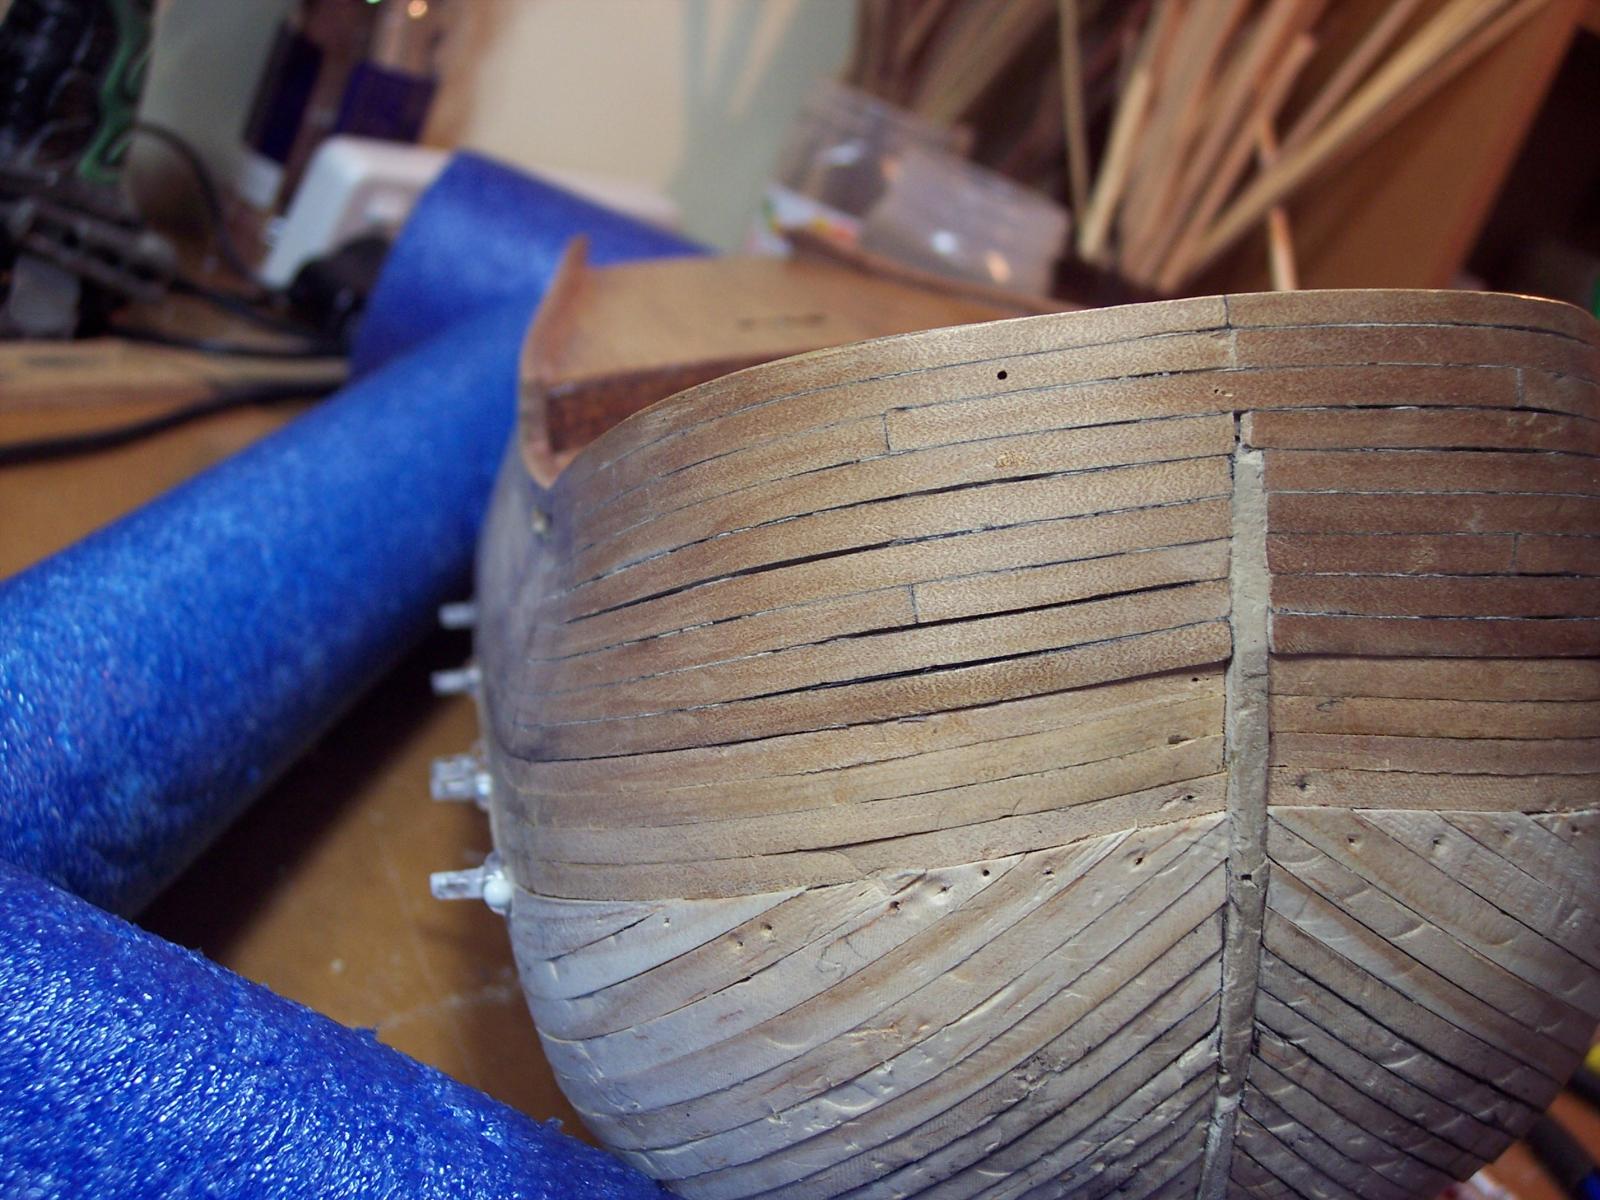
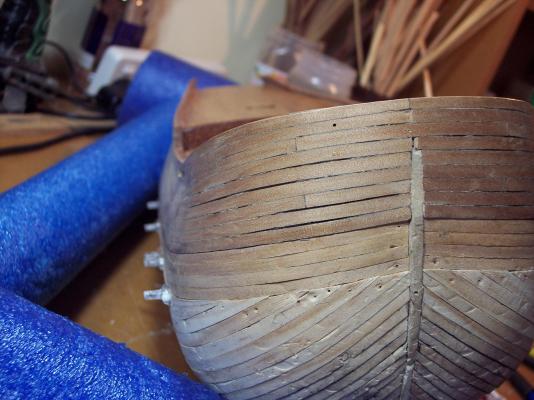
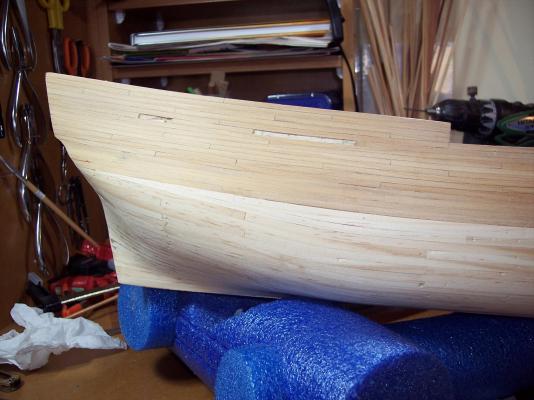
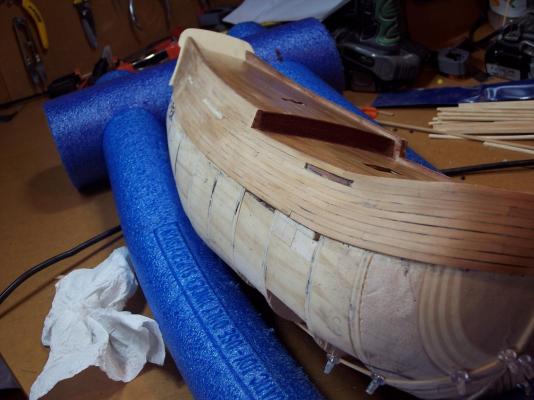
Good Afternoon all First planking fully done, a week off work helps. Bit I am not happy about gaps in what is supposed to be single planking at the bow. you can see through the planks. Sanding has been done , but it needs a few spots of filler, went through the planks on the bow. Just as well there is filler blocks underneath. I think that I will do a second layer above the wales as well, wont be happy if I leave, as is. A few questions Do i add the keel, stem, stern post now? I am inclined to leave till after the 2nd planks. What about the various air holes and openings ect? Cut them in later? Anything else I should be doing? Thanks for looking in. Now off to mark out the wales and planking Cheers Chris

-
Hi Michael It certainly is a lot of hard yakka planking a ship like this, planks and wales going in all directions. Yours looks like it is going to come up very nice. Are you painting the ship like it is usually done? I am still back on the first planking and hopefully will finish one day. Cheers Chris
-
Good Morning Micheal I have been thinking about doing something like that. I am going to do my wales the same as the replica I hope, and being thinner they will be easier to cut with a blade. I might be doing a second layer above the wales as well, not totally happy with how it looks. Cheers Chris
-
Good Morning Sandor Tis a mind boggling exercise all right, this thing called planking. Some what mysterious in its various ways. A bend here, a bend there, spile here, spile there, and in the end make it look top notch. If i conquer this one day, I,m going take up doing Rubik's cubes again, should be easy. And just doing one layer of planks makes it harder, But yours is looking like, it is going to come up very nice. The cannons are looking very realistic too. Hooroo Chris
- 15 replies
-
- 2
-

-
- cannoniera olandese
- mantua
- (and 1 more)
-
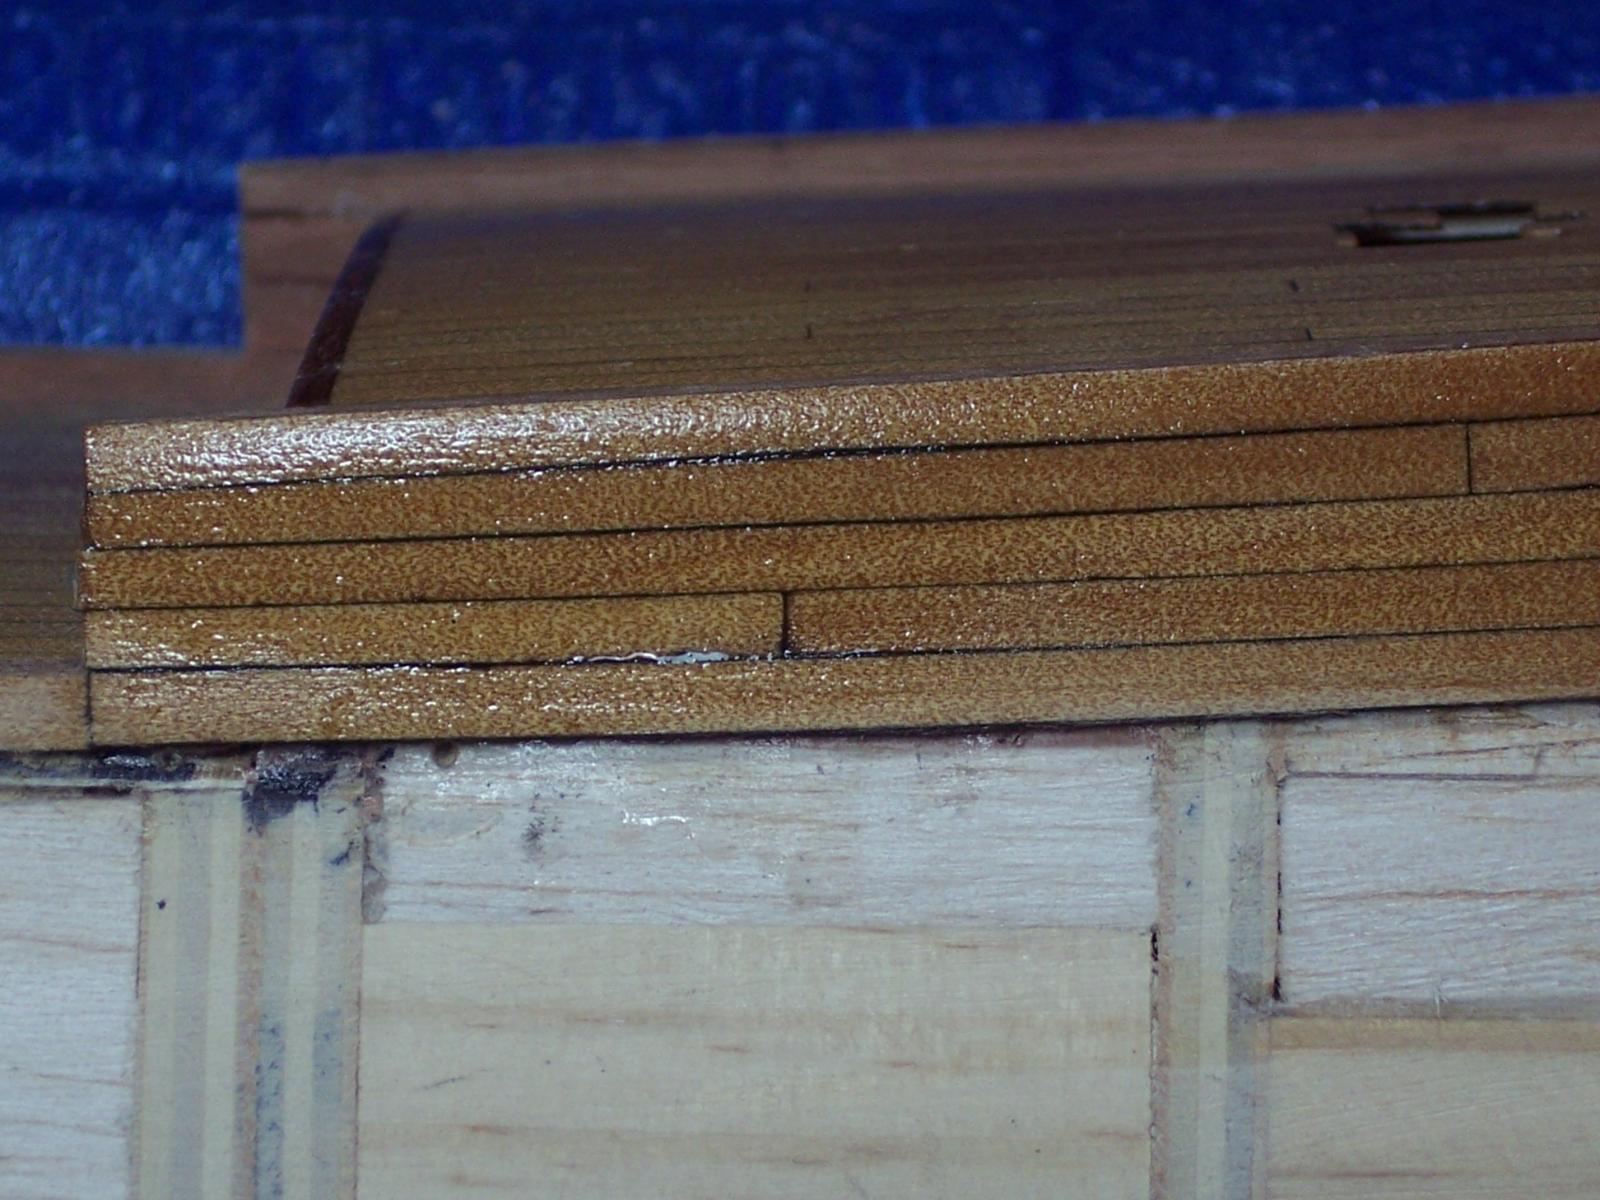
Good Evening Dave I'm glad this first layer is going to be covered up, its ending a bit of a mish mash of planking Wide tapers, narrow tapered planks, all sorts of bending going on. A plan to begin with probably would have helped, but it would have gone out the window pretty quick, given I didn't know what I was doing. But it is all definitely helping me to work out how to do the 2nd planking and well worth while and good fun. I've just noticed something that i have done with the above wales planking that I don't like, more about that later while i mull over what to do about it. Cheers Chris
-
Hello Mark thanks for looking in and commenting. I'm like a kid in a toy shop i can't wait to see what something looks like when I do it. So the poly goes on, its only one coat and can be sanded back when i need to glue something. "Hmm.. since this is first planking, see how it goes and apply what you find to second layer." Yes that's the idea, try things and see how it turns out. One thing that i have been pondering is, the stern planking on the replica. It appears to me that there are no steelers used and I have been wondering how they got past bulkheads 13 and 14, where the planks would need tapering and steelers adding. I now think they did it by dropping planks under the wales, as at the bow. And that allowed for an even run of planks to run through to the stern. As in this photo https://www.flickr.com/photos/endeavourvoyages/9020703145/in/album-72157634081735926/ I suppose if I asked the question someone would have told me, but I enjoy nutting it out. Hopefully it will make me remember more, how to do planking. Anyway this effort on the first planking has been well and truly worth it. When it come to the 2nd planks hopefully I will have it worked out. Thanks to others as well for likes and comments. Cheers Chris
-
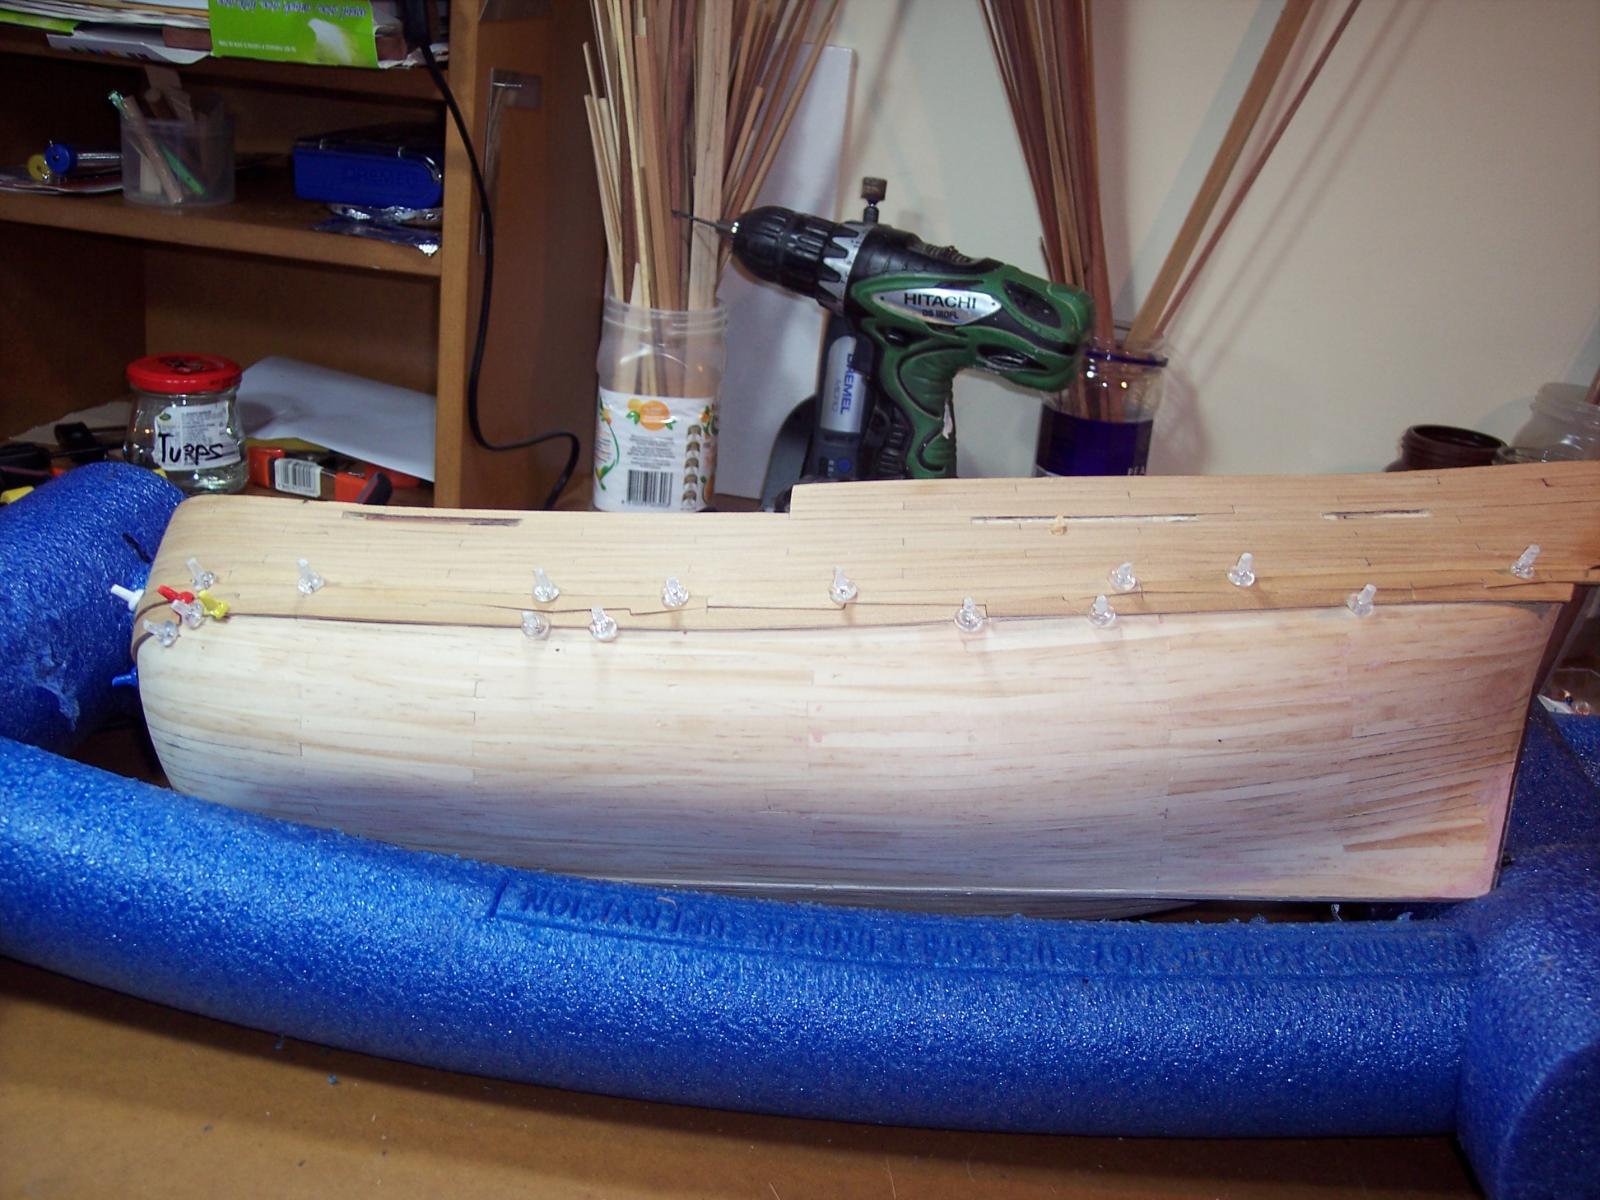
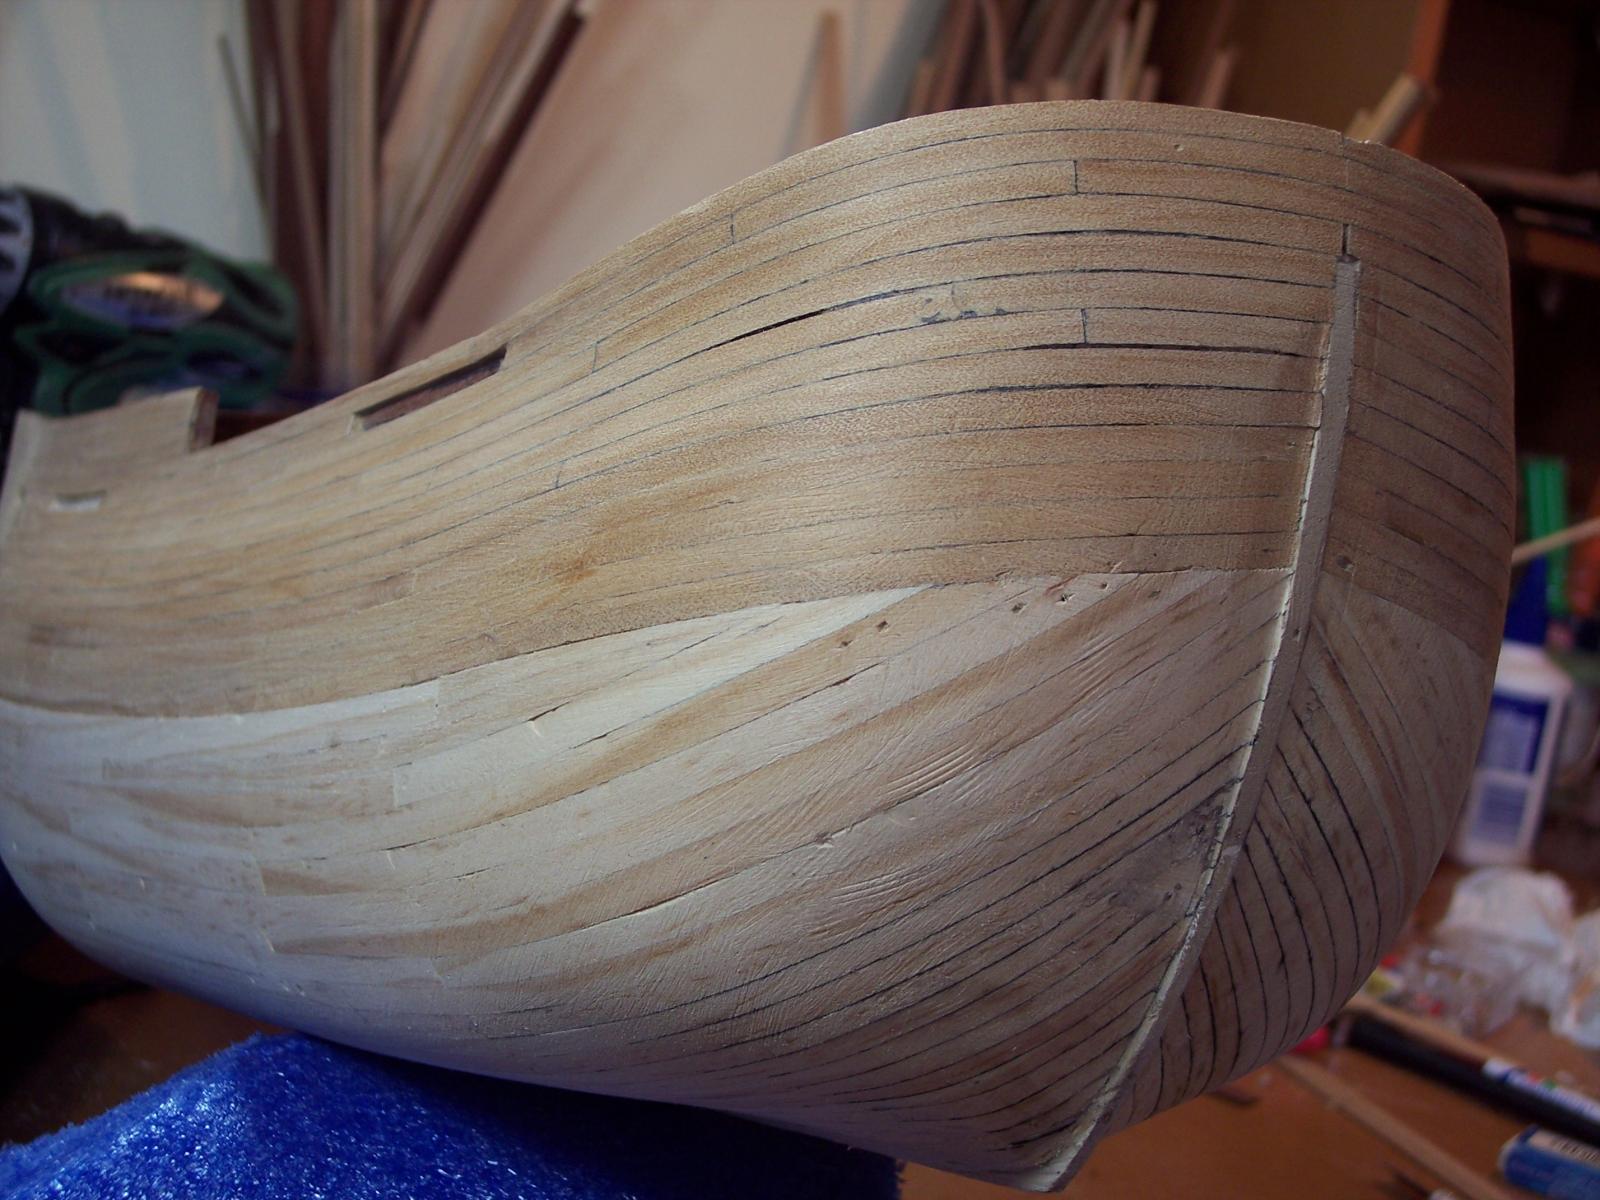
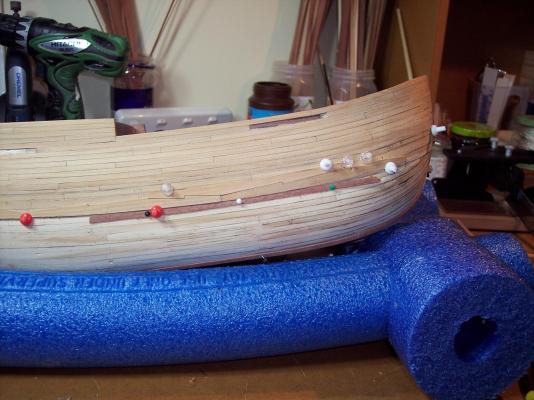
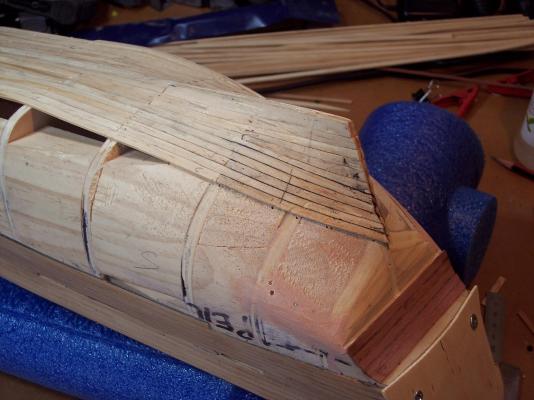
Good afternoon all Time for a bit of an update myself. I have been plodding along with planking above the wales, which still needs to be sanded properly And doing the 1st planks below, which i am trying to do in a proper manner in order to get a good idea of what will happen with the 2nd planks. Yes i know that I am a messy planker, perhaps time will help with that. Cheers Chris
-
Yee Haa !!!! Mark congrats, That is a big achievement. Just sit back for a moment to admire, and feel good about it. Cheers Chris
-
Good Morning Sandor and welcome aboard I am sure you will get it done. Sometimes i think that building a model ship is a bit like building your own home. You do sit and wonder sometimes if it will ever be done, but eventually it comes together. I haven't got a clue what you are building, but instead of looking it up i will wait for the progress photos. Hooroo Chris
- 15 replies
-
- 2
-
-
- cannoniera olandese
- mantua
- (and 1 more)
-
And another set of pics that give some good views. Chris http://www.modelships.de/Museums_and_replicas/Endeavour/Photos%20HMB%20Endeavor.htm
-
Hi Again Michael here is a good shot of how the replica treated the wales at the stern. The bottom wale appears to be twisted like a propeller and tapered. there is another pic further along. https://www.flickr.com/photos/endeavourvoyages/9022930796/in/album-72157634081735926/ There is another pic of the stern a near the end of the album. Cheers Chris
-
Hi Michael, Should look very good with either timber. Did you see the post i put in Dave's log about the wales. I put up 2 links for how i want to try and do them. http://www.anmm.gov.au/whats-on/vessels/hmb-endeavour https://www.flickr.c...7828190/detail/ Thanks Chris
-
No worries Hof Thanks for looking in. Doing something like this certainly keeps you occupied. Will keep an eye out for your log Hooroo Chris
-
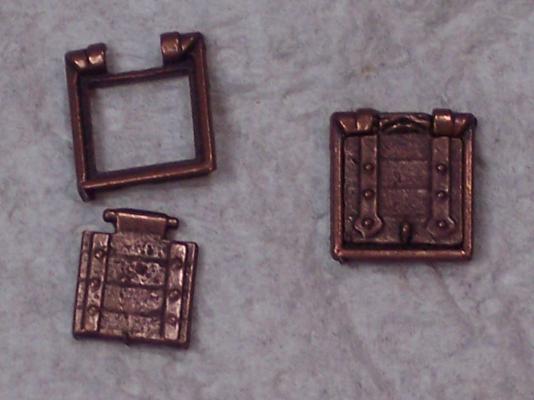
Good Evening Michael You are a bit further ahead than me with the planking. I don't know the terminology yet, but the shape end lines looks to be very good. It does take a lot of time and thinking at this stage. What are you doing for the port doors? Are you making them or using the supplied ones? My kit came with metal ones, but I don't know if I could make them. Sorry I can't help with the timbers, except that the cherry would probably look amazing on a deck, maybe too good for a deck? Hooroo Chris
-
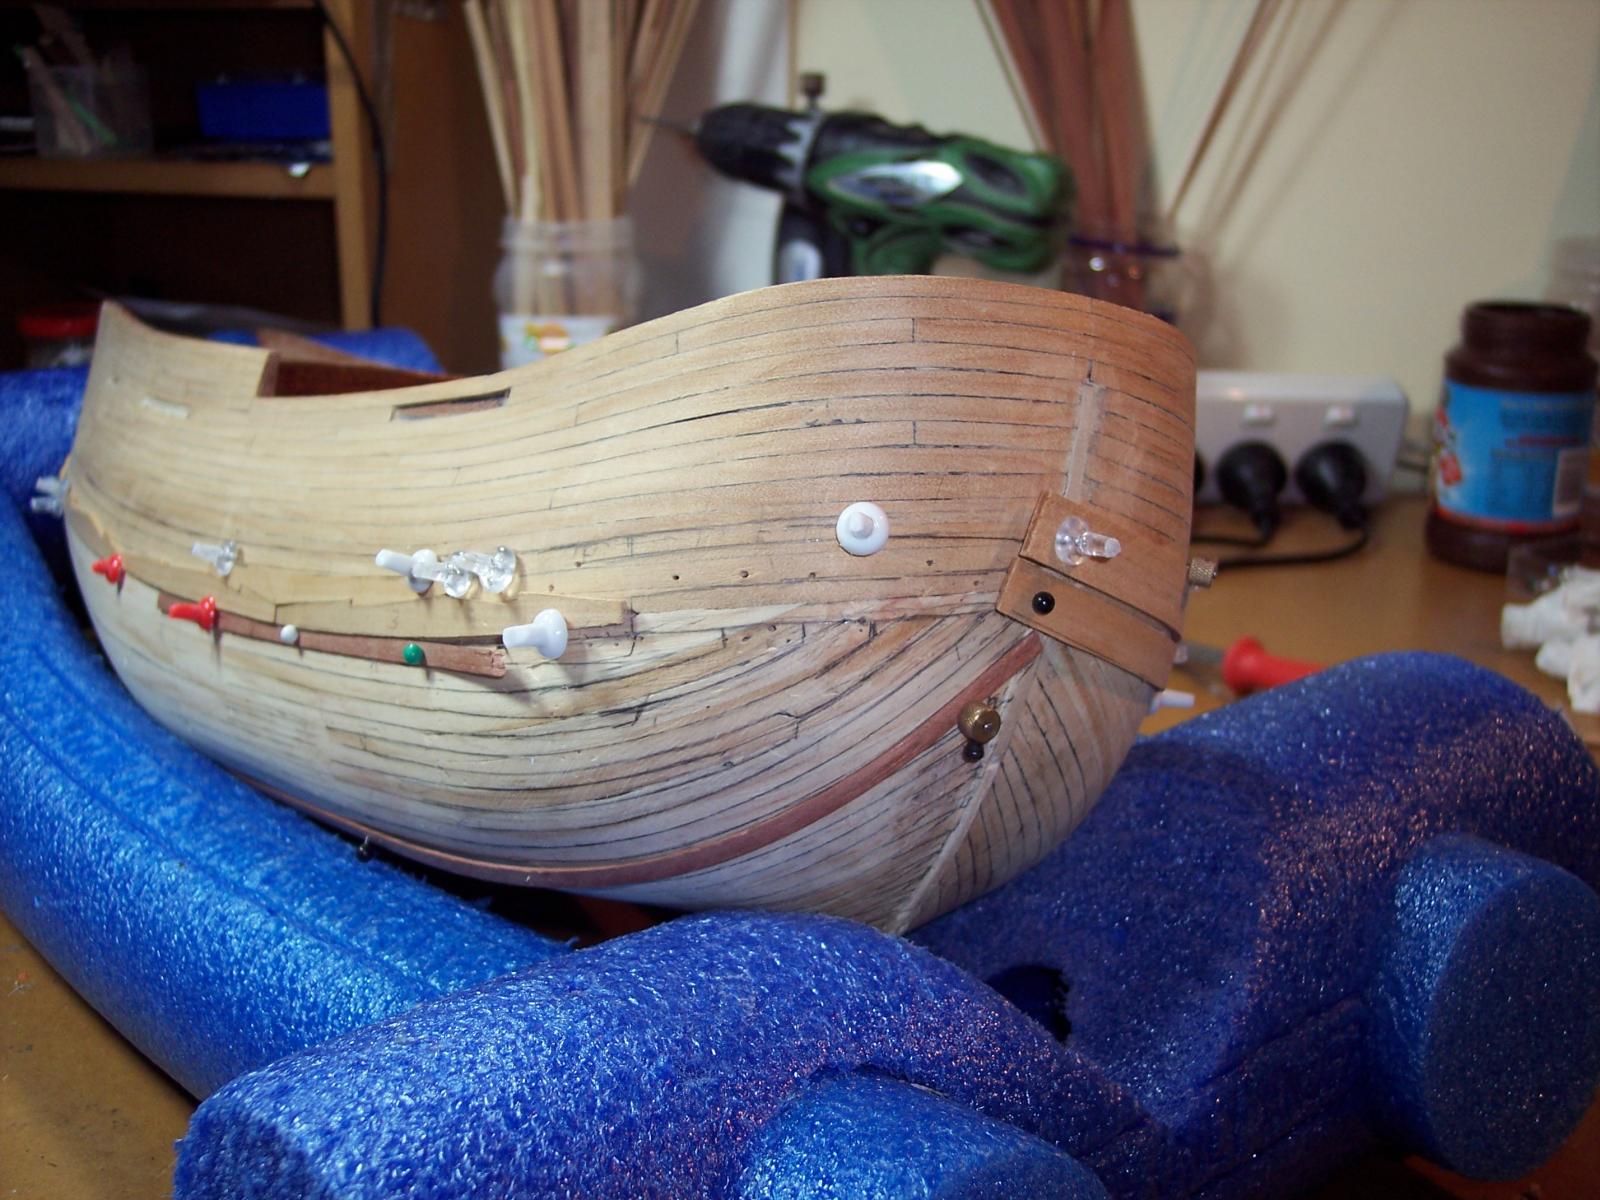
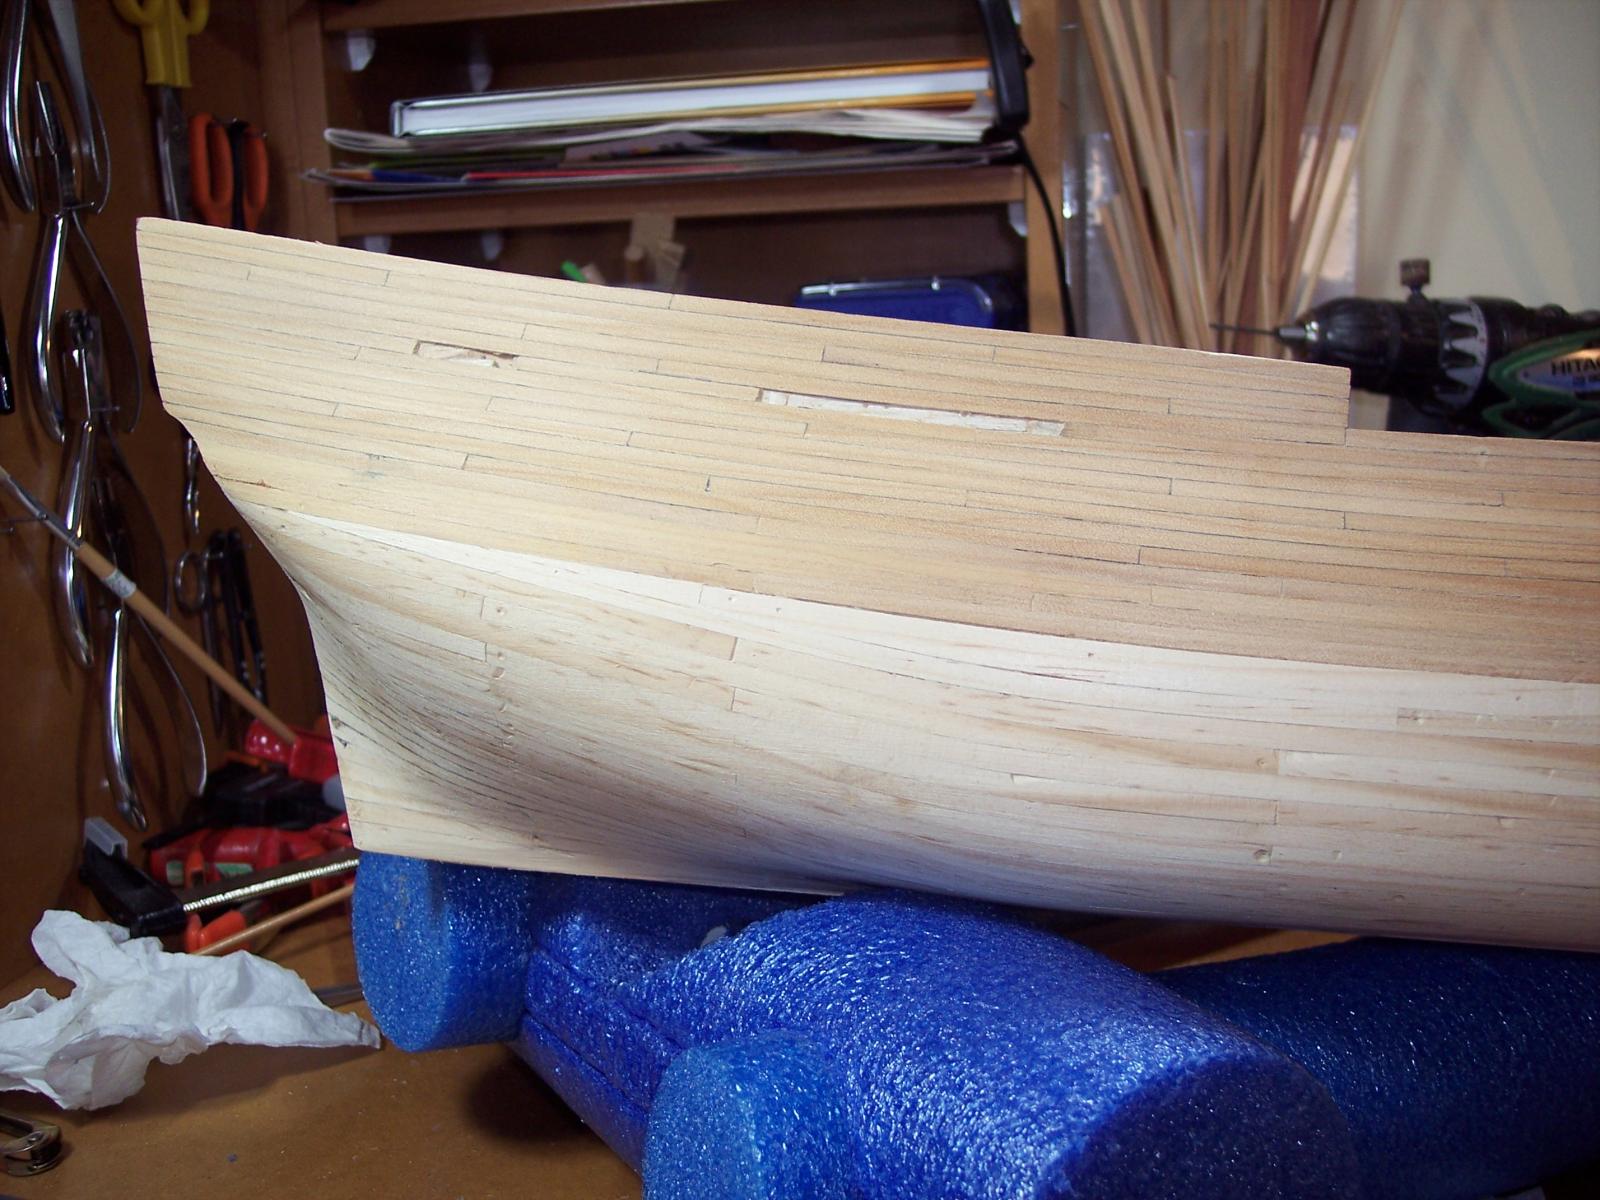
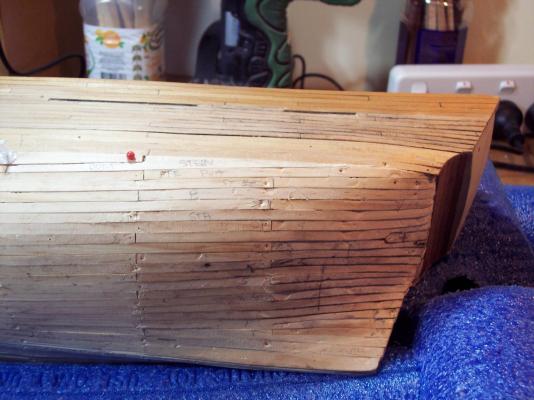
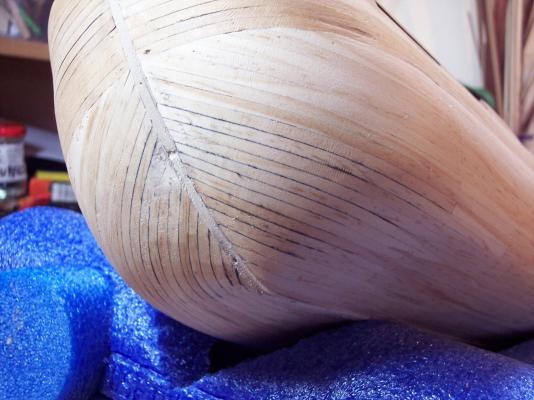
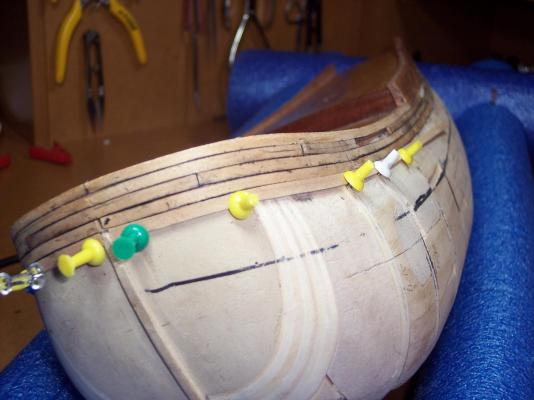
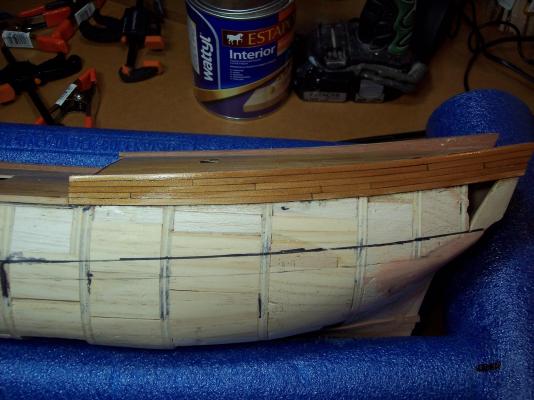
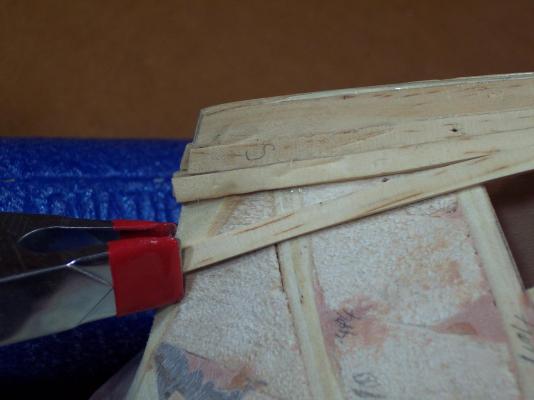
Good Evening all A little bit more progress, I decided that if I was going to do the first planking in a proper manner, I should have the correct place for it to finish. So I decided to go to the the top and and start planking down, which is only going to be single planking. Which i gave a quick sand and coat of poly to see what it was looking like, and it is coming up pretty good. This time I have applied the wax pastel to both edges of the planks and it stands out a bit more. Planking down at the keel caught me by surprise, I should have started thinking about steelers a bit sooner, now i need to add 2 together. Now to think about the various port frames and doors. My first big problem. Do I use the supplied metal ones, which to my inexperienced eye don't look to bad. I would struggle to make and hinge wooden ones especially the small ones. They measure 8mm X 8mm Can someone tell me what this port under the transom is doing. I hadn't seen it until looking at these photos https://www.flickr.com/photos/endeavourvoyages/9022930796/in/album-72157634081735926/ Have a look at her when she is finished, looks nice and new again. Also I need to work out channel positions, which I hope to do by looking at photos Time to go off and look and see what others did. Thanks for looking Cheers Chris

-
Joe That's a blow i was hoping you would have the hinges worked out for us. Your work on the rudder hinges looks very neat. I will keep looking in Thanks Chris
- 21 replies
-
- 1
-
-
- Swift
- Artesania Latina
- (and 1 more)
-
Good Evening Joe Congratulations that is a mighty job you are doing . The deck planking is top notch work to look at. My first boat was also a swift and i think that it is a tricky little boat to do first up. Specially when you are some one like me who knows nothing about boats and old sailing ships. I started earlier in the year, about march and it just needs a few things re-done to call it finished, There is a few pics in my new member intro. http://modelshipworld.com/index.php/topic/10630-new-member-from-victoria-australia/?hl=cabbie#entry320598 Yours sails look great, you are doing some very fine work on them, sewing bolt ropes on is a tough thing to do. When you can, put up some pics of the rudder, I would like to see how you made the hinges. I still need finish hinges on the little doors. Looking forward to seeing more. Cheers Chris edit You must have been doing them when i was posting.
-
Good Evening Don That is certainly some very delicate and high class work. I'm looking forward to seeing more. Chris
- 49 replies
-
- 1
-
-
- trabaccolo
- amati
- (and 1 more)
-
Good Evening Gents I have been thinking about doing them the same as the replica. I hope this is ok Dave putting these here as per links http://www.anmm.gov....s/hmb-endeavour https://www.flickr.com/photos/anmm/sets/72157620337828190/detail/ But its a bit hard to find a photo of the full planks Thanks Chris And thanks for the info CA