HOLIDAY DONATION DRIVE - SUPPORT MSW - DO YOUR PART TO KEEP THIS GREAT FORUM GOING! (Only 20 donations so far - C'mon guys!)
×

Cabbie
-
Posts
599 -
Joined
-
Last visited
Content Type
Profiles
Forums
Gallery
Events
Everything posted by Cabbie
-
 Good Evening dave Thanks for doing the mini log. The hinges look right at home sitting on the lids. i have been wondering if they are only glued on. Cheers Chris
 -
Good Morning Dave and thank you The one thing that I do want to achieve with this build, considering my very limited sailing ship knowledge, is the look of a real ship. As you know the details are very demanding to get right, but if it looks real, that will do me. Cheers Chris
-
Good Evening Gonzz0 and welcome aboard. From the look of your work so far you seem to know your way around a model ship kit. It all looks neat and methodical. Sorry I can't help with question, beyond my knowledge at this stage. I think from memory there are some build logs on this ship. Do a search in the build logs for ship kits. Others might have had the same question. Hooroo Chris
- 38 replies
-
- 2
-

-
- artesania latina
- Virginia
- (and 1 more)
-
It would certainly be quicker than soaking for a day. I just figured it wasn't worth trying with my .8mm thick planks Chris
-
Hi Hof Your planking is coming along well, looks nice and tight. It is certainly a test of stamina doing planking. It will be good when we can both get the poly out and put a finish on the hull. Enjoy the day off with plenty of planking Thanks Chris
-
Howdy Hof Don't lay it on too thick, wait till the rest of her is done. This stuff to me is fairly straight forward, there is lots of tricky stuff, yet to do. One thing I have found this time is that, cutting the planks to shorter lengths helps a lot in the fitting. Cheers Chris
-
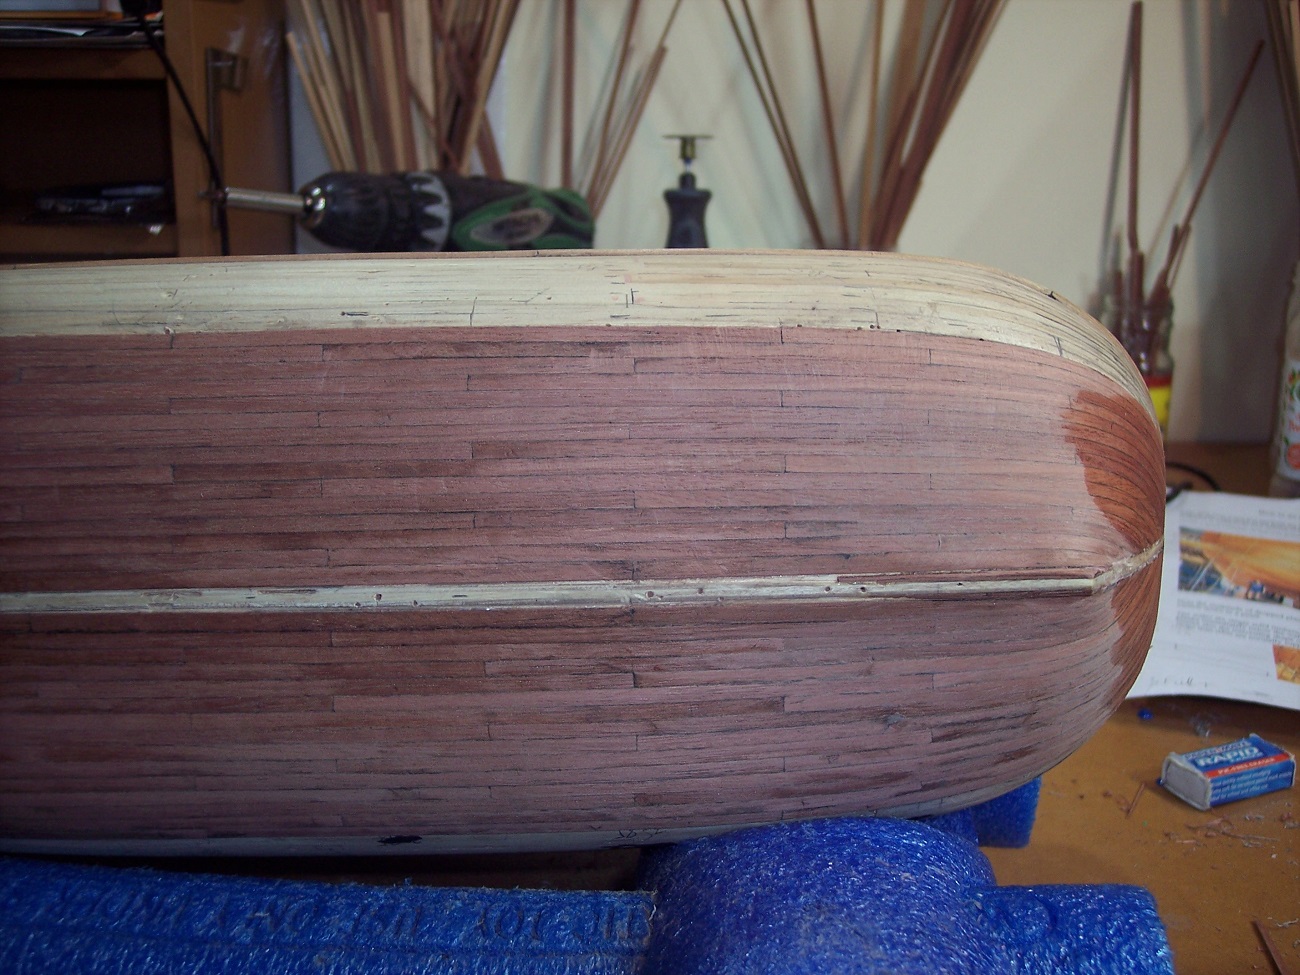
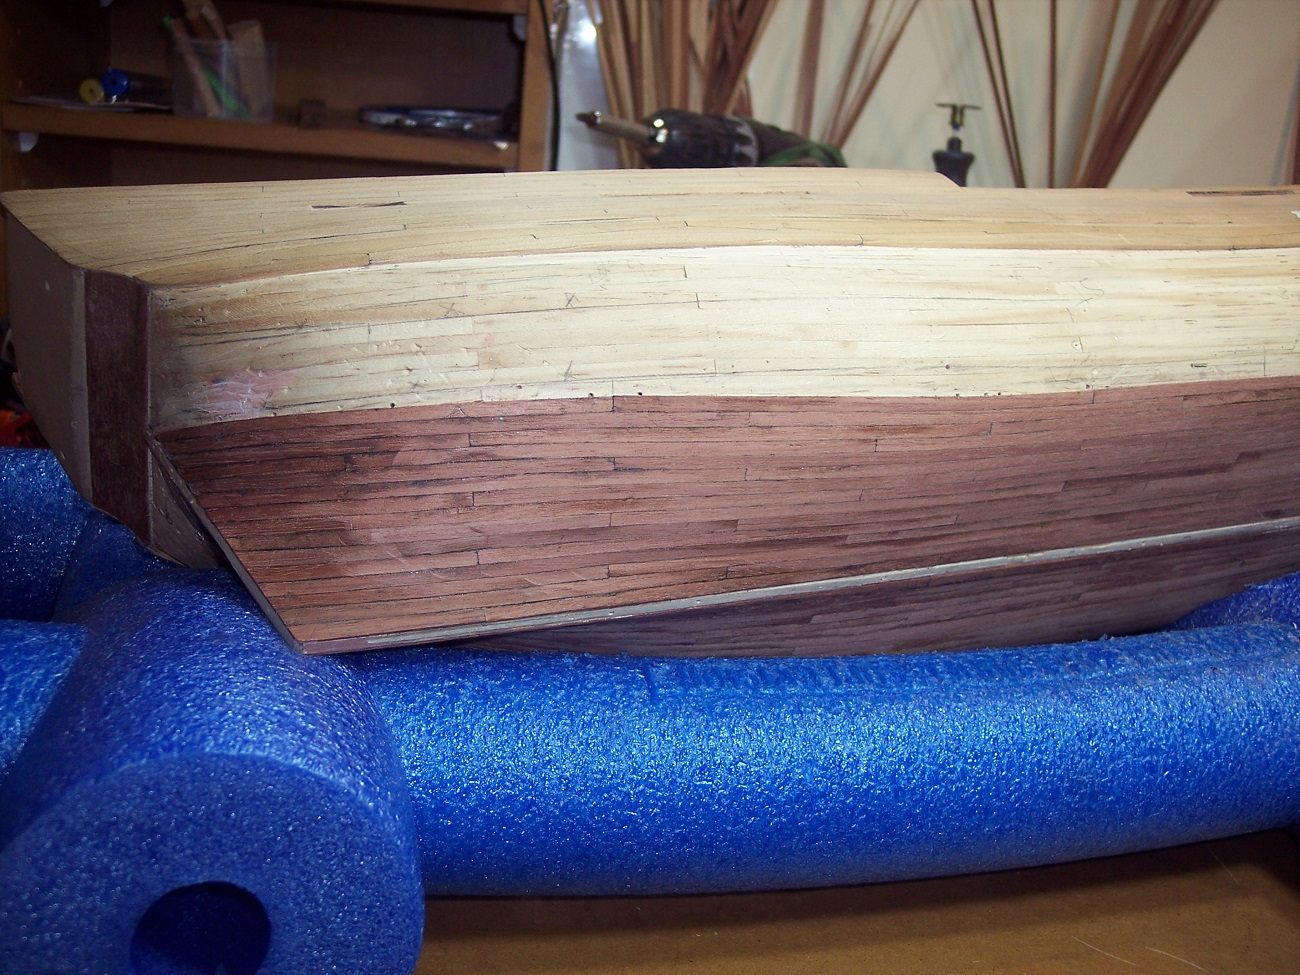
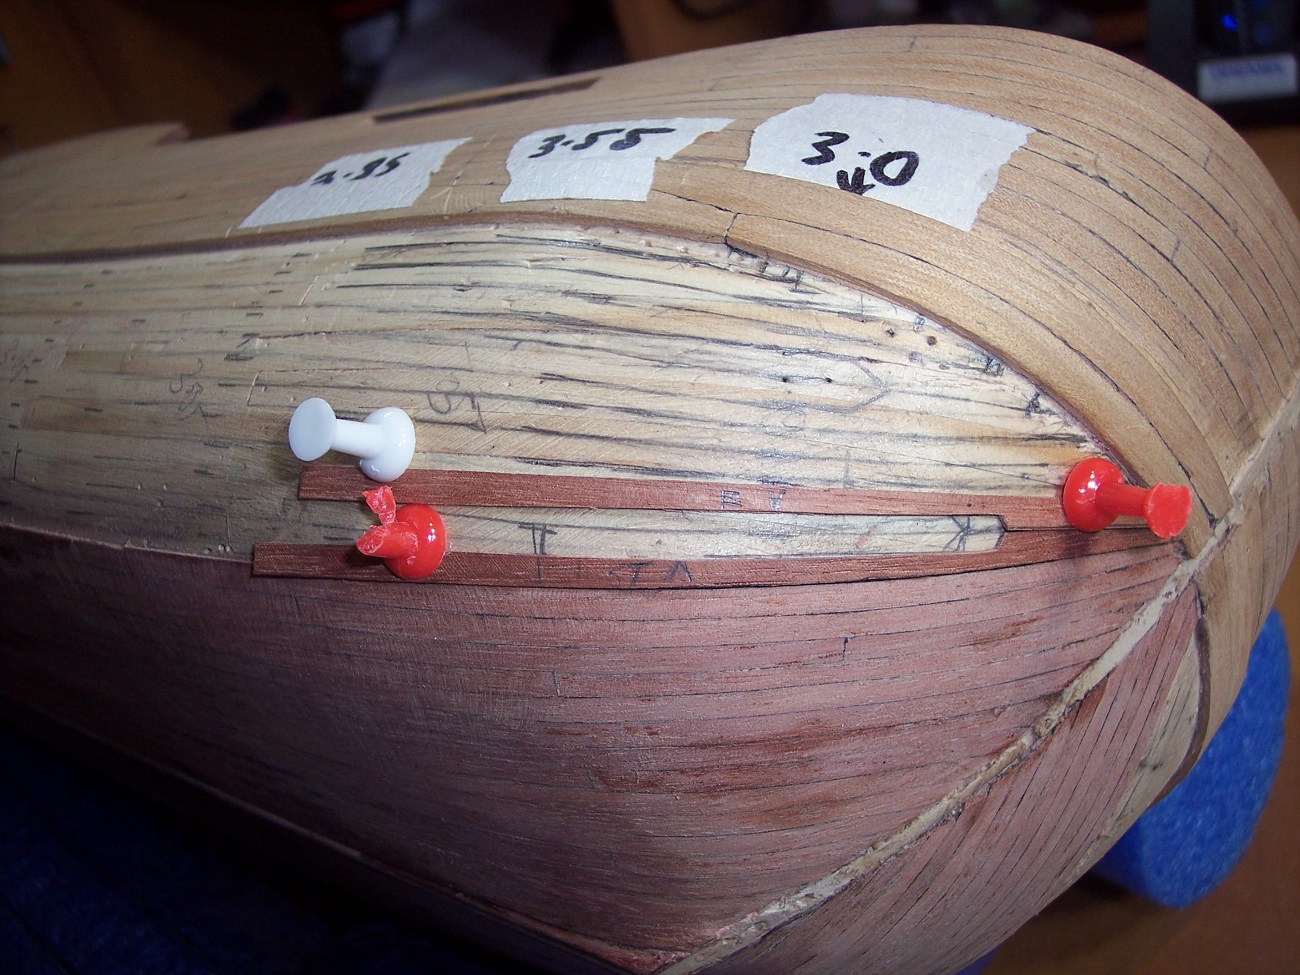
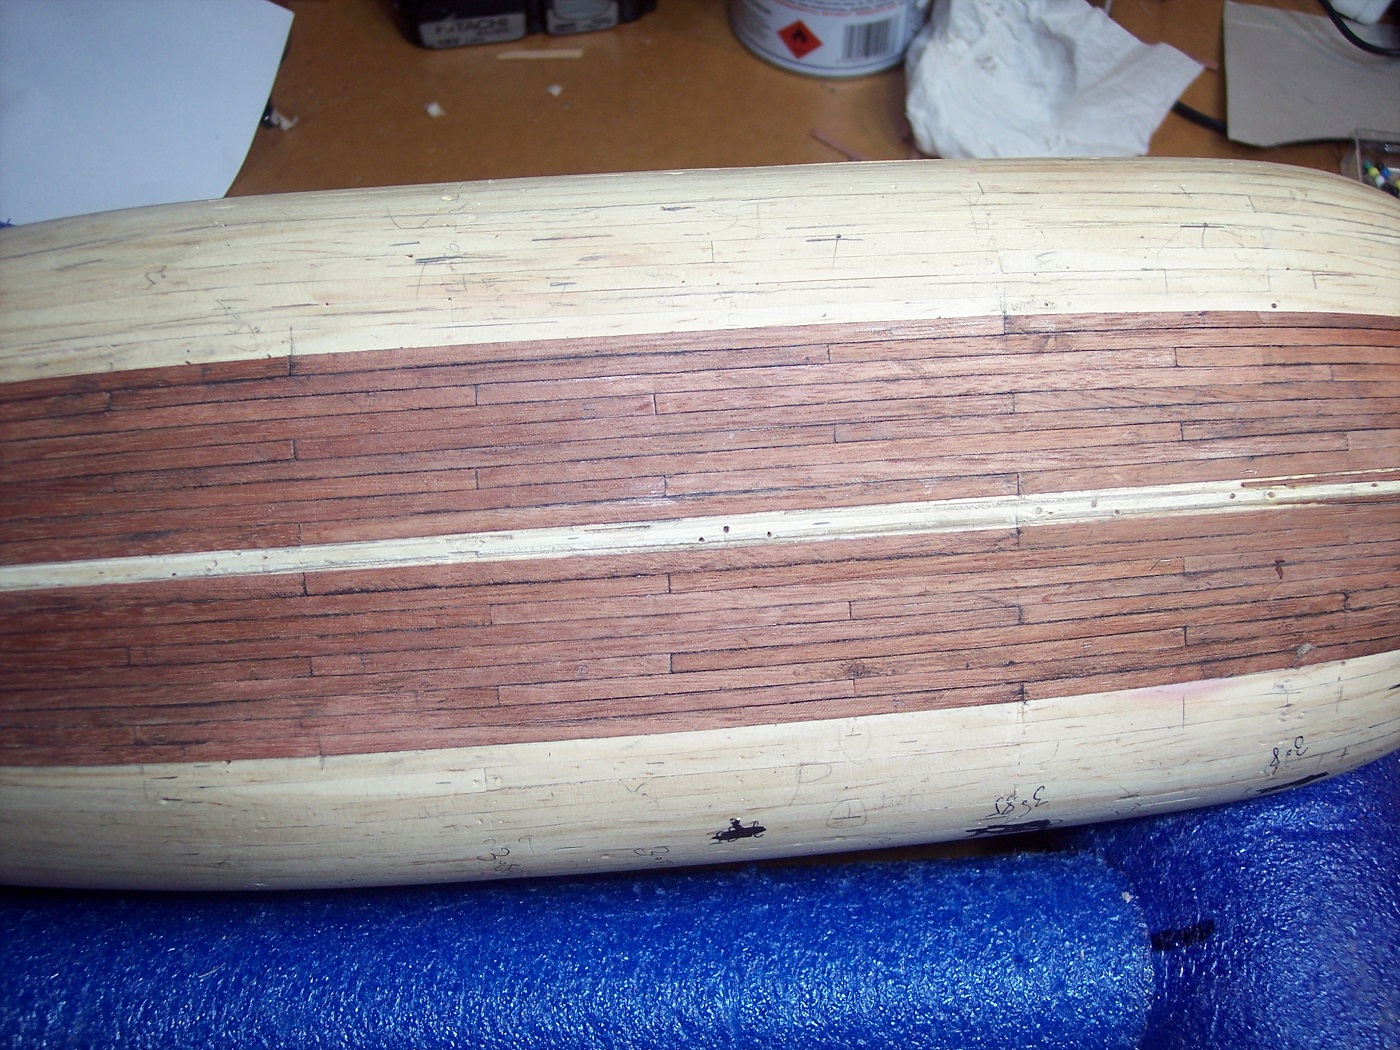
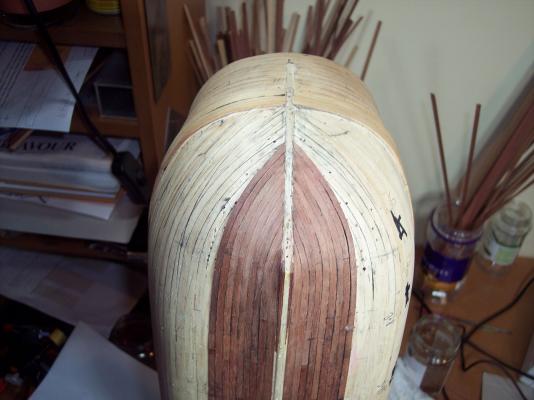
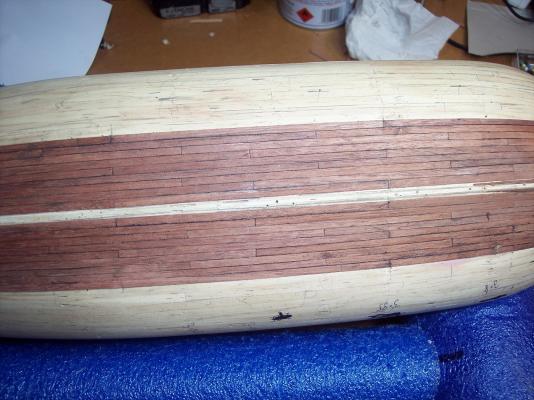
Hi All, thanks for the like and looks. Hi Ian, as i proved in the spiling topic I don't know anything better about planking, so i am copying the replica. A ready made planking plan. The planks have virtually laid themselves out. The hardest part was working out how many planks. I couldn't find a picture to count the no of planks with, I started with 4.5mm wide planks, but narrowed them down to 4mm. So that gave me 28 planks between the keel and wales, and they do seem to fit in, that width. Coming up from the keel planks 5, 6, and 7 are spiled which was ok to do, but I didn't like the cross grain, so I went back to edge bending. They are probably bent a bit more than what would be normally accepted. But they were soaked for a day or more and pinned flat and left to dry before final fitting and gluing. One thing that I am wondering about now, is whether I have moved the dropped planks too far forward which is making the quite narrow. The cut out part of those planks is only 2mm wide, but to me, it looks as though that's how it should be. The top planks under the wales needs to move further forward, and this will allow that to happen. Yes the noodle are brilliant, one thing that i have found them good for, is that I can sit a plank on it edge up and file the edge. The noodle will hold the plank firm enough, and I don't have to put it back in the vice. Hooroo Chris
-
A little Sunday morning update More planking has been done and, Yeehah, I am past half way and in the home straight. Have marked planks for dropped planks ect, and doesn't look too bad. I have decide to move it all towards the bow a bit to tighten it up, and to fit it in a bit better I hope. Also I have made 2 of the next planks and pinned in place to a have look I have used a pencil to simulate caulking, I wanted to have a planked look. And its come up as I had hoped. A proper sand and varnish will help. Hooroo Chris

-
Beautiful work Pat I'm glad you lot are all in front of me, showing me what to do. Cheers Chris
- 517 replies
-
- 3
-
-
- Endeavour
- Artesania Latina
- (and 1 more)
-
Very detailed work Mark It is going to be a top class piece of work when finished. Can't wait until you finish the stern and turn it up and give us a good look. Cheers Chris
-
Hi Dave Nowhere near finished, I need some quality hinges to finish my Swift and I thought they would look just right on it. . Anyway thanks for showing us yours, now I know what to make. Cheers Chris Edit, What are the measurements of yours?
-
Looks good Dave The paint highlights it all and shows the shape up nicely. Feel like doing some more hinges I need about 7 pair. Thanks Chris
-
Hi Dash I don't know if you need replica pics, but here is a couple of links. http://www.modelships.de/Museums_and_replicas/Endeavour/Photos%20HMB%20Endeavor.htm https://www.flickr.com/photos/endeavourvoyages/albums/with/72157634081735926 Chris
-
Good Morning Paul This is my second ship, I built a Swift 1805 before this. I have some pics, in my new to modelling post. I have been a cabinetmaker all my working life, so a lot of these things to do with modelling, aren't new to me, just a bit different, which certainly helps. Hi Slog I have spent hours looking at photos of the replica which I am copying. Looking at this album has helped. https://www.flickr.com/photos/endeavourvoyages/albums/72157634081735926/with/9020700963/ That is a BIG help, to have a plan to work to. My planks started at 4.5mm wide, but I cut them back to 4mm and that helped them lay out a lot better. I am planning on not doing any painting, but, there might be some black paint used, maybe will look at it later. Thanks for looking in. Chris
-
Sounds good Hof. You are doing yours with correct technique, something I will have to try next time. I am hoping it rains tomorrow then I have an excuse to stay inside and do more planking. Chris
-
Howdy Hof Thanks for looking at my build. As I was saying to Dashicat, she certainly is a beast to plank. Oh well they say the brain needs to be kept exercised and doing this does it. Yours is looking in good shape, there is a lot of work in the 1st planking getting the right. Too many things to think about. Hooroo Chris
-
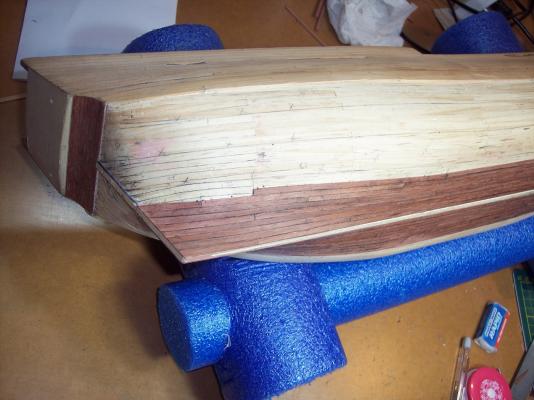
Hi Dave and Slog I think that it is interesting enough now. i have been looking at the further up planks for a while today. Trying to work out where planks are dropped and checking measurements to keep space remaining even. And once again I changed things a bit. I am dropping 3 planks under the wales at the stern, and the bow will look pretty close to the replica.( I think) Every plank from now on needs to be narrowed a little bit and a lot tapered as well. Cheers Chris
-
Good evening all, Time for a little update. Nothing new, just more planking.
-
Looking good Dashi. It certainly is a complicated beast to plank. Too many other things need to thought about. I am doing my usual thing, and leaving it all later, and hoping it works out. I have the AL kit, sorry can't help with the other bits. Chris
-
Wood is Wood Davey. It would be a shame to cover up planking like that. It will all fade after while and blend in. Can we see some more pics of the model please. Thanks Chris
-
Yeh,Those zoomed in photos show up way too much. I give myself a shock every time I look at one of mine, after I post in my log. Need to take a proper look before posting. Should be banned outright.
- 517 replies
-
- 3
-
-
- Endeavour
- Artesania Latina
- (and 1 more)
-
Top notch Pat if you hadn't have told us, we wouldn't have know that it had been done. Chris
- 517 replies
-
- 3
-
-
- Endeavour
- Artesania Latina
- (and 1 more)
-
To spile or not to spile...
Cabbie replied to fish's topic in Building, Framing, Planking and plating a ships hull and deck
Things for me to look up. Thanks Druxey, for your time and patience this morning, or evening I should say. Cheers Chris -
Hi Ian Thanks for the complimentary comments. Yes it is a constant job, keeping planks tight, keeping them in line, straight. Finishing at the right spot, I need to be watching all the time. The wales were as the replica which I have been copying. Plenty of things to have a go at and improve the skills. Thanks Chris
-
To spile or not to spile...
Cabbie replied to fish's topic in Building, Framing, Planking and plating a ships hull and deck
Thanks druxey. The question was asked wrong. What i want to know is Were ships like this, planked by tapering the planks, and making them all go forward to the bow post? By spiling, bending, Or were some of the planks finished and or dropped under the wales, as I am doing by copying the replica? Now that i am thinking about, i am answering my own question. I have seen models where the planks all go forward, but some are dropped so that there is a lesser no of planks to finish in at the bow post. Cheers Chris