dafi
-
Posts
2,434 -
Joined
-
Last visited
Content Type
Profiles
Forums
Gallery
Events
Everything posted by dafi
-
 As you were already talking about the heller site: I was pointed out by Paul Bean at the new booklet of instructions for the Vic: https://www.heller.fr/en/80897176-brochure-hms-victory-1080897176 XXXDAn
 -
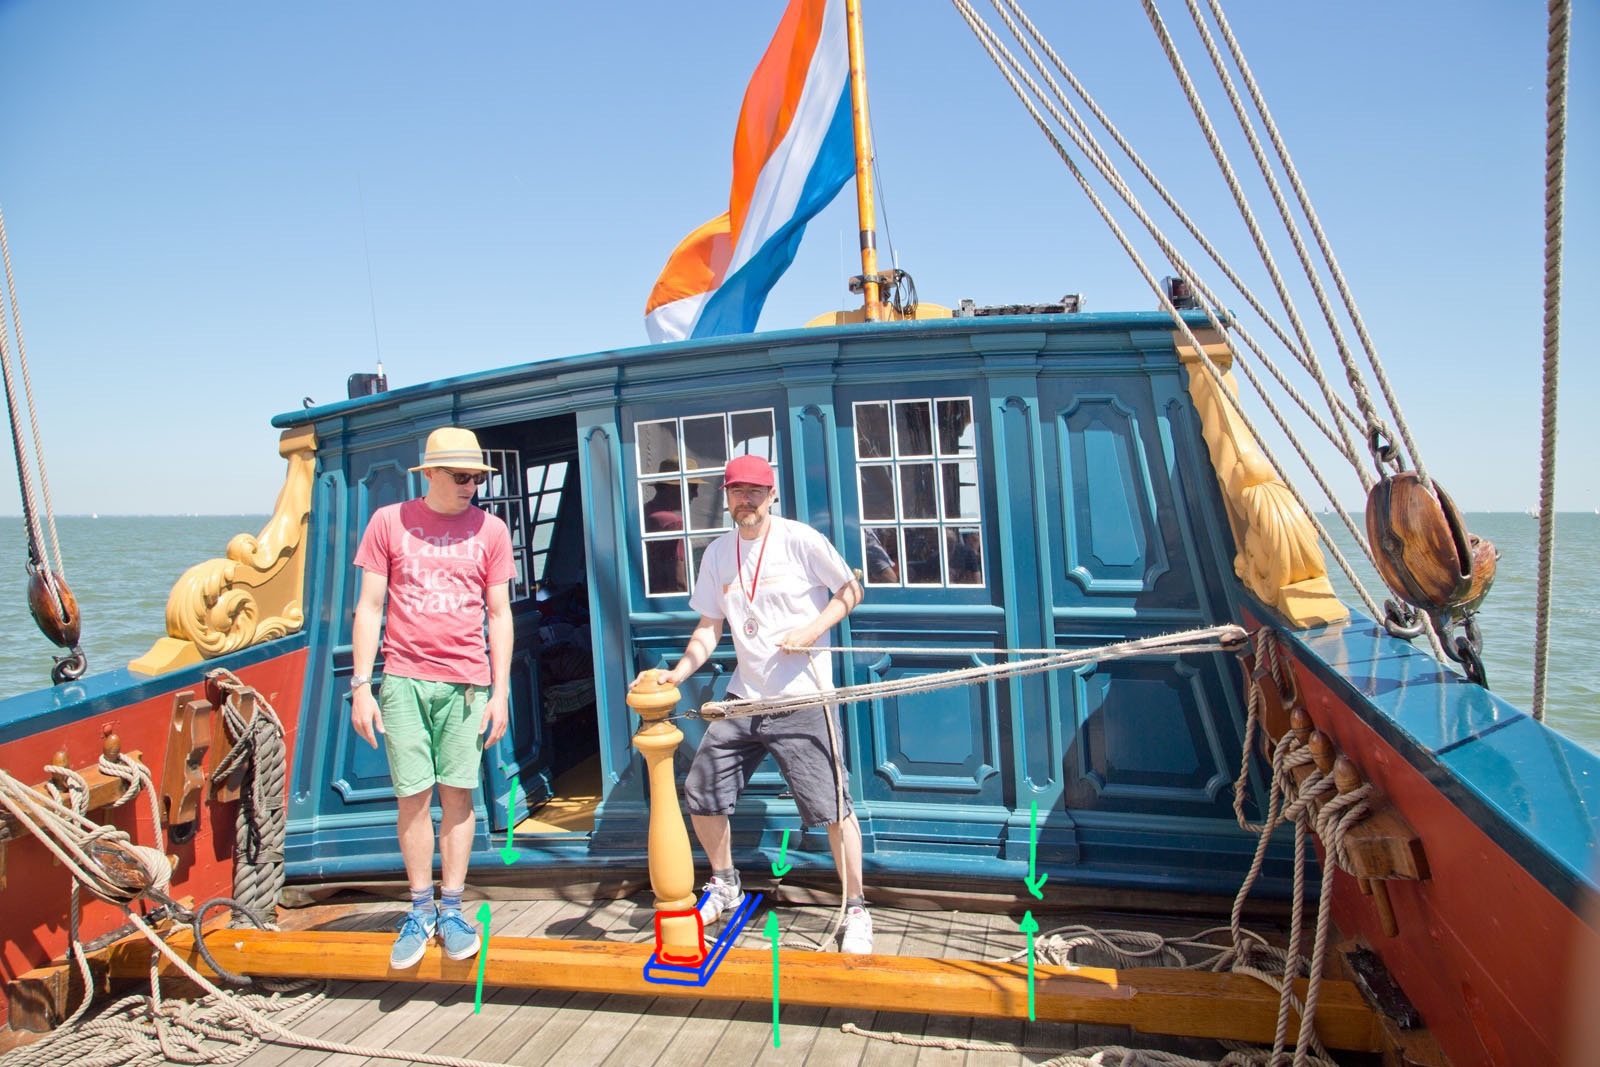
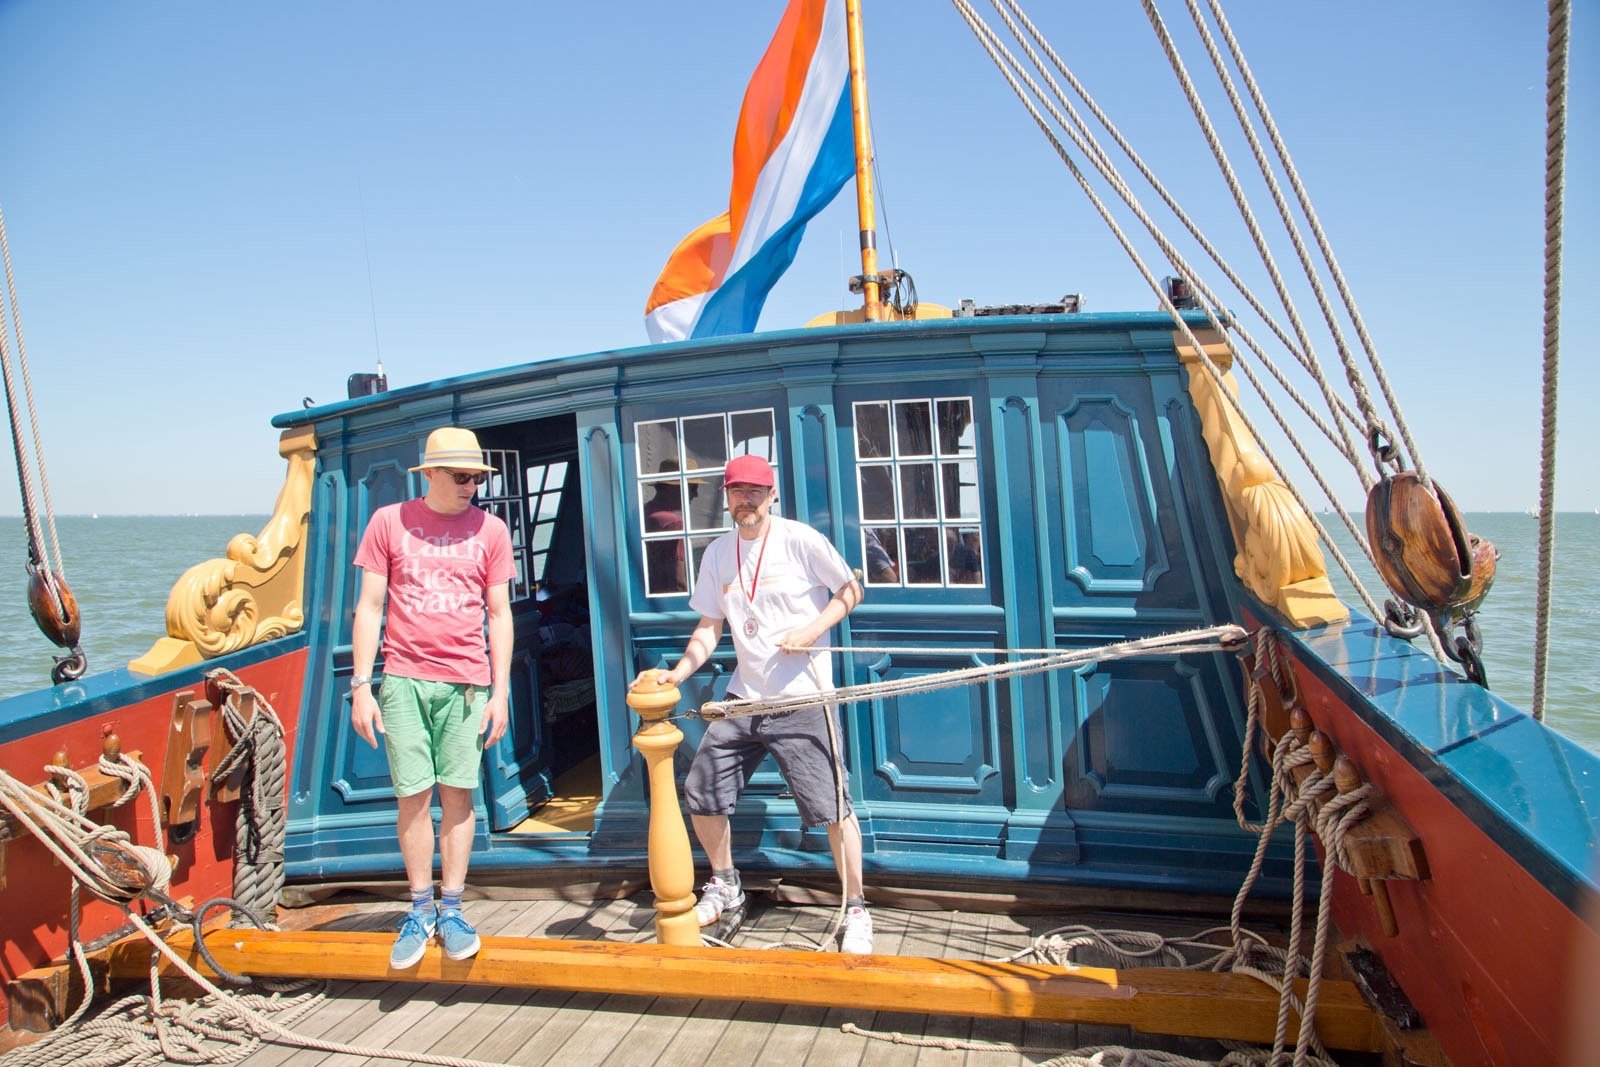
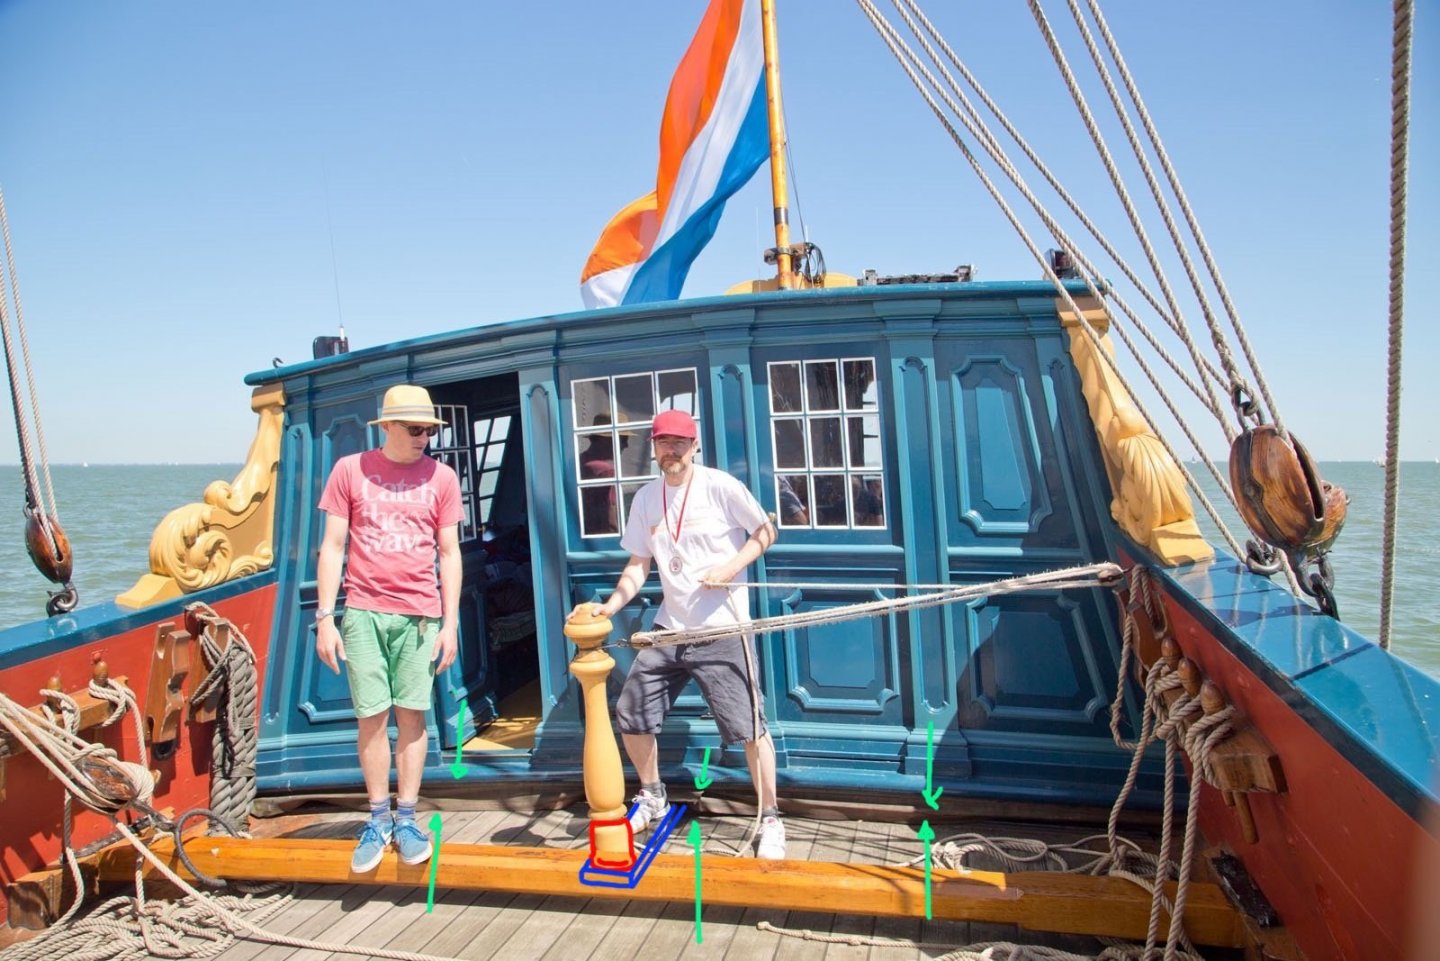
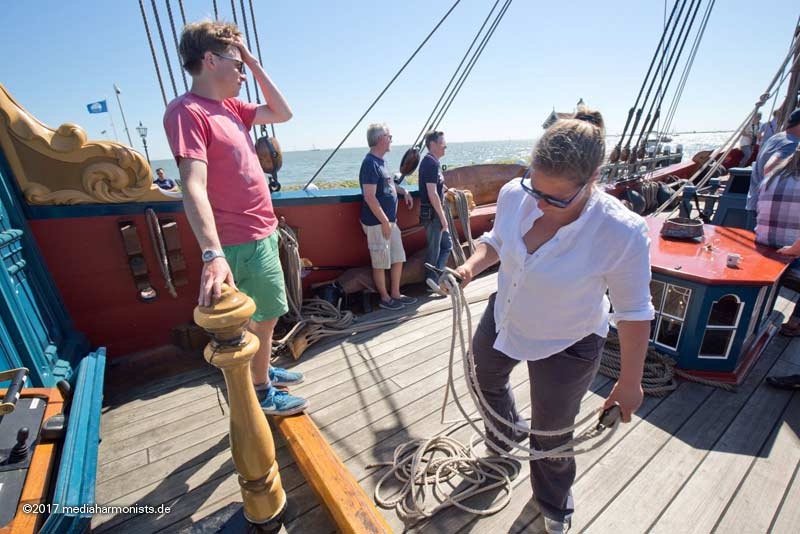
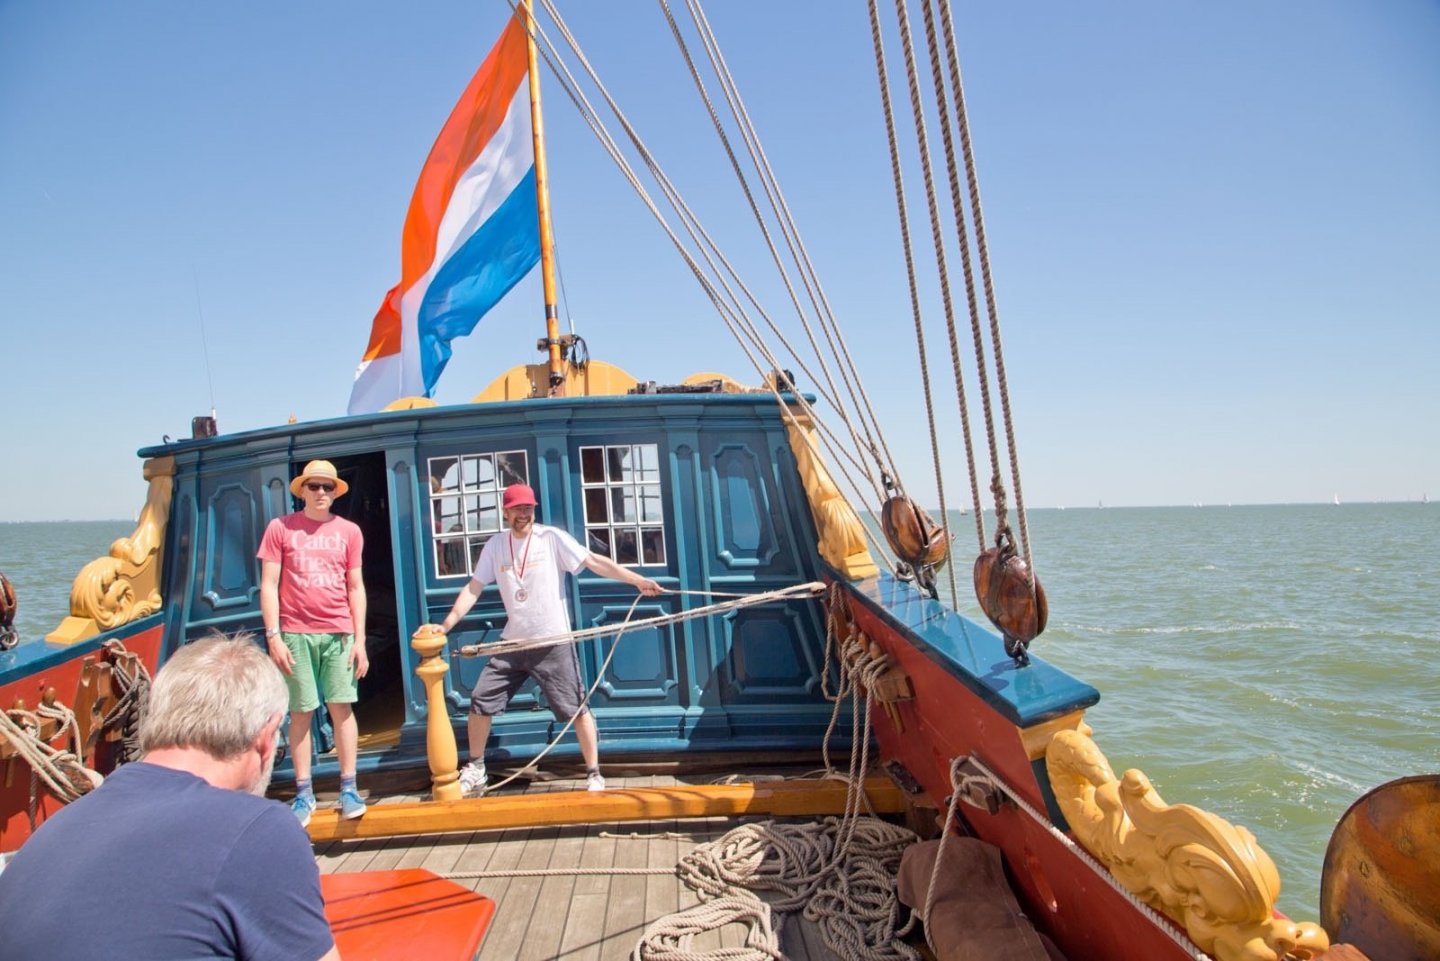
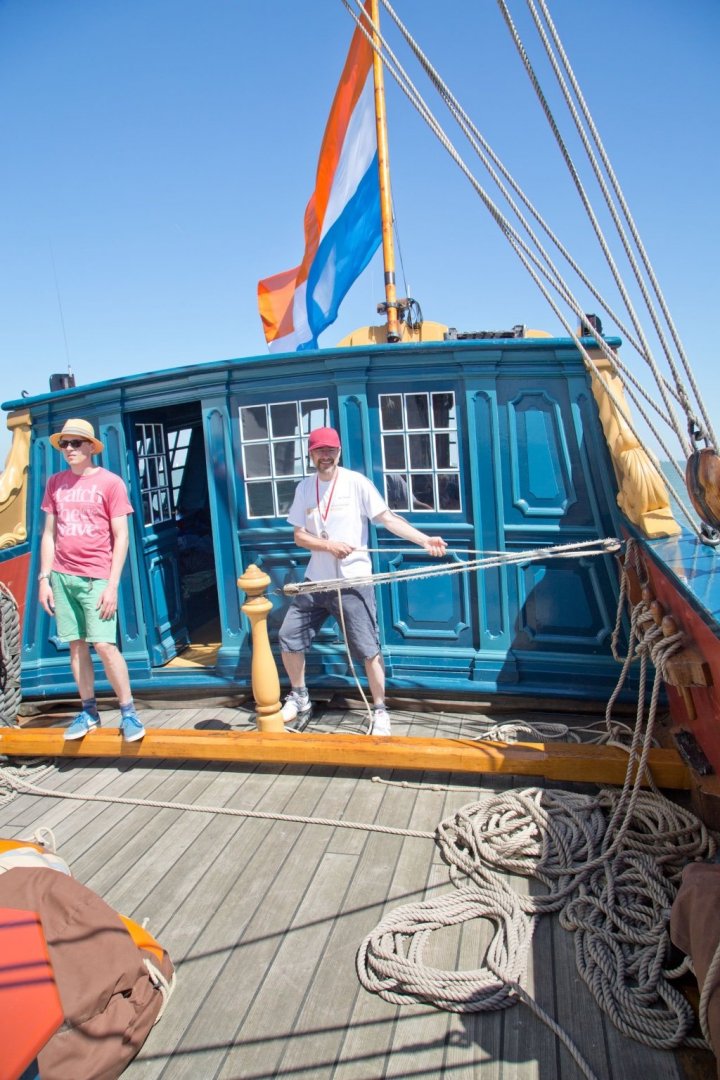
The big beam is the slide for the beam of the gaff, the iron fitting can be seen on the starbord side. The handle of the pintle is special for those statenyacht. I sketched the hidden parts. The pintle (blue lines) passes unterneath the blue bulkhead that is not linked to the deck. The slot is covered with a cloth, green arrows. On the pintle is a column (red lines) to maneuver. Even with right trimm the rudder has a tendency to pull on one side. This is facilitated with the tackle. If it needs to be corrected towards the other side, push with the foot - that is why my foot is on the pintle - or the hand. Here you can see that the column is not in touch with the big bar. This was while leaving the harbor under motor, so no tackles were used. These are some pictures of the sailing day we had with our german modeling forum 🙂 25 German pirates invading the dutch harbor and cutting out the Utrecht 😉 The ransom was paid by the skipper with fennel soup. XXXDAn
-
Not 5000 tons but still an experience 🙂 The "Utrecht" in Amsterdam. XXXDAn PS: I love the scared face of the skipper 🙂 🙂 🙂

-
The Young Sea Officer's Sheet Anchor, American edition 1843
dafi replied to bruce d's topic in Nautical/Naval History
Always worth the study! XXXDAn- 1 reply
-
- 3
-

-
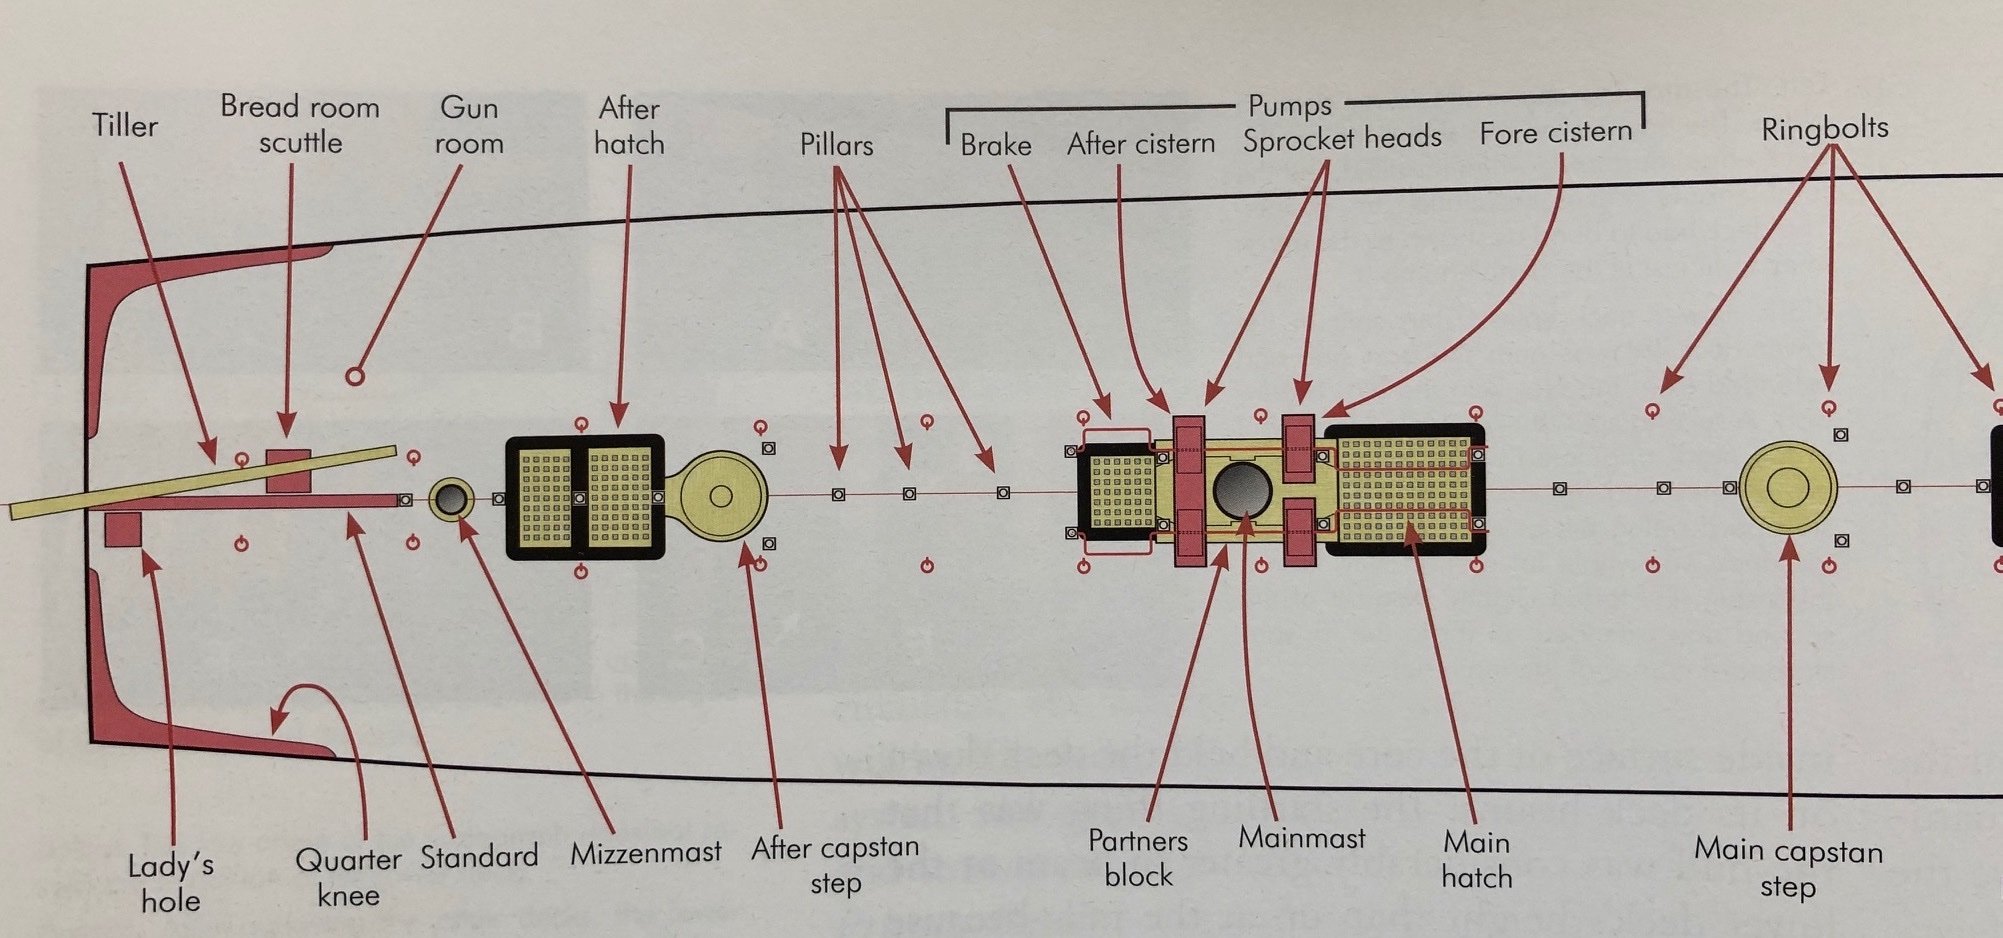
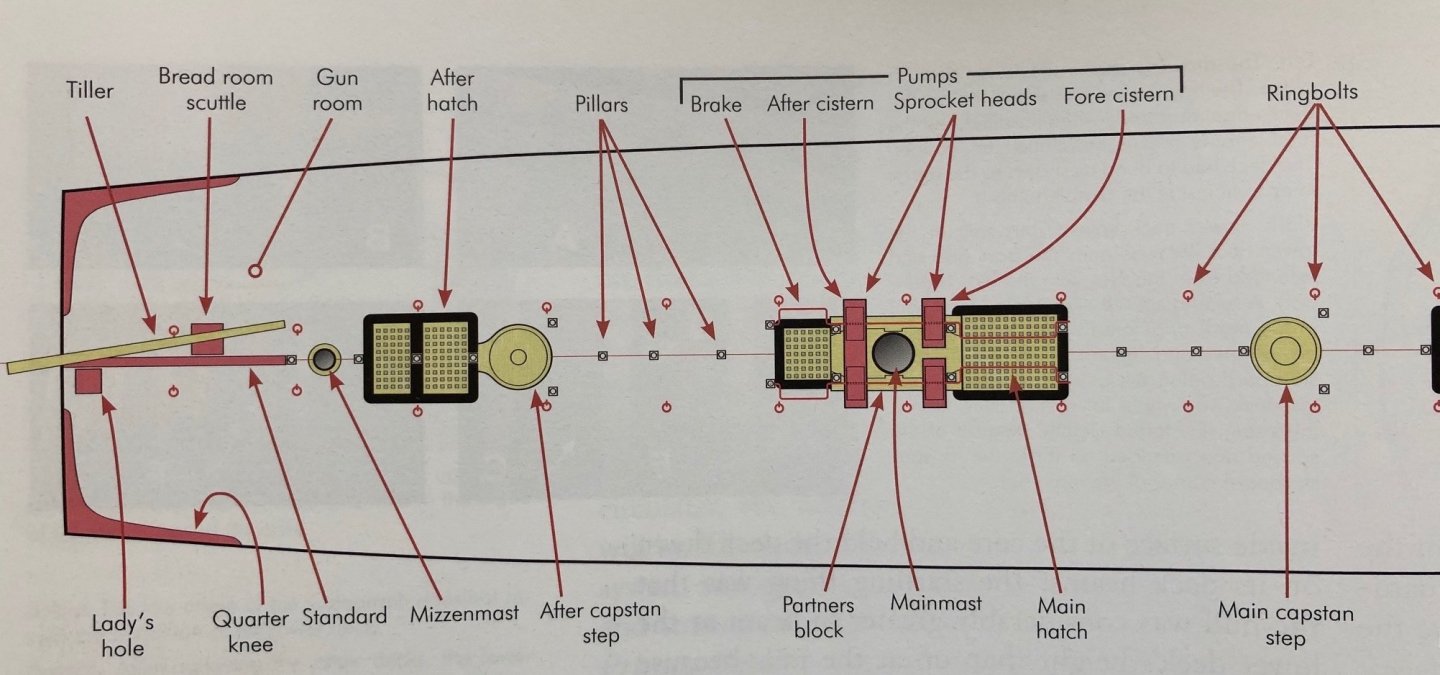
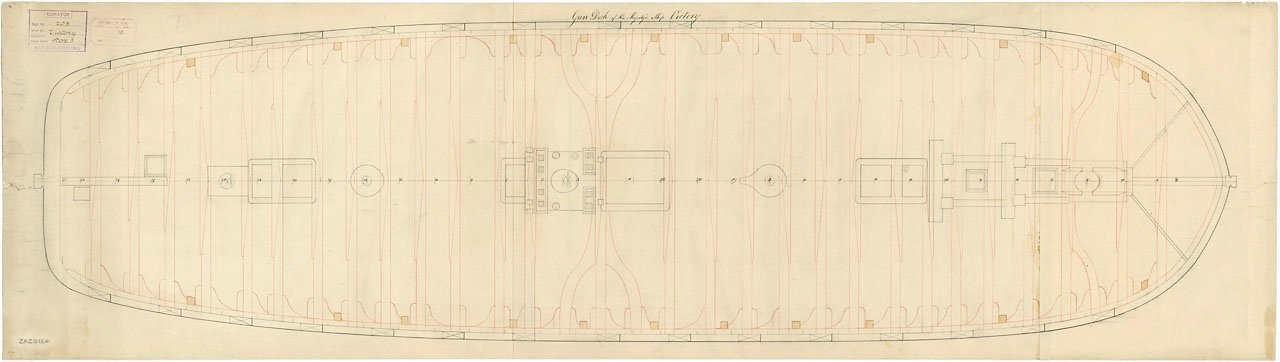
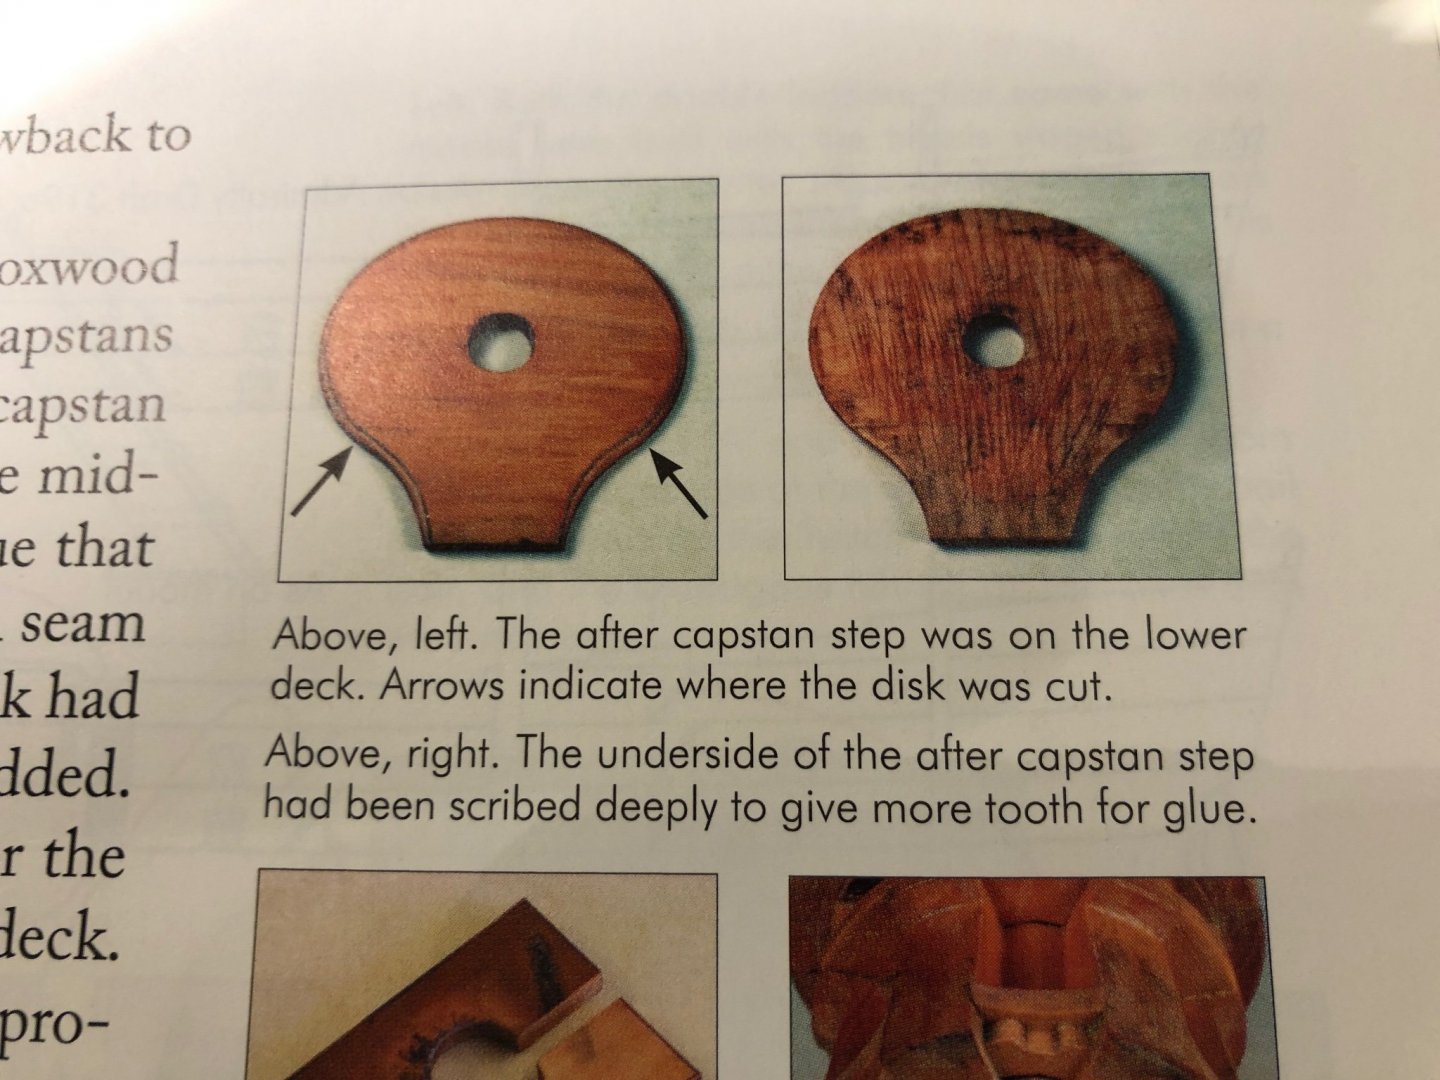
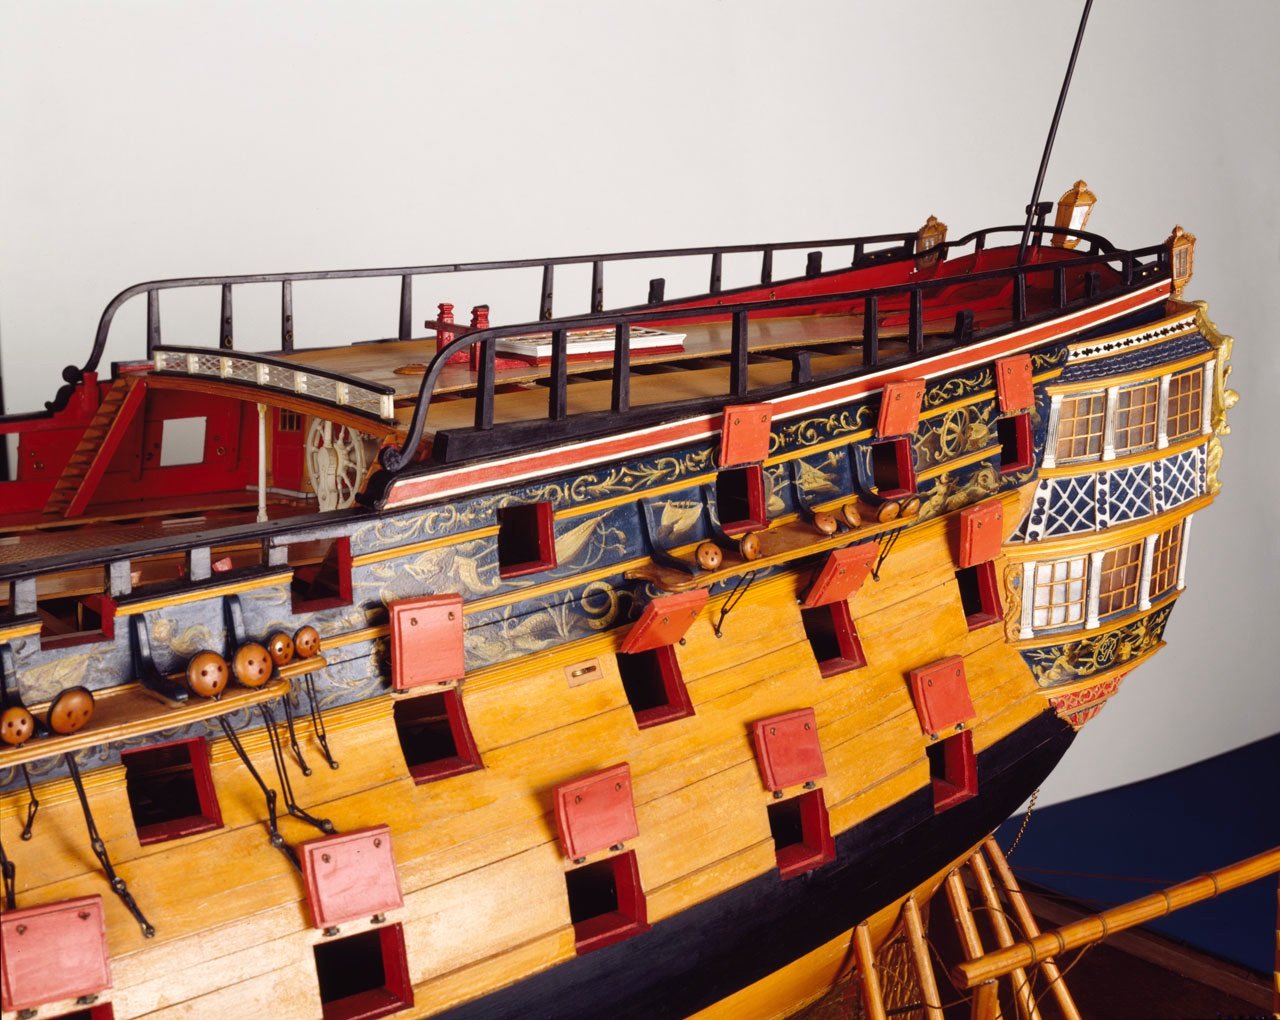
Thank you all for your input. Having had a closer look at other pictures of the Princess Royal, I am not so sure as if the groove served a purpose. Many other edges on different parts show that kind of groove as a mere decorative feature. If one looks at the position of the tongue at Princess Royale 1773, the tongue goes flat agains a coaming so that drainage appears less probable, or it would better have been pointing the other way. The same setup is on the Ocean 1761. Interesting to see, that this plan matches the model of Princess a 100%. The Vics drawings of 1788 show the tongue on the main/fore capstan step. The picture of today´s capstans I do not use for reference, as they are 1920 repairs or reconstructions. Also I agree that for structural / strength reasons or to hold pawls the design of the step should be more massive than it is. XXXDAn
-
Thank you druxey, to make things more challenging, I found this tongue on either fore or aft capstan, but never on both so far, and also either pointing forewards and backwards without a reason to conclude why ... A first thought was to avoid water to drag into the mechanics as for the form of the groove on the tongue - like the cutting board for roasted meat - but as in Princess Royale it would lead the water against the coaming of the hatch so I think it can be ruled out. To give more support on the adjectant beams it is too weak for my personal judgement. I would have expected a less delicate form. Perhaps something to facilitate the cable to slide atop the step towards the whelps? XXXDAn
-
Here still the version for the fore capstan of my Vic as seen on the plans of 1788. XXXDAn
-
On many english ships one can see a capstan step with a tongue. What was this shape for. Here is the one from Princess Royale. The tongue extended to the aft to butt against the hedge ledge. On plans of other ships it extends both aft or front. So now my question: What was this feature for? XXXDAn
-
Manning the capstan
dafi replied to dafi's topic in Discussion for a Ship's Deck Furniture, Guns, boats and other Fittings
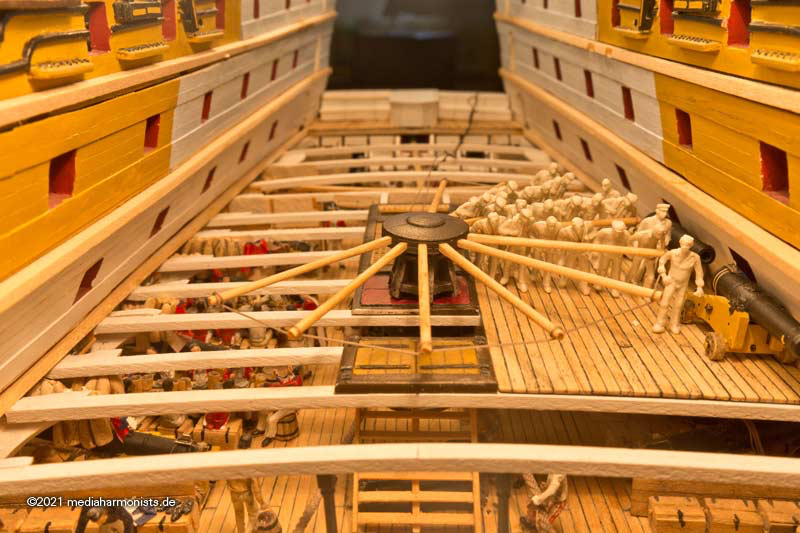
This can be seen on other jobs too. As long as the marines were not needed on deck during battle, they were manned as auxiliaries at the guns. So here one red frock on each side to help pulling the tackles 🙂 XXXDAn -
As for the wooden and metal parts of the capstans there are many sources of the different solutions being used considering the time of the build or repair. More obscure to me is the human factor, how were they exactly manned, better saying what was the right pushing position? The image one usually has in the head is that the man stands behind the bar and has the arms stretched, like in the first pictures, if properly done the thumps upwards together with the other fingers. On the last two pictures the men are not pushing with the arms but with the chest, having the arms - sometimes even crossed - in the front of the bar. The second version is very much to be seen by images of the Imperial German Navy, in english pictures (graphics and photos) the long arm is more common. Now the RMG collection finally provided a high resolution scan of "Hoisting anchor and stowing the cable" PAI5027 and in having a good look I believe that the marines tend to push the bar with the chest and have the arms in the front of the bar. Could this be correct? Are there any objections against this use of the manpower? All the best, Daniel

-
Steam bending on real ships
dafi replied to gak1965's topic in Building, Framing, Planking and plating a ships hull and deck
An d here is the one from the Batavia yard in Lelystad. Taken apart and stacked on top of each other. XXXDAn
-
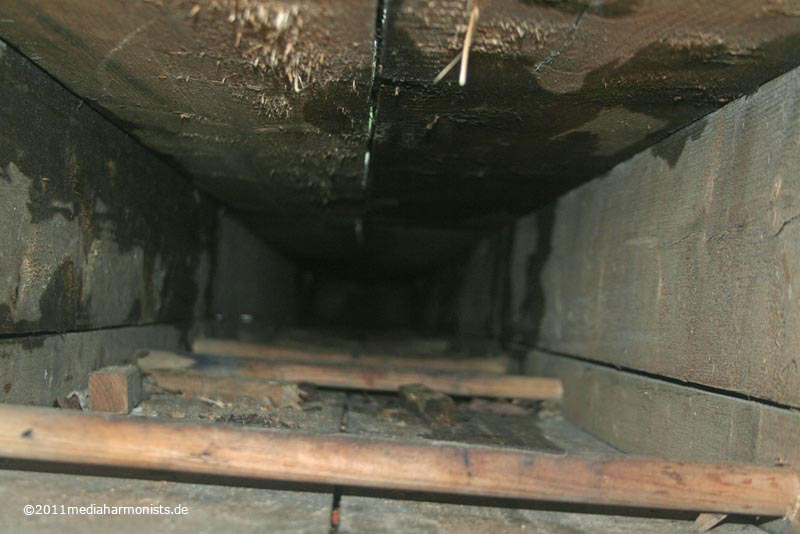
Steam bending on real ships
dafi replied to gak1965's topic in Building, Framing, Planking and plating a ships hull and deck
Here the smaller version on the ship yard of the Skellig in Douarnenez in France. Let the plank steam for 1.5 hours, then be fast as you only have about 2 minutes to put the plank on 🙂 As after the first bending the planks can´t be put into the oven again as for the curve, it had to fit on the first go. And this is what they did there More here: https://www.segelschiffsmodellbau.com/t291f235-Un-Langoustier-pour-Douarnenez-Werftbesuch-bei-der-Skellig.html It is in German but the automatic translator can be activated on the left bottom corner "Sprache wählen" All the best, Daniel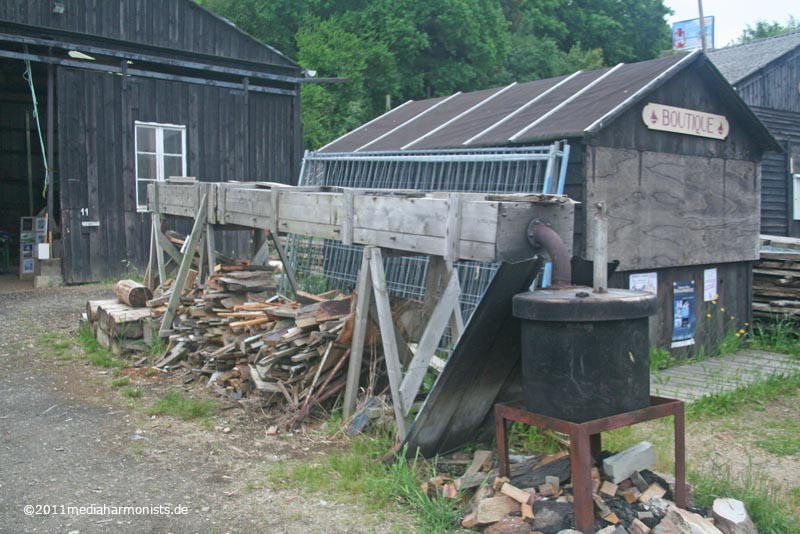
-
The shrinking problem and your tolerances are still much better than the correctness of the hull 🙂 Your side pockets look to fit better than the original ones from Heller! As these parts are still made by hand* and not CAD they bear a lot of "off-measures". I think it is easier to go the classical modelers way with sanding and putty to make the parts fit. And by what I see the fit is already great seen this high complexity of the hull in these areas 🙂 XXXDAn *This is not a moaning as doing these parts was state of the art when the kit came out. Those toolmakers did a marvelous job!
-
The board underneath the hammock cranes from teh forecastle is in deed an ectrapart mabe out of 0,5 mm sheet material 🙂 It protects the hammocks a bit from the spray fom the bow. Wonderful job you are doing. all the best, Daniel
-
Actually I do not bother too much about it 🙂 First they are not appearent with the naked eye, second the paint is usually filling these steps up easily as they are that tiny, third I could easily sand or scratch them off if they proove calling attention, and possibly last I always turn the parts in a way, so that they are not in prominent places. XXXDAn
-
I already mentioned the next steps, now the next step was the rest of the entry port. Here, too, it is wonderful to see what else is still possible 🙂 But first define the size correctly and I realised that most entry ports on models are a bit too small, because they mostly align on the top edge with the gun ports besides. So I added a little more air at the top ... ... and provide them with a frame for the passage. The scrollwork is presenting itself beautifully, note them in comparison with my epidermal ridges! And what is even more important, even in this size well paintable, for this I tried different heights in some printer's rounds, but I think now it fits 🙂 Enjoy! XXXDAn
-
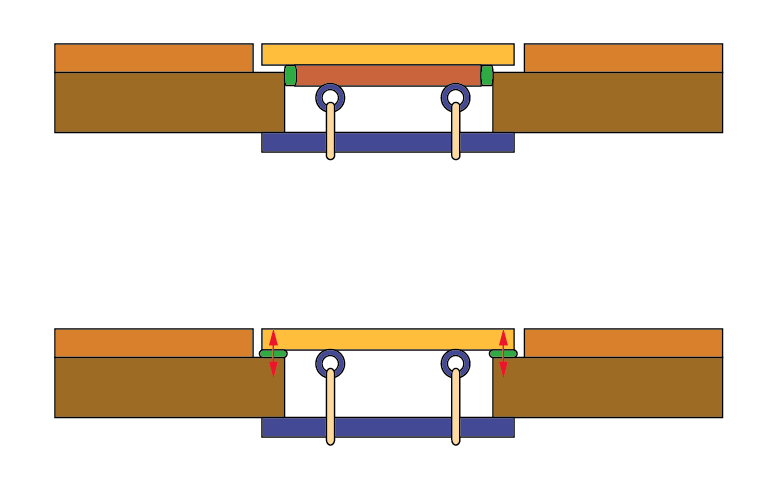
Another discussion led here in MSW is to be found here: https://modelshipworld.com/topic/12576-gunport-stops-only-mentioned-by-steel-1805-identification/?do=findComment&comment=380745 One of the given reasons for the mortise in the lid as for my understanding was to seal the lids. Here is a fast sketch: On the bottom you see how the lid is secured by the lanyards (or hooks) with the help of the blue batten against the hull. If one inserts sealing material like cloth or hamp one pushes the lid open, sse red arrows. On the top one sees that the sealing material is squeezed in between the gap and not giving too much pressure against the fastening. XXXDAn
-
In our german forum we also had some heated discussions about the sense or need of the mortises in english ships. The famous model of the Prince of 1670 shows the mortises, but soon after this one disappears on most models. Sometimes they are still shown so on the wonderful model of Bellona 1760. SLR0338 https://www.rmg.co.uk/collections/objects/rmgc-object-66299 Still the discussion rages as some believe that the mortise needs to be there for good sealing of the ports. But still why are they then neglegted on most models? Were those "fashion items" that followed the taste or experience of the shipyard or master of construction? XXXDAn
-
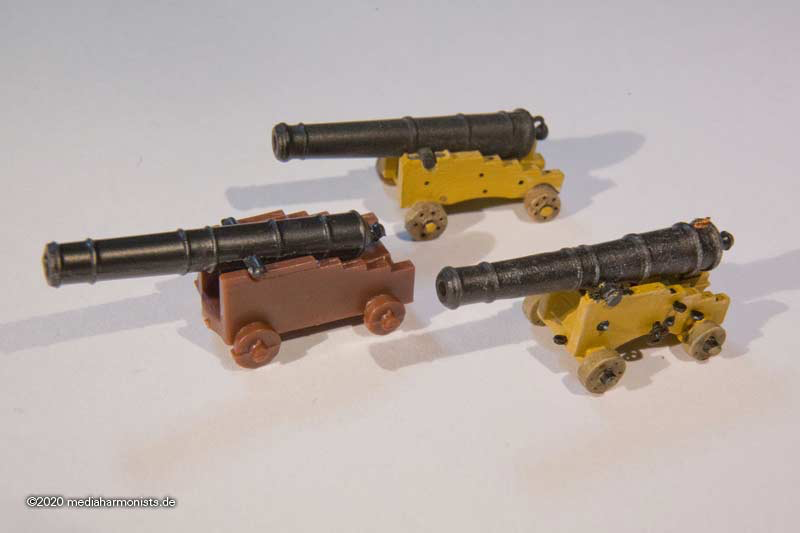
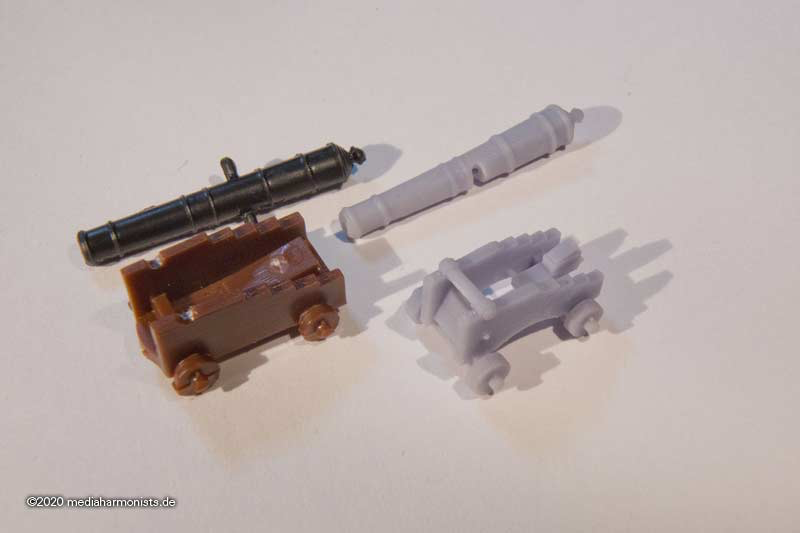
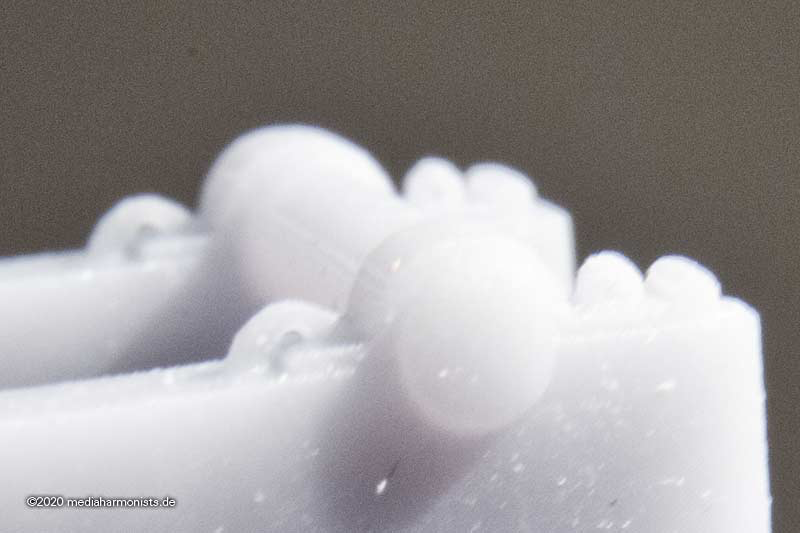
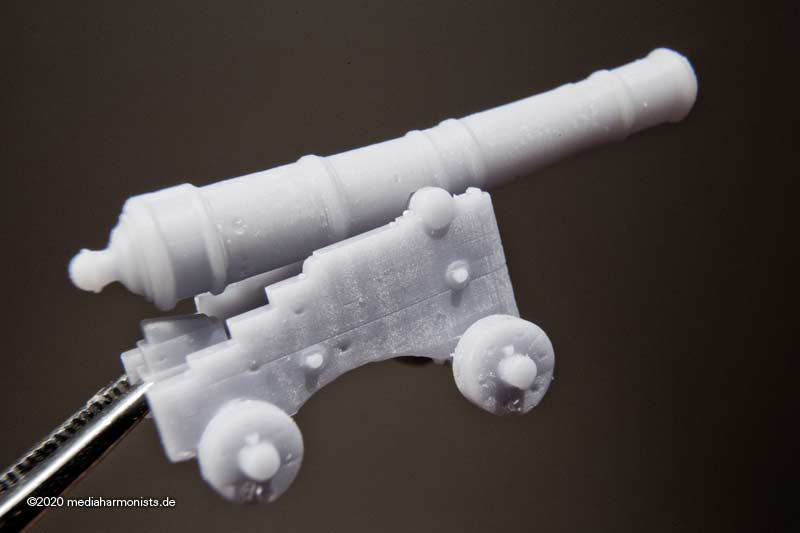
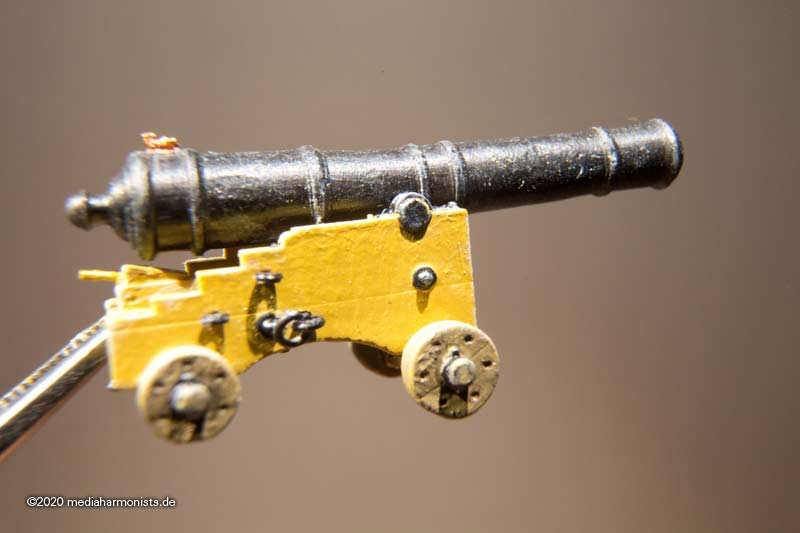
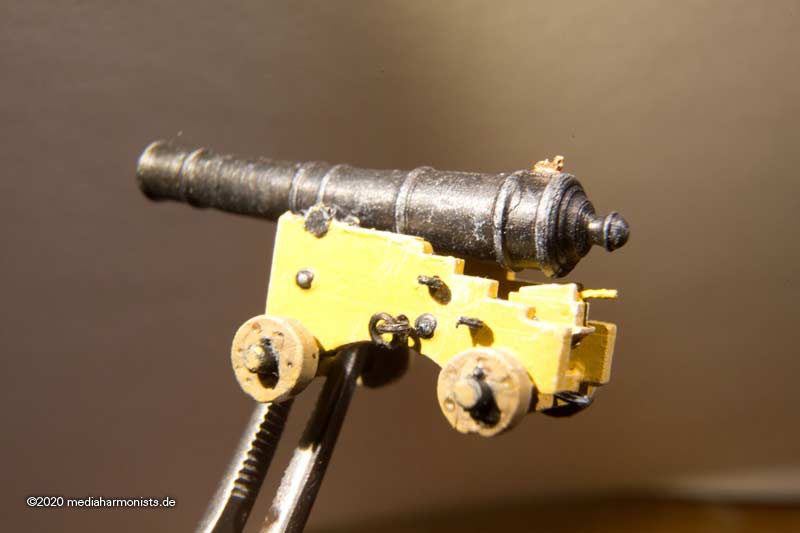
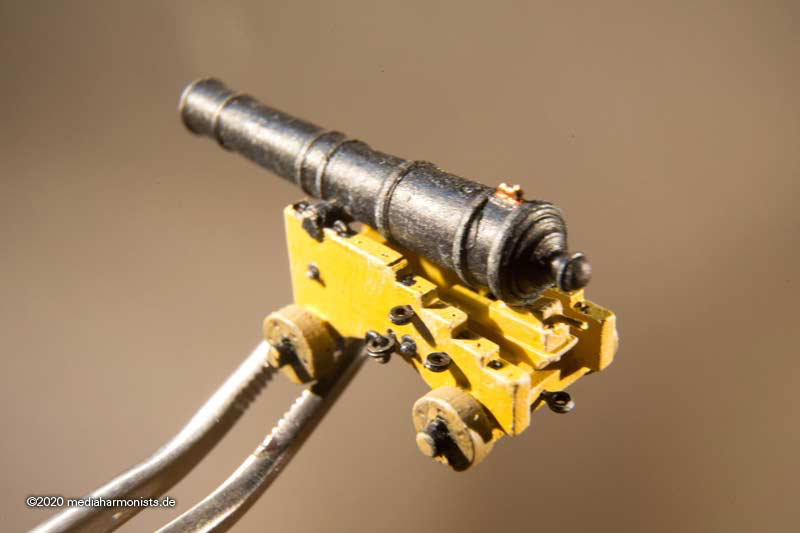
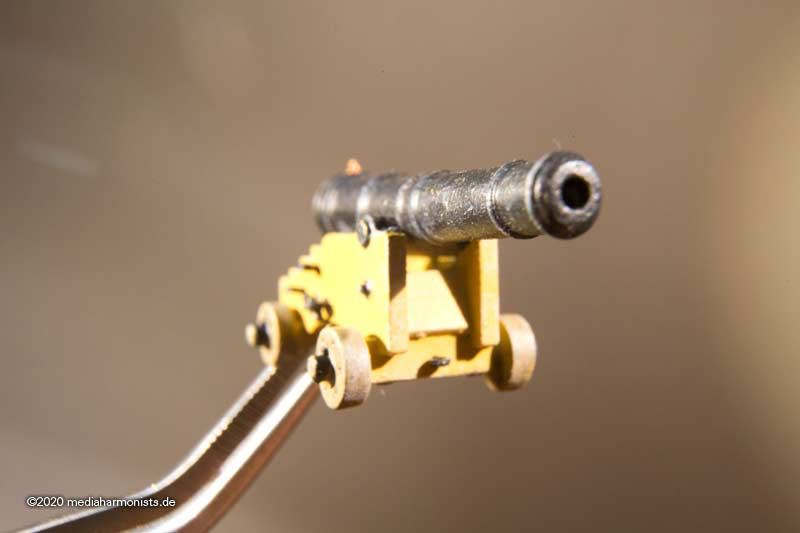
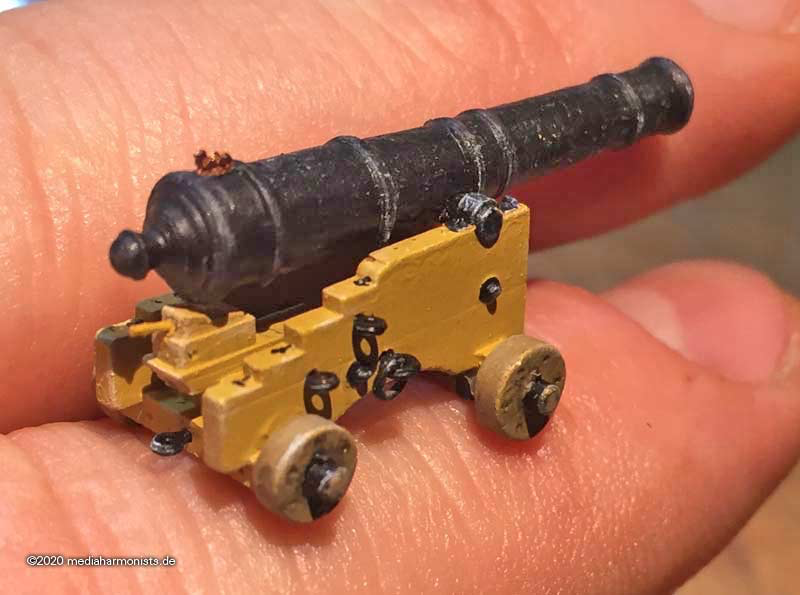
Yes it is a marvel what those new machines can do. Here is a test shot for my USS Costitution 1:96 from Revell. The big flaw of the kit are the guns, so I did some for my own build. Here in the picture on the left the Revell gun, and right my version following Marquardt´s plans. In the background one of Victory´s guns, showing that even kit´s guns can look good 🙂 The amount of detail is amazing, here the flaps for the trunnions 🙂 Here more details of what is possible even at this scale. But what is also important is what we do out of these new parts, how to bring them to live. Still we are model makers! So with some paint, ink, brushed highlights, flintlock and real eyebolts the visual effect can become really strong. And not to forget the size, here some fingers in comparison 🙂 XXXDAn

-
Just found by chance in the vaults, the mariners walk. I used the cutouts of the new holes to make up the old ones 🙂 XXXDAn
-
Most Honorable Order of the Garter? Honi soit qui mal y pense 🙂 https://modelshipworld.com/topic/30106-british-catheads-in-about-1800/ XXXDAn
-
As already claimed, the spars were usually placed amidships. in the old days over the waist from fo´castle to quarterdeck, later on the gallows or simply on deck. Later when the waist was covered up, the spare spars stayed there in between the boats. Usually only roughly finished, as nobody knew before what was going to break and like this they could be more easily adopted. The system was the same, here some trials on the Vic. The log of the Victory indicates on 15-19.04.1778: Spare topmasts and spars shipped in Also NMM shows severals plans where the spare spars are shown. HMS Vanguard 1835 http://collections.rmg.co.uk/collections/objects/80305.html And the closest for the project mentioned first is the UNITED STATES with the plans for spars and boats. See the stunsail booms on the fore channels, 3 more boats were hung on the wdavits. XXXDAn
-
Look here in some pictures you can see the mariners walk and count where the 3 holes have to be. For the missing crown: As my research in my own building report shows that there should not be a crown but the Most Honorable Order of Garter, if you would like have 2 of those I could just send it to you 🙂 All the best, Daniel