


aydingocer
-
Posts
898 -
Joined
-
Last visited
Content Type
Profiles
Forums
Gallery
Events
Posts posted by aydingocer
-
-
-
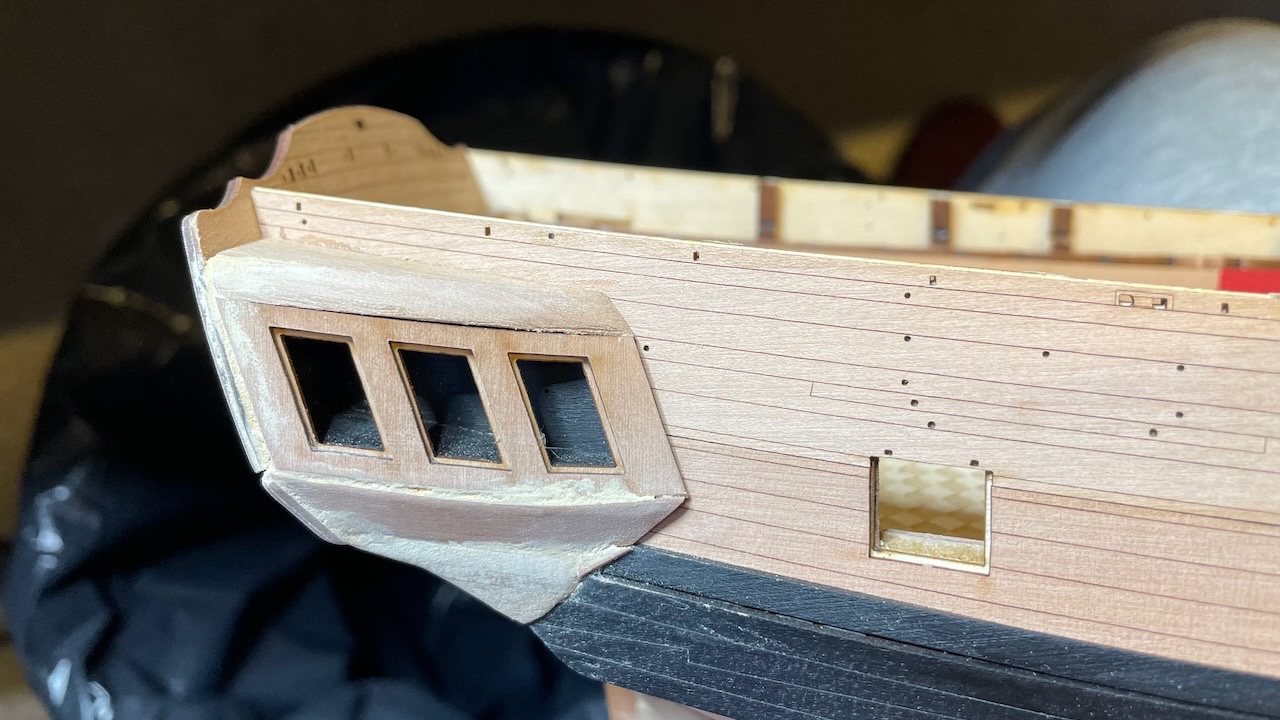
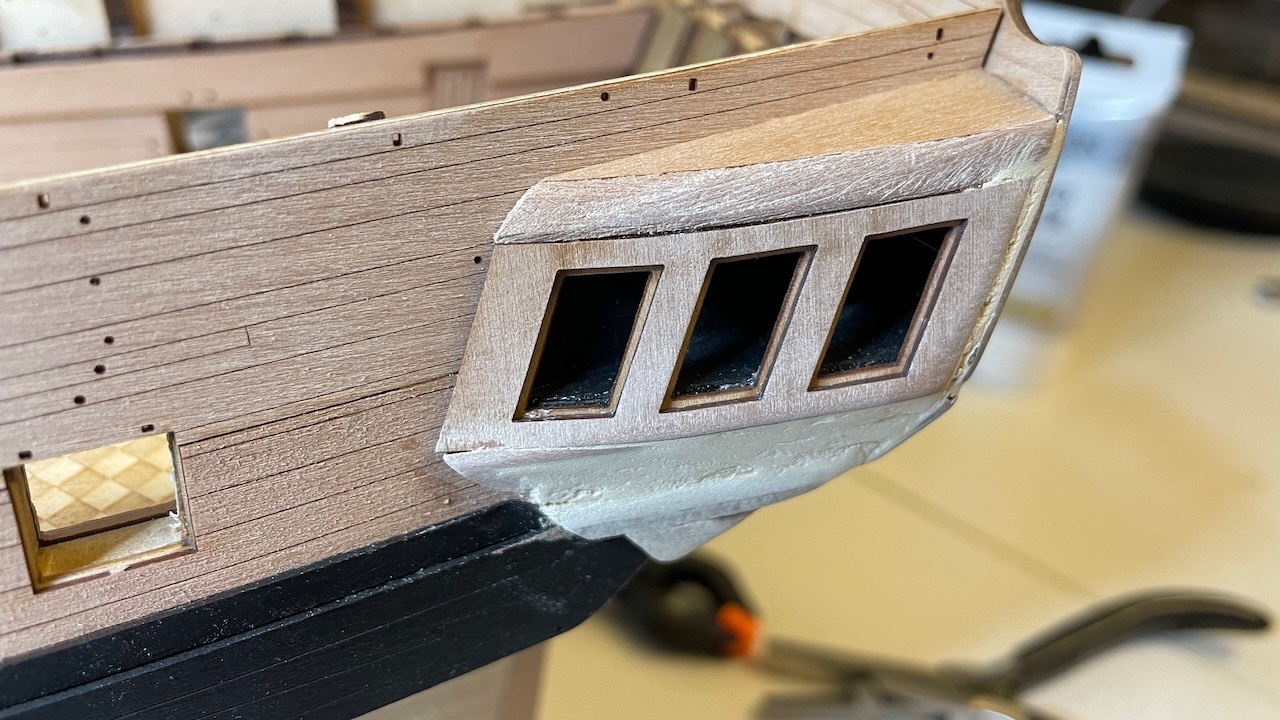
Build day 39: 3hrs / Total 86 hours
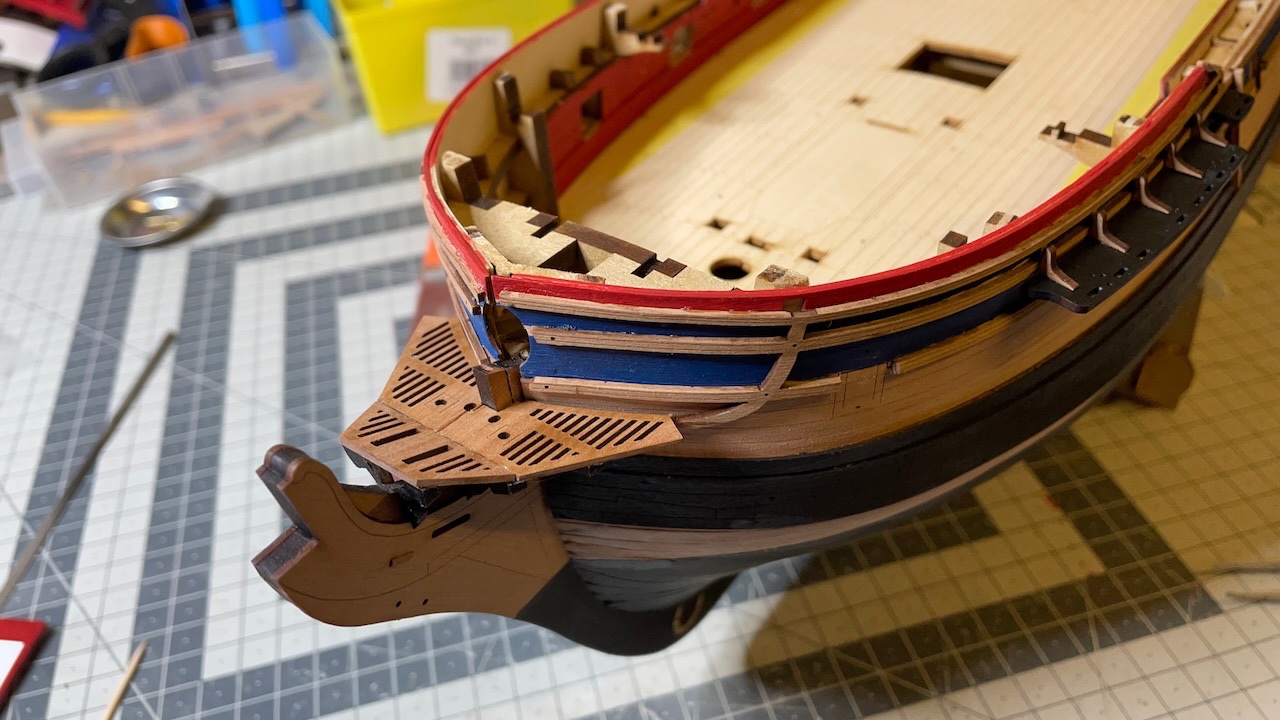
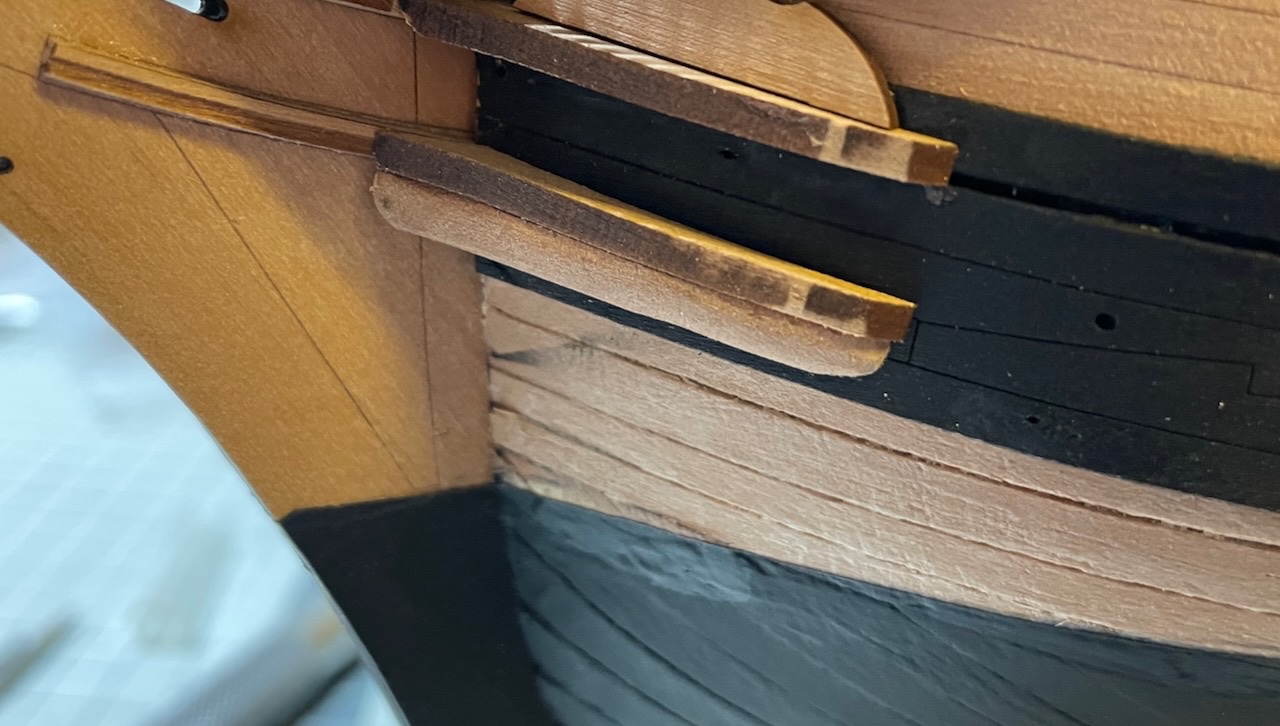
Photo 335 : Bow Cheeks and Hawse Bolsters. These are going to be painted in black therefore no need to remove the laser chars.
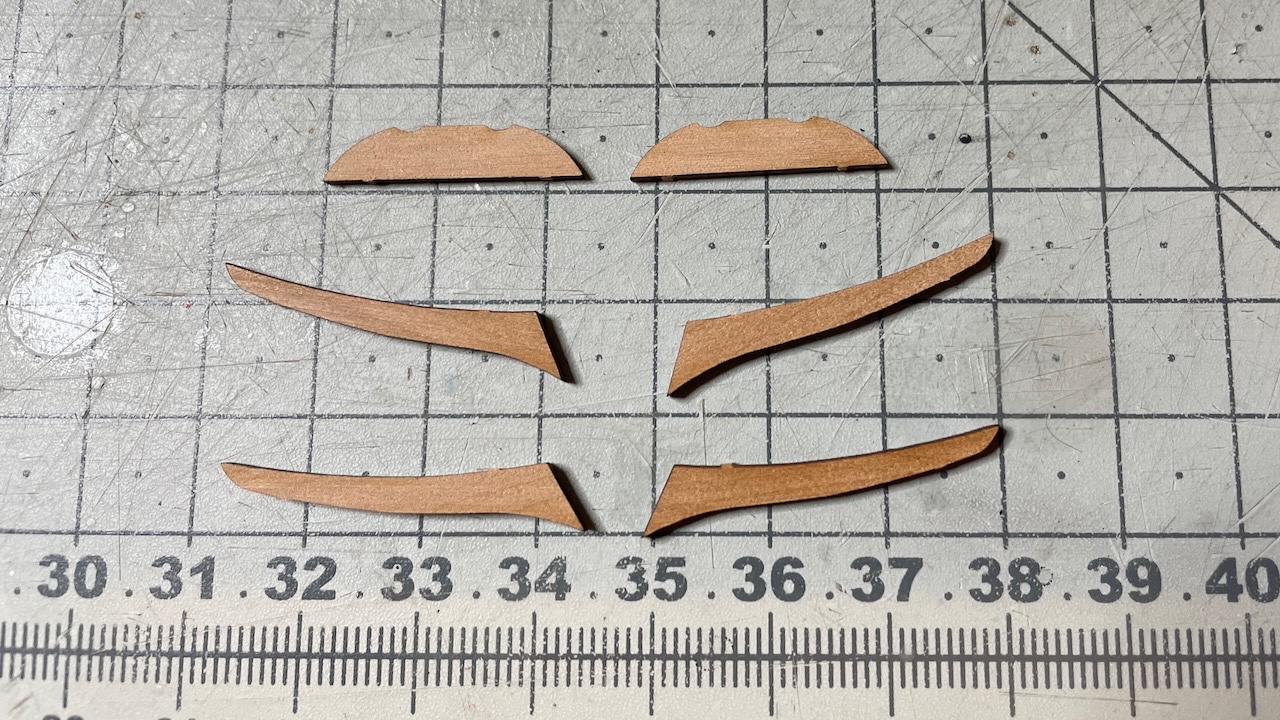
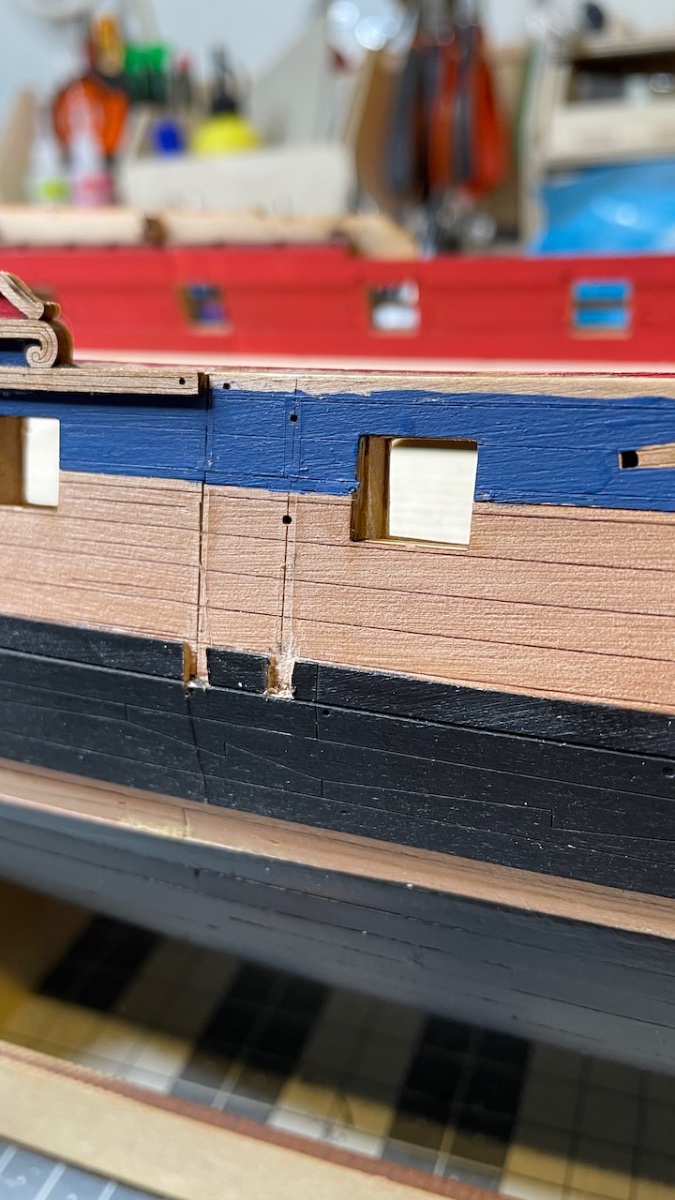
Photo 336: Bow cheeks in place. Before installing the Hawse Bolsters, you'll need to enlarge the two hawse holes to around 4mm diameter. Currently they are around 2mm diameter. I wonder why they were not laser cut to the correct diameter at first place. Maybe because you'll need to open up the wood behind it anyway. In the photo you see the hole on the left has been opened up, while the one on the right is in original size.
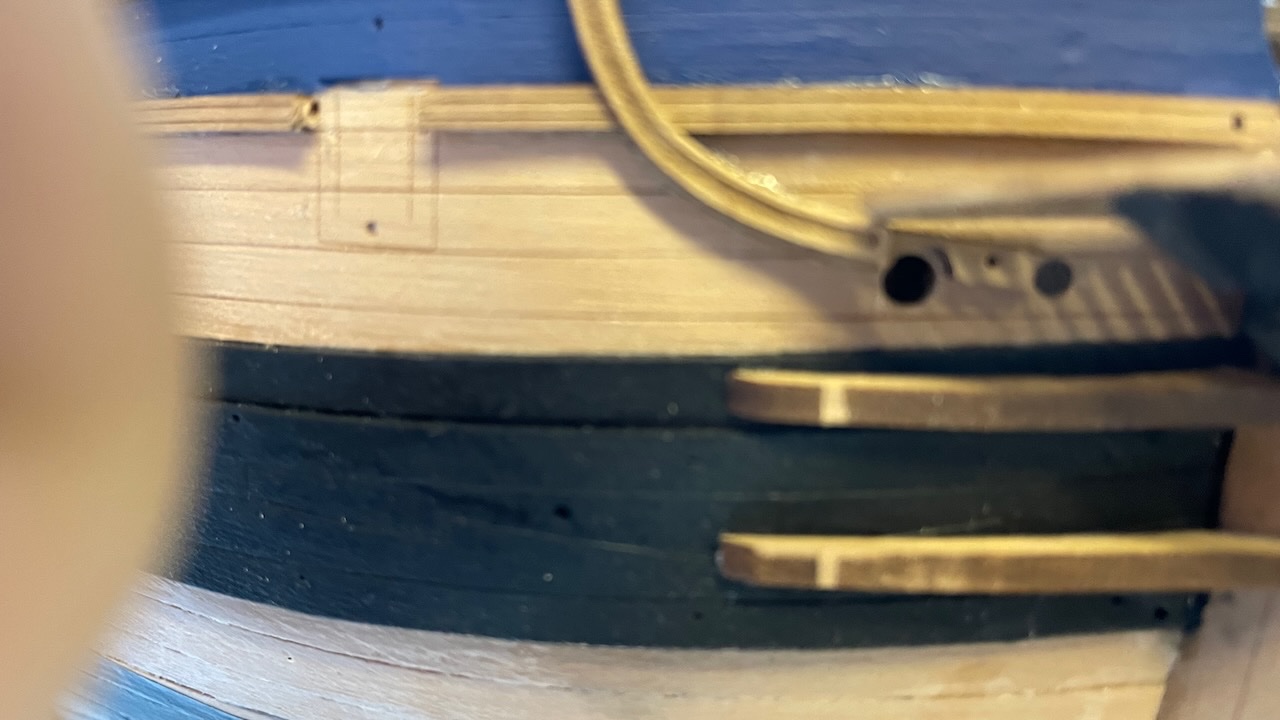
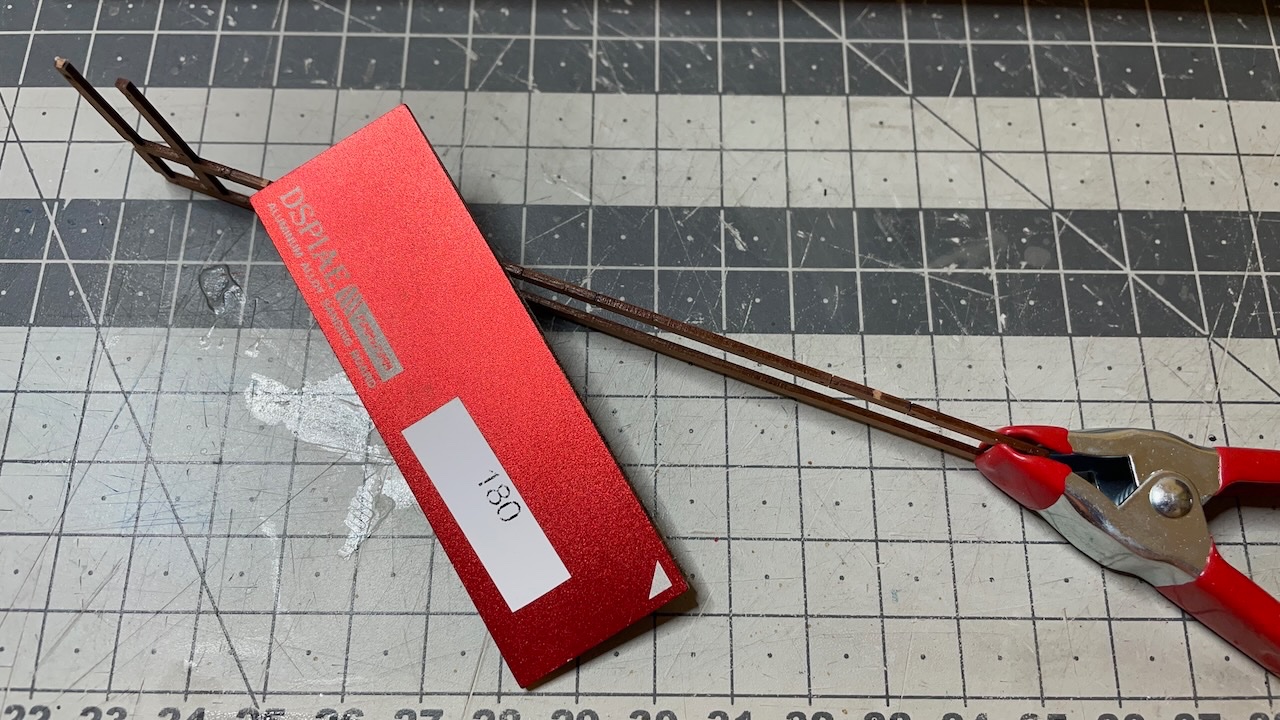
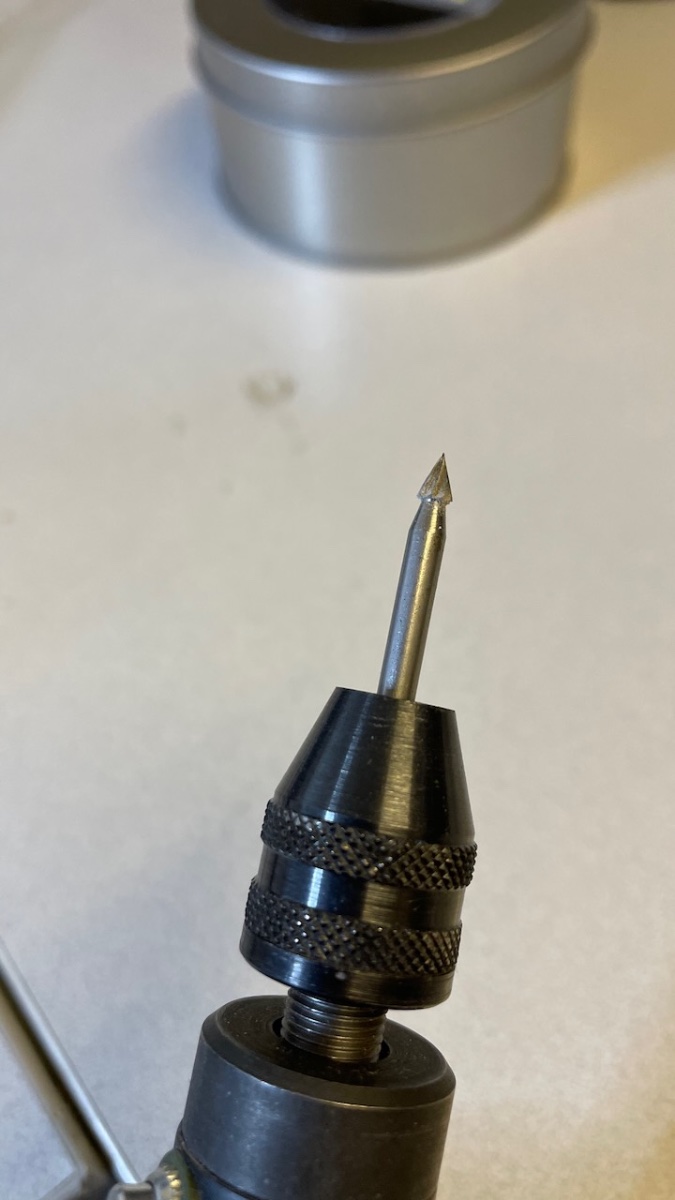
Photo 391: I used this blade for this work.

-
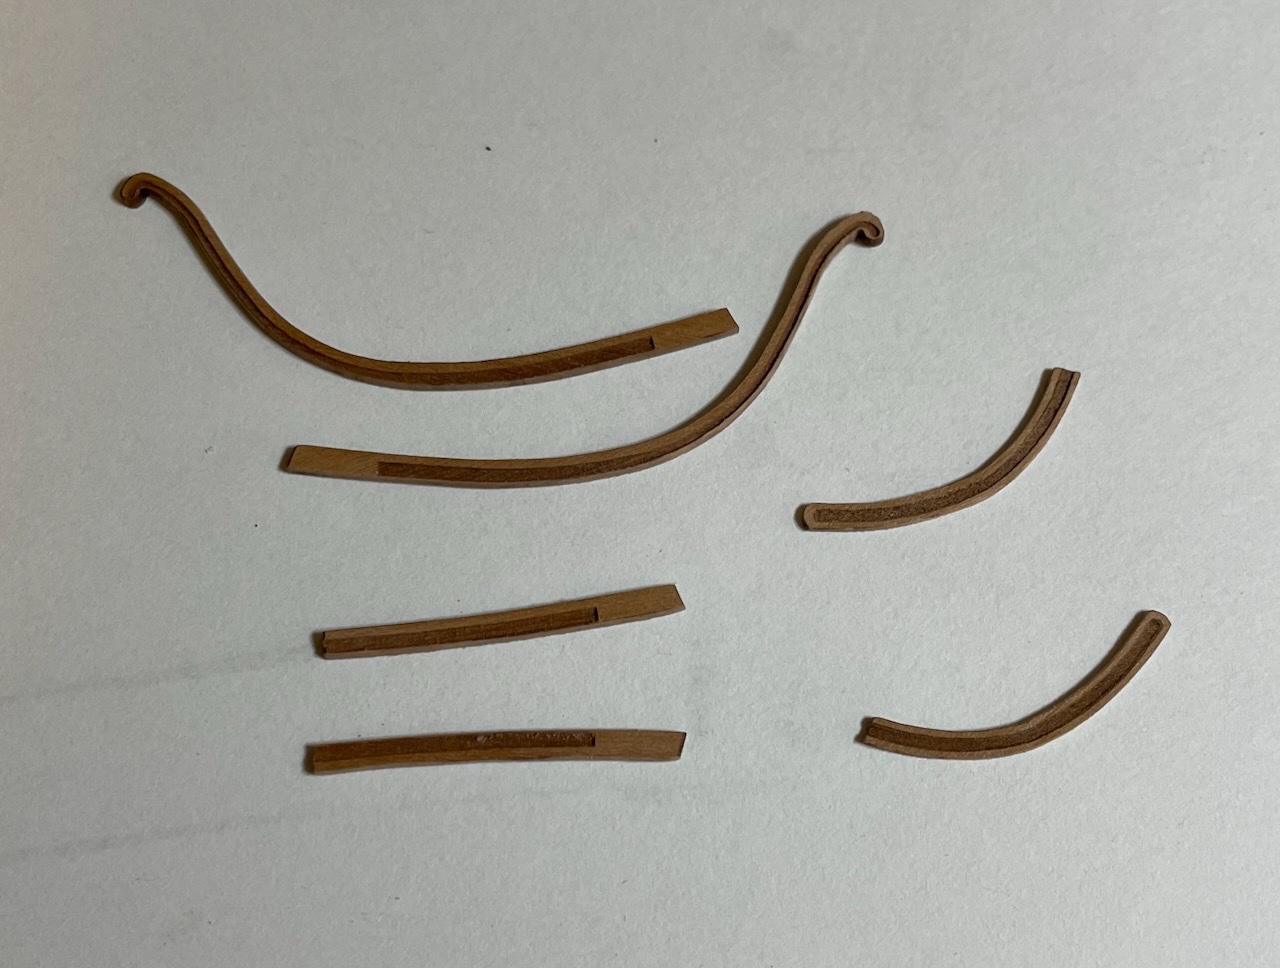
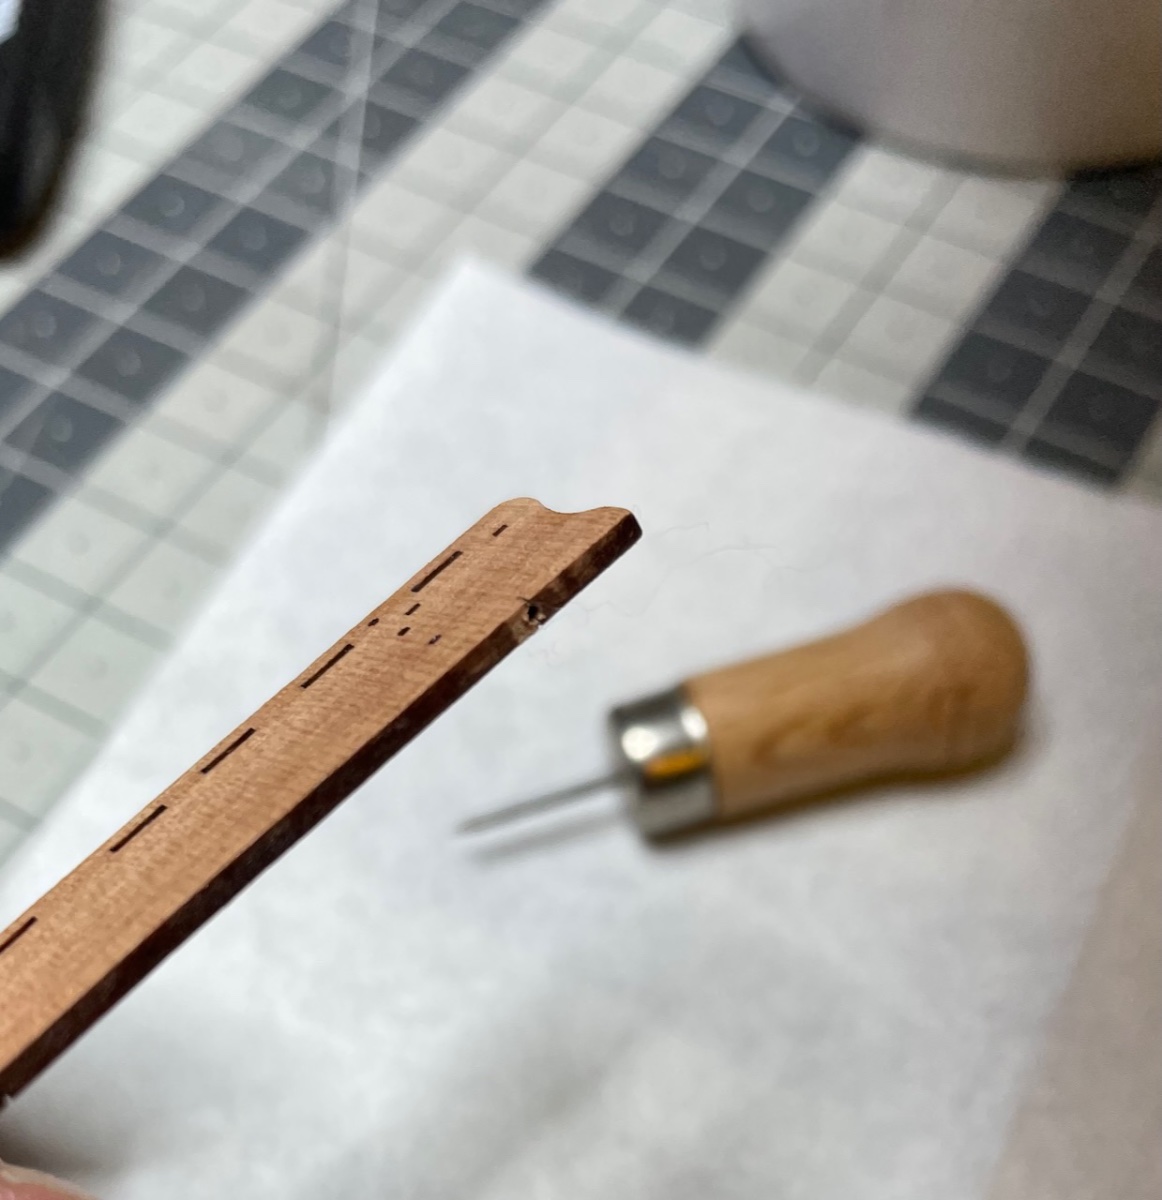
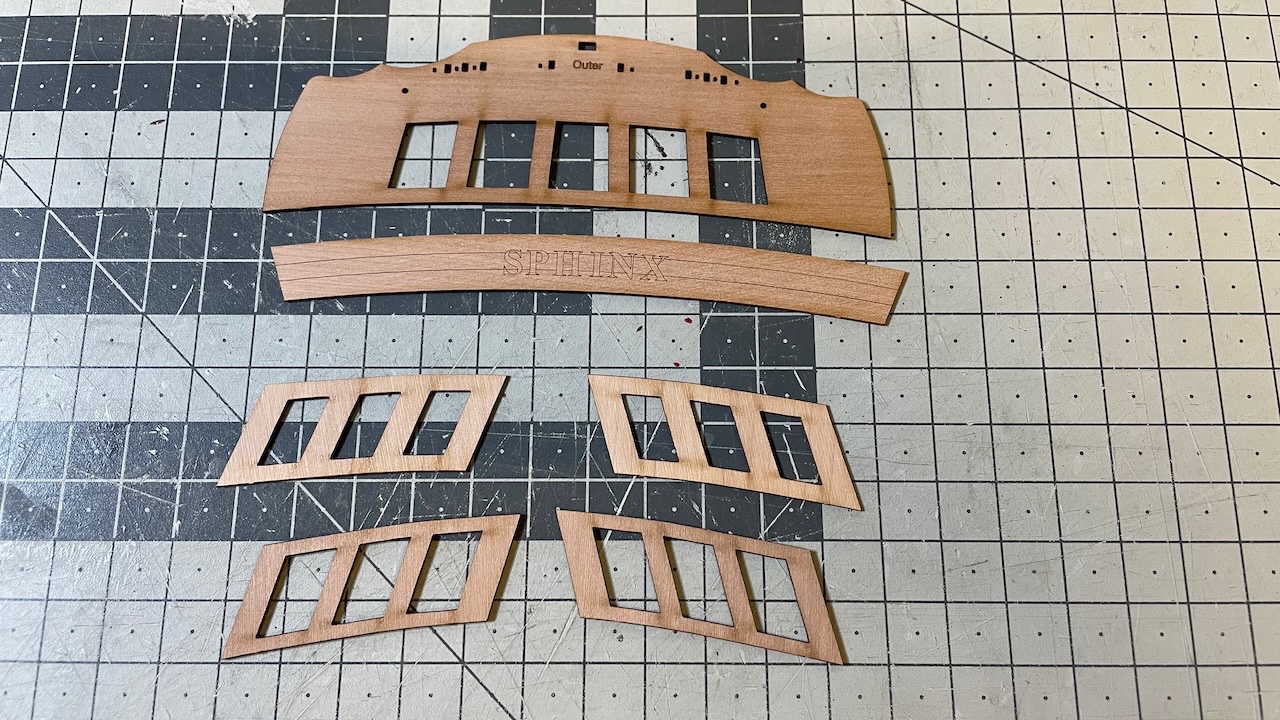
Photo 332: Next, Bow Hair Brackets, Bow Lower Rail and "Ekeing Mouldinf Patterns". Took about half an hour to remove the laser char carefully from the edges. I used 400 grit sandpaper for this.
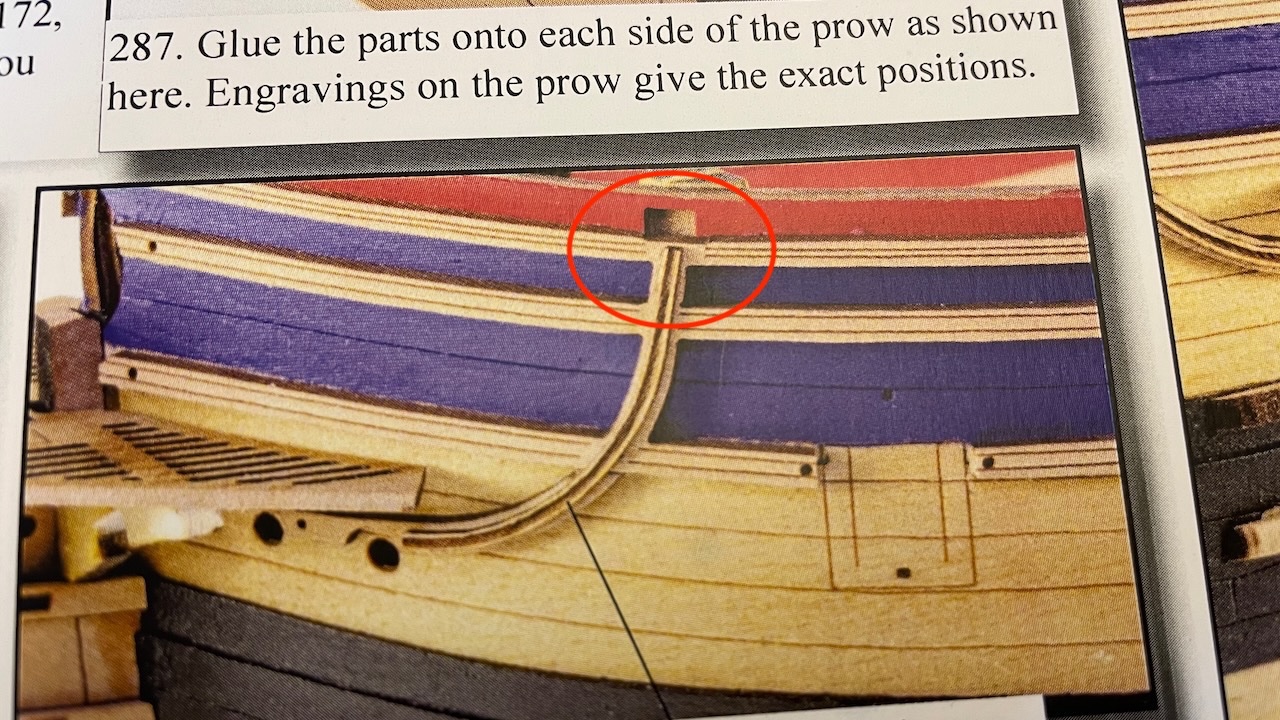
Photos 333-334: In the first photo below, see the Ekeing pattern, ending at the lower rail, while in the instructions (second photo) it goes all the way to the upper rail. I wonder if this is something changed since the prototype. There is also one pair of them in spare, should I cut from the spare part and amend it to the upper end so that it looks the same as in the instructions? Any suggestions?
-
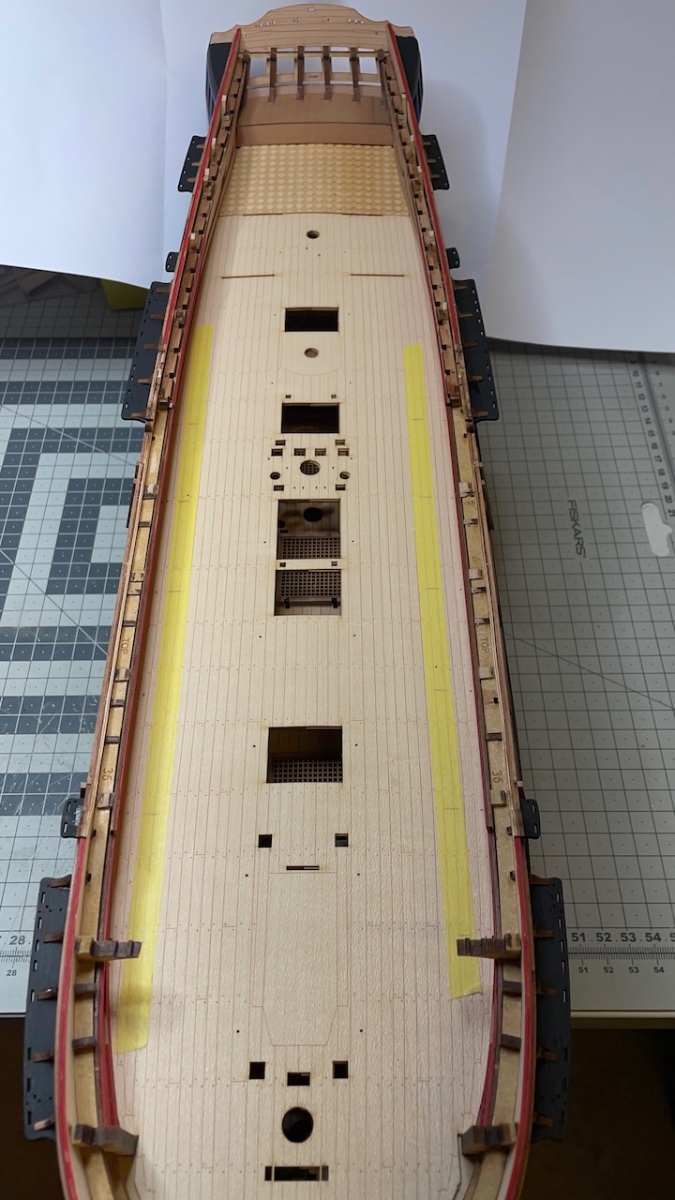
Photo 326: Parts for the bow section. The wings (on the right side) take some bevelling from several areas.
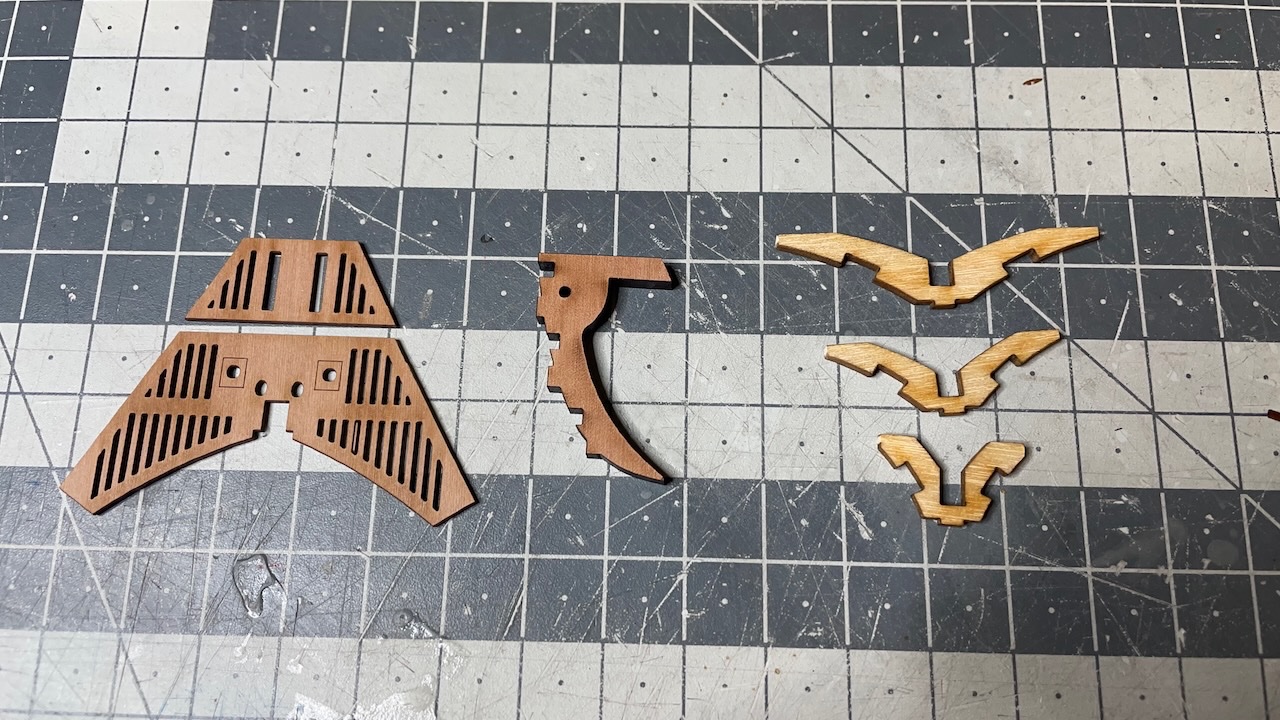
Photo 327: Wings fitted to the "Gammoning knee"
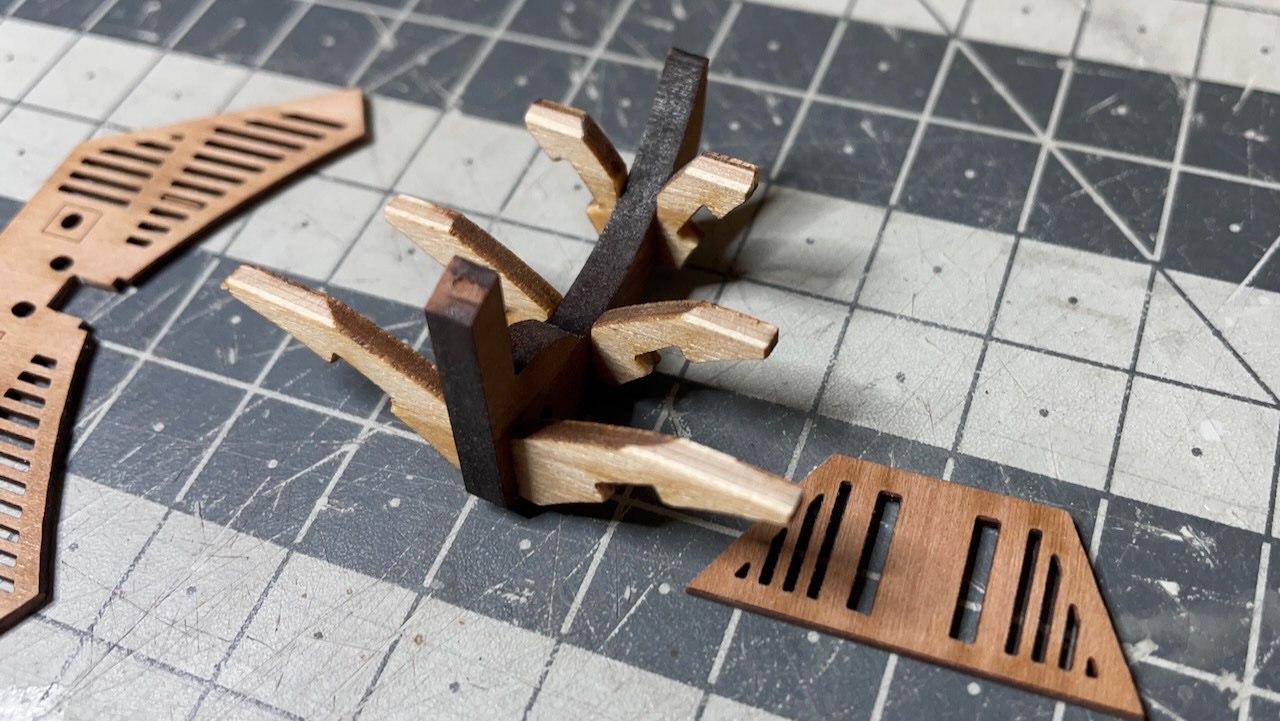
Photo 328: Dry fit to adjust the bow gratings

Photo 329: Bow gratings glued in place. Note the wing ends visible from the sides. They will be filed flush with the grating.
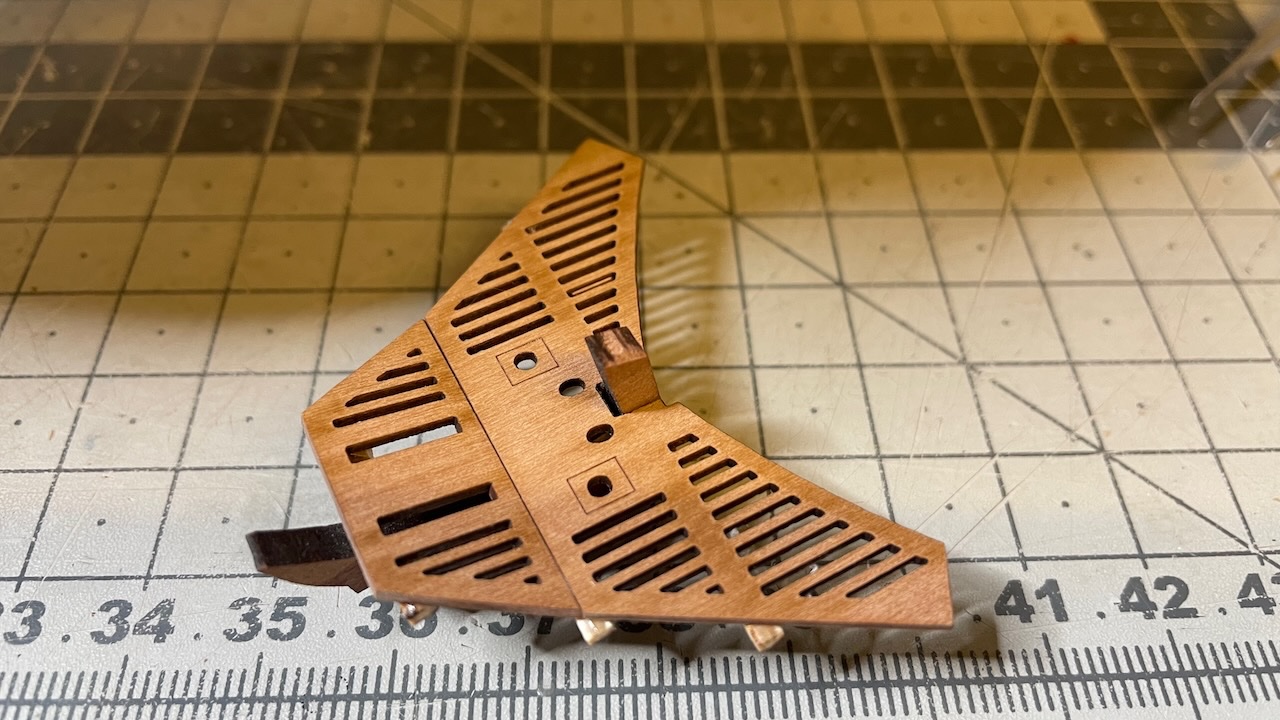
Photo 330: Wings painted in black
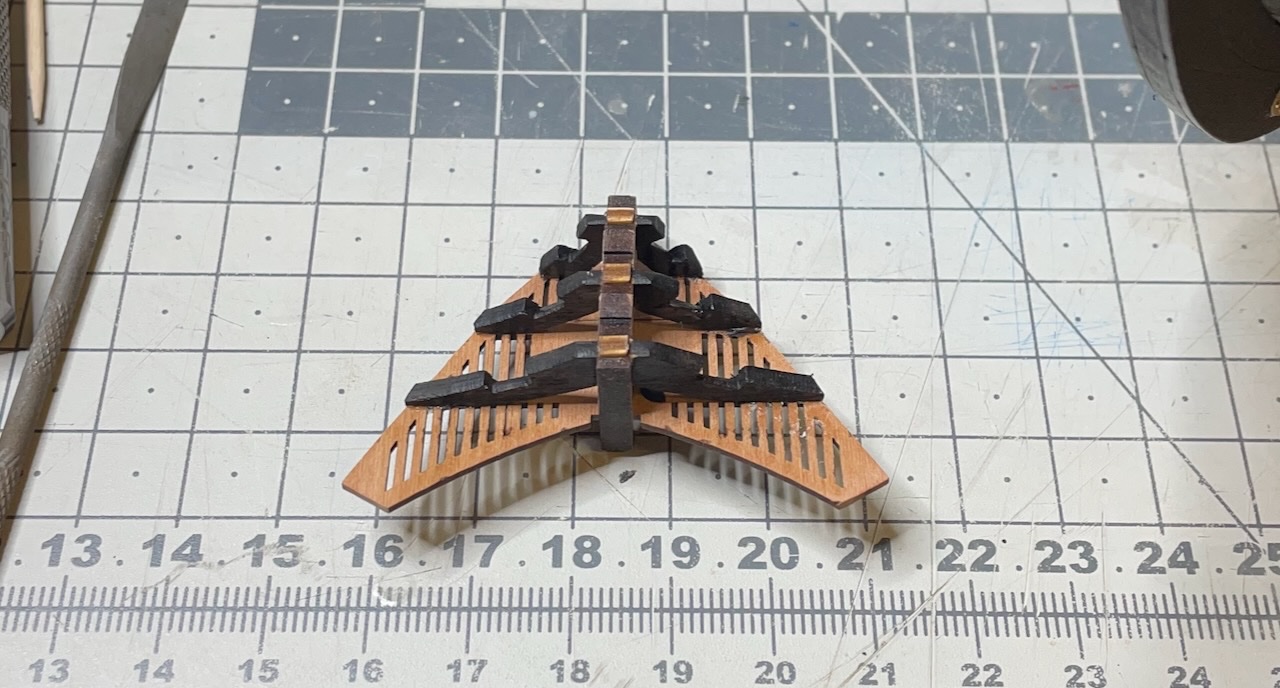
Photo 331: Grating in place. I managed to break the inner piece while inserting the structure back in its place, hence the crack line in the middle. Not a big deal.
-
Build day 38: 5hrs / Total 83 hours
Today's activity:
- Fore-, main- and mizzen channels,
- Bow area gratings.Photo 320: Channel parts removed from sheet and sealed with matte varnish
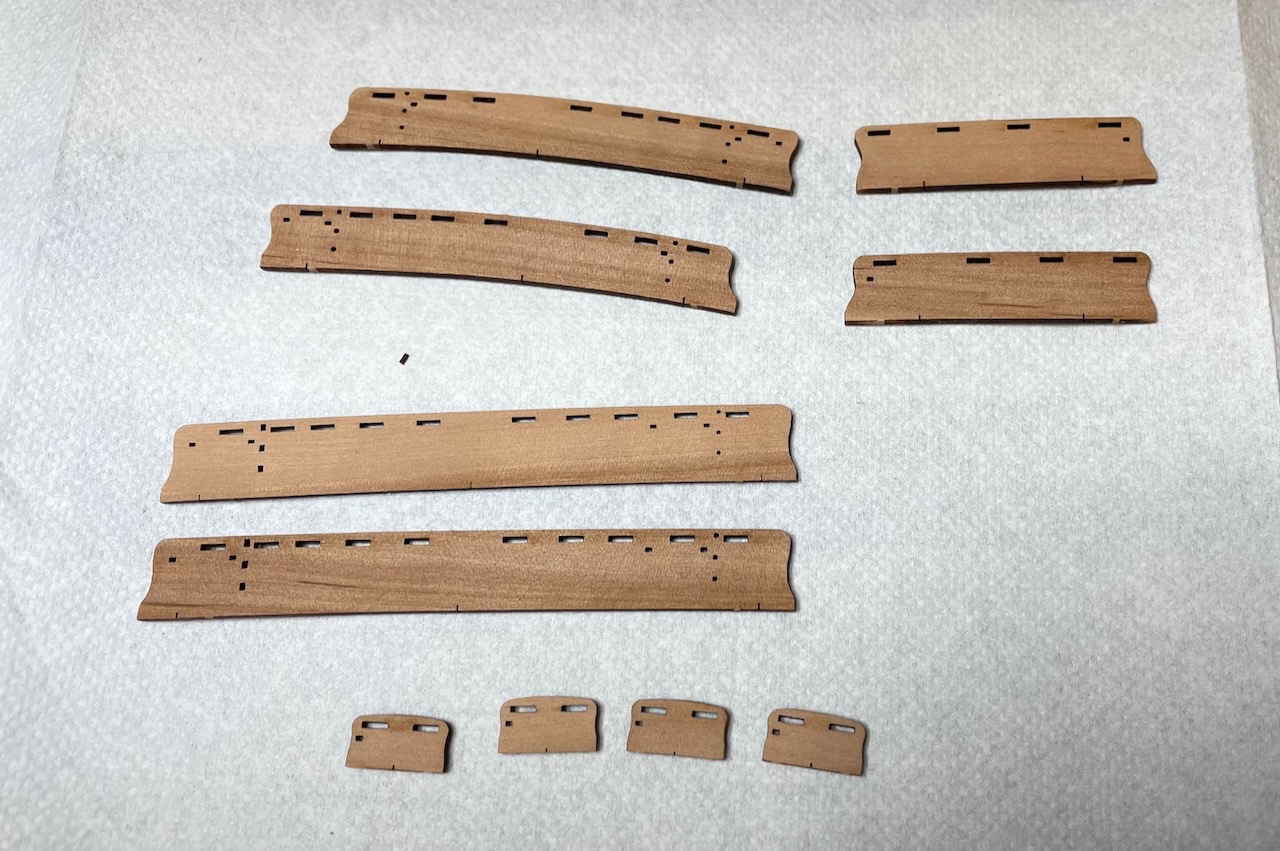
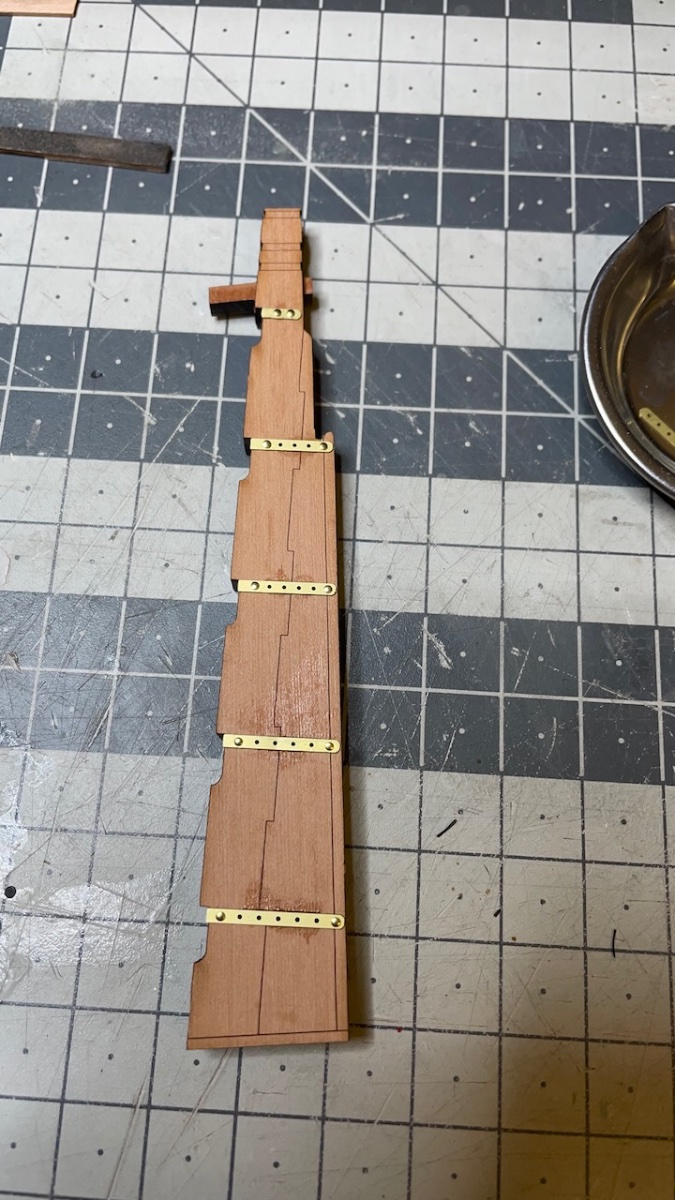
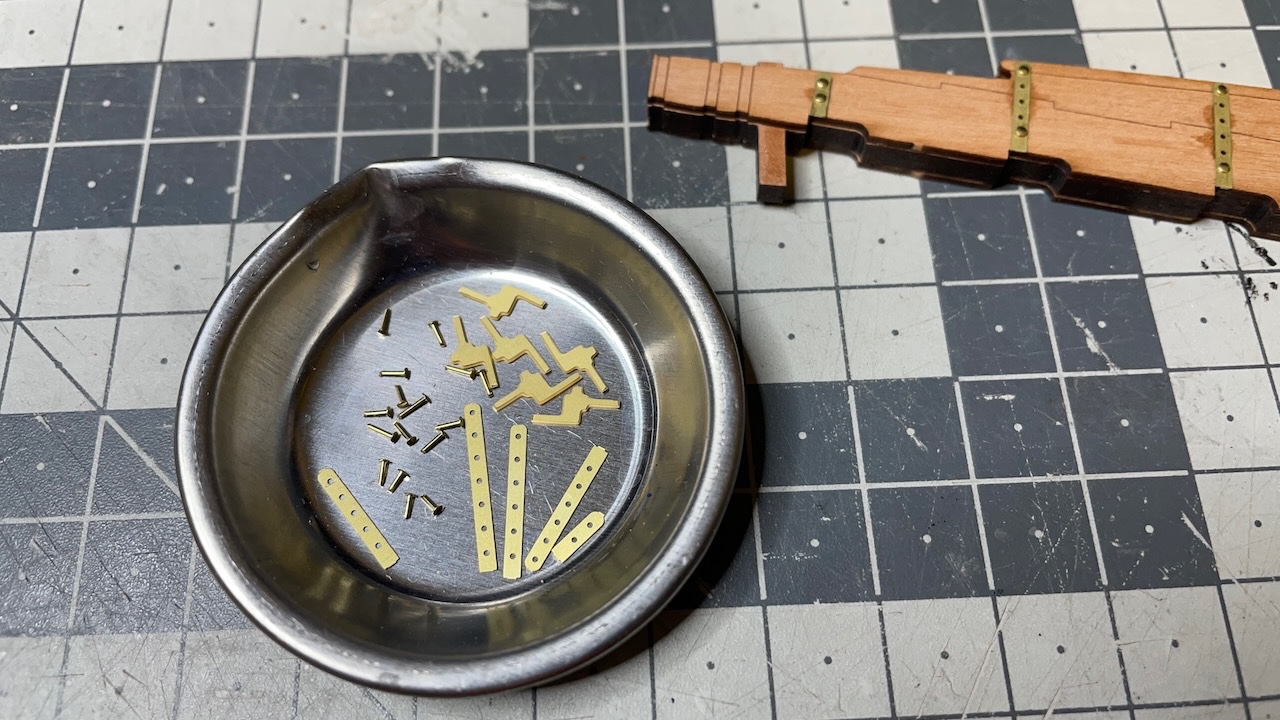
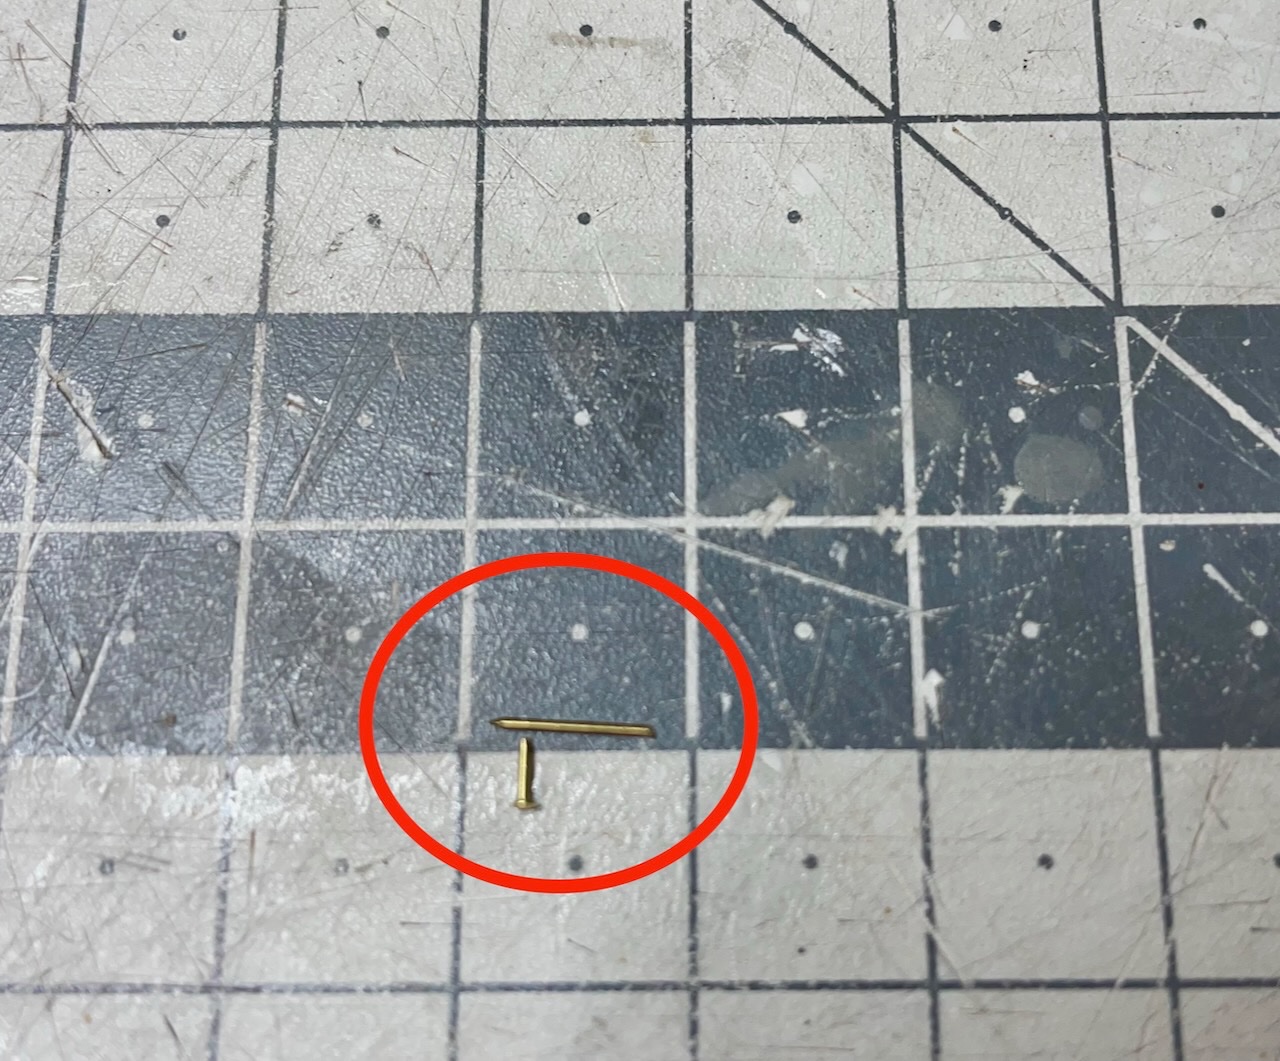
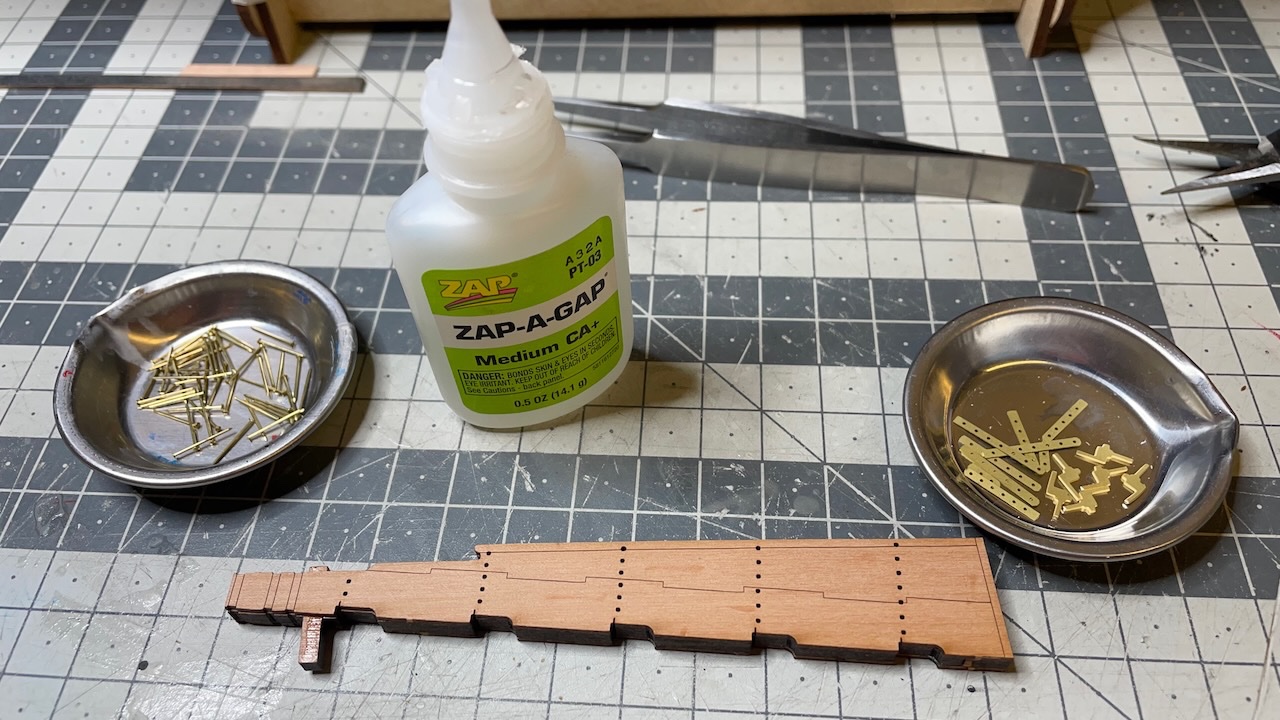
Photo 321: You drill holes on the side from spots marked with laser. In these holes we insert the nail cut-off leftovers from earlier stage.

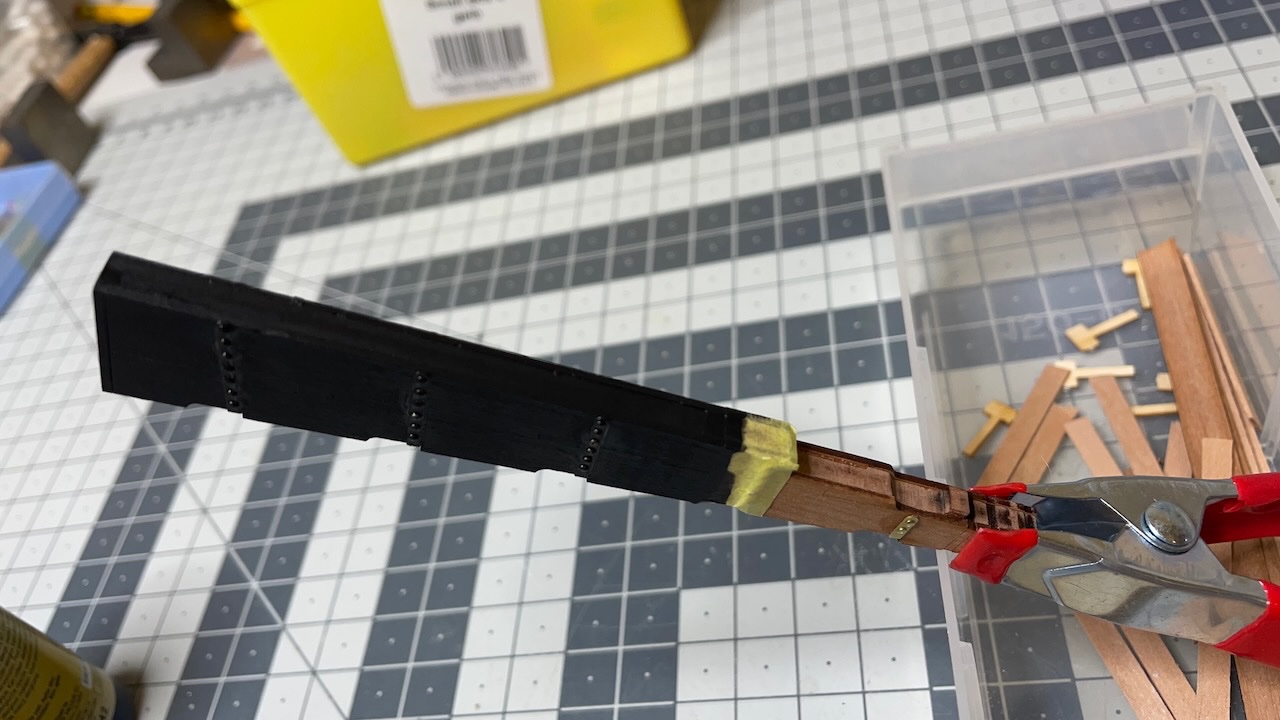
Photo 322: Parts painted in black using airbrush.
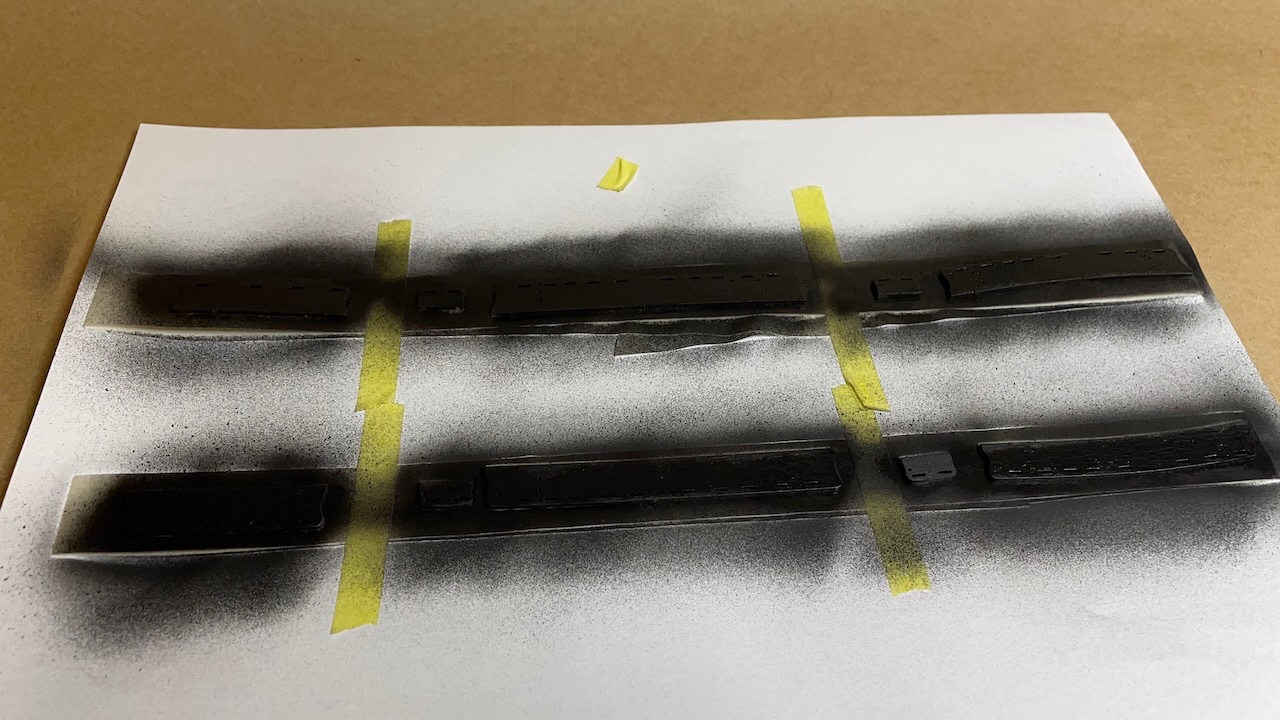
Photo 323: Pin cut-offs inserted. They will help install the channels precisely in place by fitting into the ready holes on the hull.

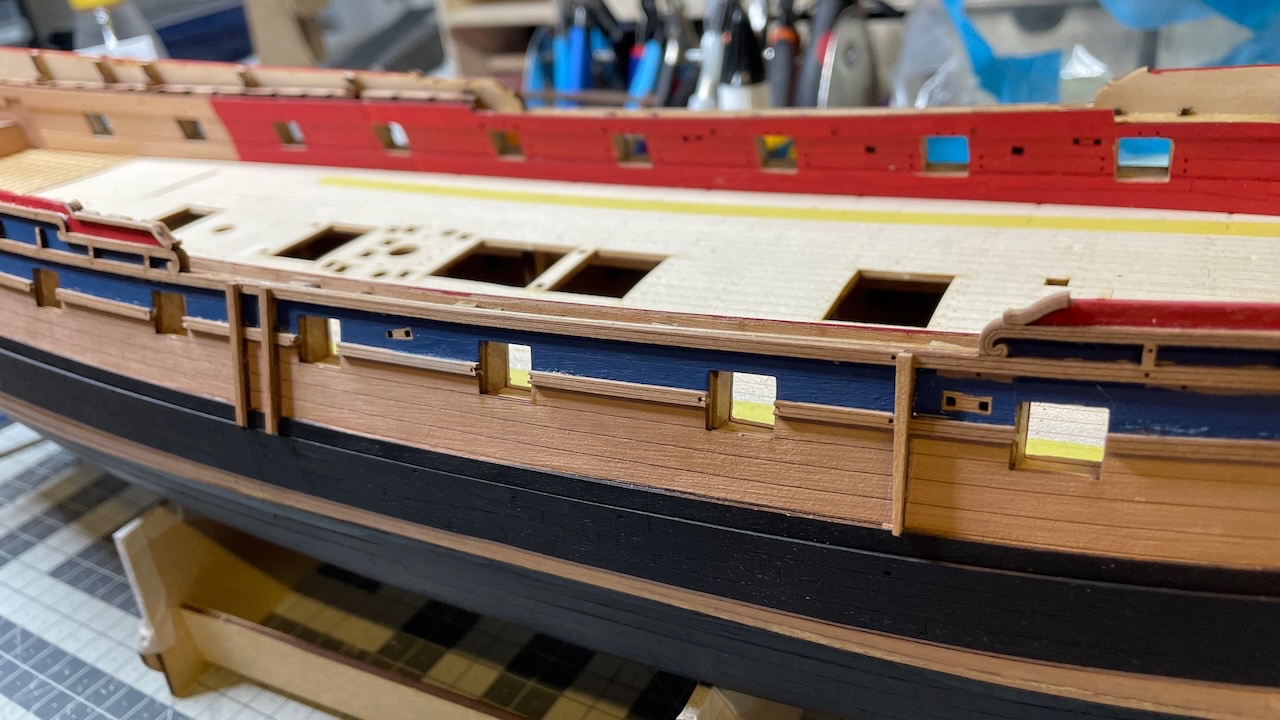
Photo 324: First channel in place.
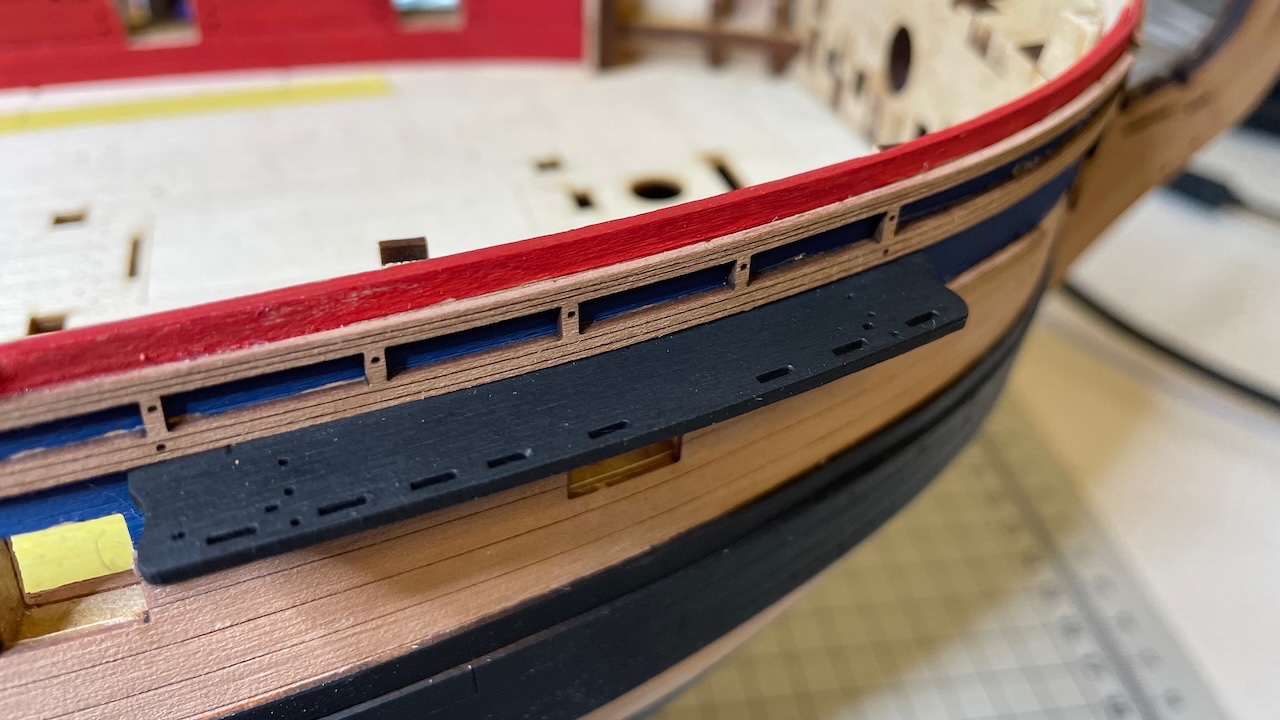
Photos 325: All channels installed including the so called "Channel knee parts" (those L shaped parts resting on the rails and the channels)

-
Build day 37: 2hrs / Total 78 hours
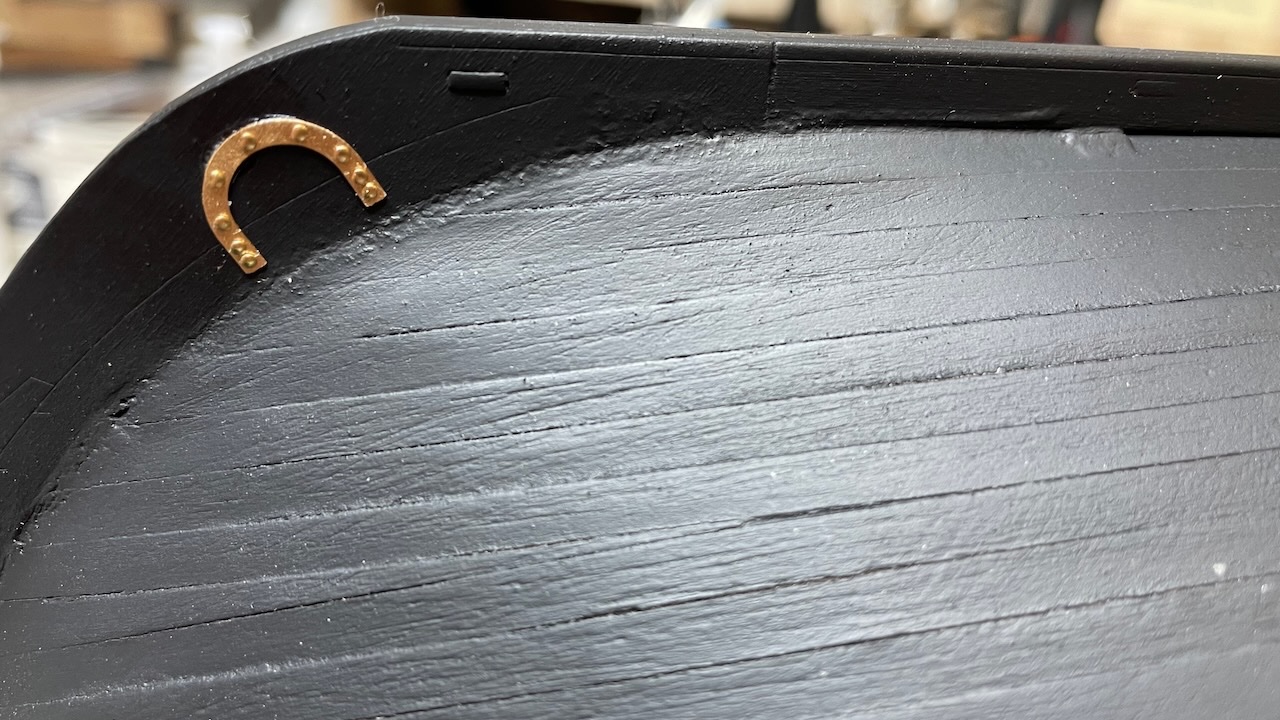
Rudder ready and installed in place. Also glued the horseshoe and fishplates in their places. I don't have a copper color so I chose a Vallejo Old Gold which was available in my paint box. It is a bit more on the red spectrum and looks good enough for copper on small surfaces such as these ones.
Photos 318-319: Rudder, fishplate and horseshoe

- mtaylor, DonSangria, BobG and 1 other
-
 4
4
-
-
-
-
Rudder construction.
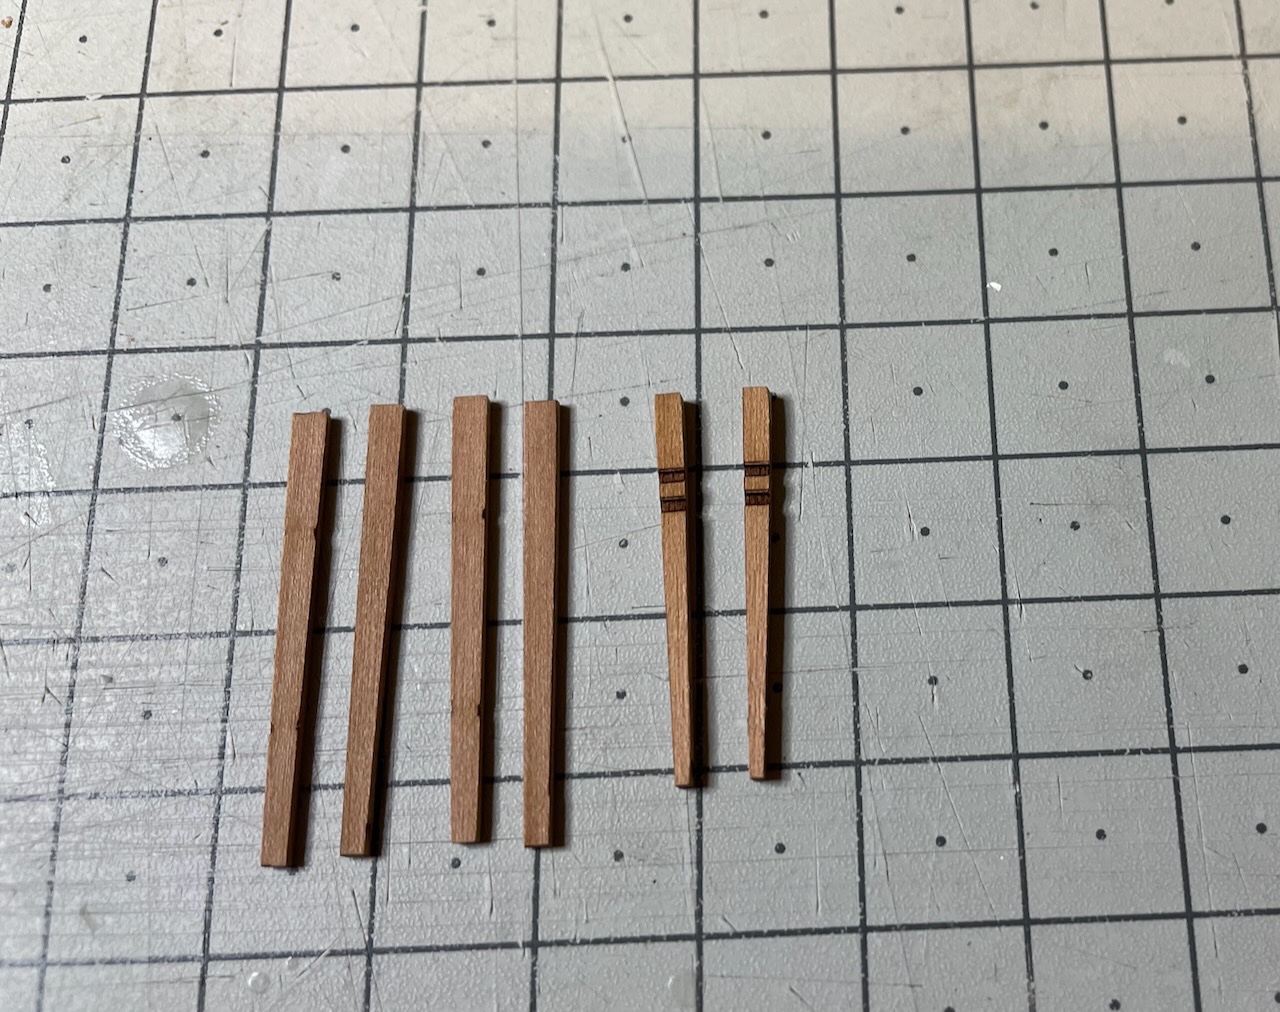
Photo 308: Removed 3 rudder pieces. The central piece is thicker, while the two outer pieces with engraved patterns are thinner.
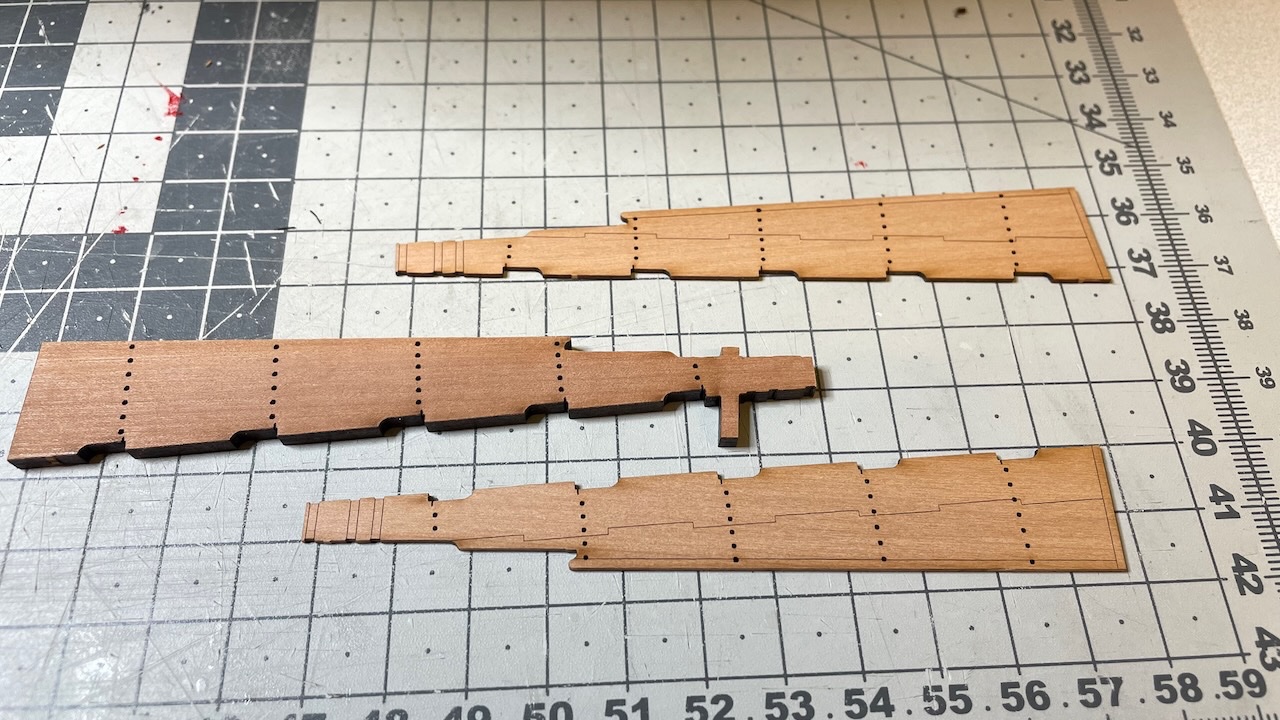
Photo 309: Glued together carefully ensuring that the pinholes align.
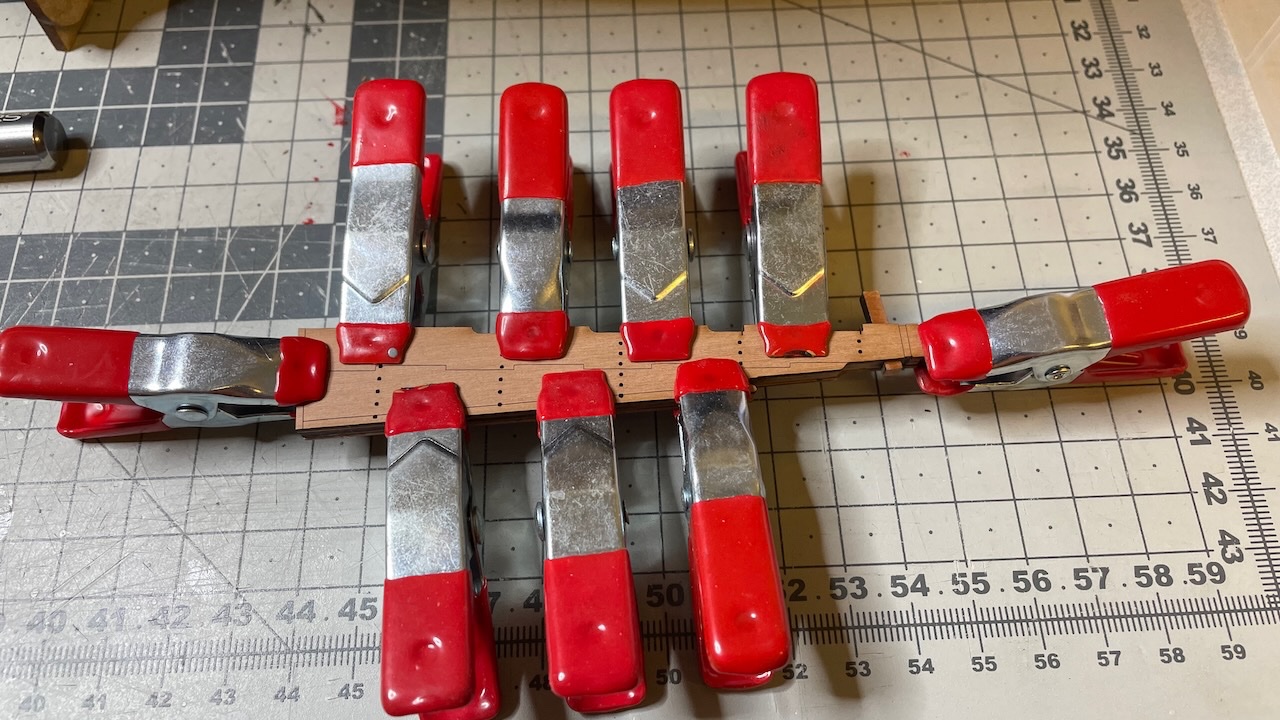
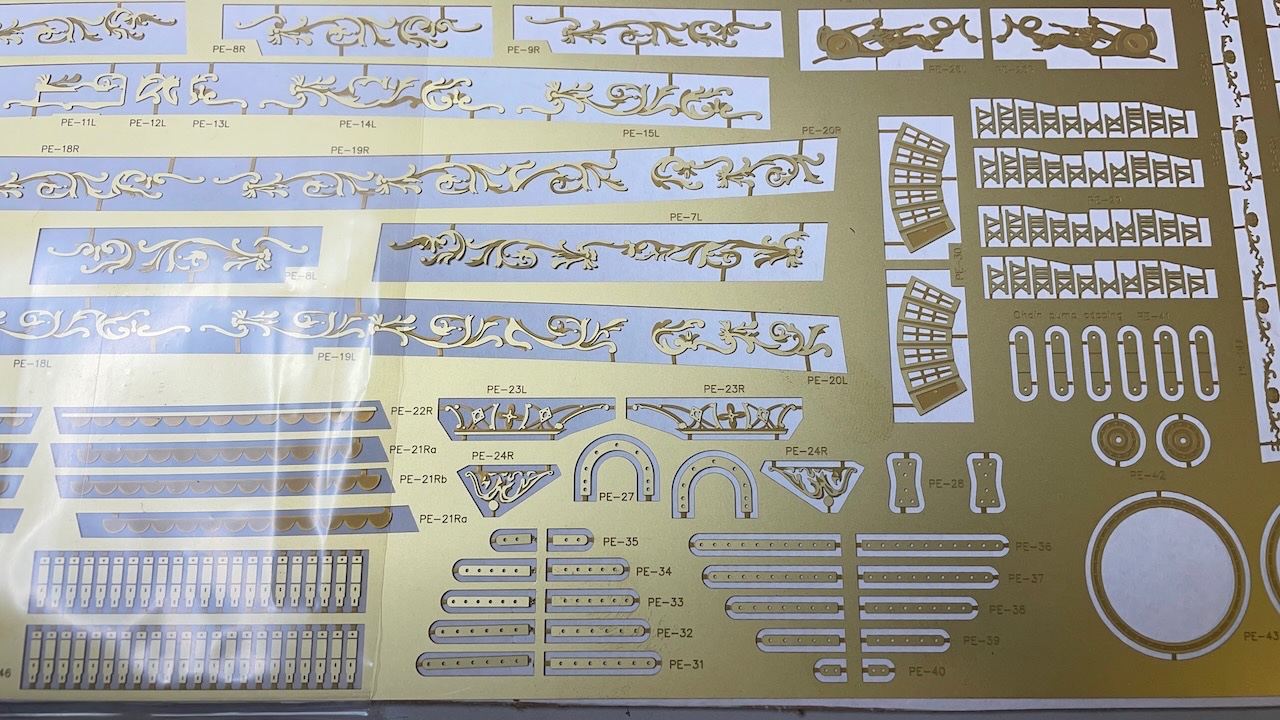
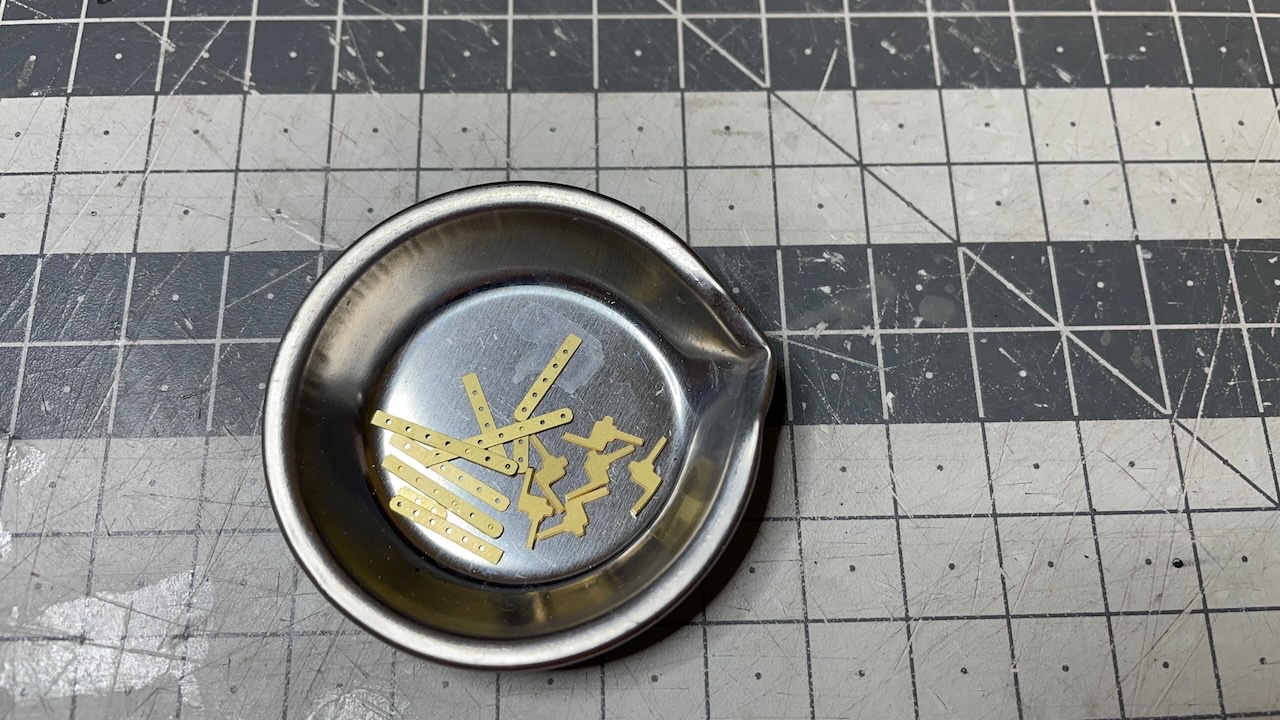
Photo 310: First photo ethced work of this construction. Very delicate parts. We need PE-31 to P-35 for rudder.
-
Build day 36: 3hrs / Total 76 hours
Today I spent about 3 hours on
- Side Fender Patterns and Chess Tree Patterns,
- rudder (still in progress)Photos 306-307: Removed the Side Fender Patterns (2 for each side) and Chess Tree Patterns from the sheet and glued in place. I didn't check ahead if the sides will be hidden or not later but I still removed laser char from the sides.
-
-
-
-
-
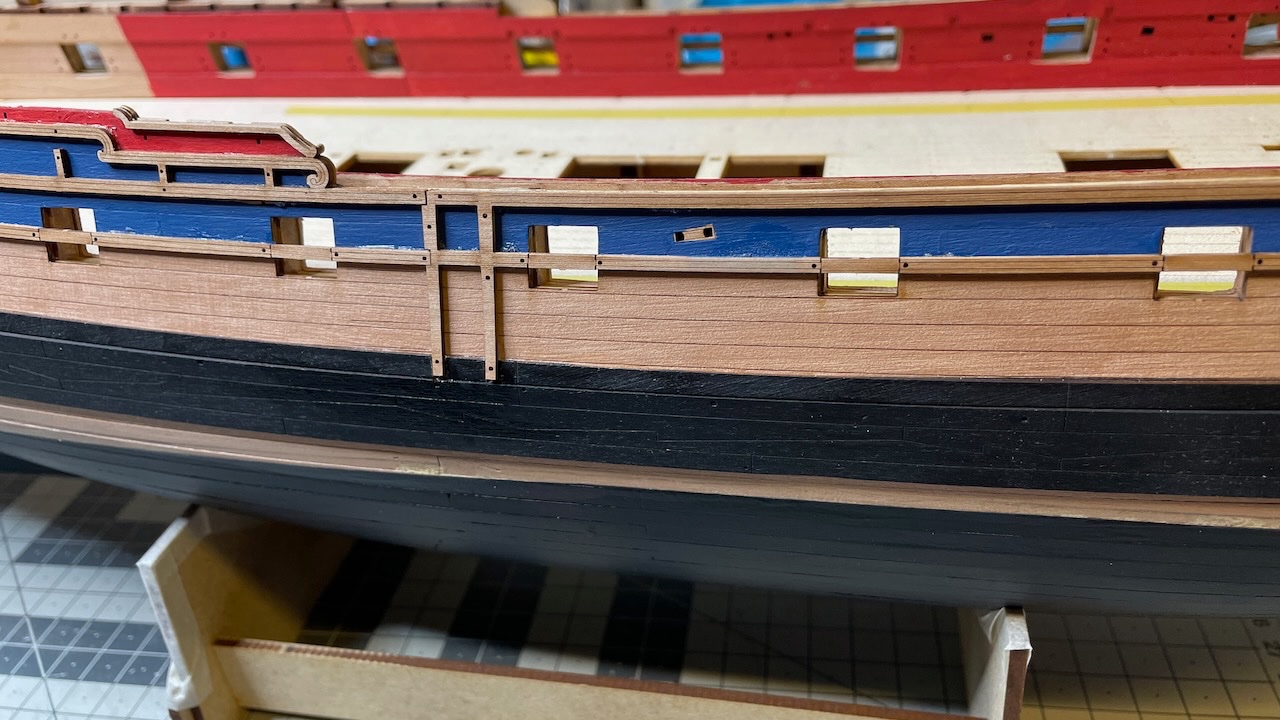
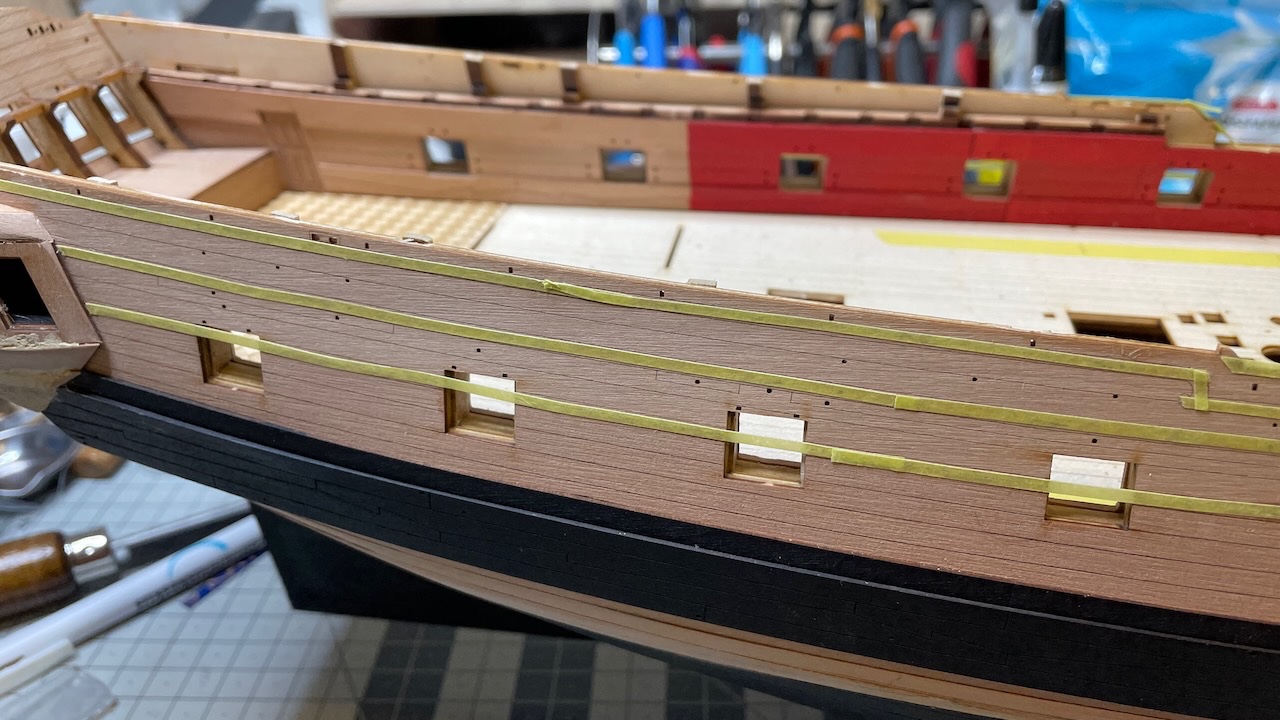
Build day 35: 4hrs / Total 73 hours
Today I spent about 4 hours on
- masking and aligning the rails,
- varnishing the hull,
- painting,
- gluing the rails.
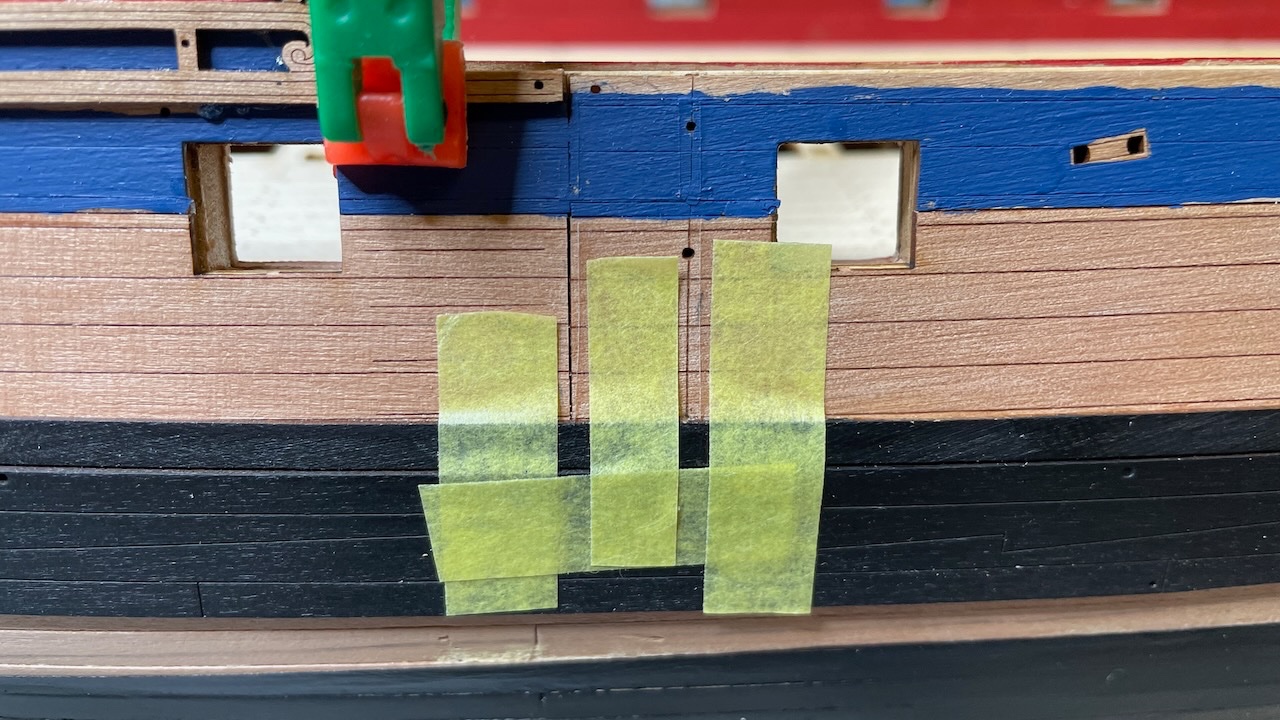
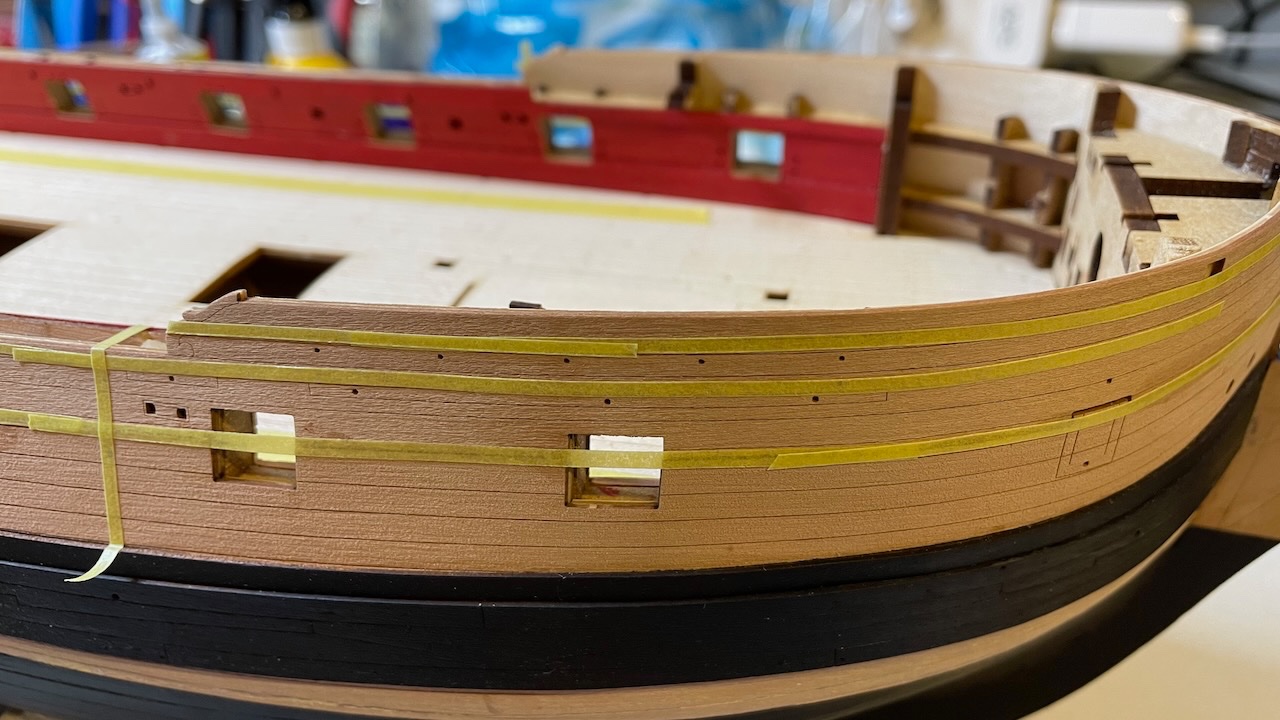
Photo 298: Sliced approx. 2mm wide strips from my masking tape for covering the areas where the rails will sit, to prevent from varnish.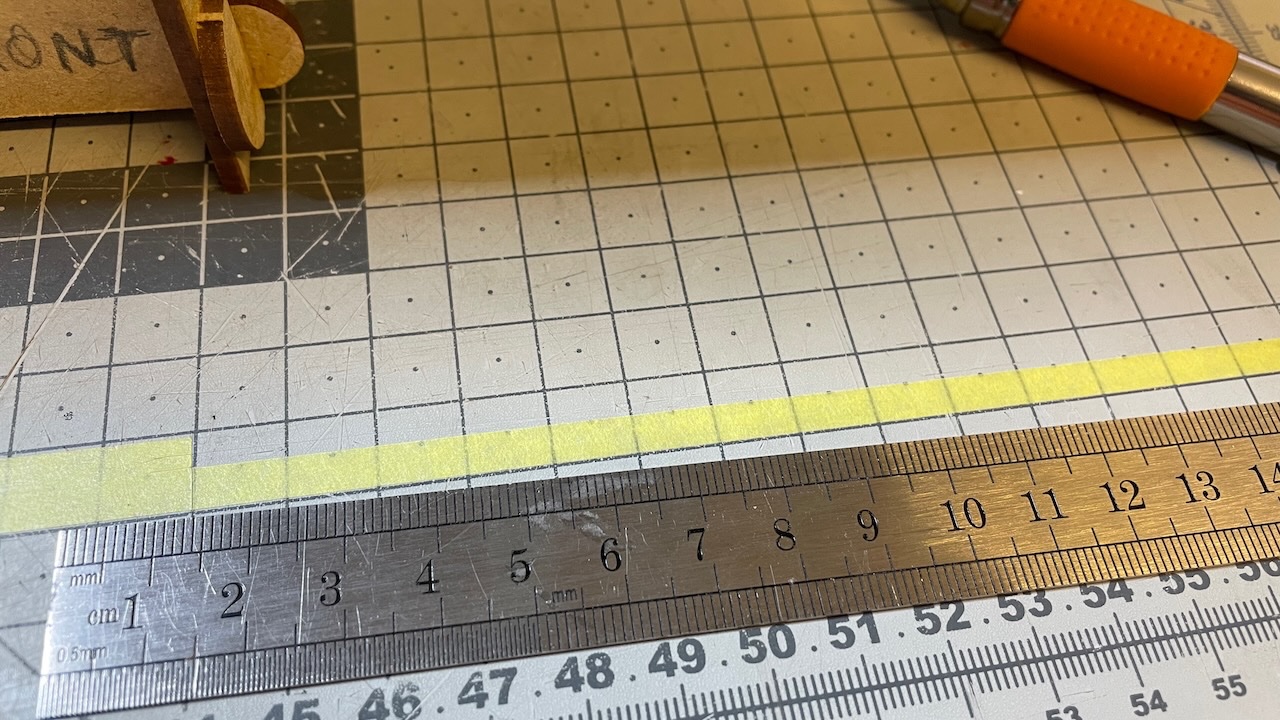
-
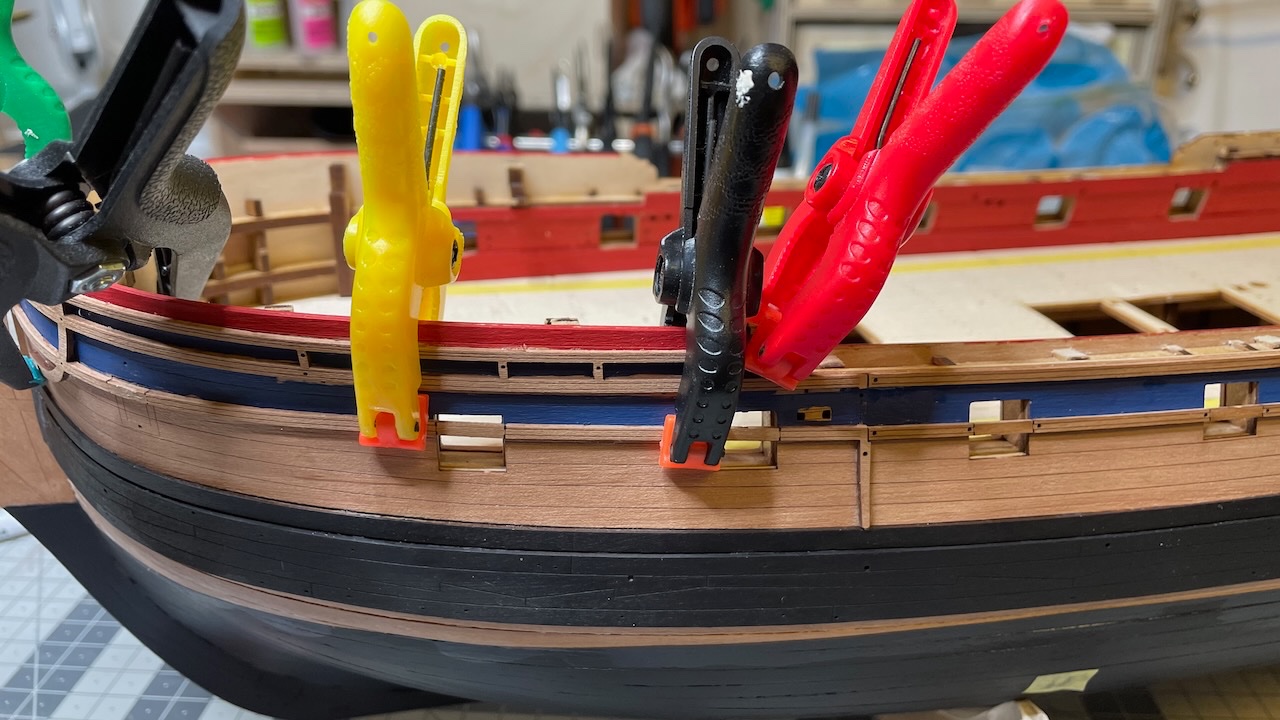
While they are drying, I prepare the other ones (that need no prior bending). I used my Dspiae sanding stick to remove laser char as good as I can, focusing mainly on more visible areas. I also use clamps to help strengthen against sanding stick strokes.
Photo 294: Parts carefully removed from the wooden sheet.
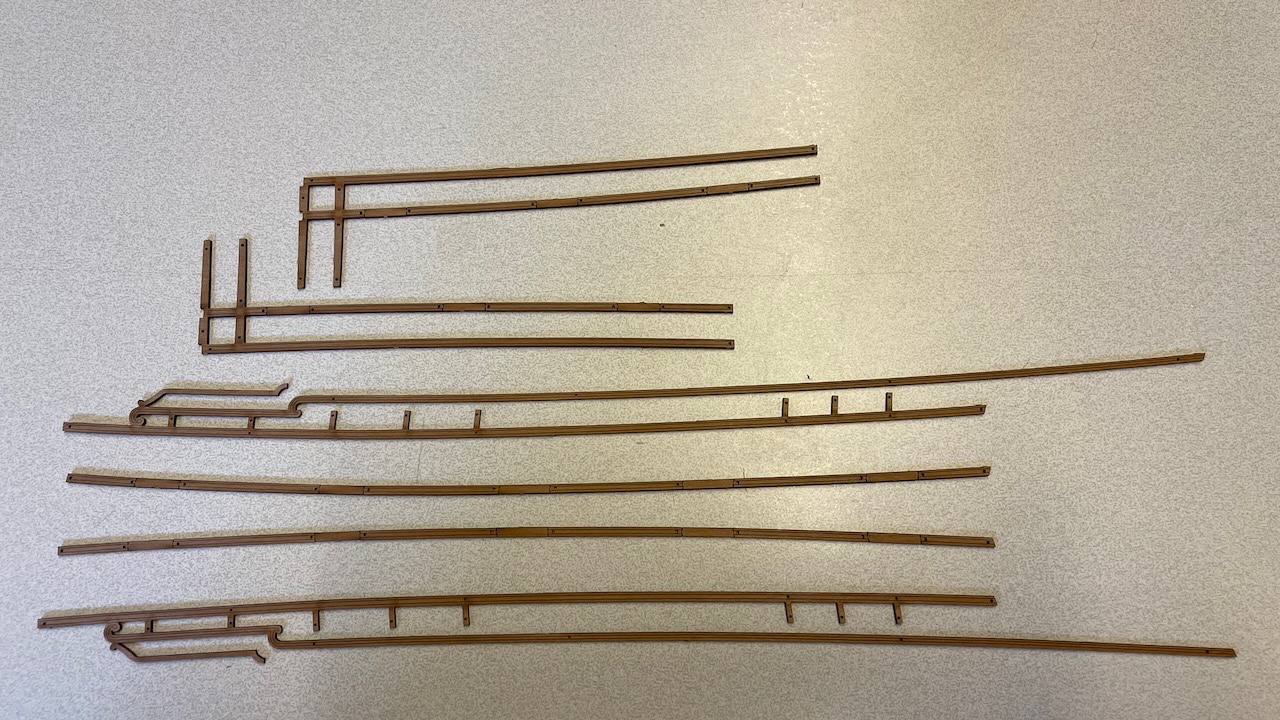
Photo 295: Here is a comparison, chars removed vs not removed.

Photos 296-297: Use of clamps and sanding stick.

-
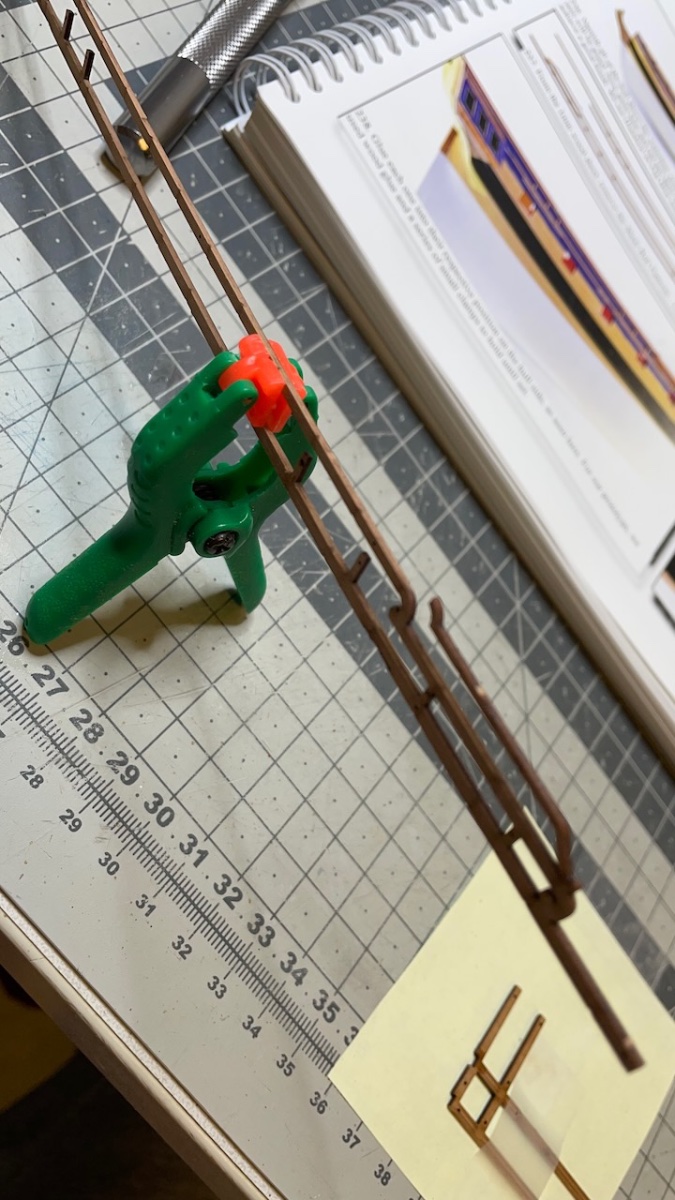
Build day 34: 2hrs / Total 69 hours
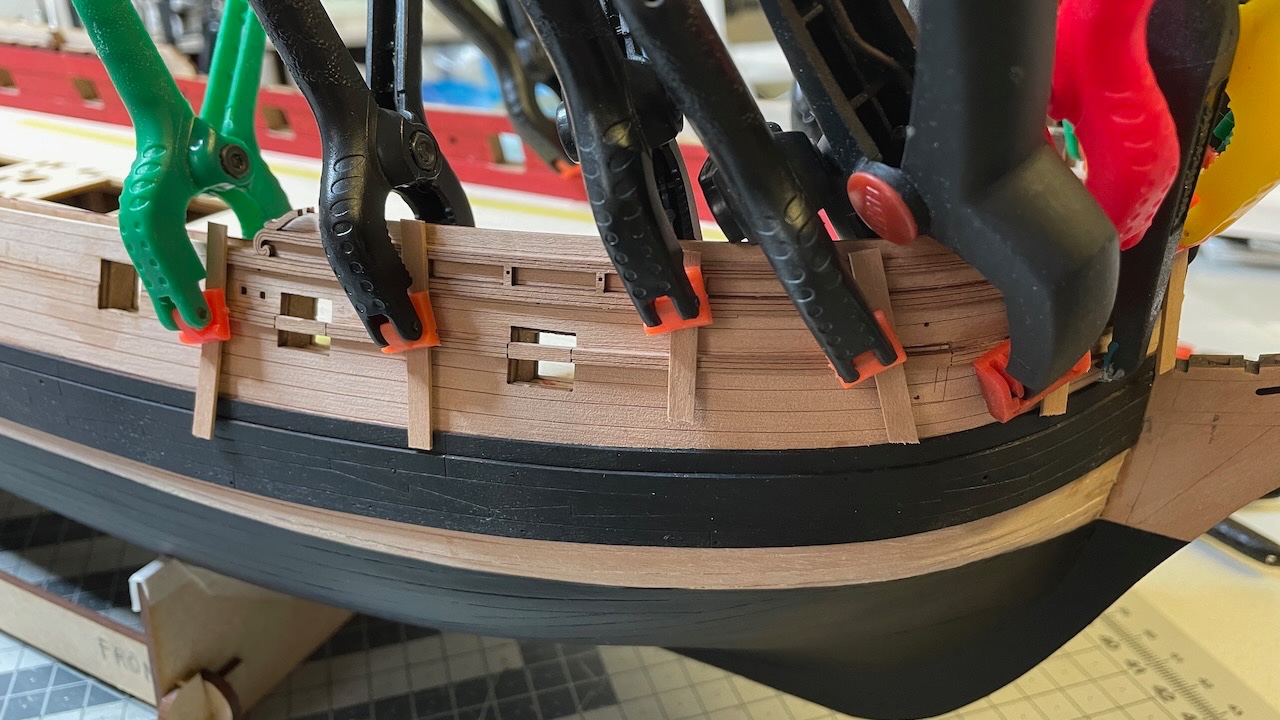
Today I spent roughly 2 hours on preparing rail patterns. These are among the most delicate and fragile parts.
Photos 292-293: Sheer and Waist Rail patterns, removed, soaked (for 20 mins) and pegged on location, waiting to dry for at least 24 hours. As instructed, I used scrap planking strips to apply even pressure and prevent from being damaged.
-
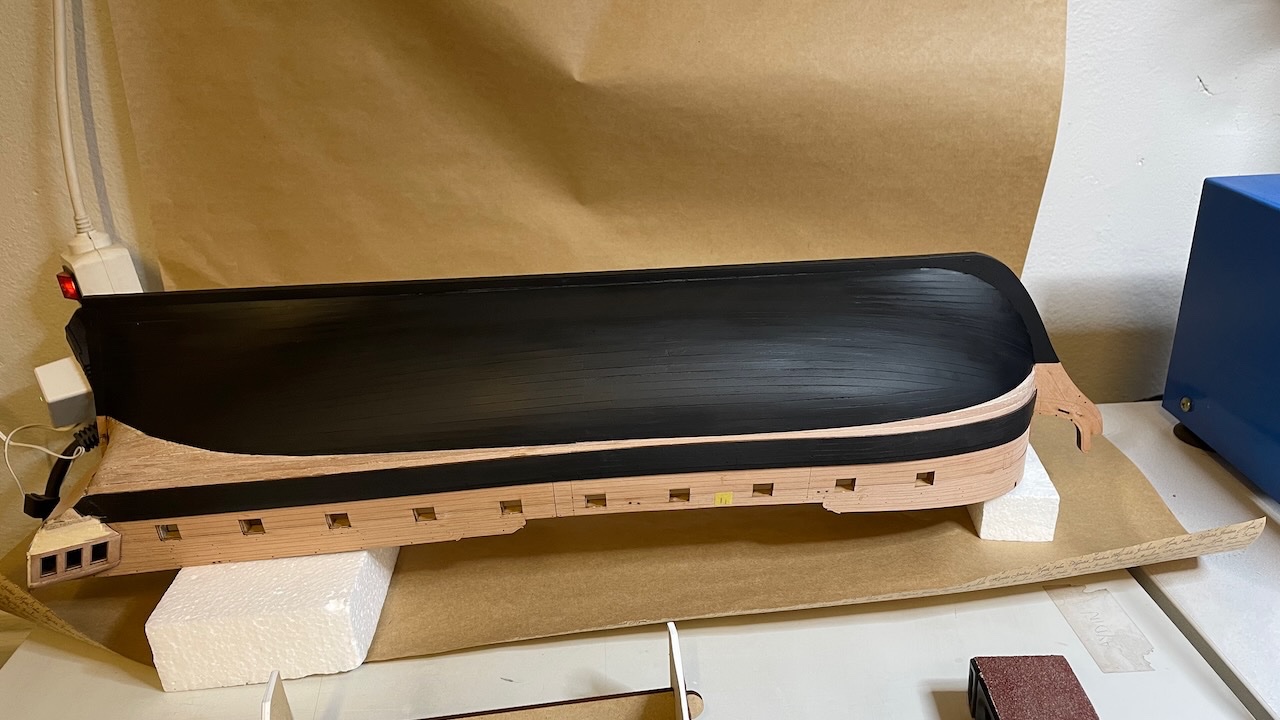
Photo 291: A waterline can be painted in any color, as long as it is black 😆.
Well, I thought over this a lot and finally chose black instead of white. As I wrote earlier I like slightly visible planking patterns rather than a completely smooth surface, as it gives a more hand made like look. In my opinion black would suit better than white in this case. I am happy with the result.
- ccoyle, Vladimir_Wairoa and mtaylor
-
3
-
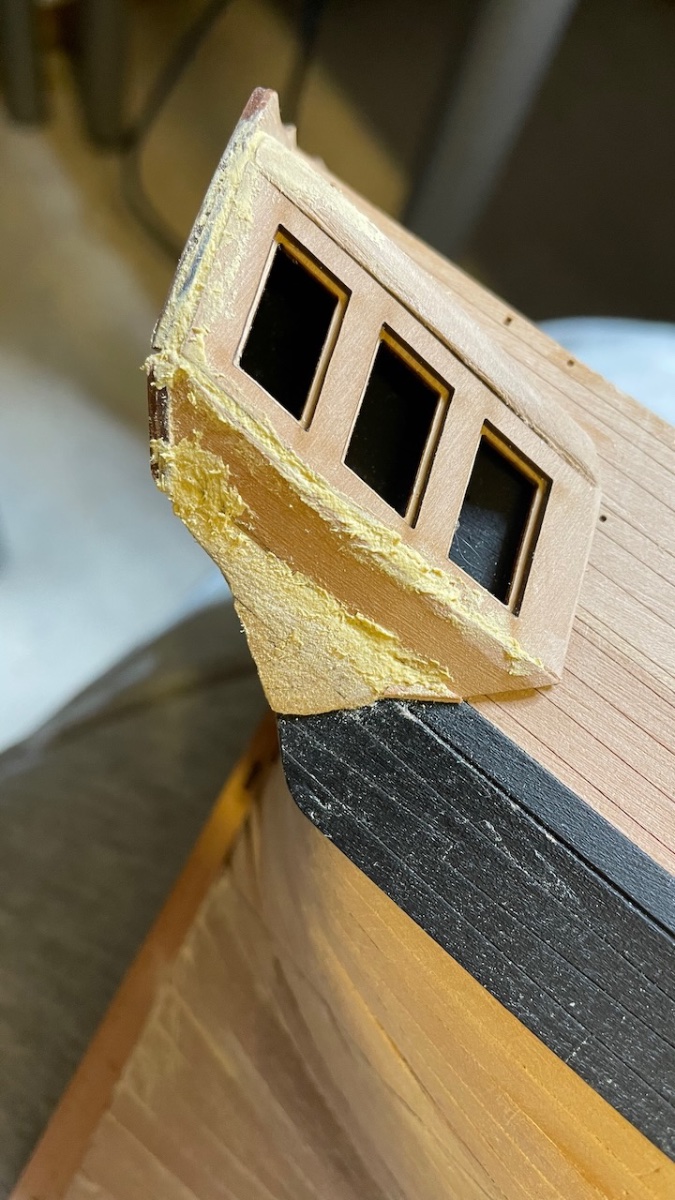
Several photos showing the progress of Quarter Gallery windows installation. Here there is quite a bit of rasping and bevelling of the parts. It mostly went smoothly but at some parts I used wood filler to achieve smooth transition. At this stage sanding is not complete yet. Most of this section will remain under paint and decoration.
Photo 283: Bevelling of the roof part.

Photos 284-285: Windows on both sides.

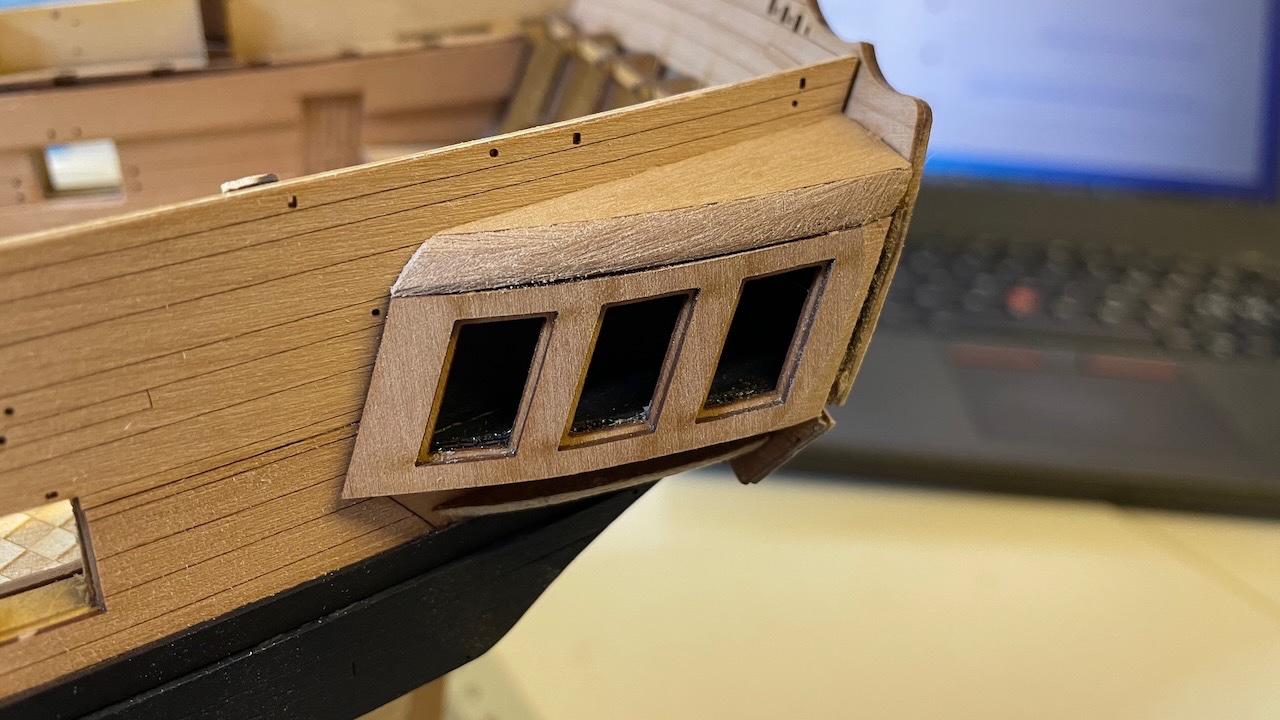
Photo 286: Lower finishing patterns, made up of three parts, dry fitted. This will substantial amount of rasping and sanding to get to shape.
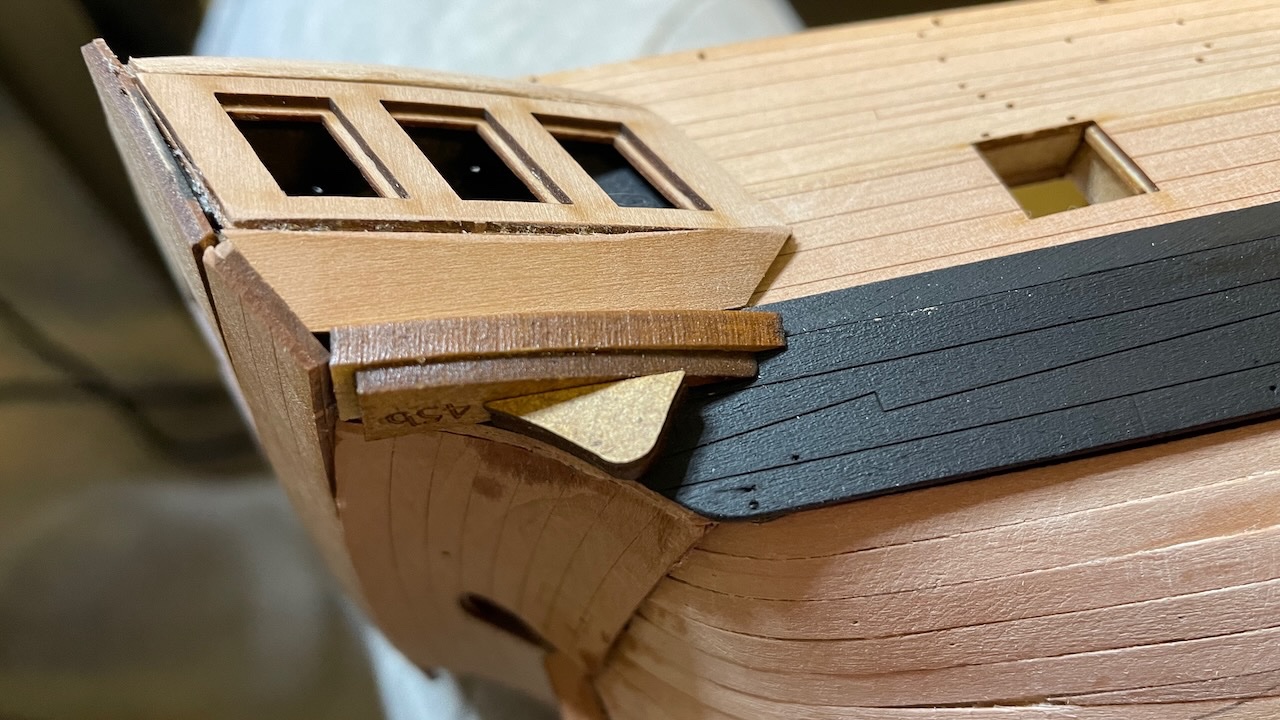
Photo 287: Looks about like this after shaping
Photos 288-290: Wood fillers to cover impurities. I will sand them more later.

- Haliburton, BobG, Oldsalt1950 and 2 others
-
5
-
-
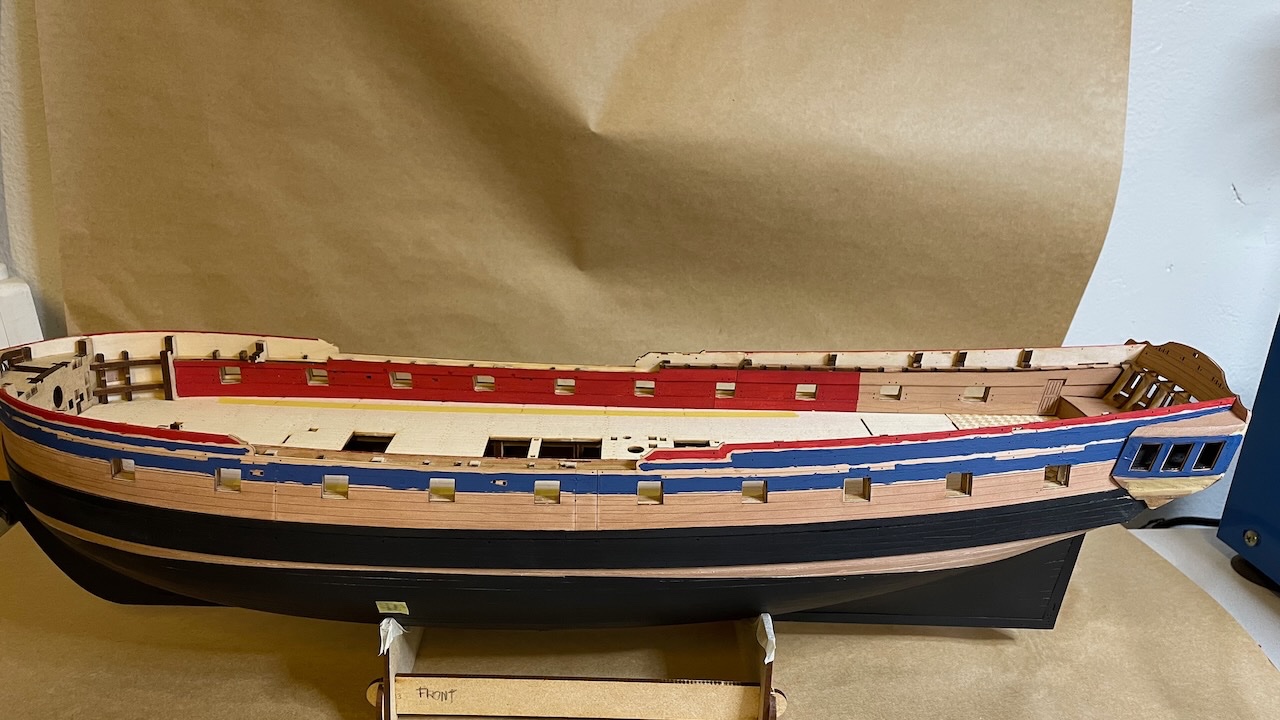
Photo 281: Paint dried, masking tapes removed. Looking good enough.
-
-


HMS Sphinx 1775 by aydingocer - Vanguard Models - 1:64 - Revision #2
in - Kit build logs for subjects built from 1751 - 1800
Posted · Edited by aydingocer
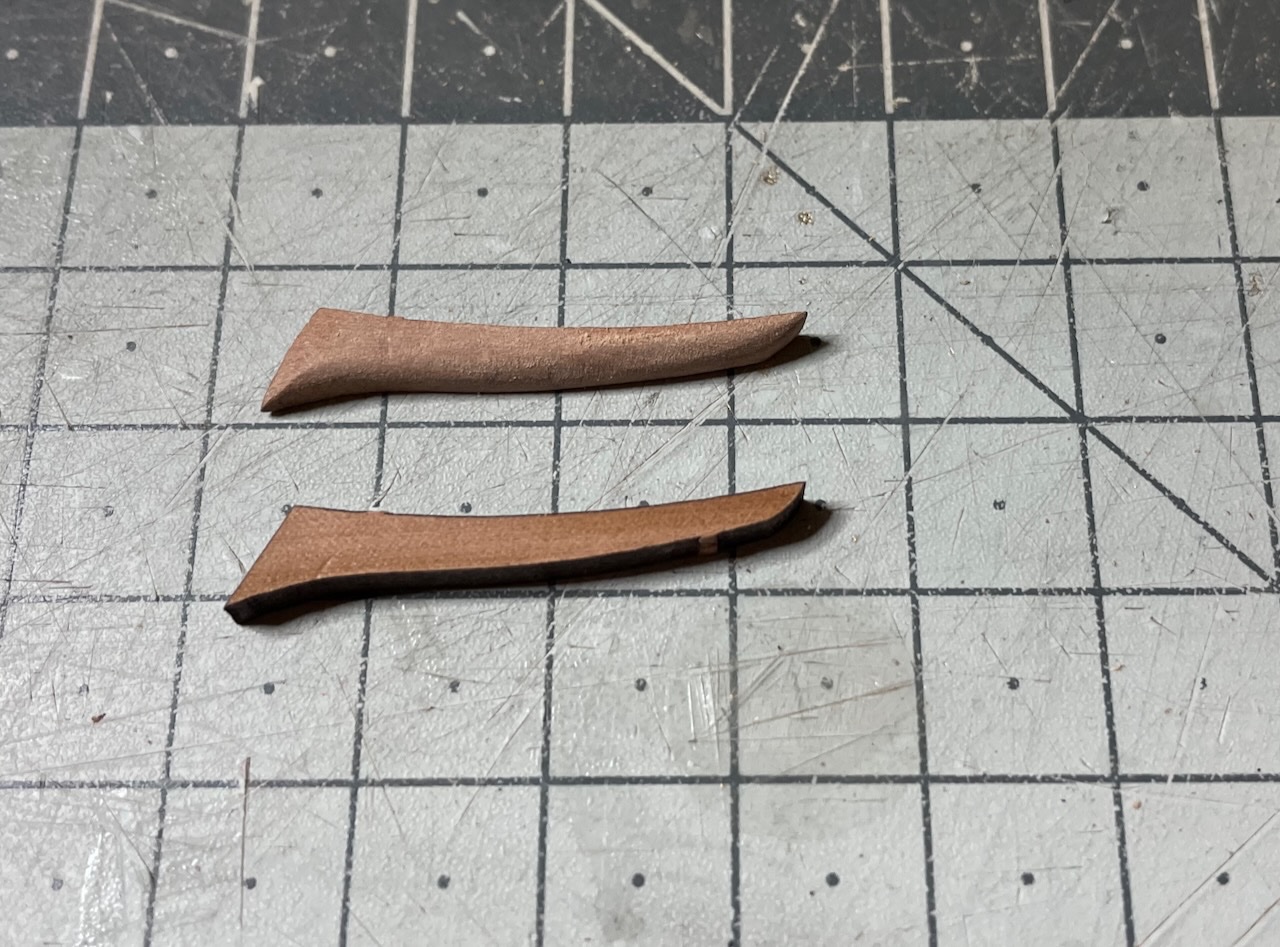
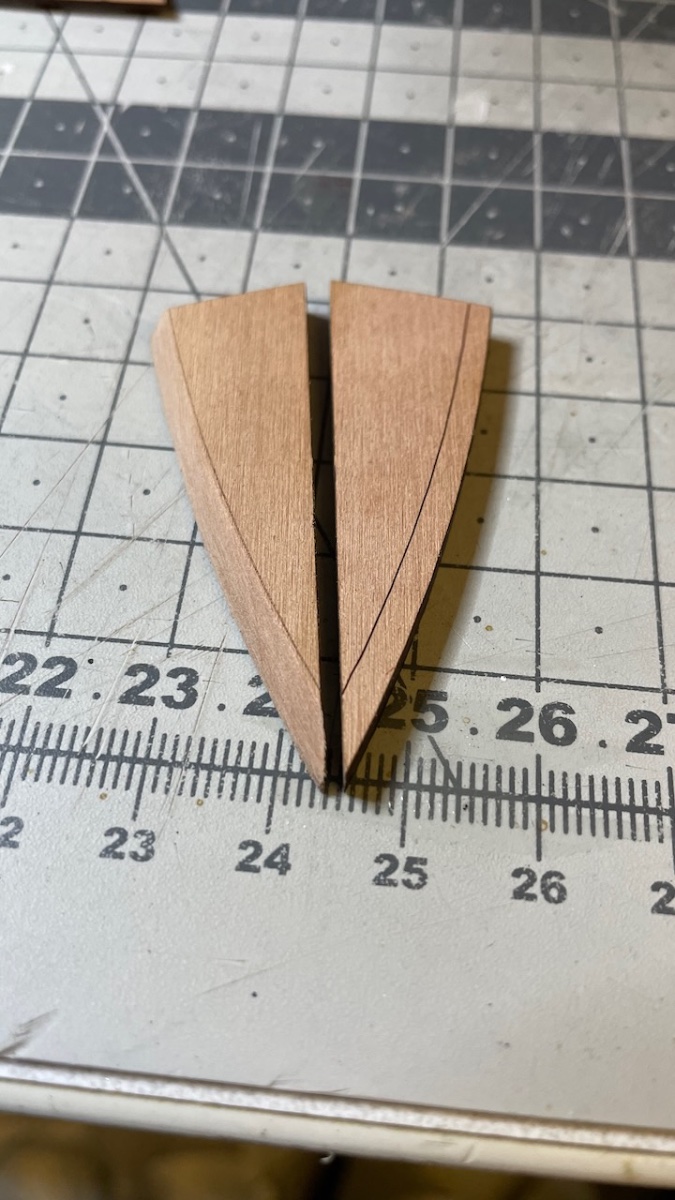
Photo 394: Bow Lower Rails – Left & Right.
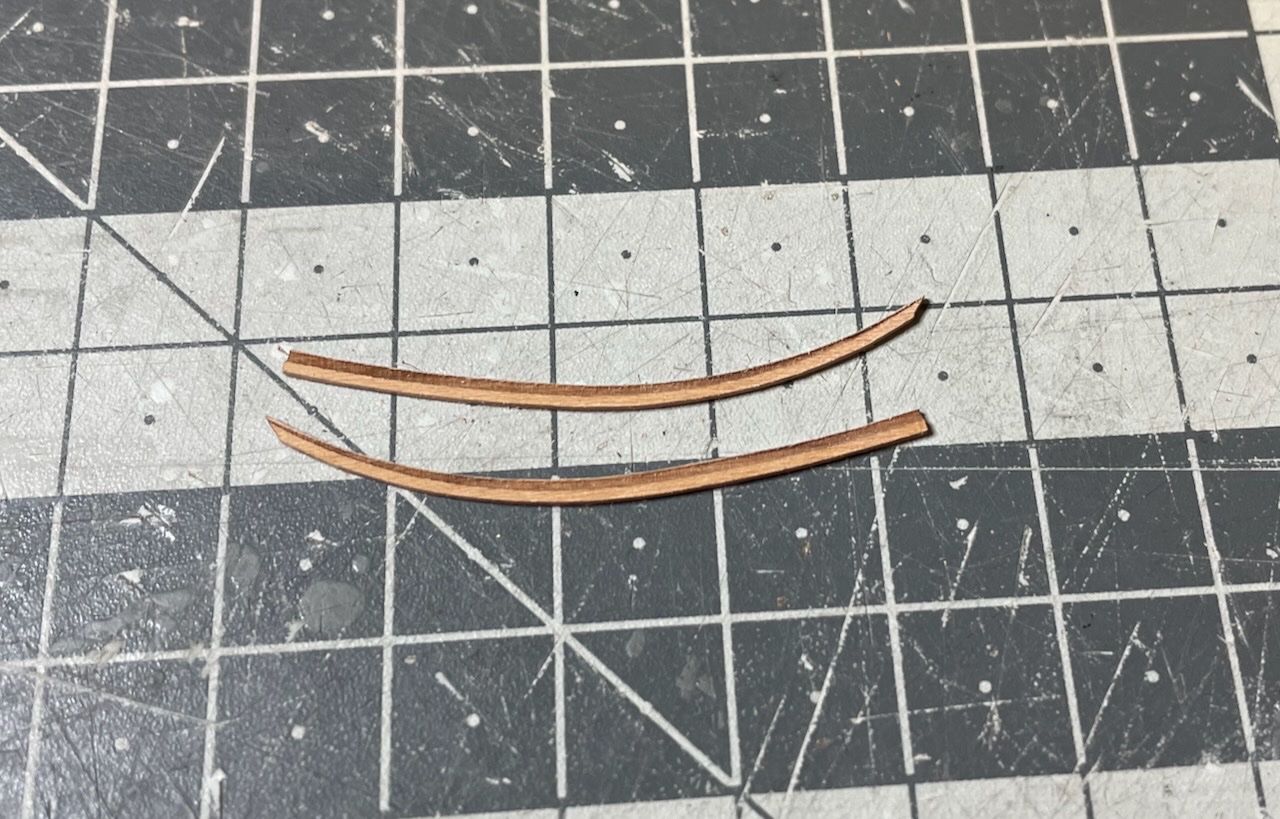
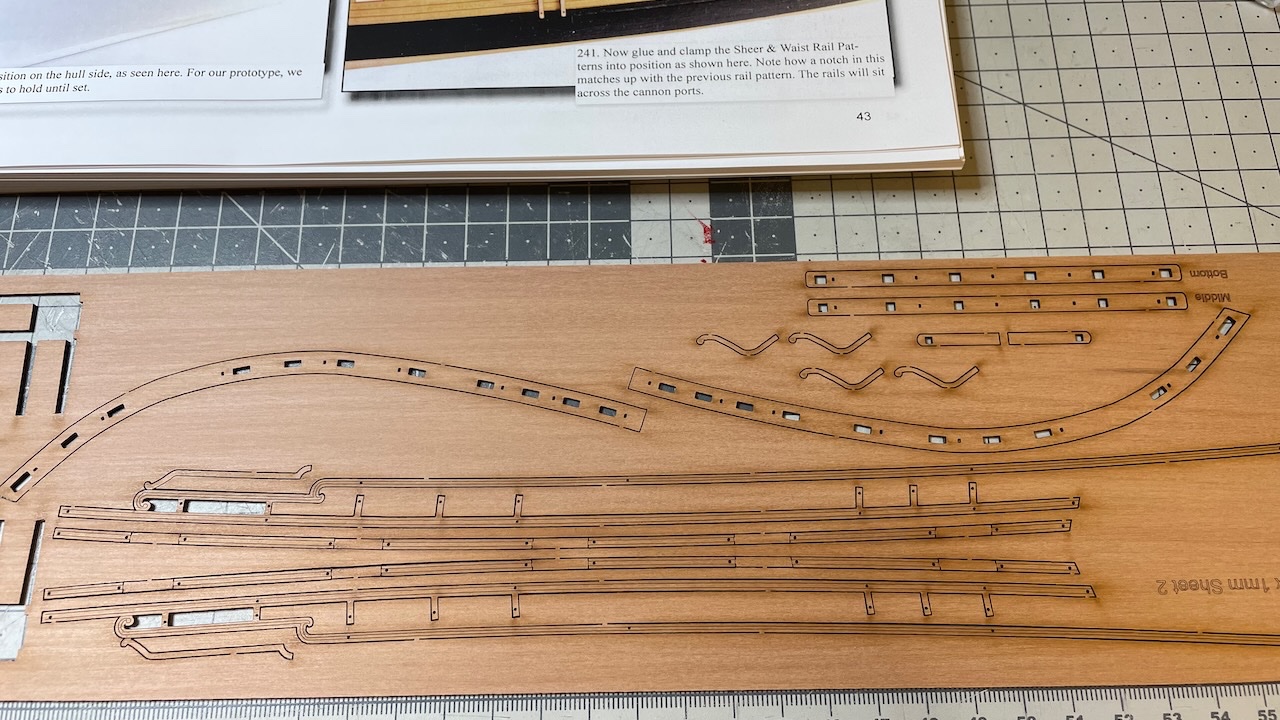
Photo 395: Pattern parts for the V-shaped head rails.
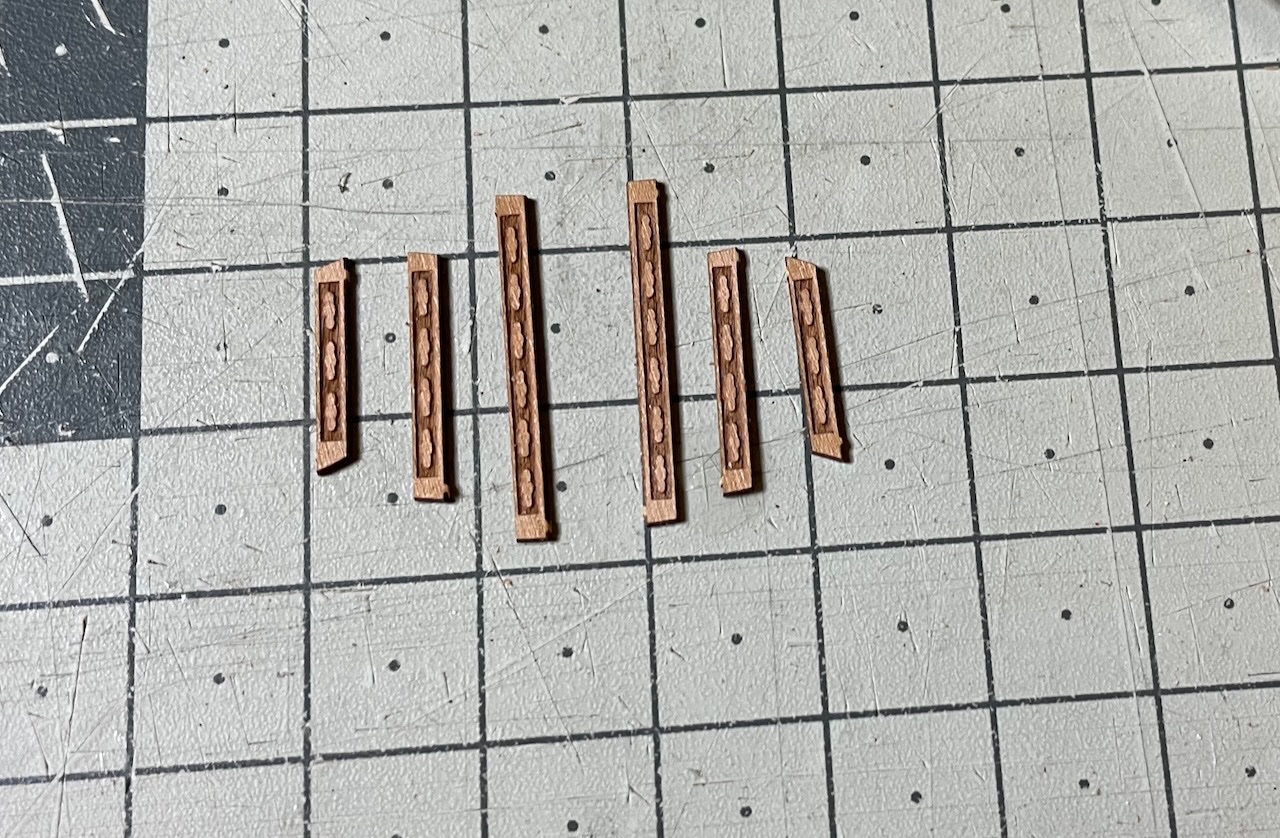
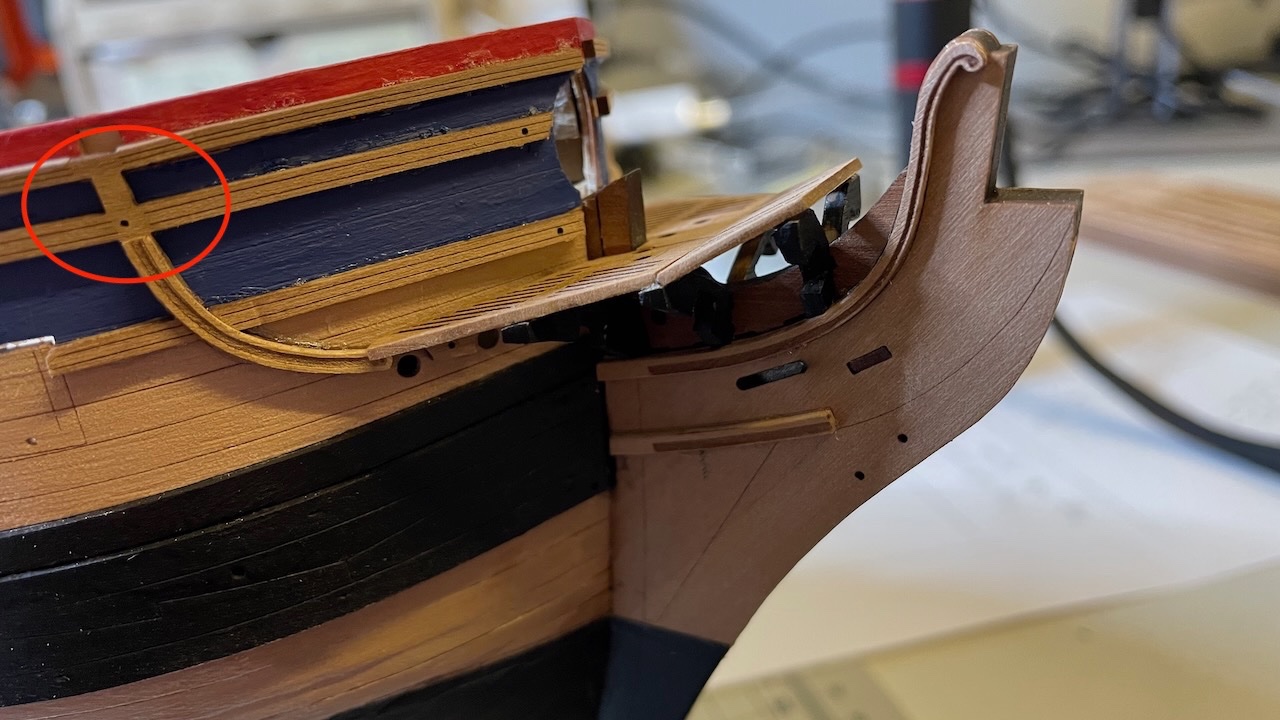
Photo 396: Photo showing both in place.