


aydingocer
-
Posts
858 -
Joined
-
Last visited
Content Type
Profiles
Forums
Gallery
Events
Posts posted by aydingocer
-
-
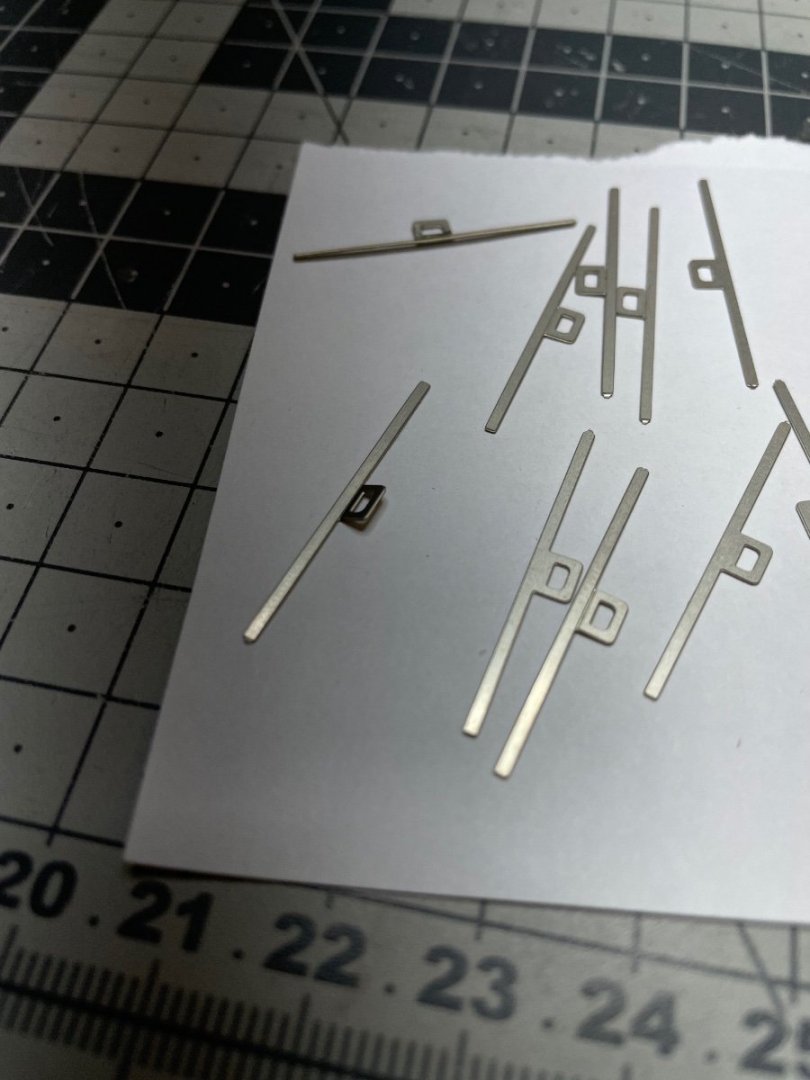
Figures 336-338: Bend the handles about 30 degrees from the rails. A flat-nosed pair of pliers is handy to grab the handle and press it at an angle over a hard surface.

- Old Collingwood, druxey, mtaylor and 8 others
-
 11
11
-
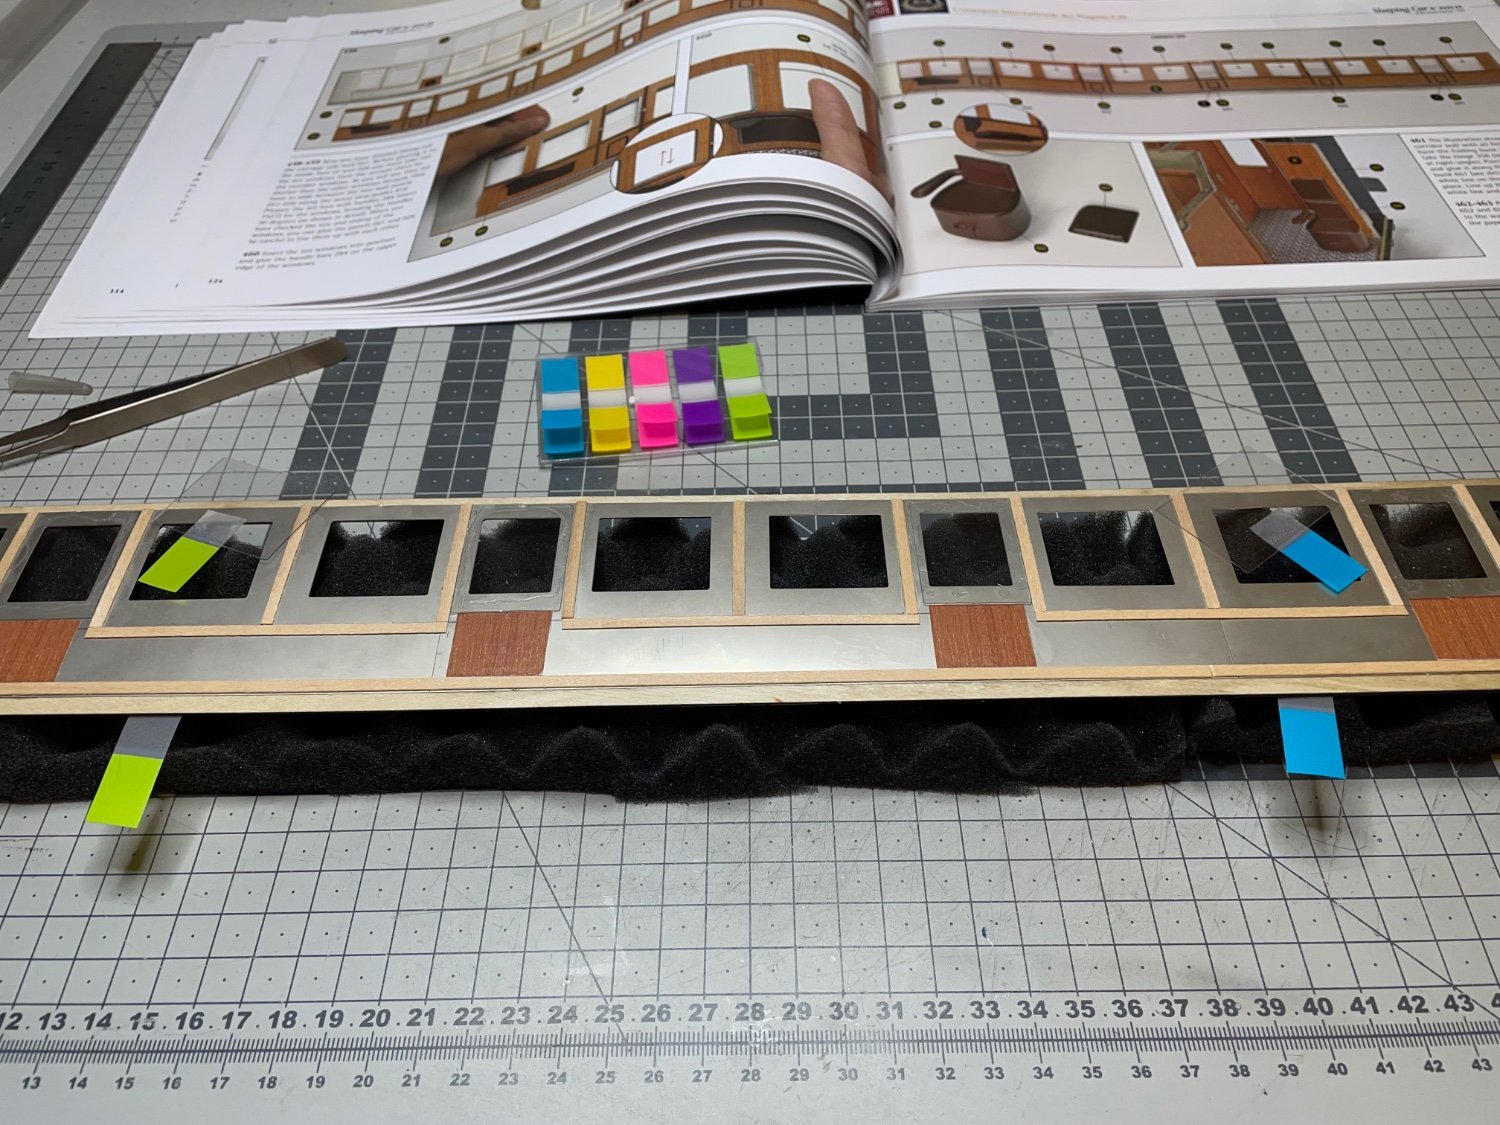
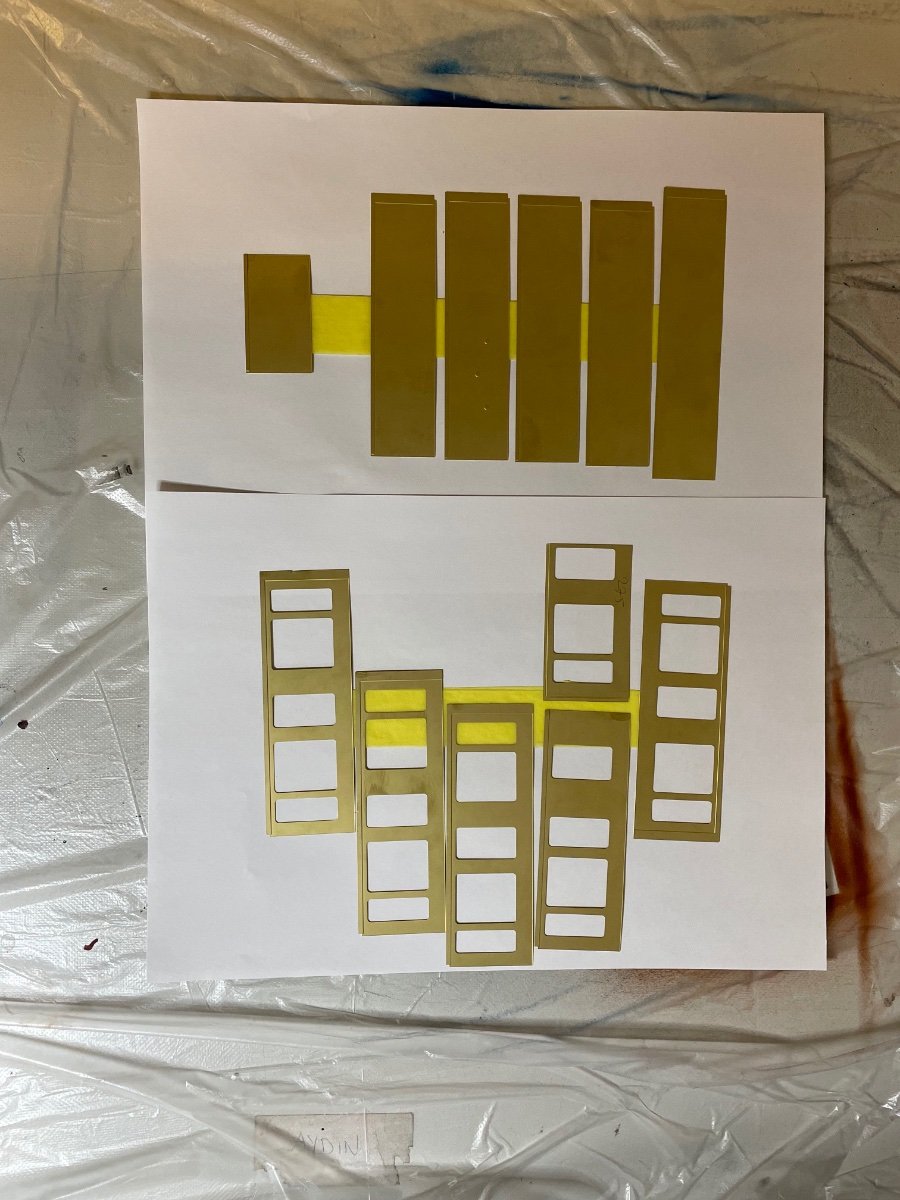
Figure 335: Some sheets need minor adjustments. I marked them with different colors to indicate correct placement.
- Canute, lmagna, Old Collingwood and 9 others
-
12
-
-
On 1/22/2022 at 12:15 PM, wefalck said:
I quite admire the designers of such kits. Doing a one-off and tweaking things to fit is one thing, but here you have to get it completely right so that the customers do not complain about poor fit etc.
Indeed. Though as paying customers we reserve the right to be nagging every now and then, the overall work they do especially on high quality level kits are quite impressive.
-
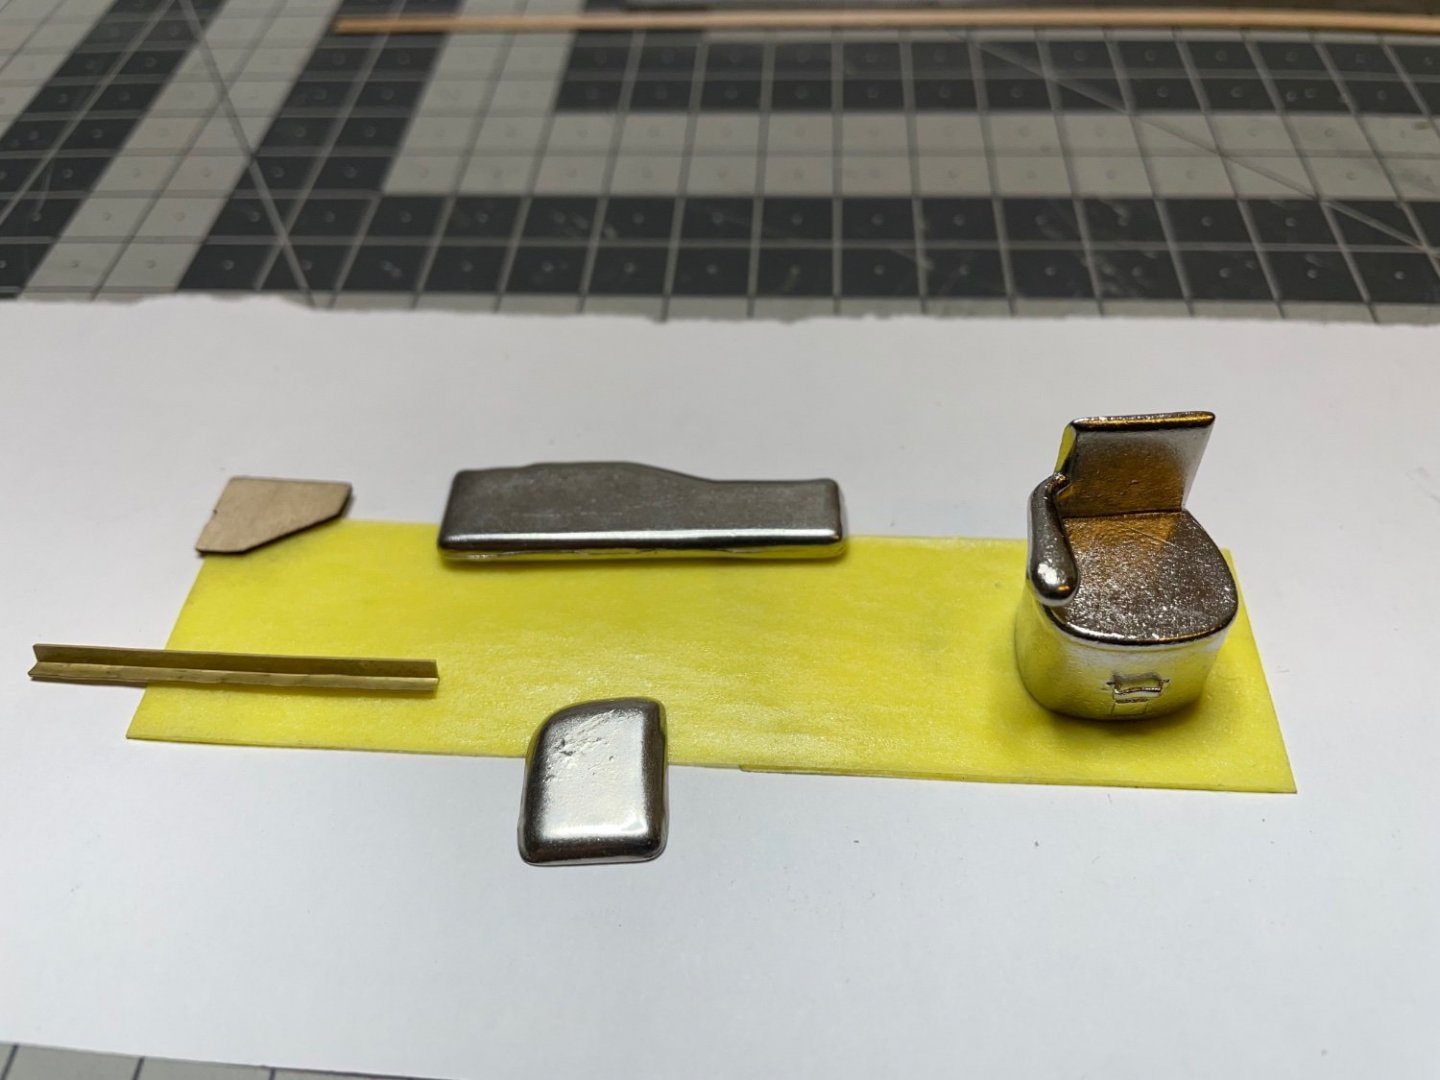
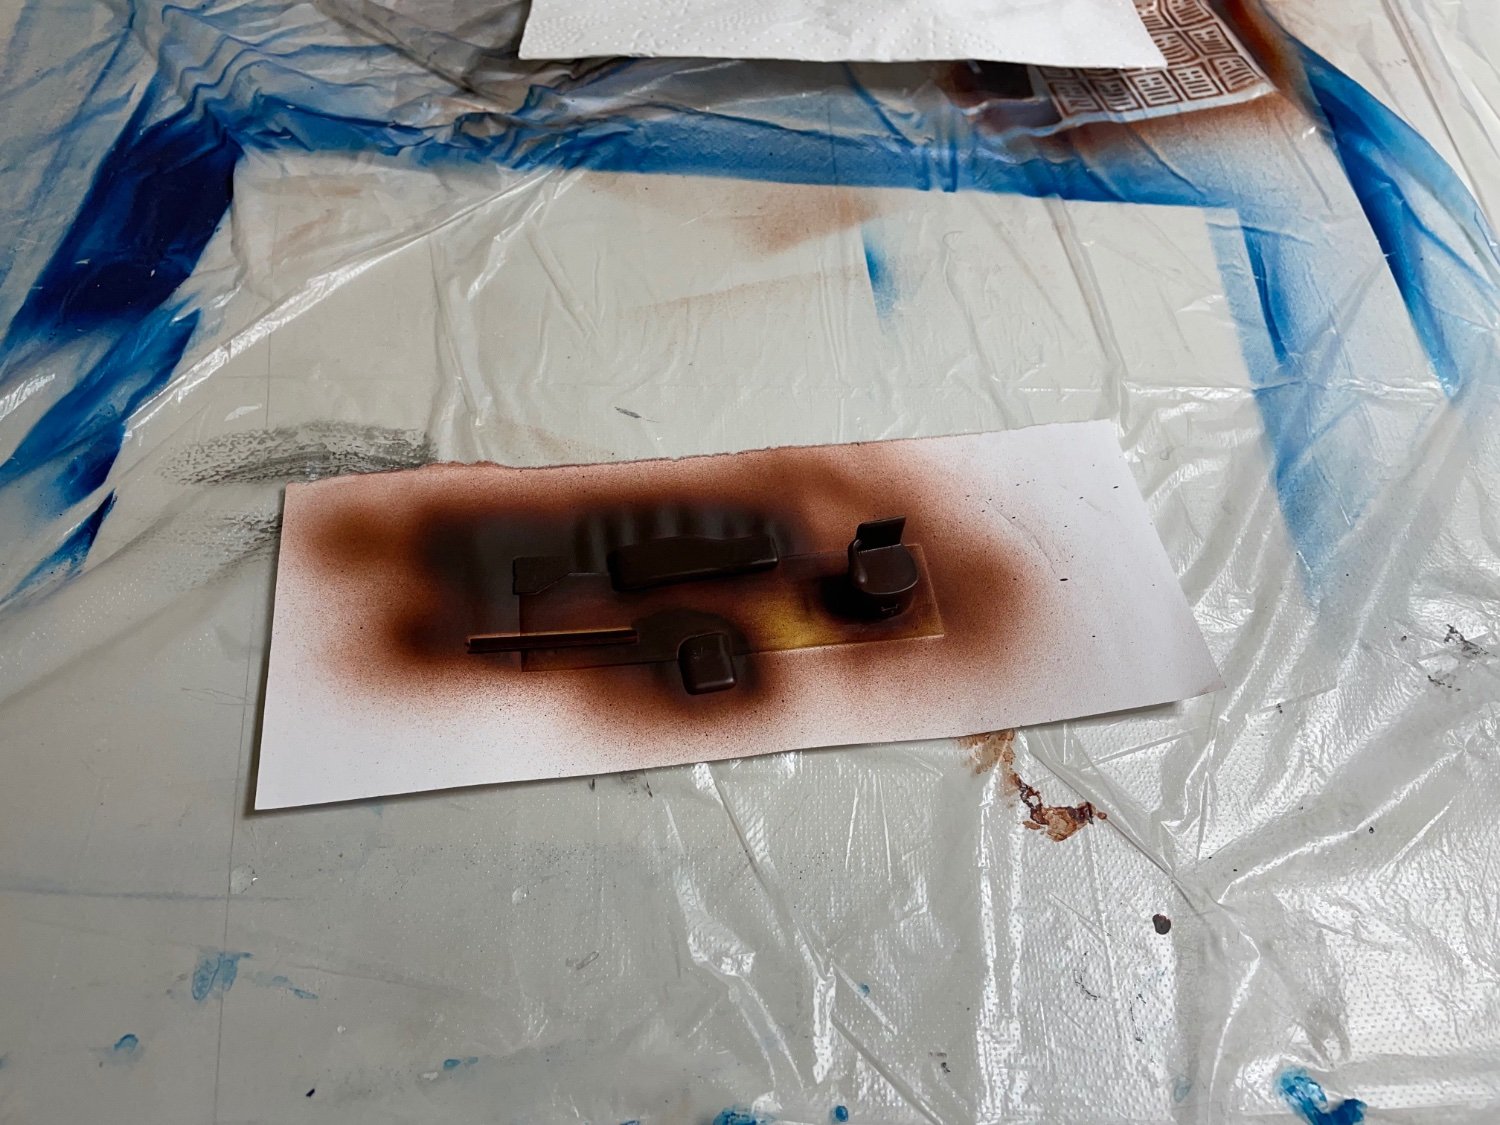
Figures 330-331: Folding bunk and the chair to be installed in the corridor. They are mixture of metal and wood. All painted in brown.
That's is all for now.
Thanks for watching! -
Figure 329: Handrails and seats in place.
- Canute, mtaylor, popeye2sea and 6 others
-
9
-
-
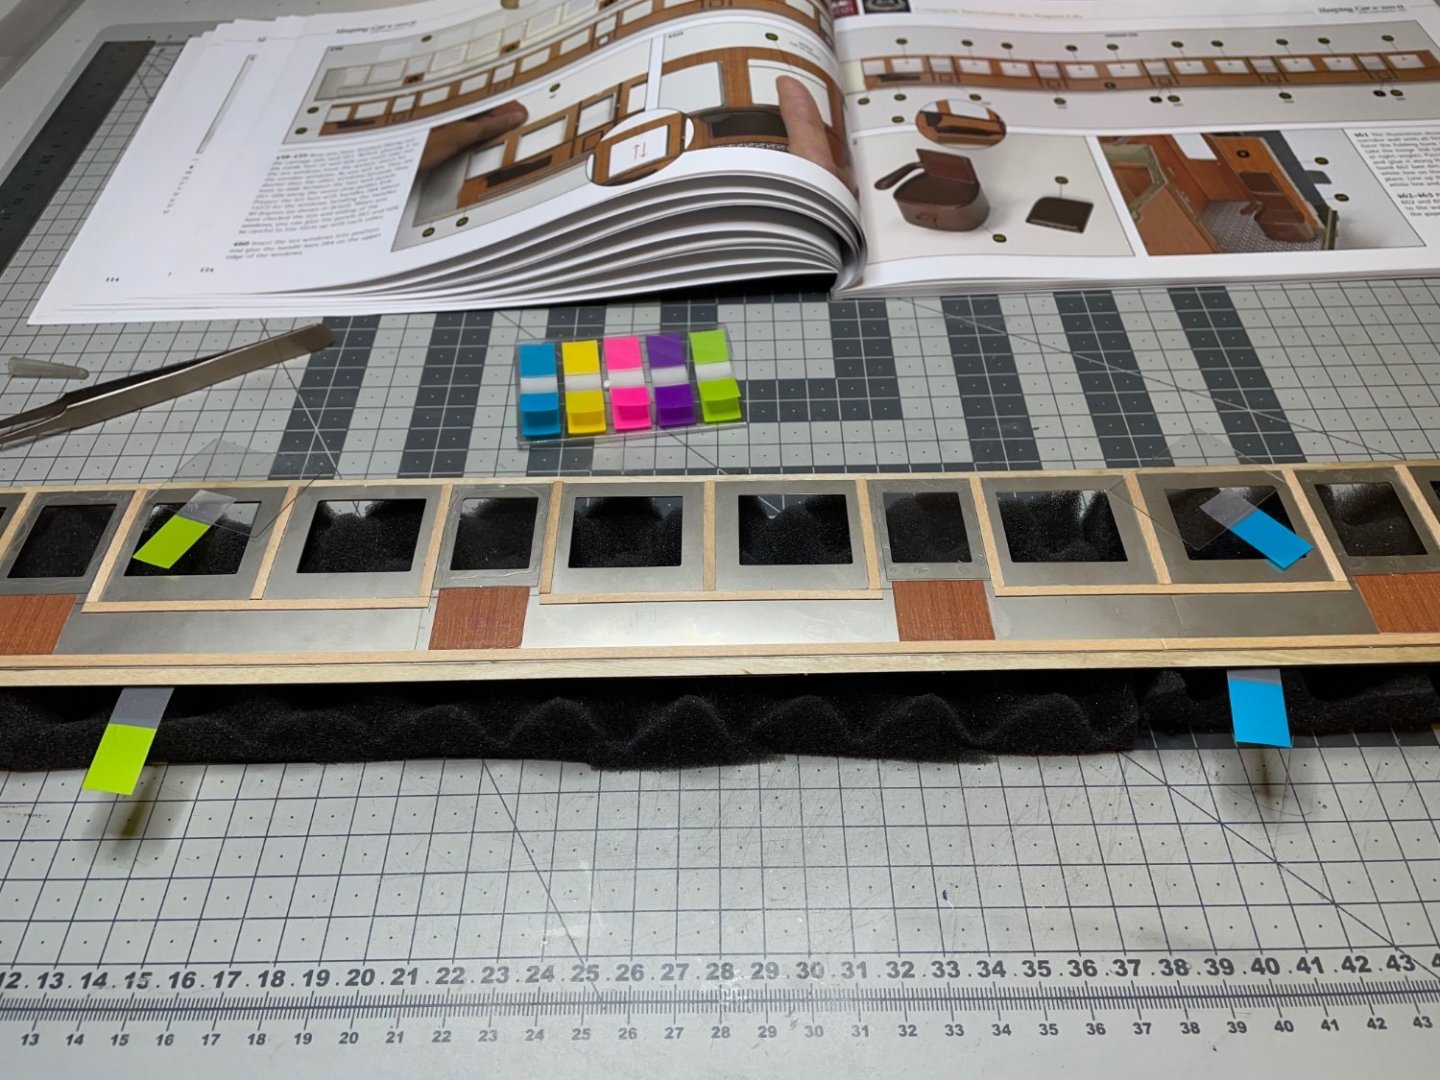
Figures 321-324: Installing the foldable wall seats, prepared earlier. You glue two pieces of wooden strips at the back in order to support them.
You can leave as many open or closed (folded up) as you like. I chose to leave one of them open, just to show. Otherwise I bet they had always been folded up while not in use.


-
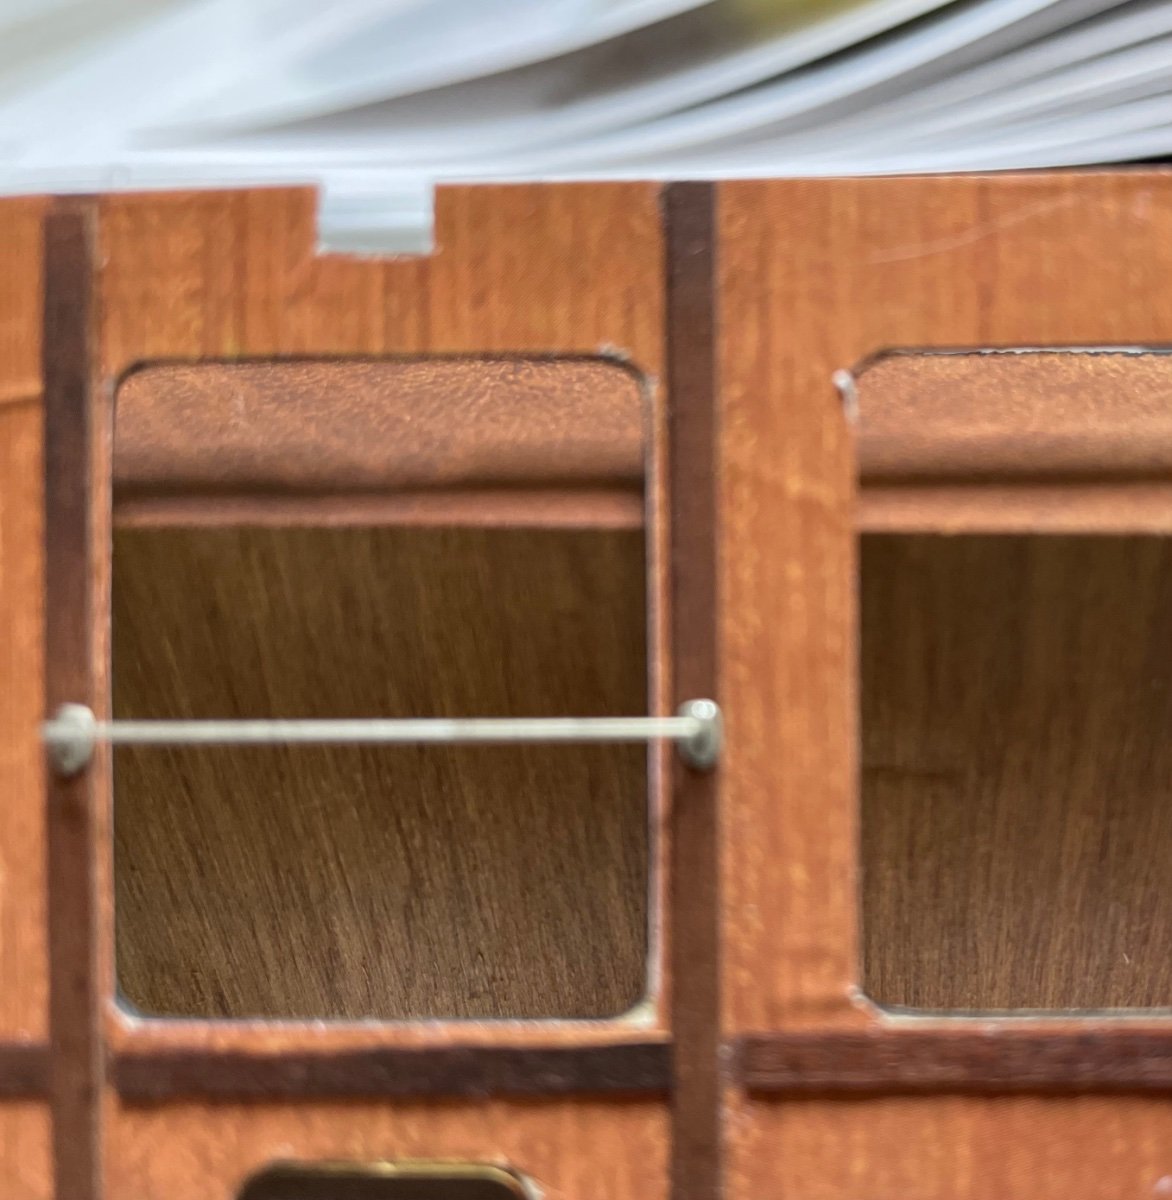
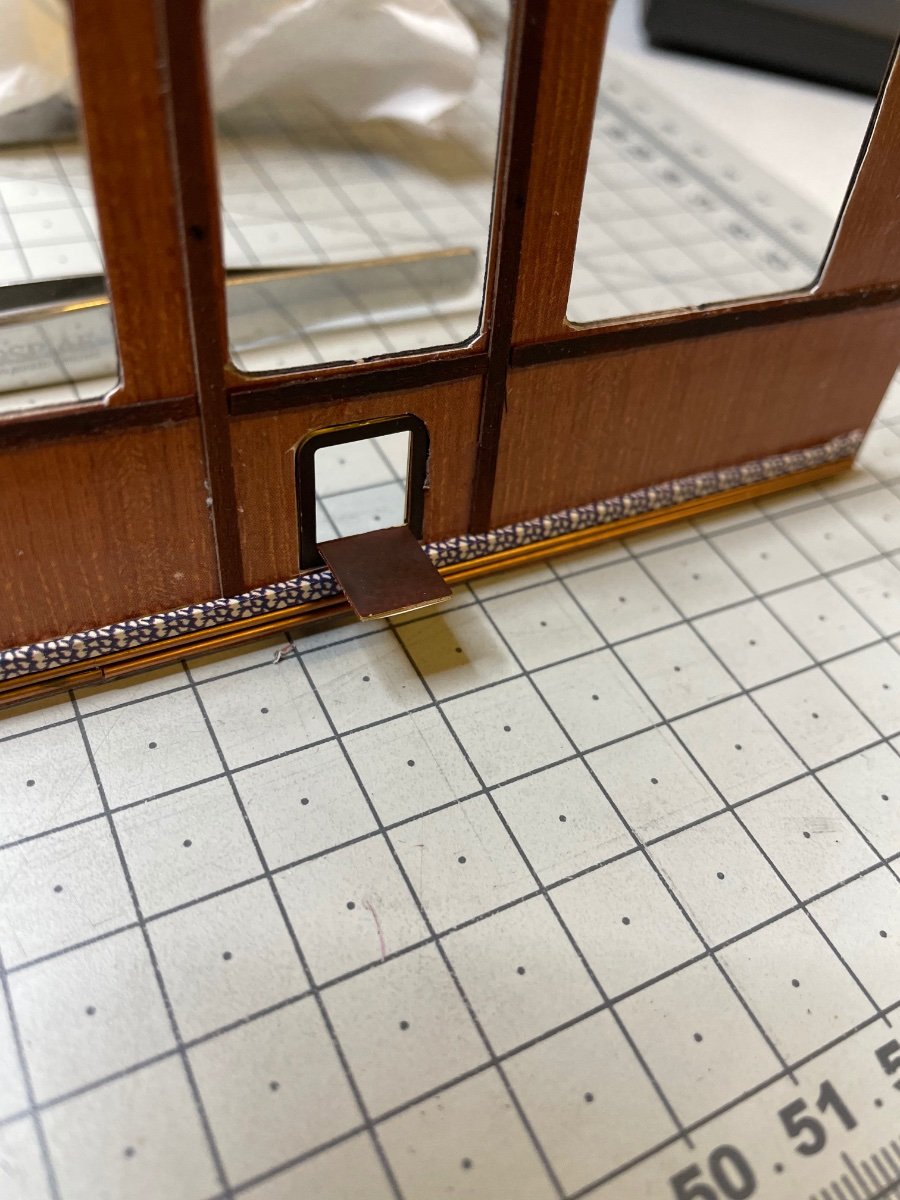
Figure 320: The skirting board and copper heating pipes are in place. Copper pipes are indeed pipes with a hole in them, not just wire 🙂.

- mtaylor, popeye the sailor, Egilman and 6 others
-
9
-
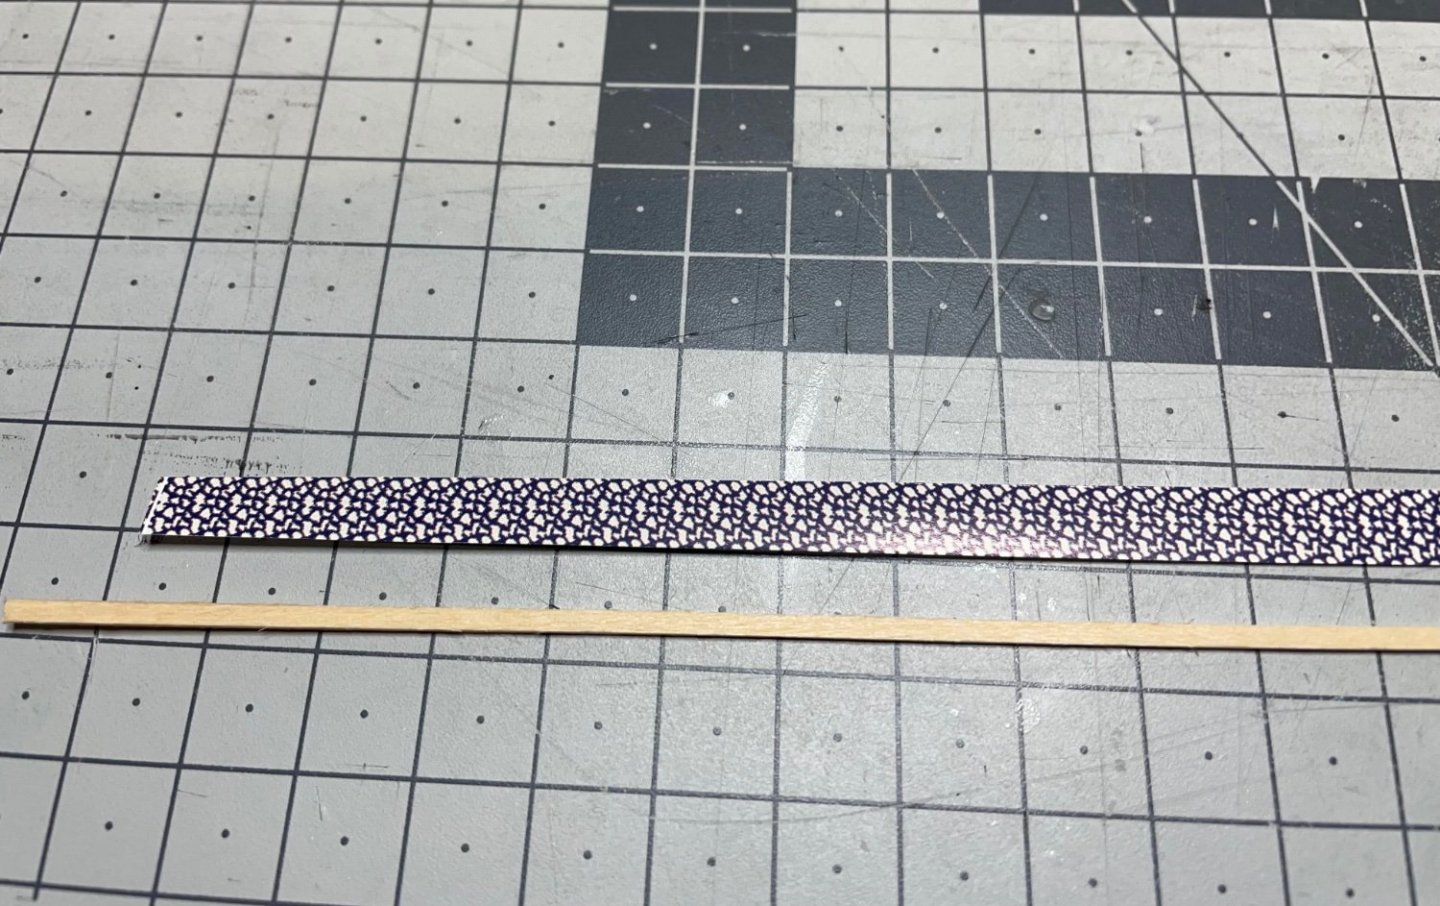
Figure 318-319: Preparing the "skirting board". Covered with the carpet material. It will also cover over the heating pipes.
-
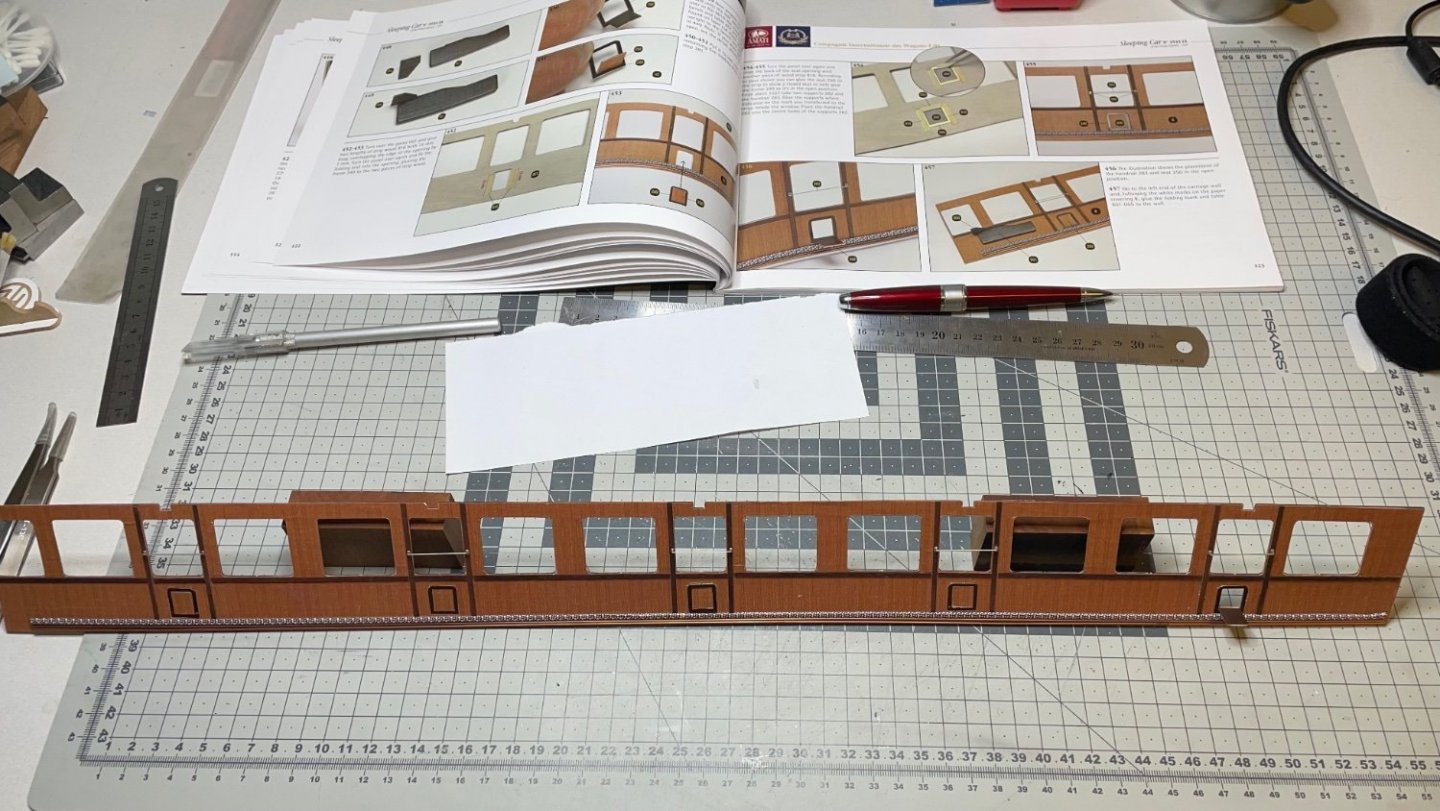
BUILD DAY 31 / 2 hrs / (TOTAL: 85 hrs)
Today I started to build the corridor side carriage inner wall.
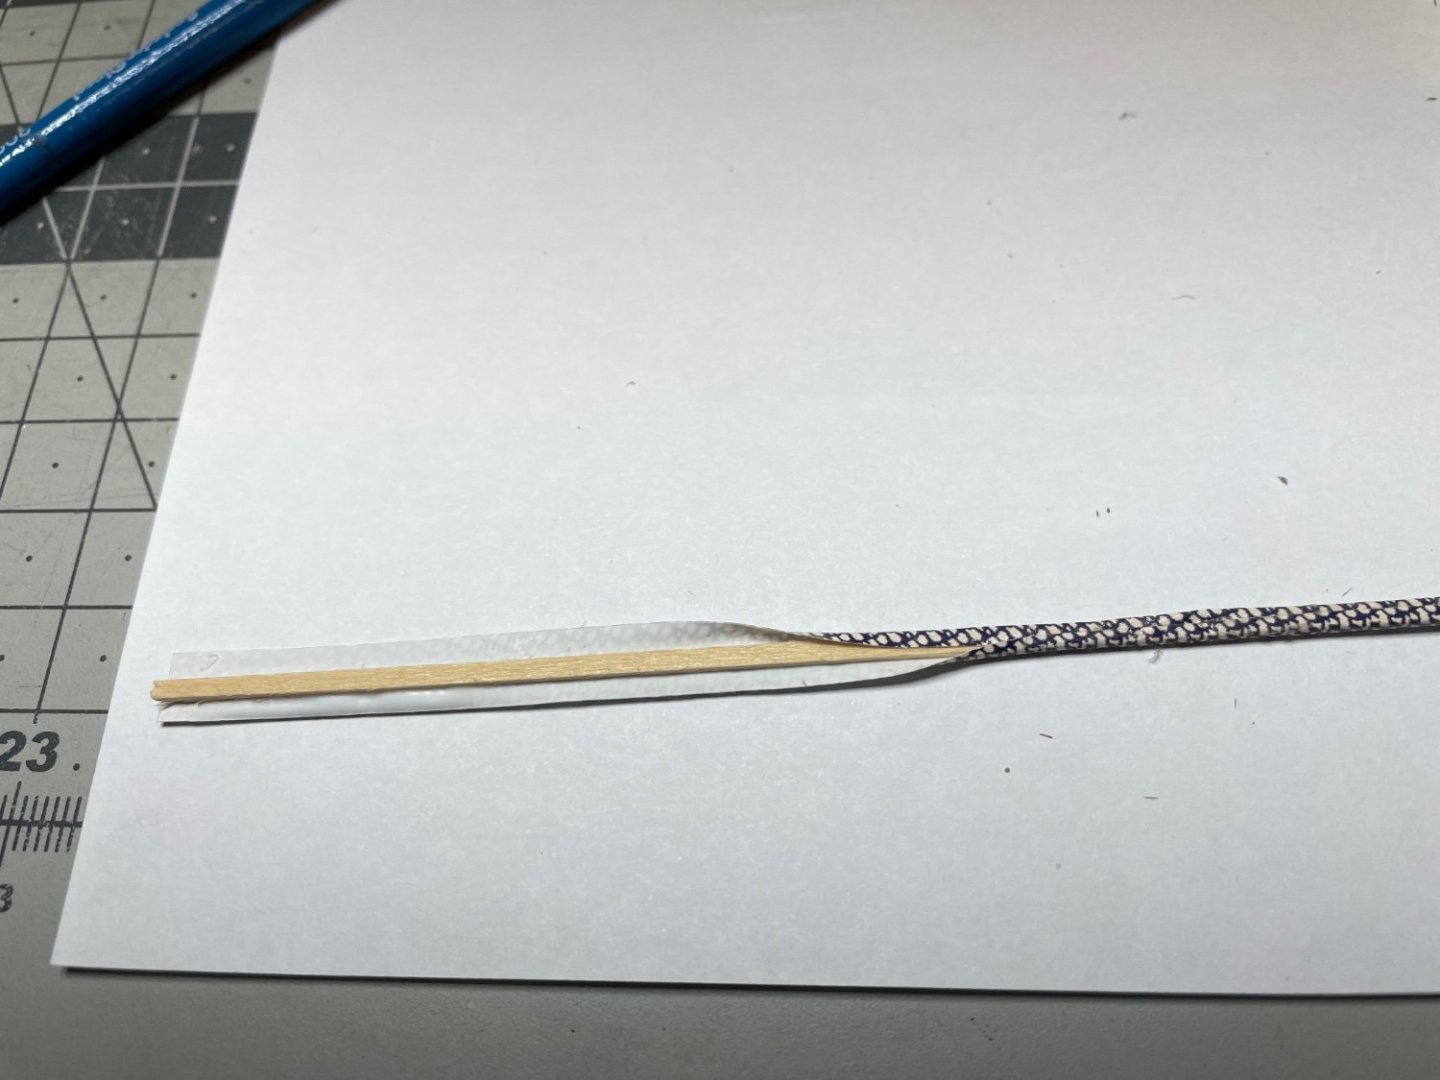
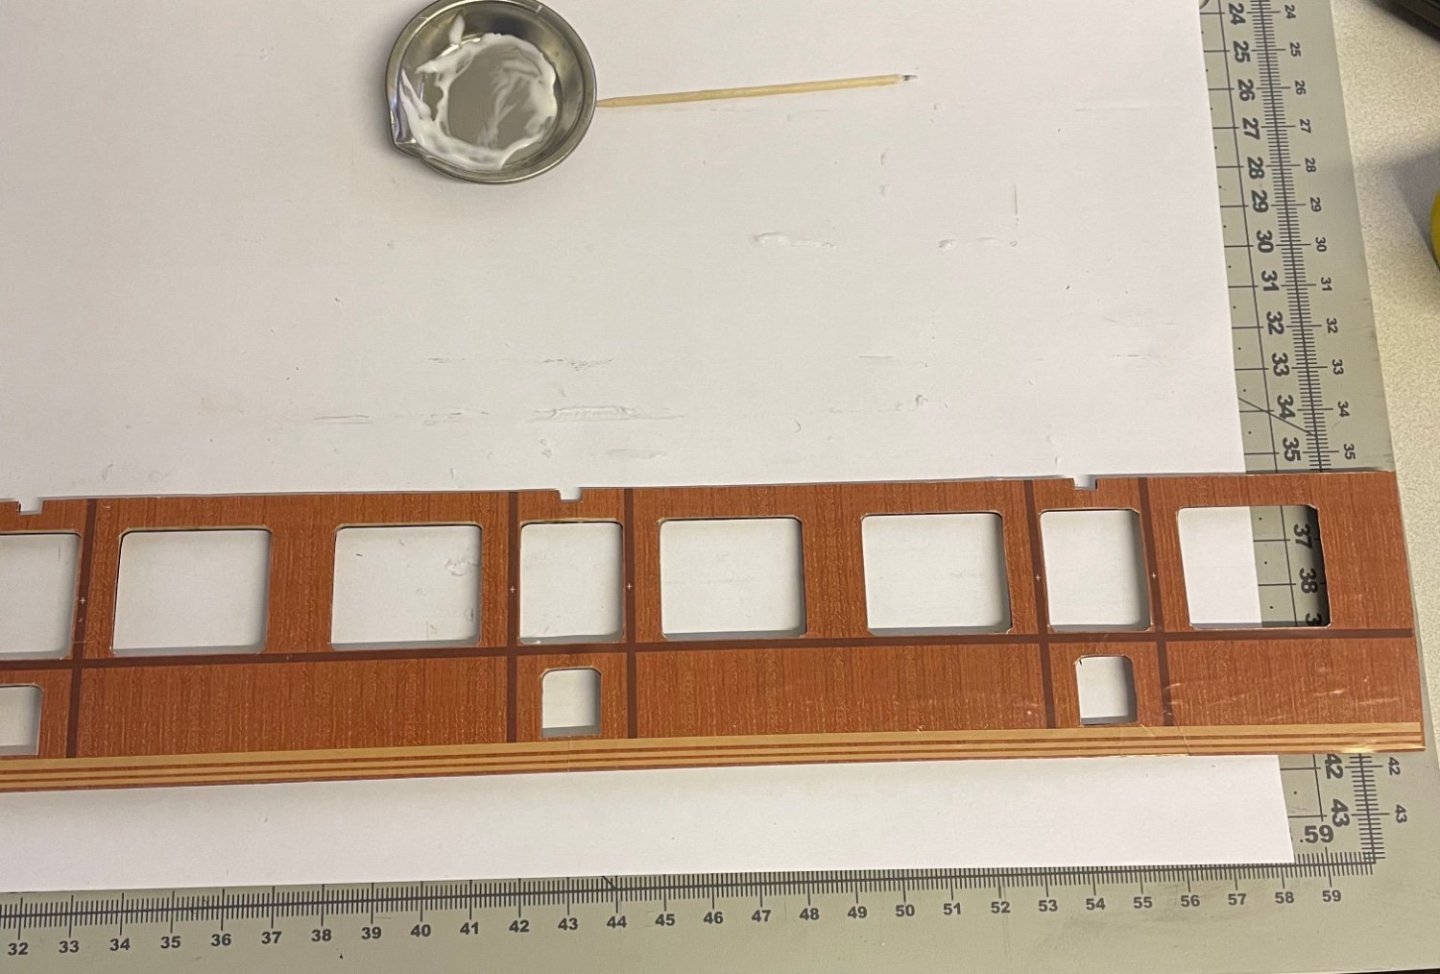
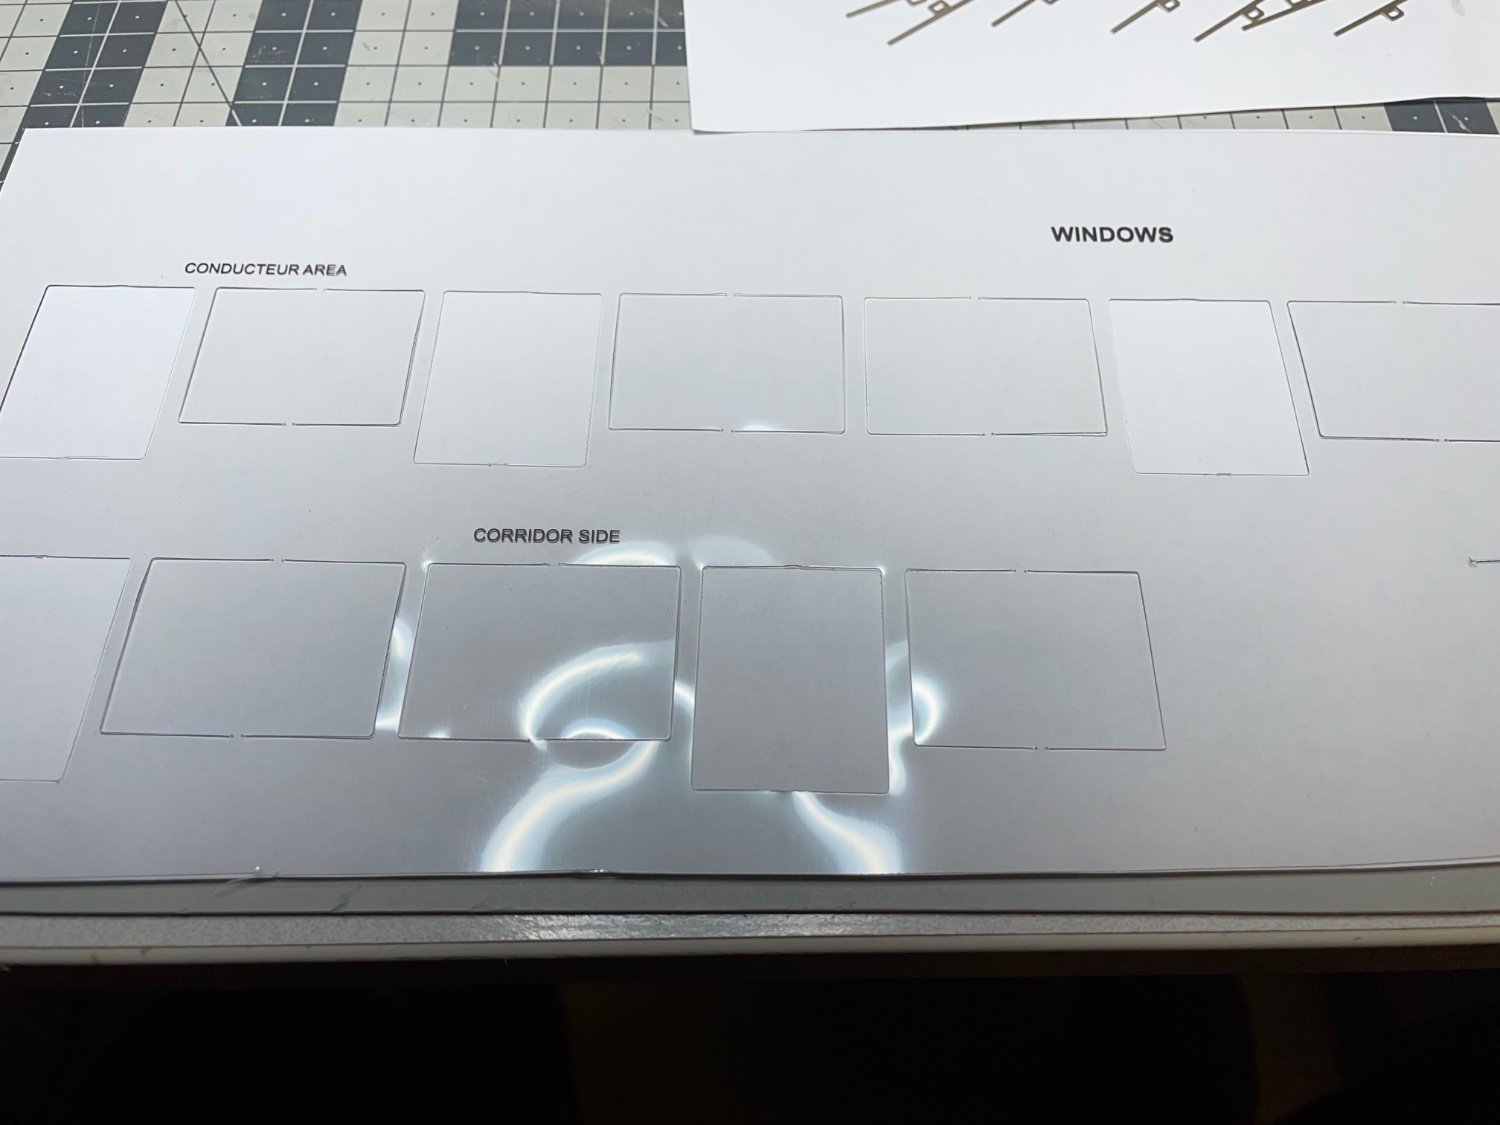
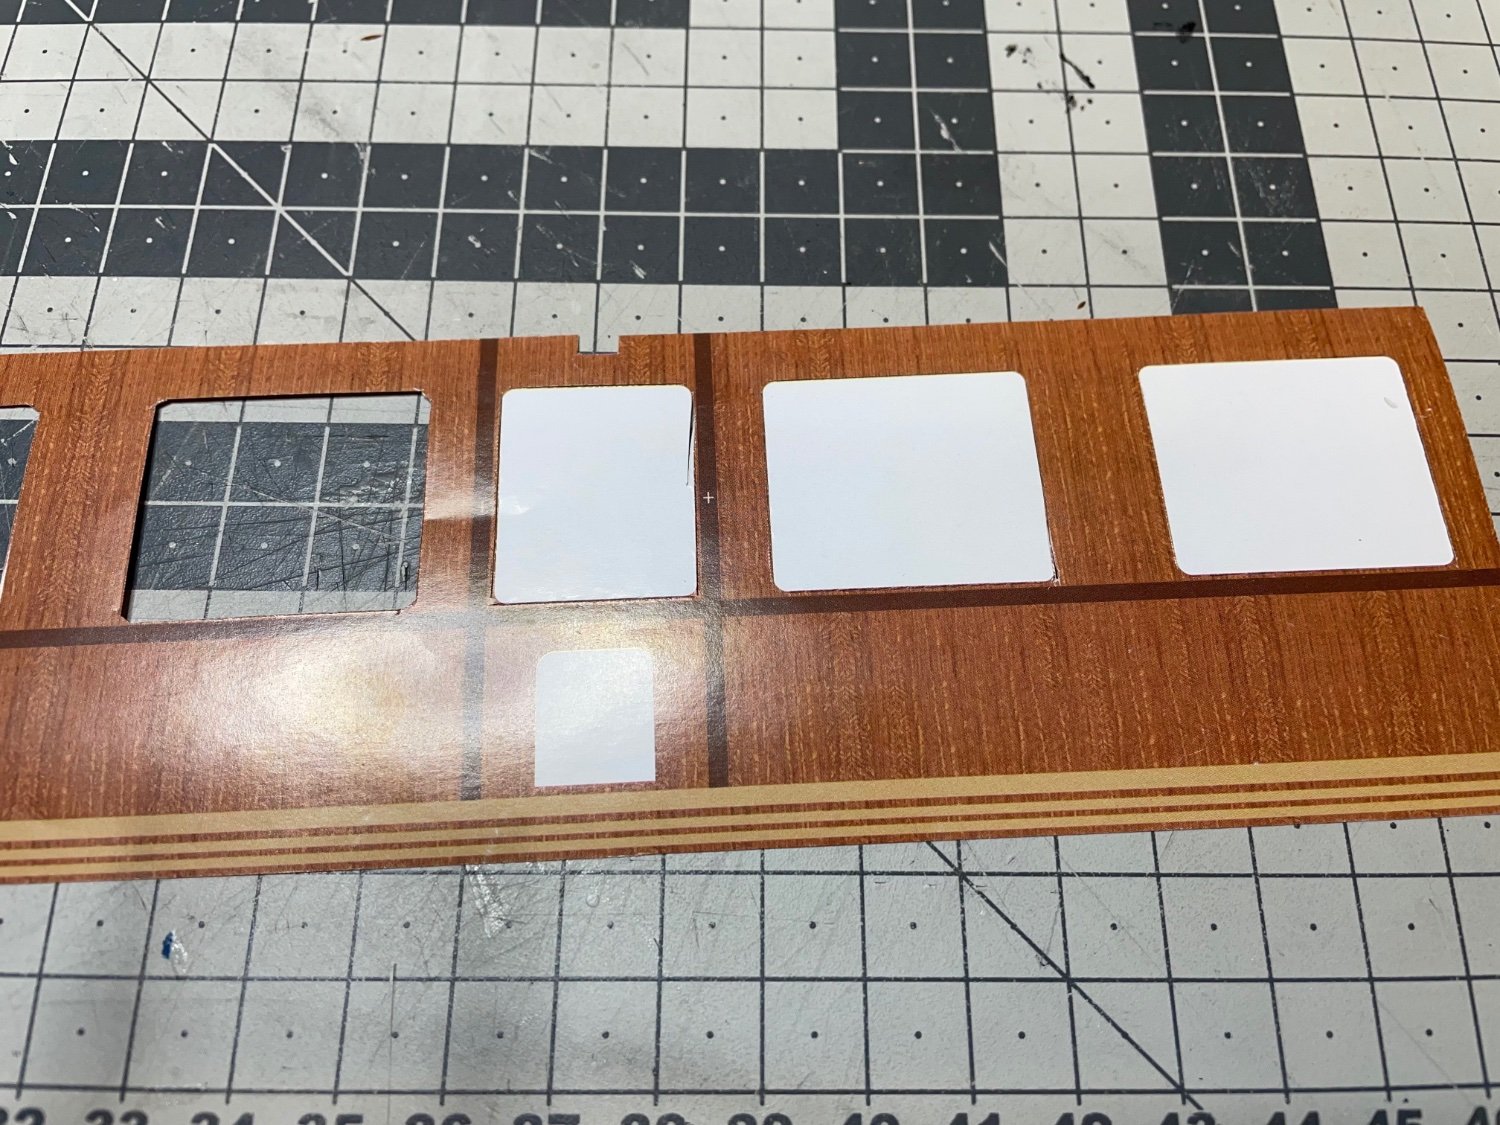
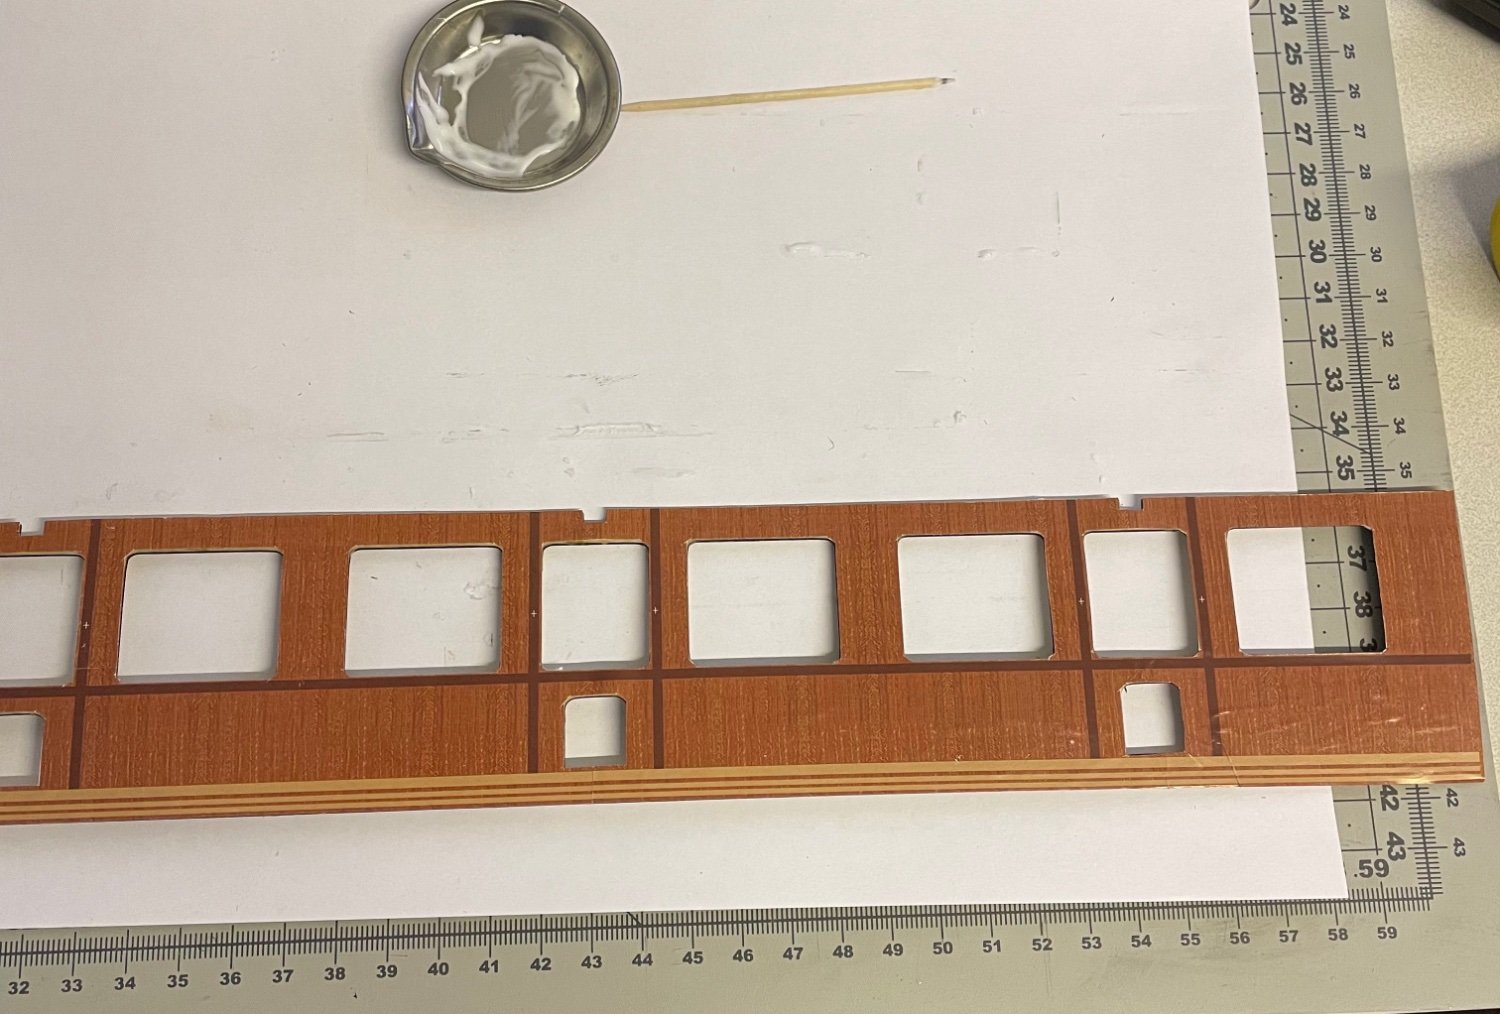
Figure 316: Paper decoration. It is in 2 pieces, around 30cm each. Showing here that you'll need to carve out the window openings as well.
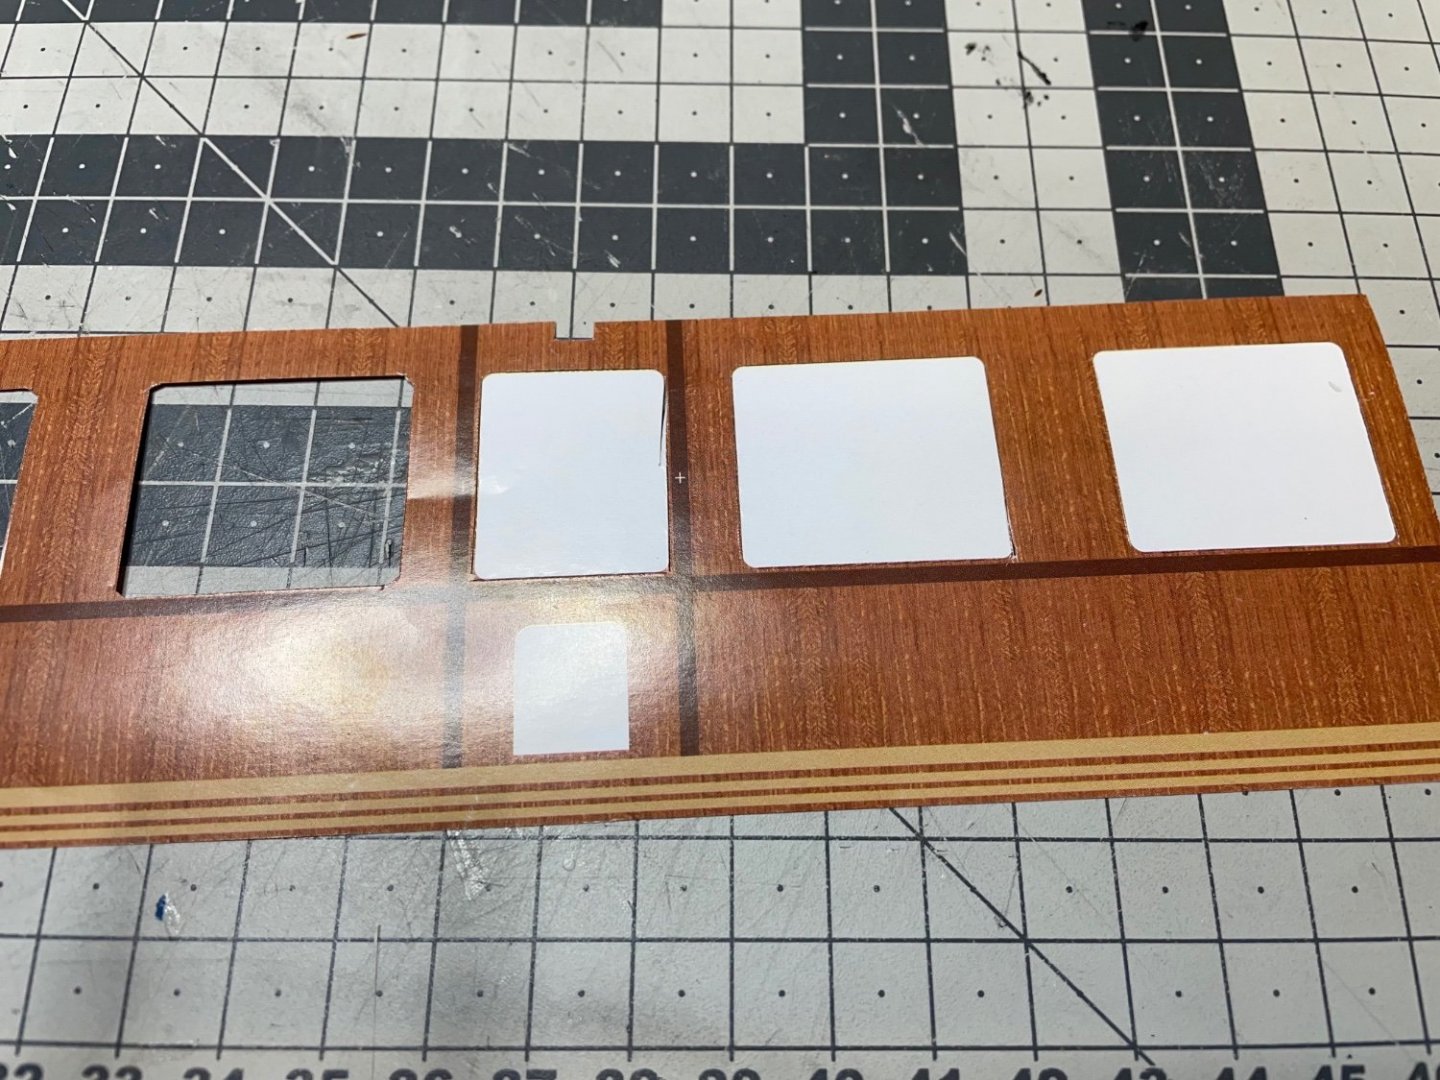
Figure 317: Glued on the plywood sheet.
-
BUILD DAY 31 / 2 hrs / (TOTAL: 83 hrs)
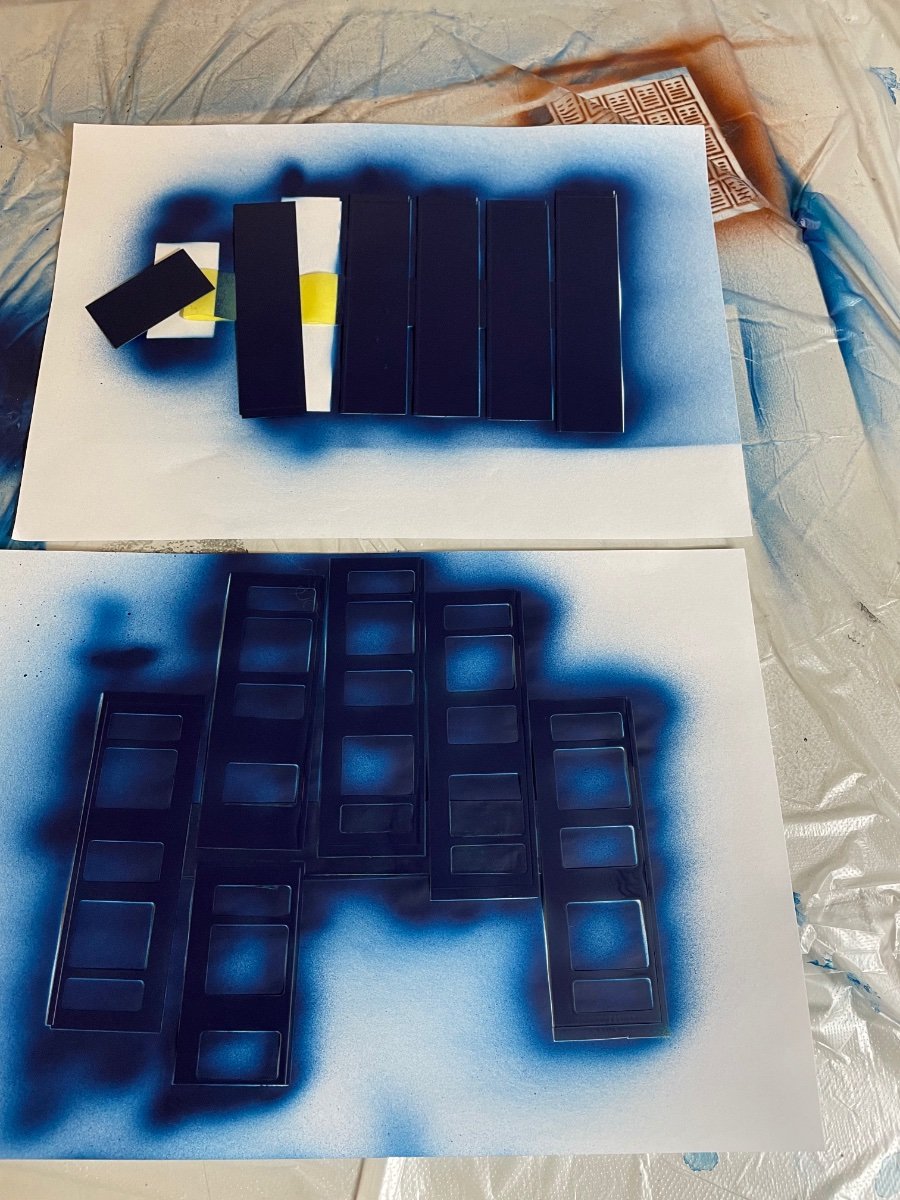
Figure 315: Blue plates and pinstripes are in place.
Similar work as that of the corridor side carriage and no surprises hence I don't have many photos nor much to tell.
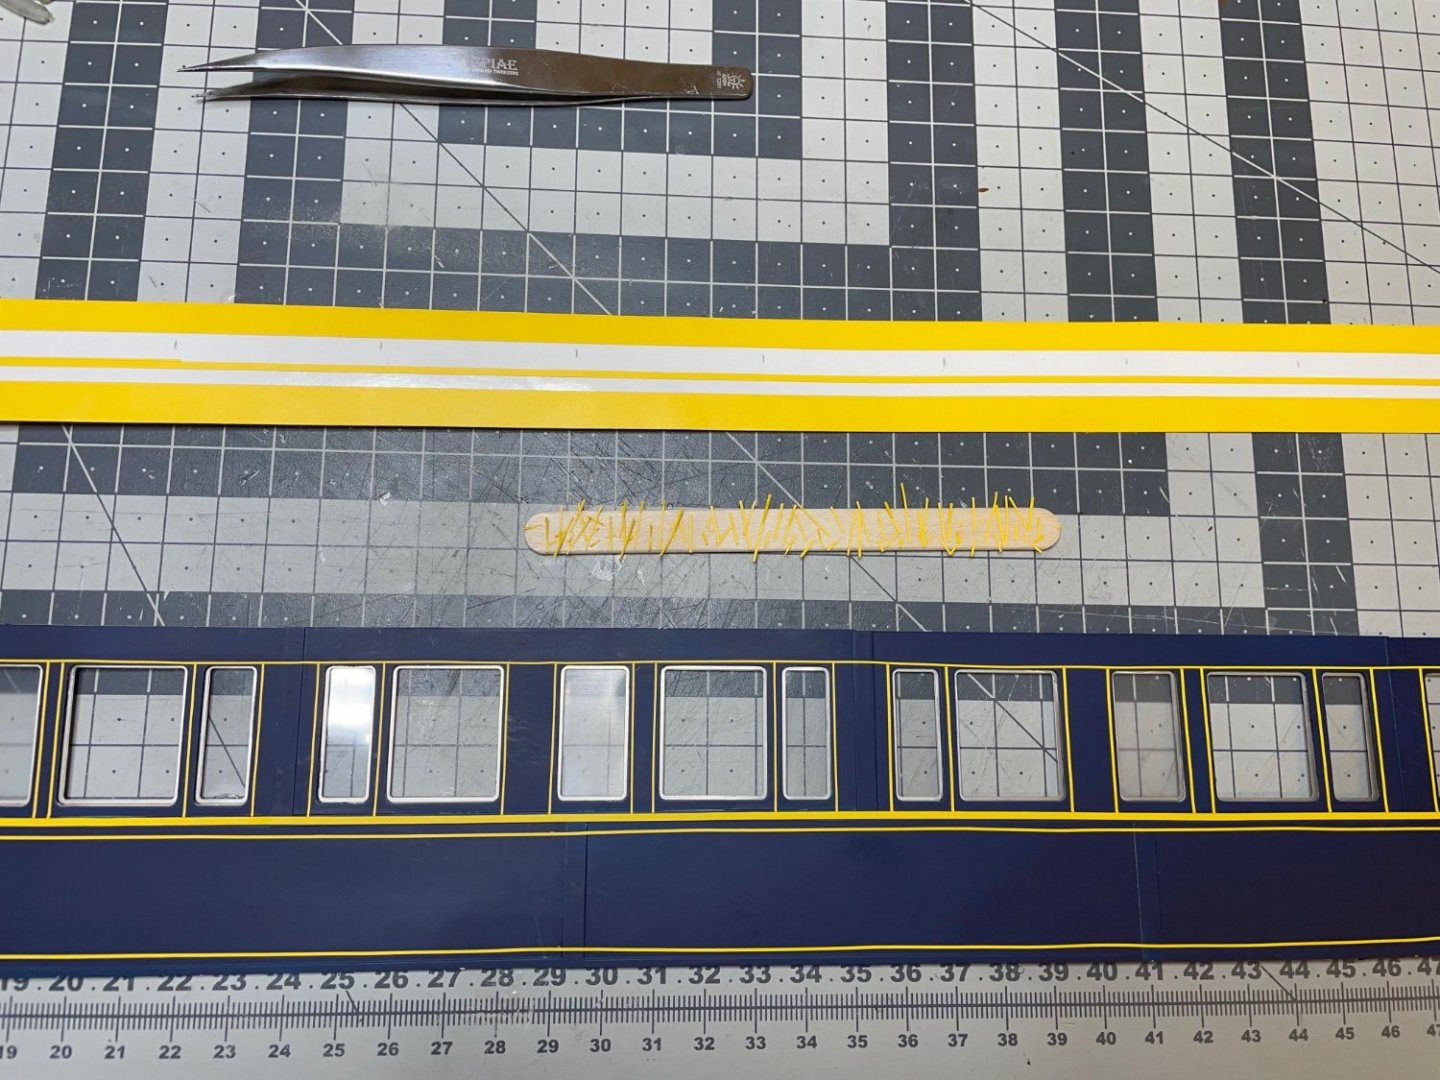
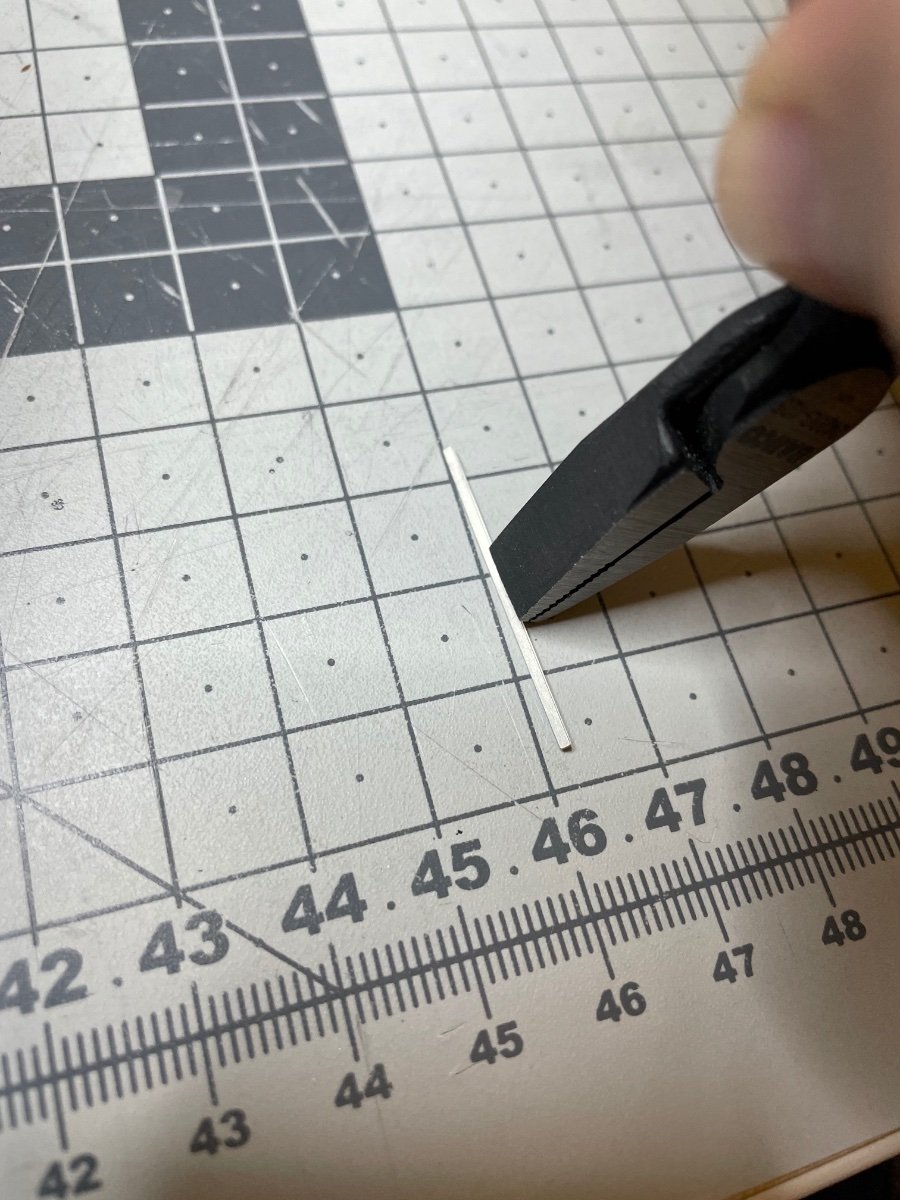
Pinstripe trims on an ice cream stick.
I have less than 10cm left of the 0.5mm stripes after the work. It was getting scary towards the end. Amati could have put one more line of cut on the sheet (which would not cost them anything). But anyways I survived.
Waiting for the Micro Sol decal setters from the mail before I apply the decals.
-
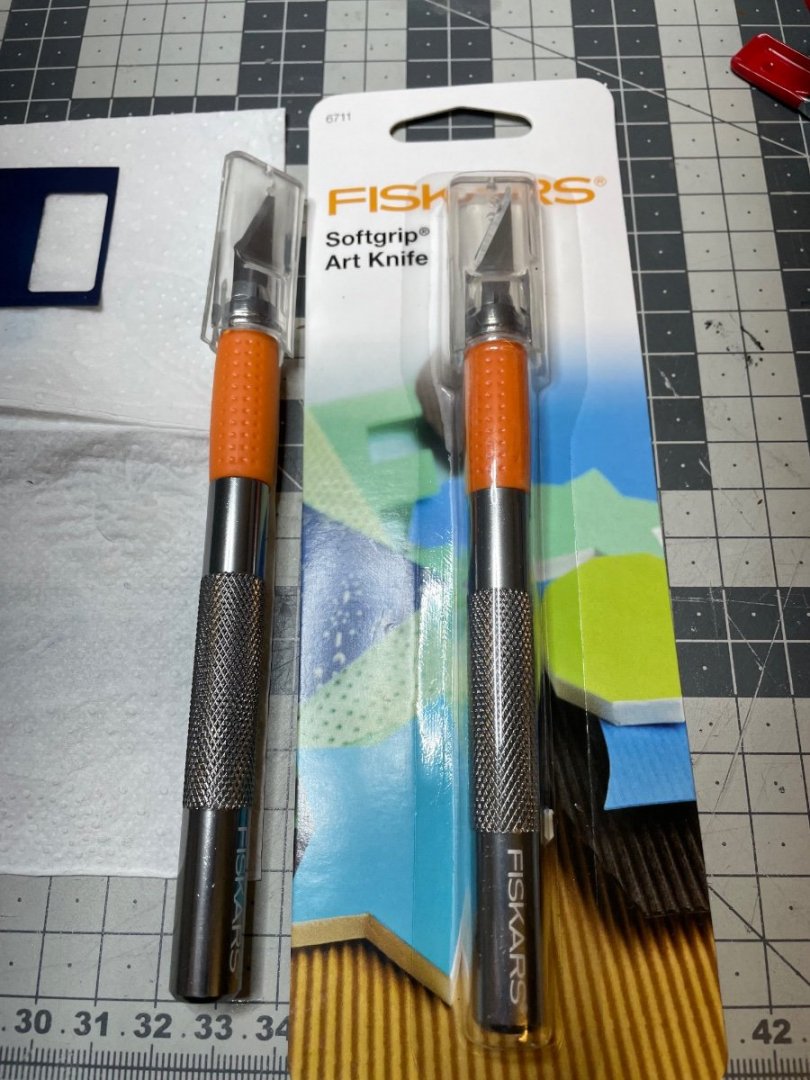
Figure 314: My Fiskars have arrived. Excellent grip and mechanism for easy blade replacement.
One excuse less to blame the tools in case of a screw up 😀.
P.S. They also have great frying pans (Hard Face series), but I know it is a topic for a different hobby forum 😆.
-
-
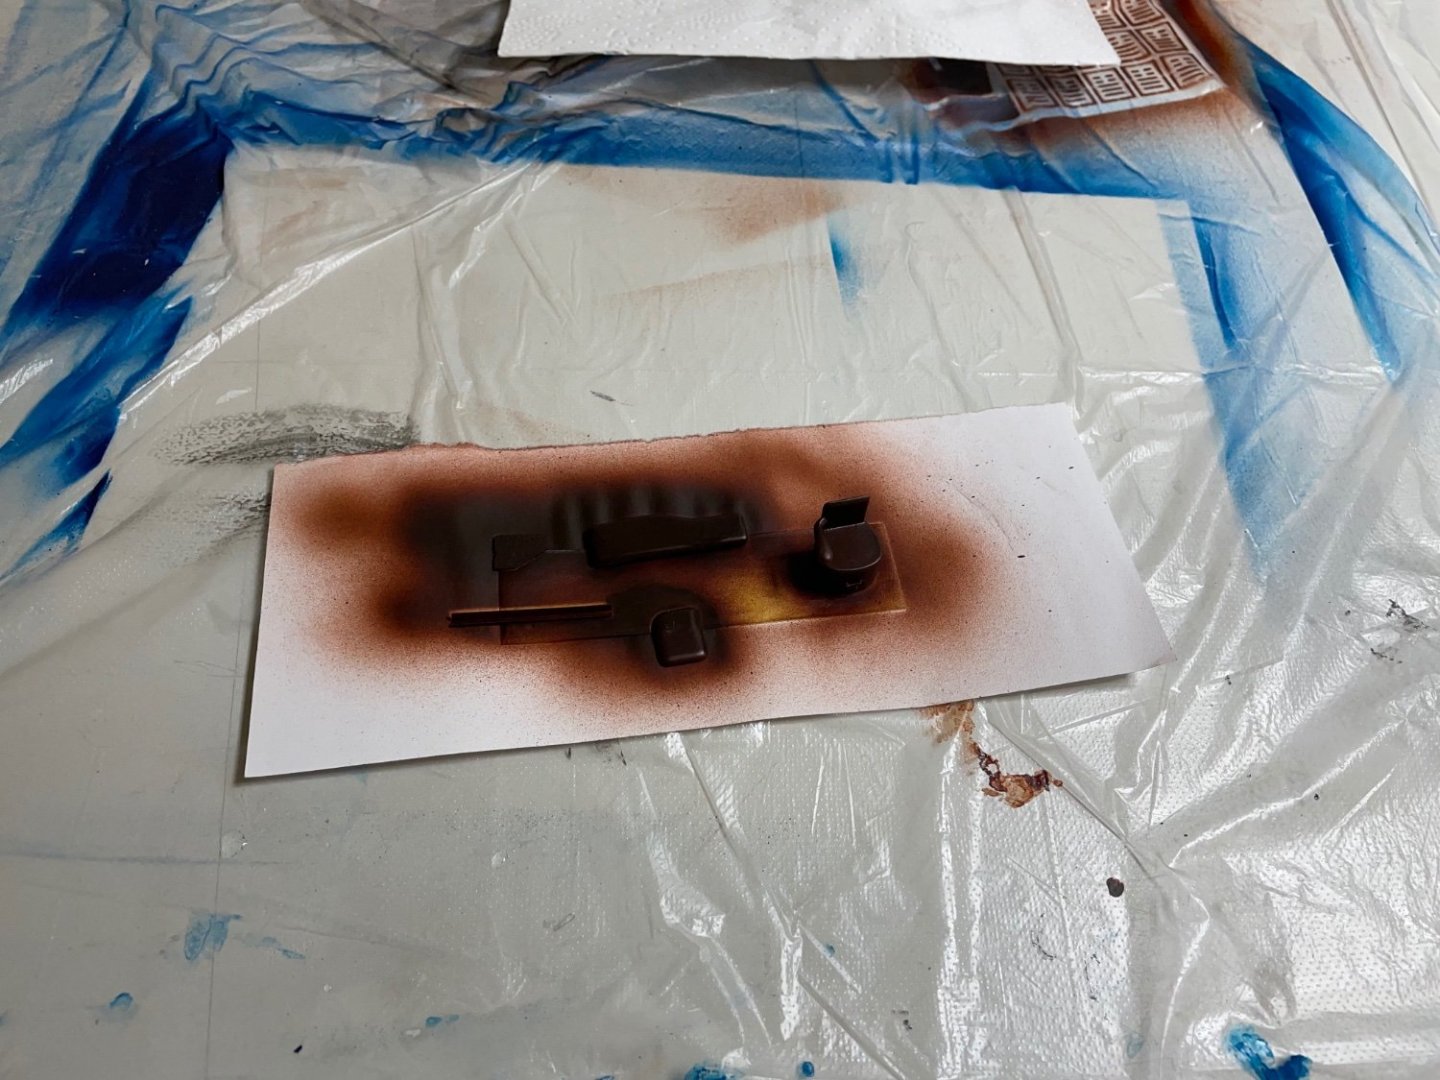
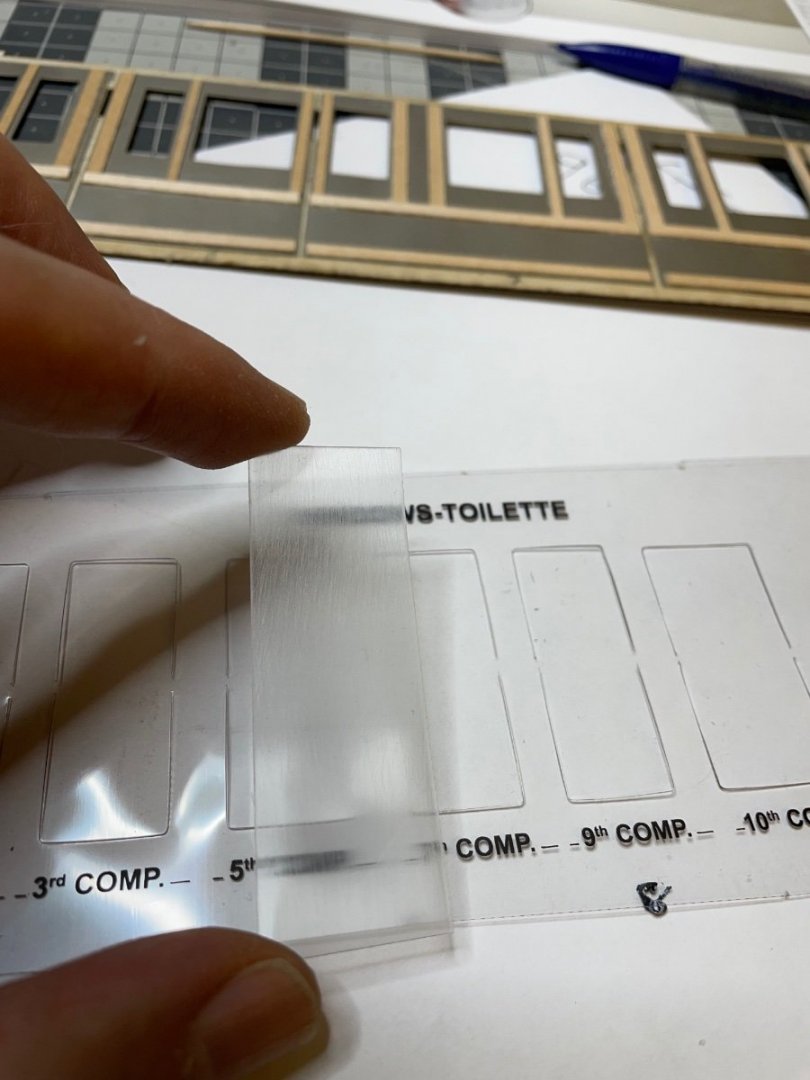
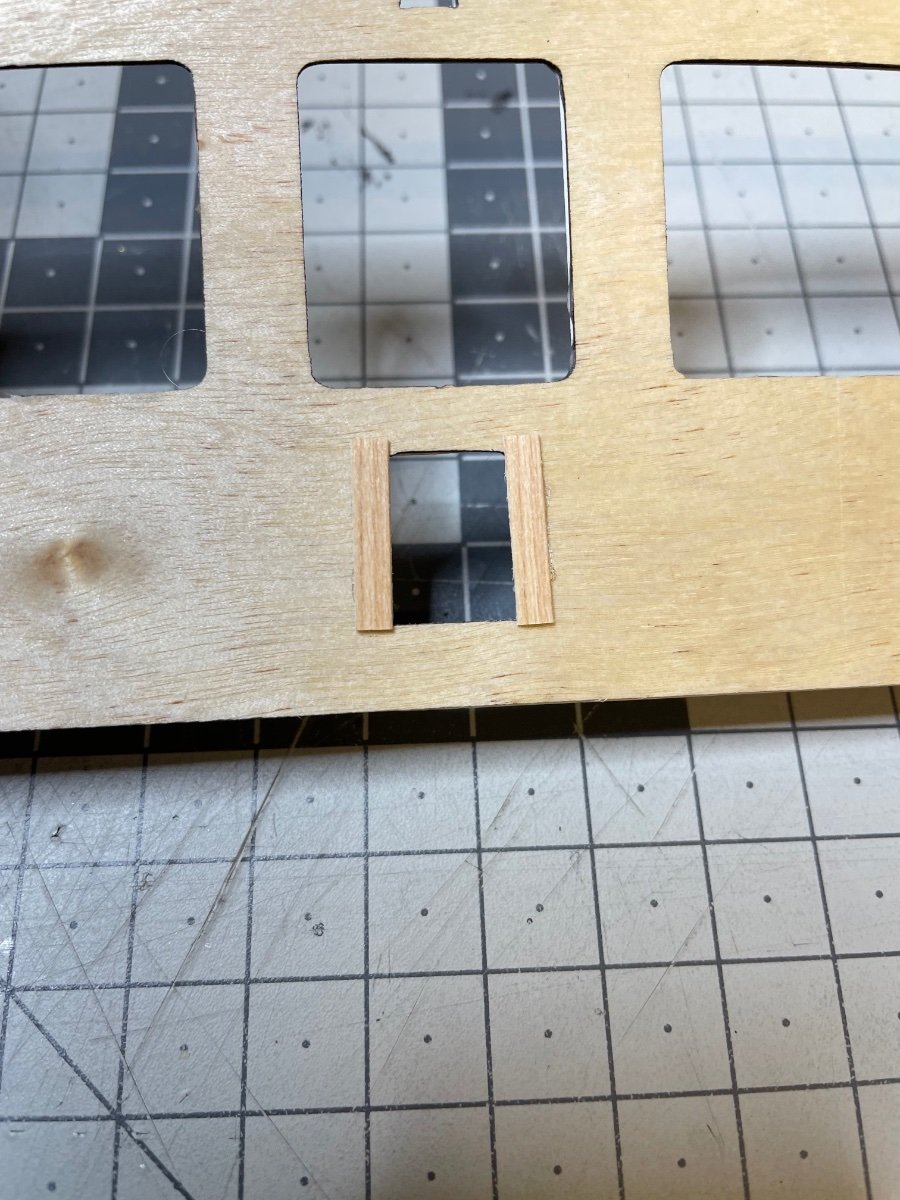
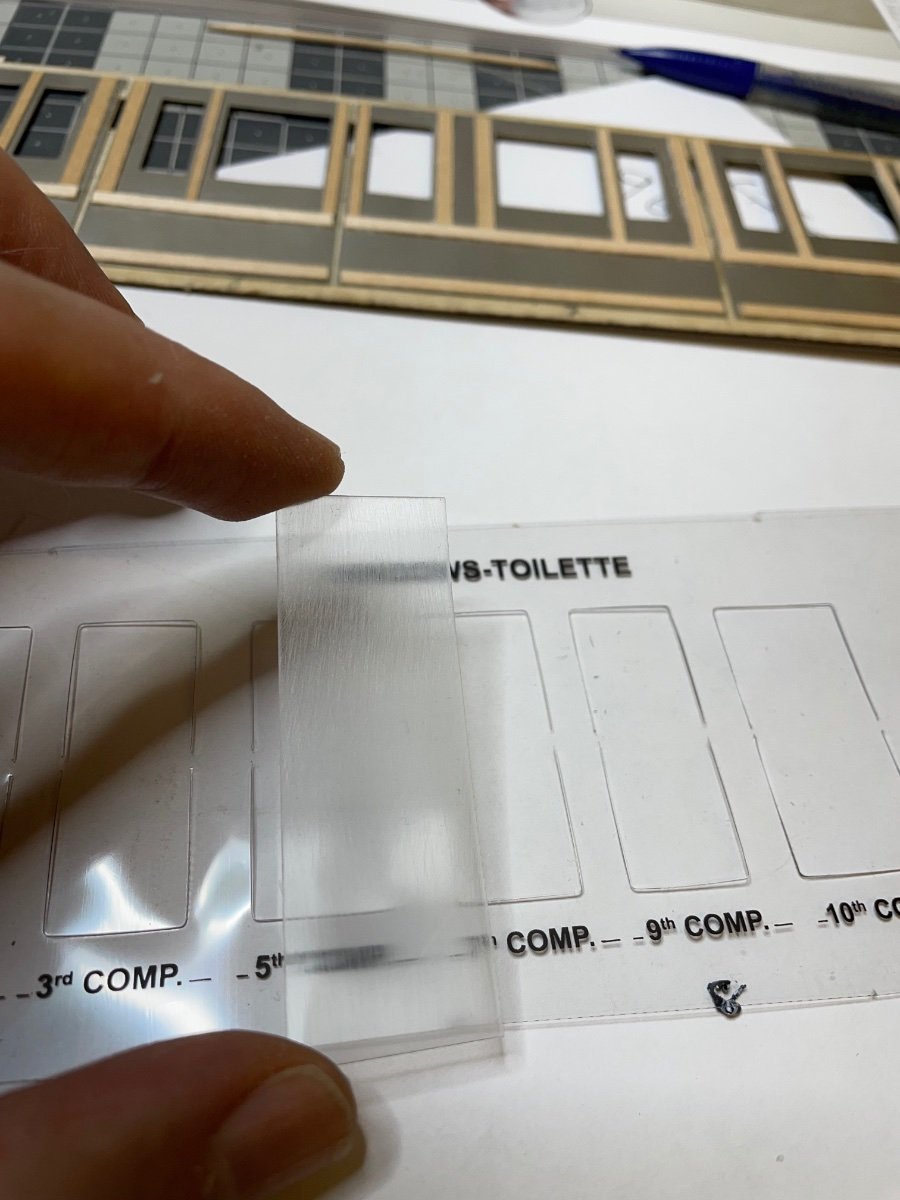
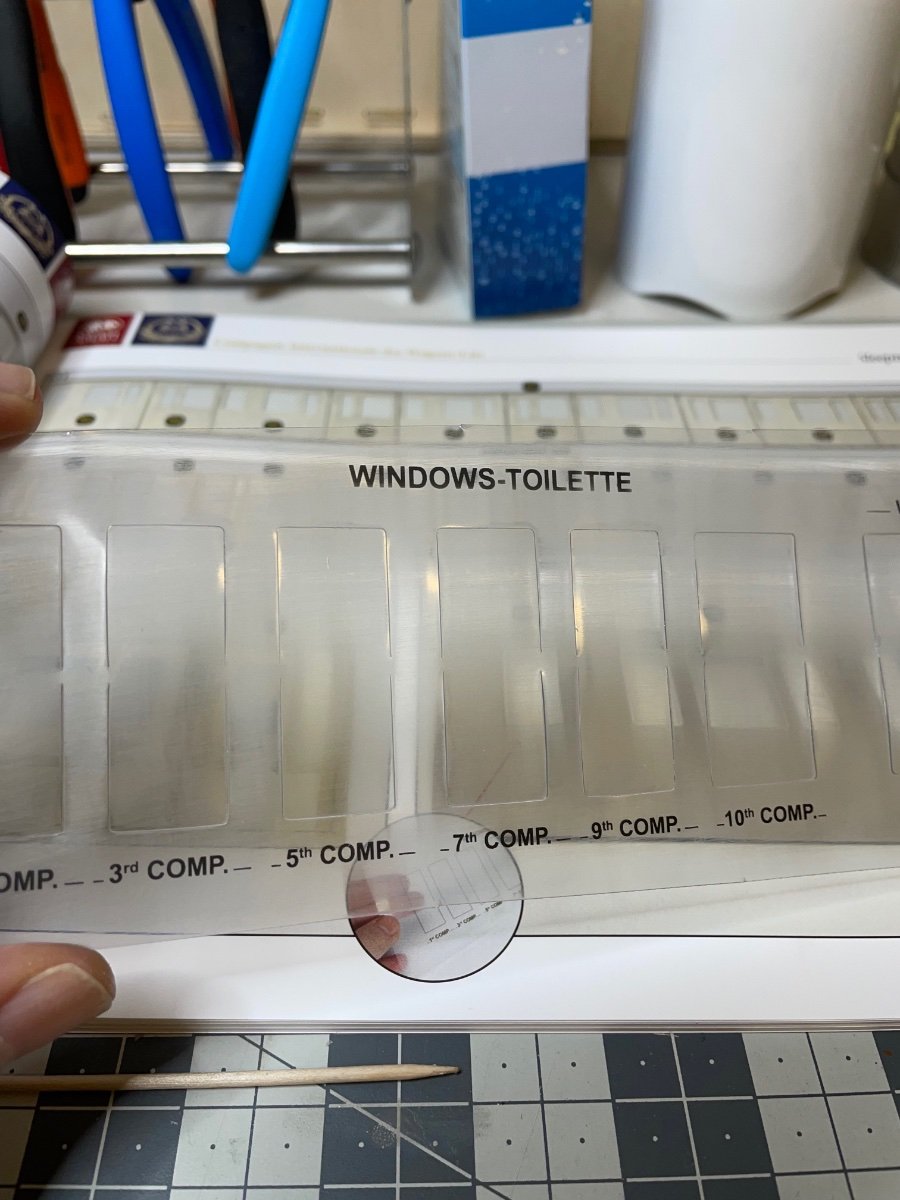
Figures 308-311: The toilet windows have to have some degree of opacity. After all it is a toilet, right? In order to achieve this, the instructions recommend to spray matt varnish on them. I tried it on a scrap piece but the result was awful. Instead I rubbed them a few times with fine grade sandpaper. Turned out not too bad.


- ccoyle, Egilman, popeye2sea and 9 others
-
12
-
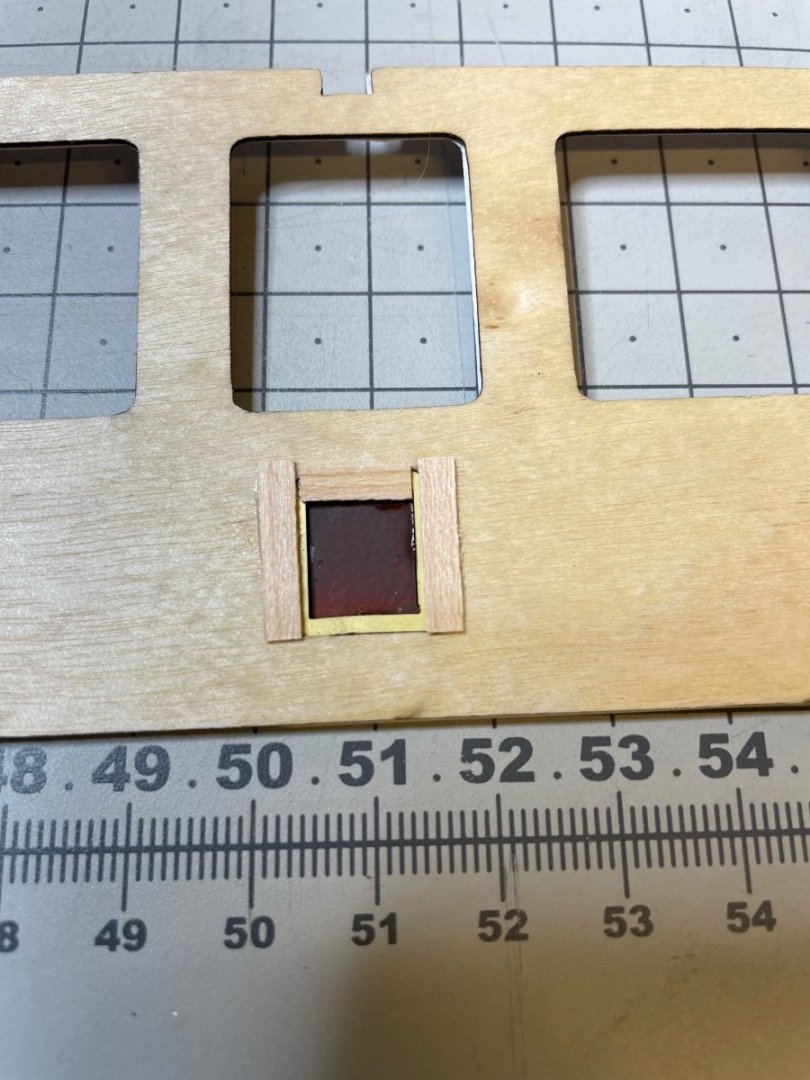
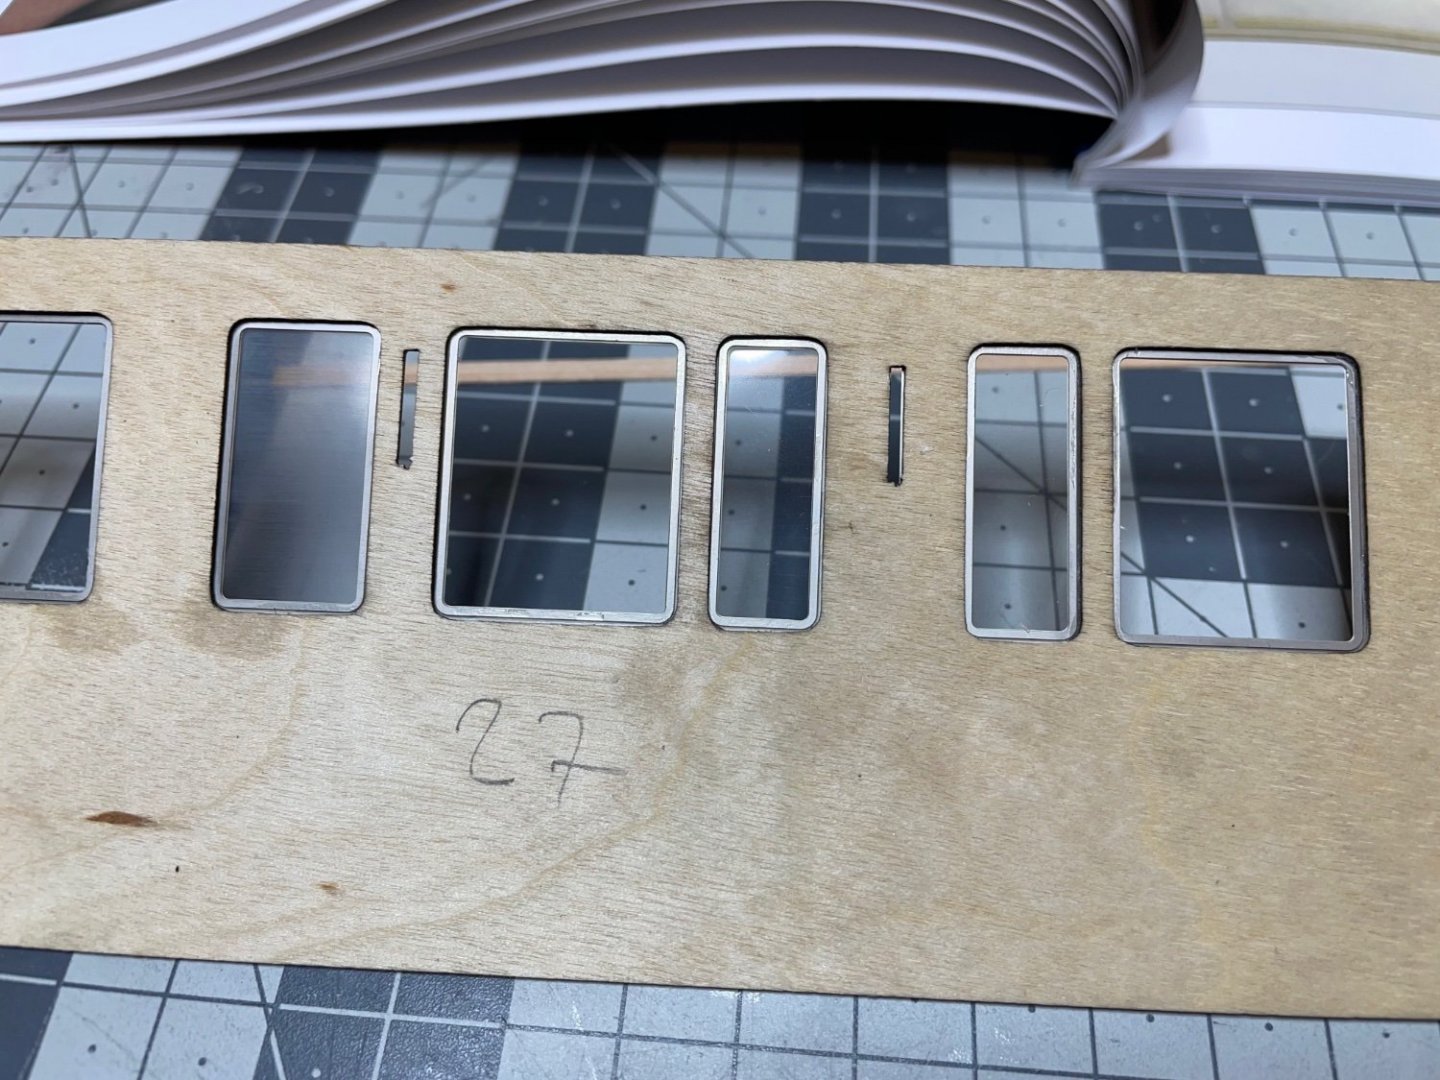
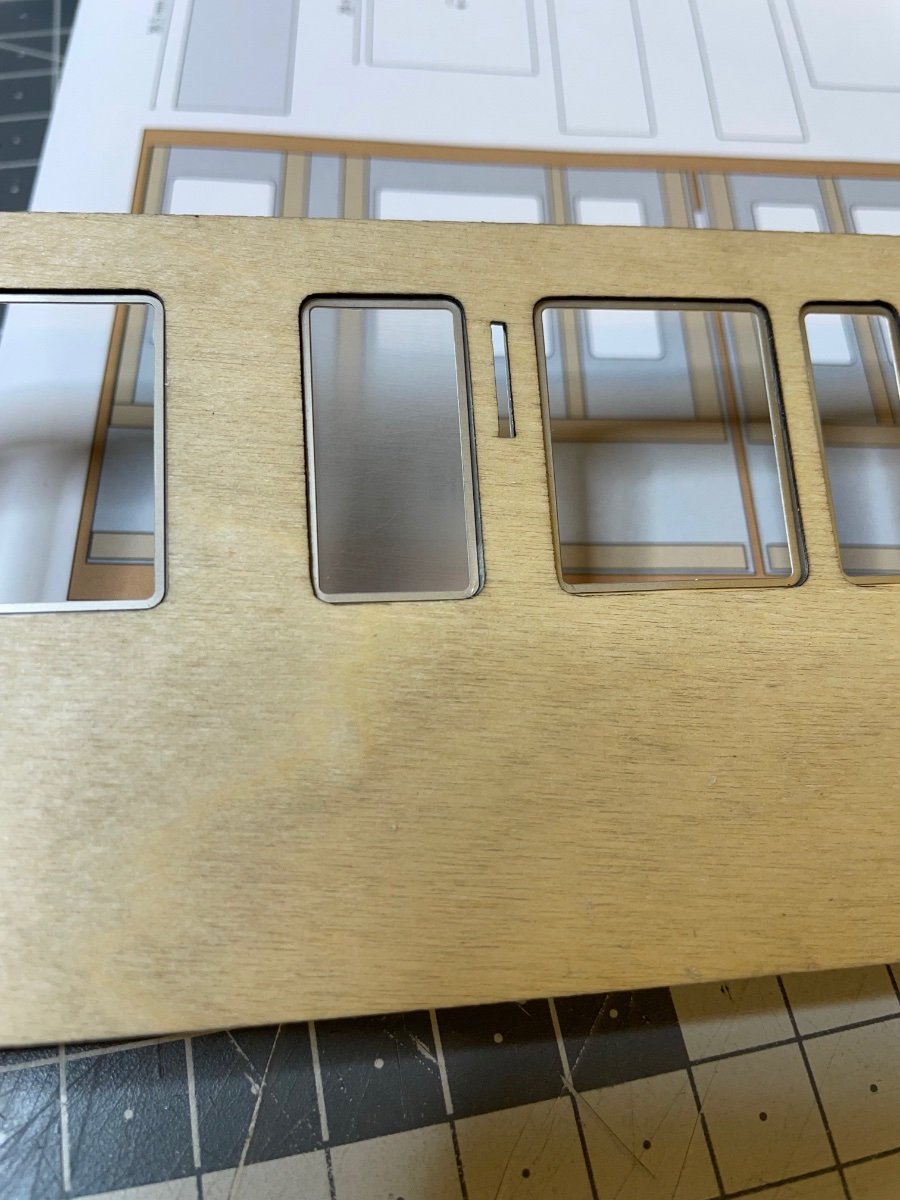
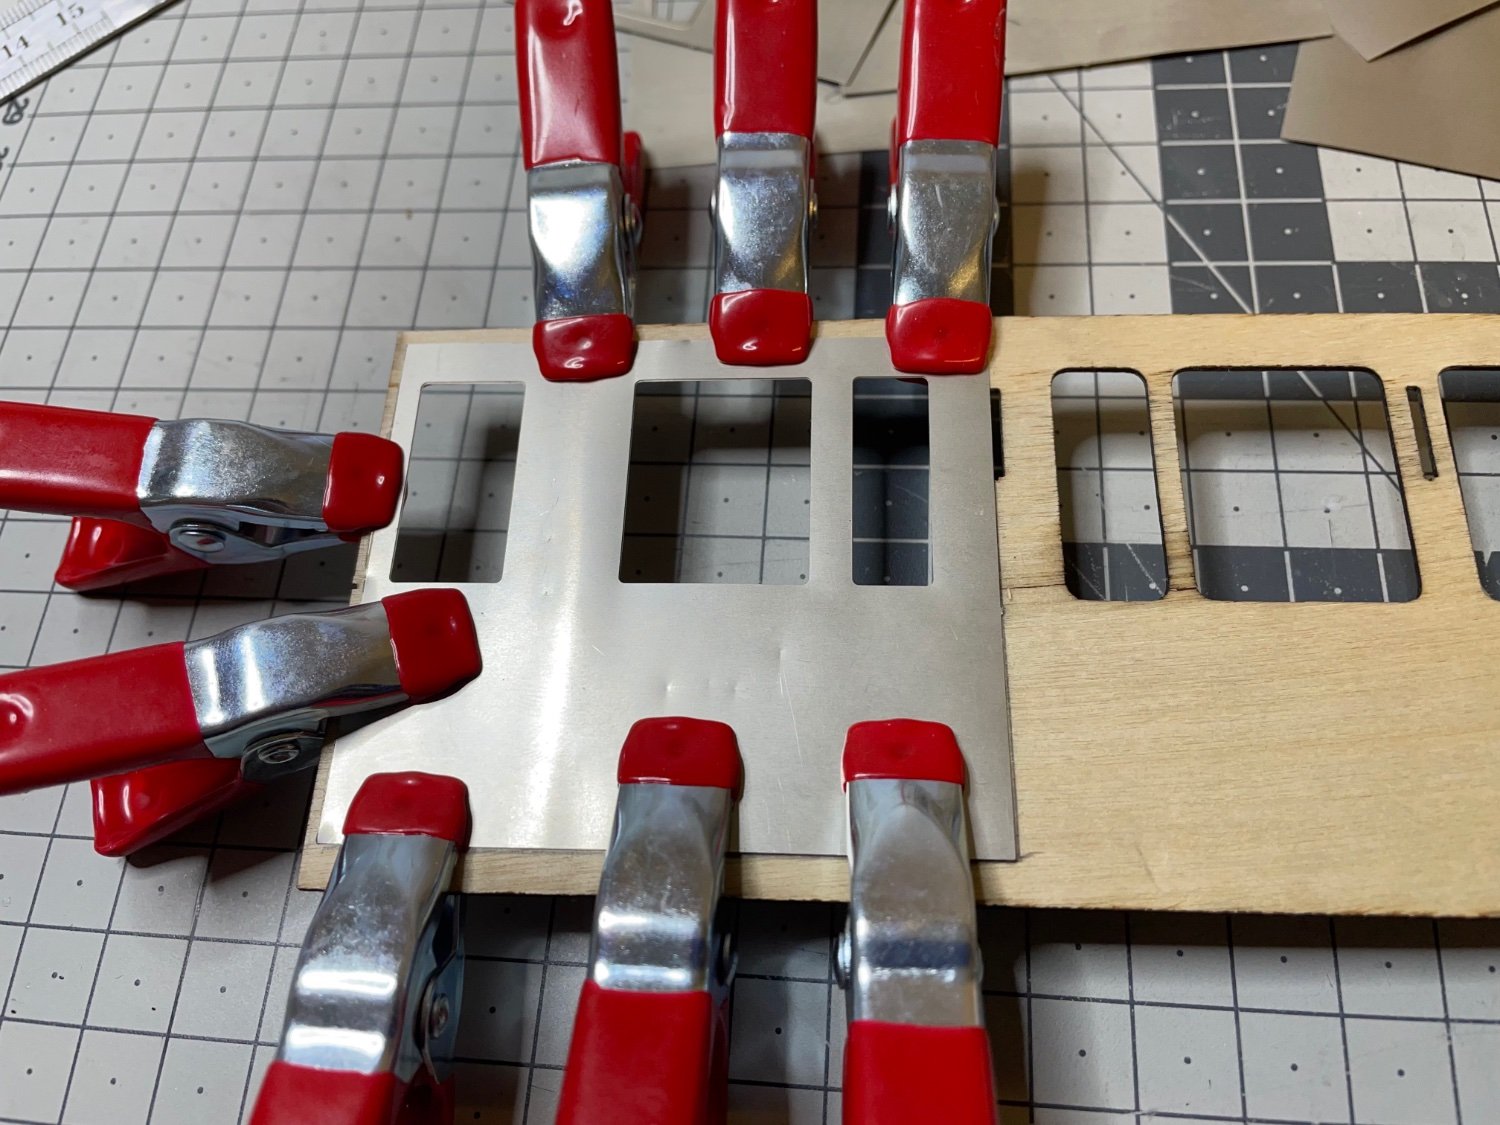
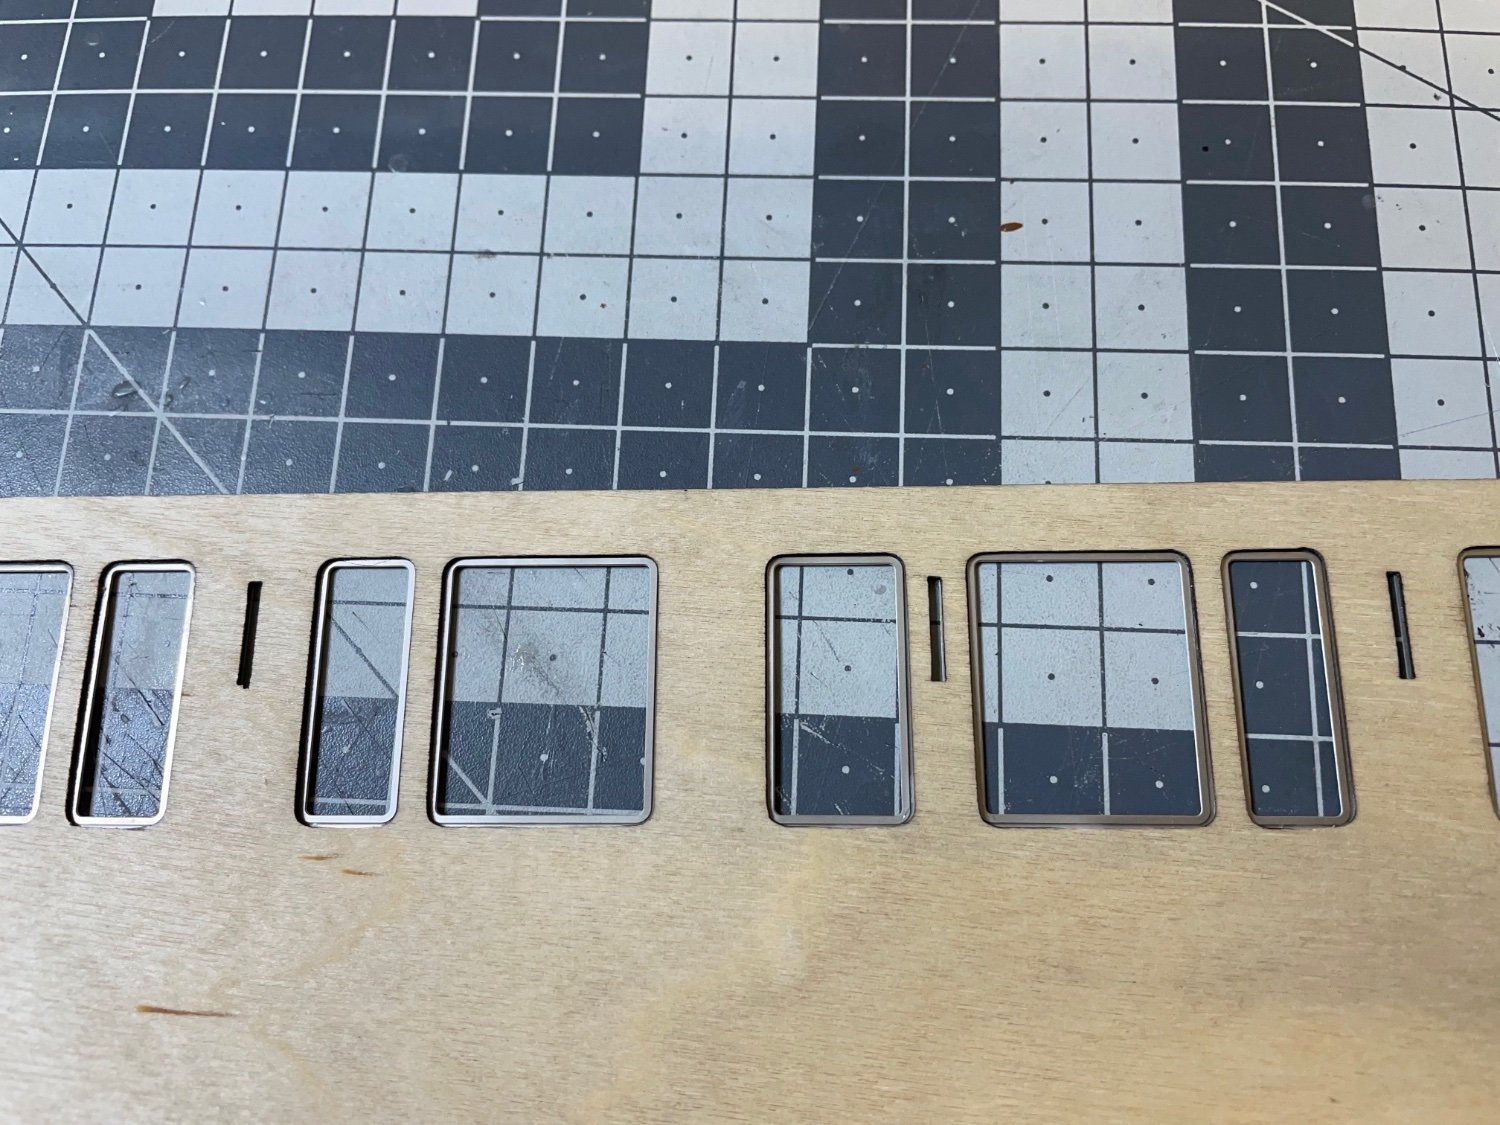
Figures 305-307: Gluing process. I used superglue. Note the window frame alignment with the plywood part on the third photo.


-
Figures 303-304: A 1.5mm gap is required from both ends for assembly. There is a bit less space than that so I trimmed a little from the side. By the way I had to do this small adjustment for the corridor side carriage as well (i.e. the previous one).

-
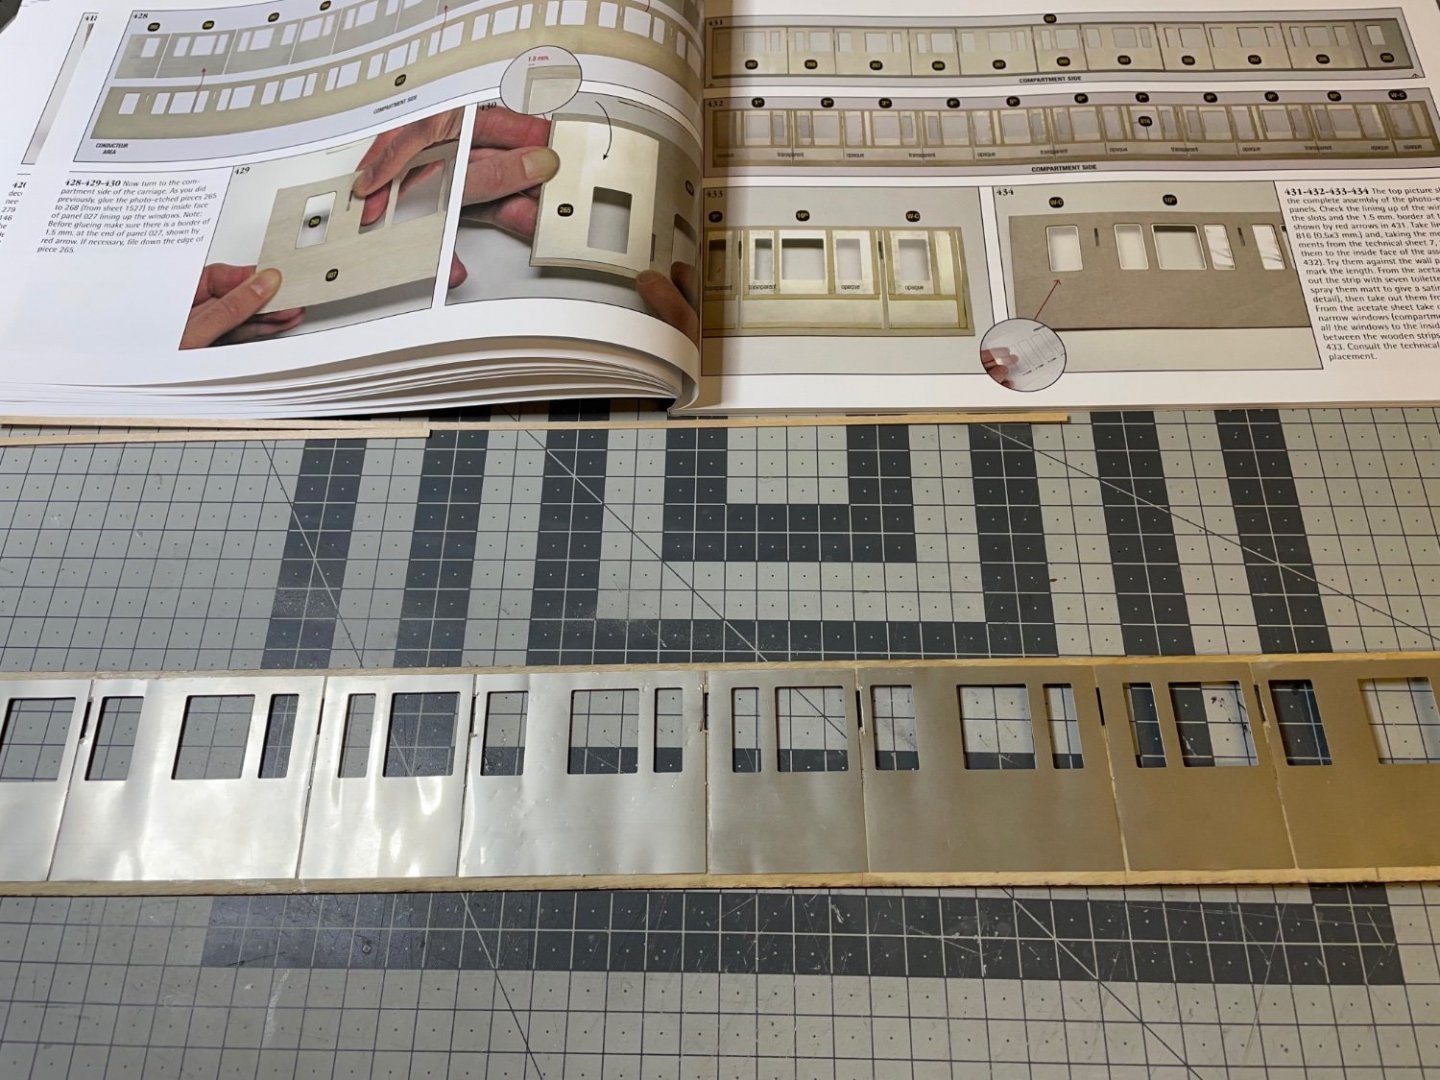
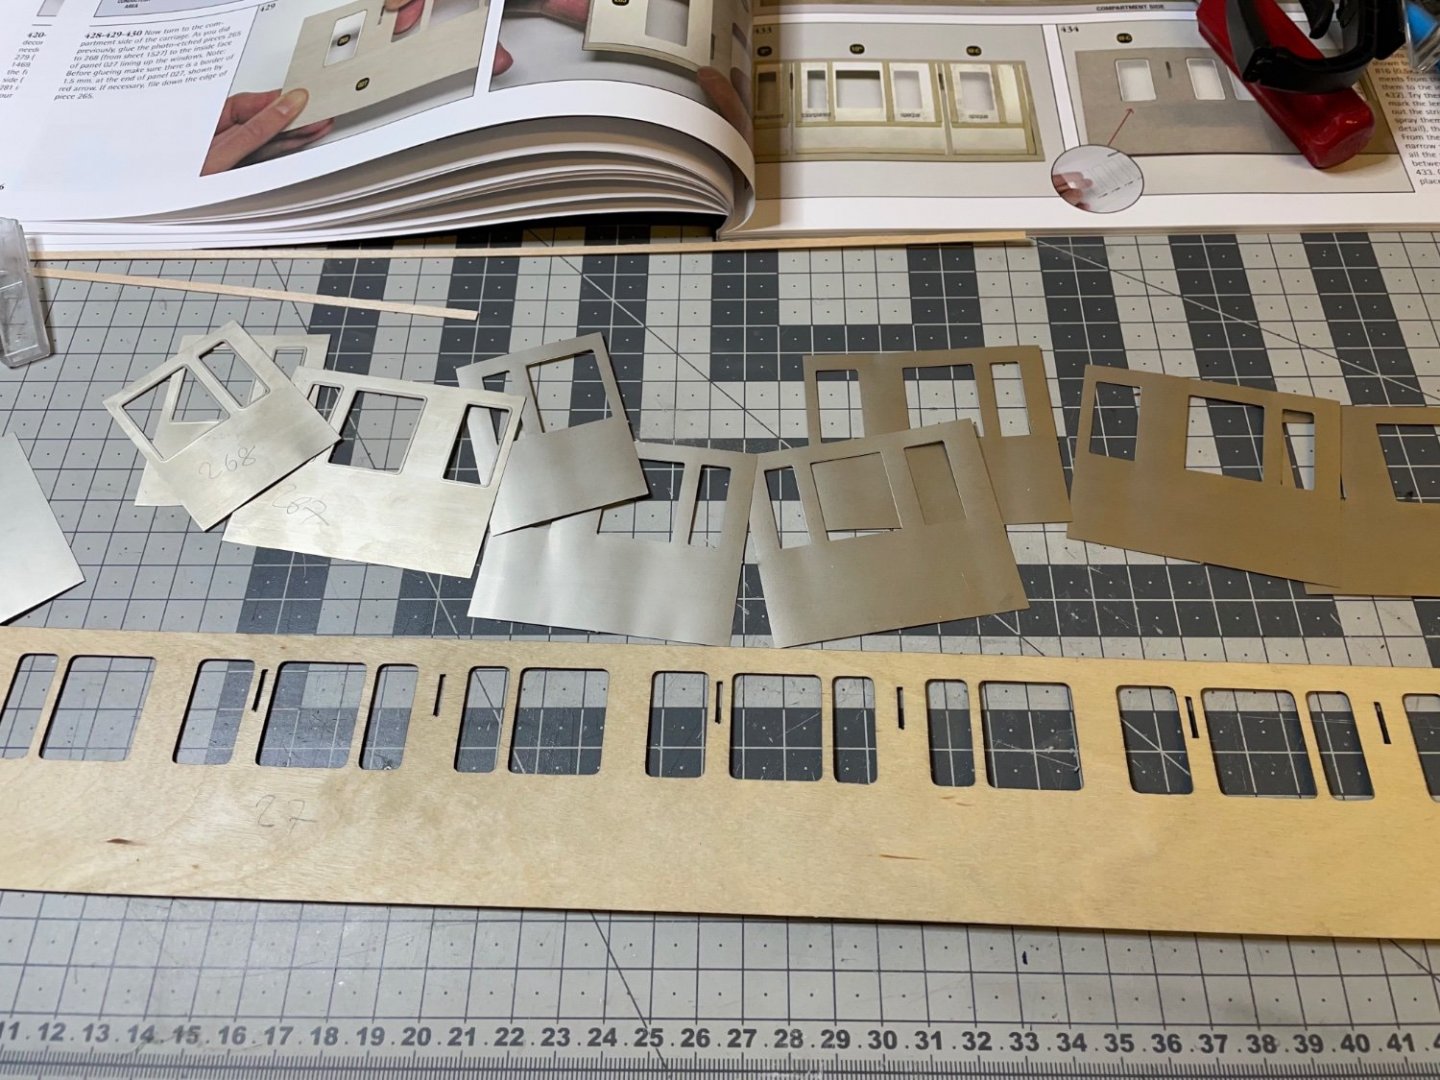
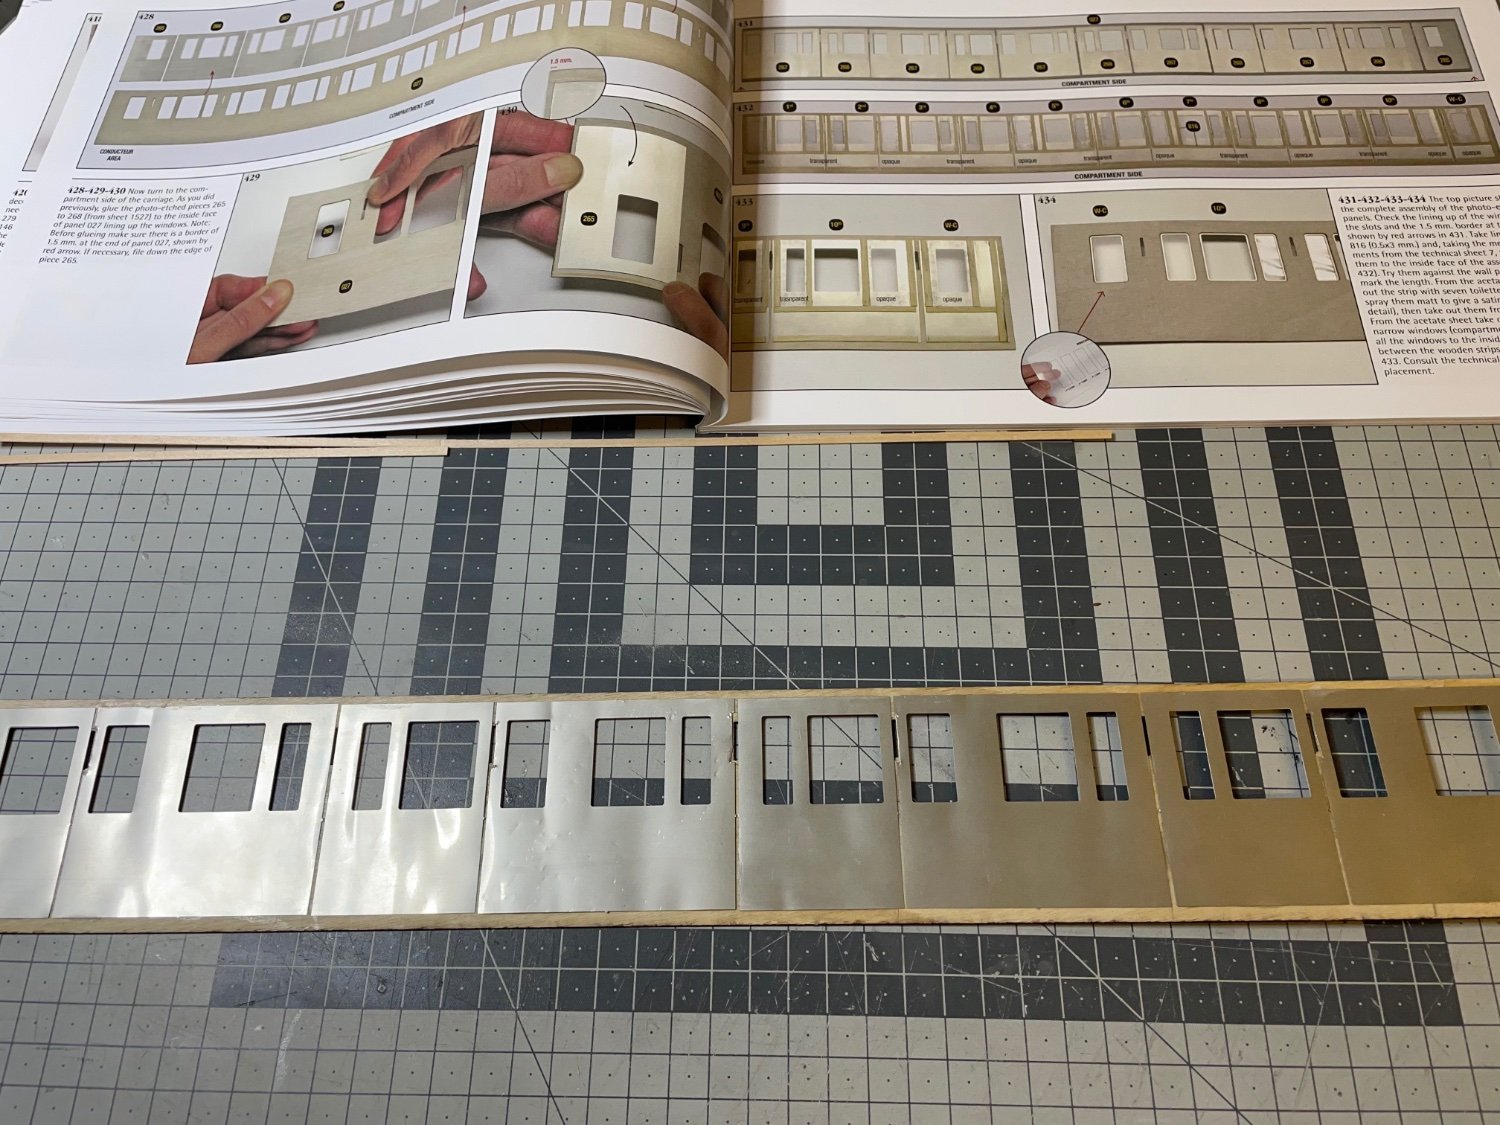
BUILD DAY 30 / 3 hrs / (TOTAL: 81 hrs)
Continuing with the compartment side of the carriage. The work is pretty much the same as the other side. This has more windows.
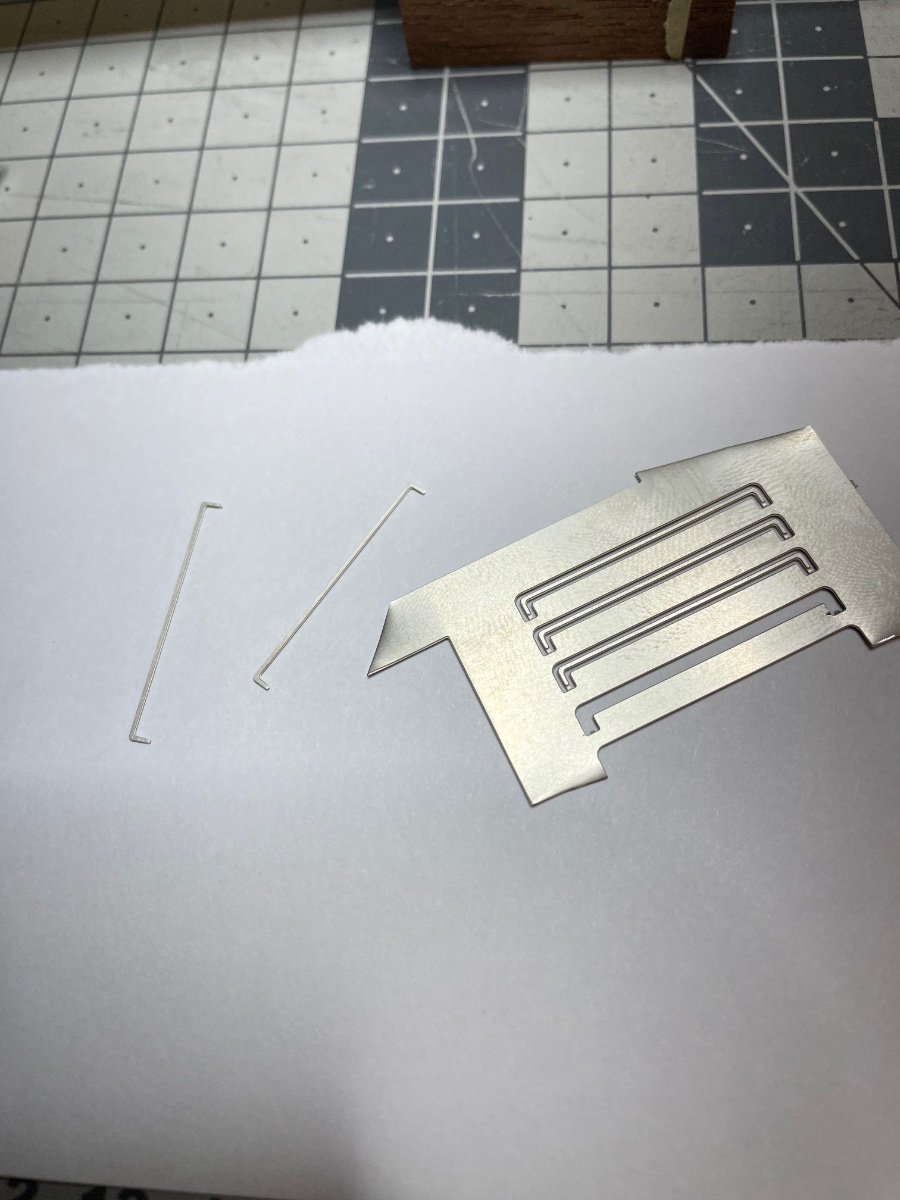
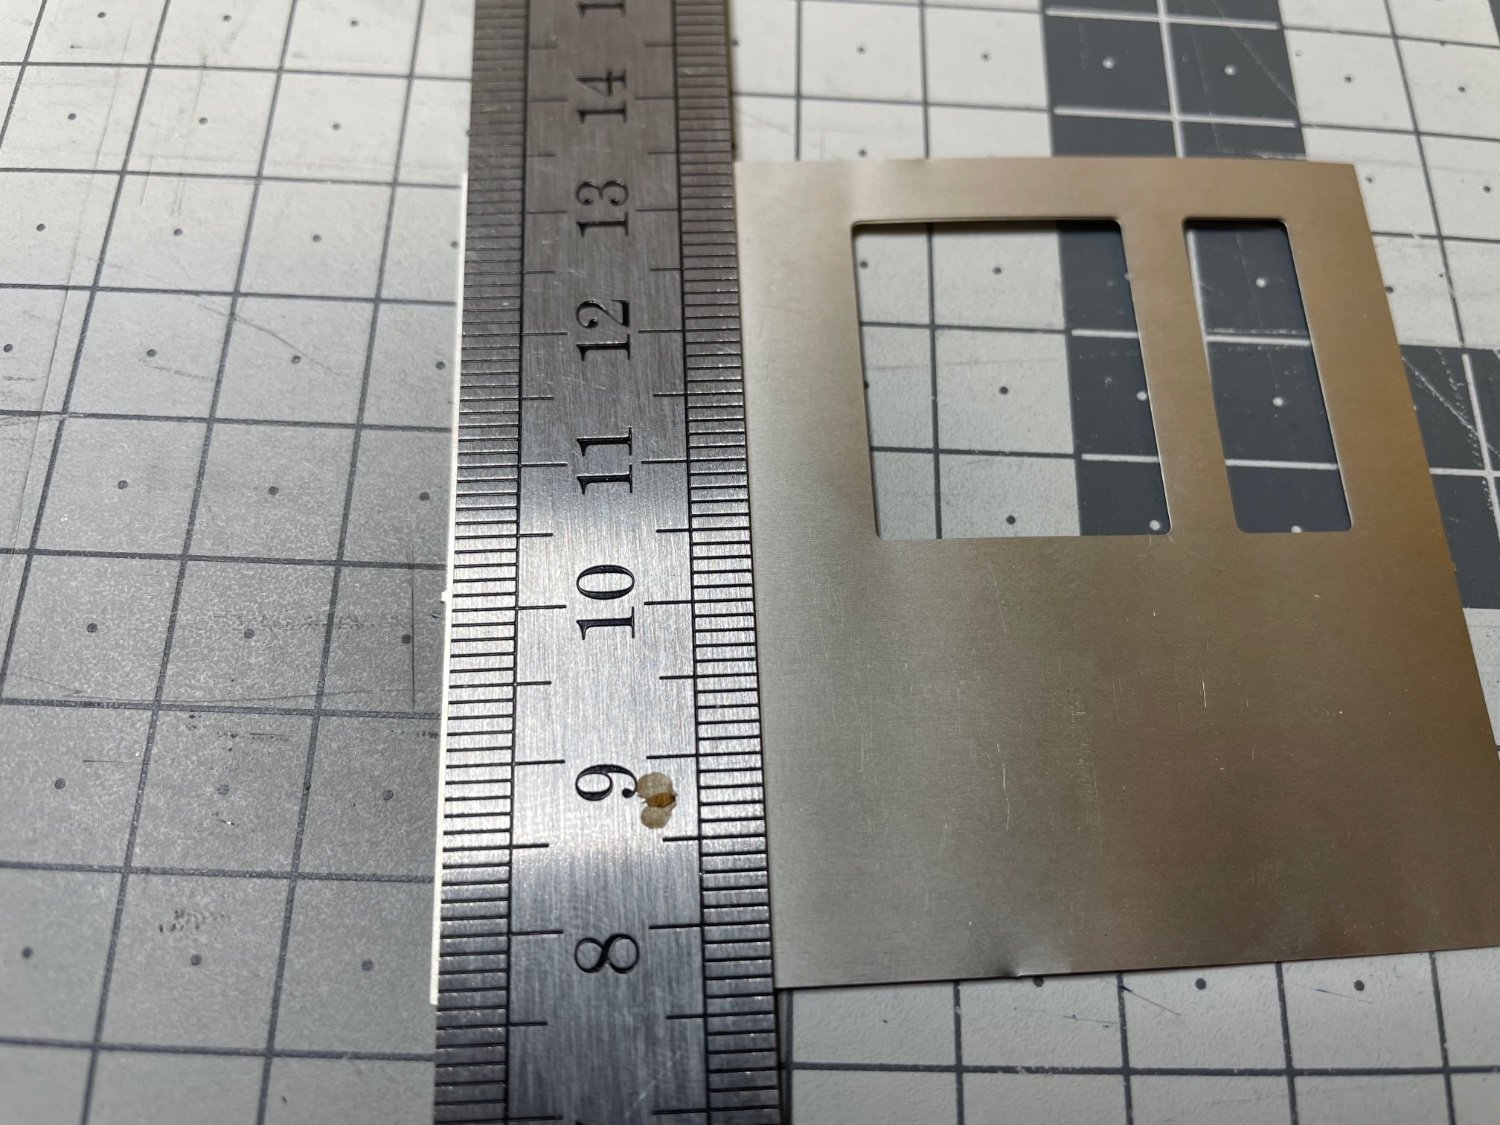
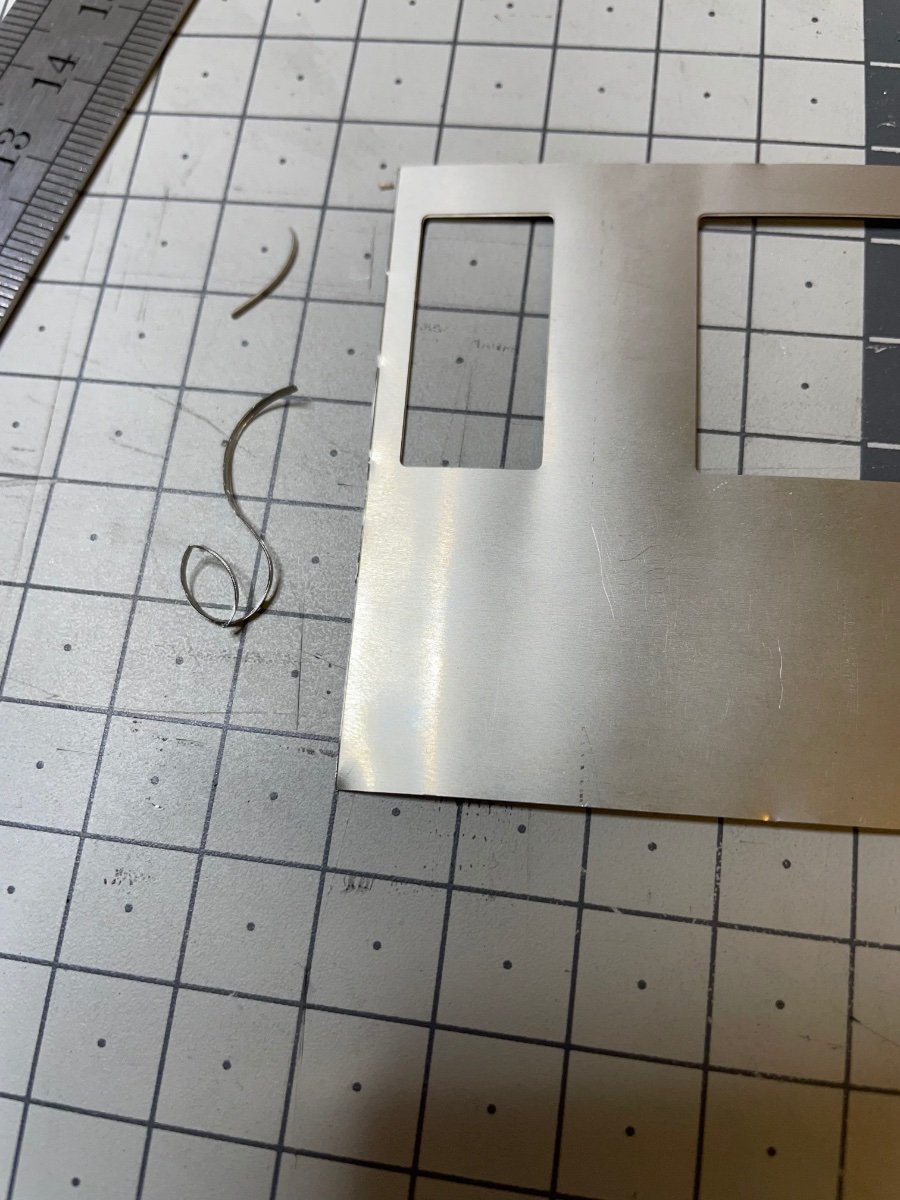
Figure 301: Nickel parts. They are also curved out of box. Now that I know they won't be visible, I use some force and hammer to flatten them enough.
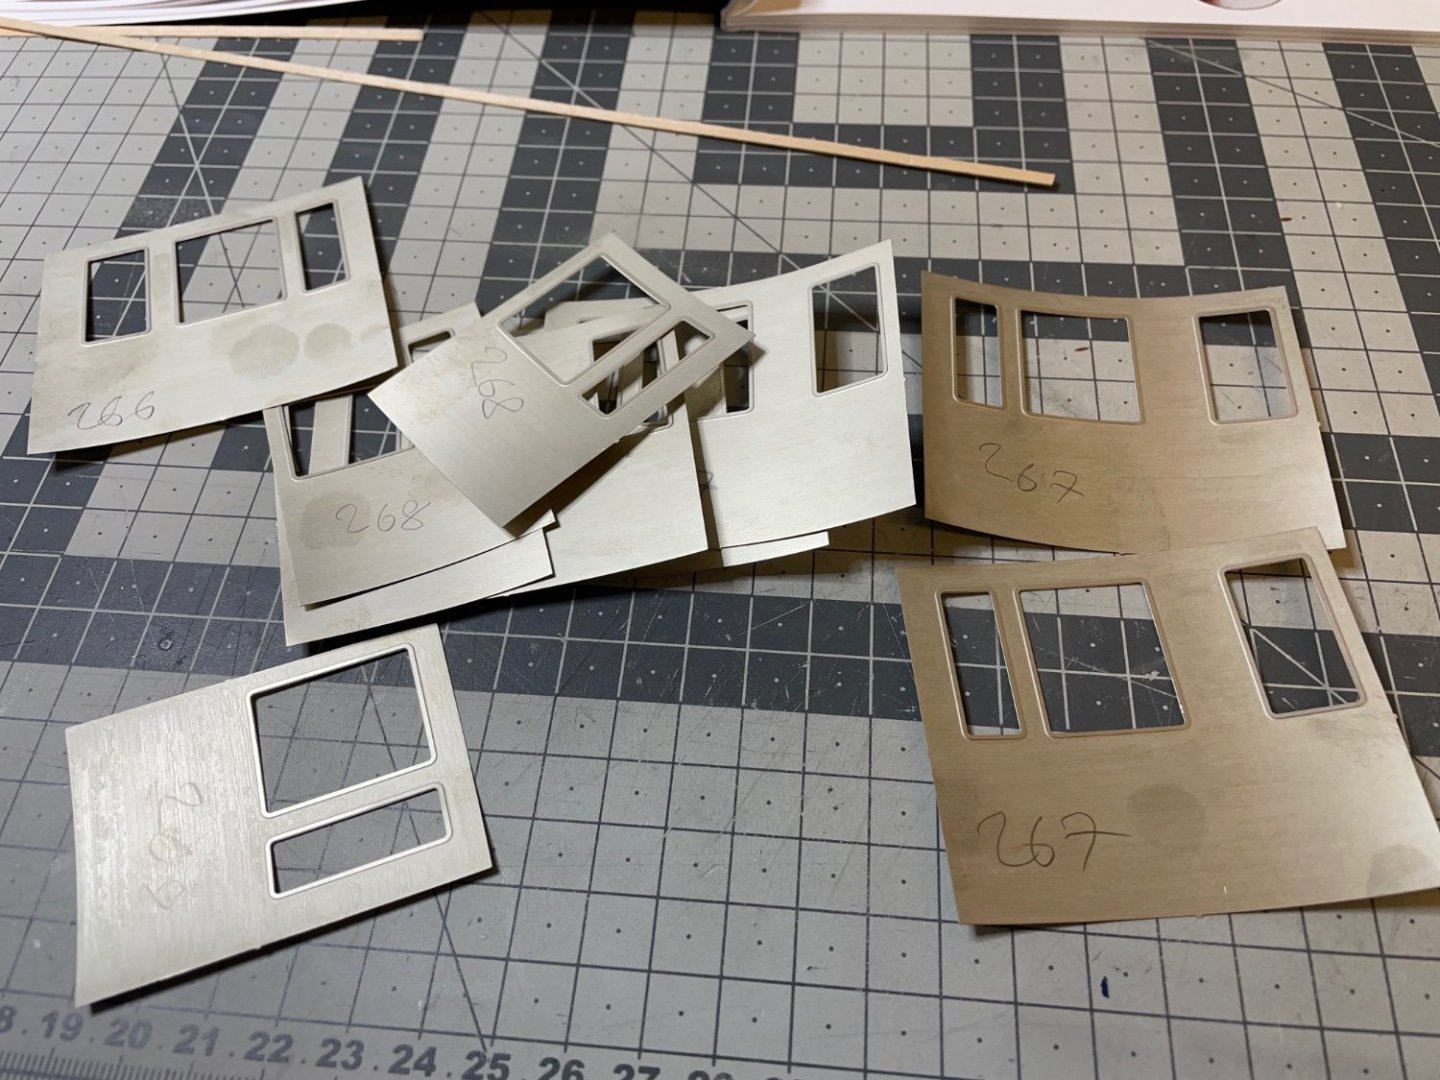
Figure 302: Here they are flat.
- Jack12477, ccoyle, Keith Black and 7 others
-
10
-
17 hours ago, yvesvidal said:
For the decals "Compagnie Internationale....", you may want to use Micro-Sol if you can procure that chemical:
It works beautifully to stick the decals next to the surface and to get rid of the micro air bubbles underneath.
Yves
I think I found it on Amazon,
Does it help to brush it on my already applied decals, or is only good for future decal work?
- Canute, lmagna, thibaultron and 4 others
-
7
-
4 hours ago, yvesvidal said:
For the decals "Compagnie Internationale....", you may want to use Micro-Sol if you can procure that chemical:
It works beautifully to stick the decals next to the surface and to get rid of the micro air bubbles underneath.
Yves
Thanks for the tip! Will definitely check it!
-
Figure 300 : Alright! Now the logo is in place, together with the nameplate my train is officially The Orient Express!


This is all for now.
Thanks for watching!- wefalck, popeye2sea, Jack12477 and 10 others
-
13
-
-
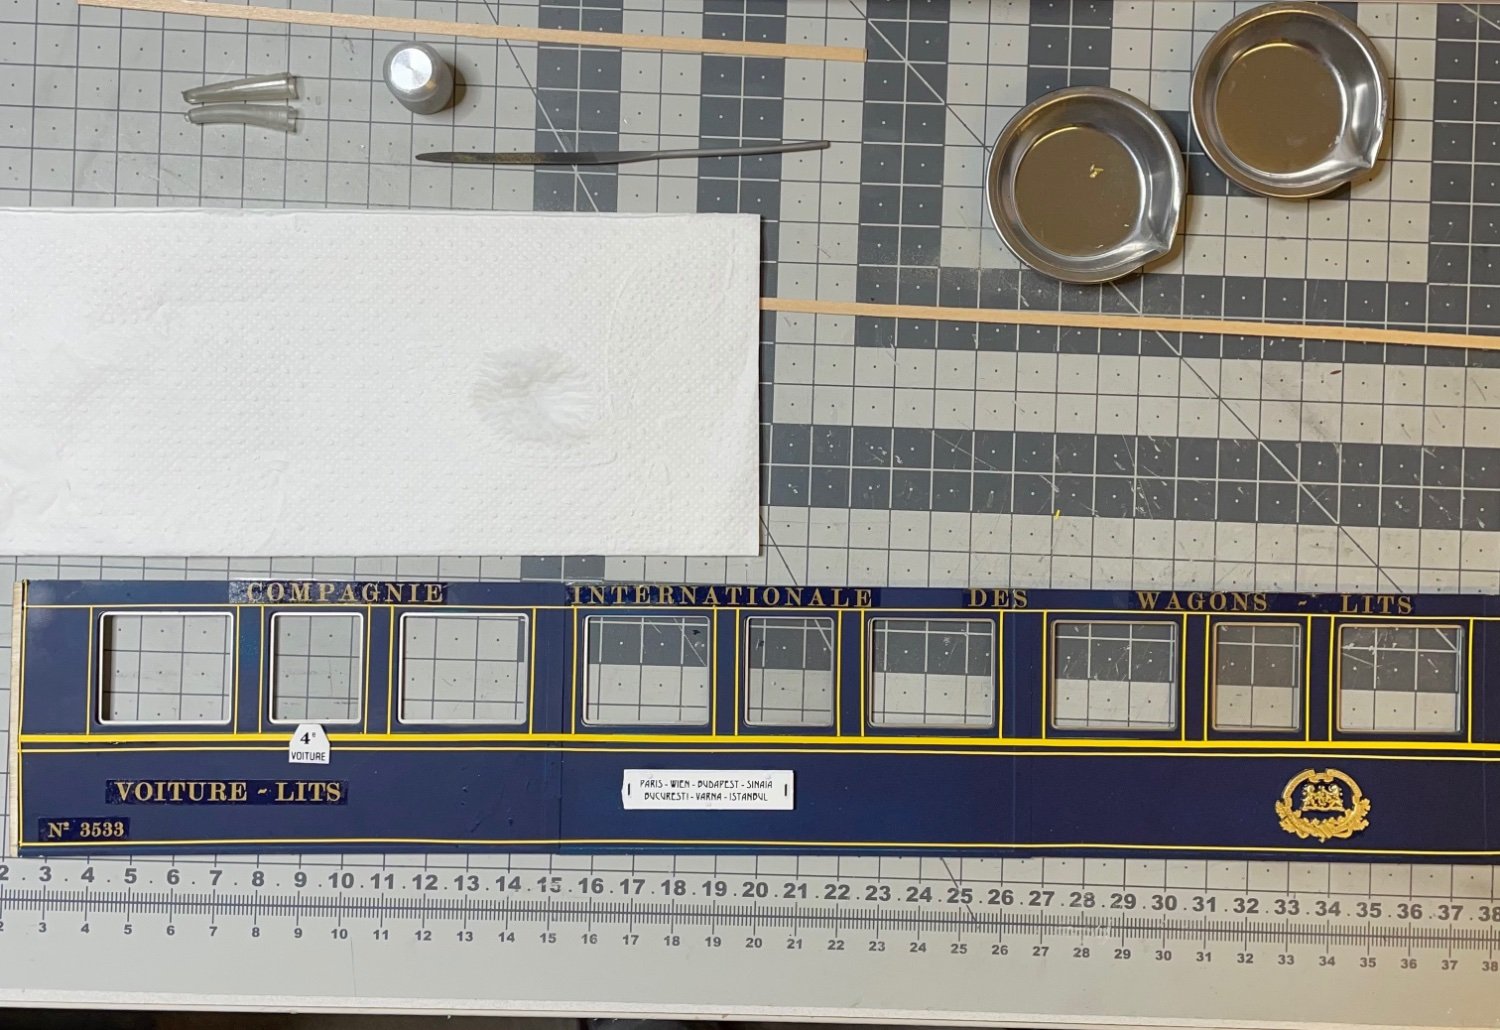
BUILD DAY 29 / 2 hrs / (TOTAL: 78 hrs)
Logo, route nameplate, wagon number plate.
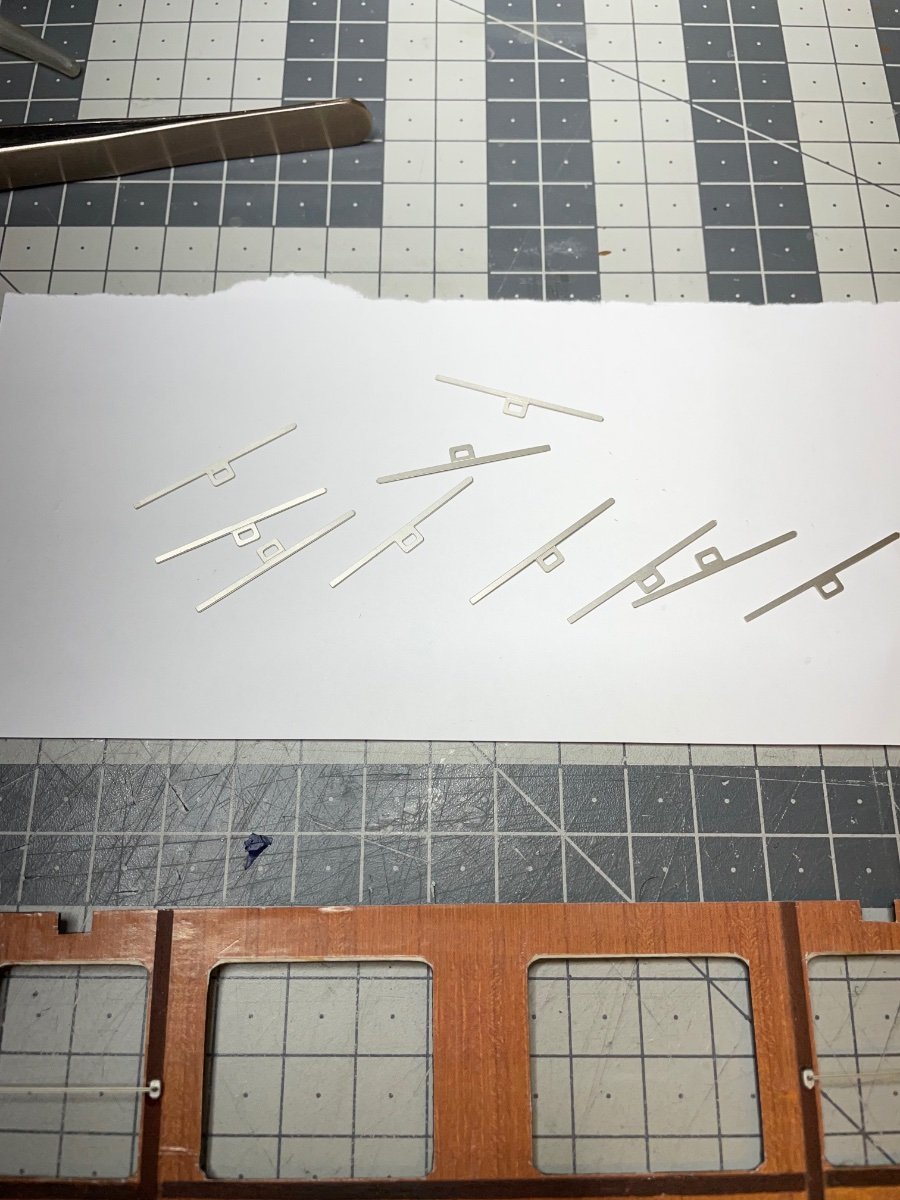
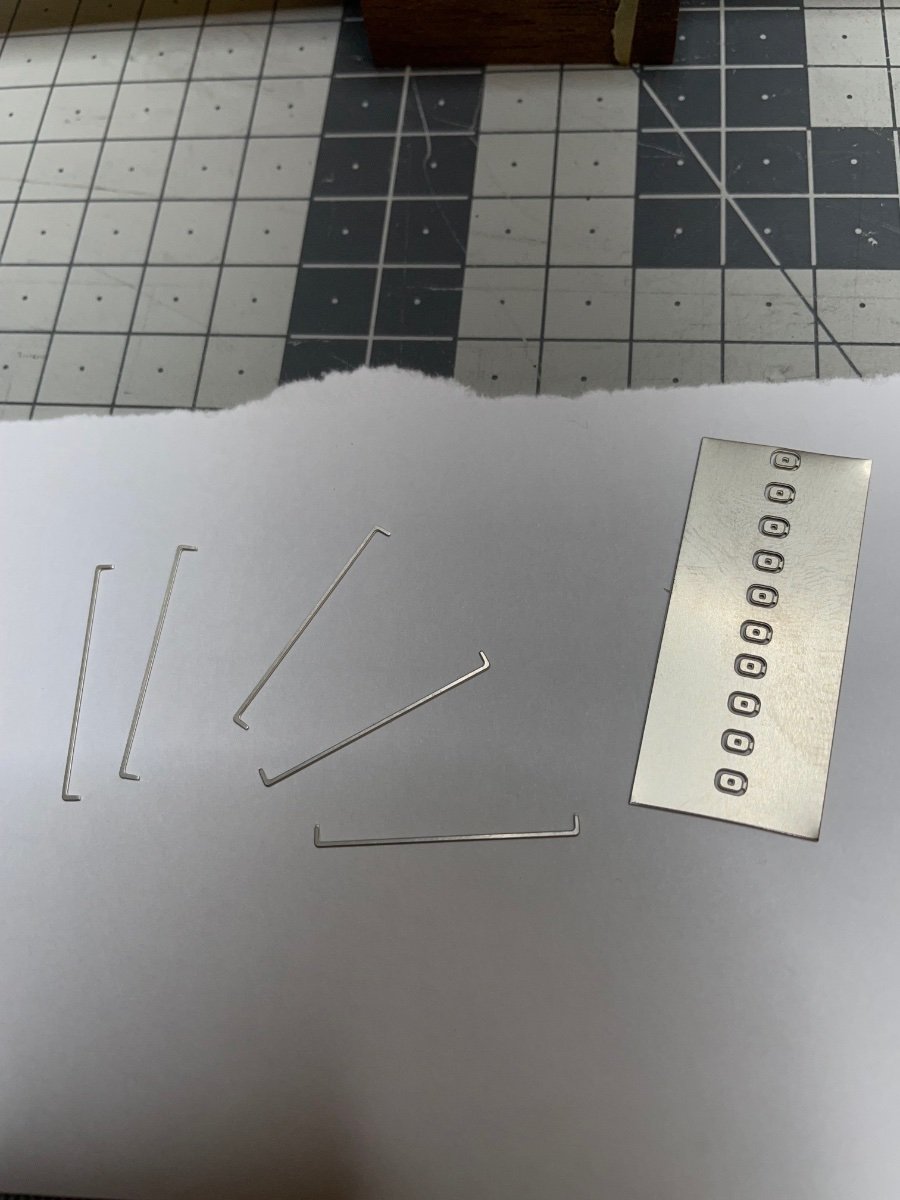
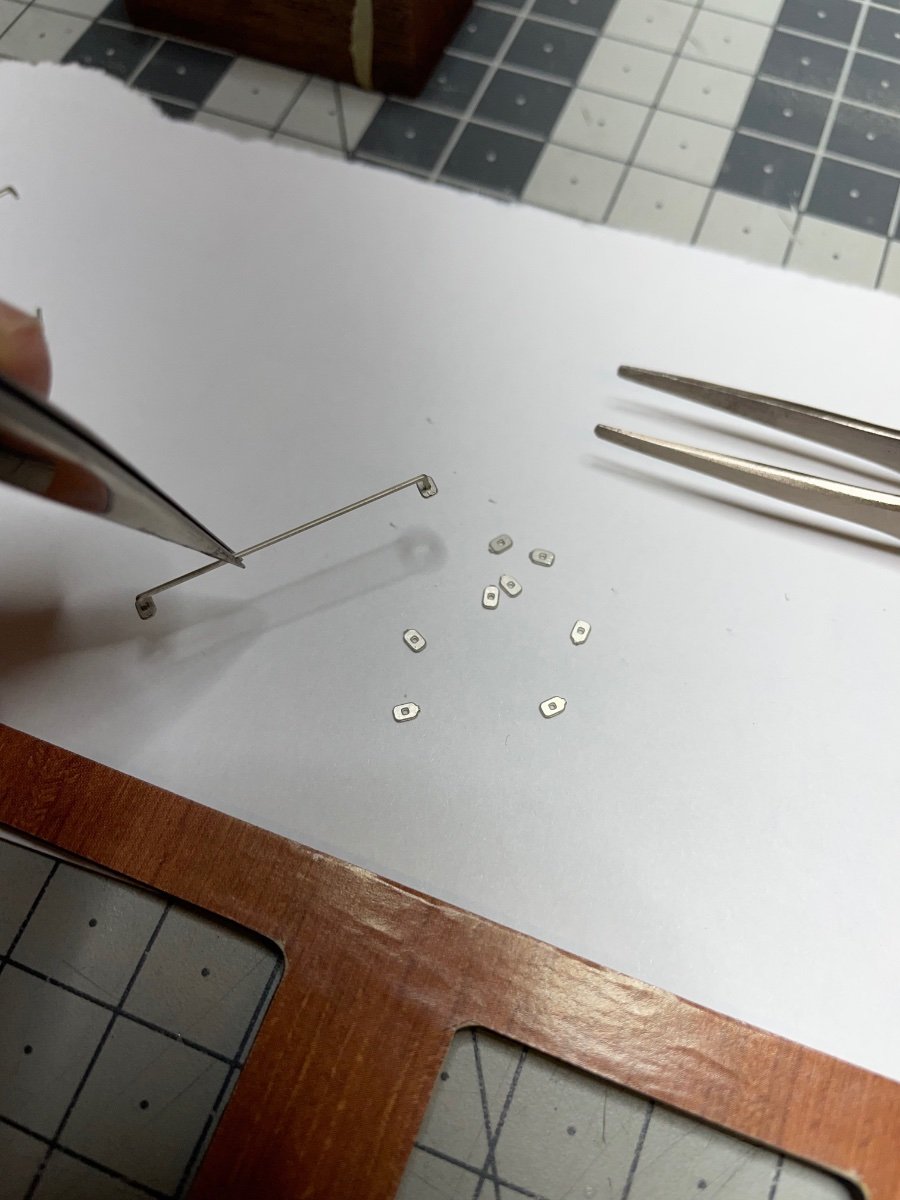
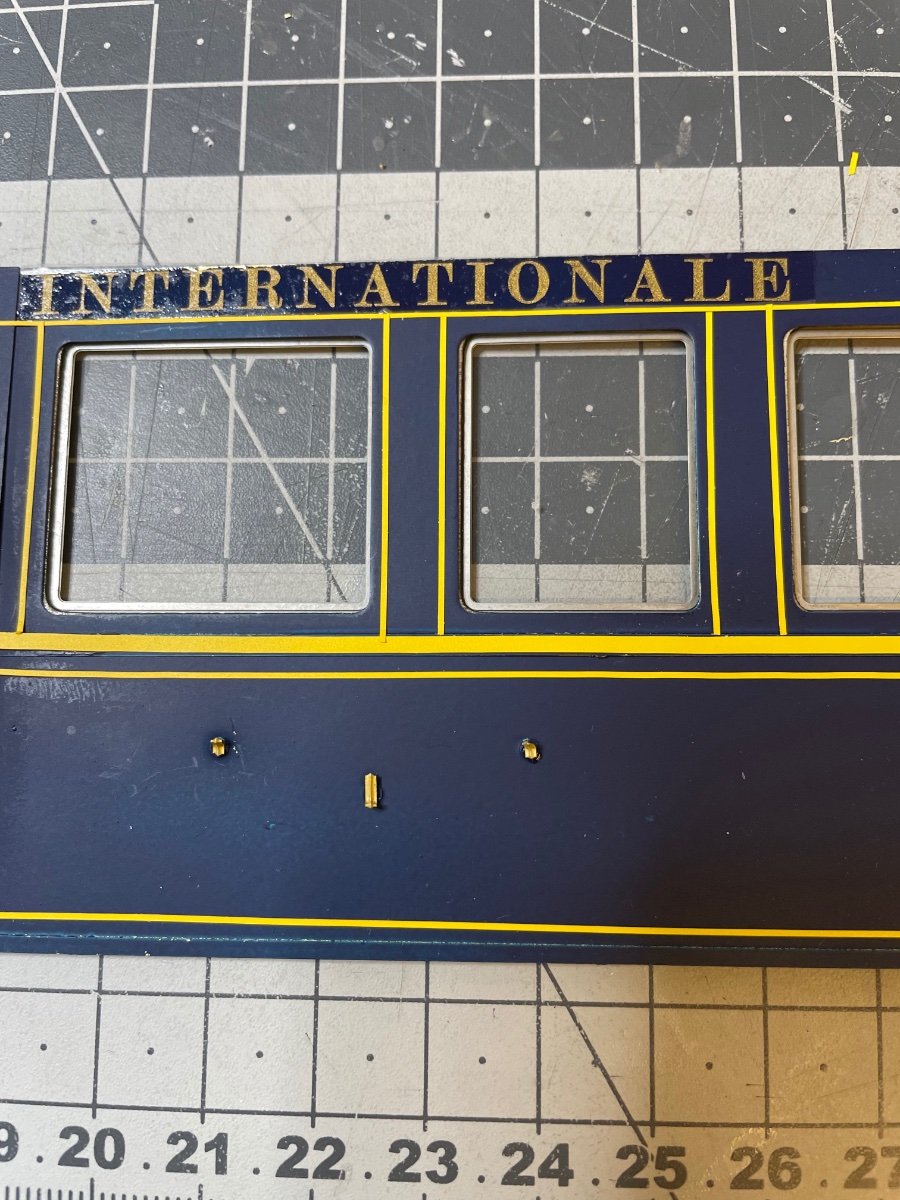
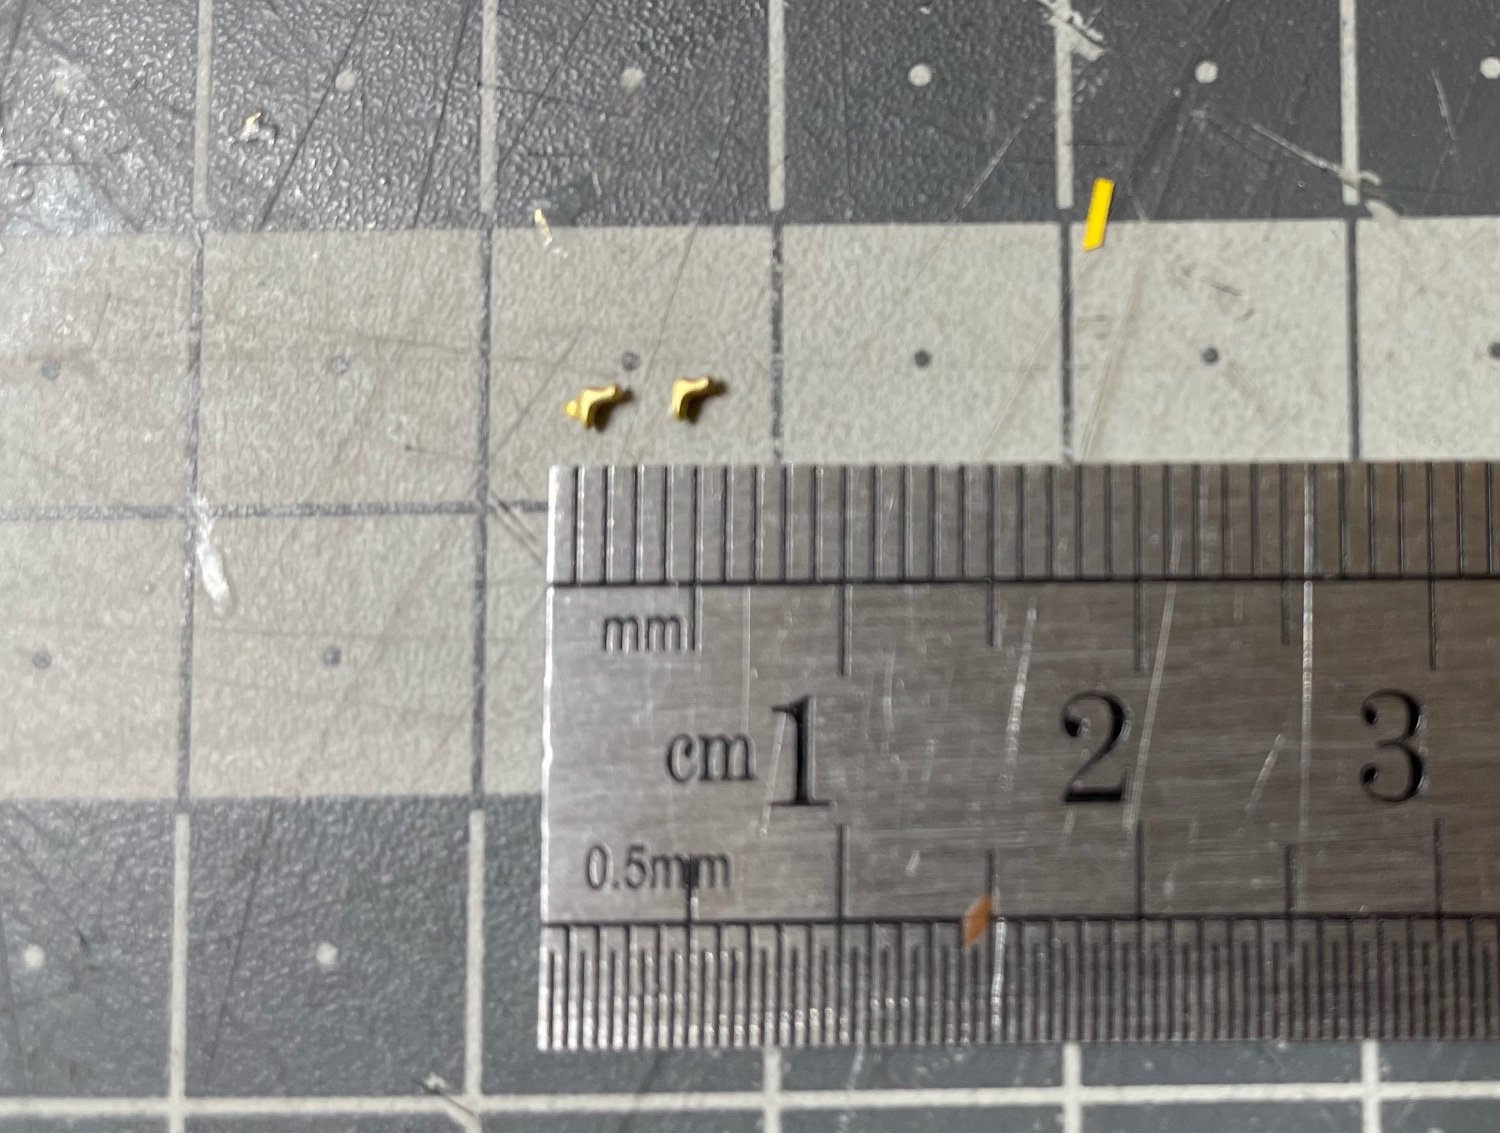
Figure 296: These are the smallest parts in this kit. They are the hooks for hanging the route nameplate. After removing them from their brass sheet you'll need to trim and file them so that they stay on the wagon smoothly.
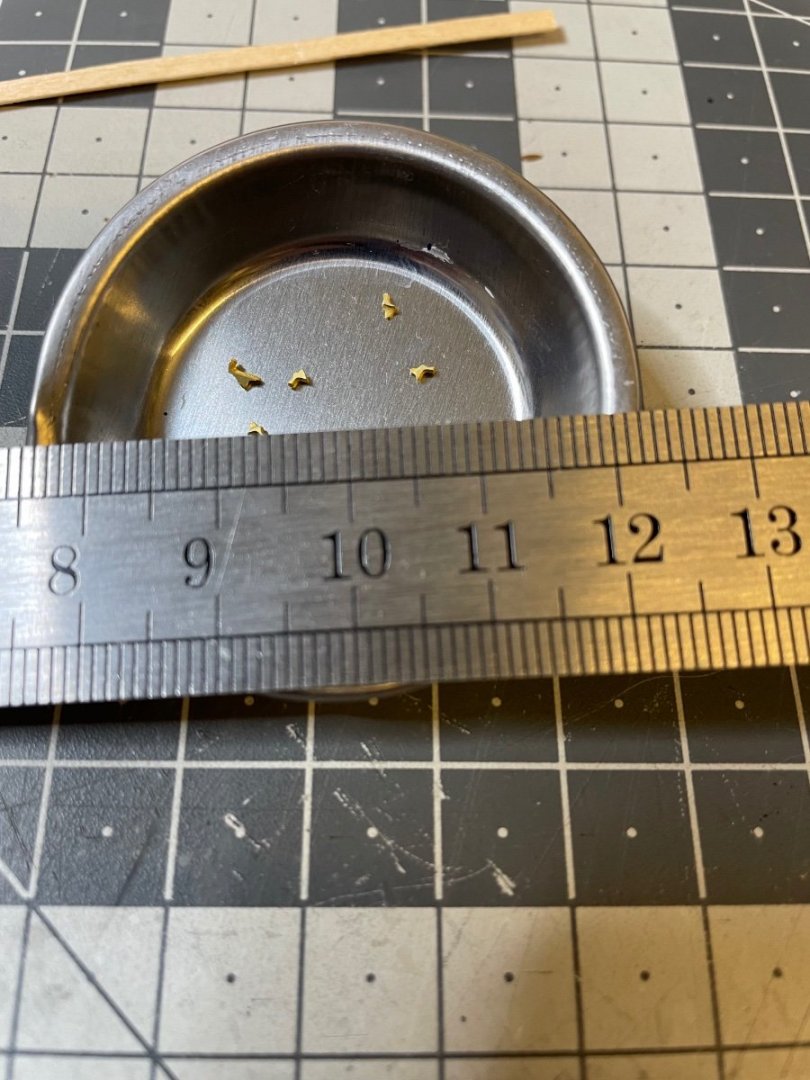
Figures 297-298: In the two pictures below.
Left: Just removed from its sheet.
Right: trimmed and filed, ready to use.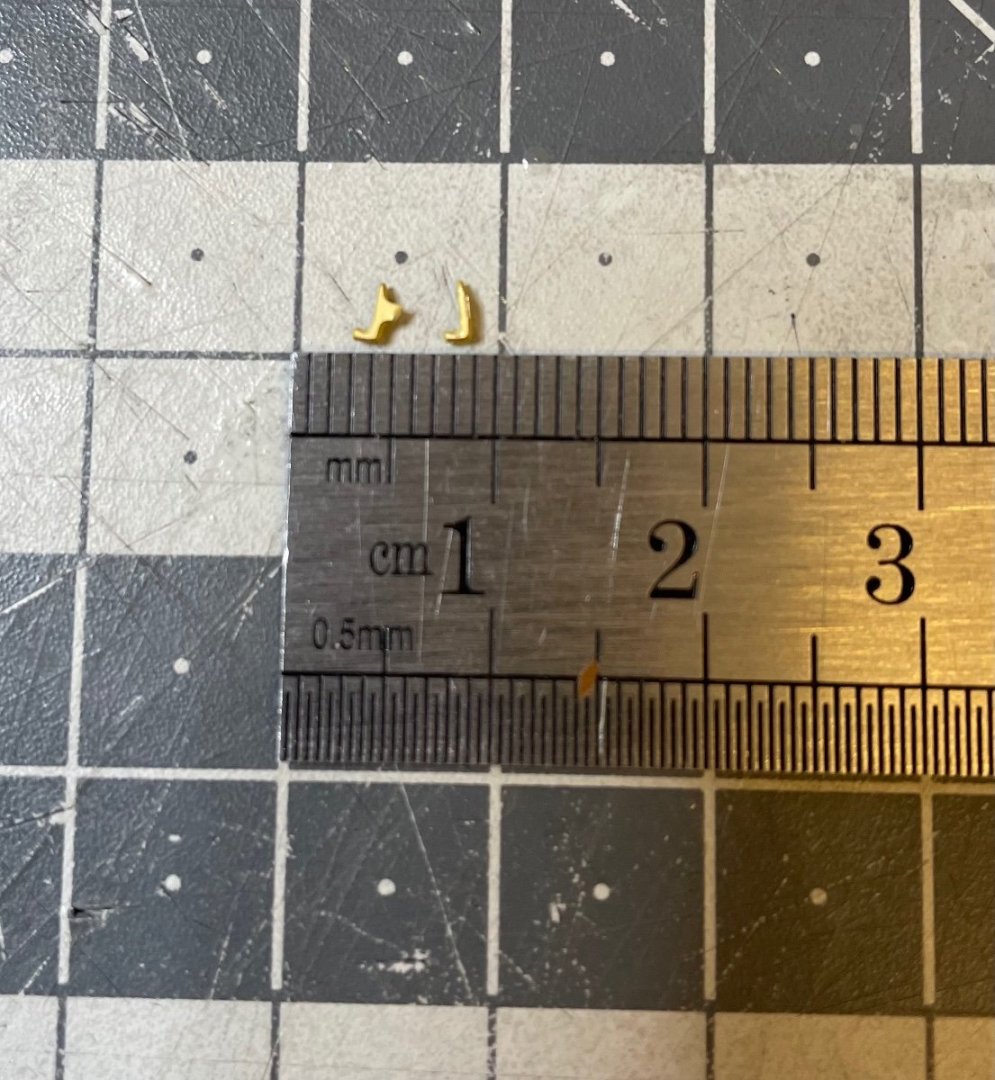

-
27 minutes ago, yvesvidal said:
WOW!! It is coming along rather nicely. The blue color is spot on. Will you spray a coat of satin clear to lock everything?
Yves
Thanks! I don't know, maybe not. I applied the paint on a scrap piece and waited one day to dry. After that it felt good enough, no peeling etc when I rubbed it. It may just stay like this.


Orient Express Sleeping Car 1929 by aydingocer - FINISHED - Amati - Scale 1:32
in Non-ship/categorised builds
Posted
Figure 339: Gluing the inner and outer walls to each other, very very carefully. Glue is applied on the wooden strips which I glued around the windows and long edges on one side. They will provide the necessary gap to slide the window sheets through.