


aydingocer
-
Posts
858 -
Joined
-
Last visited
Content Type
Profiles
Forums
Gallery
Events
Posts posted by aydingocer
-
-
Thanks for all the encouraging comments!
- thibaultron, Canute, mtaylor and 4 others
-
 7
7
-
-
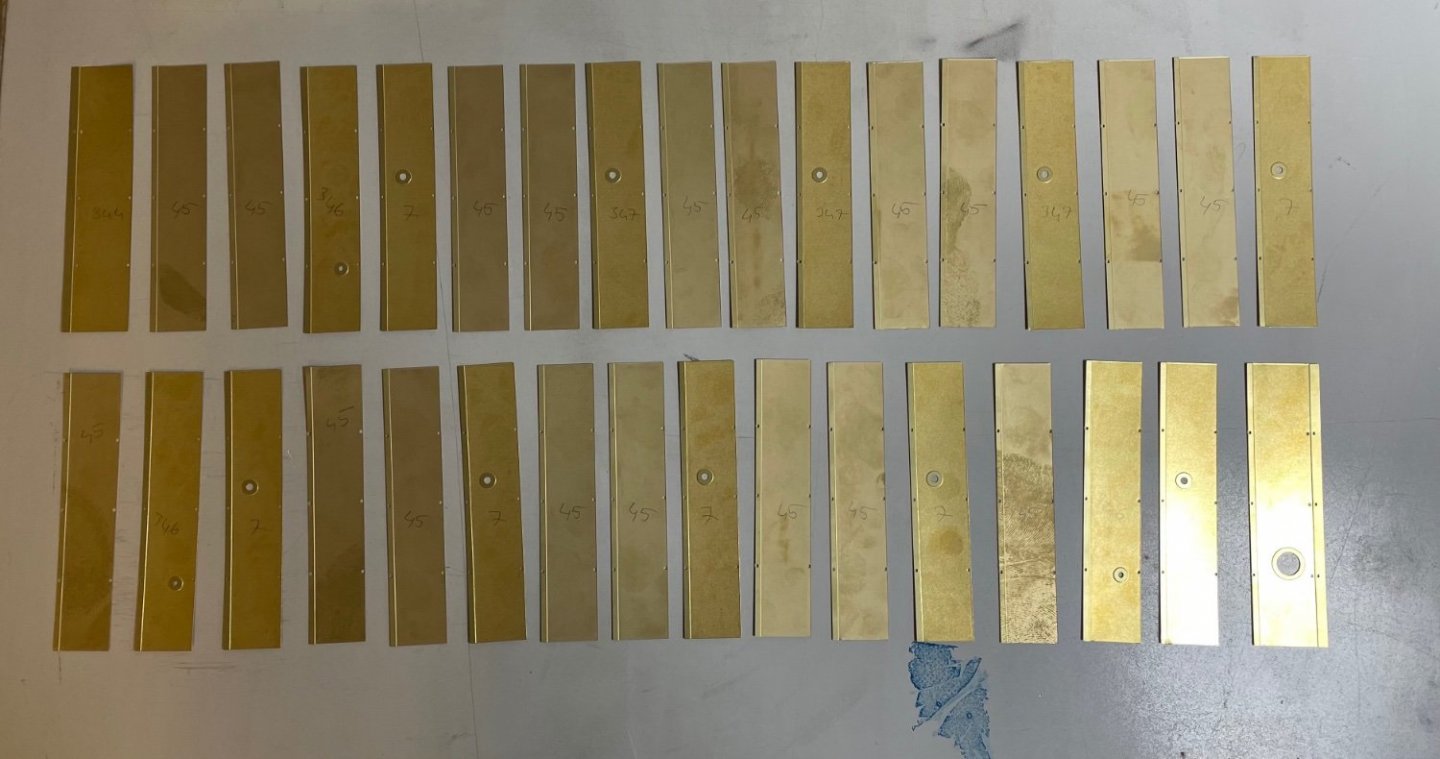
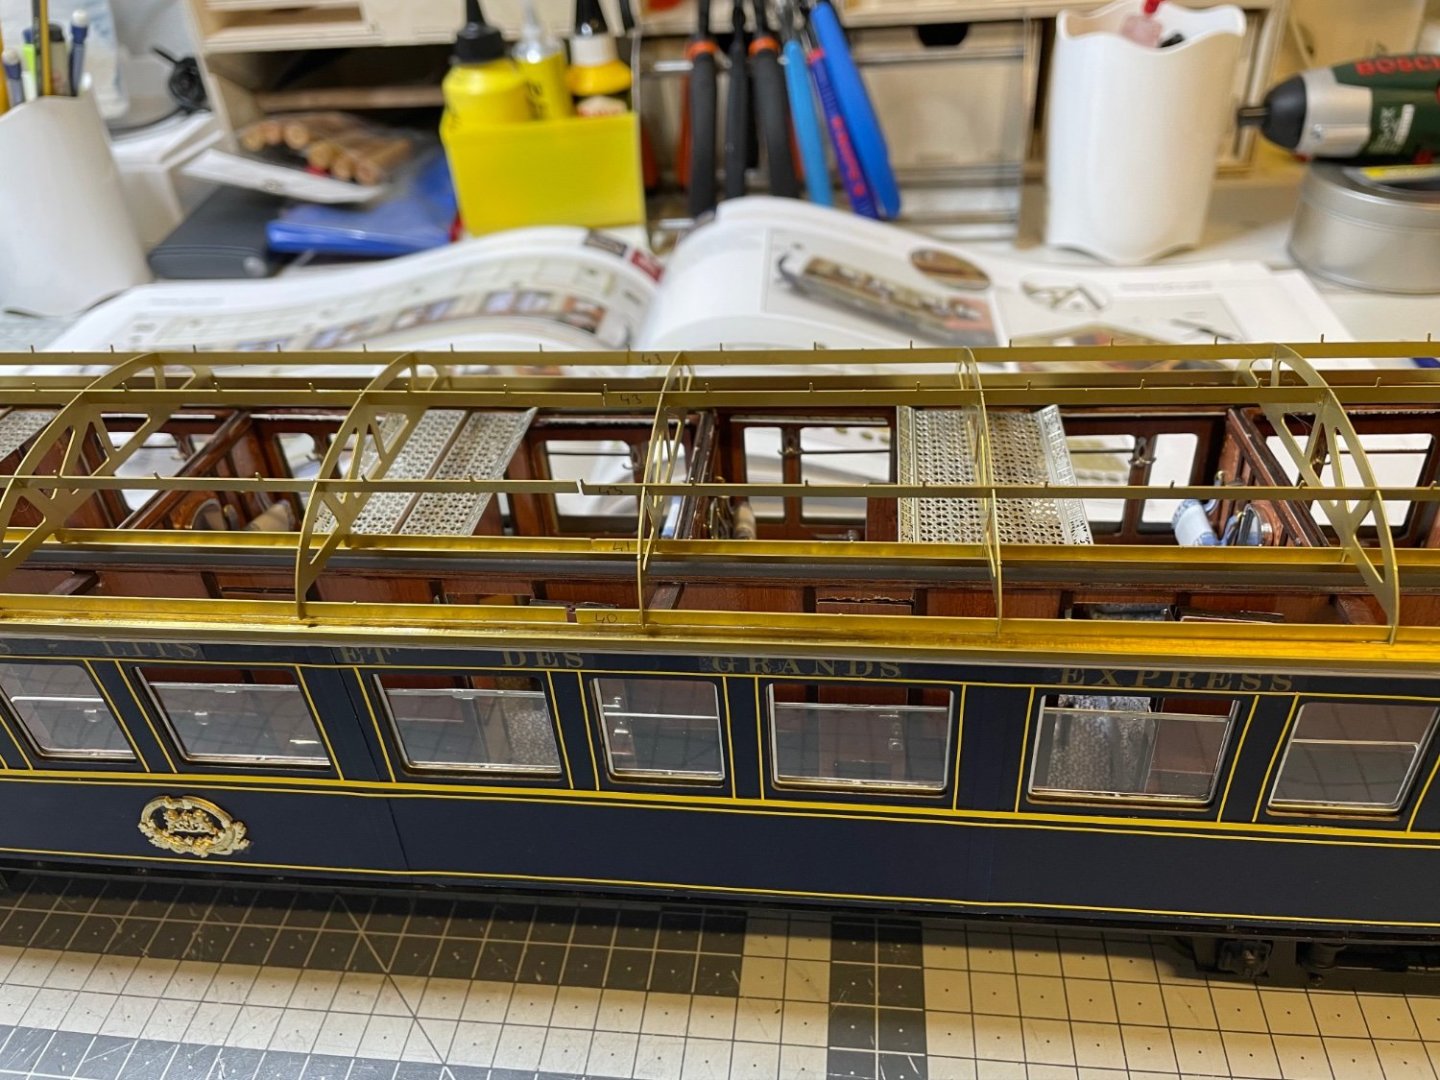
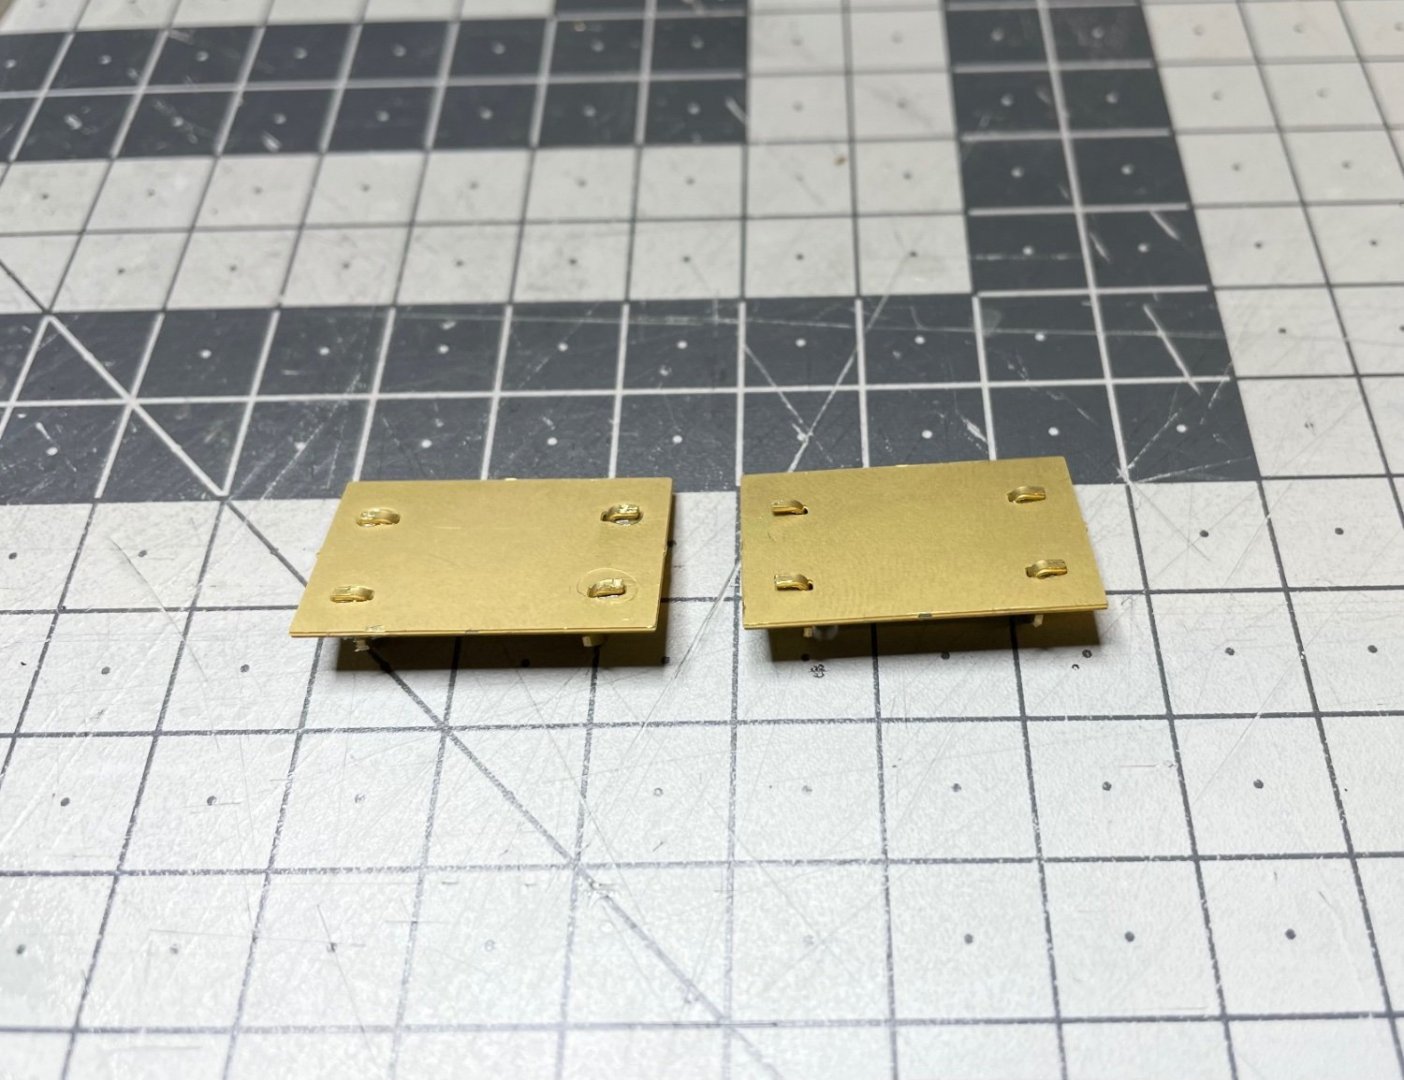
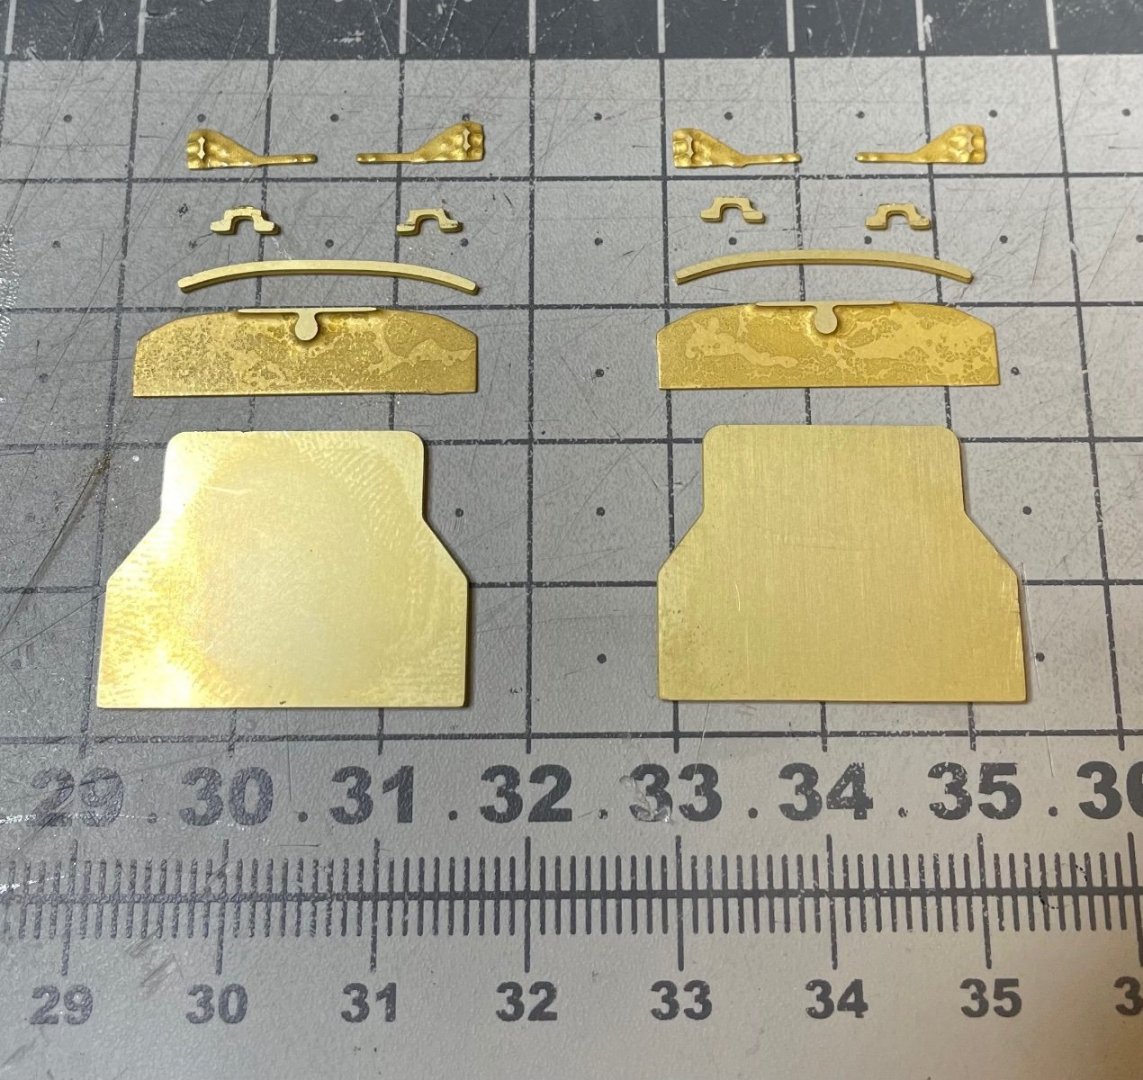
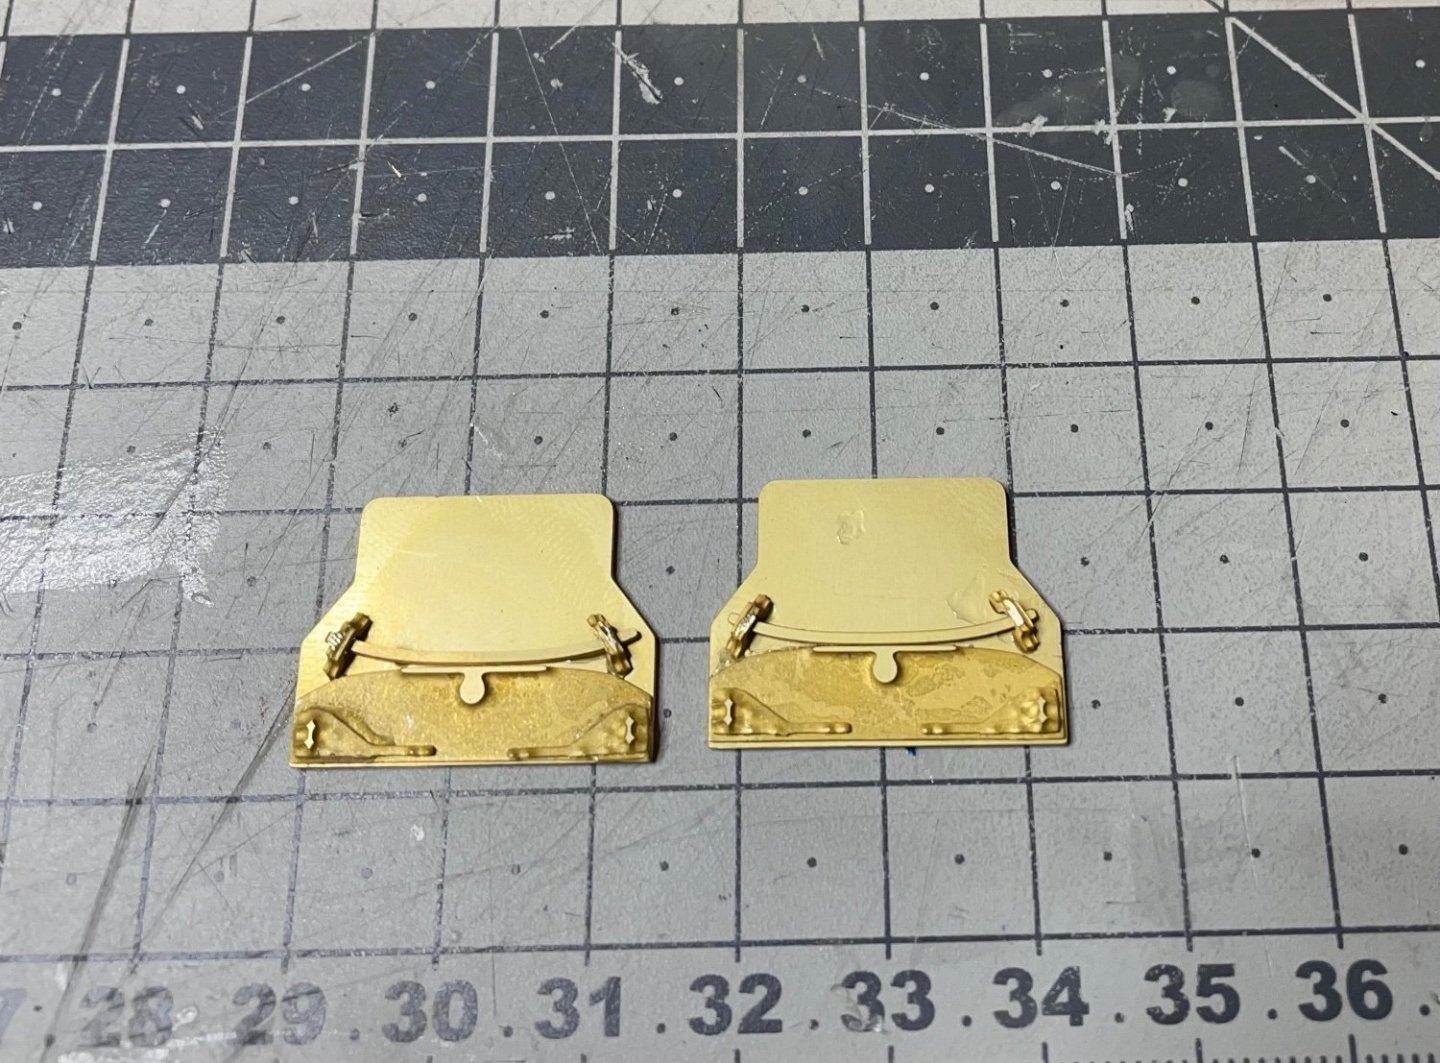
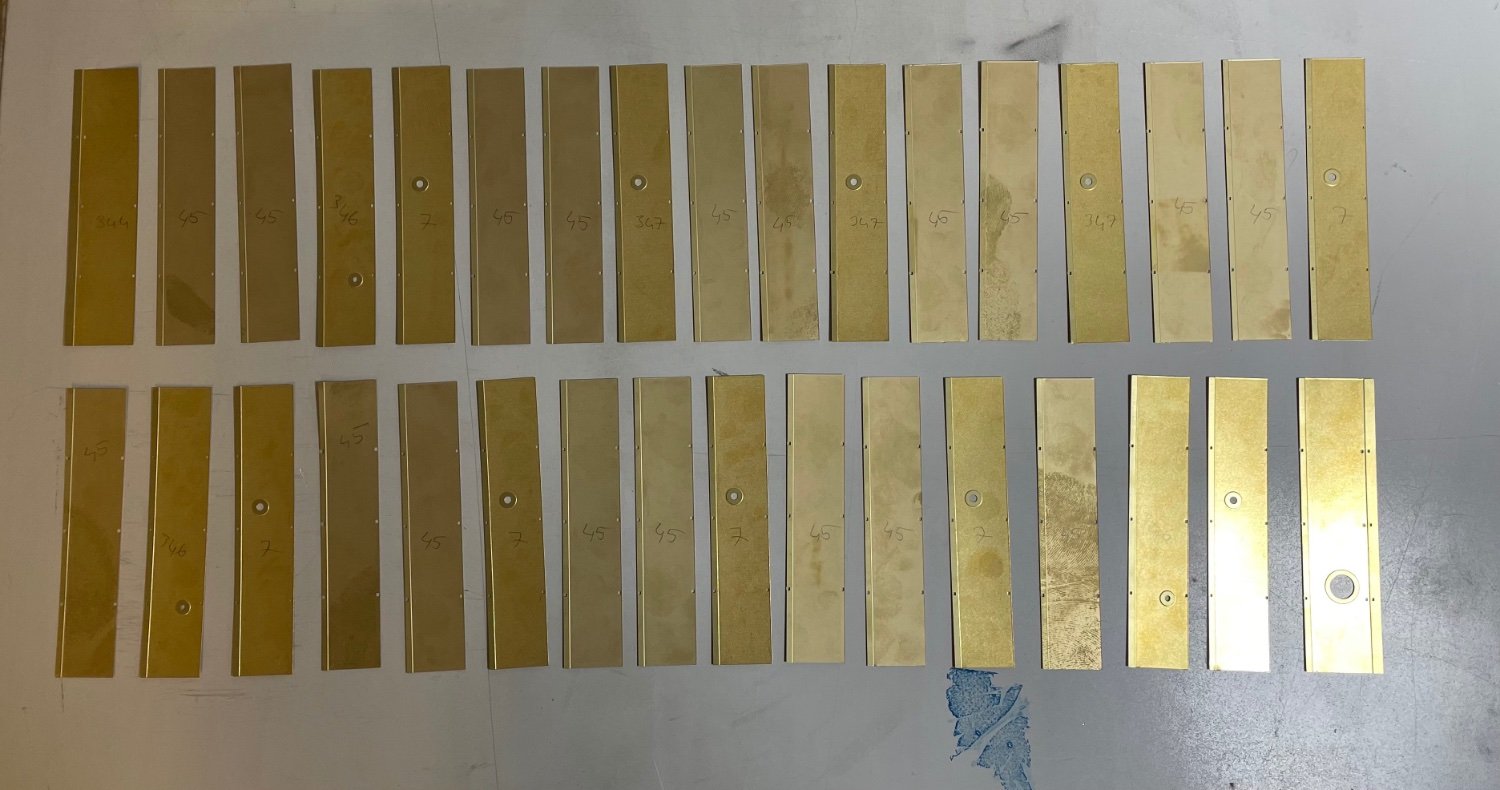
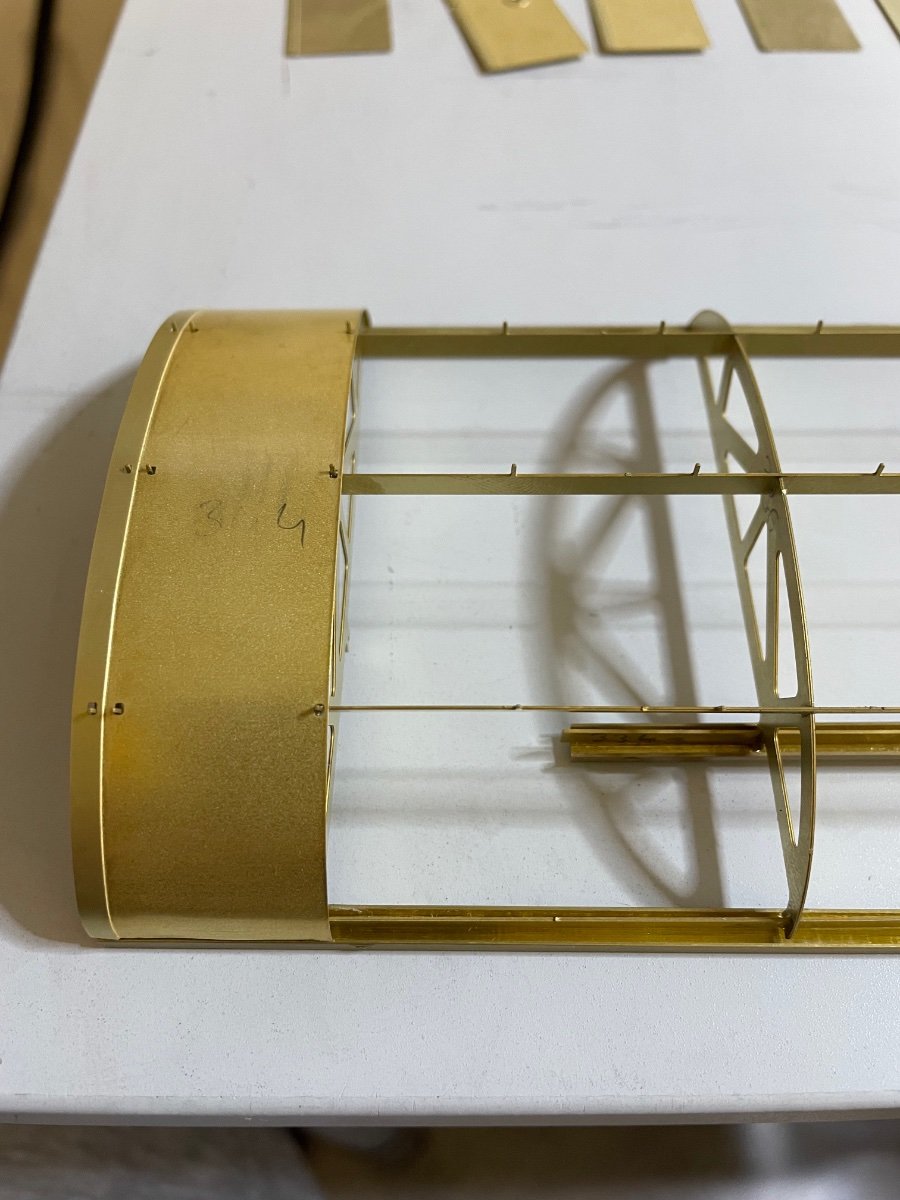
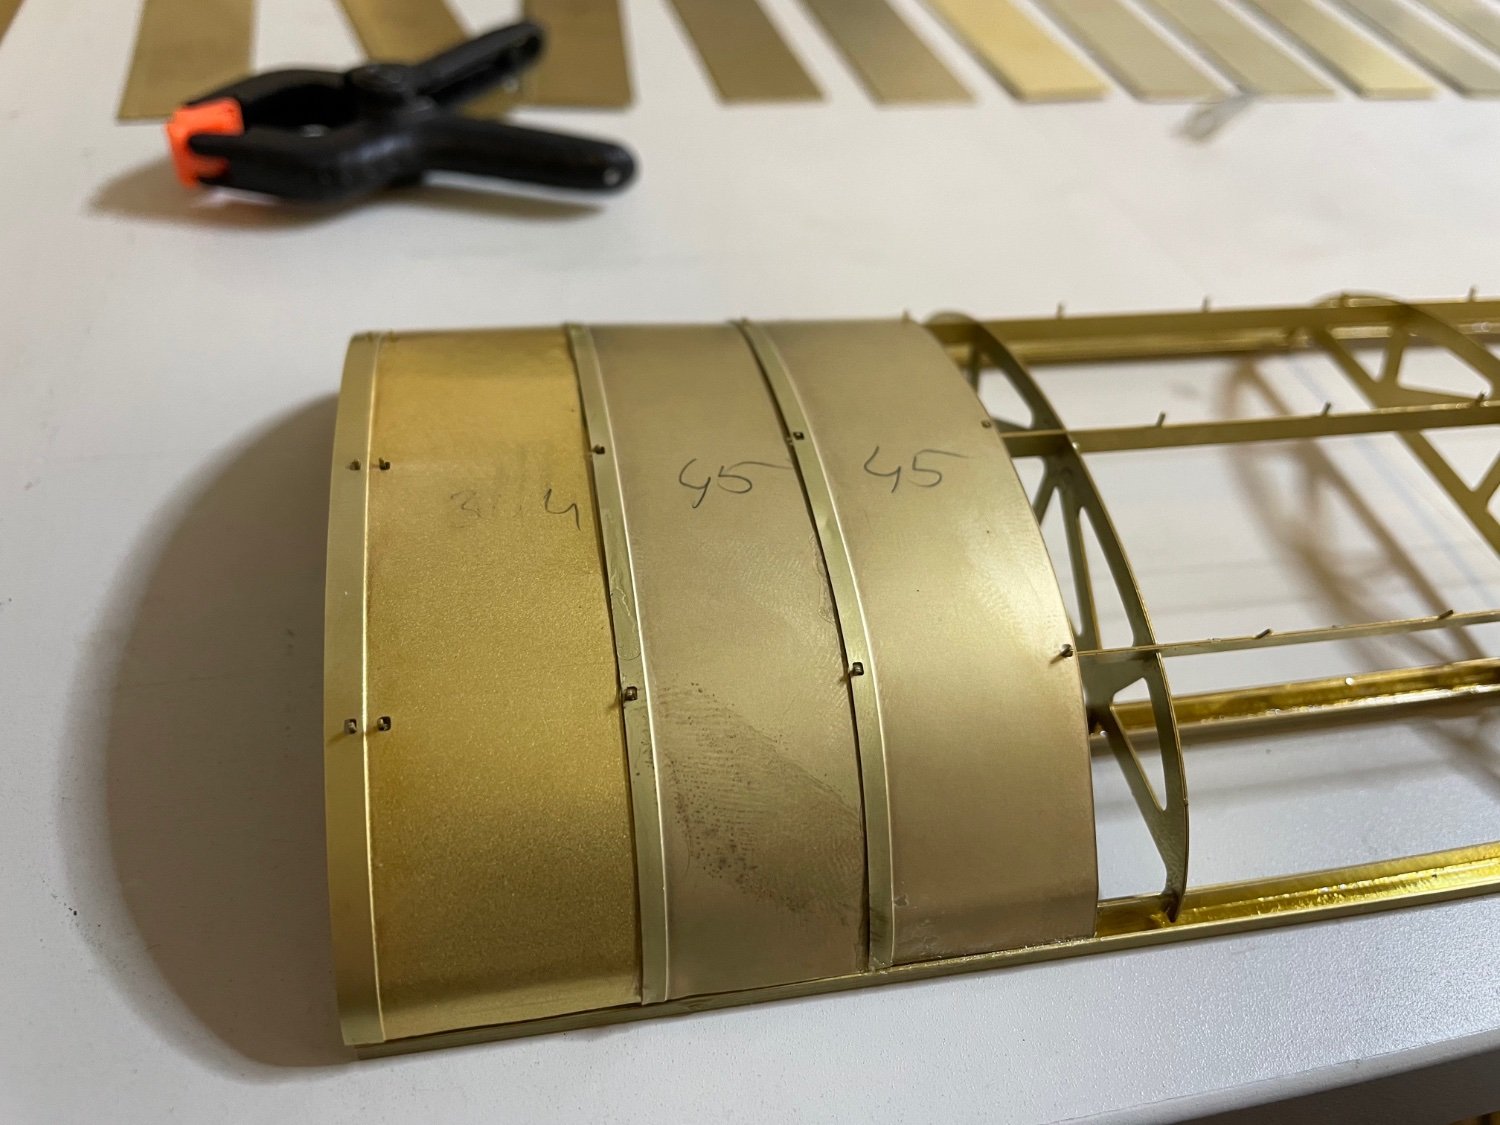
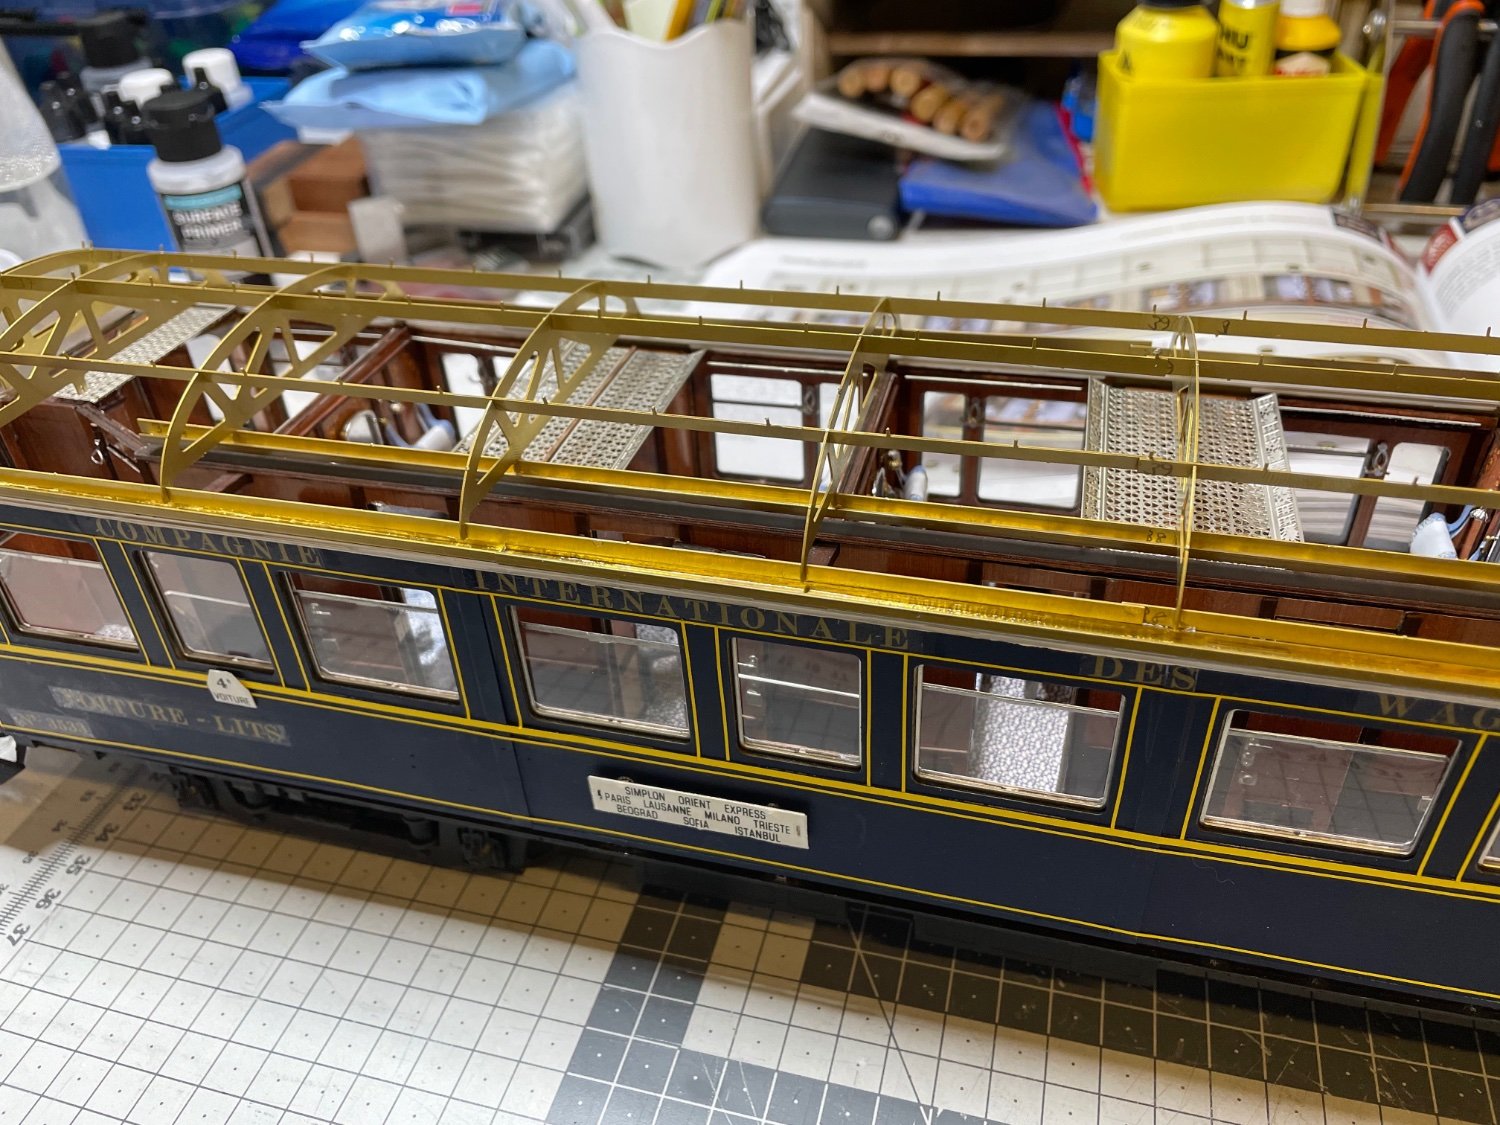
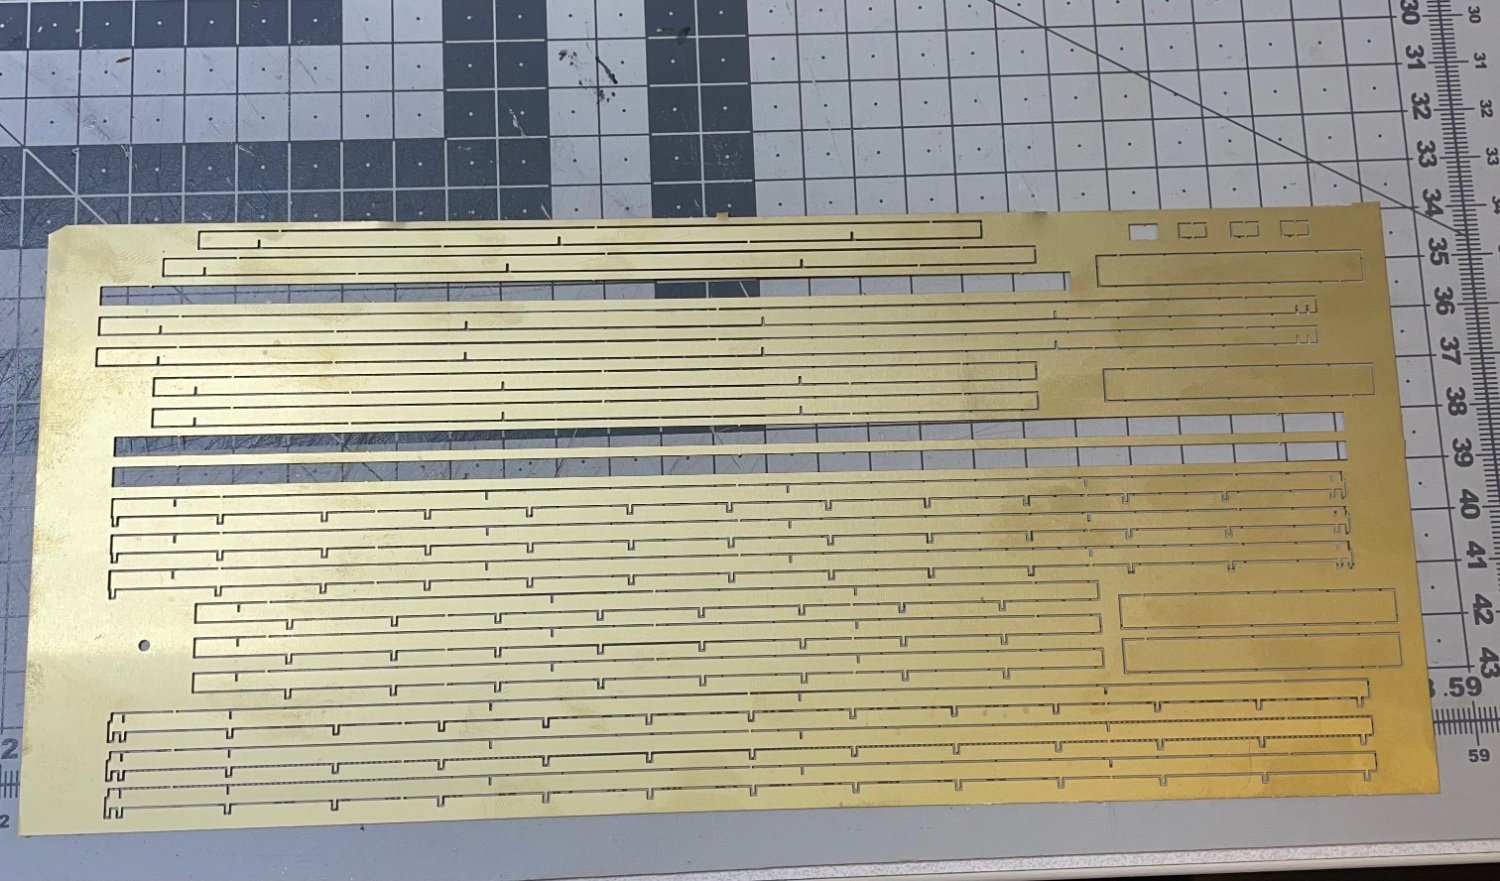
Figures 447-449: Roof sheets from etched brass. There are 33 of them. I was going to stop for today but then got tempted and started installing a few of them.

- mtaylor, druxey, popeye the sailor and 9 others
-
12
-
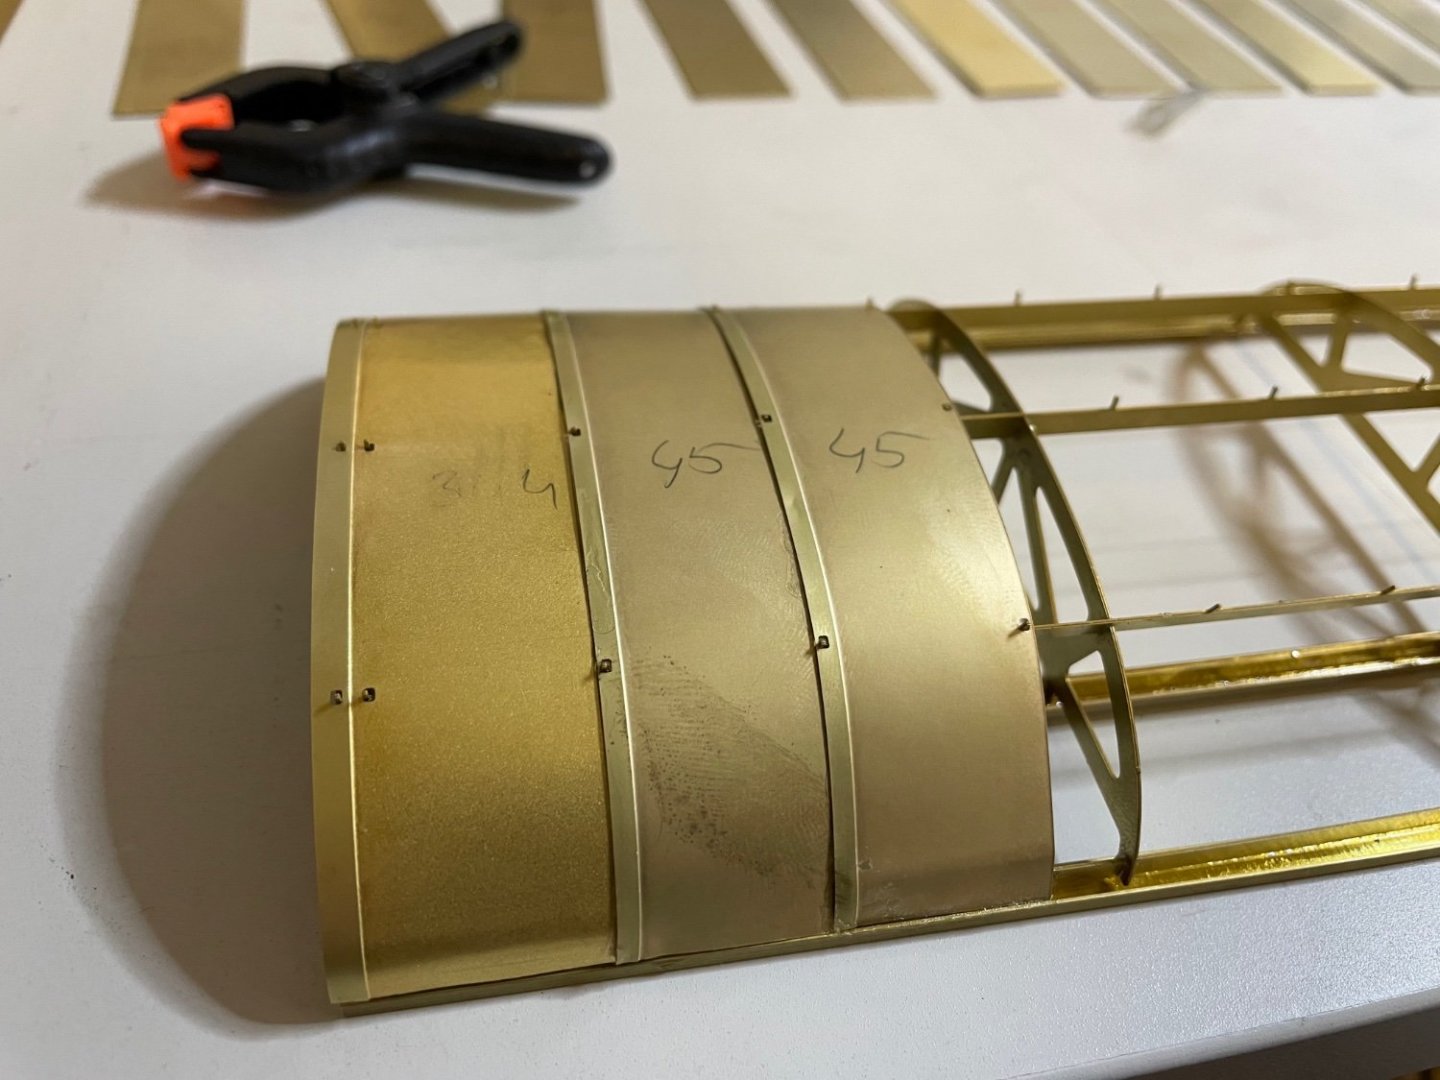
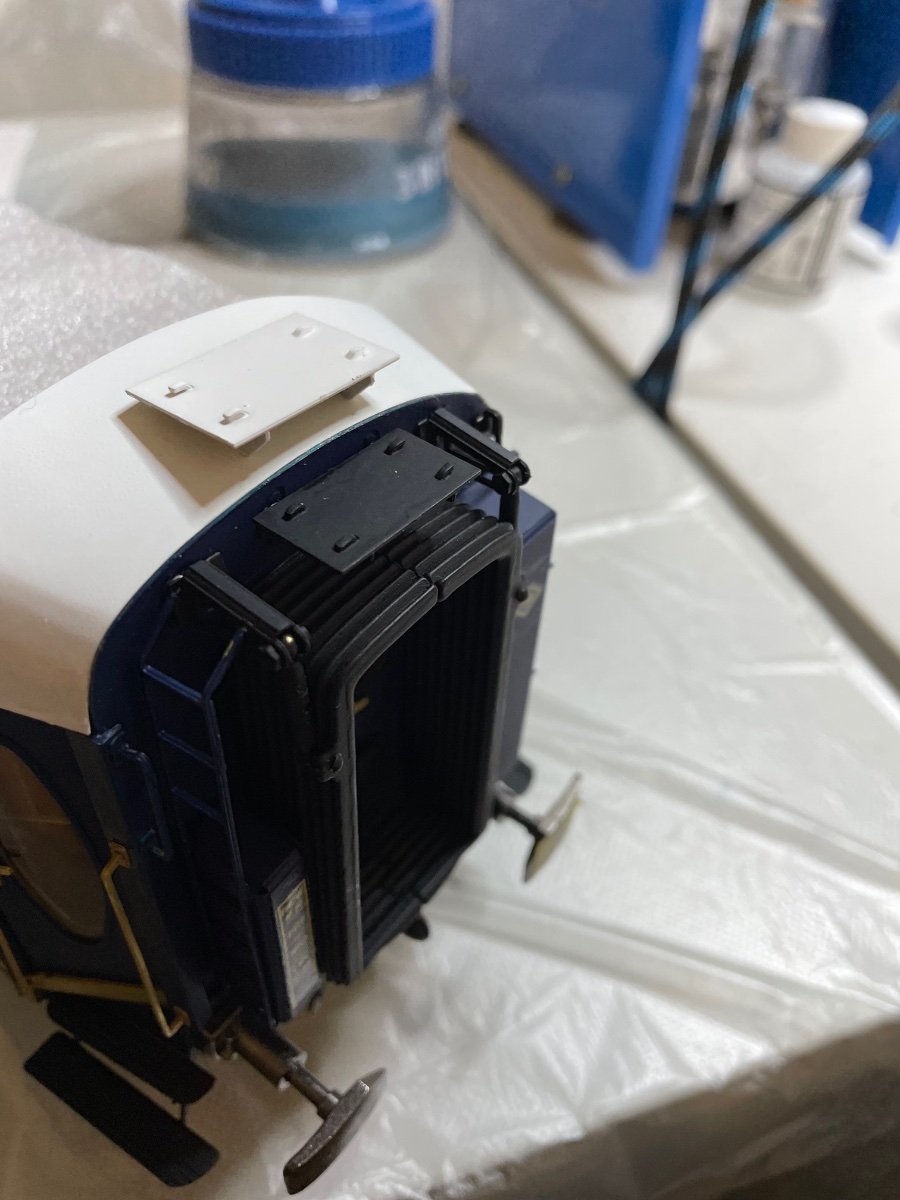
BUILD DAY 43 / 0.5 hrs / (TOTAL 106.5 hrs)
Figures 444-446: Dry fitting the roof structure on the rails, which I installed in the previous step. After ensuring the positions, I will glue the roof structure on its own rails. These rails then will sit on top of those on the wagon.


-
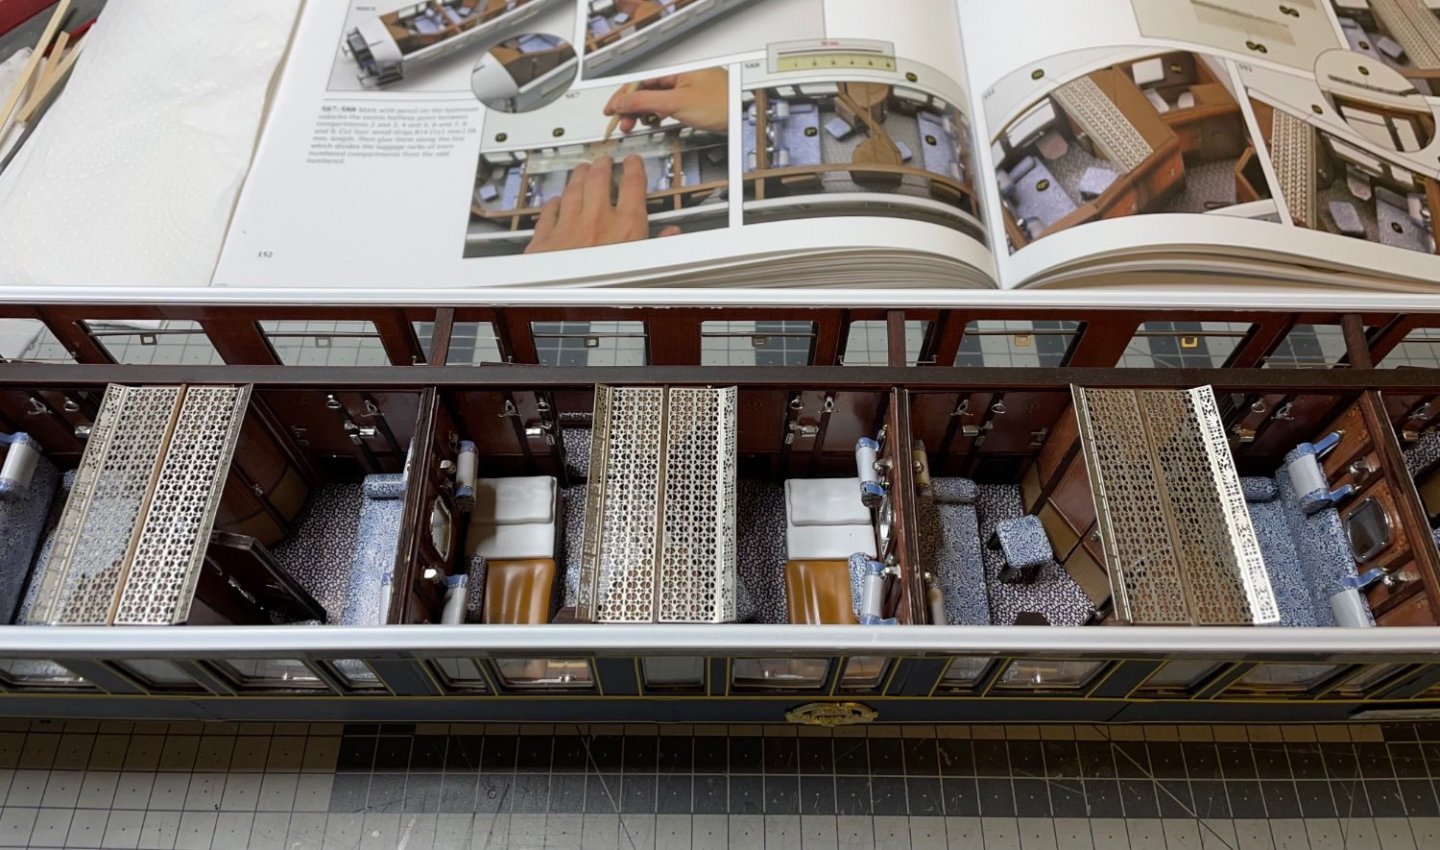
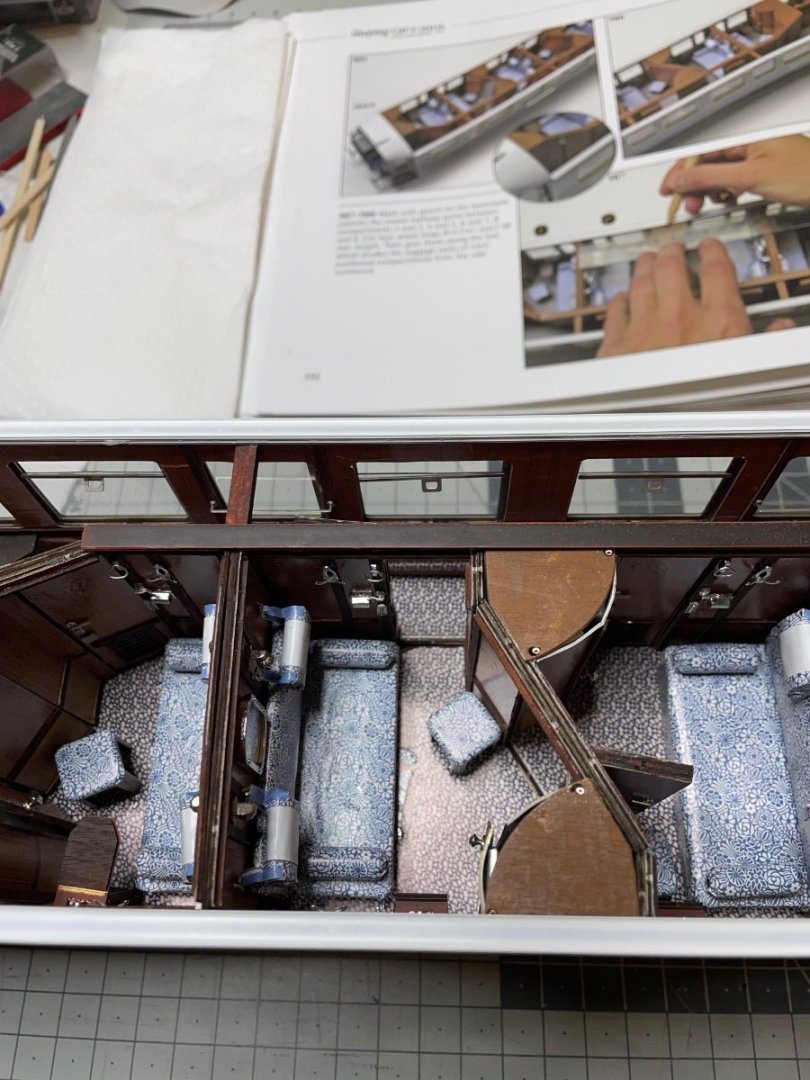
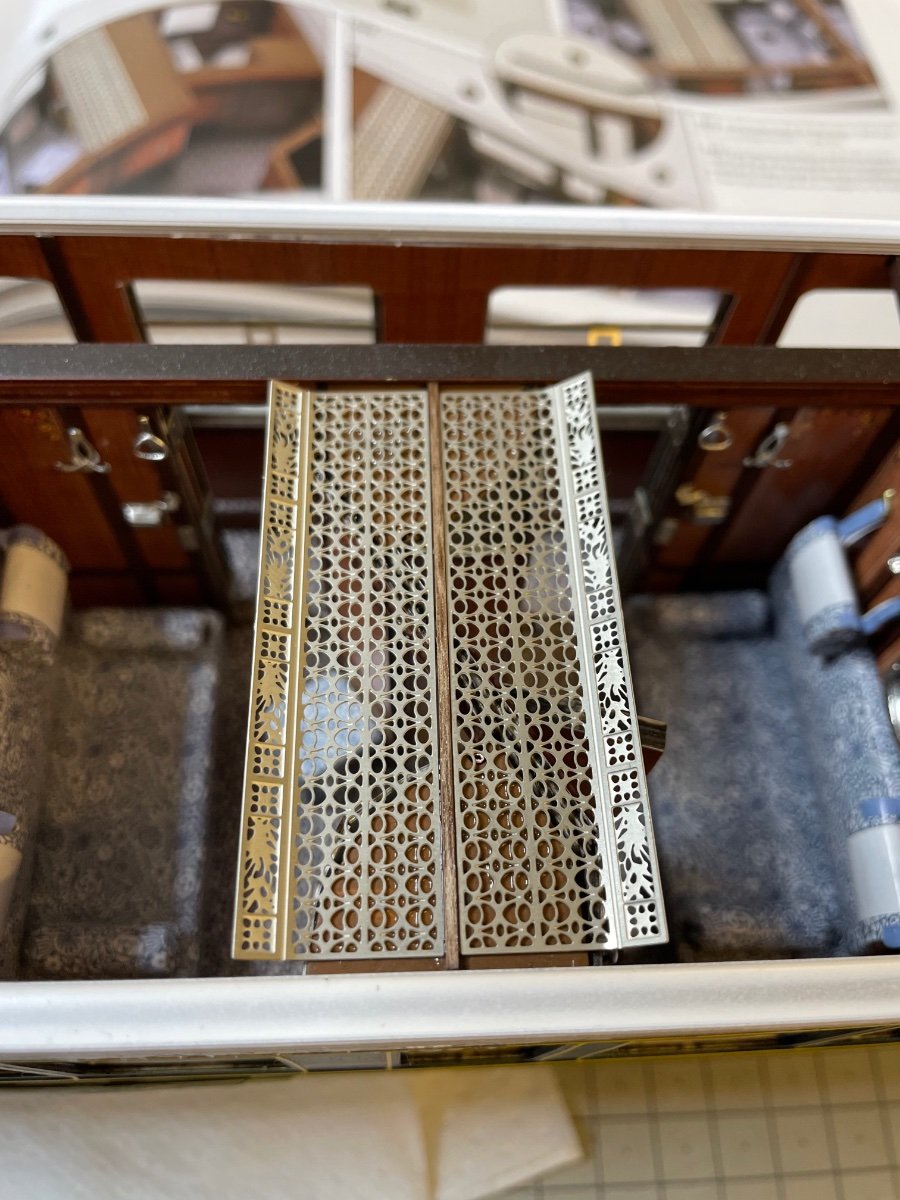
Figure 439: Overhead luggage/hat shelves. One for each compartment. The shelves for the 1st and 10th compartments are slightly different shape. The thin shelves are to be placed over the windows.
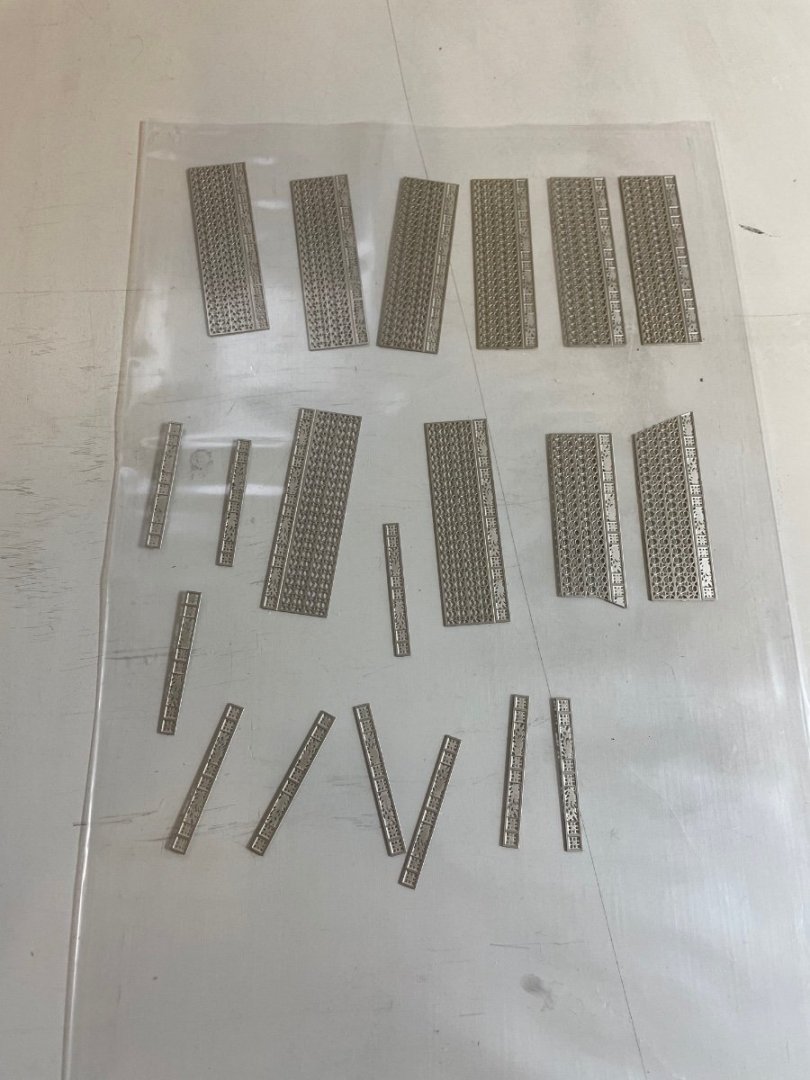
Figures 440-441: The overhead shelves are bent around 30 degress on the compartment side, in order to prevent the stuff from sliding and falling.
Figures 442-443: Some photos showing the shelves in place.

- popeye2sea, wefalck, Jack12477 and 9 others
-
12
-
BUILD DAY 42 / 2 hrs / (TOTAL: 106 hrs)
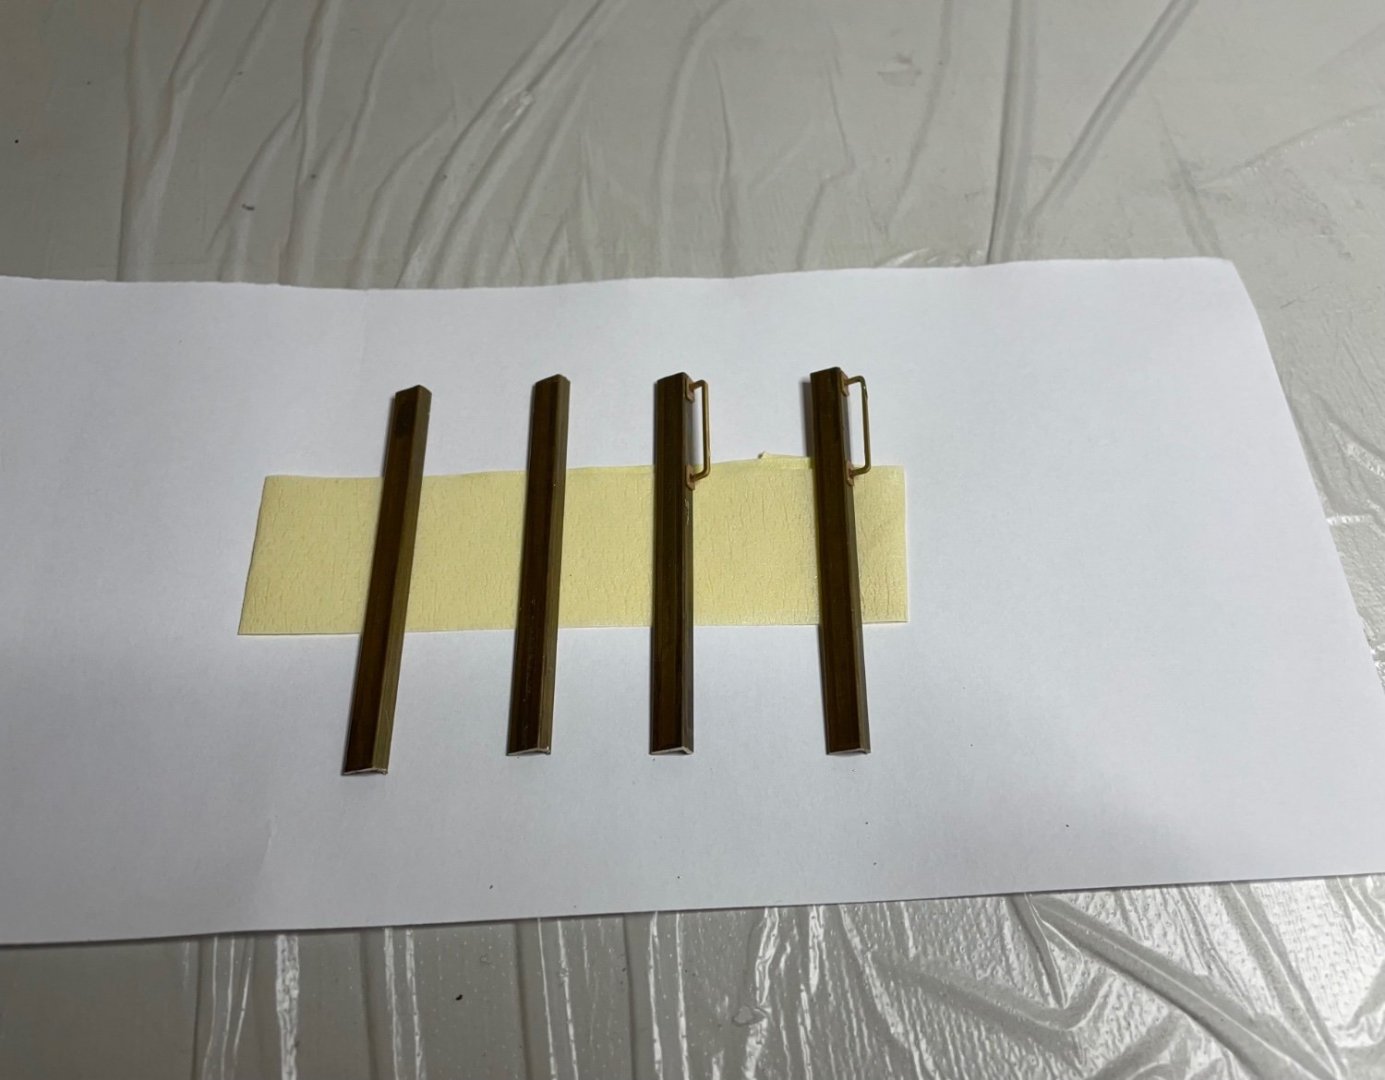
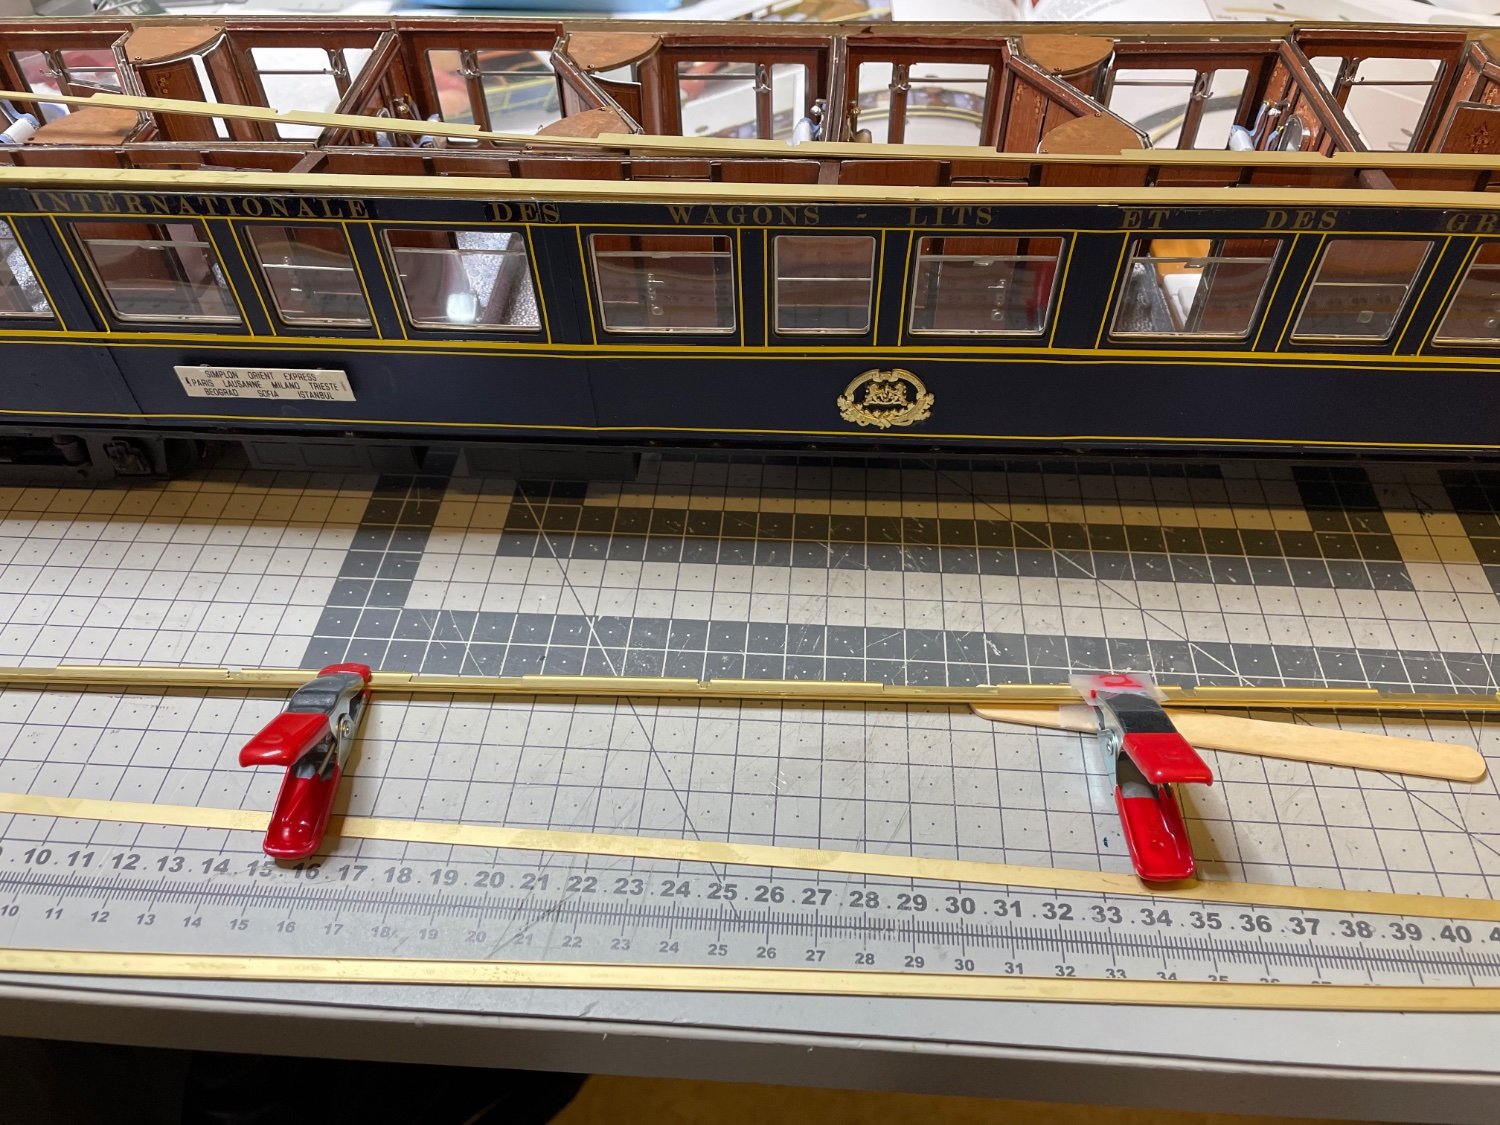
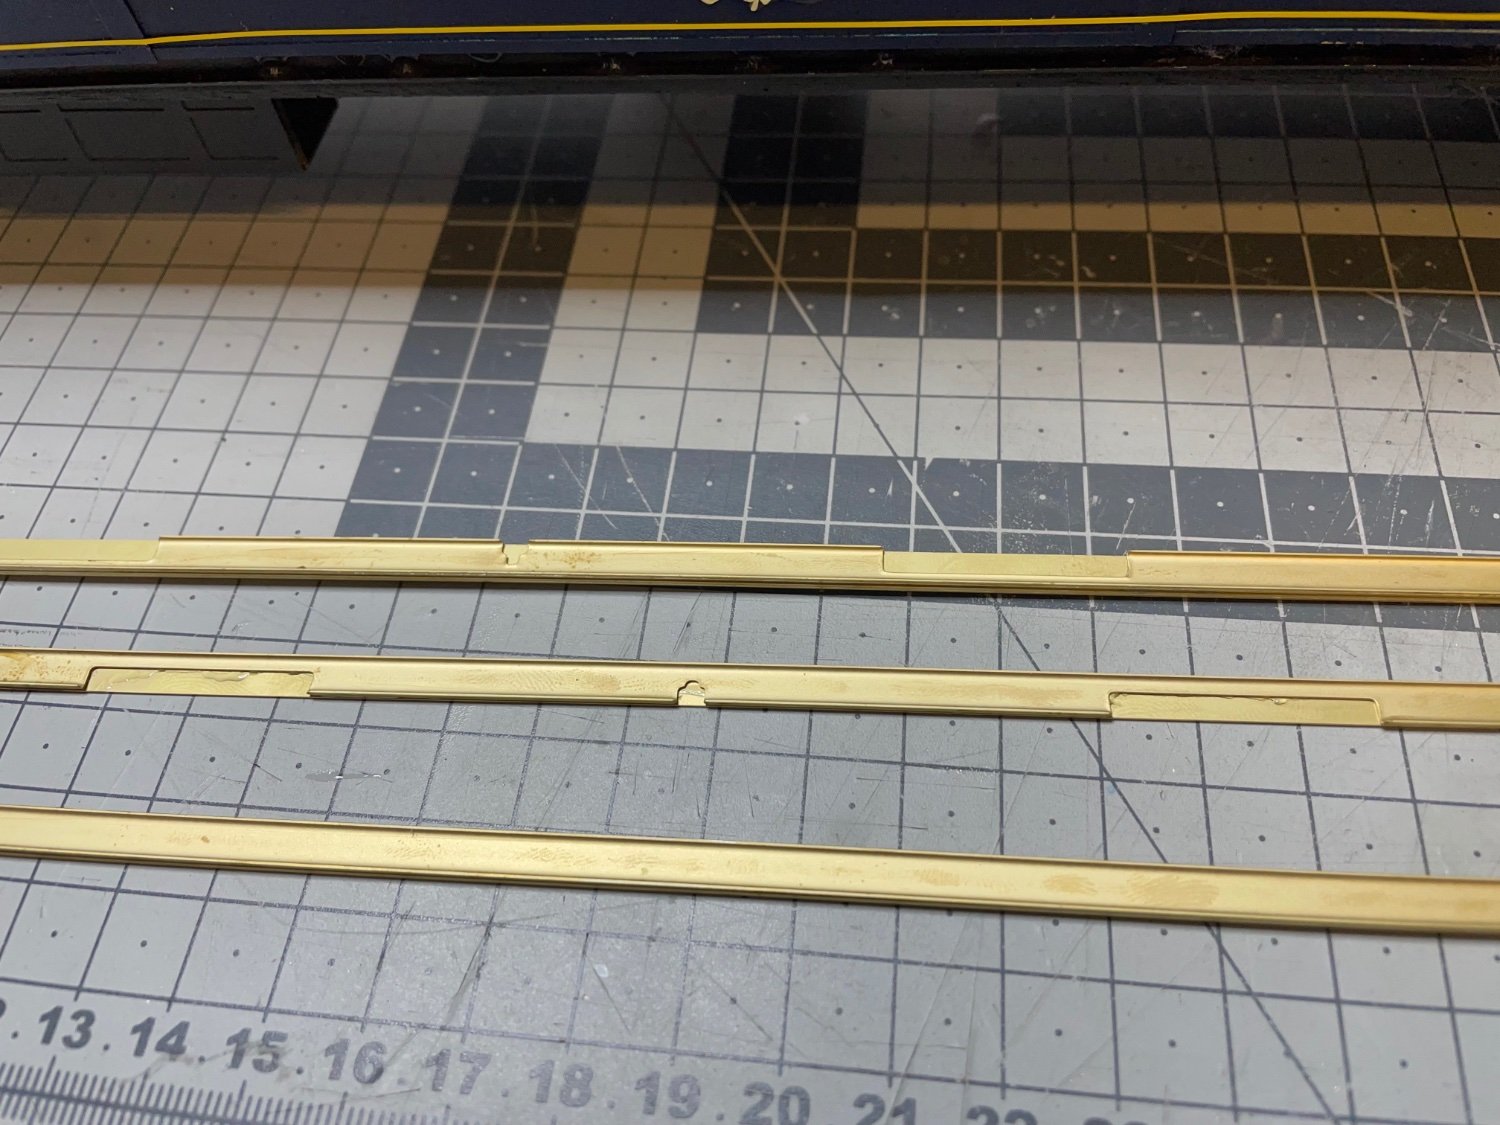
Figures 433-438: Rails for sitting the roof on.
There are 3 rails: 2 on the sides and one going over the compartment doorline. The latter is to be painted in brown while the two on the sides will be white.
The rails are composed of two pieces each. The lower part has grooves to fit the structure while the upper part is flat to accomodate the roof structure.


-
Proper ventilation for sure when dealing with all types of chemicals and also keep our hands at 10 and 2 on the steering wheel while driving.🙃
I can comment more when I have received it and read the warnings on the back label 😉.
-
-
37 minutes ago, wefalck said:
. Easy to in Germany, but I don't know about Finland.
I can check Amazon Germany
-
4 hours ago, thibaultron said:
You might want to hit all that exposed brass with some type of clear coat, to keep it from tarnishing in the future.
Good point! 👍. Would it work if I brushed matt varnish?
- thibaultron, Canute, lmagna and 5 others
-
8
-
2 minutes ago, wefalck said:
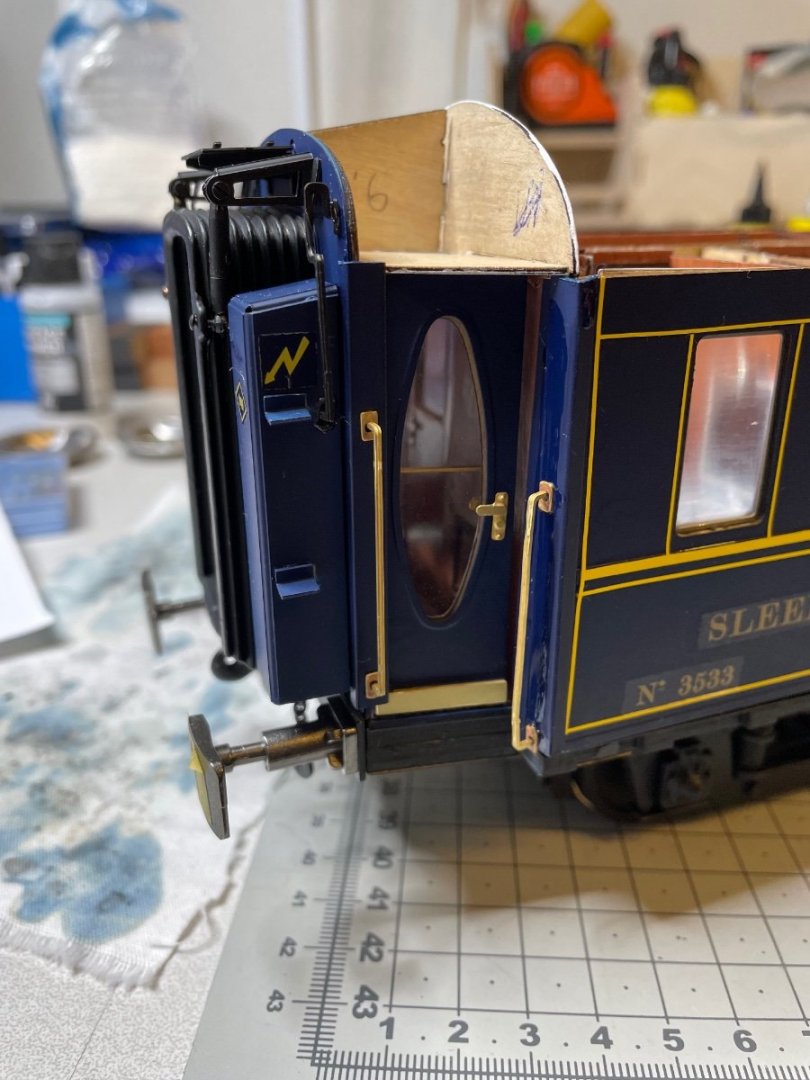
Do you think that glueing the handle bars will provide a sufficiently strong bond ? Not that anyone would hang onto them, but glues may fail over time. Perhaps (hard)soldering would have been a more durable and (almost) invisible option.
The coach continues to come on nicely!
If they drop some day, then I think I will just glue them back. When it comes to soldering, although I am familiar with soldering electronic parts, I still don't dare to do it in this model. For the purpose of the handles, it would also create other challenges such as isolating the handle while painting the bar in blue, since any soldering should be done before paint.
- popeye the sailor, Canute, mtaylor and 6 others
-
9
-
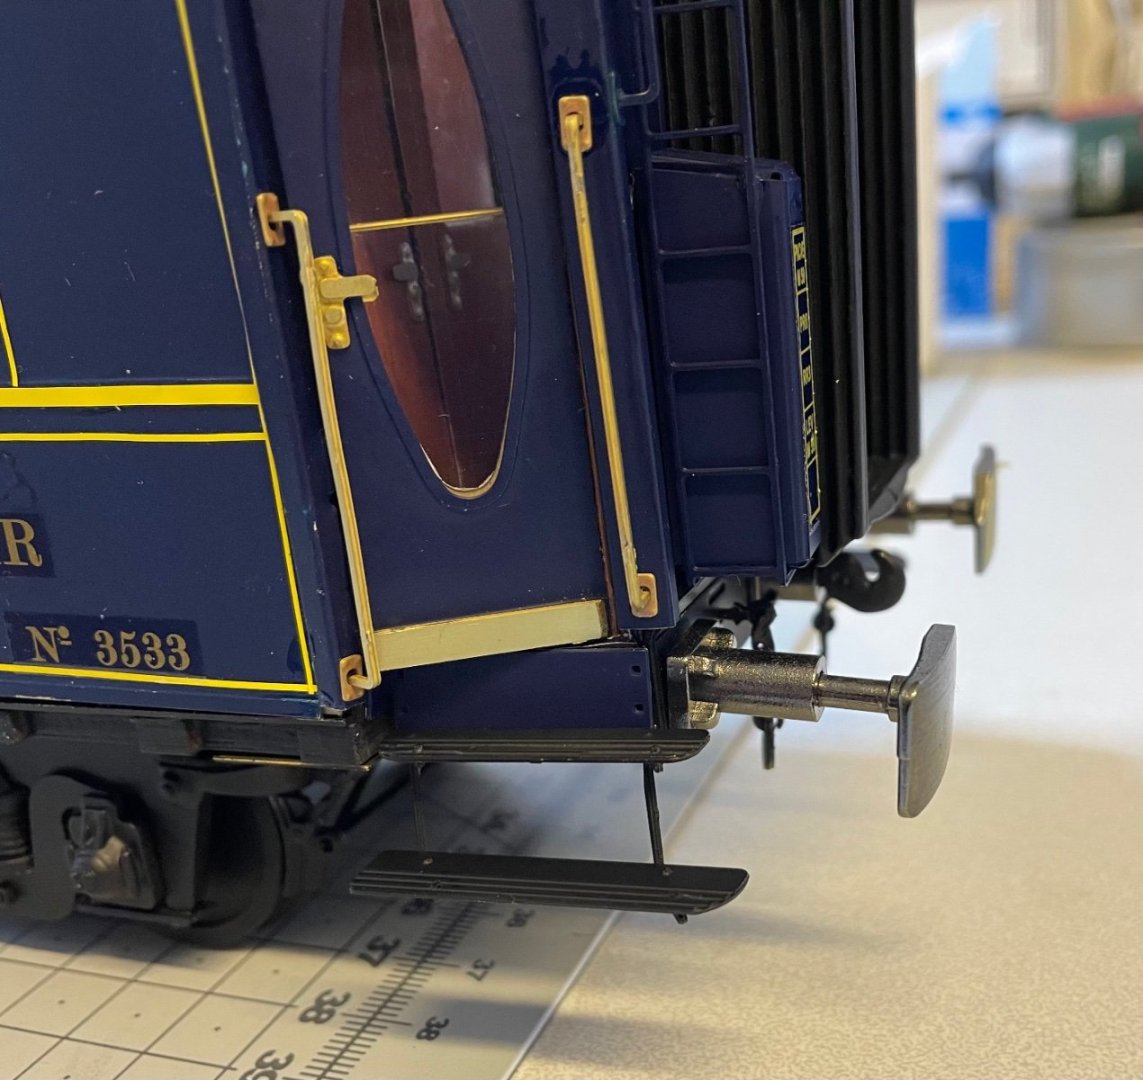
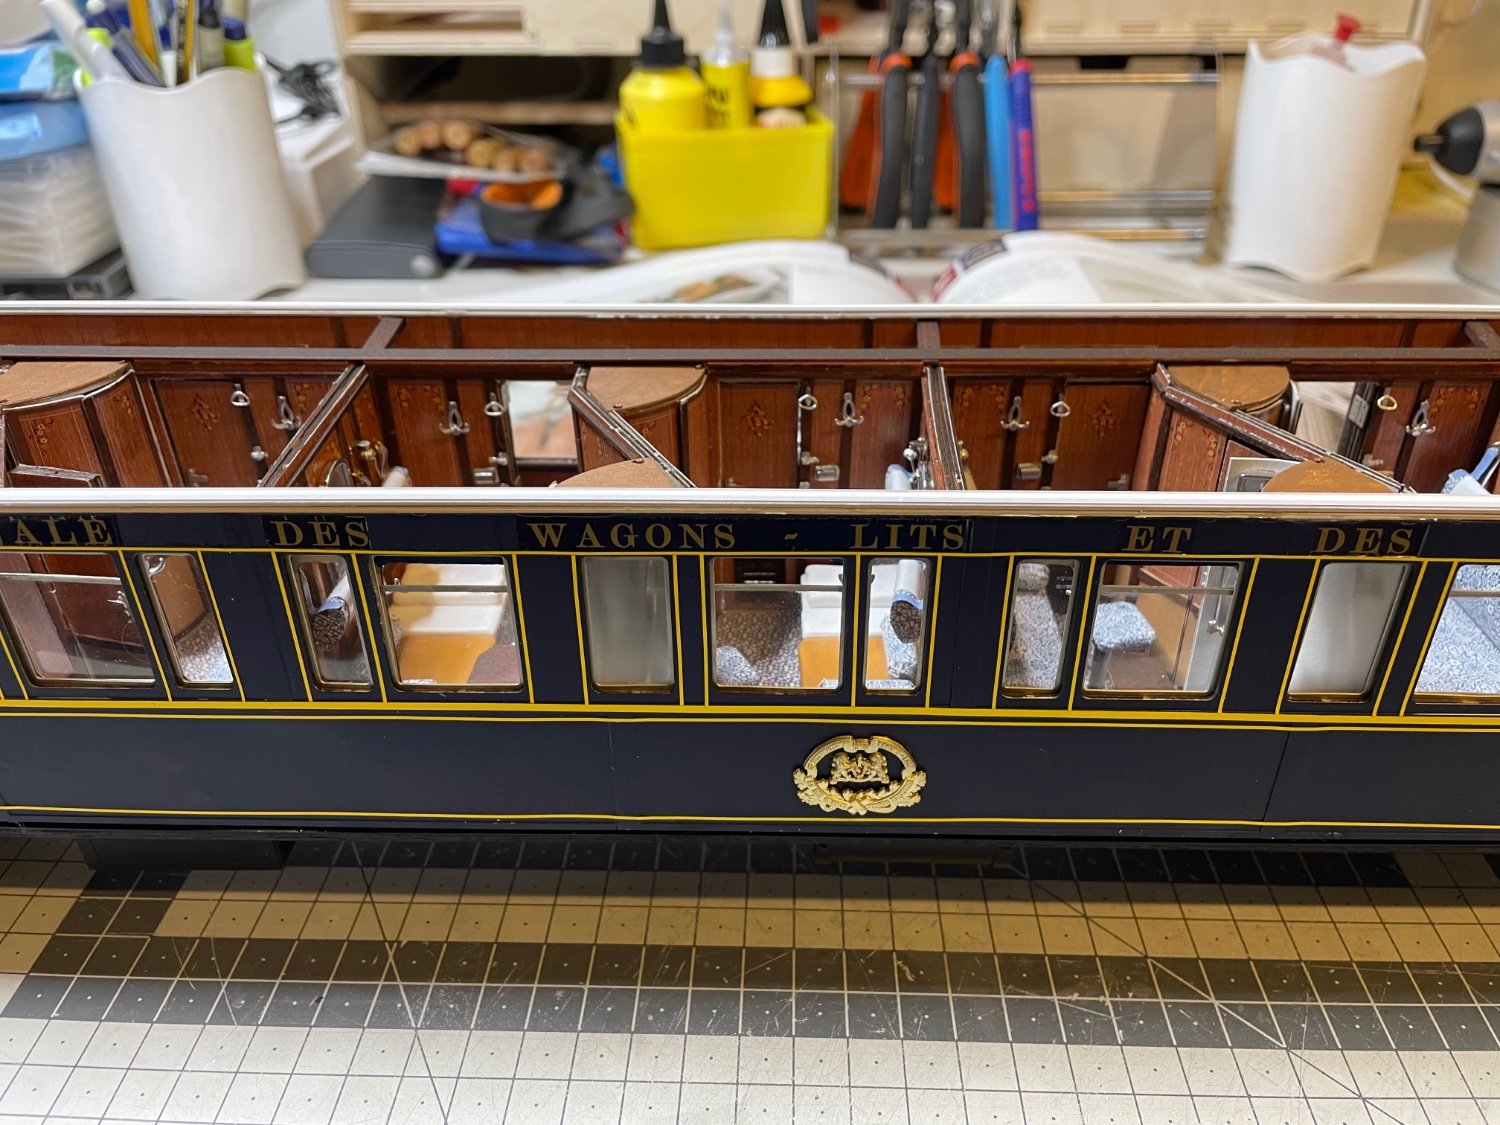
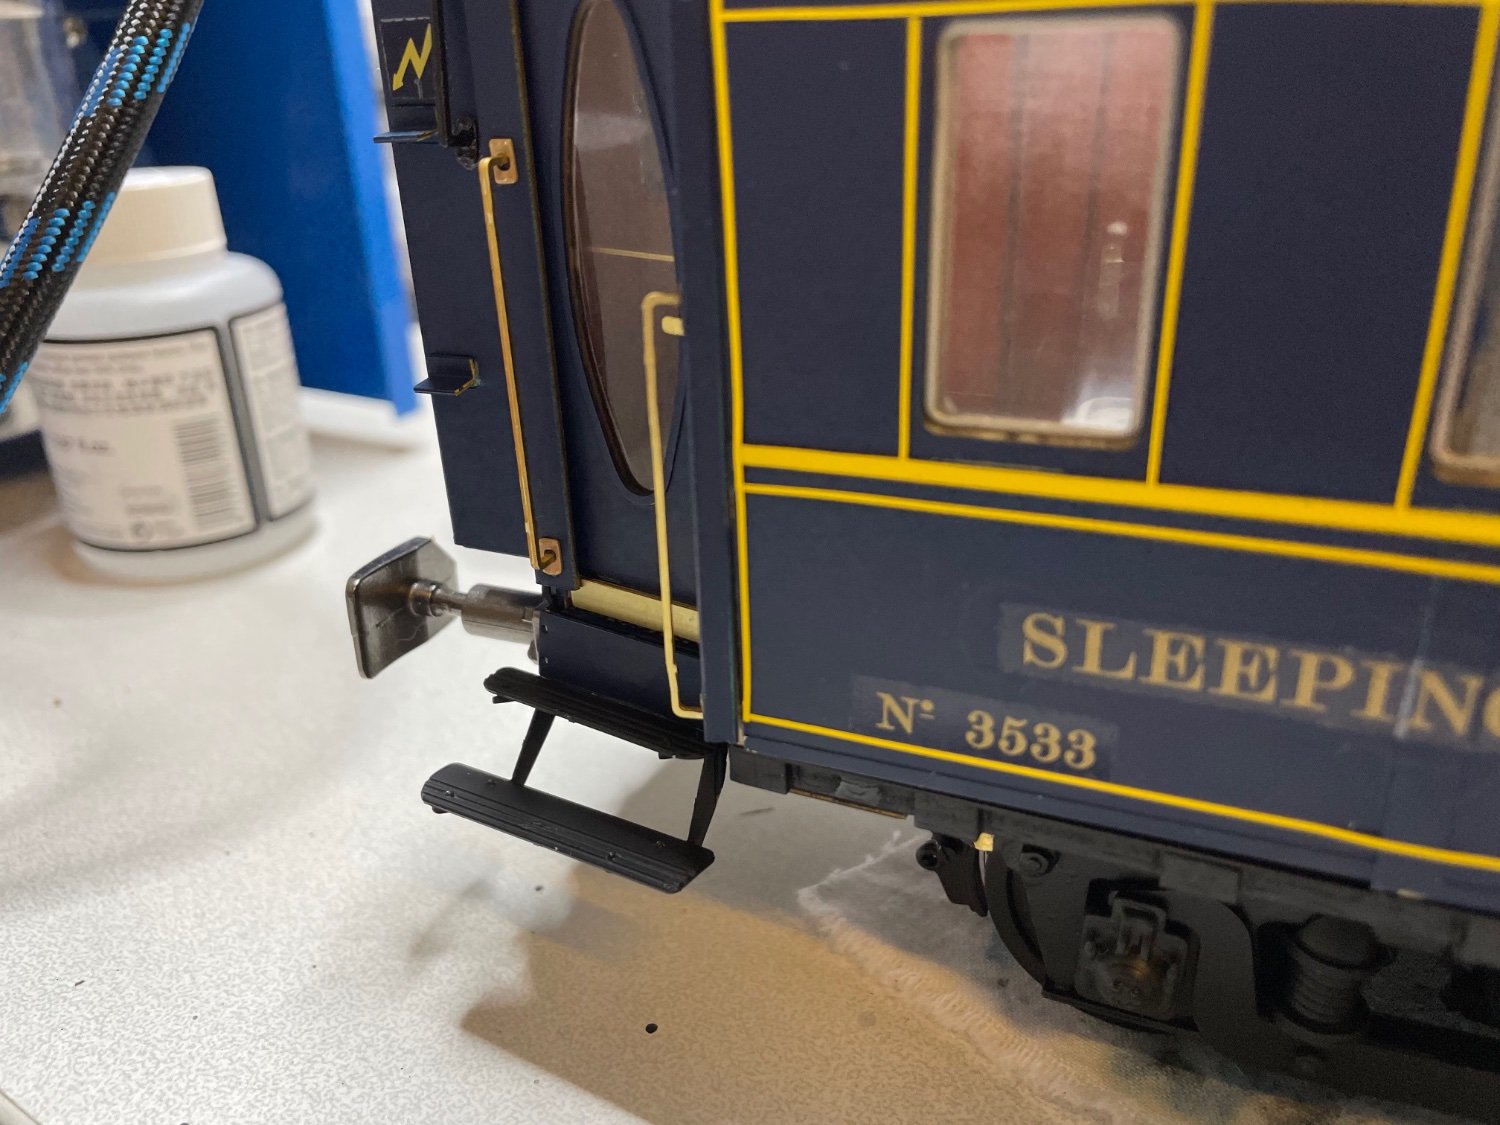
Figures 429-432: Several photos showing today's output. Handles, doorsteps, side roofs.


That's all for now.
Thanks for watching!- Canute, lmagna, popeye2sea and 11 others
-
14
-
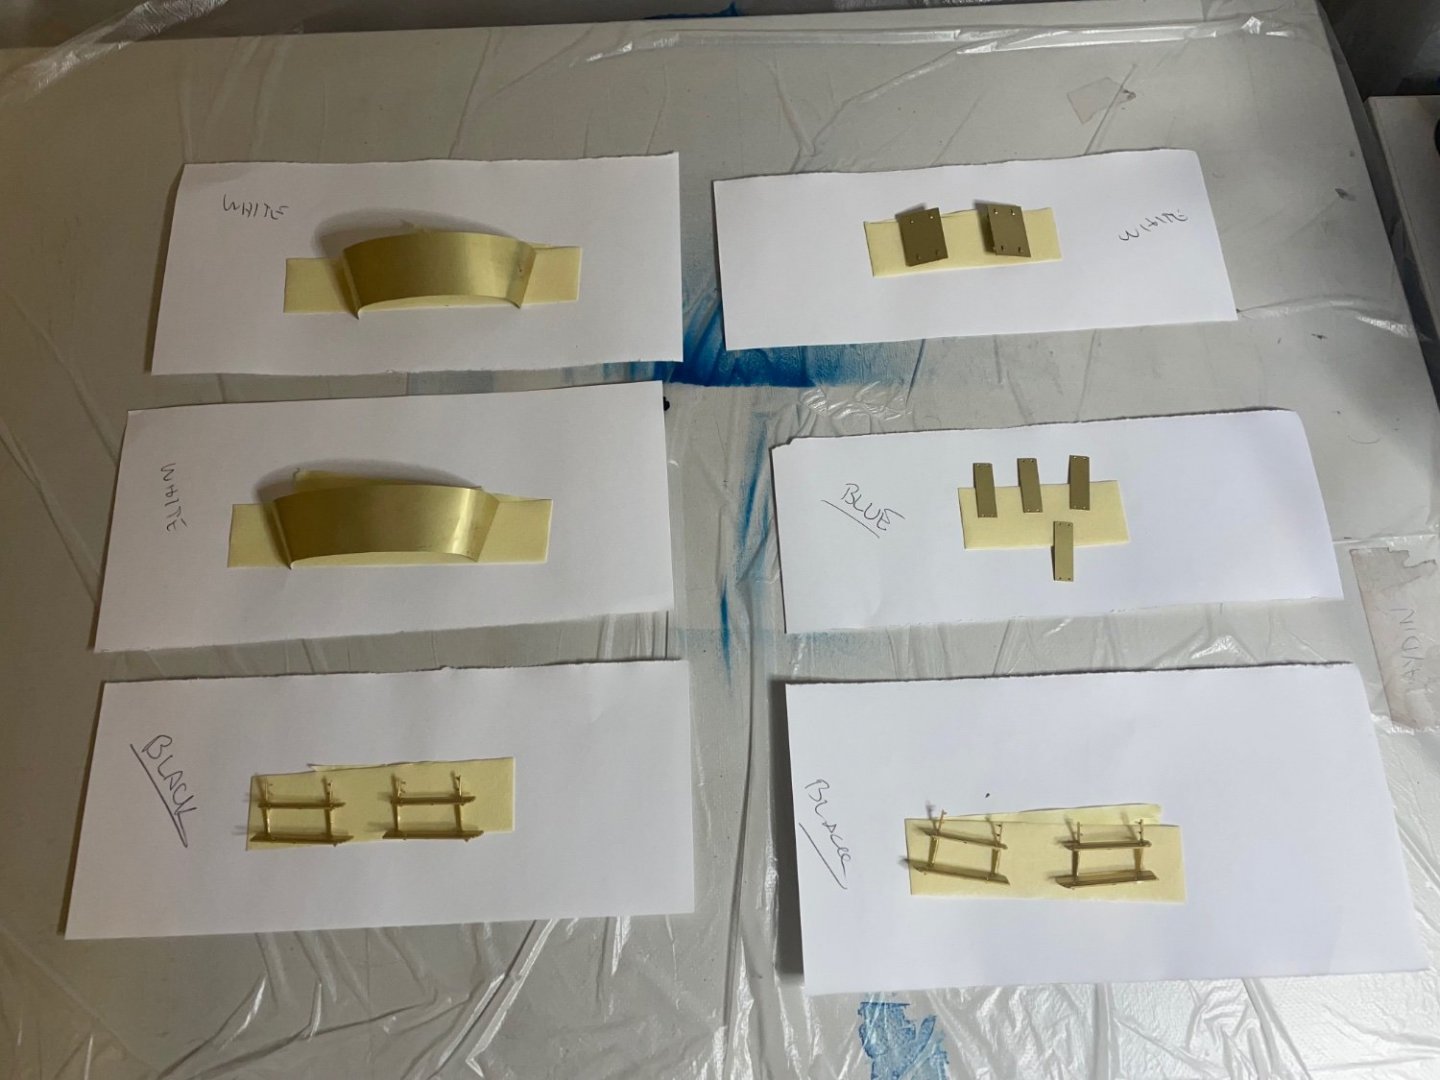
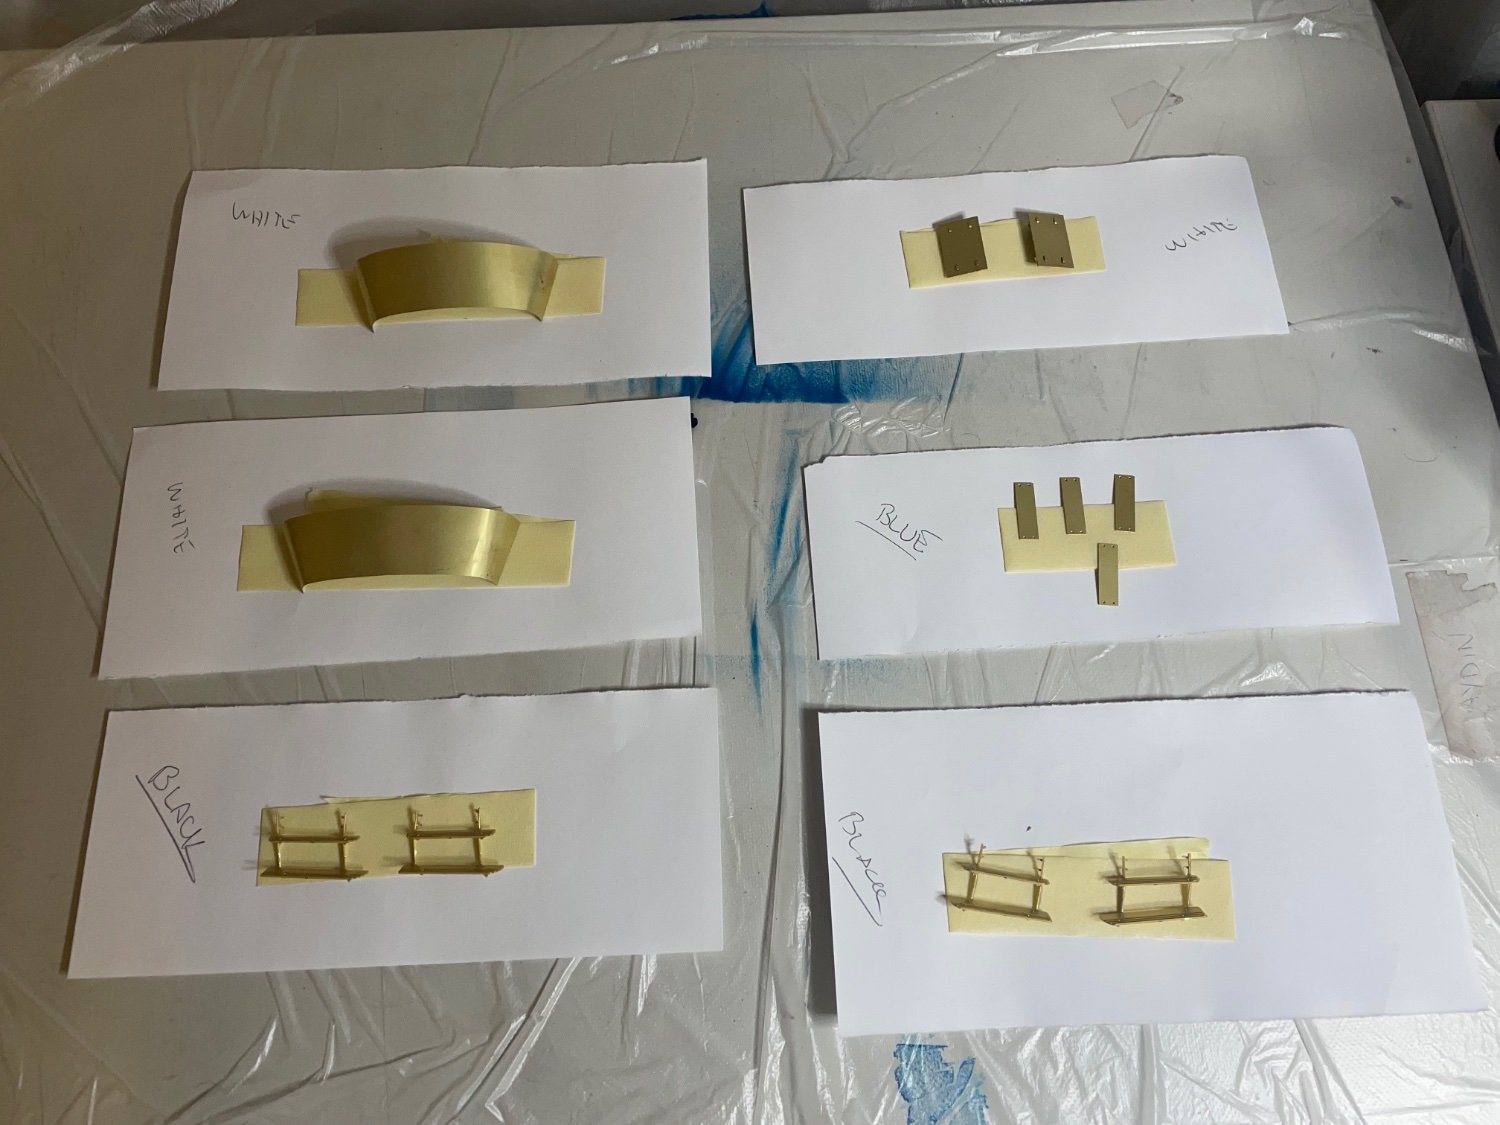
Figure 428: All parts ready for paint. I labelled the color not to make a mistake. I will start with white and proceed with blue and finally black, so that I won't need to clean the airbrush in too detail between the color changes.
-
-
BUILD DAY 41 / 2 hrs / (TOTAL: 104 hrs)
Rooftop on both ends. These ones will remain fixed on the wagon, while the middle section will be removable.
Figure 418: Roof parts.
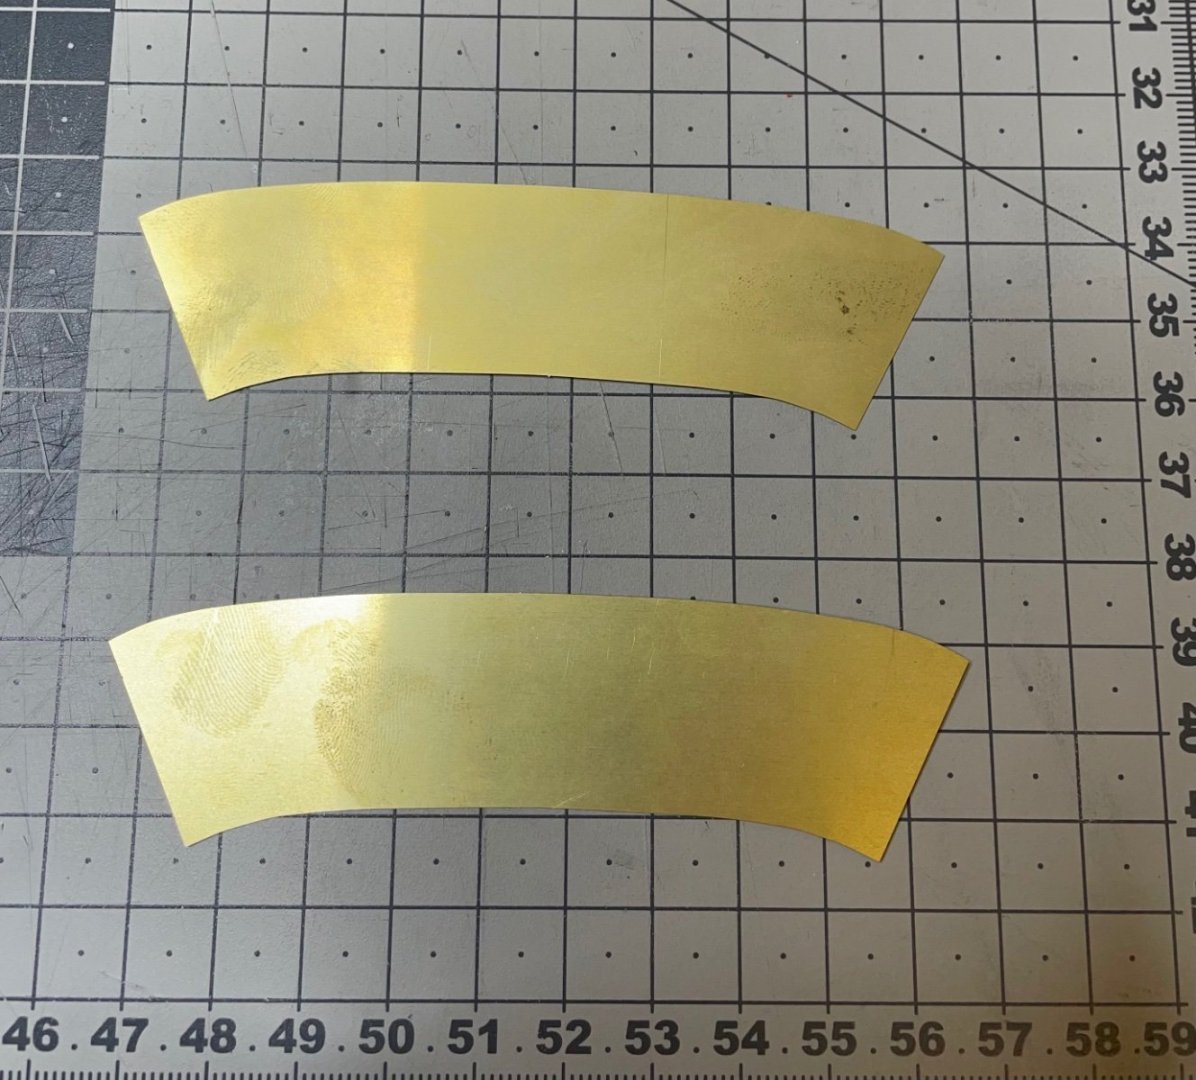
Figure 419-420: Roof steps.
- Egilman, popeye the sailor, Canute and 6 others
-
9
-
BUILD DAY 40 / 1 hr / (TOTAL: 102 hrs)
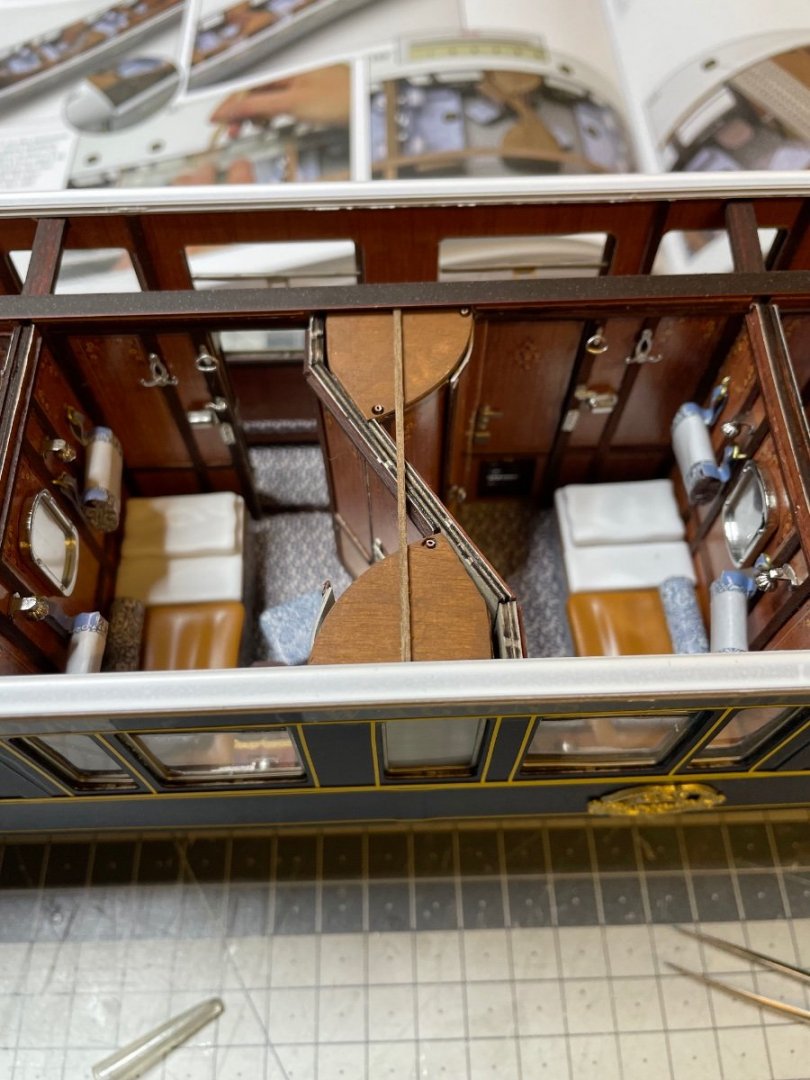
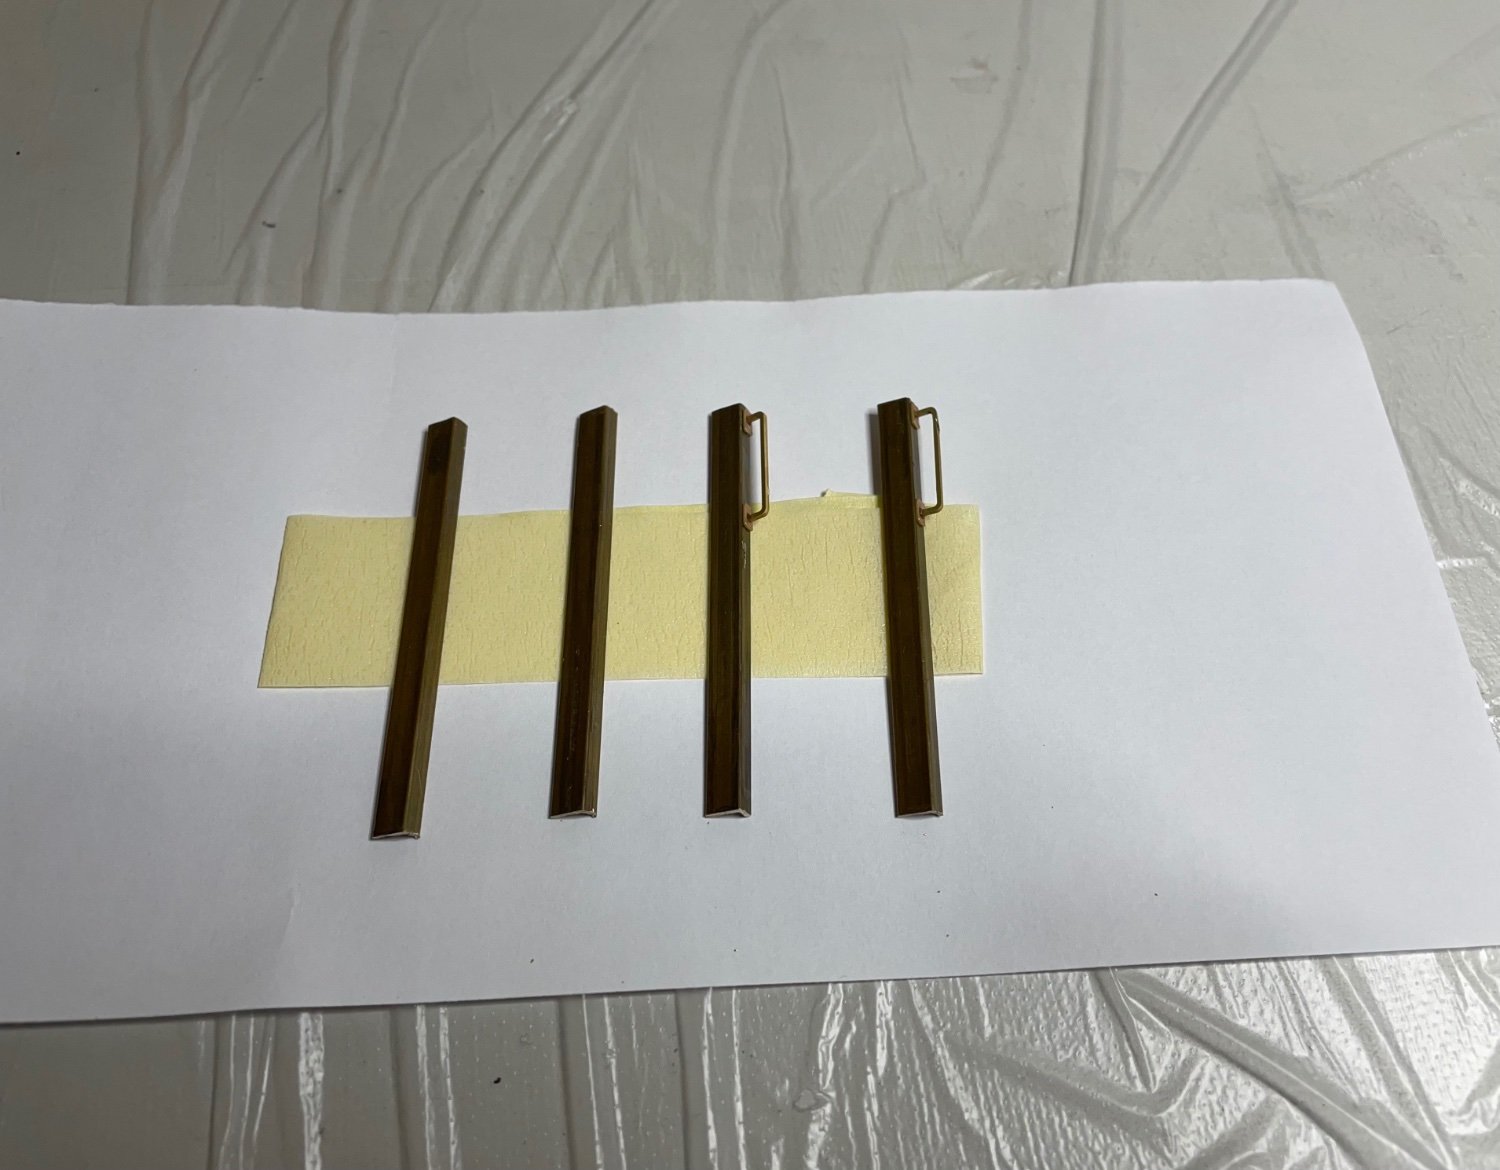
Handles on door sides. They are to be installed without any painting. There is also an additional handle in body color on the ladder side.
Photos showing my way of gluing the handles.
- First I glue one of the "hinges" on its place.
- Then I insert the handle to other hinge
- Then I glue the handle at both ends.
- Finally I move the second hinge and glue it in position.This way all three parts are aligned perfectly.
Figures 414-415:


---------
Figures 416-417: Parts ready for paint and in place.
- wefalck, Egilman, popeye2sea and 8 others
-
11
-
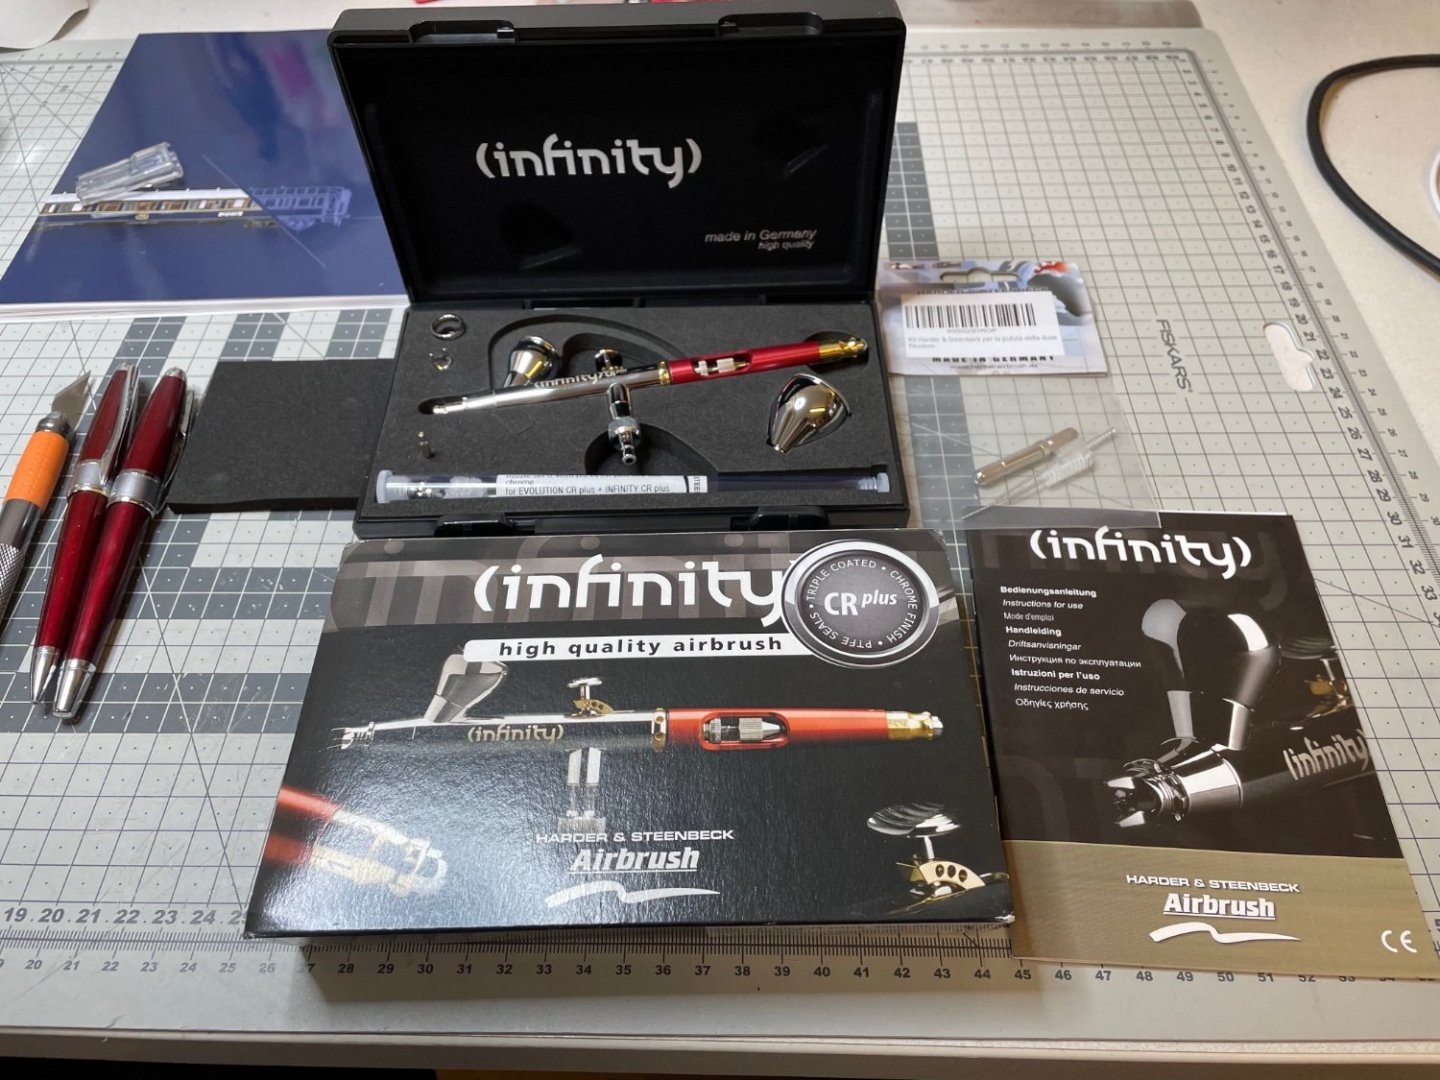
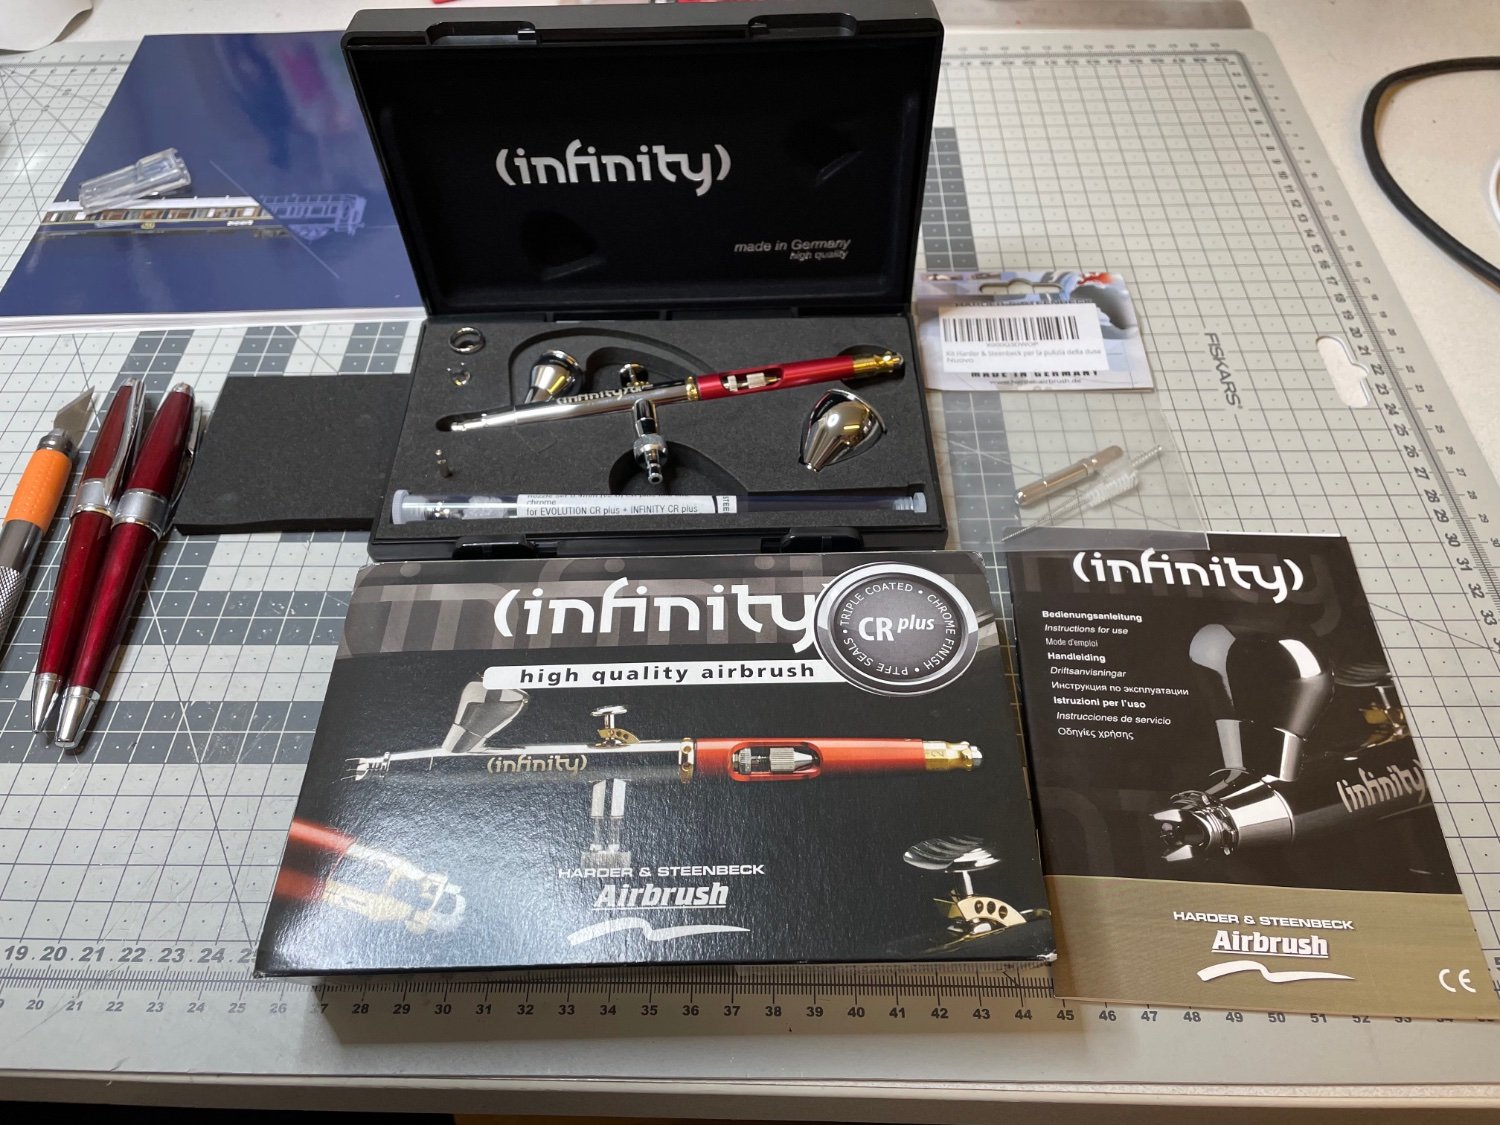
My new airbrush has arrived. It looks stunning. Work can continue as soon as I've got myself acquainted with it!
- mtaylor, Old Collingwood, druxey and 6 others
-
9
-
-
-
-
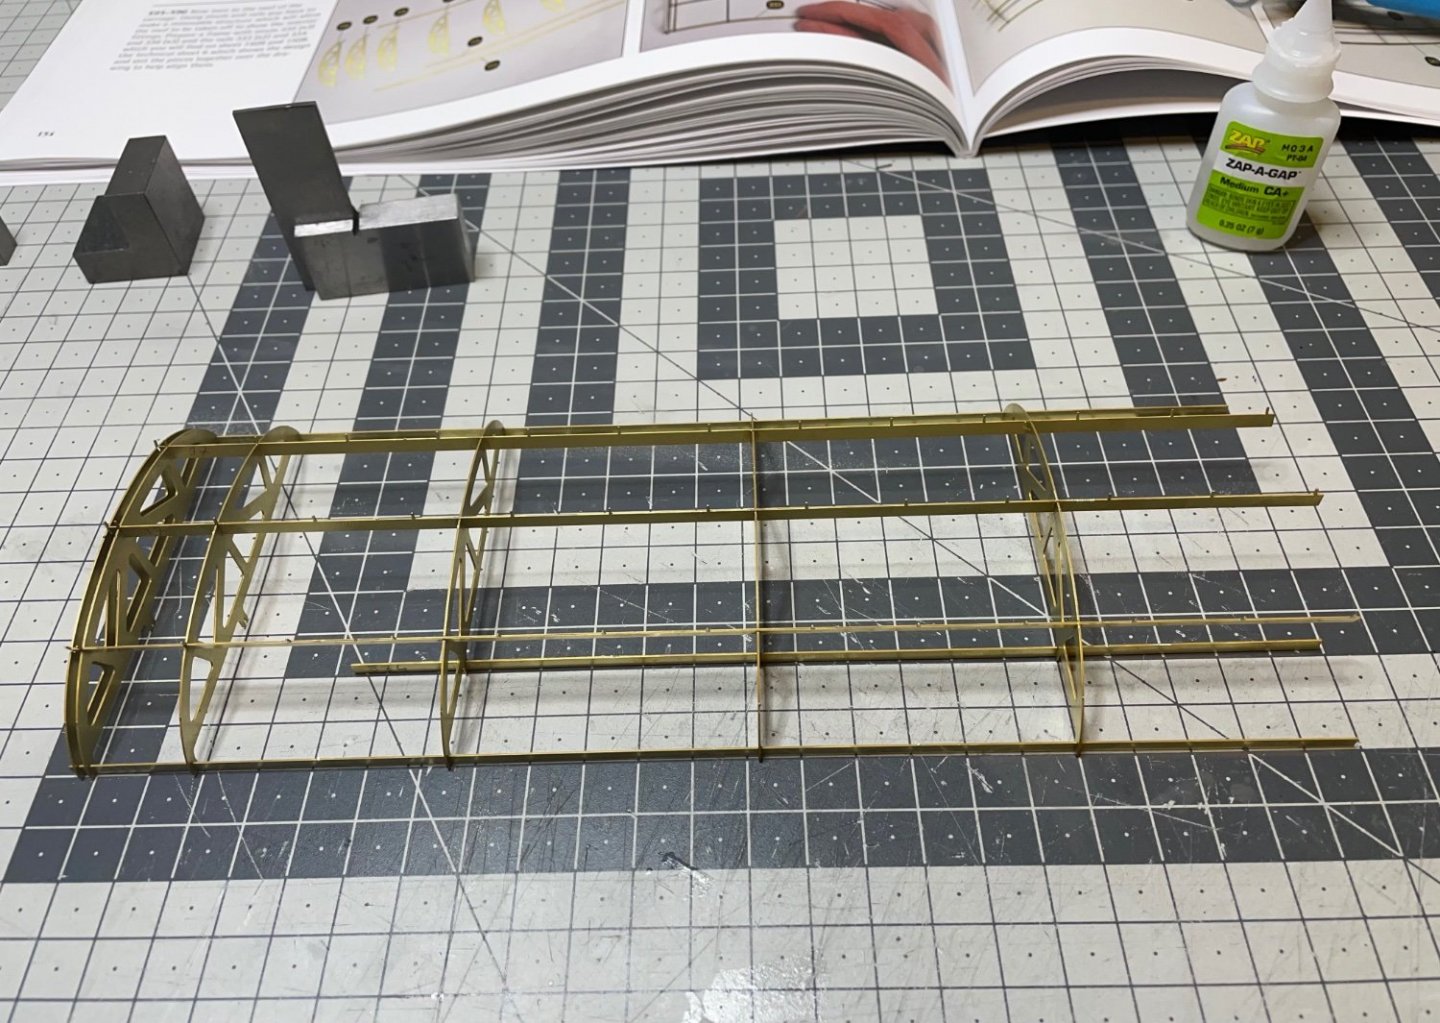
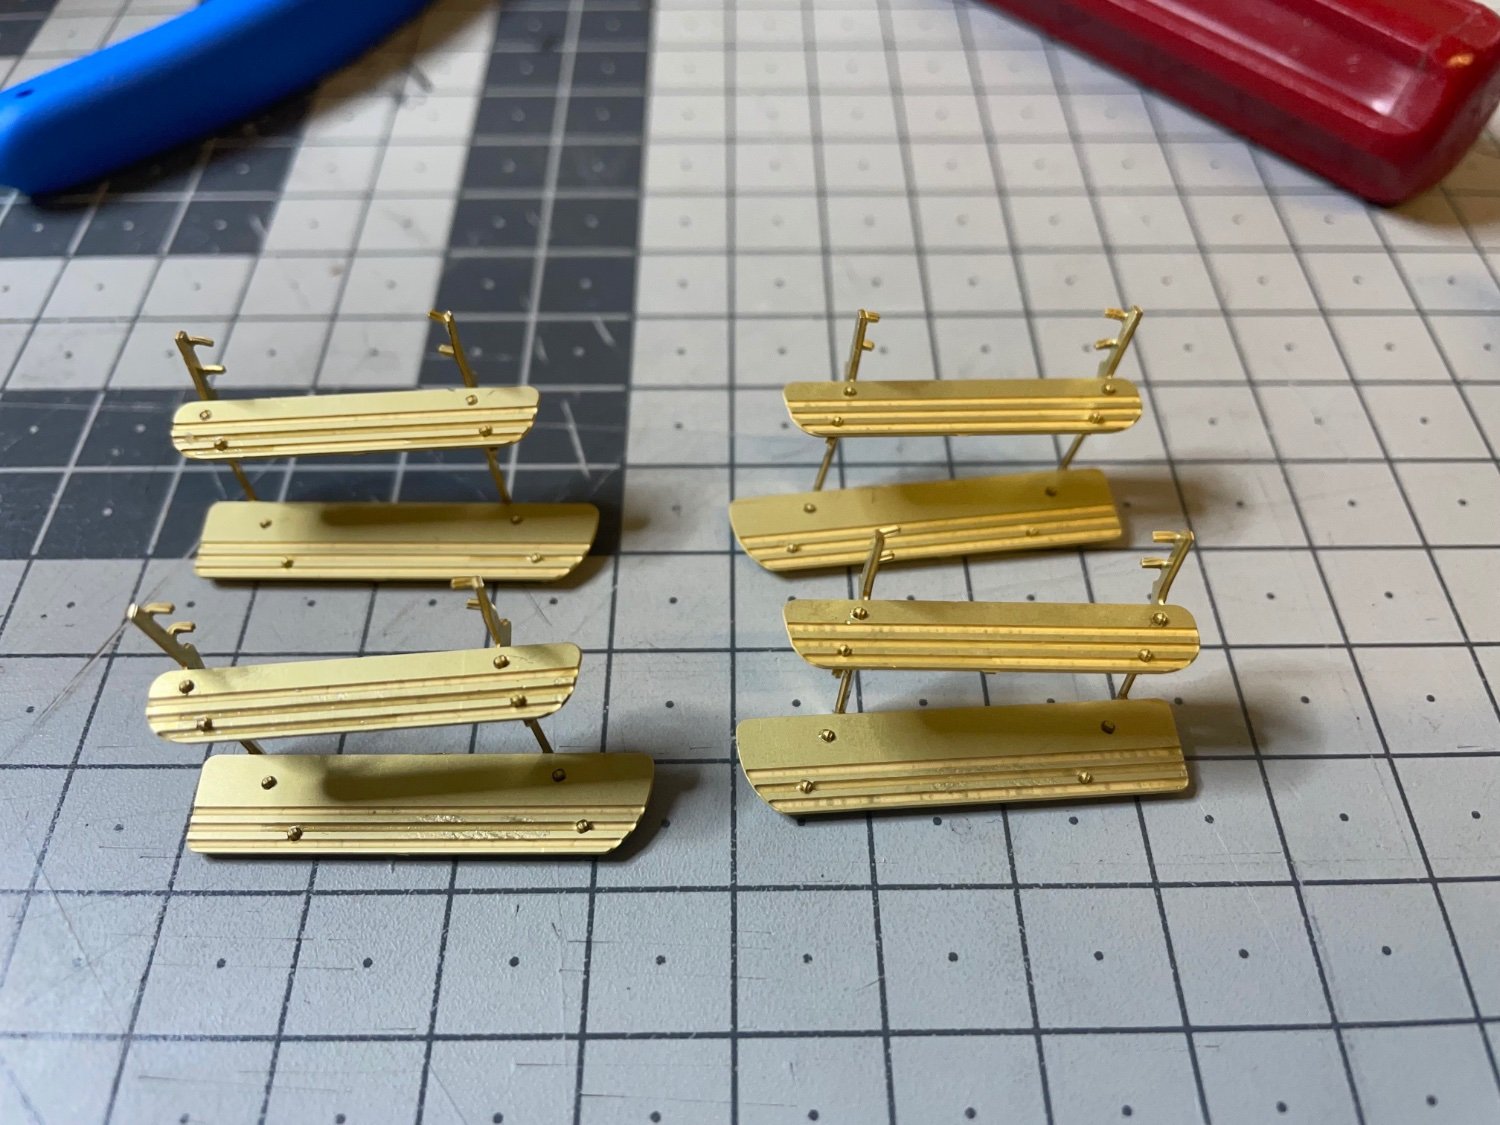
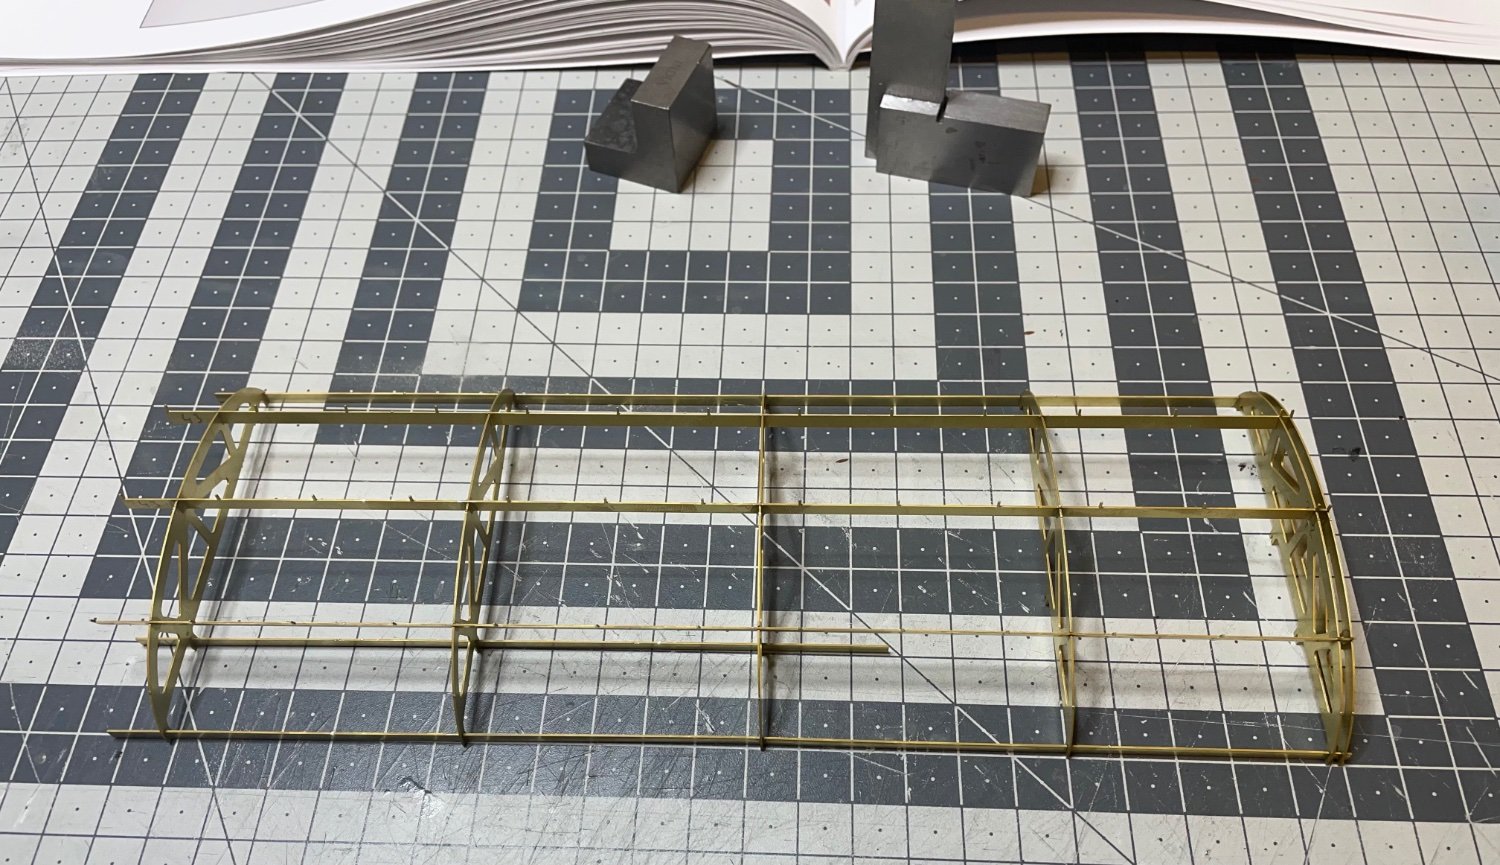
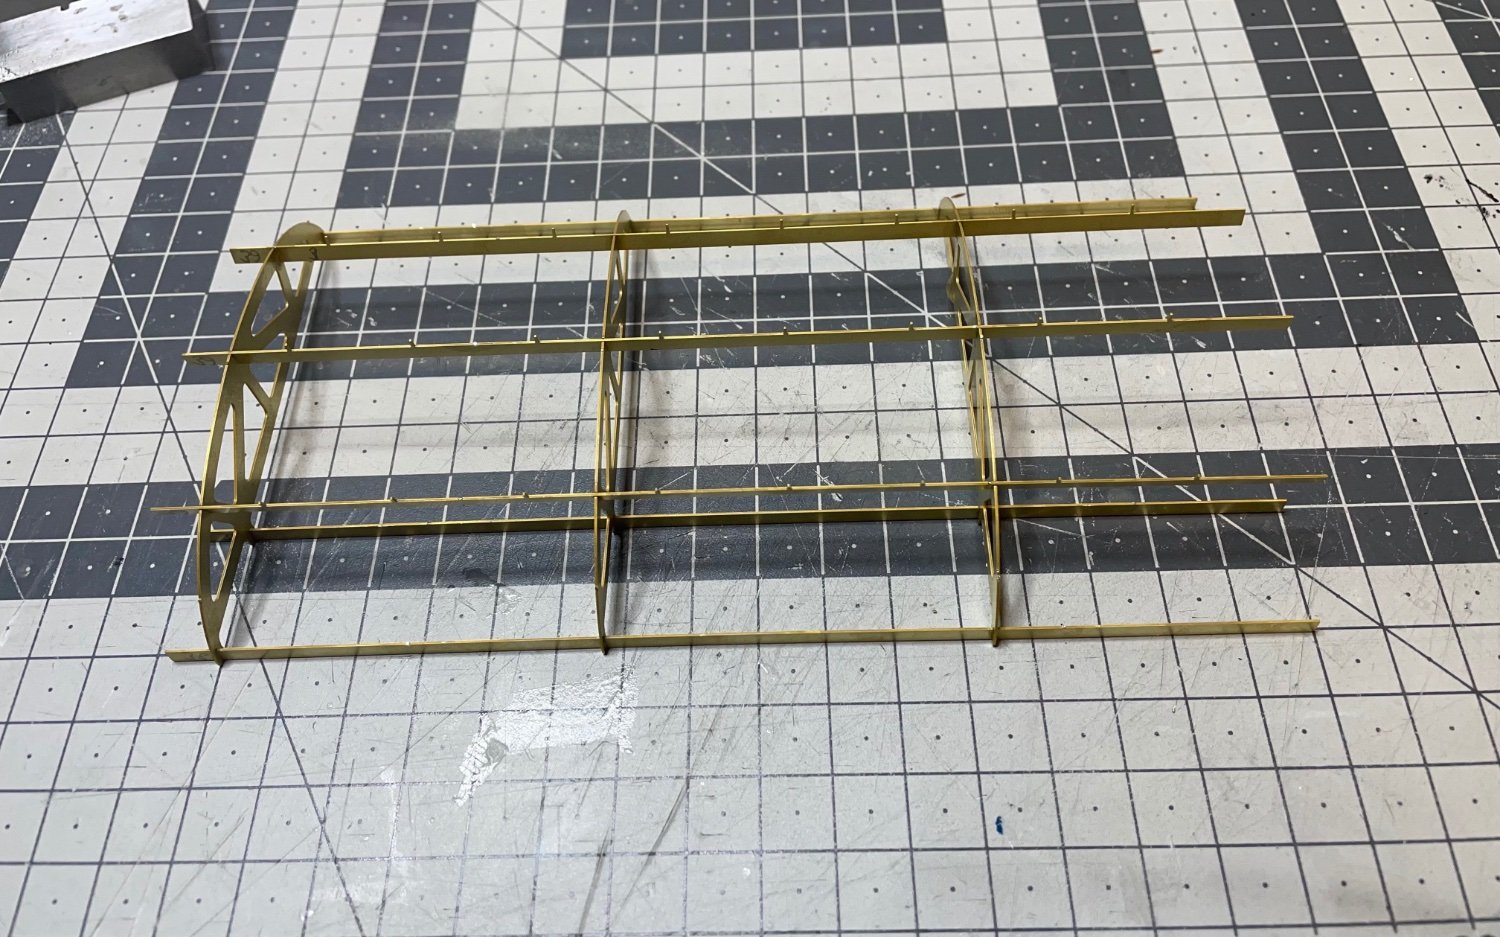
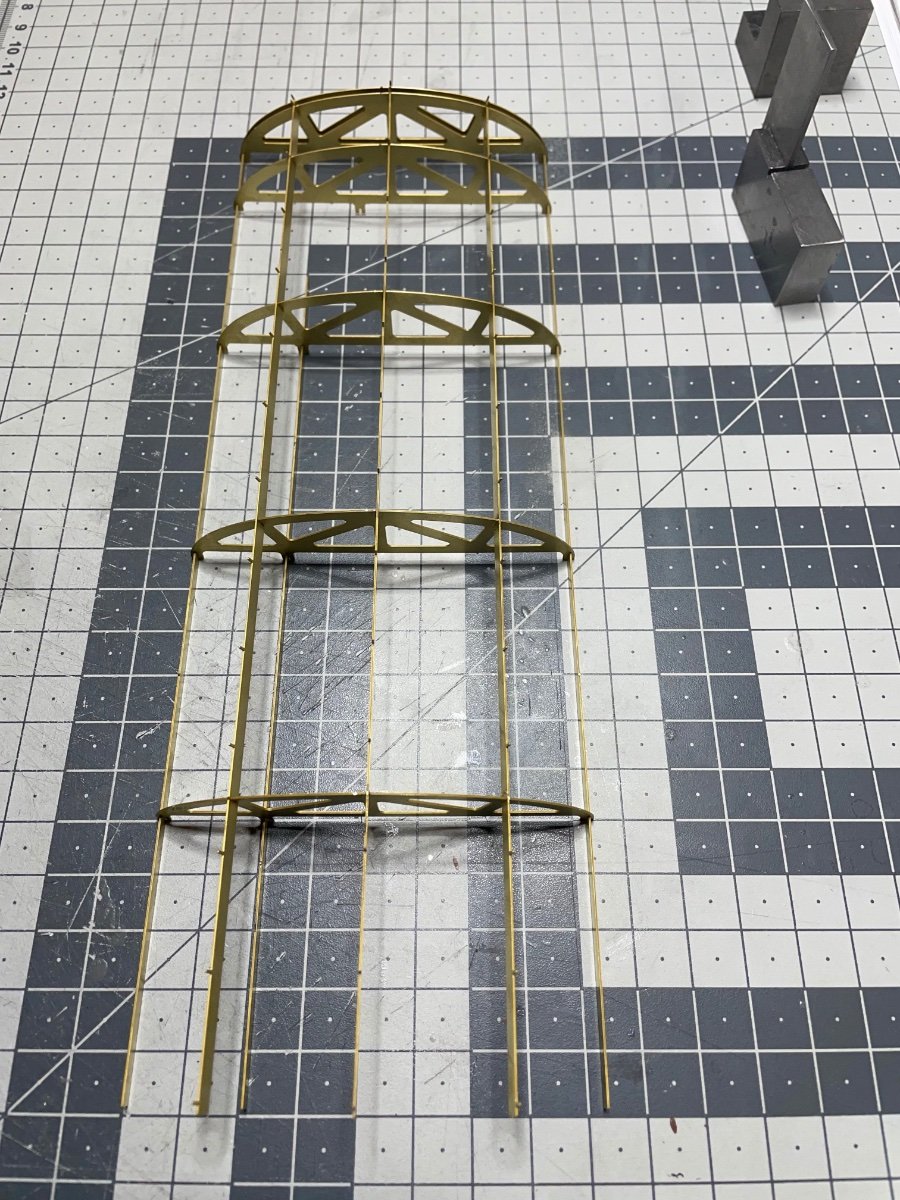
Figures 408-409: Second structure.

- Keith Black, mtaylor, thibaultron and 9 others
-
12
-
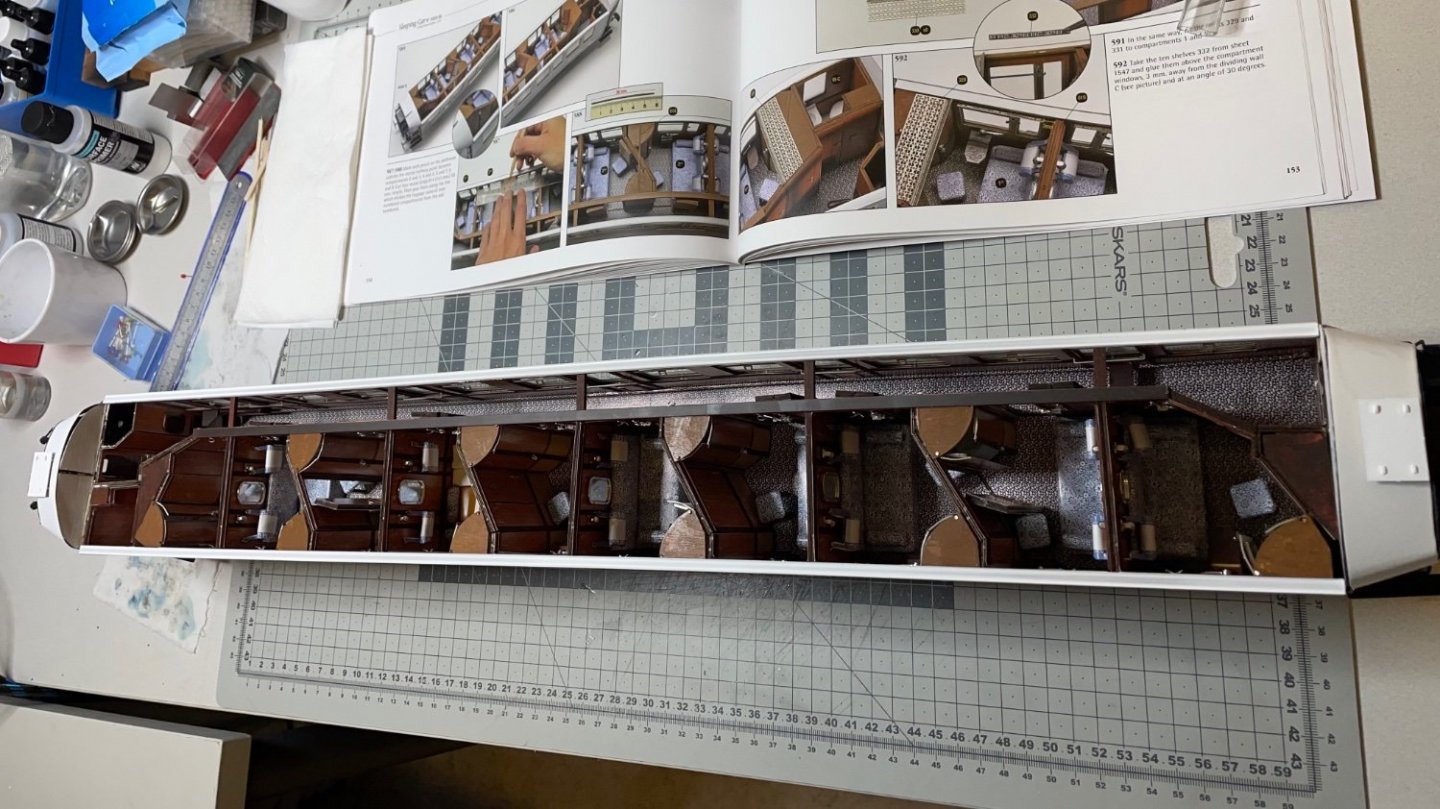
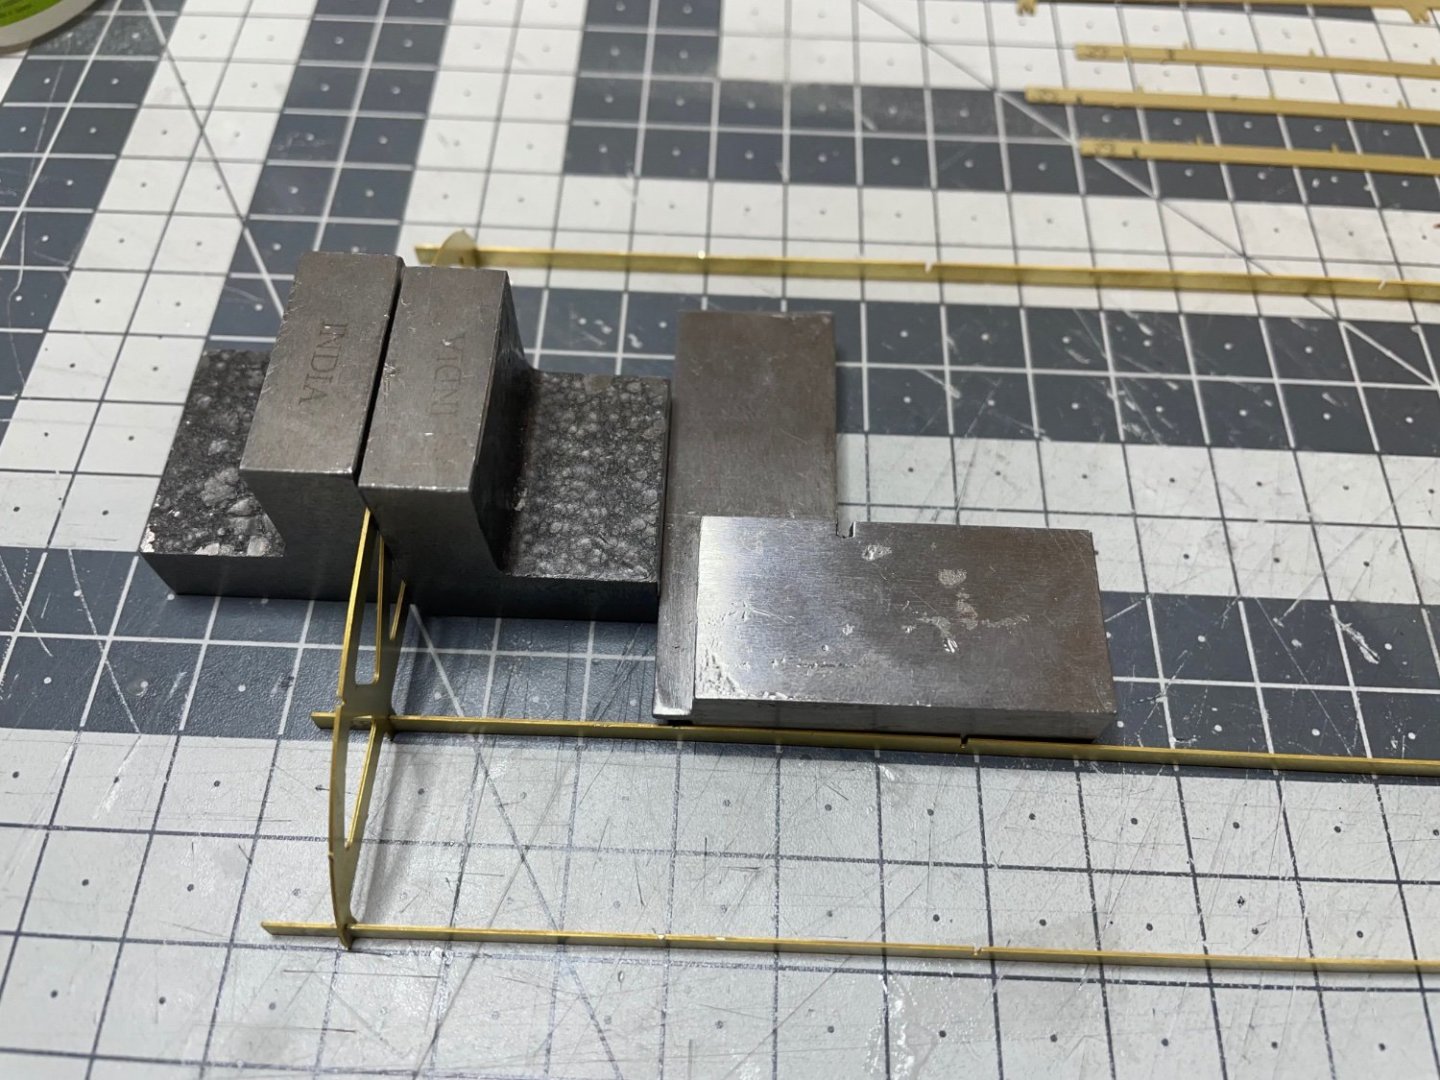
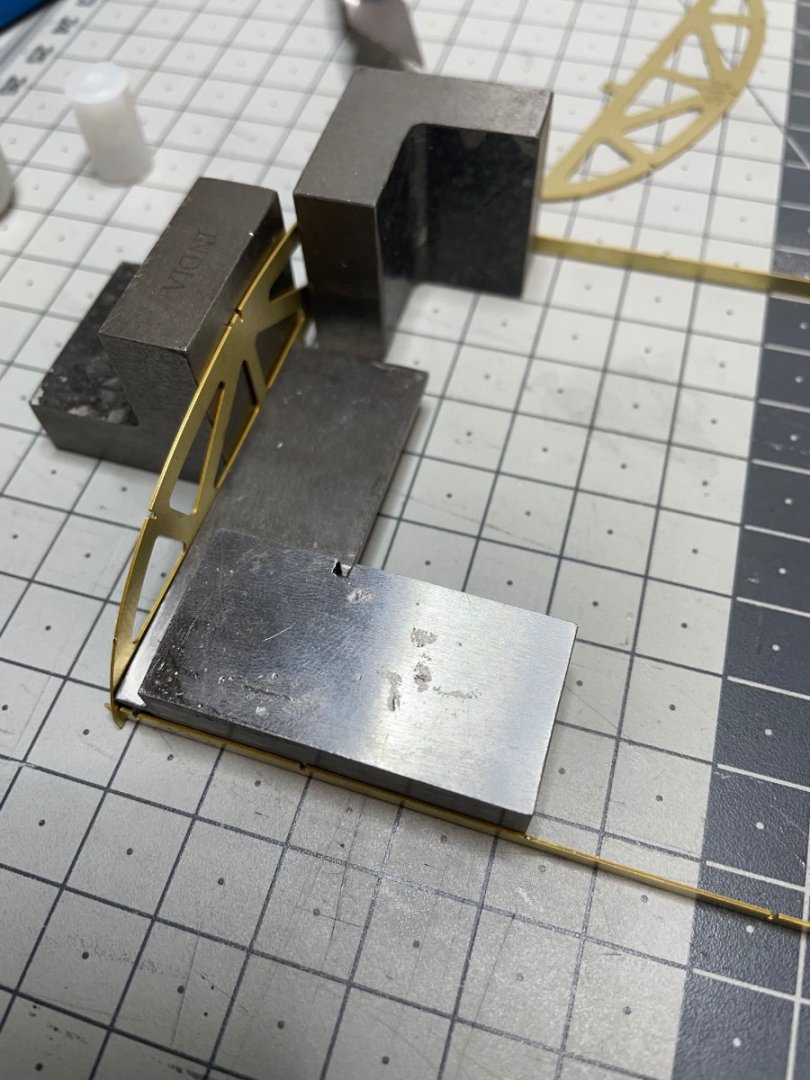
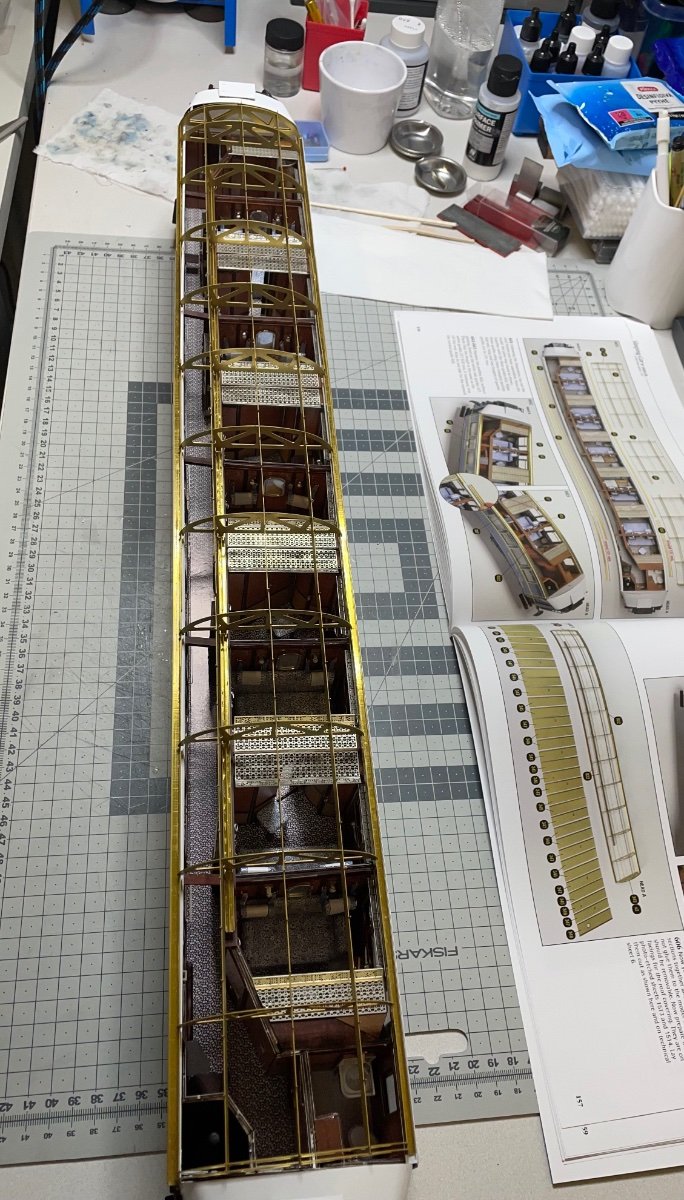
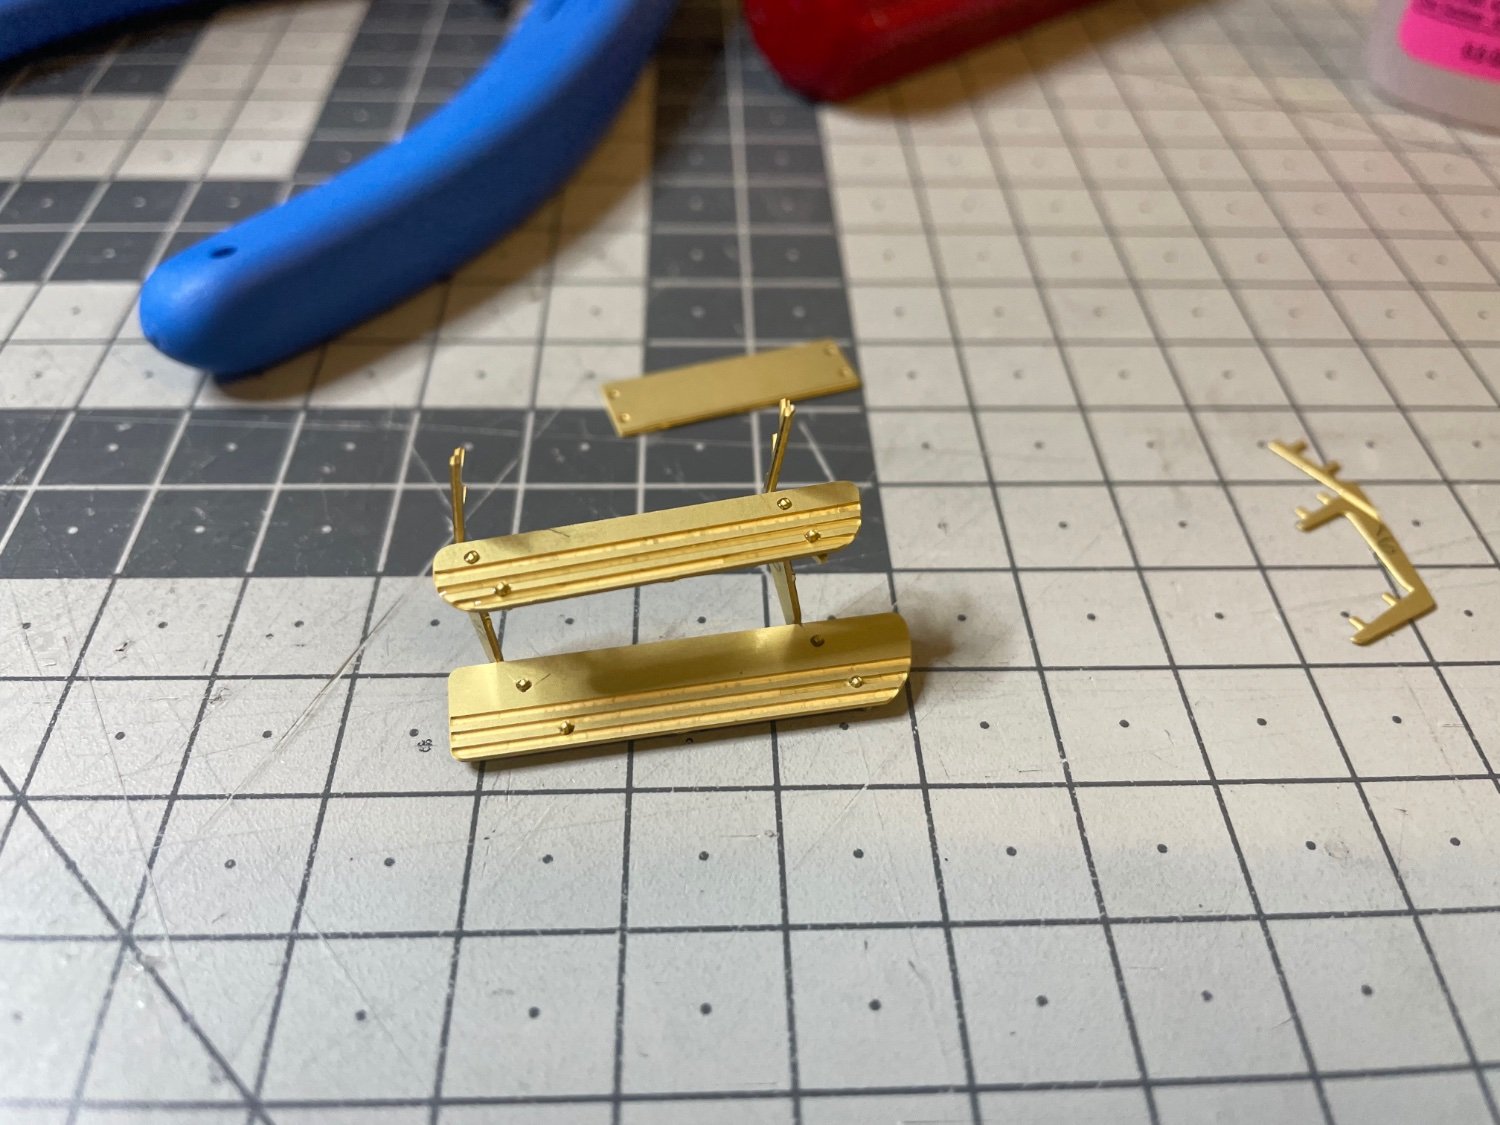
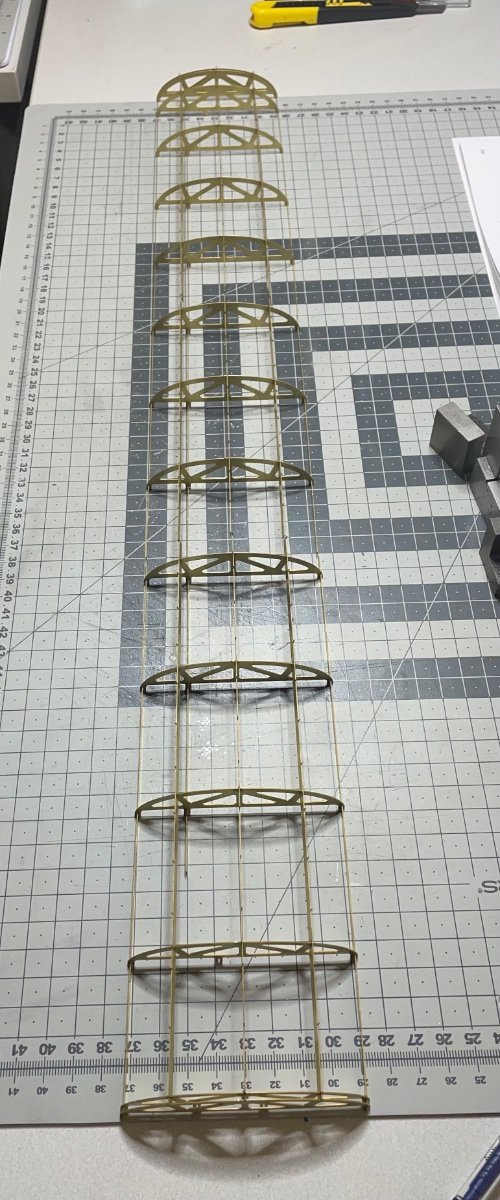
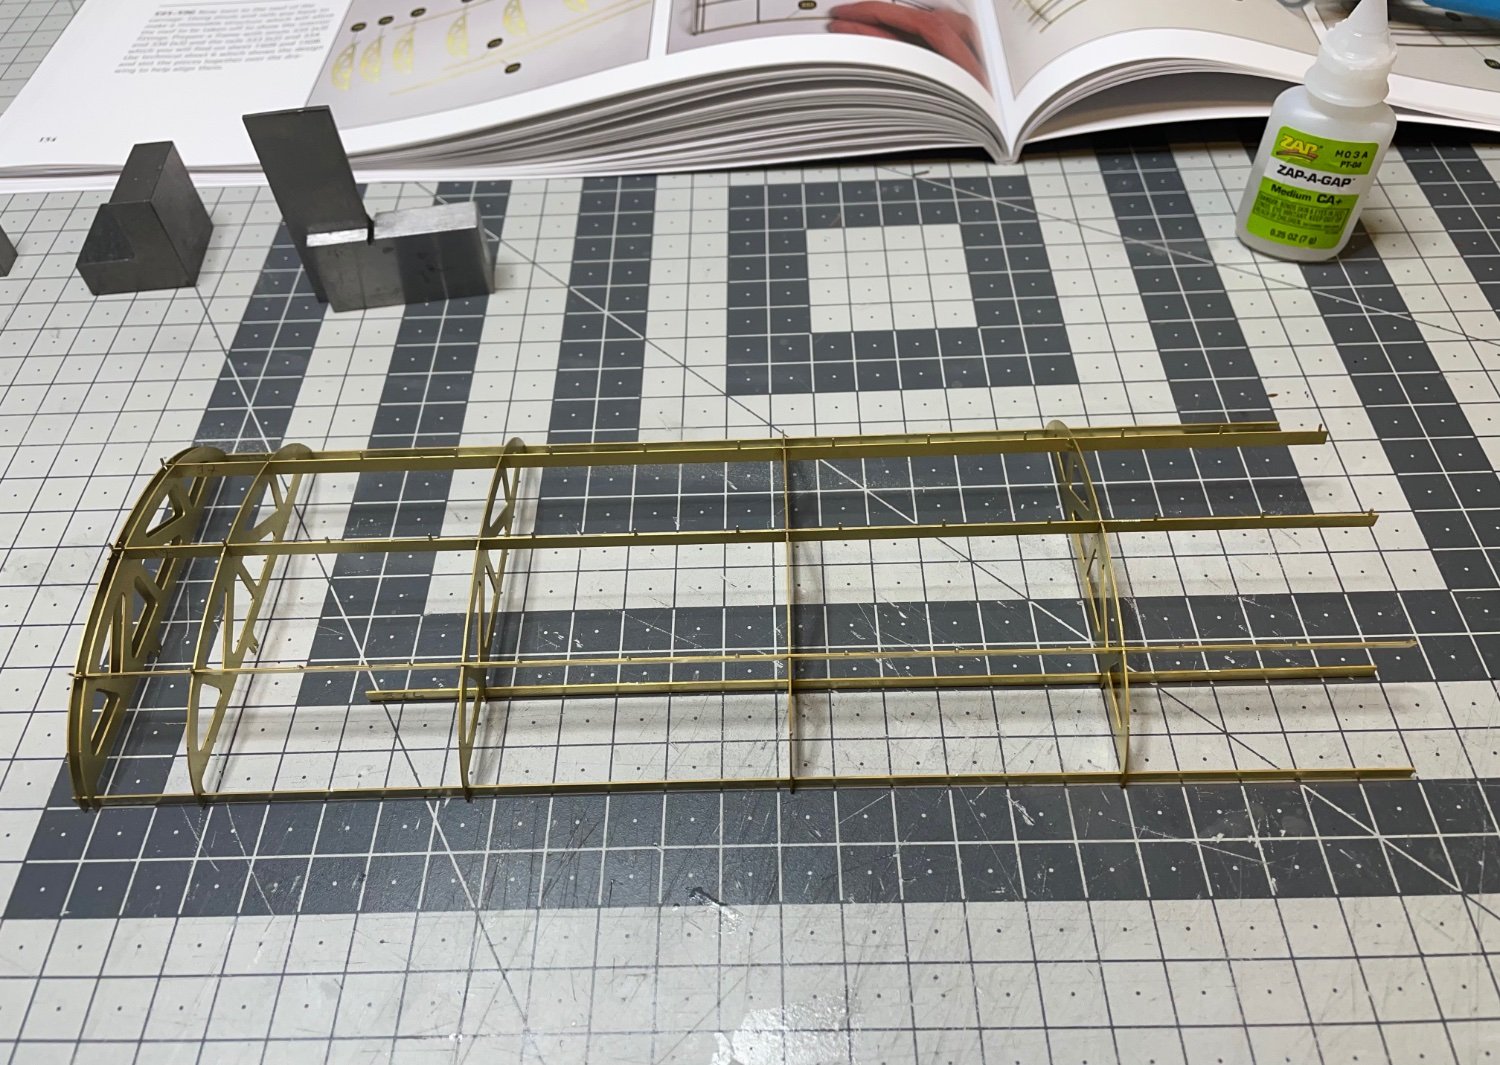
Roof is a combination of three constructions, which will be finally assembled together on common rails. The completed roof structure will not be glued to the carriage, instead it will be removable to make it possible to show the inside to your friends.
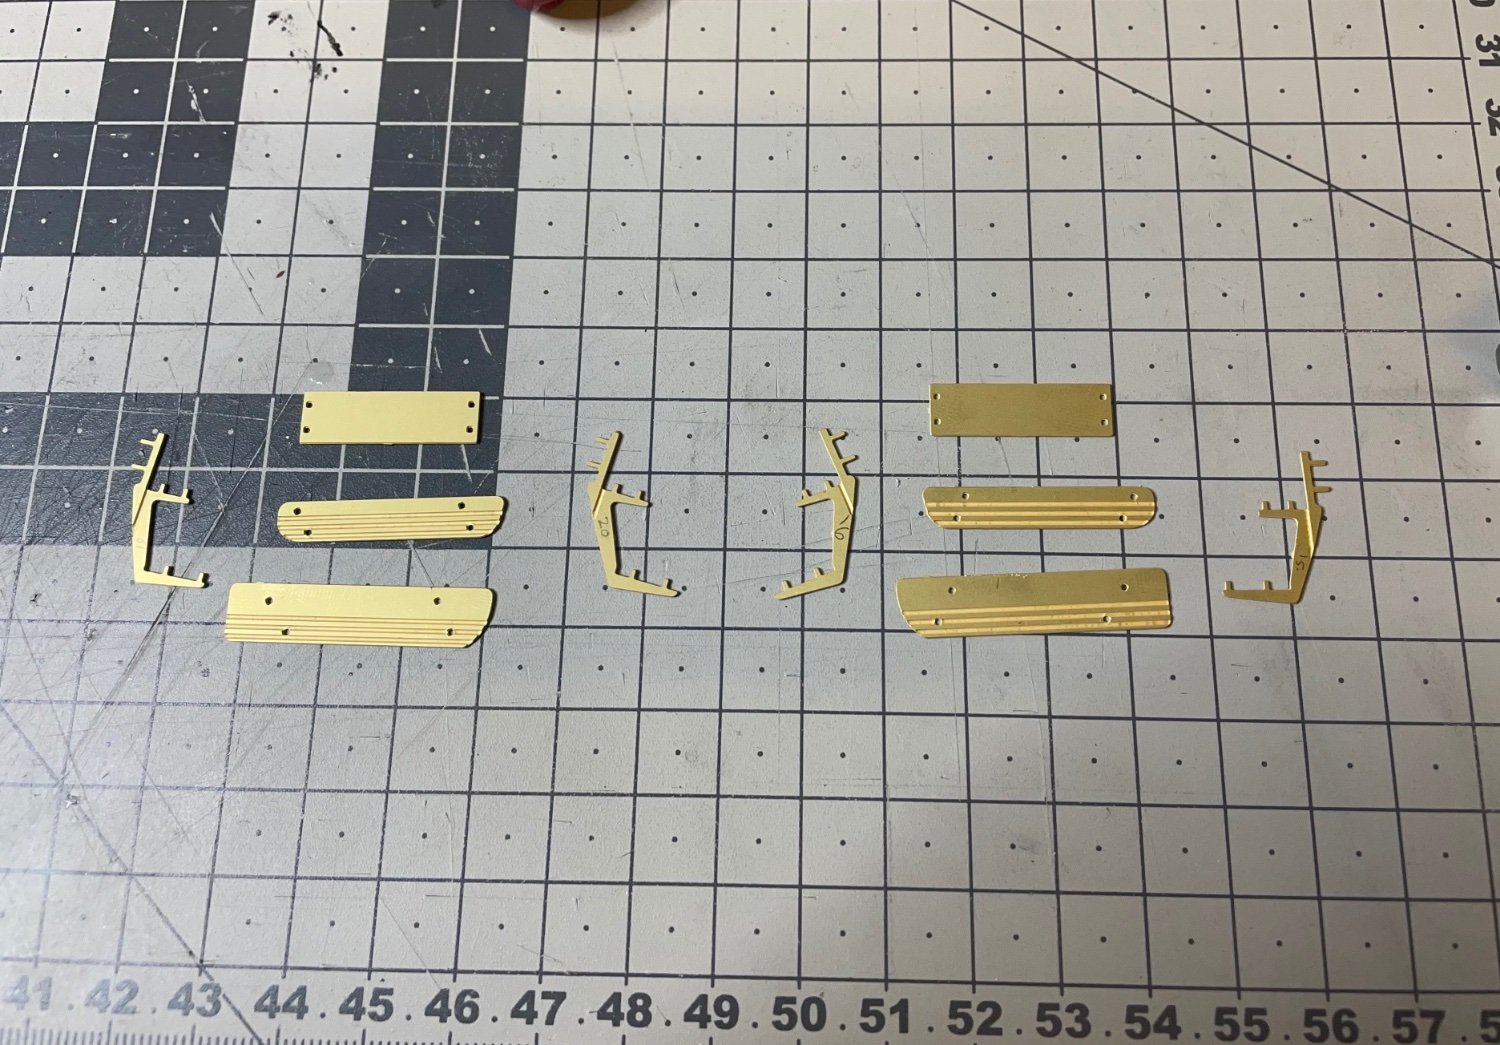
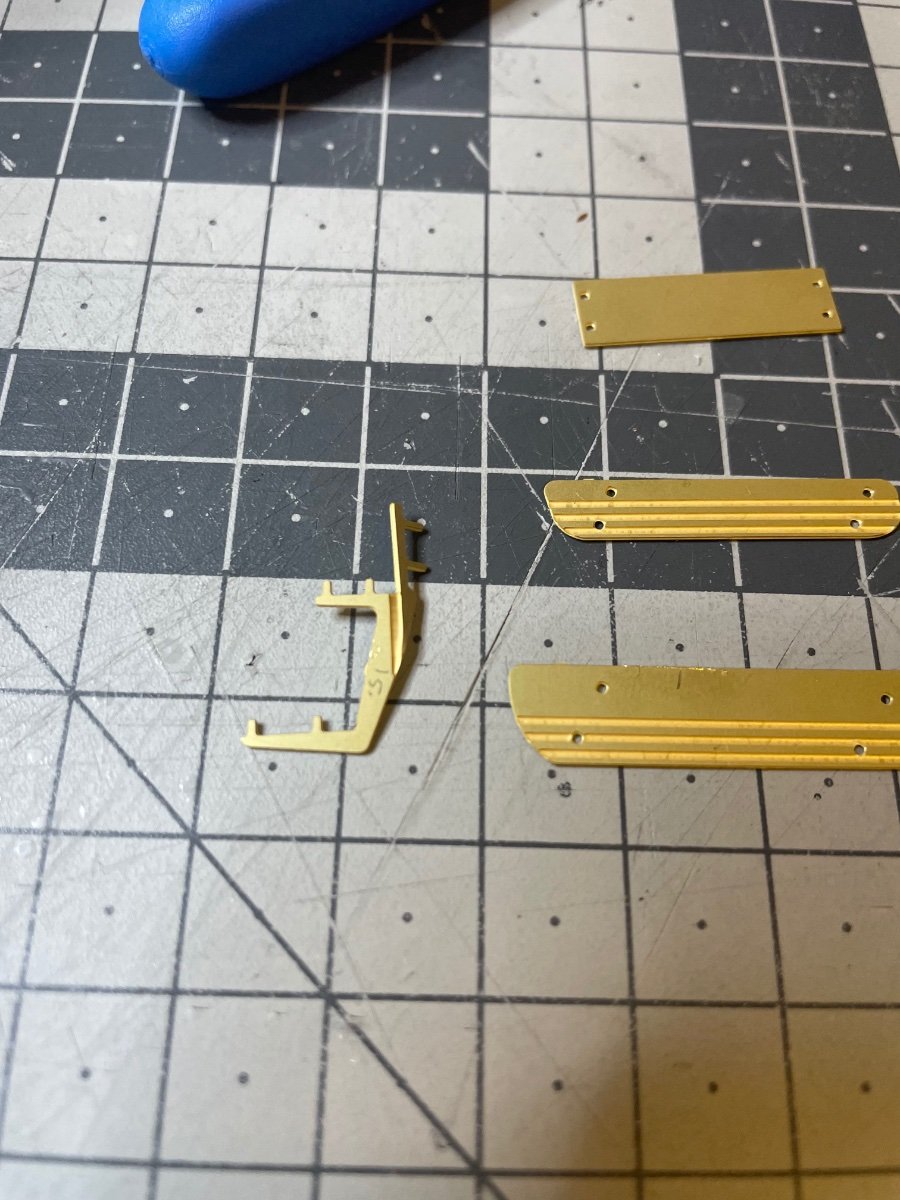
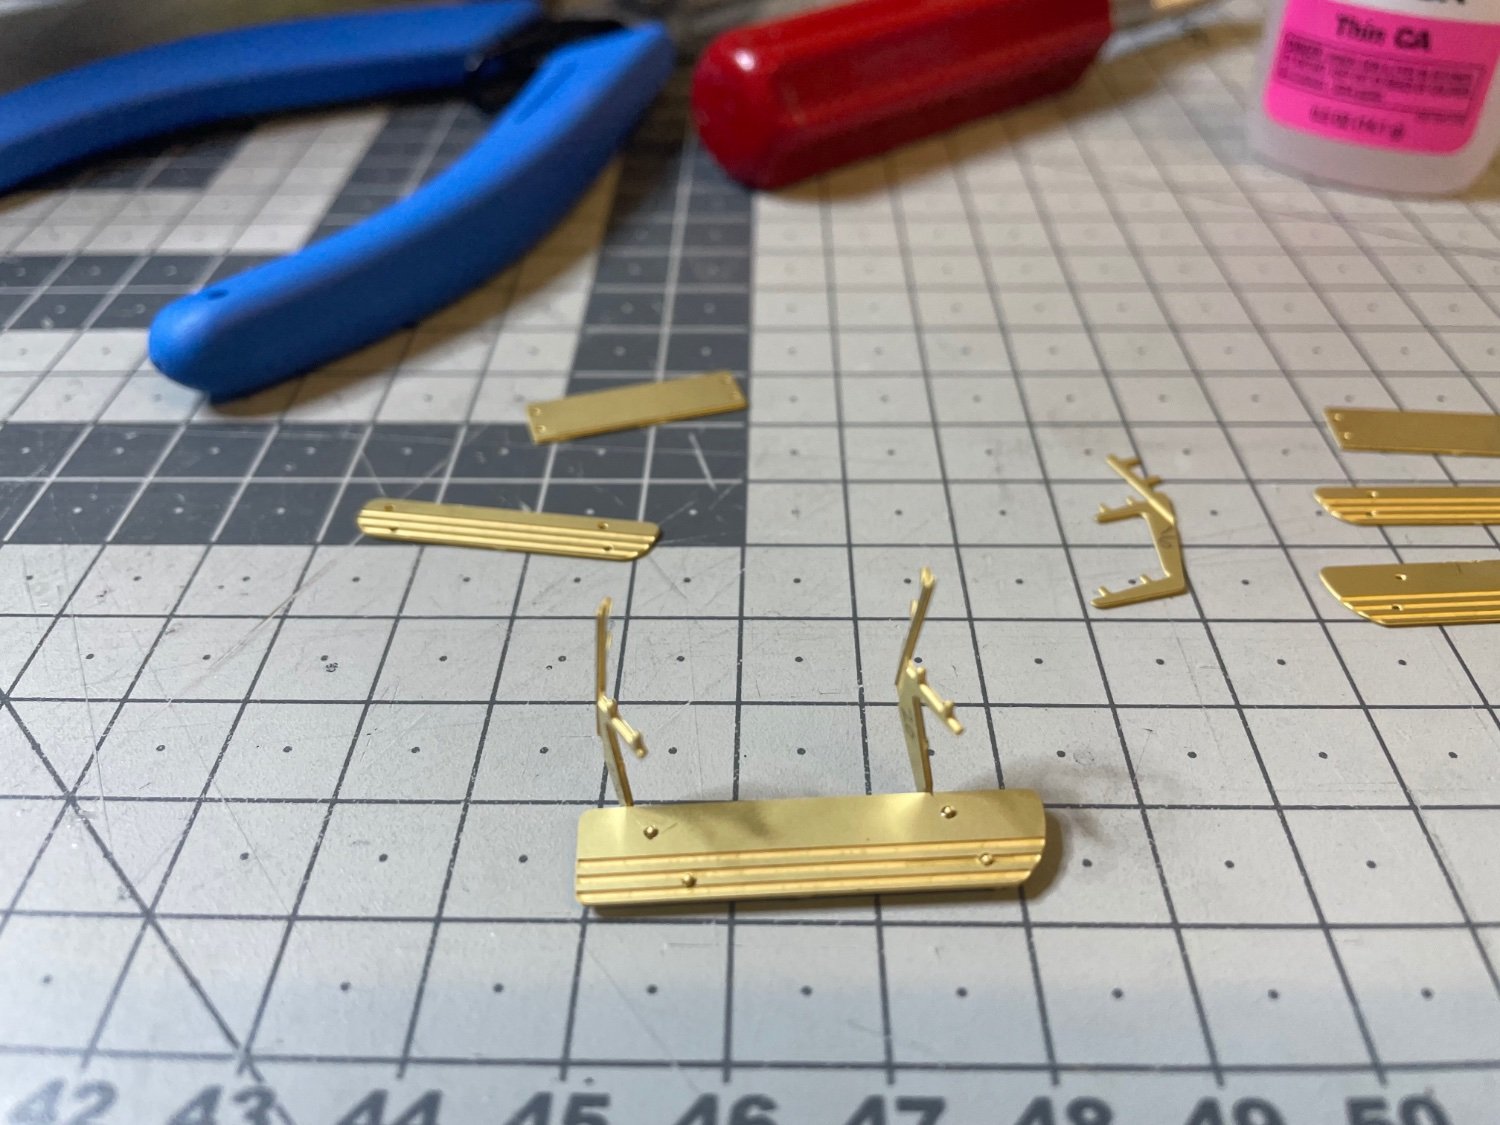
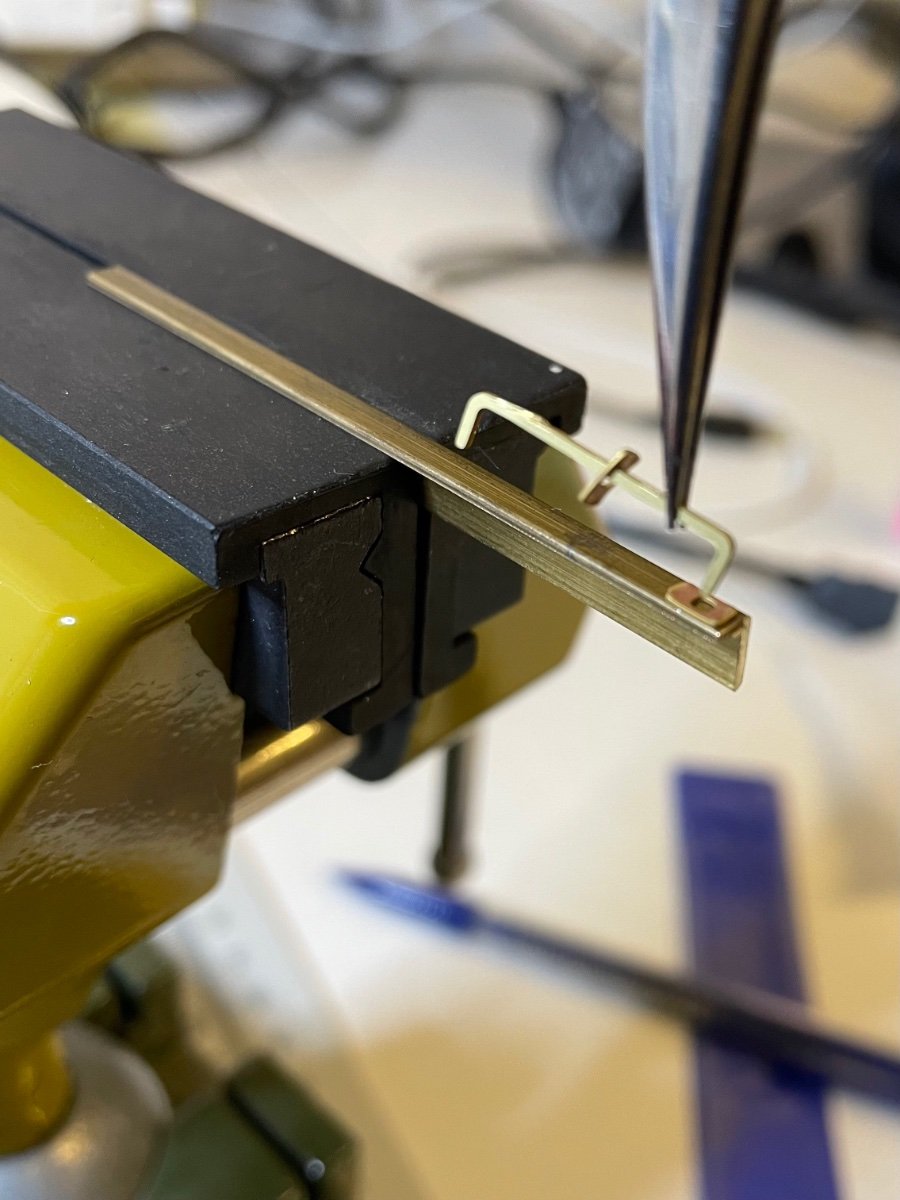
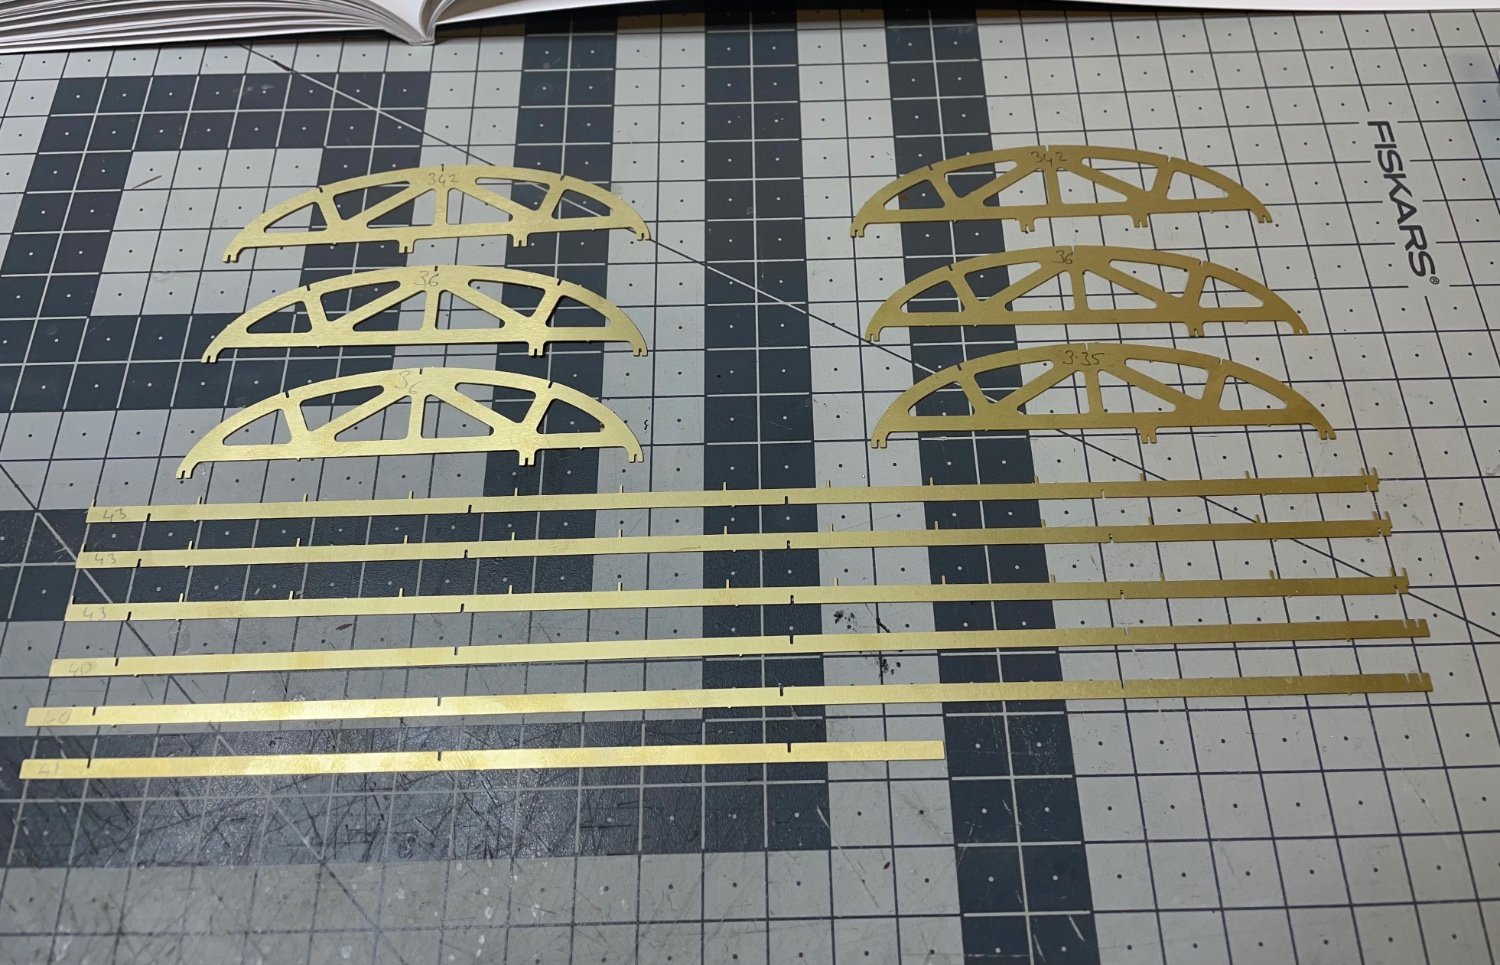
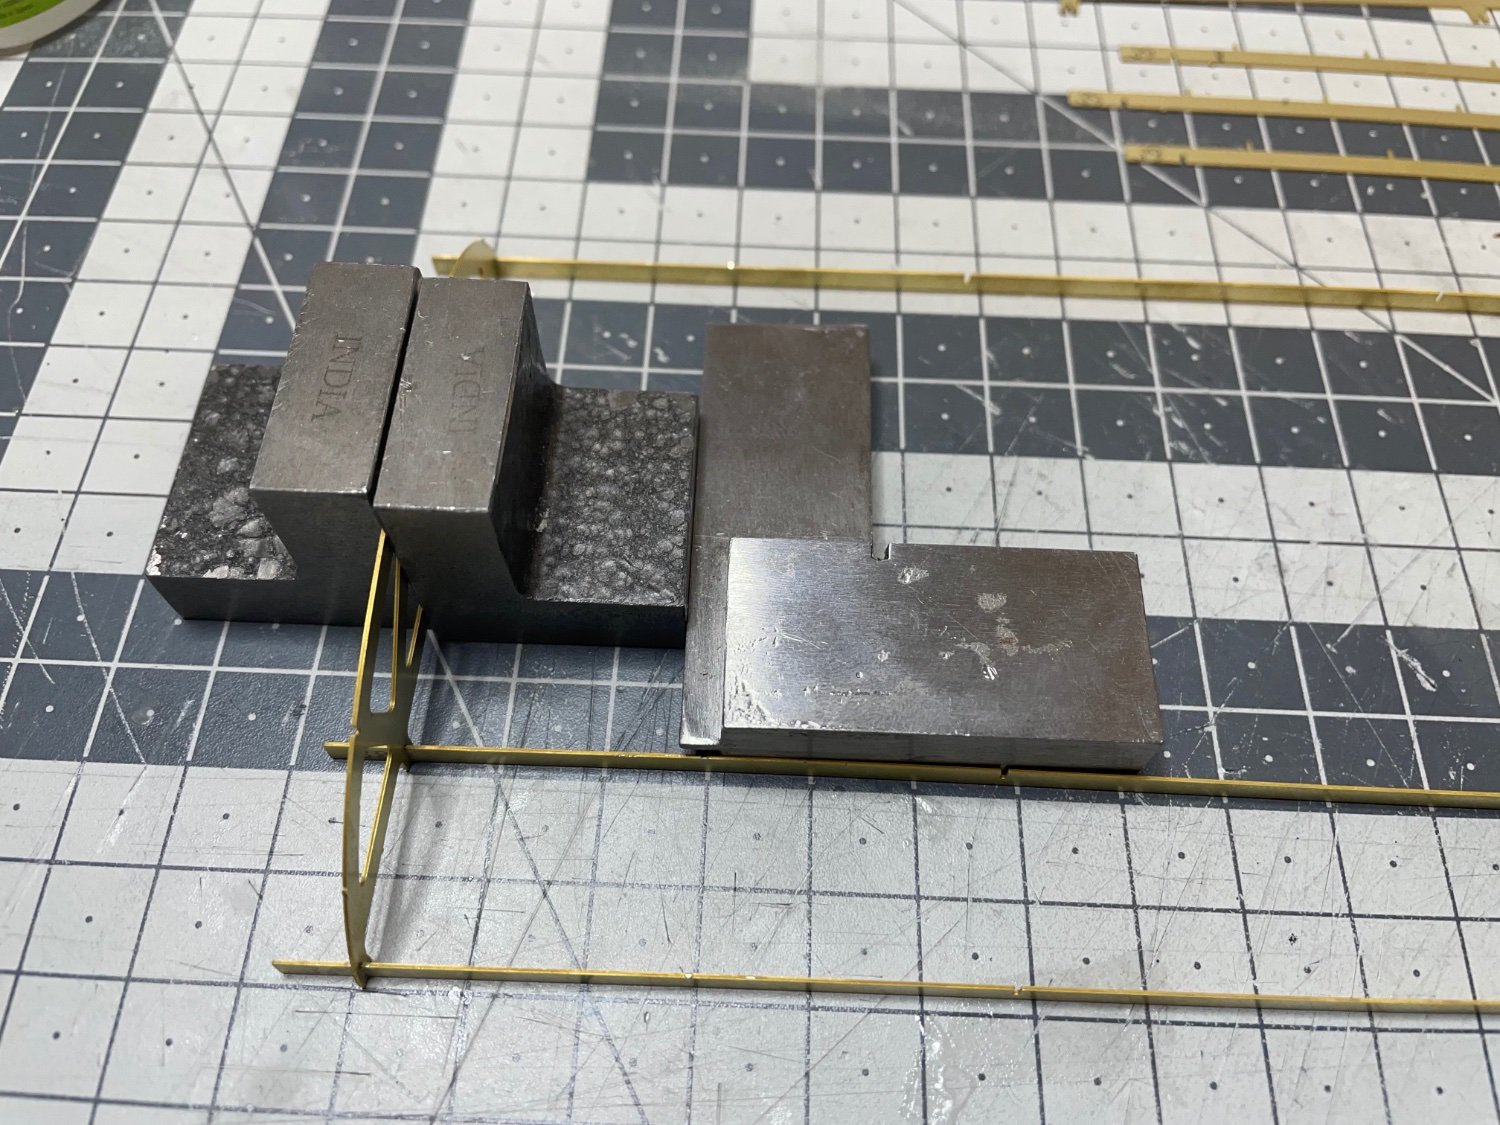
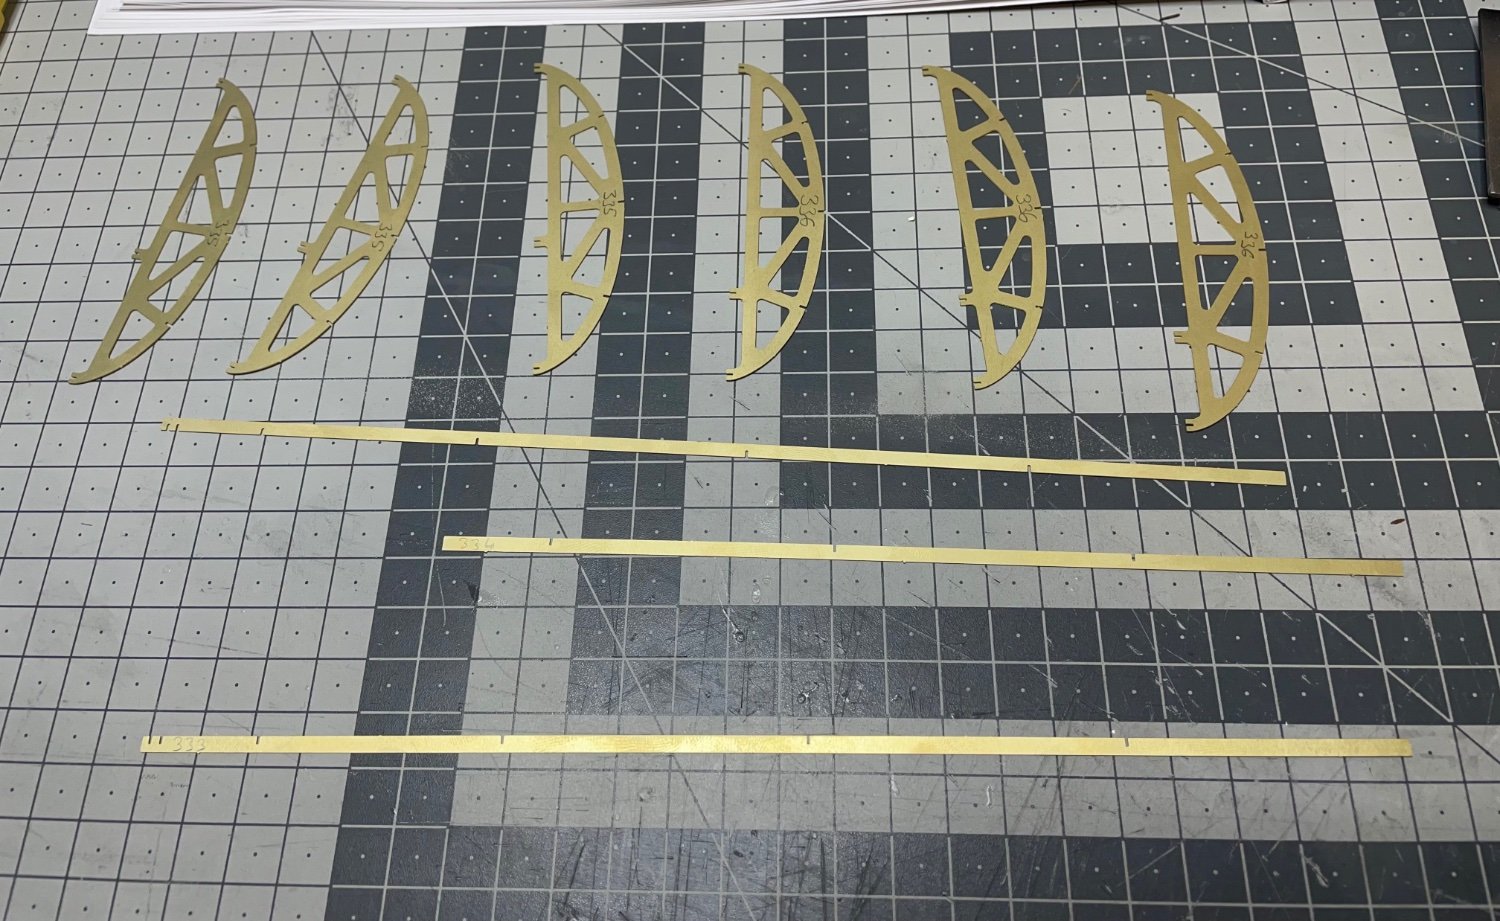
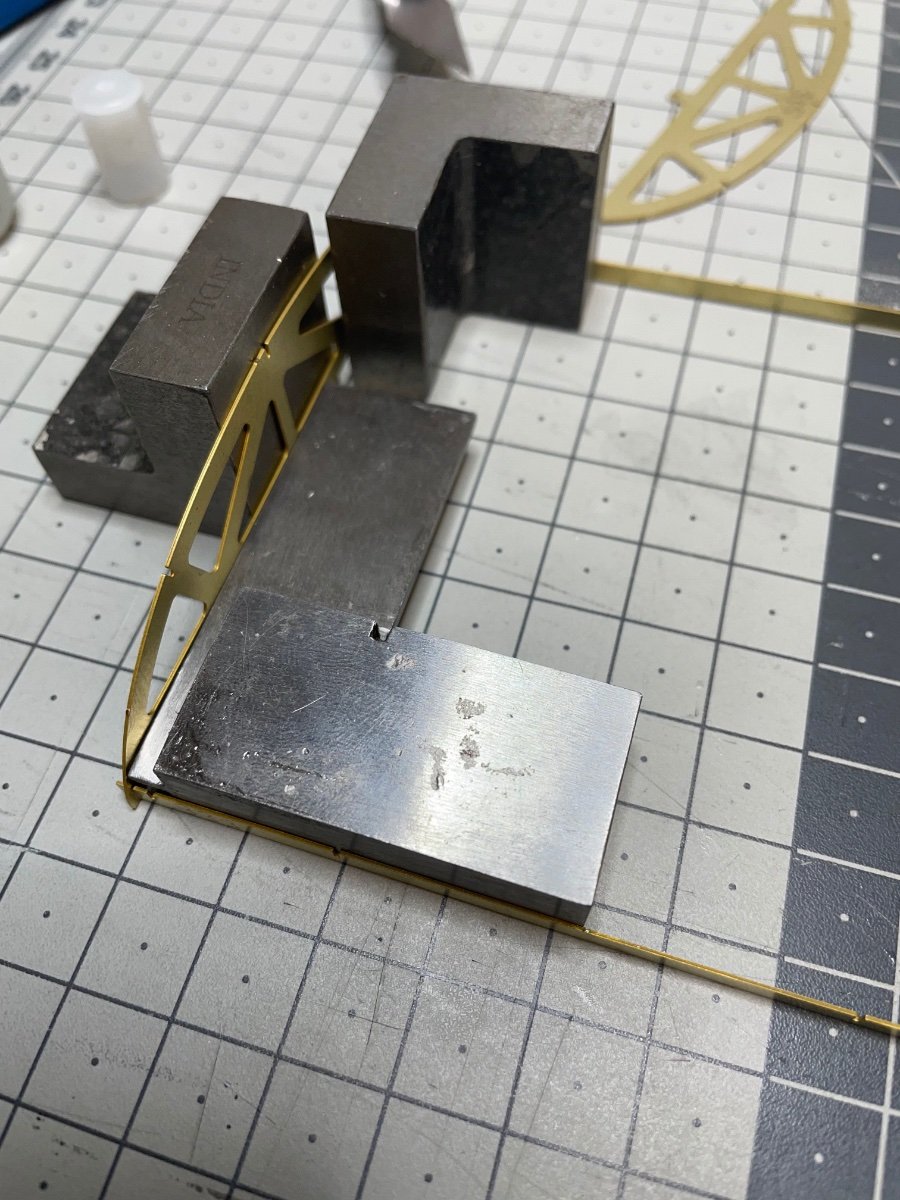
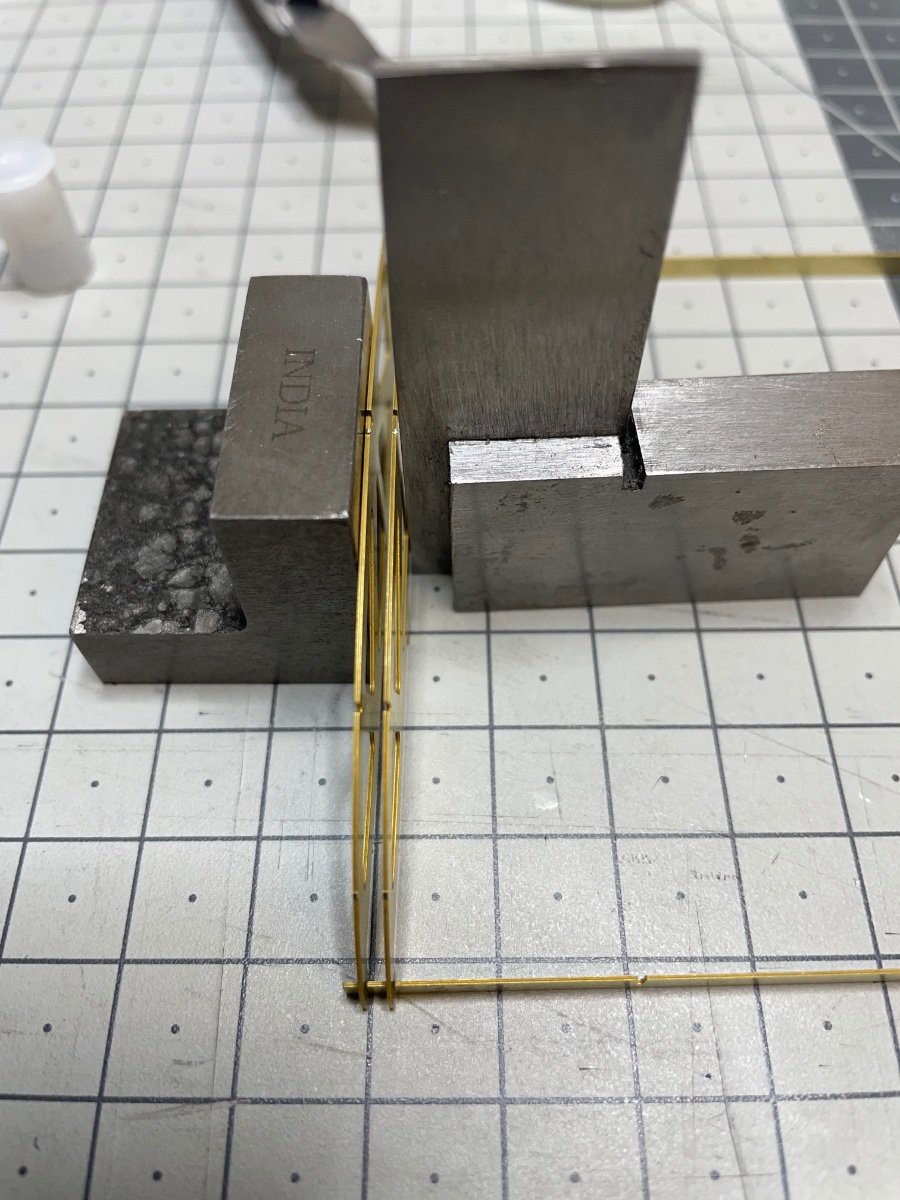
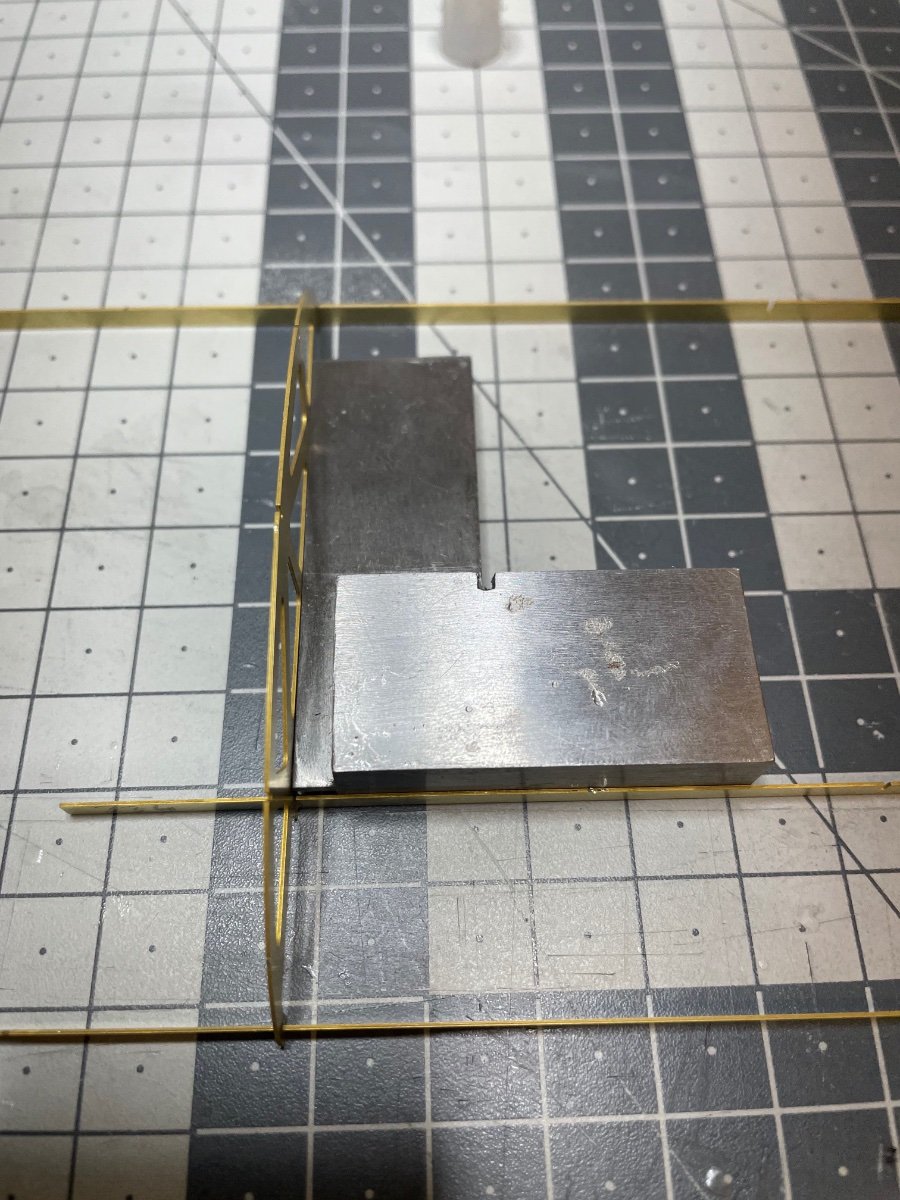
Figures 401-407: The first construction. The parts are very precise and they fit perfect. I used CA glue all the way, using different viscosities depending. Paying attention to alignments is the key in achieving a correct structure, hence I took my time with ensuring right angles.


- Keith Black, bruce d, Canute and 11 others
-
14
-
BUILD DAY 39 / 2.5 hr / (TOTAL: 101 hrs)
I ruined my good old airbrush a few days ago. While waiting for the new (and the better) one to arrive, I continue with the roof construction.
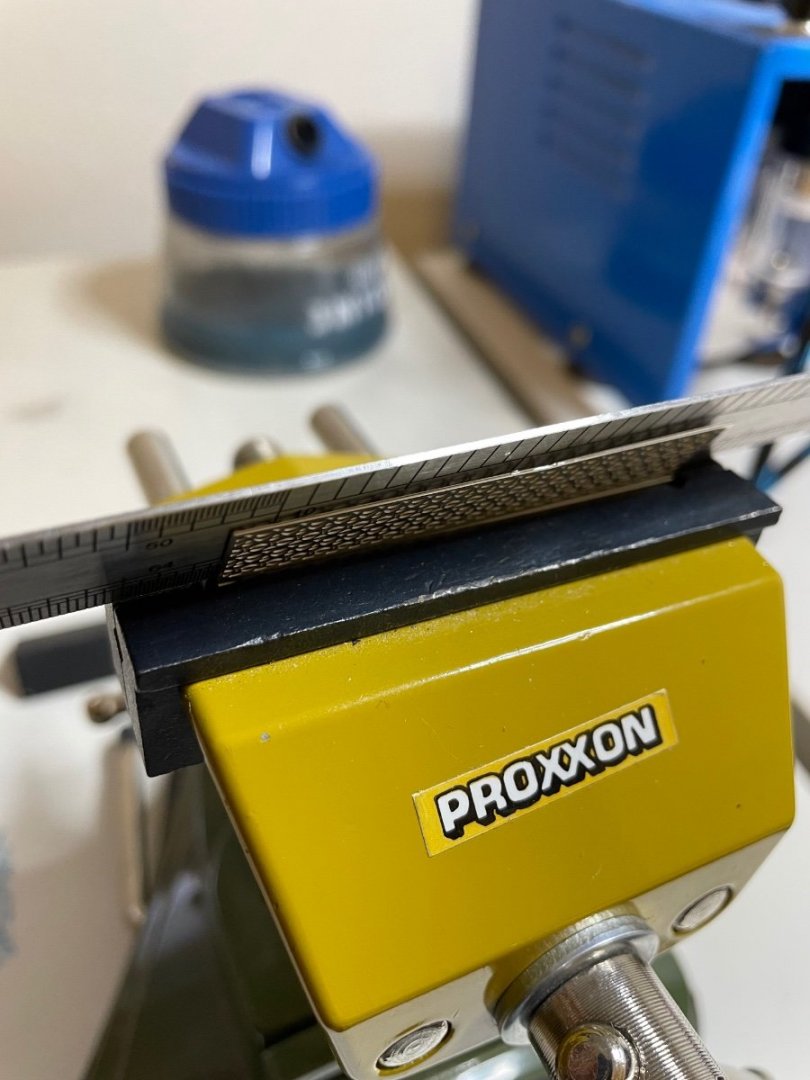
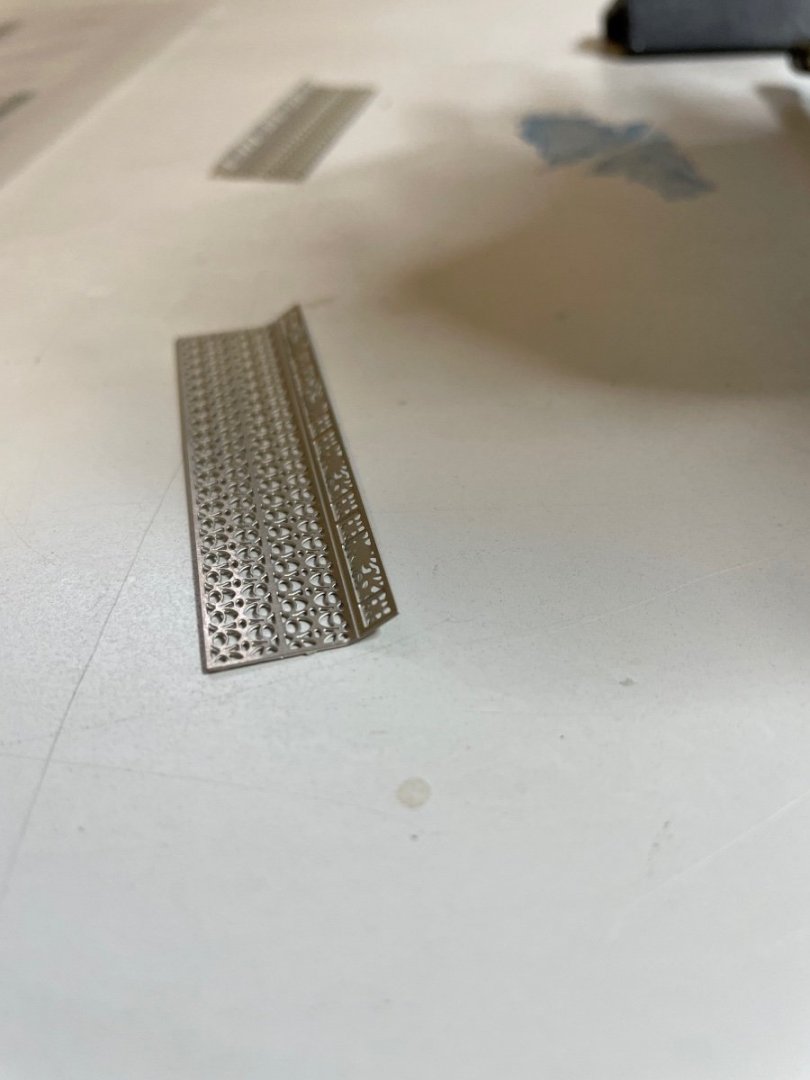
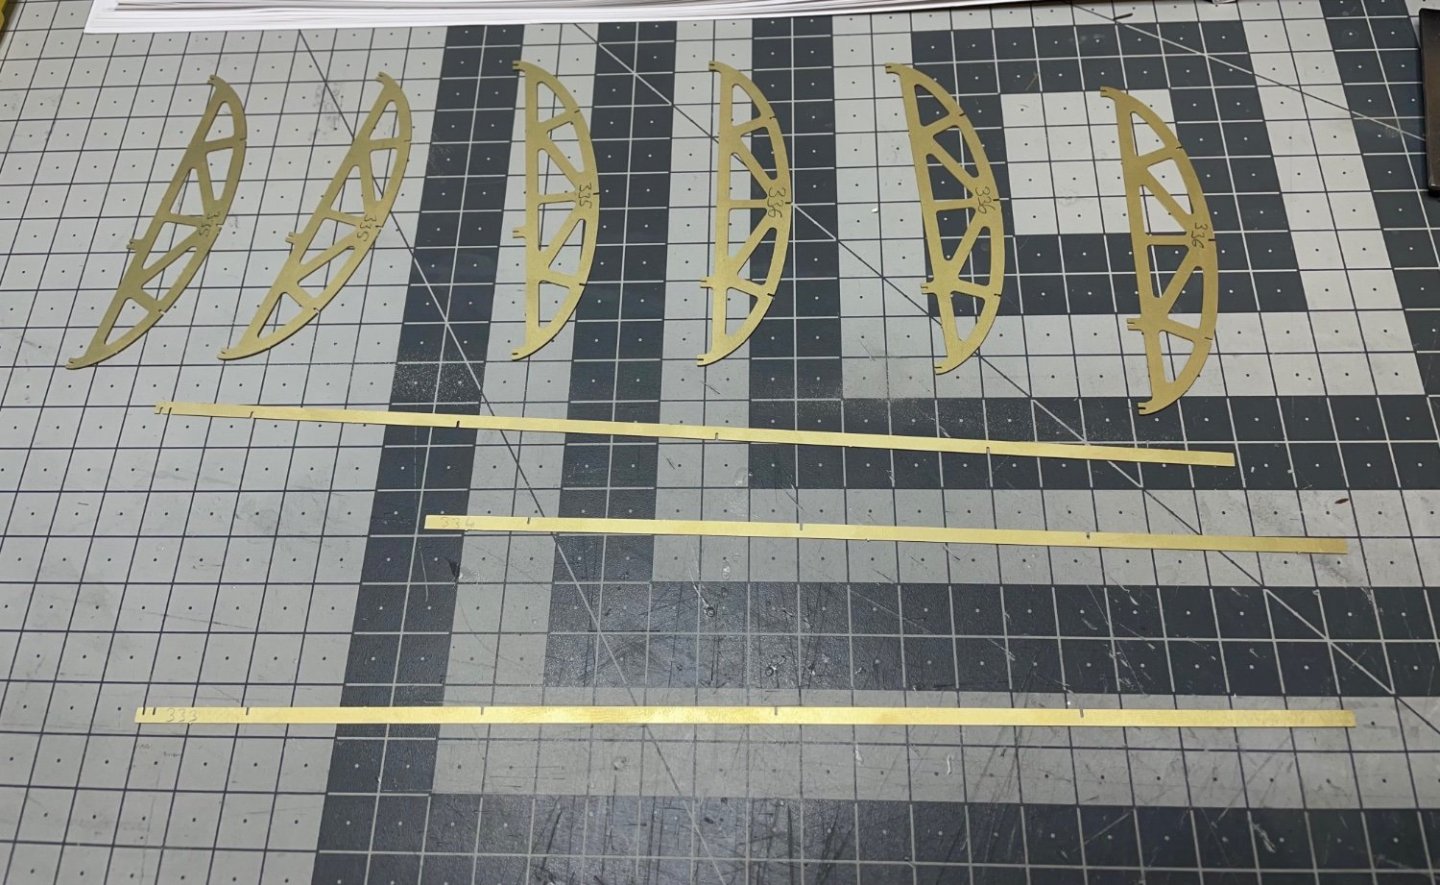
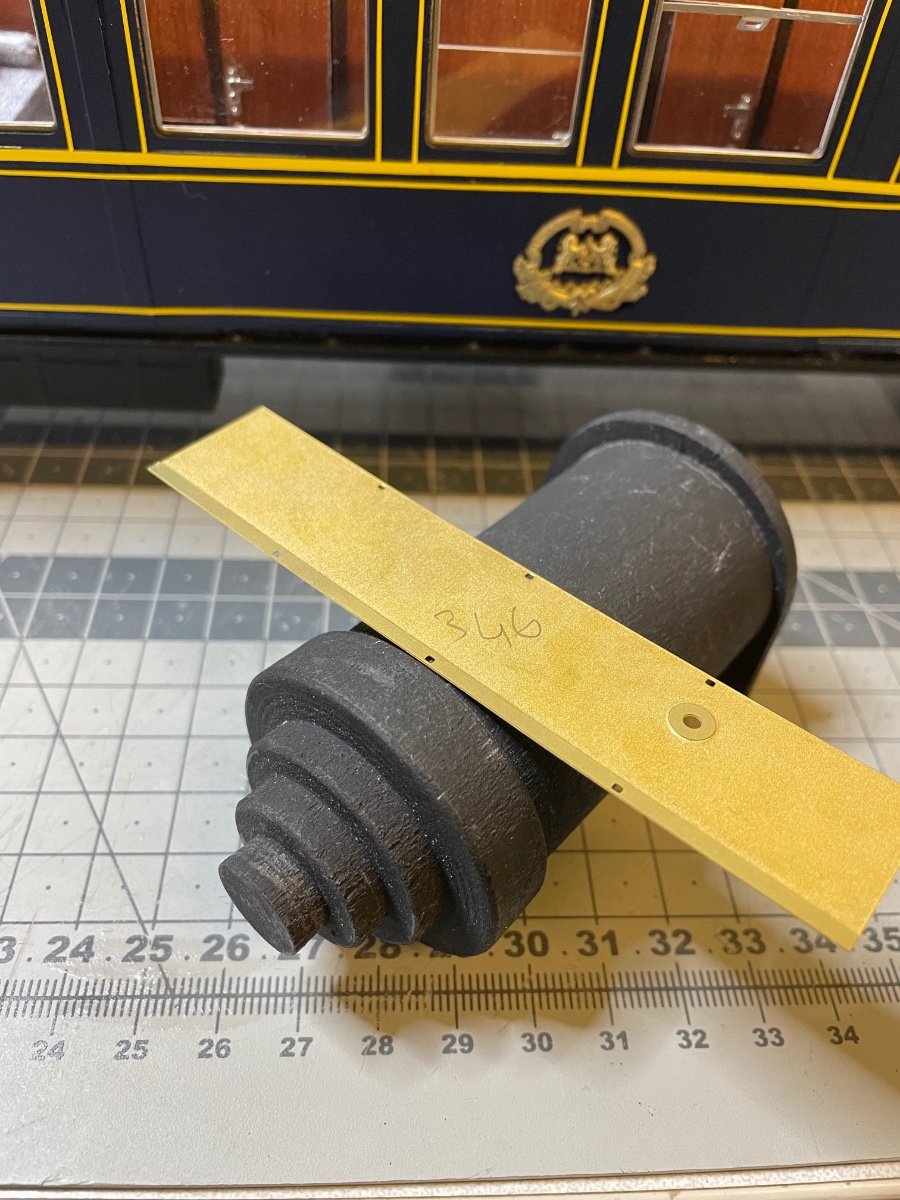
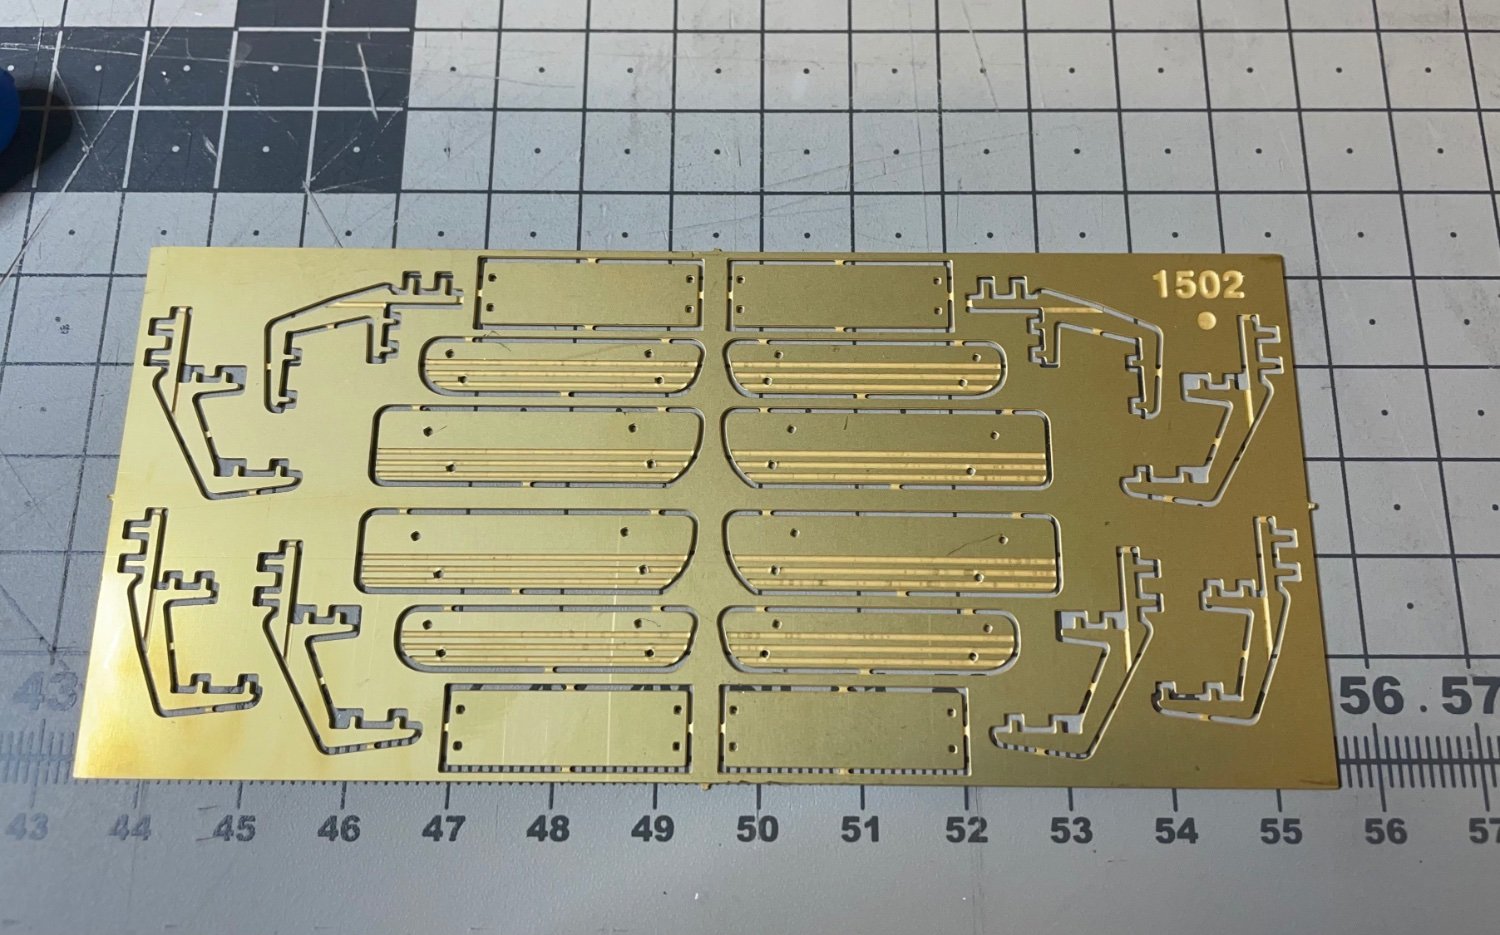
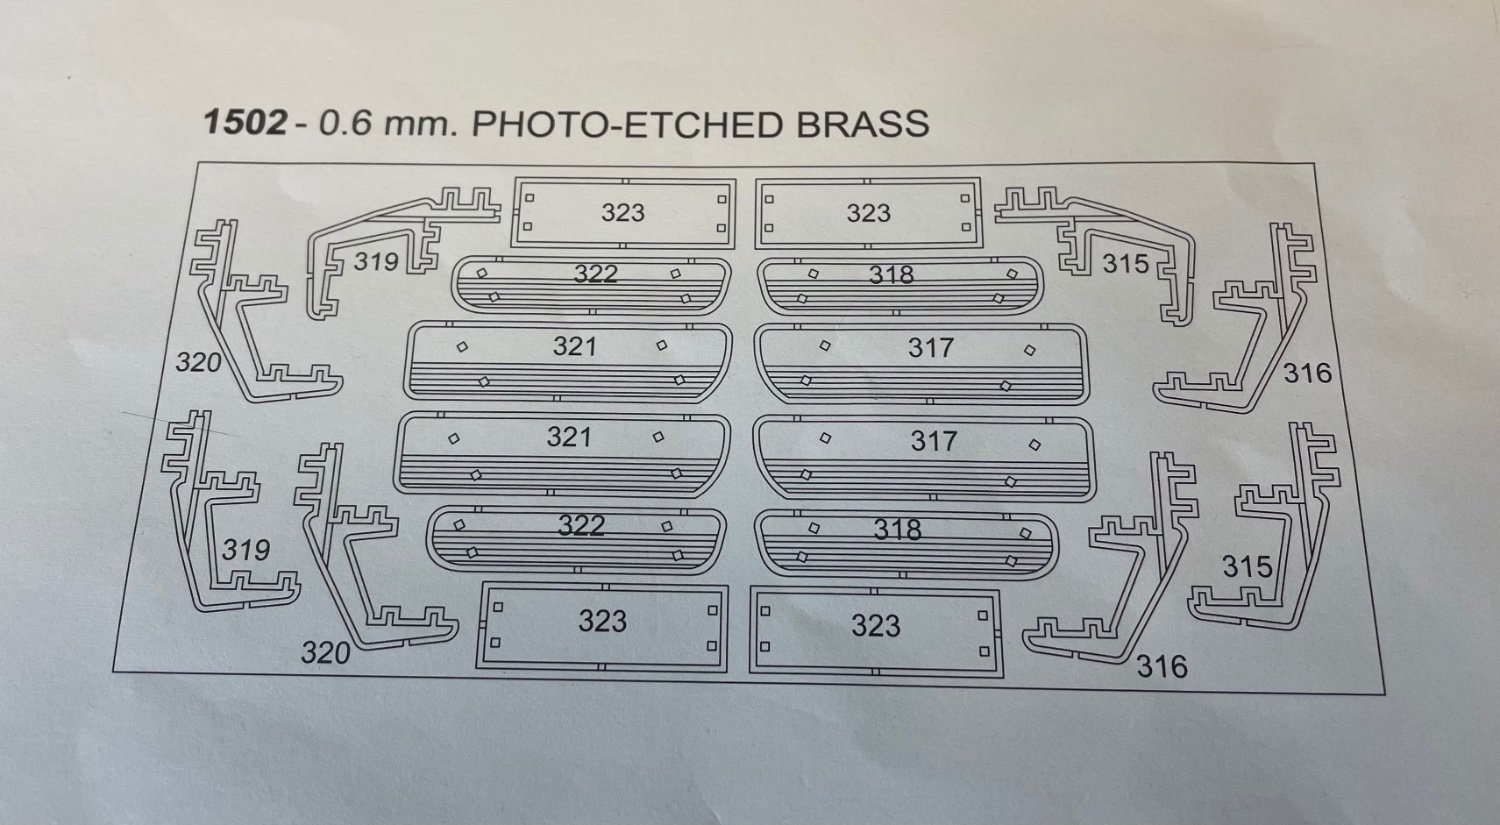
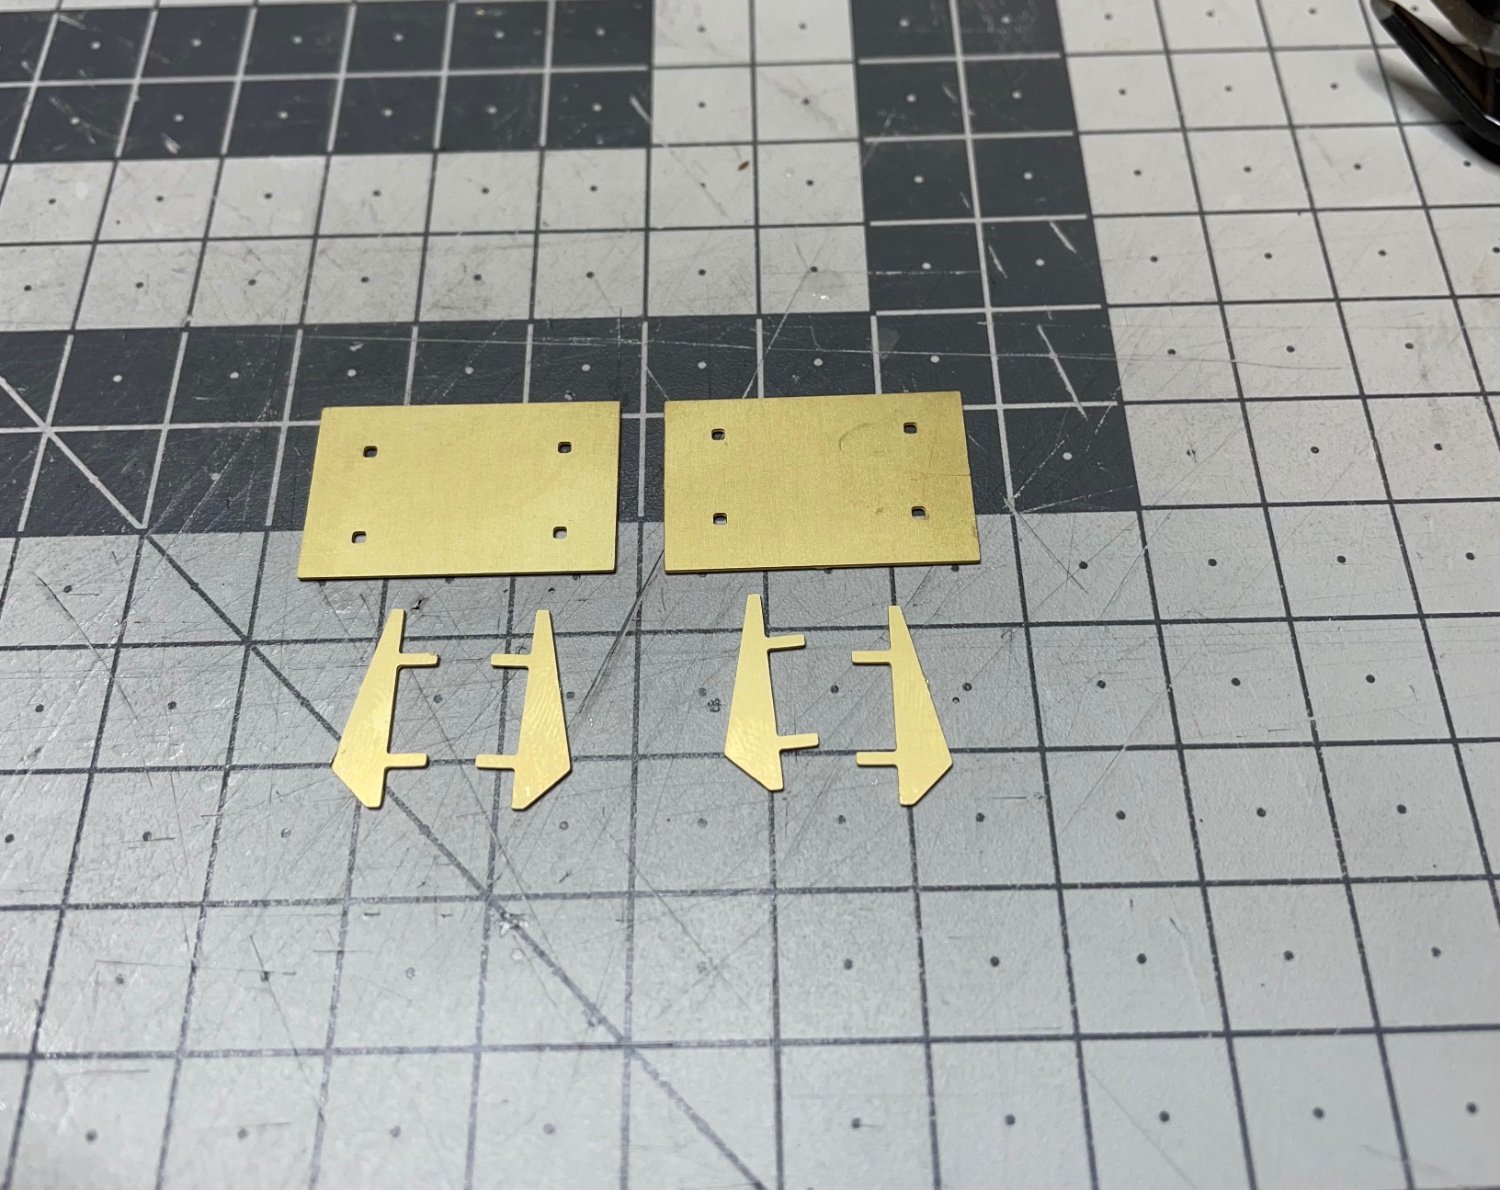
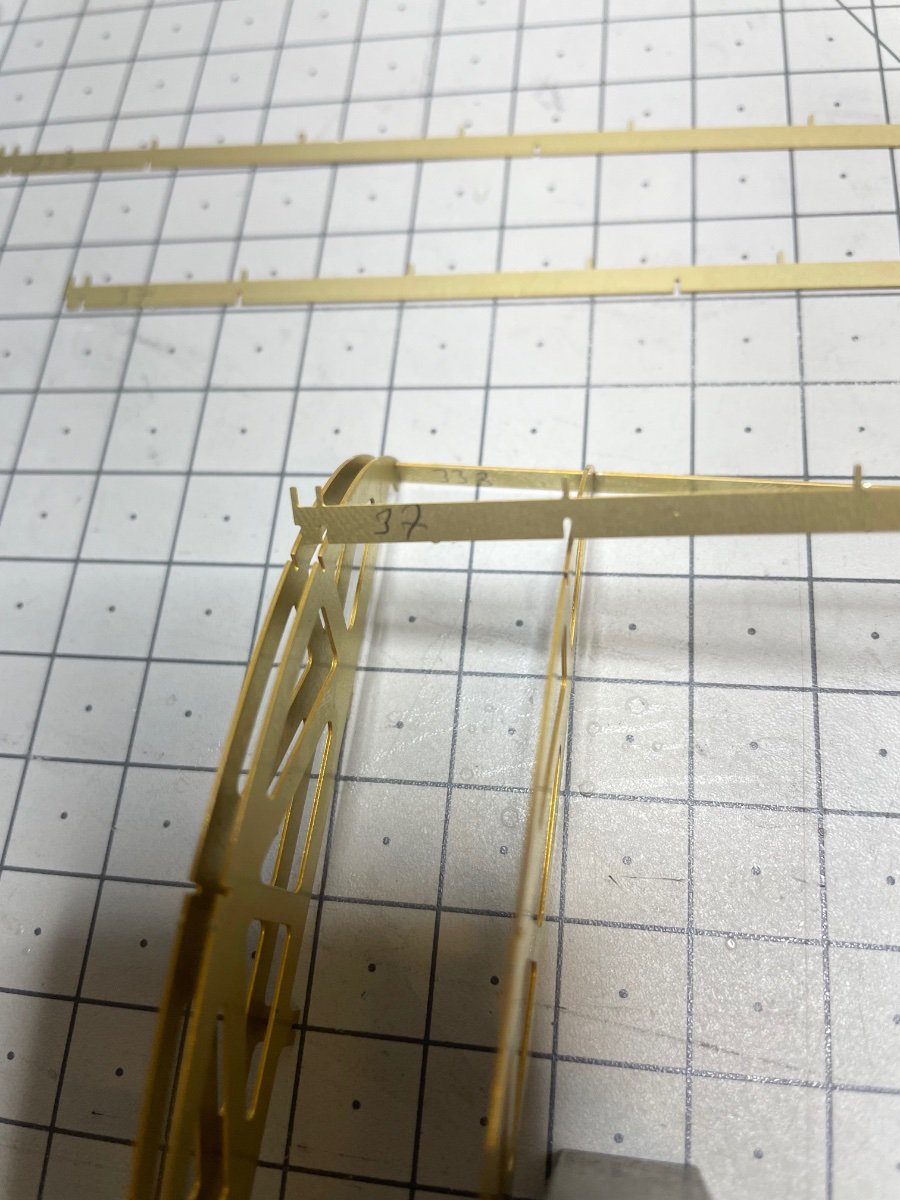
Figure 401 : One of the etched sheets of roof parts. You really want to number and remove each part from the sheet one by one as you go along in order to avoid finding out you glued the wrong piece
") .
.

-
BUILD DAY 38 / 0.5 hr / (TOTAL: 98.5 hrs)
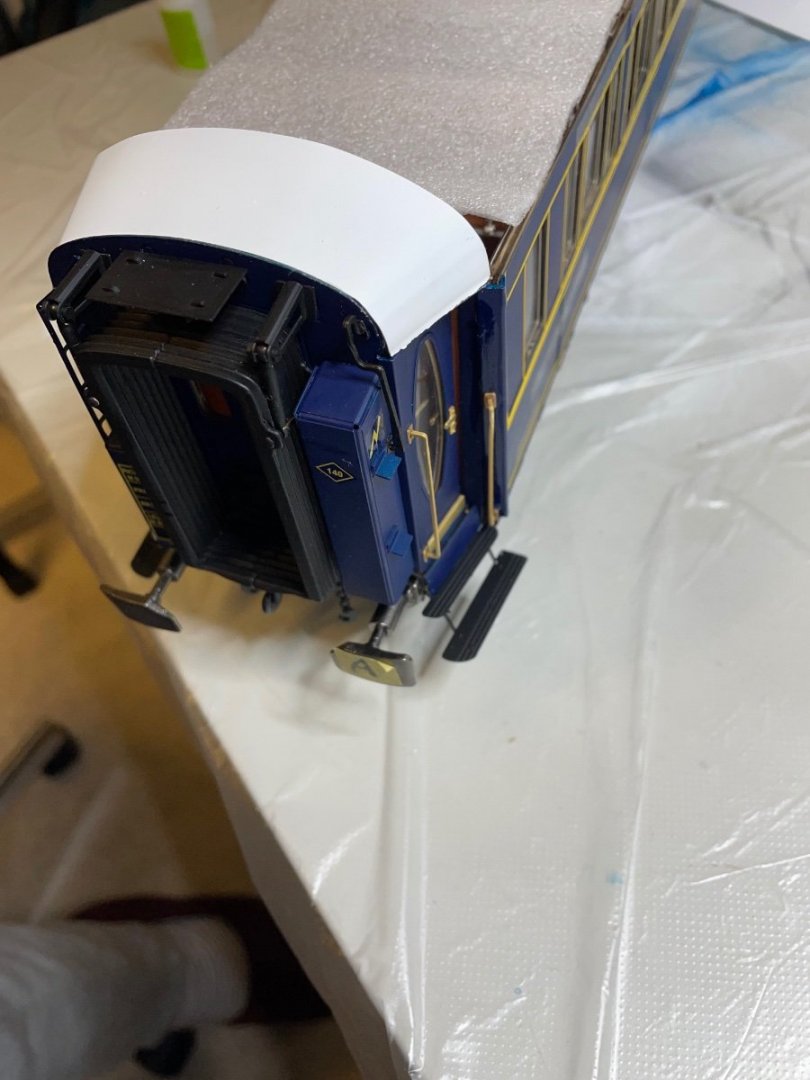
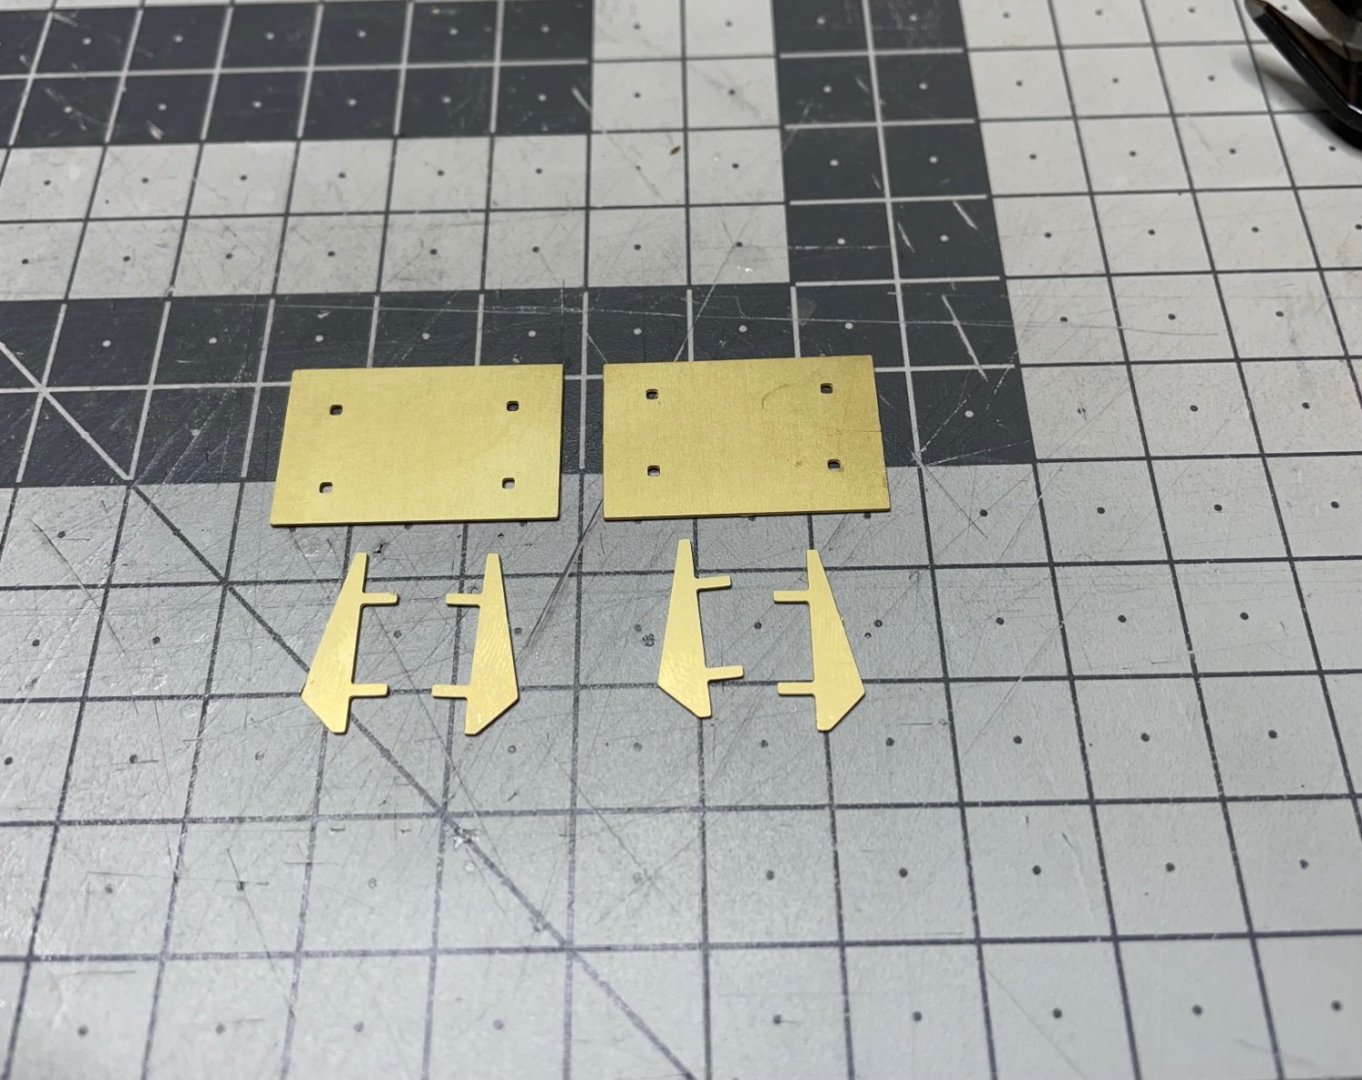
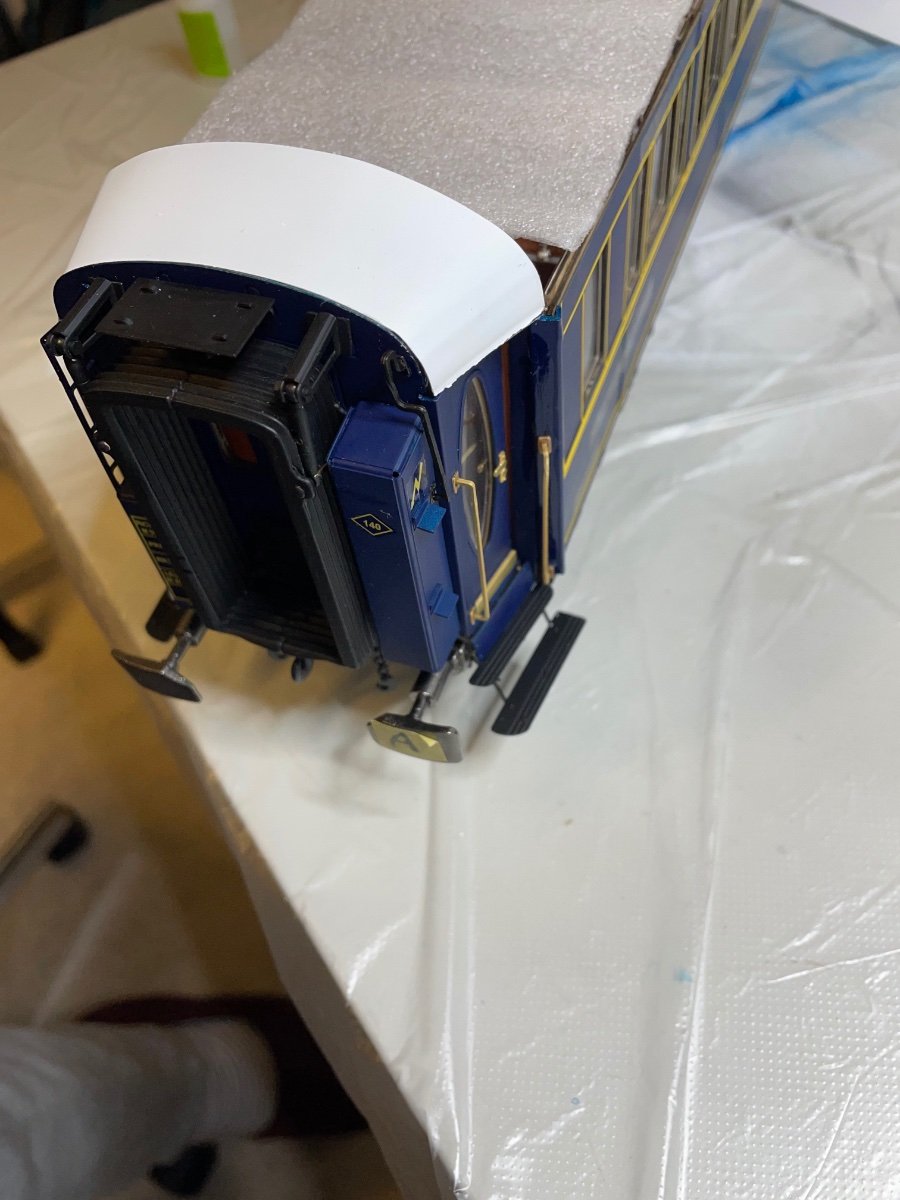
Figure 398-400: Today I spent about half an hour installing the footplates at both ends of the wagon.


Orient Express Sleeping Car 1929 by aydingocer - FINISHED - Amati - Scale 1:32
in Non-ship/categorised builds
Posted
Though I am not a big fan of "bringing a model to life" (e.g. with human figures, lights, sounds etc), I am considering to add leds to this model, only if I am truly convinced with the possible options. I will try to plan the lights at as accurate as their original spots, such as one on the ceiling of each compartment and a few on the corridors, if this approach works. That would mean I will not install just one or two lights to give a general illumination.
For this purpose I ordered the special leds below:
https://www.smallscalelights.co.uk/product/3528-12-18v-chip-leds-on-pcb