Chuck
-
Posts
9,390 -
Joined
-
Last visited
Content Type
Profiles
Forums
Gallery
Events
Everything posted by Chuck
-
 Sure!!! Not an issue. I will separate those out.
 -
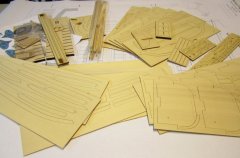
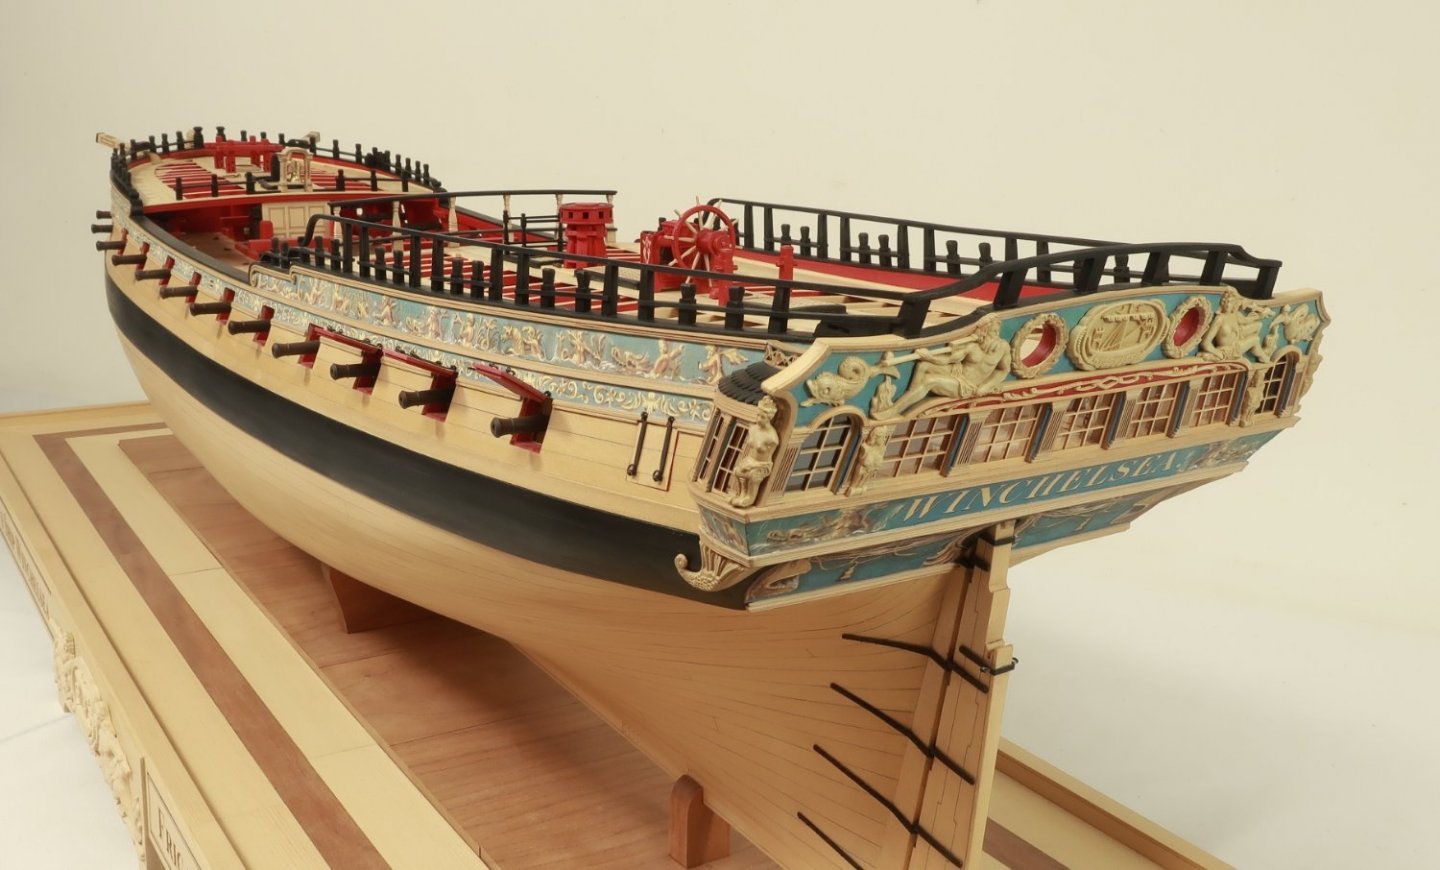
If you are considering joining this group to build the model of Winchelsea, here is a brief description of the plans you will gain access to. You will need to download these PDF documents and print them yourself at Kinkos or other facility. There are four large sheets that contain all of the details...they are 40" x 30" in size. Just make sure you print them to the correct size and "as in document". Check your prints against the scale bar on each sheet which shows 1/4" increments. They should match that size after printing. There is another PDF file that contains something like 30 pages I cant remember exactly. This file is for the bulkheads and all plywood parts. All of these parts will be made from 1/4" thick plywood. I am using aircraft light ply. But remember, all 1/4" thick plywood is not actually a 1/4" thick. You may have to alter the width of the slots so your bulkheads will fit nicely into the slots of the false keel. These files are presented on 8 1/2" x 11" pages so you can just print them out on your personal printer and get started. There are however two sheets that are 11 x 17 because they were too large. These can be printed at staples or kinkos or something like that. So with these initial files so easy to print on your own you can adhere them to your plywood and cut them out with a scroll saw. Feel free to start a discussion on your personal favorite method for adhering the templates to the plywood. I am sure it would be very helpful to everyone participating in the group. You will need EIGHT 12" x 24" sheets of 1/4" ply to fit all of these parts for the skeletal framework. Any Questions??? Oh!!! This model is in 1/4" scale and when finished it will be 38" long. This model will be unrigged and was inspired by the contemporary model of the HMS Winchelsea in the National Maritime Museum. Its a very big model.

-
This is where you can talk about planking the hull outboard as described in Chapter two of the monograph.
-
This is where we will discuss any questions and details for assembling the bulkheads and keel parts as described in chapter one of the monograph.
-
US Brig Syren by Gahm - Model Shipways
Chuck replied to Gahm's topic in - Kit build logs for subjects built from 1801 - 1850
Looks fantastic. -
Listed below are the materials you will need to complete each chapter. You will notice that they are each broken down into three categories. - Laser cut parts and materials available for this chapter from Syren Ship Model Company. Not all of the parts will be available laser cut for each chapter as this is basically a scratch/semi scratch project. This list details what you get should you buy the laser cut parts. For example, there are no bulkheads and false keel or ply parts for sale laser cut. You will need to buy the required sheets of 1/4" plywood sheets and cut your own parts using a scroll saw. Depending on how this goes...a separate plywood laser cut package will be made available in the future but we want to encourage some scratch building with this project. - Wood and materials you will still need if you do buy the laser package for each installment. Since this isnt a kit, in most cases there will still be additional wood strips and sheets needed. For example, upward of 300 wood strips of various sizes will need to be milled or bought to plank the exterior of the hull in installment two. I nice checklist has been developed for each chapter of the project. Download that here All laser cut parts and other fittings can be bought here at Syren Ship Model Company. Chapter One - Materials List for Winnie first.pdf Chapter Two - Materials List for Winnie second.pdf Chapter Three - Materials List for Winnie third.pdf Chapter Four - Materials List for Winnie fourth.pdf Chapter Five - Materials List for Winnie fifth.pdf Chapter Six - twelve pounder cannon and carriages Chapter Seven - Materials List for Winnie seventh.pdf Chapter Eight - Materials List for Winnie Eight.pdf Chapter Nine - Materials List for Winnie Nine.pdf Chapter Ten - Materials List for Winnie Ten.pdf Chapter Eleven - Materials List for Winnie Eleven.pdf Chapter Twelve - Materials List for Winnie twelve.pdf
-
We have many folks to thank for the monumental effort of producing these plans and group project. The plans literally took hundreds if not thousands of man hours to create. They are an MSW Exclusive as provided by Syren Ship Model Company. They have been generously offered to all members for a small fee to allow access, but with the understanding that you can use them for your own personal use only. But please do not share them on other sites or alter them for sale or distribution in any form. You can print them for your use to build the model but they can not be used commercially in any way. Please dont take these plans and create a kit and make them available on Alibaba, Aliexpress, EBAY or Amazon!!! Any member found violating this copyright/use agreement is subject to removal from Model Ship World and/or possible legal action. They are the sole property of the Syren Ship Model Company and are copyright as such. Thank you so much and enjoy the project. If you have any questions just send me a private message. Chuck Admin
-
- 4
-

-
To get access one must go to the NRG Store (will be set up soon) and supply your Model Ship World (MSW) user name and proceed to pay the $15 access charge. Upon receipt of the payment the NRG Office will notify Chuck to grant access to you. Chuck will permit access by sending you an invitation to the private downloads area. Please allow a few days as Chuck is the only one able to provide access. You will see your invitation in the notifications area at the top of the screen. Its the same place that notifies you if there are replies to topics you are following etc. Once you click on your invitation you will be taken to a screen that says "Accept Chucks invitation" Or "turn down Chucks invitation". DONT click on "turn down invitation". Click the other one. Once you have access you can access and download the plans at any time – your access is perpetual. There are NO PRINTED PLANS for this project. You must download them and take them to staples or Kinkos or any printer on your own. They can be printed for your own personal use ONLY. There are four large 30 x 40 sheets. There are also many 8 1/2" x 11" sheets for download which you can print on your home printer. THERE ARE NO PRINTED PLANS FOR THE WINNIE FOR SALE!!! You will not recieve any printed plans when you sign up at the the NRG Store. We are excited to bring this project and hope to see some new build logs soon. Please start one and join in on all the fun. If you have trouble finding the HMS Winchelsea downloads area after getting your invitation please contact Chuck via PM. Access to the NRG store....click here....then enjoy the project.
-
Its looking just as it is supposed to at this stage. You are doing some fine work on it. Just take your time and dont rush it. Keep that planking neat and nice and tight. Dont forget to simulate the caulking between planks. Running a pencil along one edge of teh joint is just perfect on cedar.
-
HMS Triton (28 Gun Frigate) Group Build Project
Chuck replied to Chuck's topic in Group Projects on Model Ship World
There are no instructions as this is a complete scratch project. After you sign up you will be given access to the plans. There is nothing prepared for it at all....you need to buy the raw wood and have at it....decorations and all!!! Its a real fun project. Just look through some of the completed models. -
Welcome to MSW.....Tell us a little about yourself. What are you building at the moment? Thanks for sharing the photos. I feel they may get lost in this forum in your intro topic. You should post them in the general discussion forum in a topic titled " Karl's (Marquardt) model of Endeavor - some photos" Chuck
-
The Speedy looks fantastic Chris. Well done!!! It will make an excellent project. Chuck
-
really nice progress!!! You are almost all done
- 103 replies
-
- 1
-
-
- queen anne barge
- Syren Ship Model Company
- (and 1 more)
-
You can link to the HMS Triton Group Project here.....Click Here This is an ongoing group and we encourage all of you join. This is a wonderful introduction to plank on frame model building. If you have any questions about this group before joining...please reply to this topic and ask away. Chuck
-
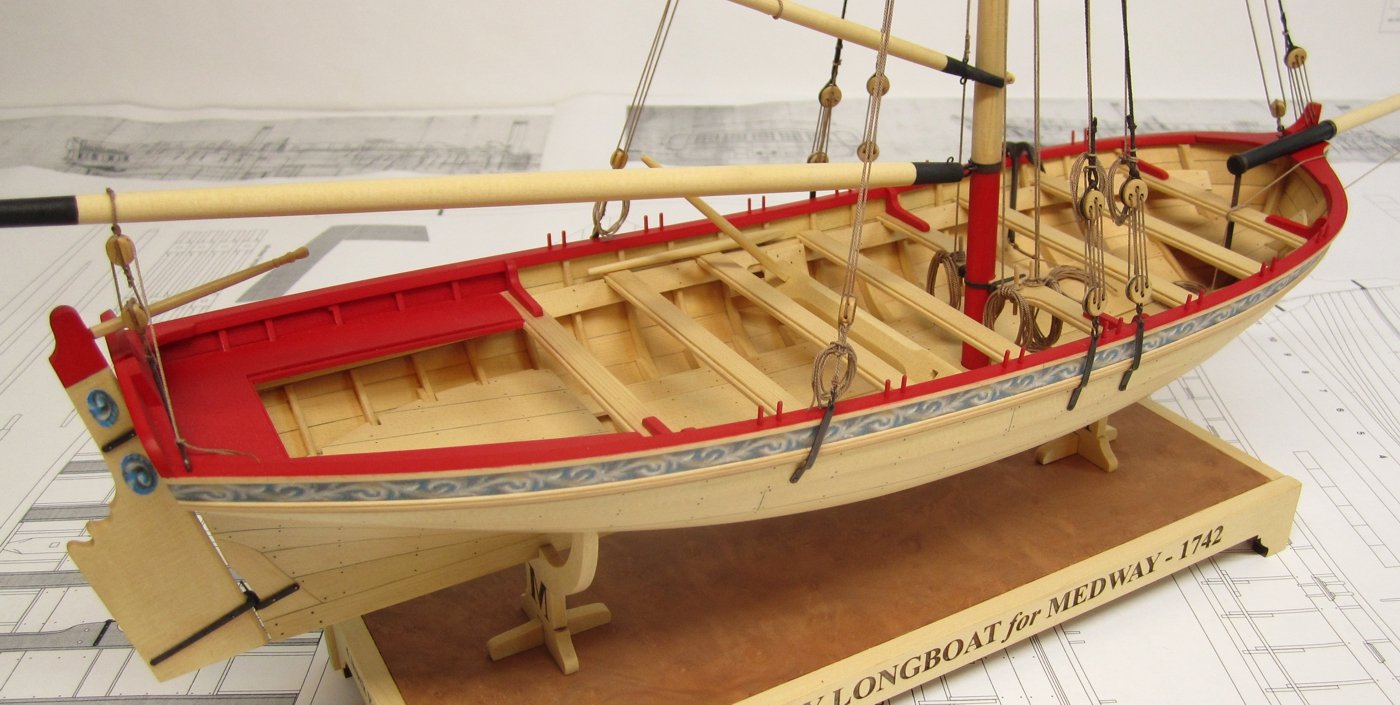
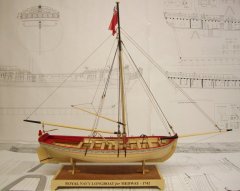
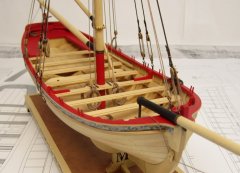
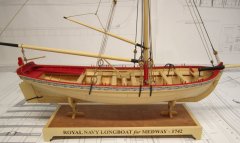
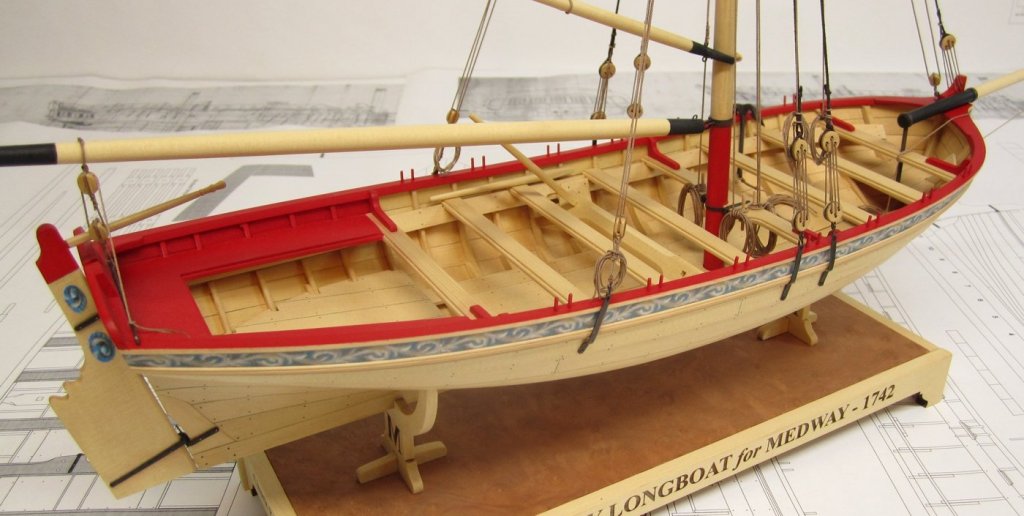
You can link to the Medway Longboat Group Project here.....Click Here This Group is still ongoing and you join if you would like to. Longboat Kits can be bought here. We encourage you to join and participate in the group. If you have any questions about this group before joining...please reply to this topic and ask away.
-
- 1
-
-
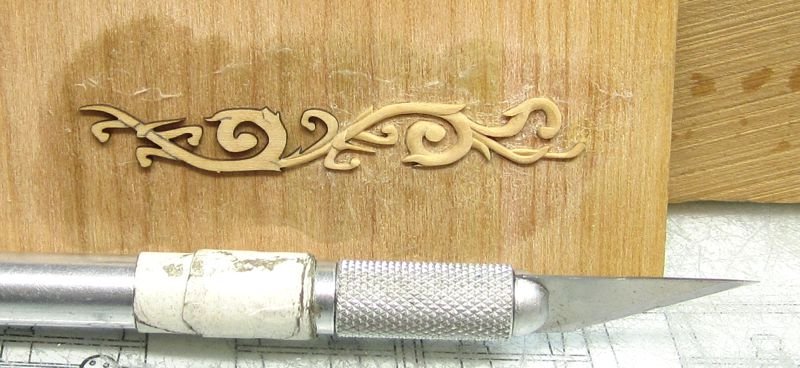
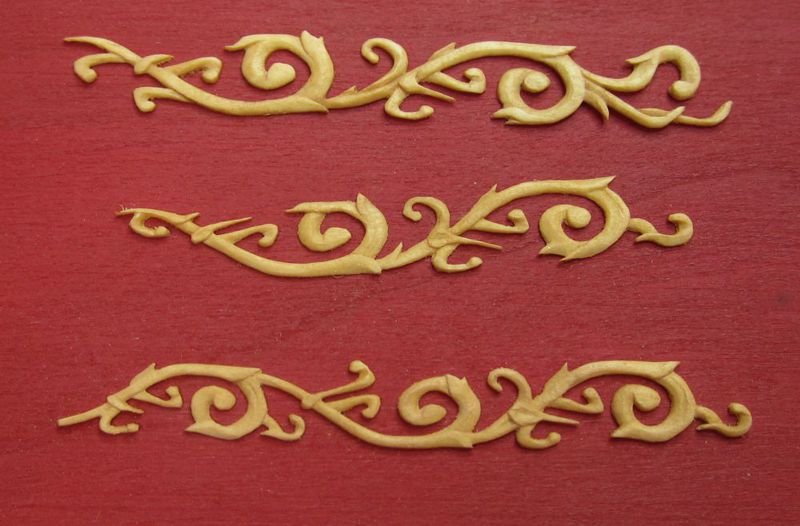
You can link to the Carving Group Project here.....Click Here This Group is still ongoing and you join if you would like to. Dont forget that Carving blanks for this project are still available and in stock...They can be bought here. We encourage you to join and participate in the group. If you have any questions about this group before joining...please reply to this topic and ask away.
-
- 3
-
-
Download PDF ropewalk.pdf
-
Frolic style ropewalk plans
Chuck posted a topic in Rope Making/Ropewalks's Ropewalk Plans/Downloads
Download PDF 14frolich_style_ropewalk.pdf -
Requesting feedback for future MSW Group Projects
Chuck replied to Chuck's topic in Group Projects on Model Ship World
Since we have plans in the works for some potential new group projects I am giving this topic a bump. Note the newer choices added to the poll on the last question. If none suit your fancy...please list once again your subject matter of choice and how you would like to see the project presented. For example.... "I would like to see a group for a small skipjack with plans made available. I would like to have a starter package available for the main skeletal parts like the bulkheads and keel but beyond that I would prefer to scratch everything else with help from participants and a group leader or mentor." This type of request helps us find someone and put together such a project because there are more details than simply stating a subject type. Chuck -
Chucks Medway Longboat
Images added to a gallery album owned by Chuck in Medway Long Boat - 1742 - Public group project.'s Medway Gallery
-
-
ropecolor1.jpg
Chuck posted a gallery image in Medway Long Boat - 1742 - Public group project.'s Medway Gallery
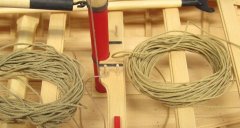
From the album: Chucks Medway Longboat
© Chuck Passaro
-
riggingdone6.jpg
Chuck posted a gallery image in Medway Long Boat - 1742 - Public group project.'s Medway Gallery
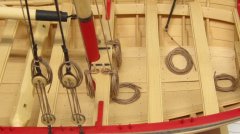
From the album: Chucks Medway Longboat
© Chuck Passaro
-
riggingdone5.jpg
Chuck posted a gallery image in Medway Long Boat - 1742 - Public group project.'s Medway Gallery

From the album: Chucks Medway Longboat
© Chuck Passaro