-
Posts
9,660 -
Joined
-
Last visited
Content Type
Profiles
Forums
Gallery
Events
Everything posted by Chuck
-
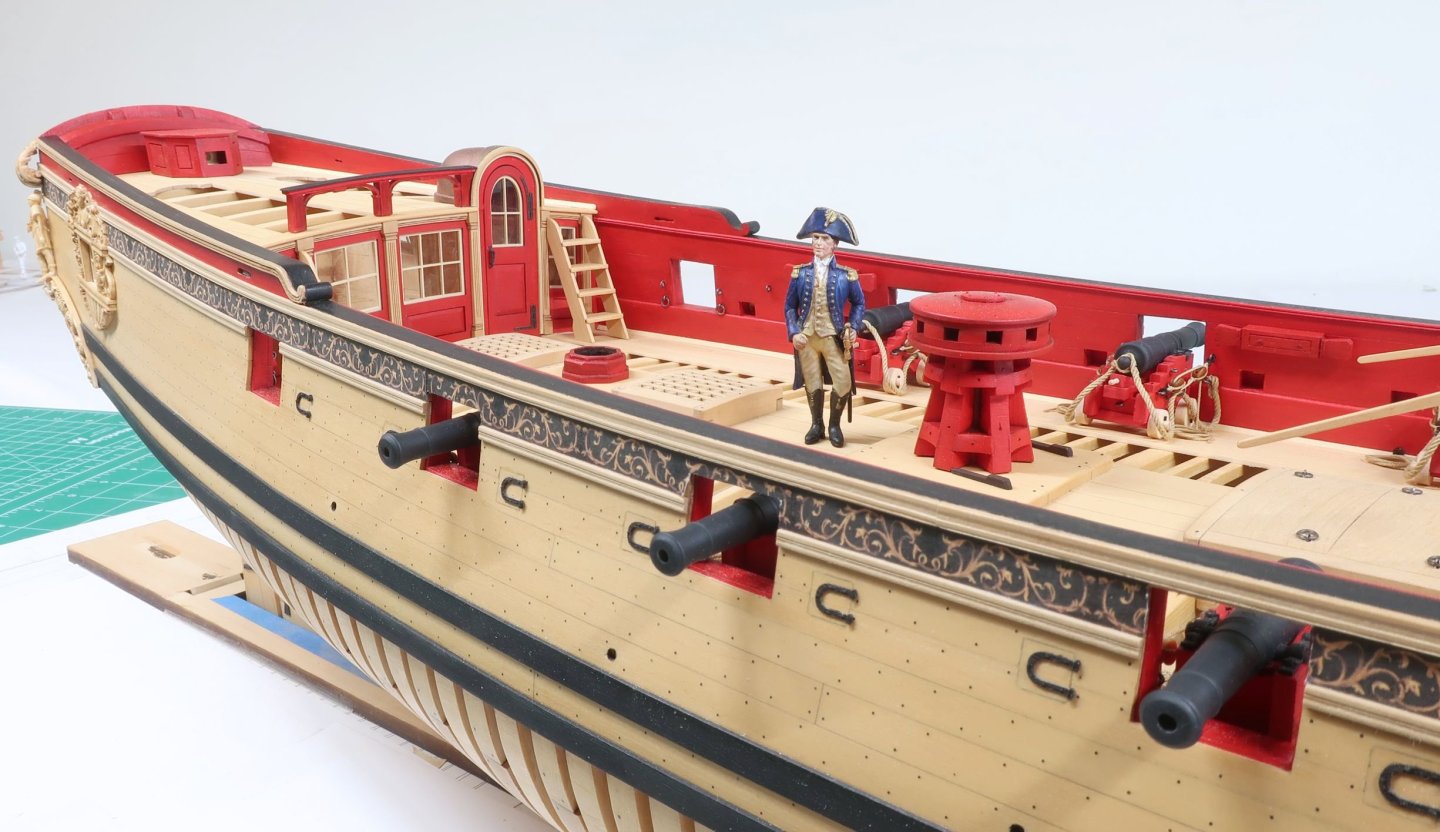
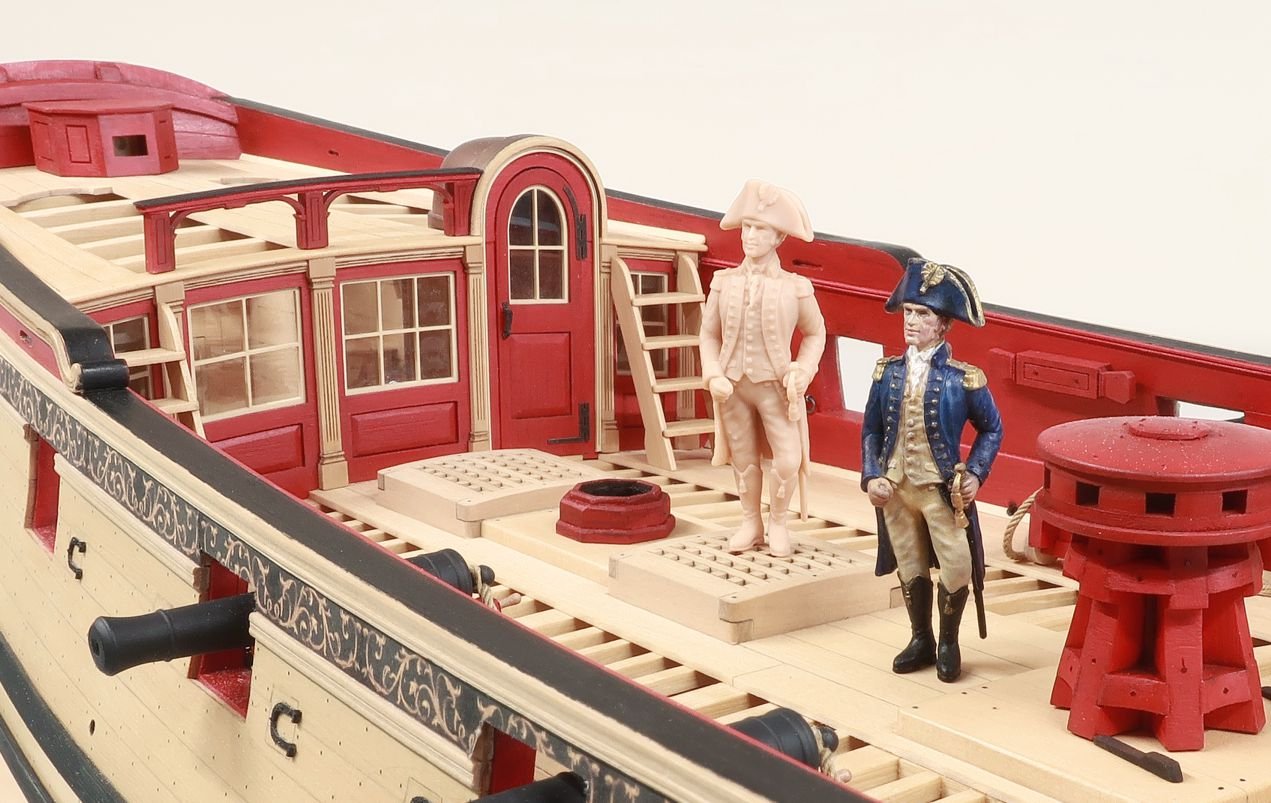
Just a little side project. My local club is having a figure painting workshop at my shop in a couple of weeks. So I printed a bunch more figures and painted one. Mind you I have never painted a figure before. I think maybe 20 years ago I added one to the Syren model which looked awful. But one of our members who is an accomplished miniature figure painter will be doing the teaching. I am very much looking forward to it. One photo shows the unpainted version. Painting figures is hard, LOL. The eventual owner of this model requested that the officer be holding a rope leash in his left hand walking an English Bulldog!! I have yet to print the English Bulldog. Yikes, it should be interesting.
-
Very nice...excellent work on a model that is not a easy project. Its a challenging project. It looks great.
- 38 replies
-
- 18th Century Longboat
- Model Shipways
-
(and 1 more)
Tagged with:
-
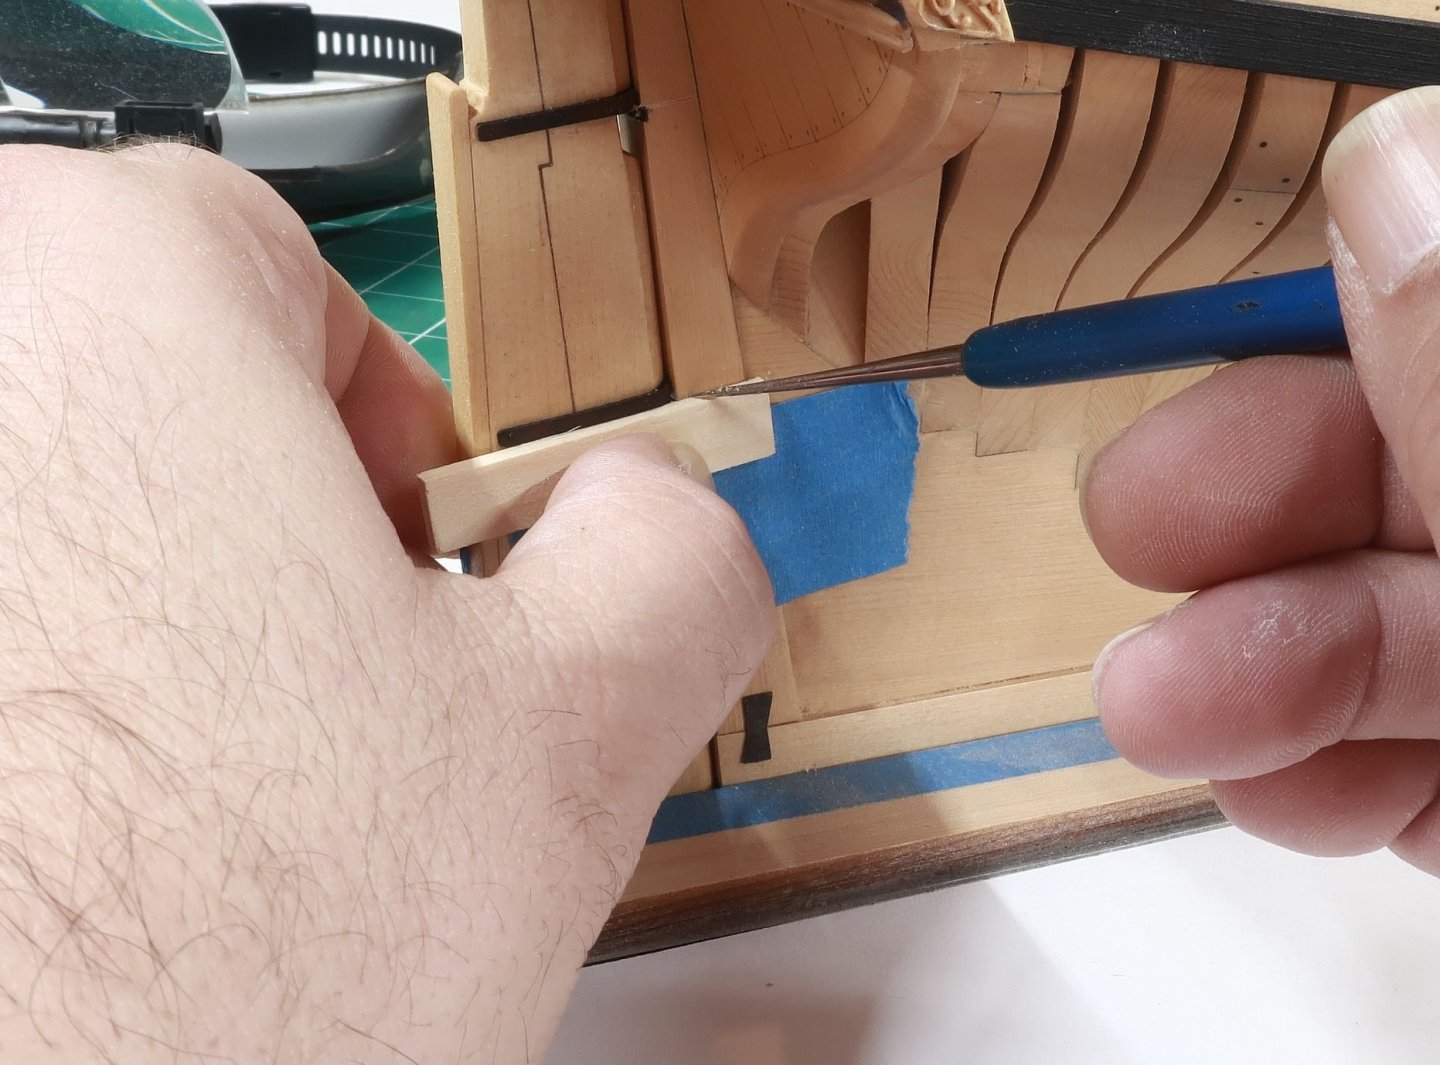
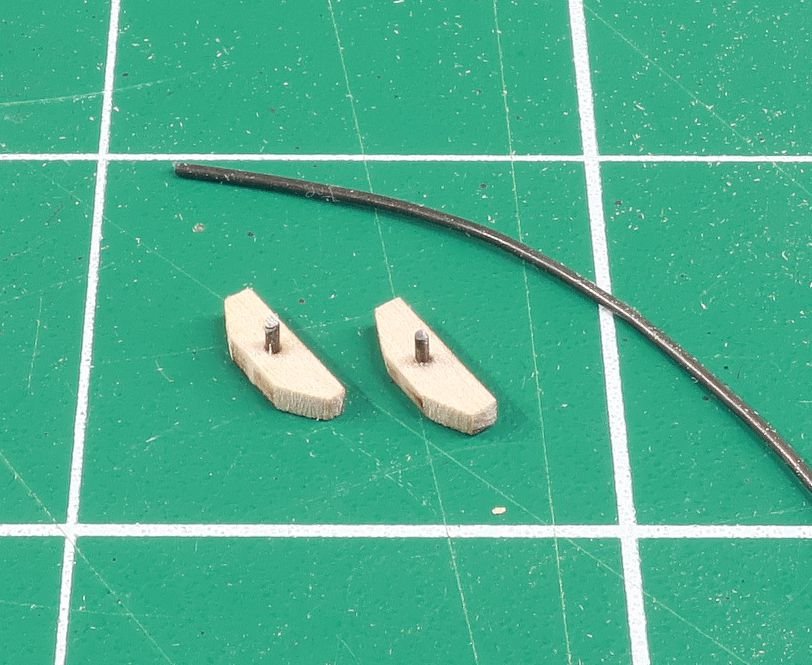
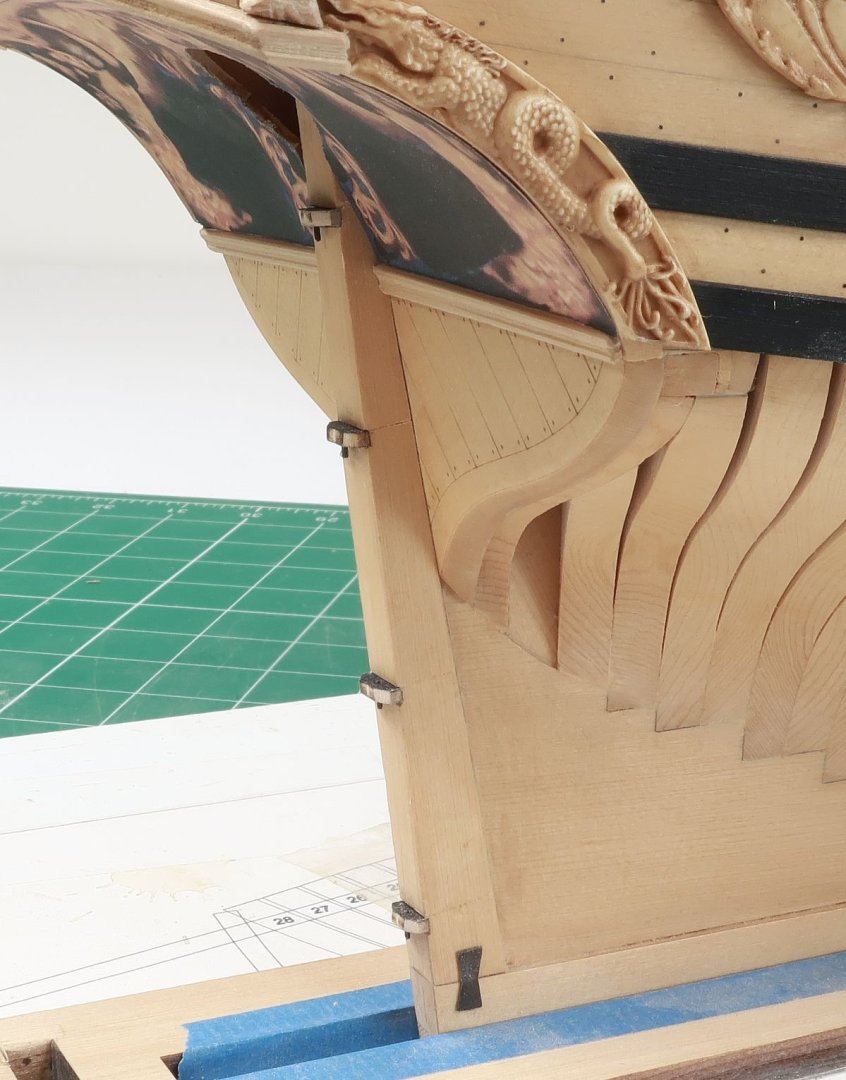
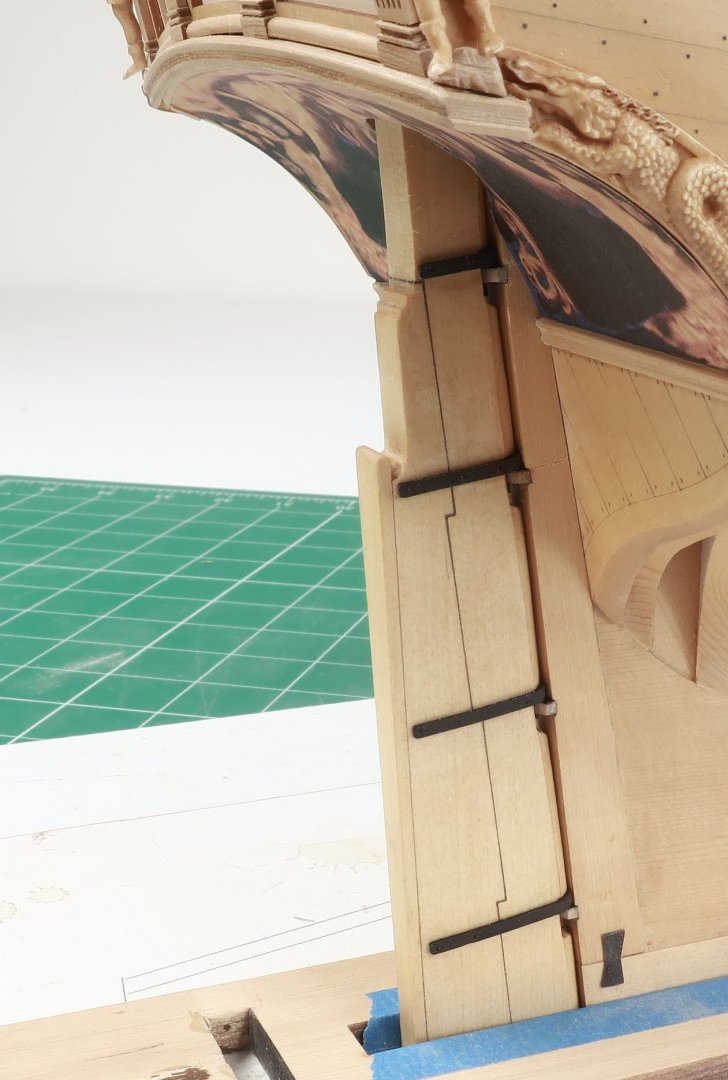
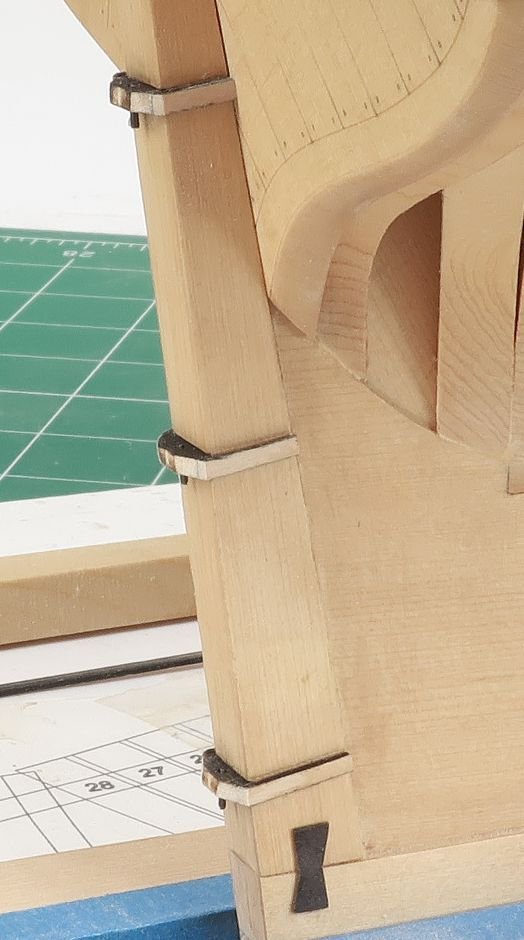
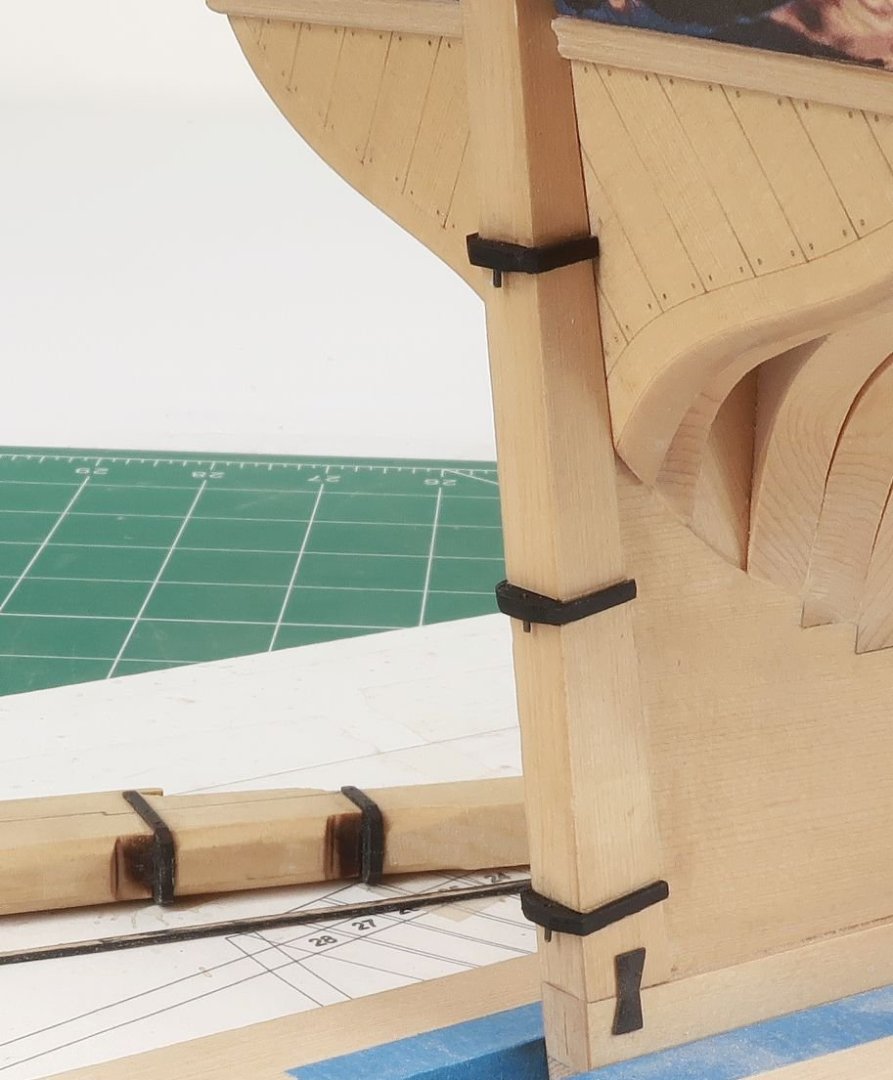
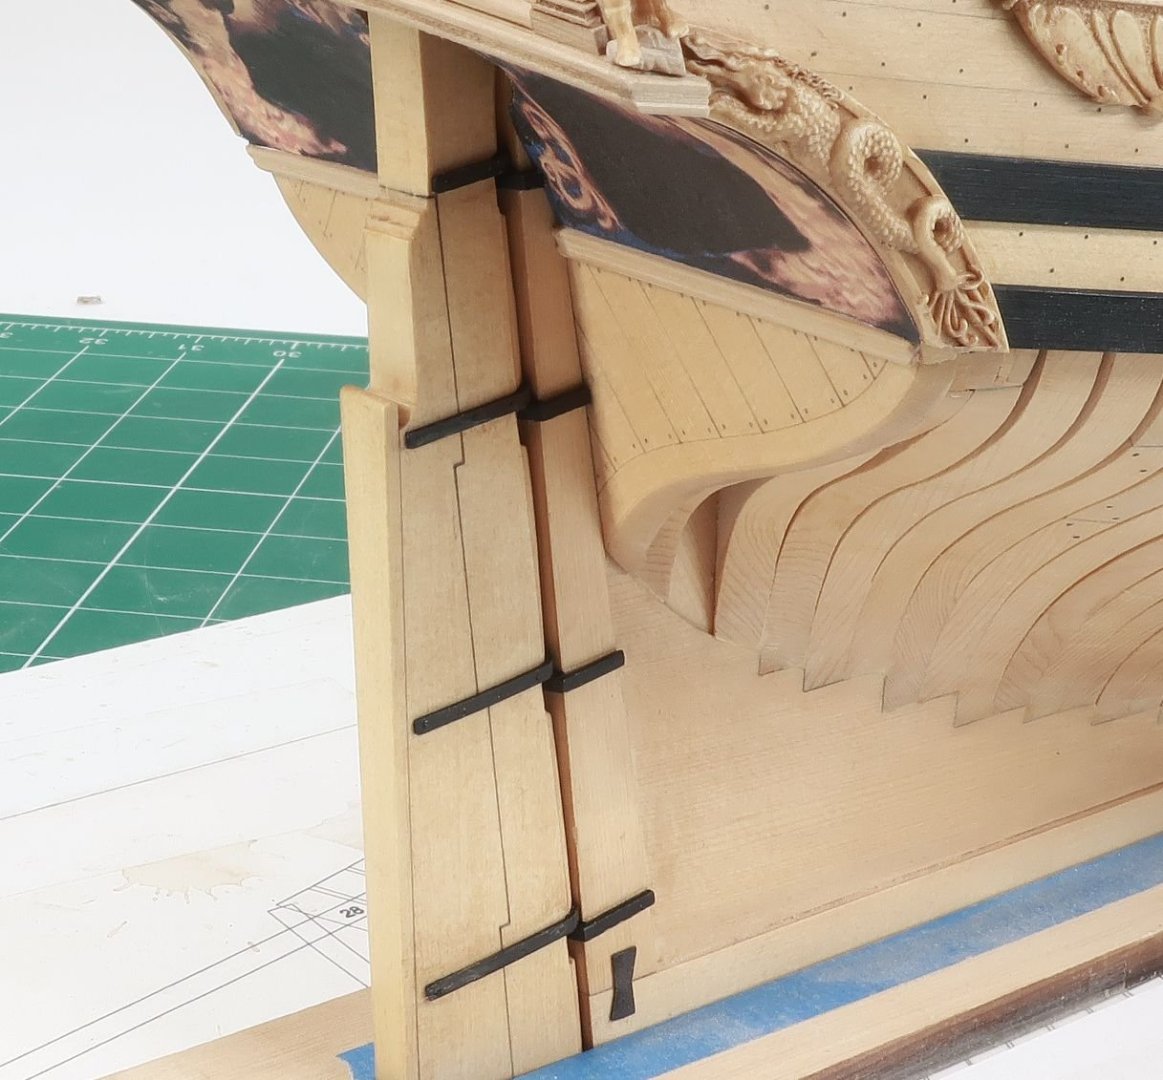
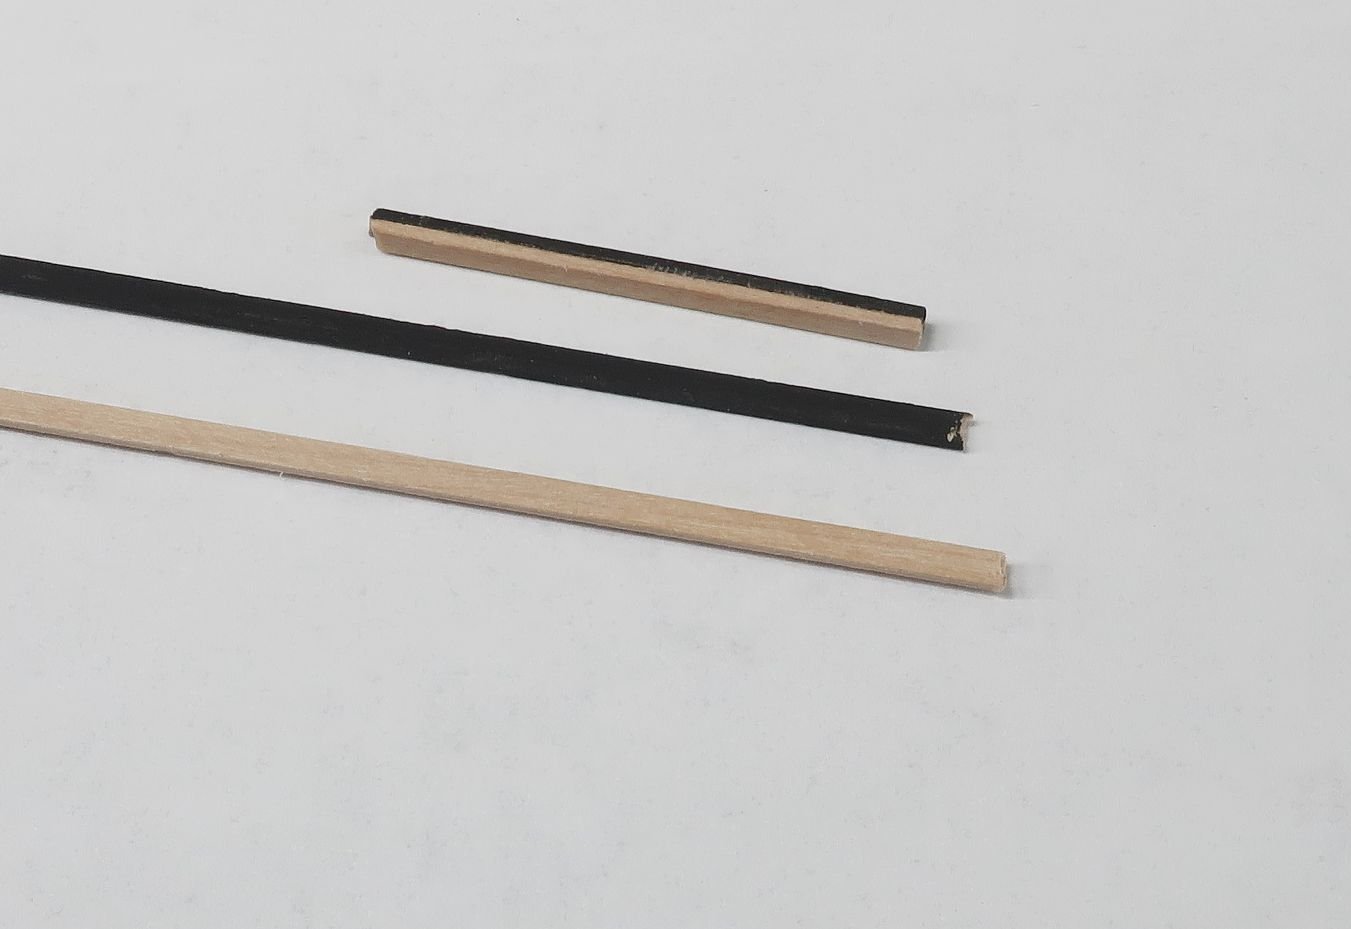
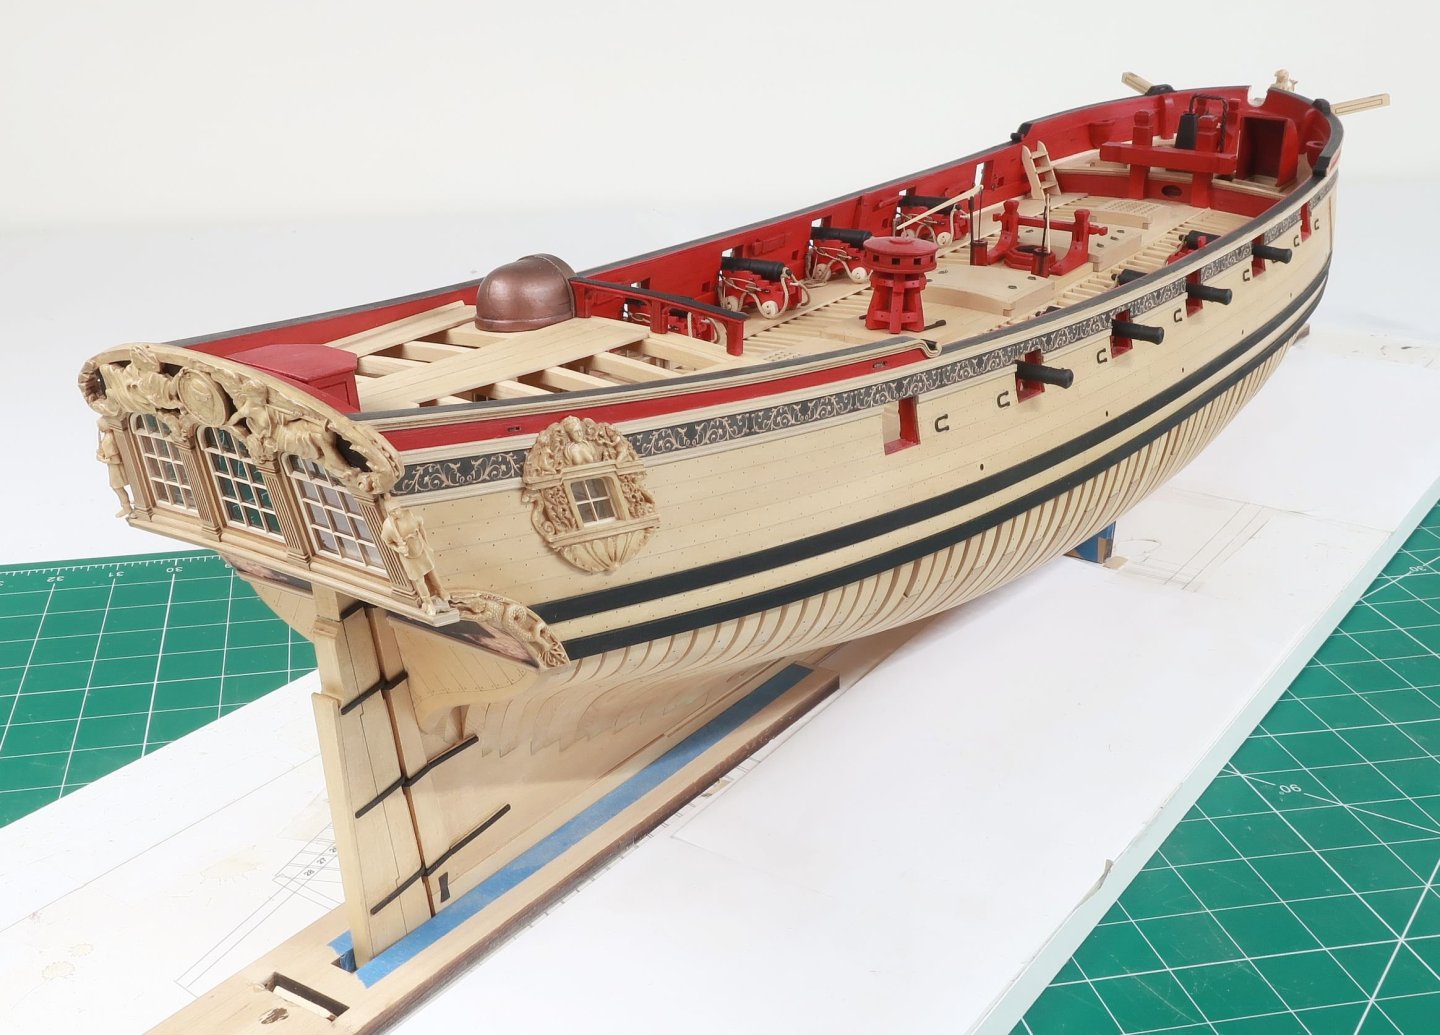
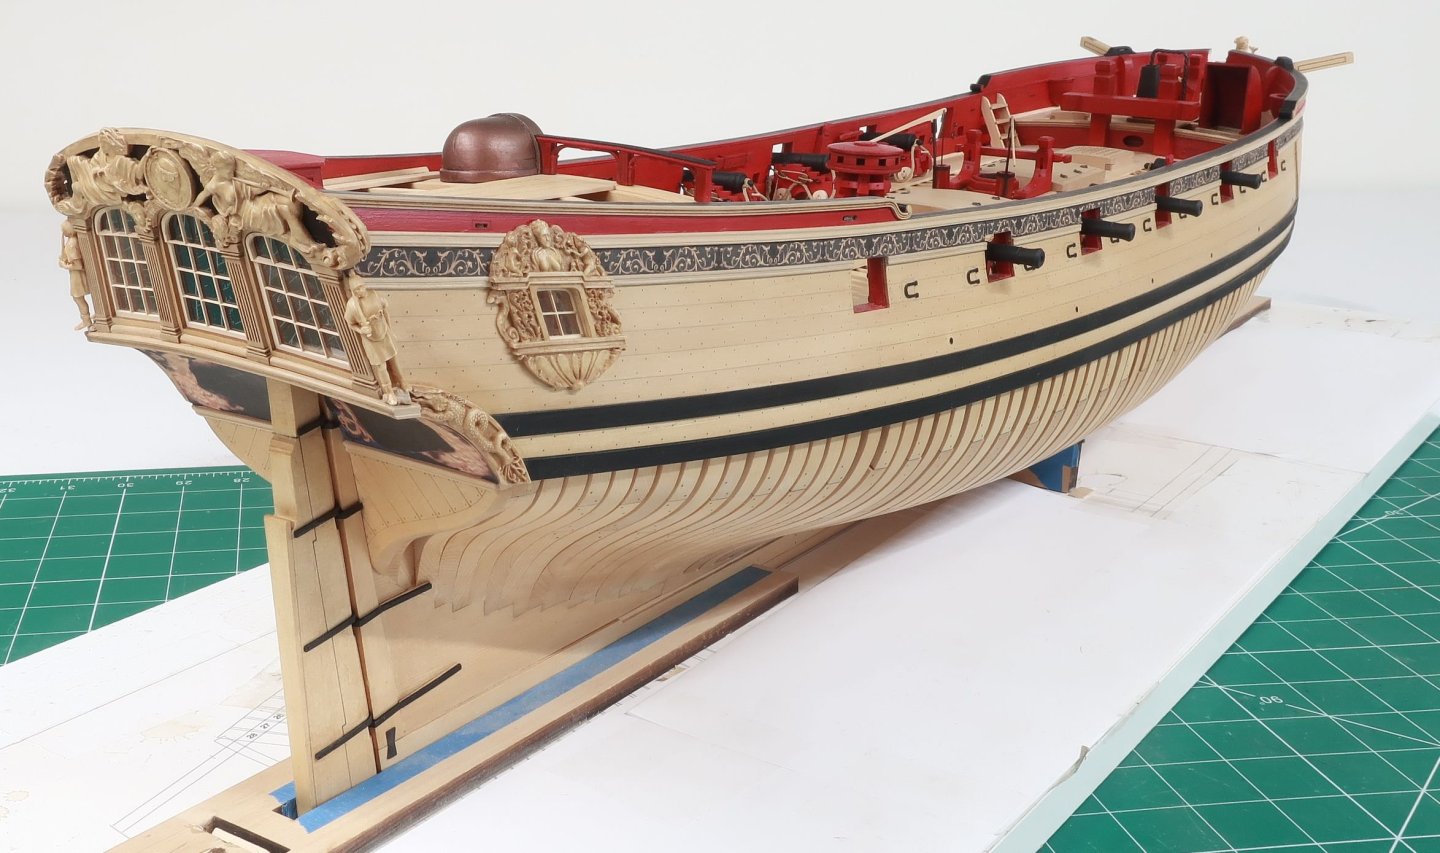
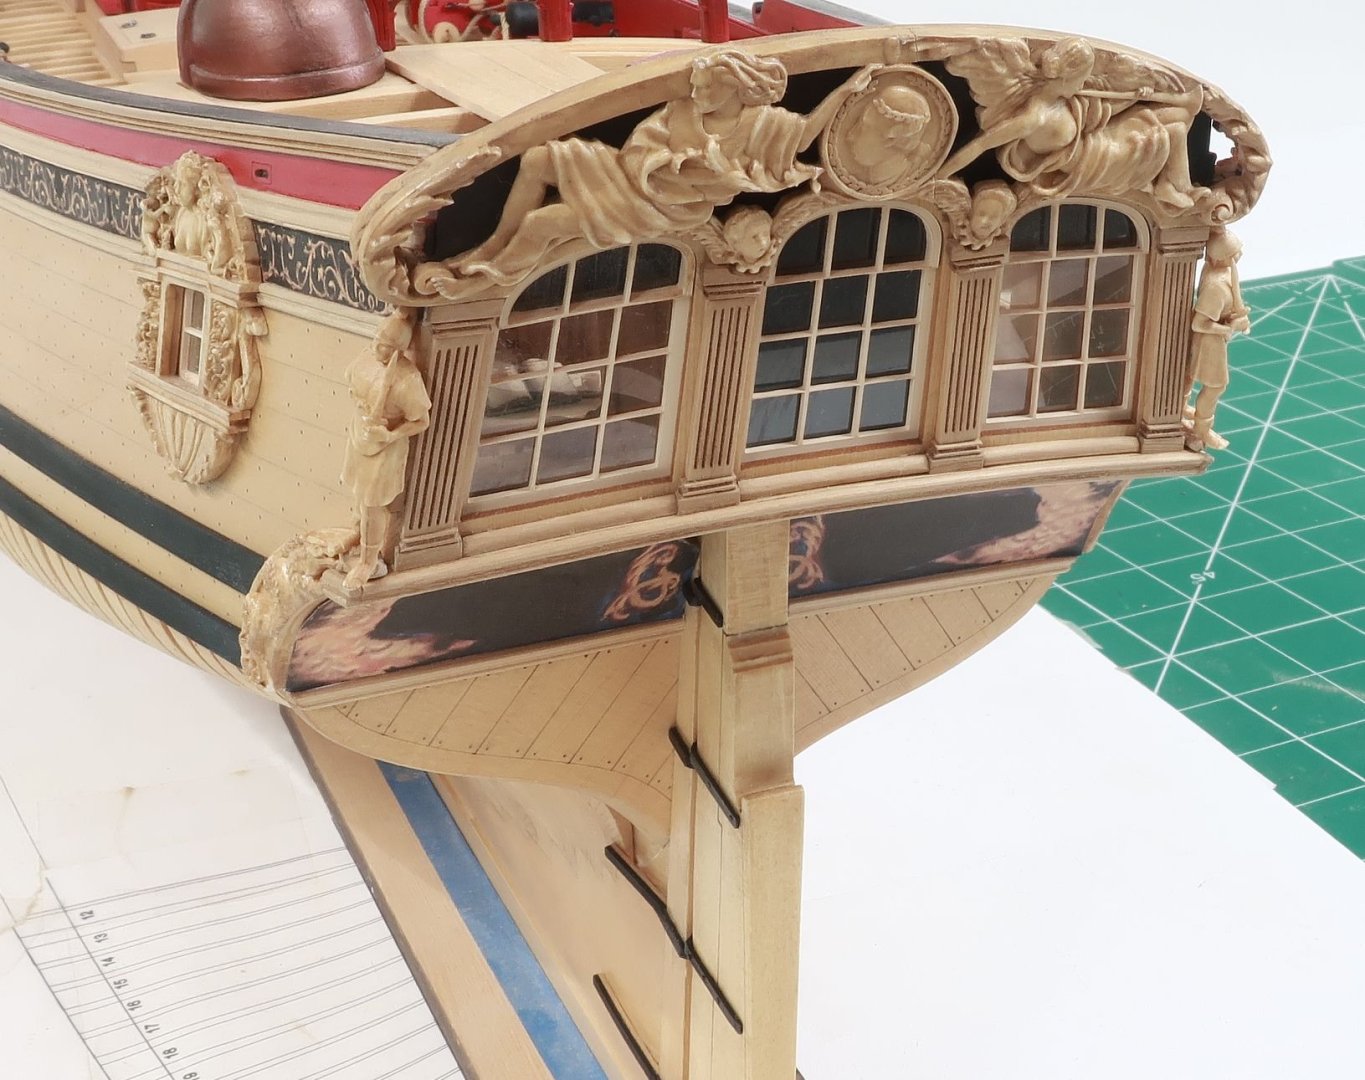
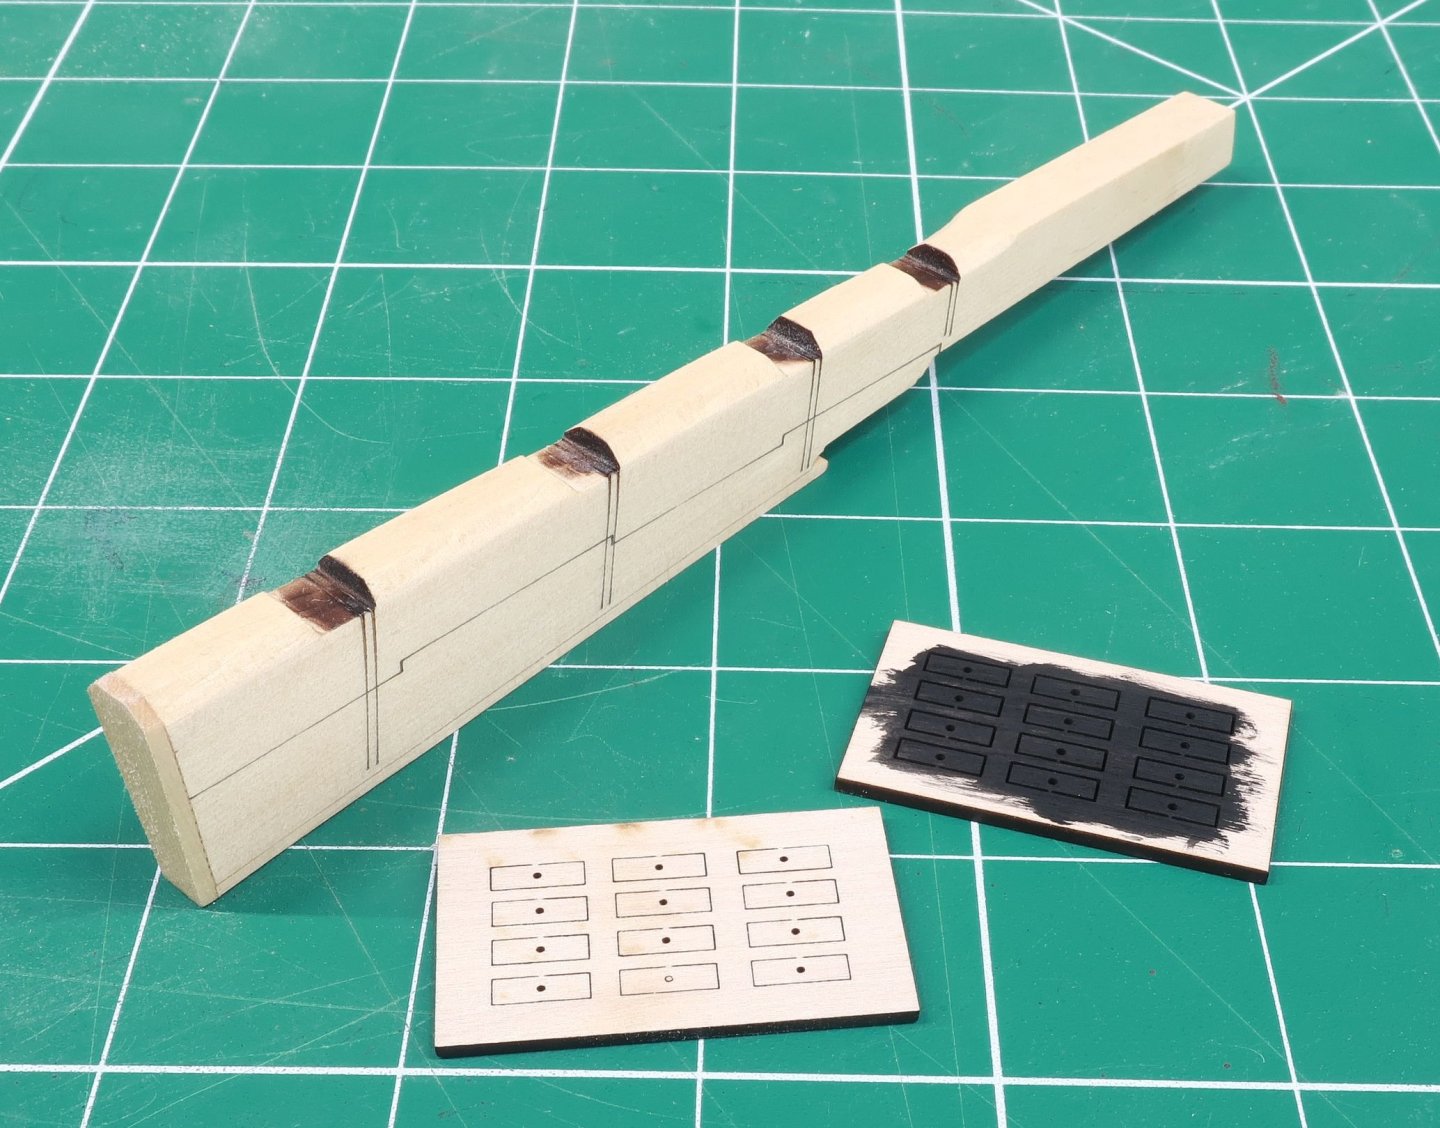
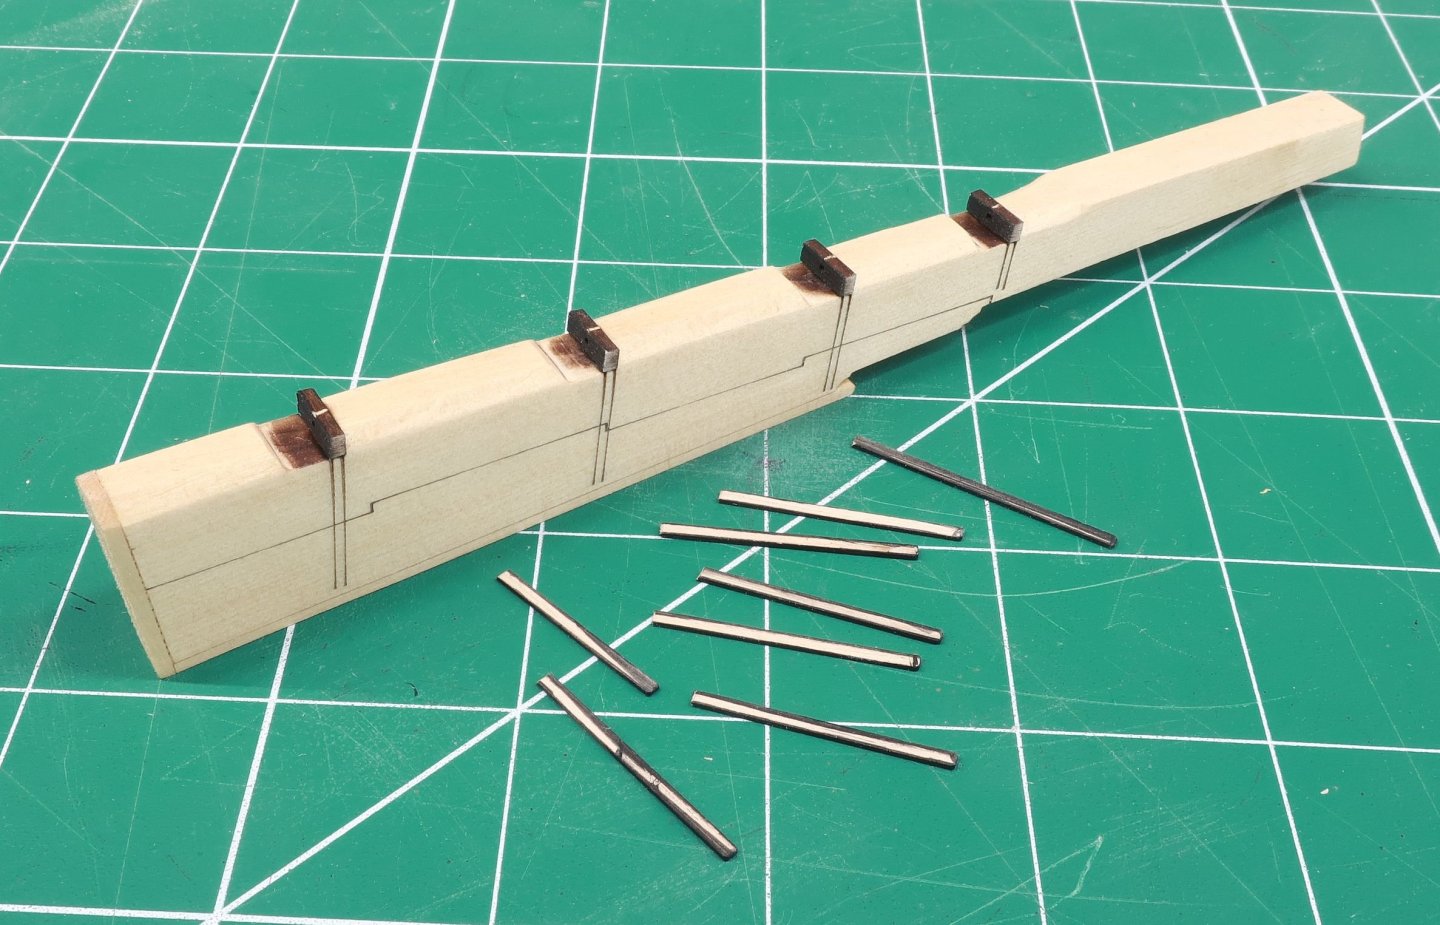
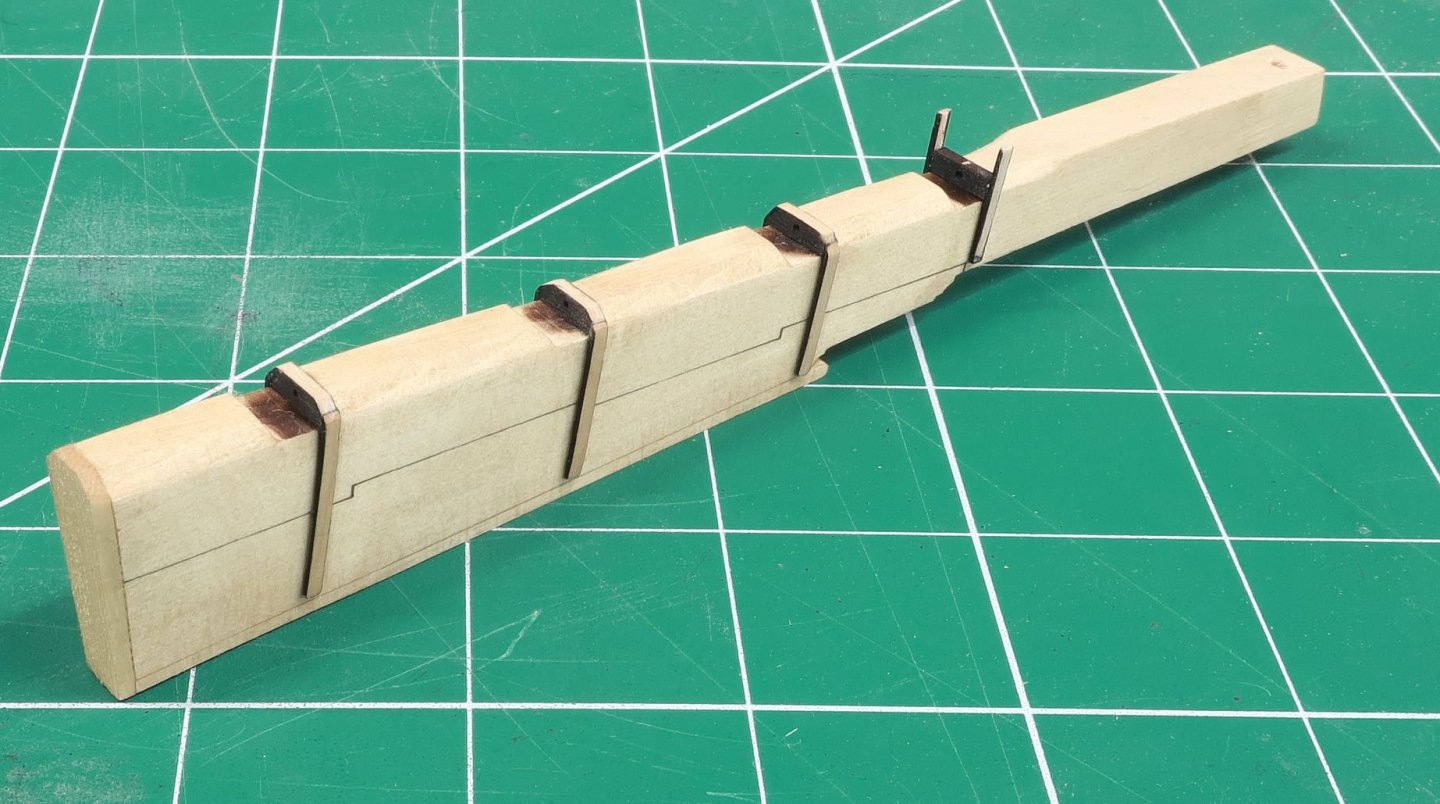
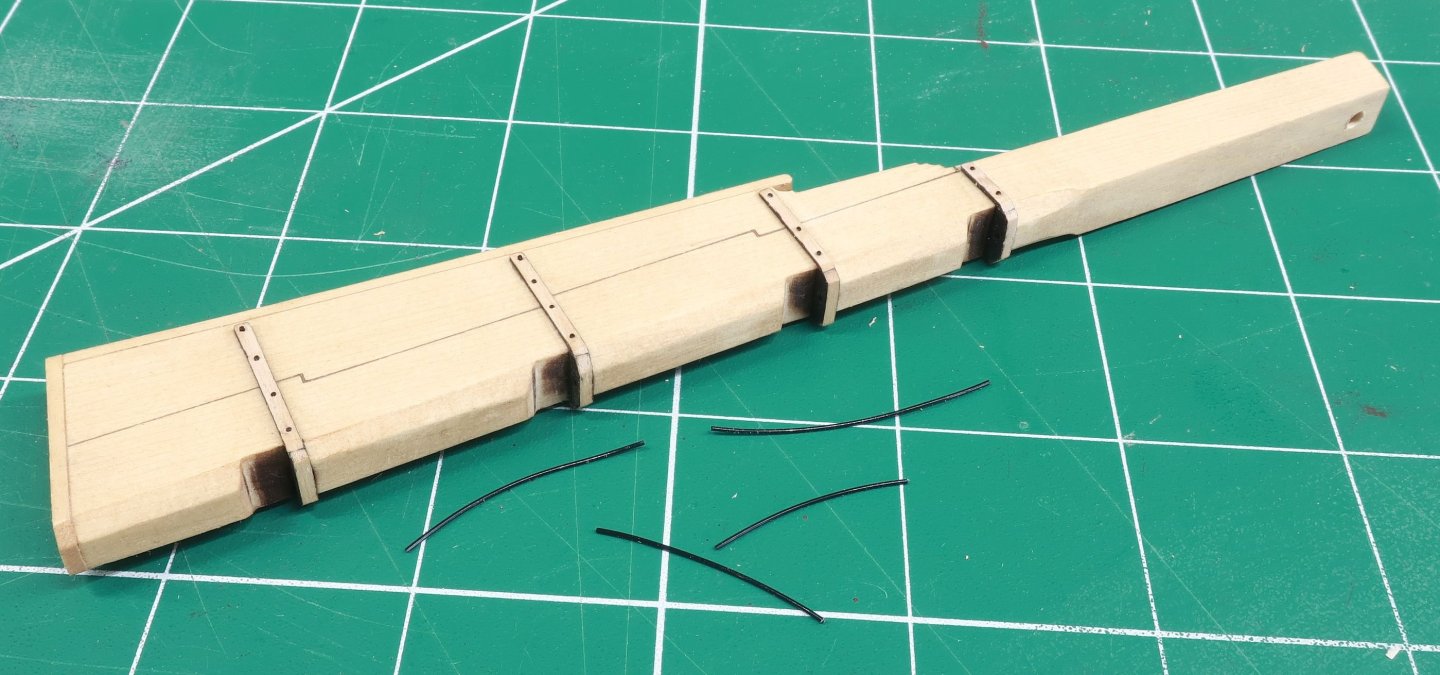
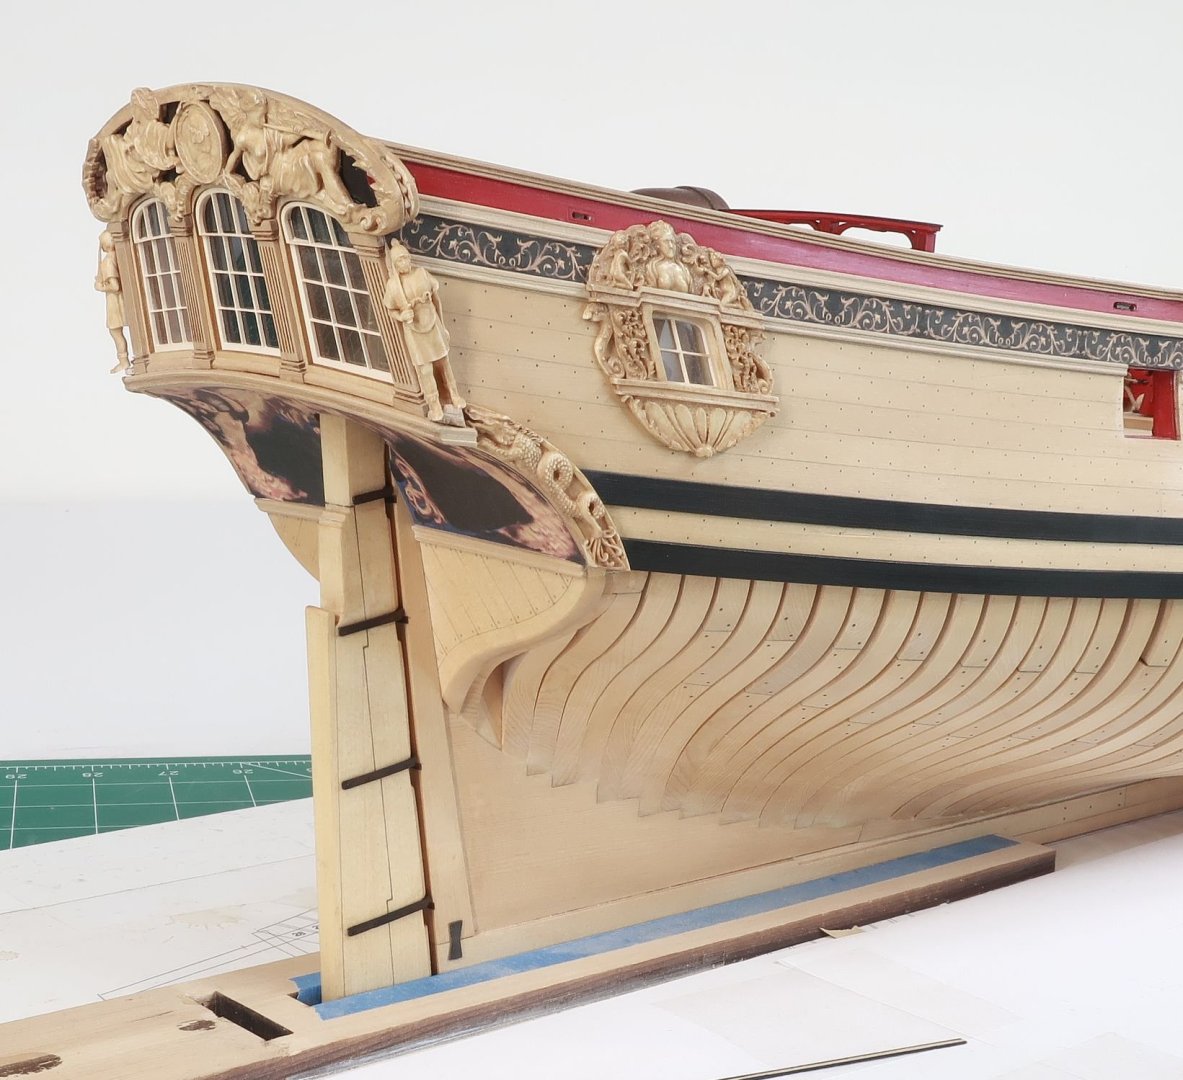
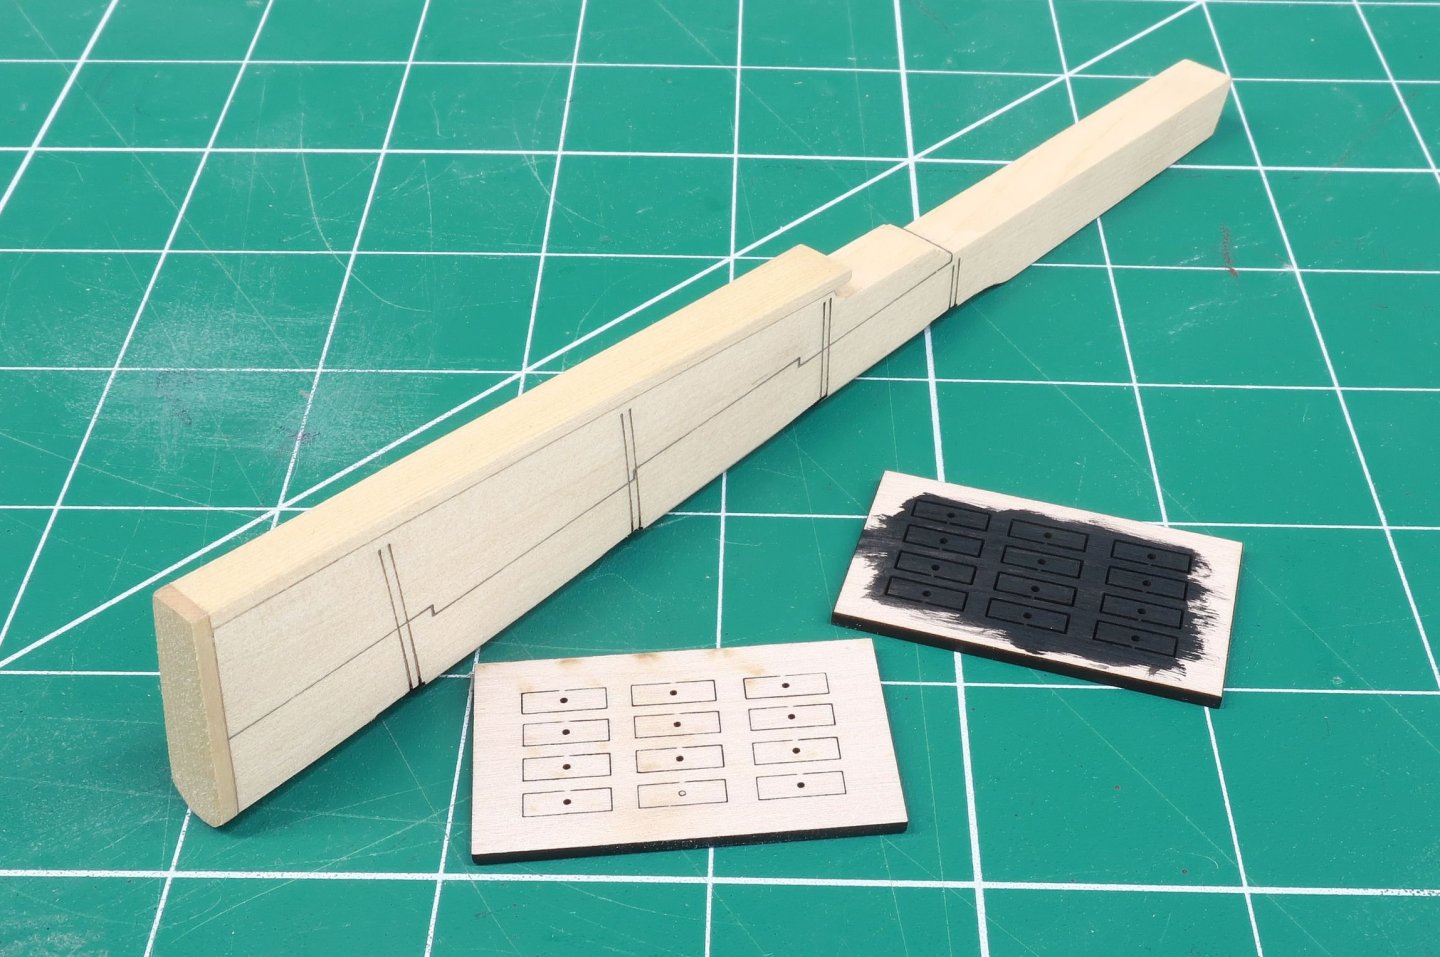
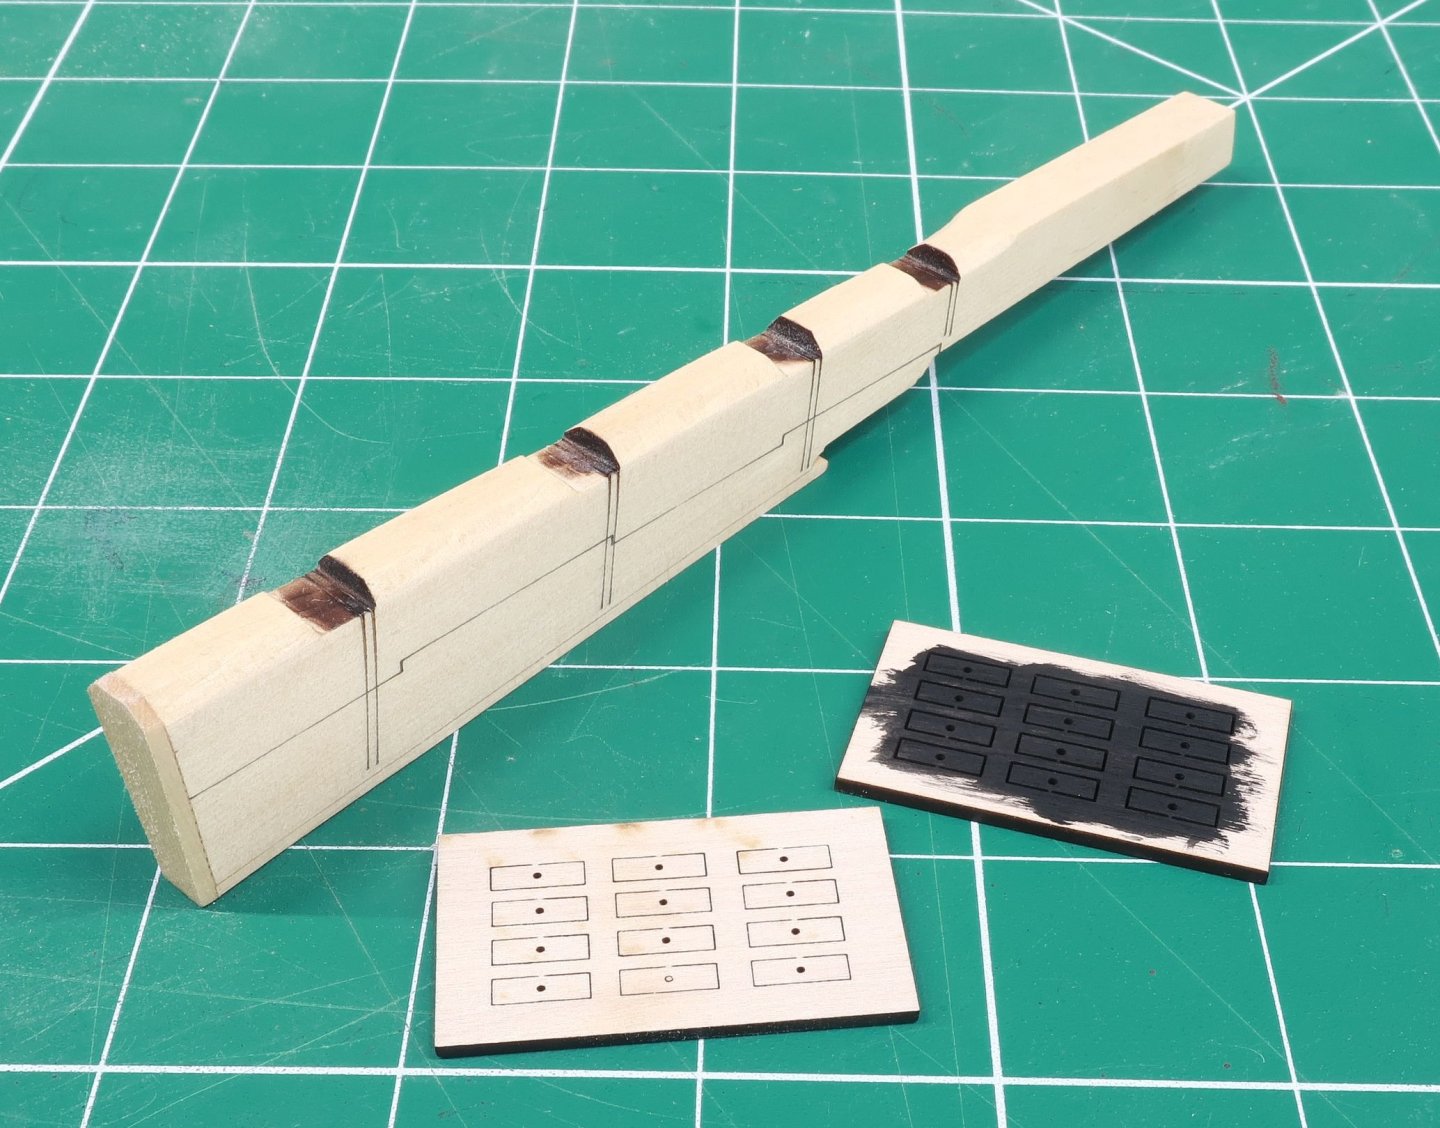
I finally attached the rudder to the stern post. It was very similar to the way we did the hinges on the rudder itself. But here is the step by step for the folks building her as well. First thing I taped the rudder in position getting it tight against the stern post. Then I marked the angle and position for the hinges to be placed on the stern post. I used a very sharp awl for this. I had laser cut some small notched down the stern post where these were meant to be. This was also there just for reference and the notches were made narrower than the 1/16" needed to insert the hinge part. This was just in case you needed to shift up or down a bit from those initial reference points. They really shouldnt be far off. This also means that yes you will have to chisel those slots wider using your scribed marks. Its not much and it is yellow cedar. So it is soft and quick with a sharp chisel or #11 blade. This time we will pre shape the laser cut hinge parts as shown below. Just knock of the corners on an angle to match the ones on the rudder. Insert a small length of 22 gauge black wire in each of the four needed. Thhese were painted black ahead of time as well. Once you open up those slots on the stern post these should be a nice tight press fit in each slot. just center them make sure the sides are flush with the stern post. The wire or simulated hinge pin faces downward. A quick test fit with the rudder to see if I screwed up their placement. Luckily everything lined up pretty good. Note that if you have trouble sliding the rudder post into the rudder opening in the counter after adding these, you will need to open up that rudder port a bit. Not much but use a file to carefully enlarge the aft side of the opening until the rudder clears through it. It should sit on the hinge parts (pintles and gudgeons) very nicely. Then add some 1/16 x 1/64 strips with the edges painted black ahead of time. Just like on the rudder! Use the scribed lines you made with the awl to establish the correct angle. Only make these as long as the stern post at this point. We will take care of the two longer lower hinges later. Sand them as you did with those on the rudder and paint them black. Here is what they look like painted up... Finally the rudder can be added permanently, or NOT...its up to you. This is not a working rudder as I mentioned earlier. Its just simulated. The rudder hinges were just glued together to mount it. With the pins sticking out the underside it will look just like it is supposed to. Then just touch up the paint and add some bolts if you wish to. Or you can wait until after the lower two straps are added next. For the two lower straps that extend onto the hull we have a few options. I will tell you what I did though. Feel free to go another way with it. These straps should sit on top of hull planking that doesnt exit on our framed model. So a modest layer of planking must be added so the strap can sit on top of it. Sometimes you see a wider strip of planking that the straps sit on but I am going to make them the same width as the iron straps. Its easy to do. I just took some painted 1/64 x 1/16" strips which were black and glued them to another strip of the same size. Depending on your model you might need a 3/64" thick strip for the simulated planking or thinner. This is so the hinge strap lines up with what is on the stern post. I used 1/32" strips which worked out nicely for the underplanking. Use the plans to measure how long these straps should be on the hull. Shape them and glue them on. Make sure you glue them on at the same angle as the hinges on the stern post. You can mark that angle once again like you did before using a sharp awl or pencil. Some photos of the completed rudder mounted with my simulated pintels and gudgeons. Once again add bolts if you want to using the black fishing line. The tiller is next...let me know if you have any questions. Chuck
-
To complete the rudder, we have to add the hinges (pintels and gudgeons). As is usually the case with me on such iron work, I wont be doing any soldering. You have heard me say often on this project and others..."Fake it till you make it"...this will be the case for these rudder hinges as well. To start, paint both sides of the laser cut pieces for the hinges black. You will be thankful you did later on. Then glue them onto position on the rudder. Glue them against the top edge of the slots for them in the rudder. Note...I wont be creating a working rudder with hinge pins. For the life of me I dont understand why folks do that at all. Its not like anyone will be playing with the rudder later. It will be displayed under glass forever so it doesnt make sense to me. But if you want to show this you can do so by inserting some 22 gauge black wire into the holes laser cut in these pieces. My rudder will be stationary but you wont be able to tell any difference once its all done. Hopefully. Both sides of these pieces should be flush with the sides of the rudder at this point so sand them flush if you need to. I have also prepared the hinge strips in advance. They are 1/16" x 1/64" boxwood strips. They edges were painted black in advance. Again you will be doing yourself a huge favor if you do that. These strips were added to the rudder using the laser etched lines as a guide so the correct angles are easily found. Just let them run off the forward side for now. Once they are all in position, you can sand the hinges to shape as shown below. You can also see the top hinge has not yet been trimmed or shaped. Once completed on both sides, sand the faces of the strips a little, especially if you prefer a thinner hinge strap. You dont want to make them too heavy. You can even taper the thickness thinner as they work their way towards the aft edge. Now its optional but this is the time where you can drill along those straps and insert some bolts. I used 20lb black fishing line. Then paint the straps black. You can even apply some weathering powder to these hinges if you want them to look more like metal. I brushed on a little brown powder although its hard to see that in the photos. Here is how the rudder looks all finished up and with black rudder hinges. Its a pretty effective way to make these and can be done on any model...and you dont even need a laser cutter to do it. With the rudder completed I will start making the married partners for these hinges in much the same way so I can attach it to the model. But at least you can get an idea of how it will ultimately look.
-
Started chapter 10. The rudder is first thing. The usual treatment for rudder. It is laser cut and etched on both sides with some lines for the ironwork and to simulate the two parts of the rudder. The laser char is removed from all edges until its pretty clean. Then the protective strip on the aft side is shaped and glued into position. But dont add the bolts yet. In addition, add the protective strip along the bottom of the rudder too. (1/16" x 5/16") The rudder must be shaped first with a taper. It tapers thinner from the top of this protective strip (1/16" x 5/16") down to the bottom on the aft side. And from the forward side towards the aft edge as well. I am sure you guys have seen this before yet so many kit builds still have a massively thick rudder. The forward edge is also beveled where the rudder hinges will be...again you have probably seen this detail before. Once the rudder is shaped and I applied some wipe-on-poly, I was able to add the simulated bolts with some 20lb. black line. Now it was time to do a test fit on the model and see how things look. You want to pay close attention to the height of rudder head. It will pass all the way through and into the rudder cover on the poop deck. This is why we didnt glue that top on the rudder cover yet. If the height looks good, you can actually mark where the tiller will be inserted into the rudder head. See below. I did bevel the top of the rudder head but it doesnt really matter since this will be all covered up anyway. After marking for the tiller I drilled part way through the rudder head with a 3/32" but. Here is a view from below...everything seems to fit nicely so I can proceed with the ironwork. Notice how I removed the brace on the build board but left the strips for the keel slot. The rudder sits in there good and this will be a great help when trying to get those rudder hinges on. It holds everything nice and steady. You just have to make sure everything is sittin properly in that slot and pushed all the way down to the baseboard.
-
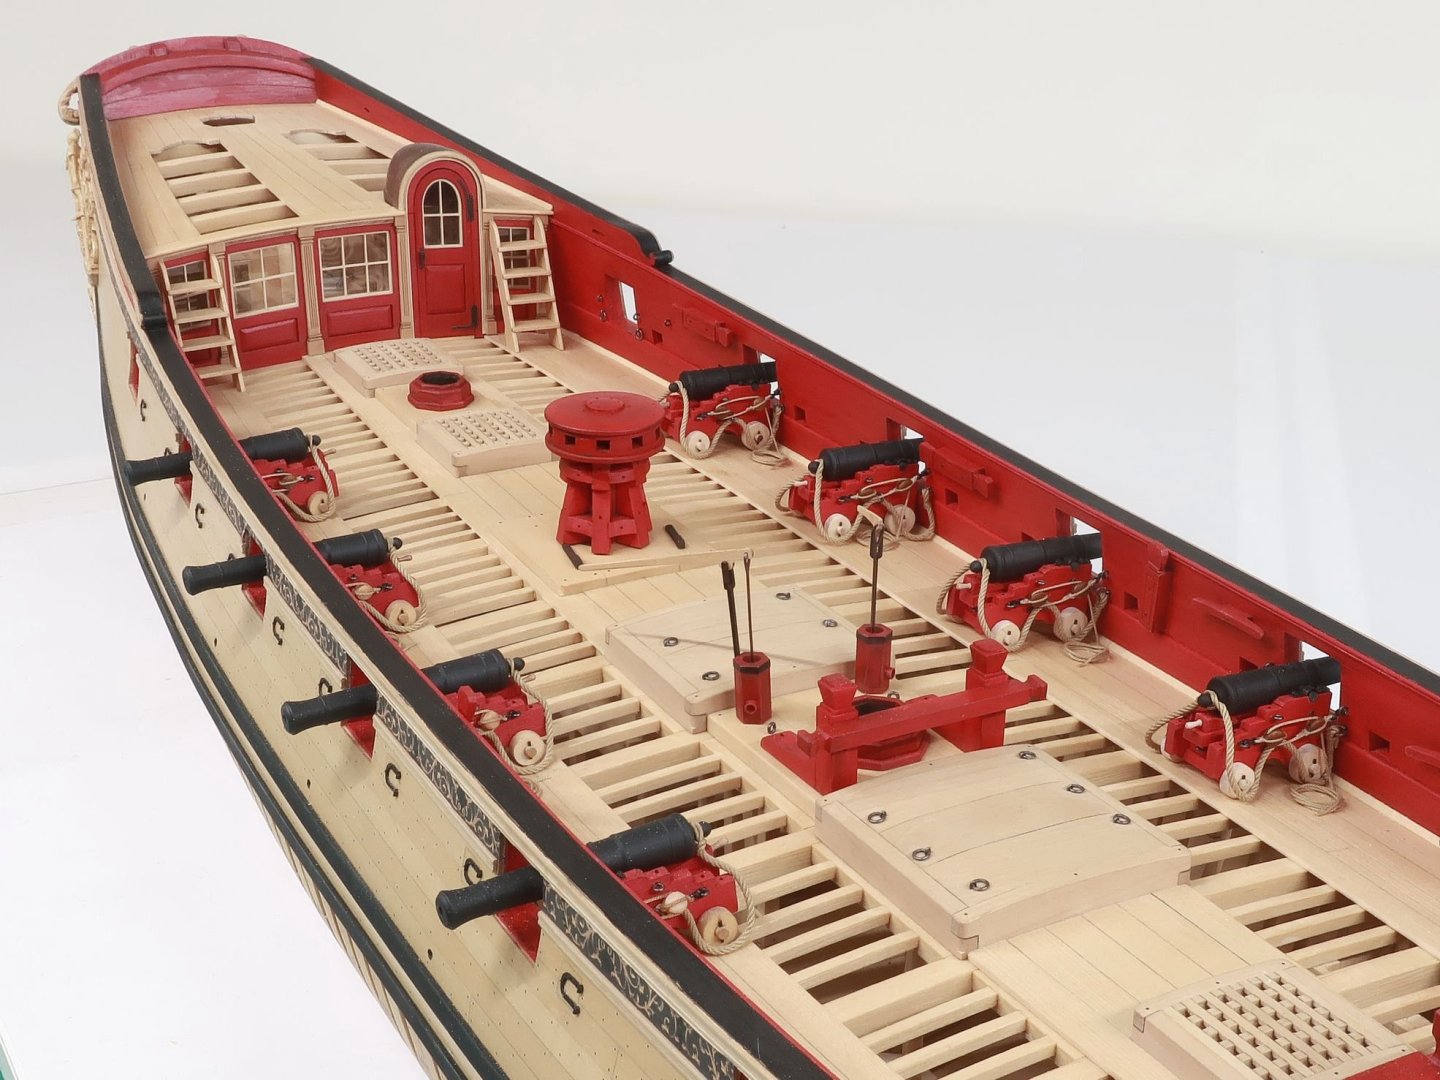
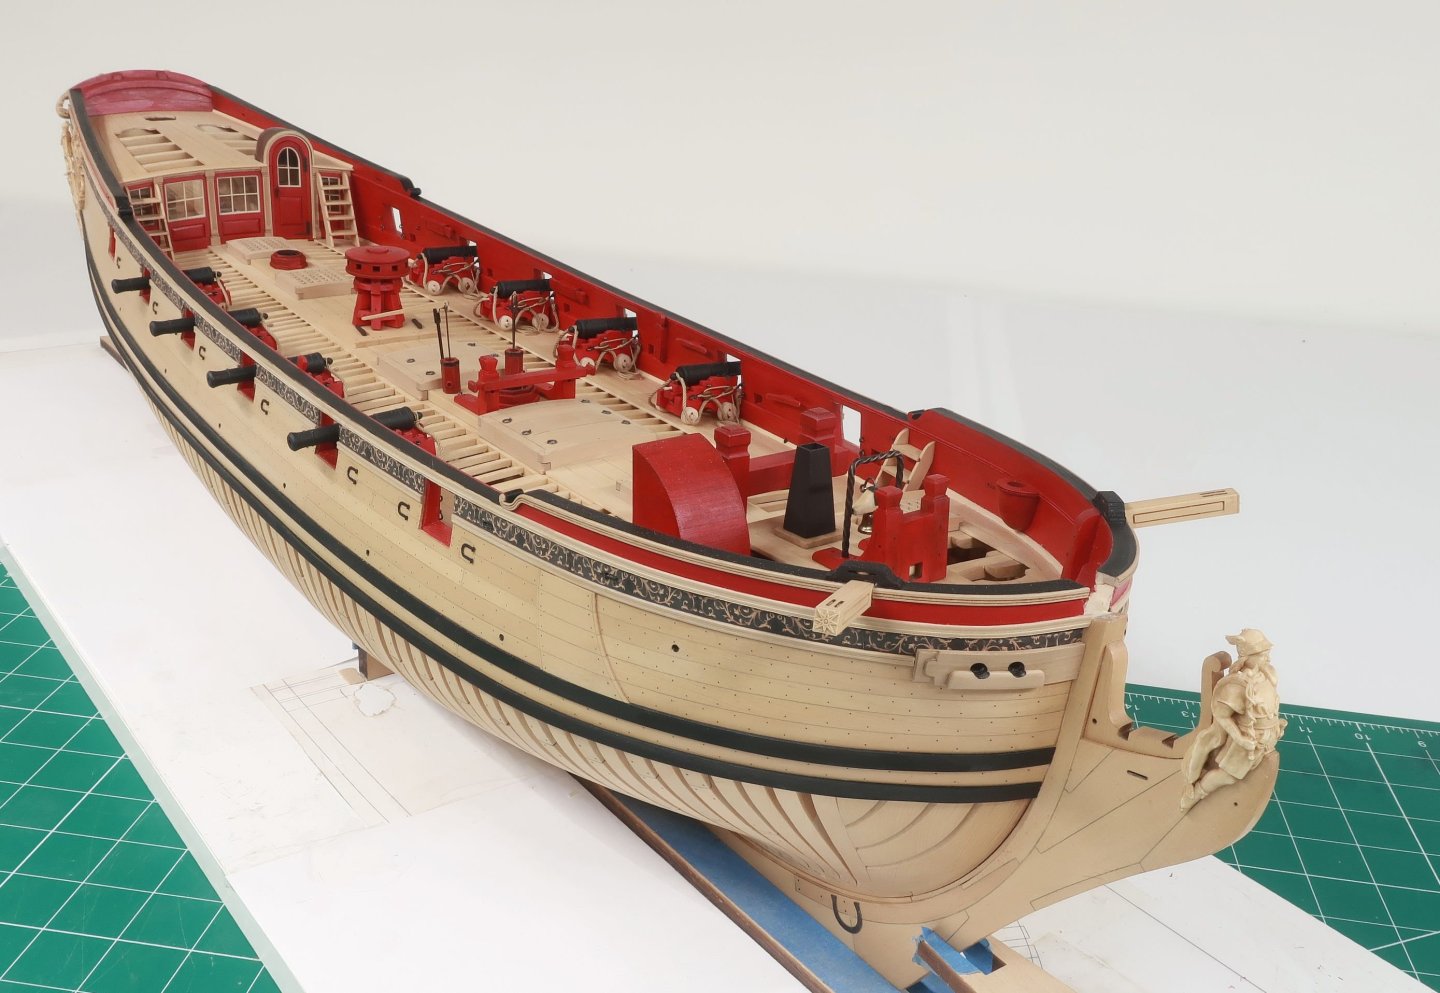
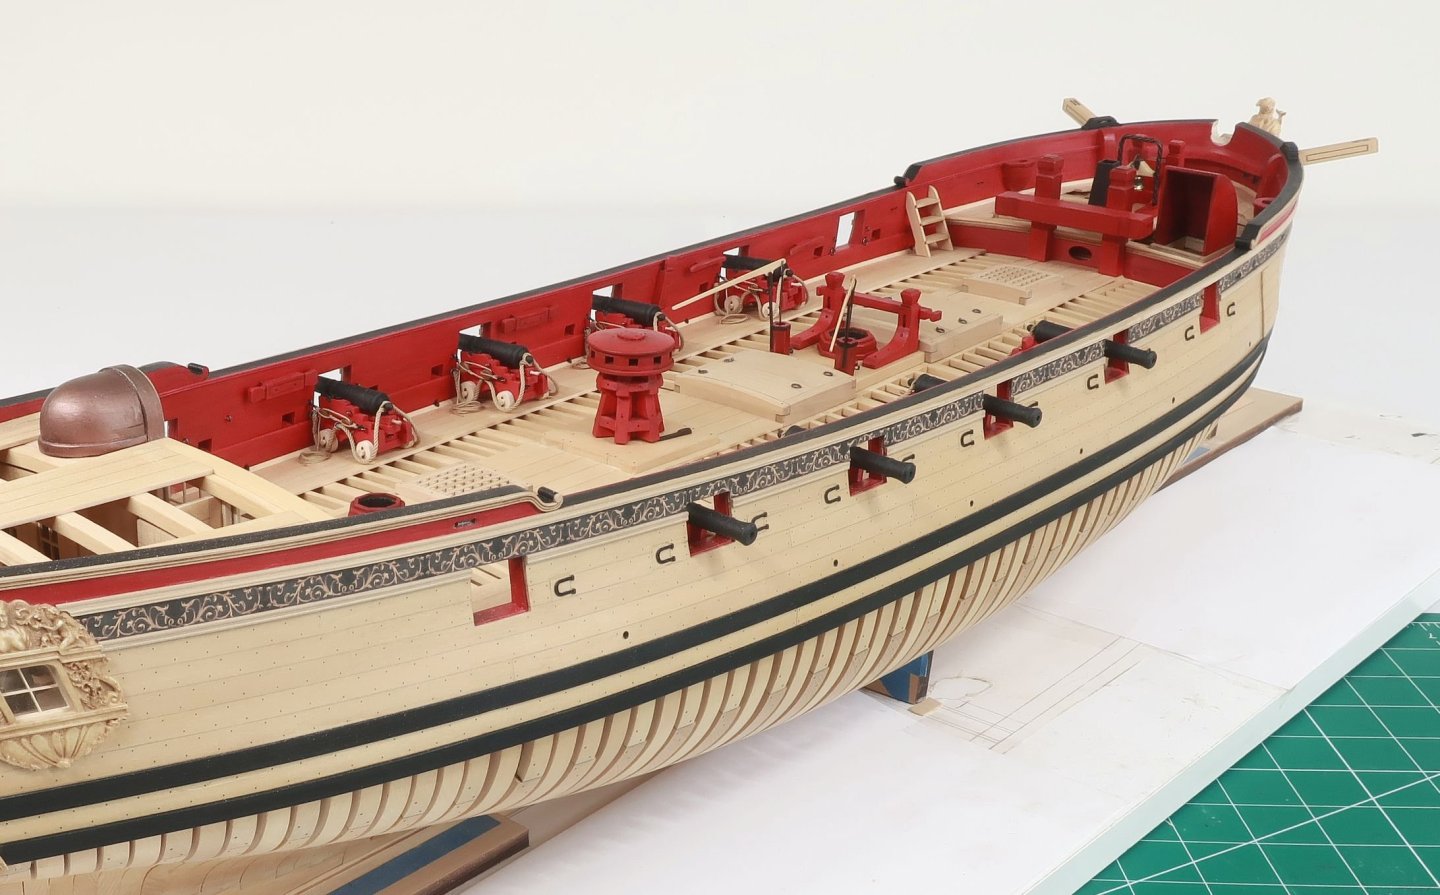
Milestone reached as this completes chapter 9. All of the deck fittings except for the binnacle have been completed. The last fitting was the rudder cover. Again very straight forward. All parts are laser cut. To begin you must build the jig. Just glue the part labeled "jig" on top of the square with the etched outline. Then start adding the sides of the rudder cover. Start with the back panel. All corners will be mitered or beveled. I just eye-balled it with a sanding stick. Work your way forward and then finish up with the front panel. Remember not to glue the rudder cover to the jig!!! In addition, you can build the lid or top of the rudder cover. It is in two layers as shown. But dont glue it on yet. This wont be done until after the rudder is installed and the tiller is added. I did go ahead and paint them red however. You can test fit this on deck...but notice the small step behind the rudder cover. This is the step for the ensign staff. This must be added first. I have laser cut a bunch for you as they are small. You must bevel the back side to fit snug against the transom. The front side should be beveled as well to sit flush against the rudder cover. You can glue them in position, but remember not to glue the top on for the rudder cover yet. If you do ... you will never get that till inserted into the rudder head. But you can sit the top in position and nobody will know it isnt glued on yet!! Thats it...all fittings completed. To begin chapter 10 I will be making the rudder and tiller. Fun times.
-
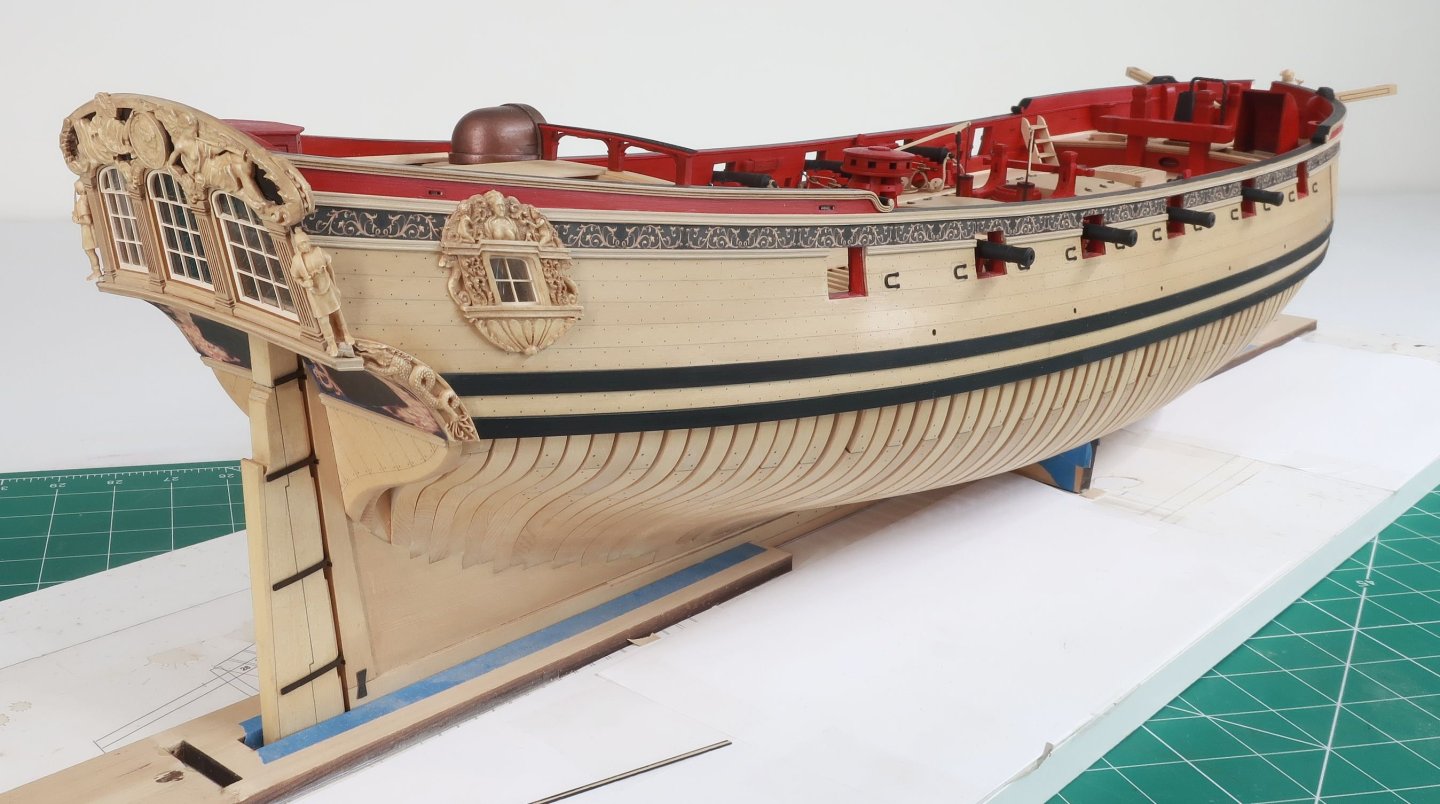
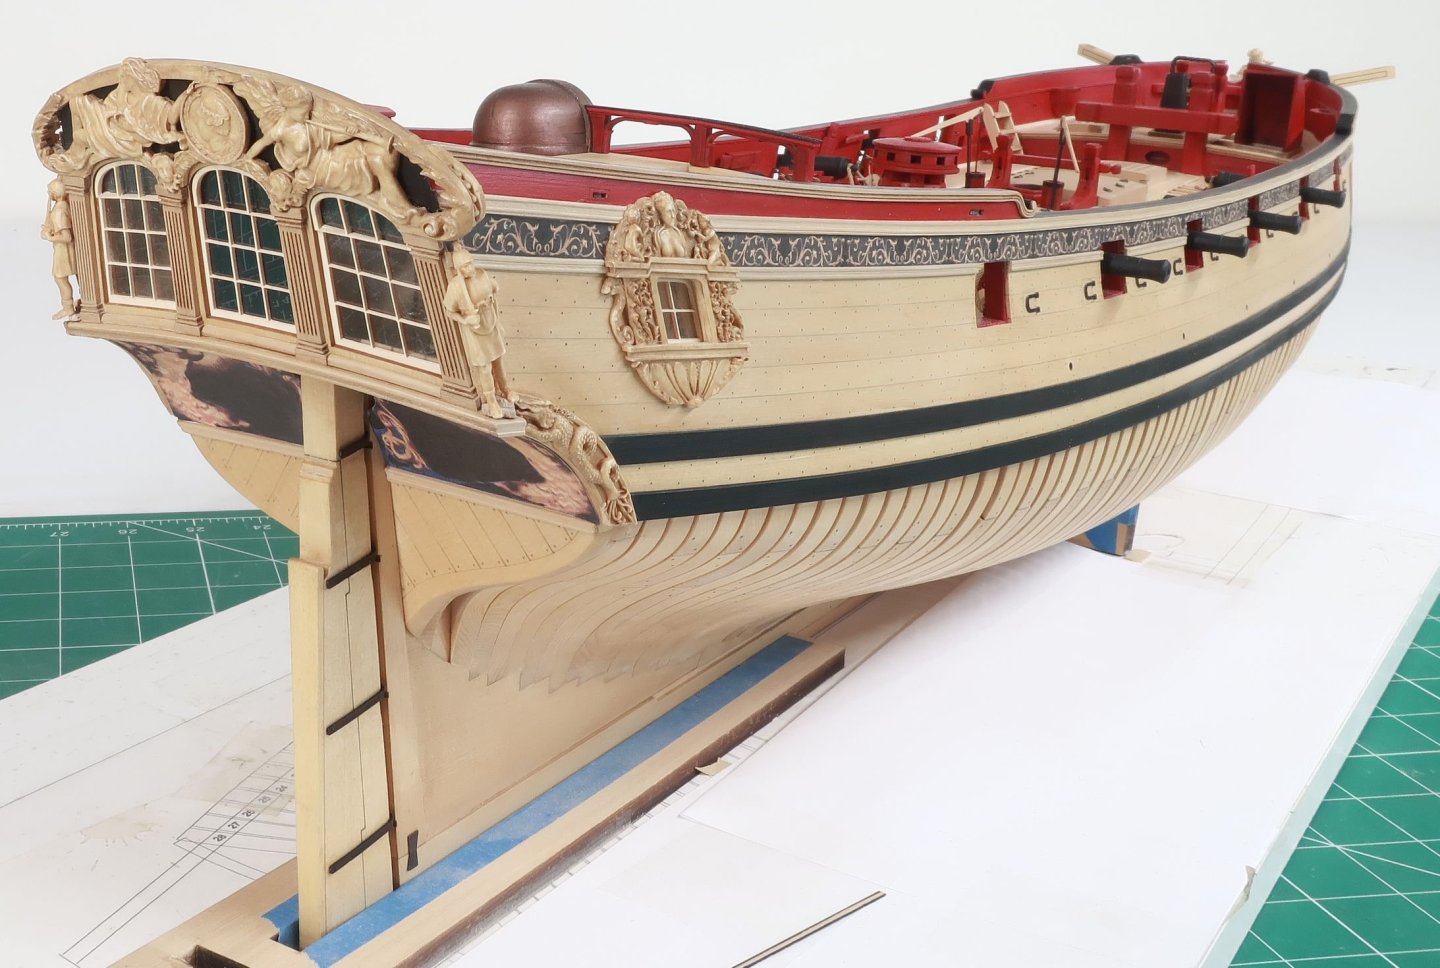
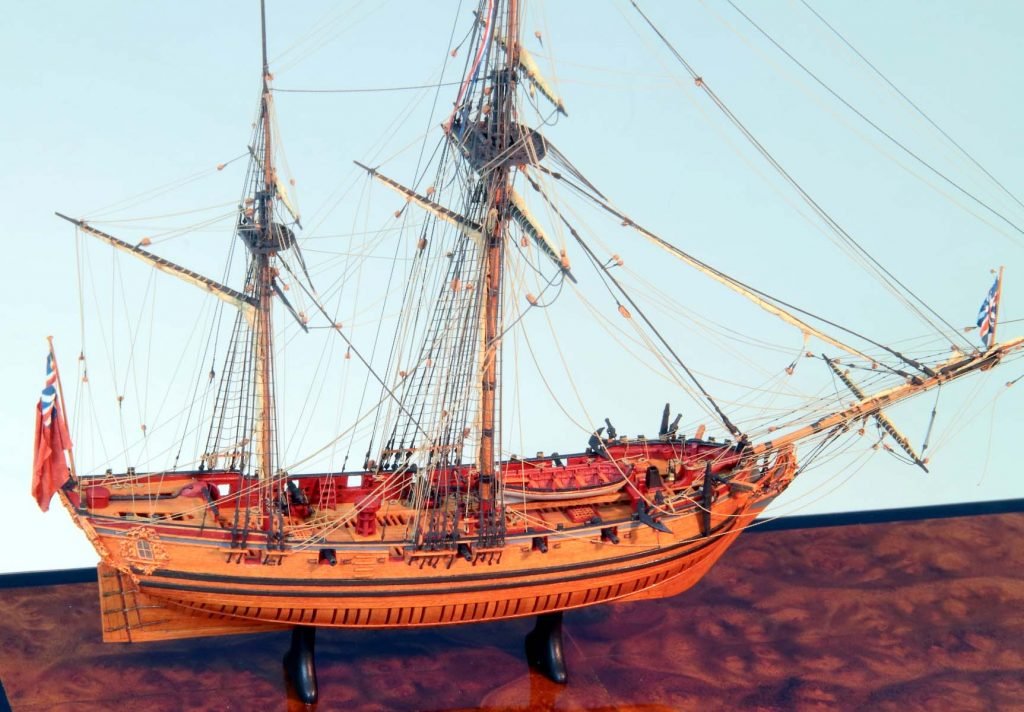
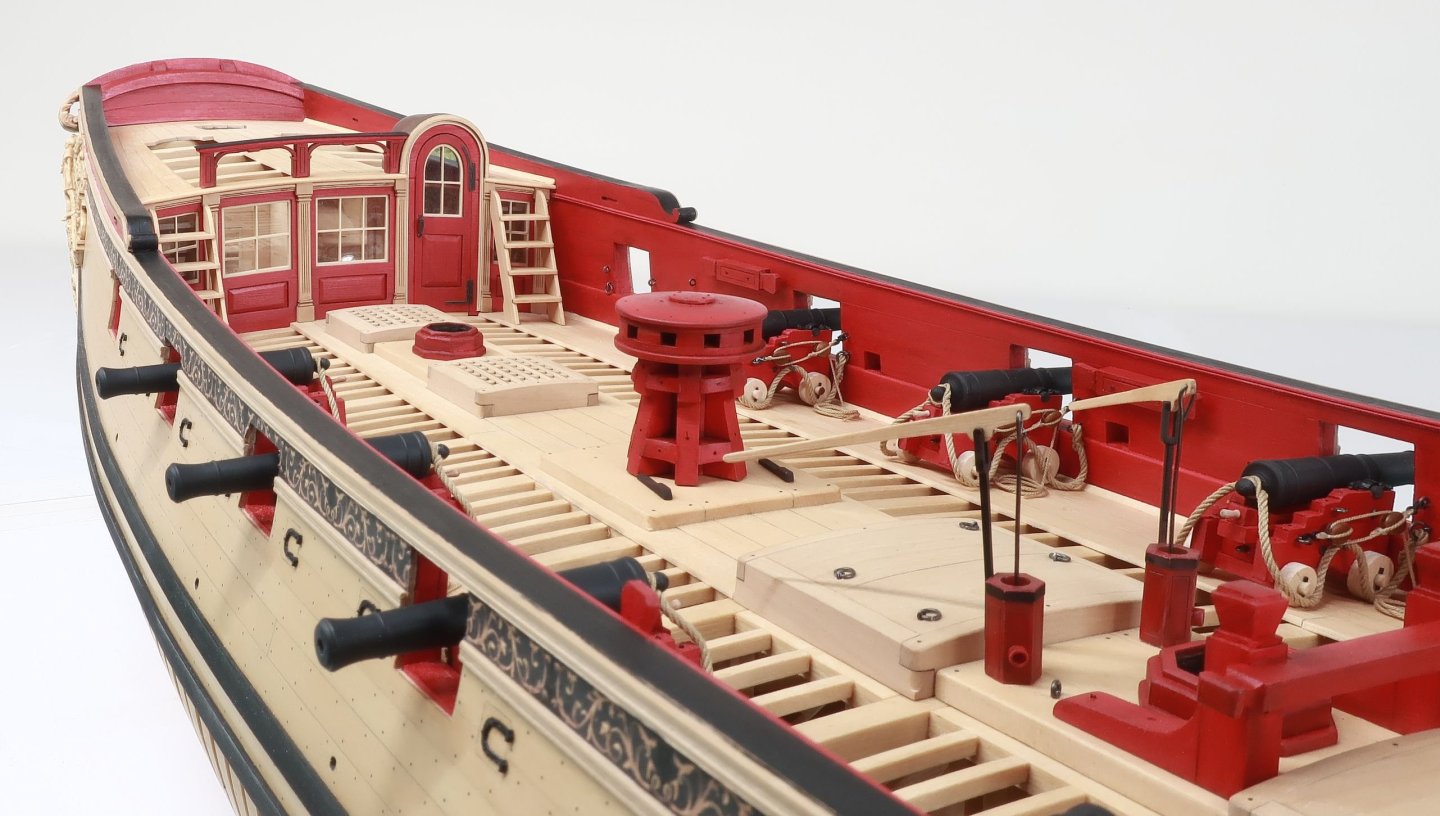
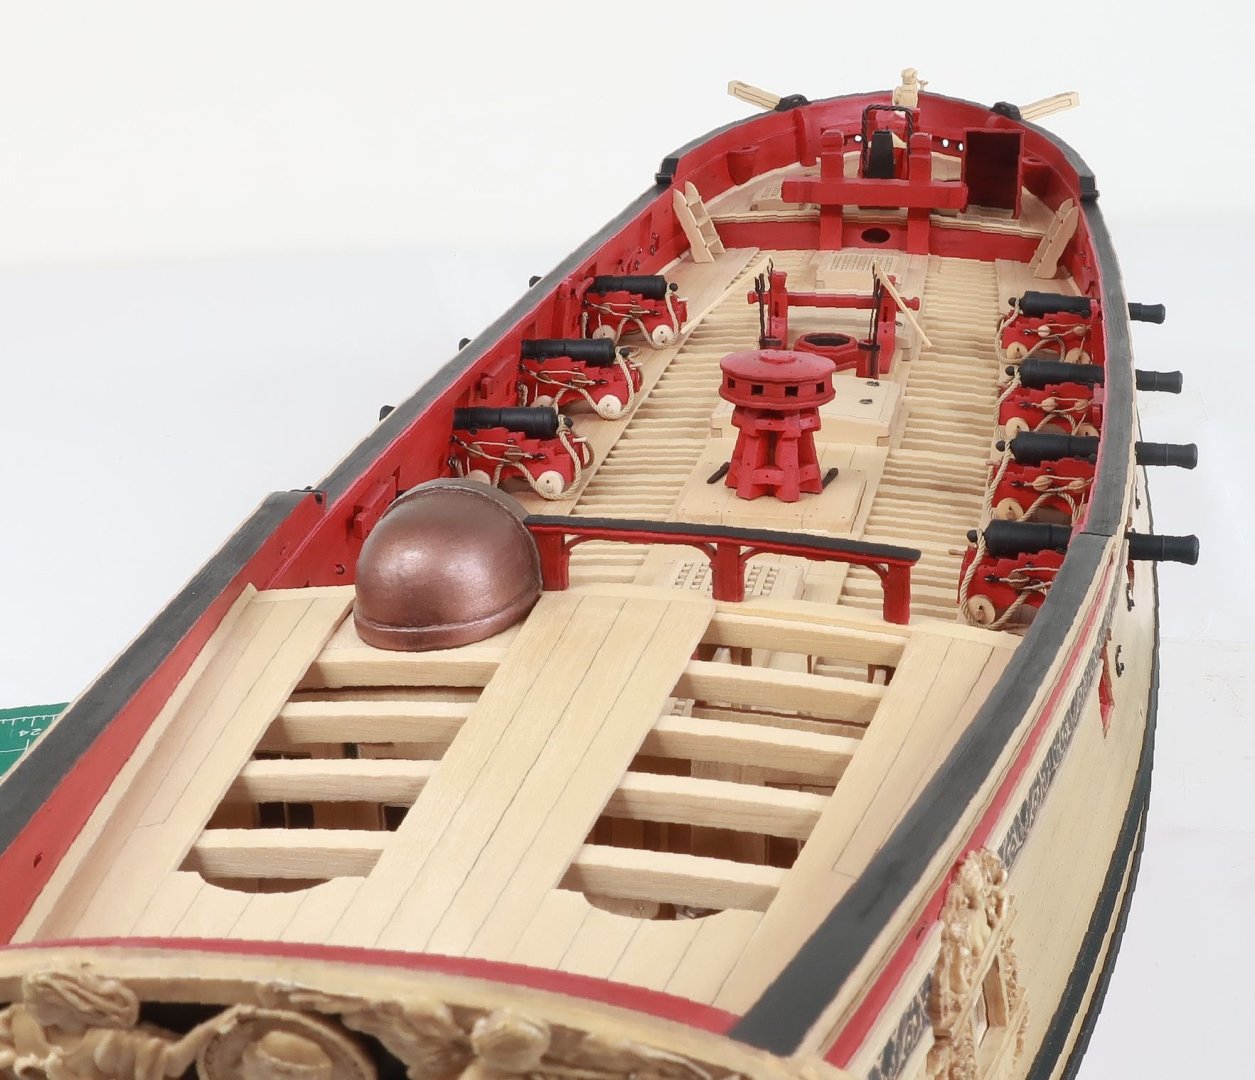
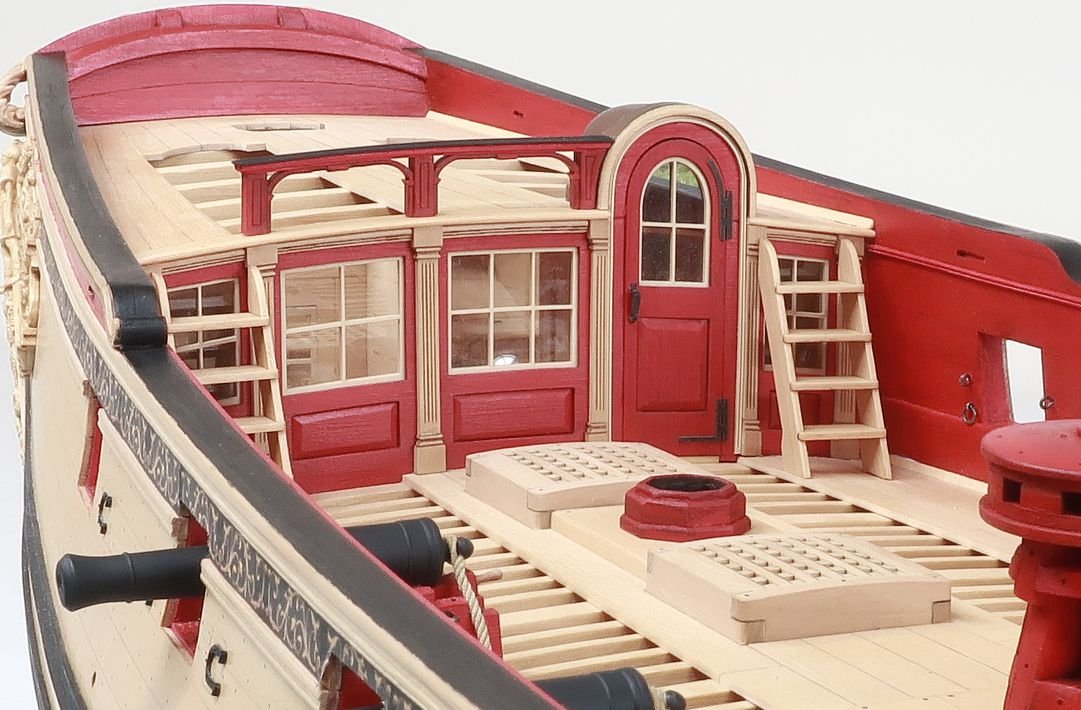
I hope my fellow Speedwell builders will allow me this indulgence. The breast rail at the fore end of the poop deck is actually quite plain on the contemporary model. I usually try to faithfully keep my models to historically correct details but I couldnt resist. The original draft for the Sloop Fly which is her sister has a very detailed and fancy rail quite different than the plain one on Speedwell. I have decided to go with that rendition. It is made in the usual fashion for my fittings. Nothing earth shattering. They are just laser cut pieces in layers. The top rail for example is made by sandwiching 3 thin layers together. The top and bottom layers are just .025 thick. The center layer is a robust 1/32" thick. I still thinned down the top and bottom layers even more after gluing them up as a sandwich. The only thing that is really important here is to make sure that the two outer columns are lined up with their partners below on the bulkhead between the windows. I also had had to take care in forming the curve on the column next to the dome roof. It had to be sanded to fit nicely around that curve and sit flush against it. The close-ups are brutal and yes I have a lot of paint touch up in my future. The top of the rail is painted black as was done on the contemporary model while the remaining areas are painted red. Only one fitting remains and that is the rudder trunk cover. I will make that next. I will add a binnacle as well, but leave that for the next chapter after the rudder is installed.
-
No …he will do the complete kit. But I will continue selling the mini kits for a long while in case some folks still need or want them. I have quite a few people buy those for other non-cheerful models.
- 1,051 replies
-
- cheerful
- Syren Ship Model Company
-
(and 1 more)
Tagged with:
-
Nicely done!! She looks very nice i deed.
- 52 replies
-
- Oseberg
- Pavel Nikitin
-
(and 1 more)
Tagged with:
About us
Modelshipworld - Advancing Ship Modeling through Research
SSL Secured
Your security is important for us so this Website is SSL-Secured
NRG Mailing Address
Nautical Research Guild
237 South Lincoln Street
Westmont IL, 60559-1917
Model Ship World ® and the MSW logo are Registered Trademarks, and belong to the Nautical Research Guild (United States Patent and Trademark Office: No. 6,929,264 & No. 6,929,274, registered Dec. 20, 2022)
Helpful Links
About the NRG
If you enjoy building ship models that are historically accurate as well as beautiful, then The Nautical Research Guild (NRG) is just right for you.
The Guild is a non-profit educational organization whose mission is to “Advance Ship Modeling Through Research”. We provide support to our members in their efforts to raise the quality of their model ships.
The Nautical Research Guild has published our world-renowned quarterly magazine, The Nautical Research Journal, since 1955. The pages of the Journal are full of articles by accomplished ship modelers who show you how they create those exquisite details on their models, and by maritime historians who show you the correct details to build. The Journal is available in both print and digital editions. Go to the NRG web site (www.thenrg.org) to download a complimentary digital copy of the Journal. The NRG also publishes plan sets, books and compilations of back issues of the Journal and the former Ships in Scale and Model Ship Builder magazines.


