-
Posts
610 -
Joined
-
Last visited
Content Type
Profiles
Forums
Gallery
Events
Everything posted by Remcohe
-
I really like how the hatches for the dingy compartment turned out. Nice touch to an already very nice build. Remco
-
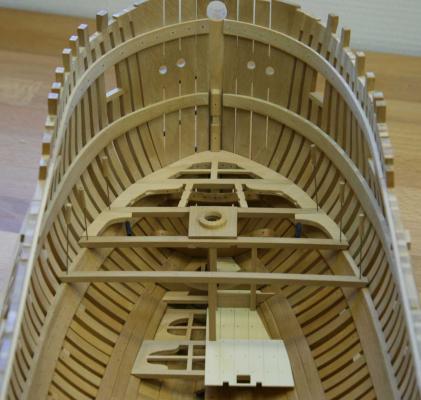
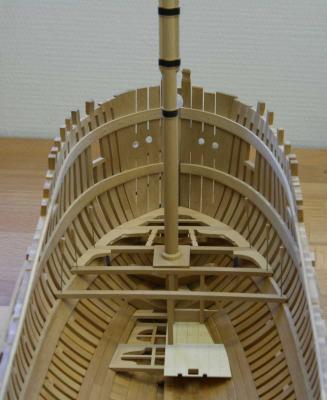
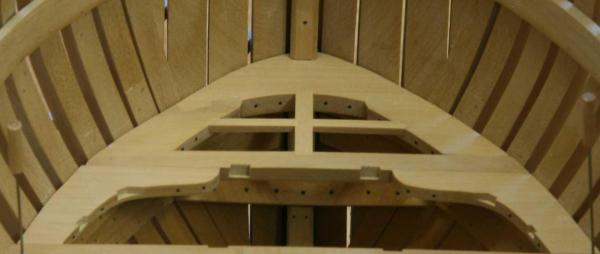
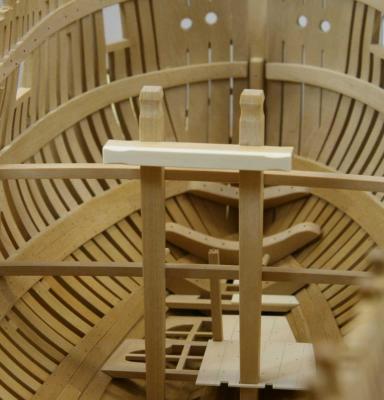
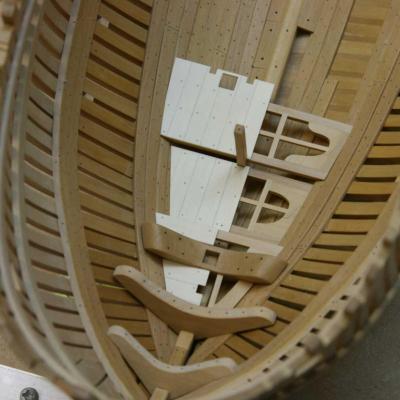
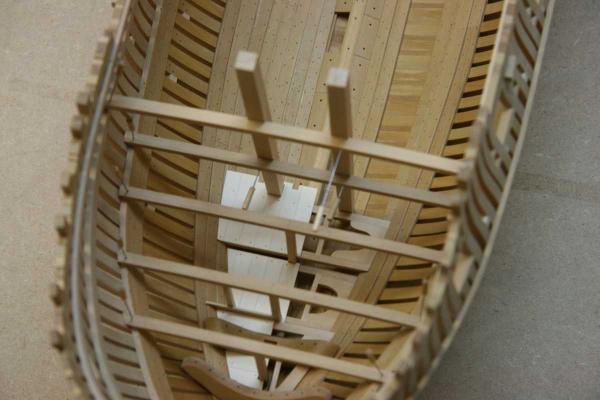
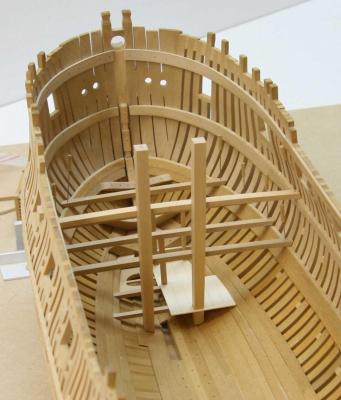
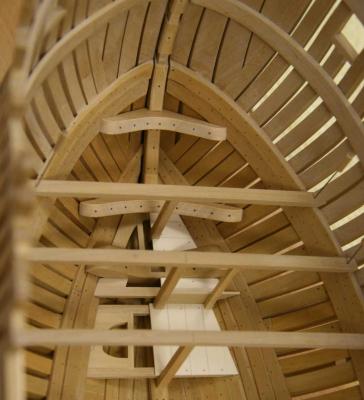
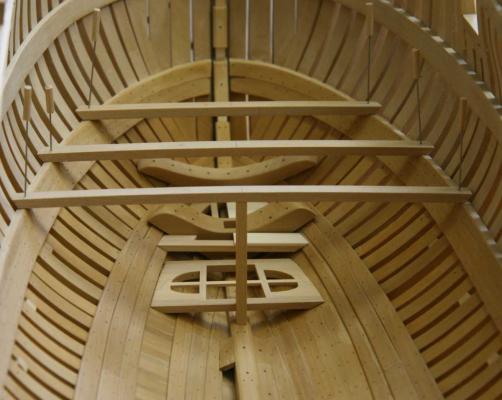
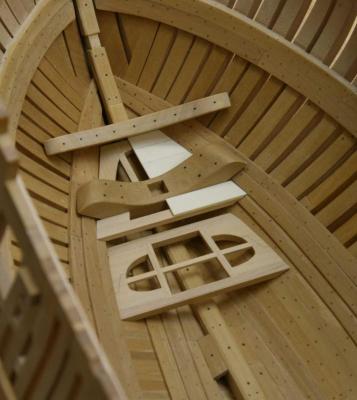
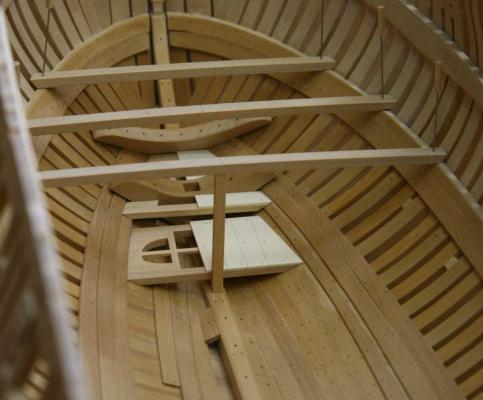
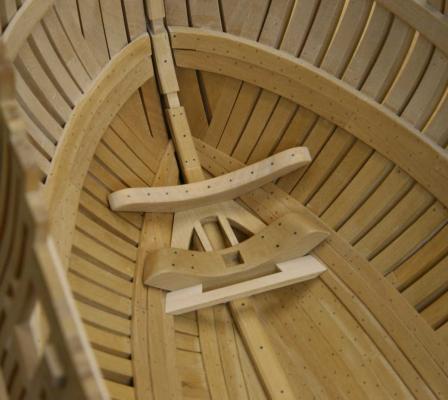
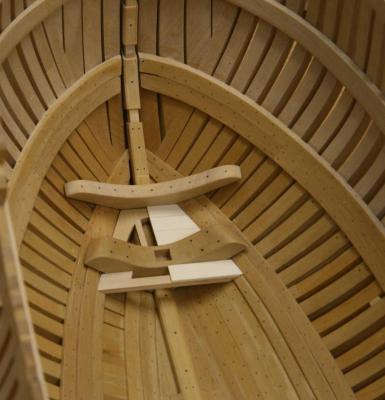
I got fed up with the plastic kit and it served it's purpose, I back working on my KF. Shaping the parts at the bow is a little tricky but fun especially with the scarph joints and the mast partner that has it's carlings cut from the onder side of the beam. Partially fixed partially test fitted here's the progress to date. Having the fore mast finished already helps to align all parts. Nils, thank you. Indeed the frame work is close to the real thing but not completely. I did not make the chokes as separate parts but they are part of the frame timbers. Remco
- 1,207 replies
-
- sloop
- kingfisher
-
(and 1 more)
Tagged with:
-
For those looking for an alternative. You can get rivets as decals. http://www.archertransfers.com/SurfaceDetailsMain.html I used to use this and there pretty cool. Saves a ton of work and the results are very realistic. Remco
-
What about Minwax Wipe-on poly, it's water thin, it will penetrate the paper and any surplus can be wiped off keeping the crisp lines of the butt joints in tact. Remco
-
I added some pics from my sculpting adventure. Pics of the plastic kit will come in due time Remco
- 1,207 replies
-
- sloop
- kingfisher
-
(and 1 more)
Tagged with:
-
Take a guess Jan ;-) I'll try to sneak in some pics somehow withour breaking the forum rules..
- 1,207 replies
-
- sloop
- kingfisher
-
(and 1 more)
Tagged with:
-
Thank you Karl, you're very kind. Jan, 2 modern desert vessels a buffalo mpcv and a m-atv mrap
- 1,207 replies
-
- sloop
- kingfisher
-
(and 1 more)
Tagged with:
-
Thanks Nils, Greg. Oktay, I use Castello Boxwood, aka lemonwood for 95% of the build the rest is Swiss pear and Holy. Sam, I take that as a big compliment. Jan is right, I'm a perfectionist looking for the limits of what can be done with the materials I use. This sometimes results in redoing parts most of us would find just perfect (and they are right). For the moment no updates, life is getting in the way and the time I do get to spend in the workshop is devoted to a plastic kit I bought recently and some figure sculpting and painting. Sorry guys, Kingfisher will have to wait Remco
- 1,207 replies
-
- sloop
- kingfisher
-
(and 1 more)
Tagged with:
-
That is some fine joinery you are showing us here Sir, remarkable how perfect those parts fit. Remco
-
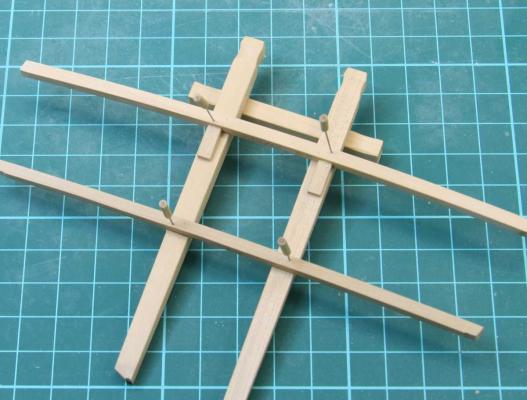
Thanks guys. Urb, I've send you a pm. Here's the whole assembly with the crosspiece and I decided to make the short version of the cleat (this is the piece that supports the upped deck beam) Still need to add some ironwork, not sure if I'll add the hook on the inside or the outside. TFFM shows two options (V1 p 276 and p80 V2) Remco
- 1,207 replies
-
- sloop
- kingfisher
-
(and 1 more)
Tagged with:
-
Thank you for the compliments and the importand tip. I'm going to plank the lowerdeck but just a few bands, I'll make sure the bitt pin stays clear. Allthough I build the complete assembly now, getting it installed at a much later point will keep it from harms way while doing the rest of the decks. I'll post some pictures of the complete riding bitt this weekend. Remco
- 1,207 replies
-
- sloop
- kingfisher
-
(and 1 more)
Tagged with:
-
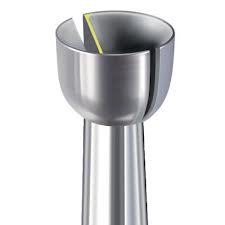
Ed, I had the same issue until now, you'll definitely like it. I use this one: http://www.gesswein.com/p-10767-busch-burs-twin-cut-cup-fig-411t.aspx Remco
- 1,207 replies
-
- sloop
- kingfisher
-
(and 1 more)
Tagged with:
-
Thanks guys, but who said I only have 2? The 3rd section of the platform needed more detailing, now I can move on to adding detail to the riding bitt's. Remco
- 1,207 replies
-
- sloop
- kingfisher
-
(and 1 more)
Tagged with:
-
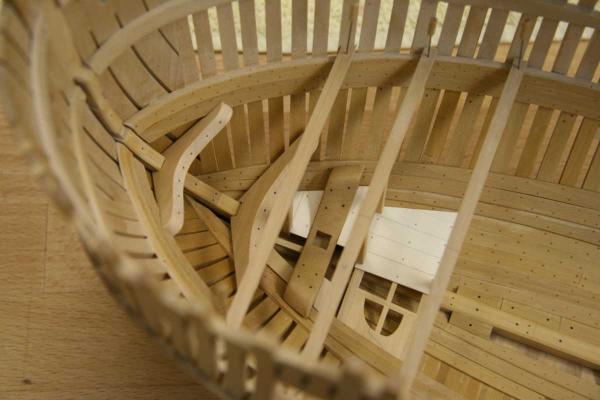
Trying is the right word, and then comes hoping you've got it all in the right spot. Glad this was an easy fix, further down it would have been impossible... Ed I now use a cup burr that works even better Here the third platform is partially complete and the riding bitt's are test fitted, hard to see but they taper quite dramatically towards the bottom of the hull. This is one of those jobs where I would like to have 6 extra hands ;-) Remco
- 1,207 replies
-
- sloop
- kingfisher
-
(and 1 more)
Tagged with:
-
Thanks Scott, John. I had to rebuild the forward small platform as the deck pillar didn't line up with the deckbeam above. More deck pillars and stancions added, a small portion of the bulkhead is made too. The upper breast hook was made using card templates and trimmed further until a snug fit was obtained. Remco
- 1,207 replies
-
- sloop
- kingfisher
-
(and 1 more)
Tagged with:
-
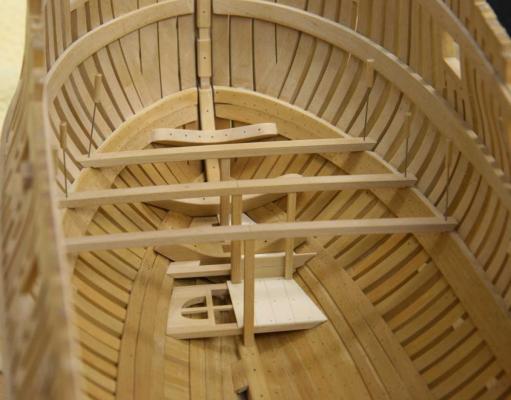
Thanks so much guys. The second part of the fore platform is taking shape. The planking is treenailed, the scarph joint is simulated Remco ps Piet it's not on the drawing table yet....
- 1,207 replies
-
- sloop
- kingfisher
-
(and 1 more)
Tagged with:
-
I finally found my way back to my workshop. Real life, other projects and a bit of modelers block got in the way. I finished beam 11 with the hanging knees and now I moved to the bow section to built the fore platform. The footwalling already has it's final finish so the bare wood looks light in contrast. Two more platforms coming up... Remco ps Ben, nope I'm not a brain surgeon, nor something alike ;-)
- 1,207 replies
-
- sloop
- kingfisher
-
(and 1 more)
Tagged with:
-
Congratulations Karl on finishing part 2 she's awesome! I enjoyed watching you build her. Remco
- 662 replies
-
- bonhomme richard
- frigate
-
(and 1 more)
Tagged with:
-
Oh my, you really have been a busy beaver. It's great to see the hull taking her shape. At first I didn't understand why the bow is so much higher, but when I checked the drawings I understood, the deck structure needs to be build up on top of the hull. Are you going to show some details below the deck too? Remco
-
HMS Victory by Sven - FINISHED - 1:600 scale
Remcohe replied to Sven's topic in - Build logs for subjects built 1751 - 1800
Congratulations Matt, your model turned out really well! Remco -
Very nice Danny! We'll see when I get there, my capstans 1.0 definitely don't have retaining pins. I think Danny is pushing me now to make 2.0 Remco
About us
Modelshipworld - Advancing Ship Modeling through Research
SSL Secured
Your security is important for us so this Website is SSL-Secured
NRG Mailing Address
Nautical Research Guild
237 South Lincoln Street
Westmont IL, 60559-1917
Model Ship World ® and the MSW logo are Registered Trademarks, and belong to the Nautical Research Guild (United States Patent and Trademark Office: No. 6,929,264 & No. 6,929,274, registered Dec. 20, 2022)
Helpful Links
About the NRG
If you enjoy building ship models that are historically accurate as well as beautiful, then The Nautical Research Guild (NRG) is just right for you.
The Guild is a non-profit educational organization whose mission is to “Advance Ship Modeling Through Research”. We provide support to our members in their efforts to raise the quality of their model ships.
The Nautical Research Guild has published our world-renowned quarterly magazine, The Nautical Research Journal, since 1955. The pages of the Journal are full of articles by accomplished ship modelers who show you how they create those exquisite details on their models, and by maritime historians who show you the correct details to build. The Journal is available in both print and digital editions. Go to the NRG web site (www.thenrg.org) to download a complimentary digital copy of the Journal. The NRG also publishes plan sets, books and compilations of back issues of the Journal and the former Ships in Scale and Model Ship Builder magazines.


