Remcohe
-
Posts
612 -
Joined
-
Last visited
Content Type
Profiles
Forums
Gallery
Events
Everything posted by Remcohe
-

HMS Naiad 1797 by albert - FINISHED - 1/48
Remcohe replied to albert's topic in - Build logs for subjects built 1751 - 1800
Congratulations Albert a milestone and so beautifully executed. Naiad is on my wishlist but the number of frames does make me doubt. Remco -
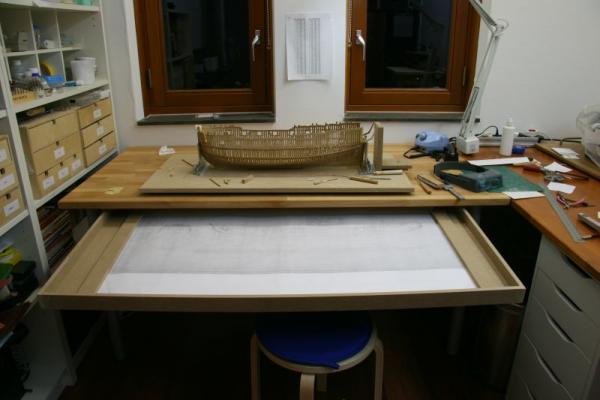
what is the ideal modelling table?
Remcohe replied to AON's topic in Modeling tools and Workshop Equipment
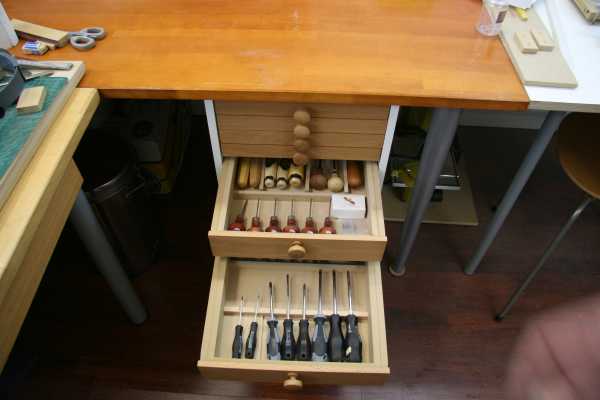
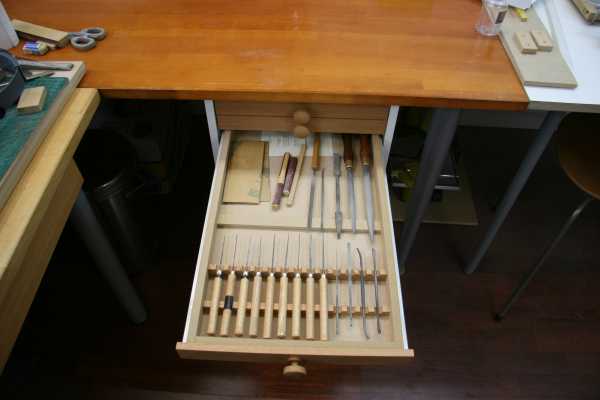
Be sure to add plenty drawers, big ones for drawings, shallow ones for tools. If space isn't an issue make more that you think you'll need and you'll probably end up with just enough And check the thread with all the members's workshops, you catch some ideas there too. Remco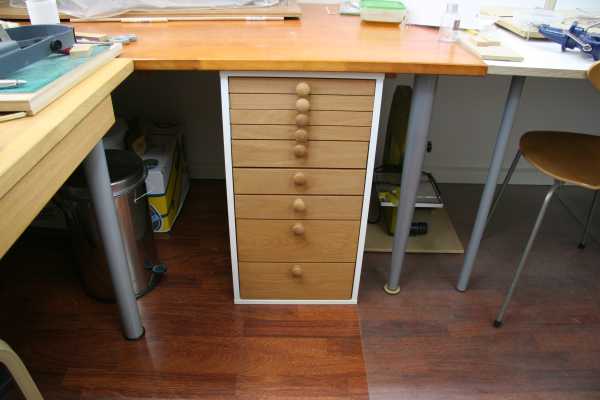
- 121 replies
-
- 18
-

-
Thanks all. All the parts are glued in place and the stern is faired. Remco
- 1,215 replies
-
- 22
-
-
- sloop
- kingfisher
- (and 1 more)
-
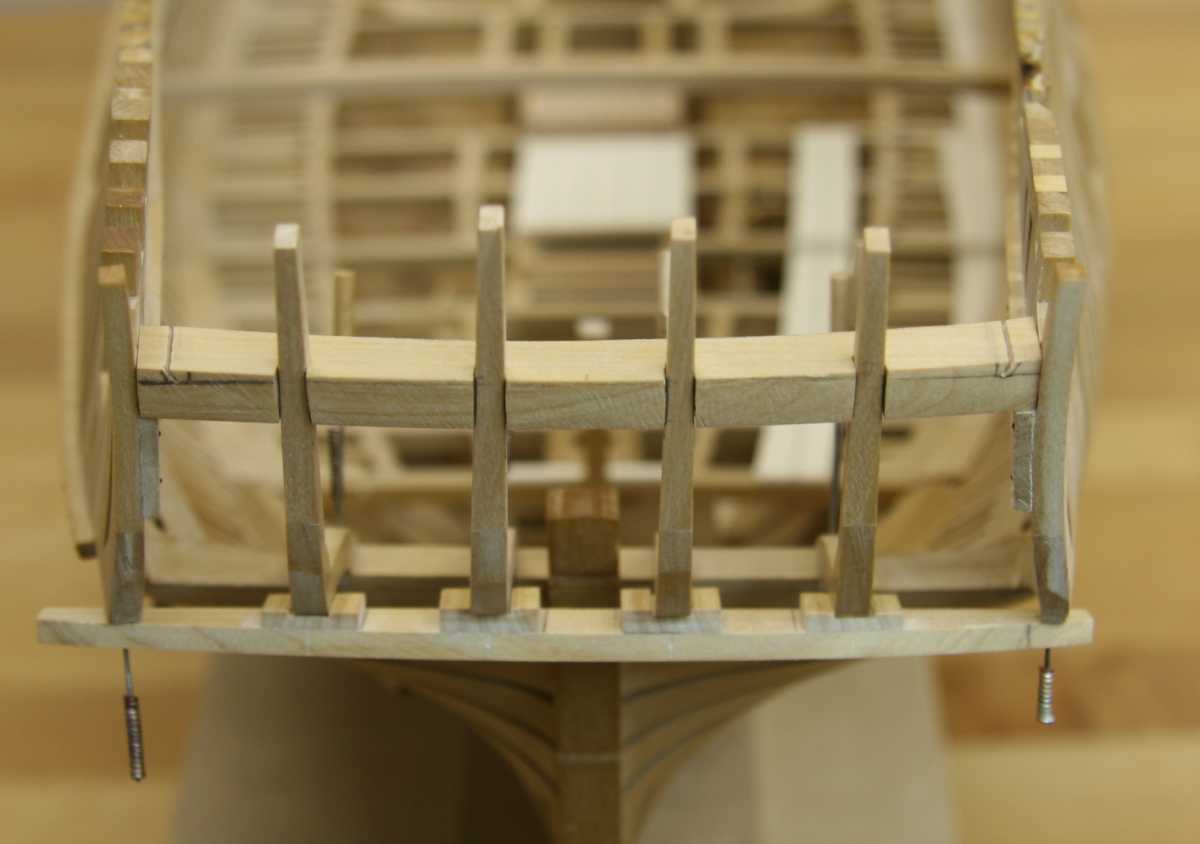
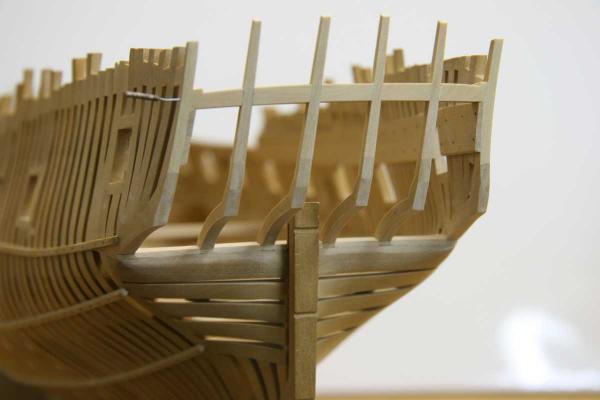
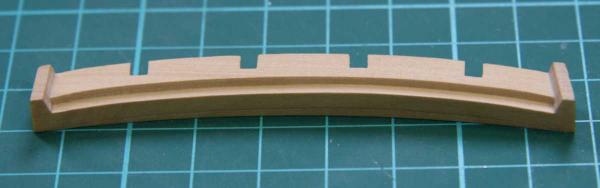
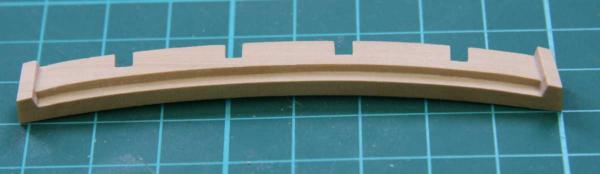
Thanks all for your kind words. Sometimes you run into a part and had no clue that it would be that hard to make. The quarterdeck transom is such a part, looking rather unexciting. One redo and the better part of a couple of days work went into it. I had expected the counter timbers to be trickier but after watching Mark doing his Belona's counter with the help of a jig, I constructed a small jig that saved a lot of head aches. The mortises on the wing transom I had made light-years ago had to come off as the spacing was all wrong. Where would a shipwright be without his bottle of isopropyl Remco


- 1,215 replies
-
- 29
-
-
- sloop
- kingfisher
- (and 1 more)
-
Michael, this is insanely good. Remco
-
The gun looks great Piet, the hand holds turned out really nice. Bravo. Remco
-
HMS Naiad 1797 by albert - FINISHED - 1/48
Remcohe replied to albert's topic in - Build logs for subjects built 1751 - 1800
Congratulations Albert, your efforts pay off, the hull looks beautiful. Remco -
Very nice work Danny, on to the next chapter!
-
When that day comes, may I recommend "Creating lifelike figures in polymer clay" by Katherine Dewey. This book really helped me to get the proportions of faces and figures right. I started making lifelike figures in no time after putting the described concepts in practice. Some tweaking is needed as we work on a much smaller scale, but the theory is still the same. Remco
-
Mr Crispy.... Nice work Tony, I know how hard it is to sculpt figures. Remco
-
Brilliant Danny, what you forget to show is how incredibly small the parts are! Remco
-
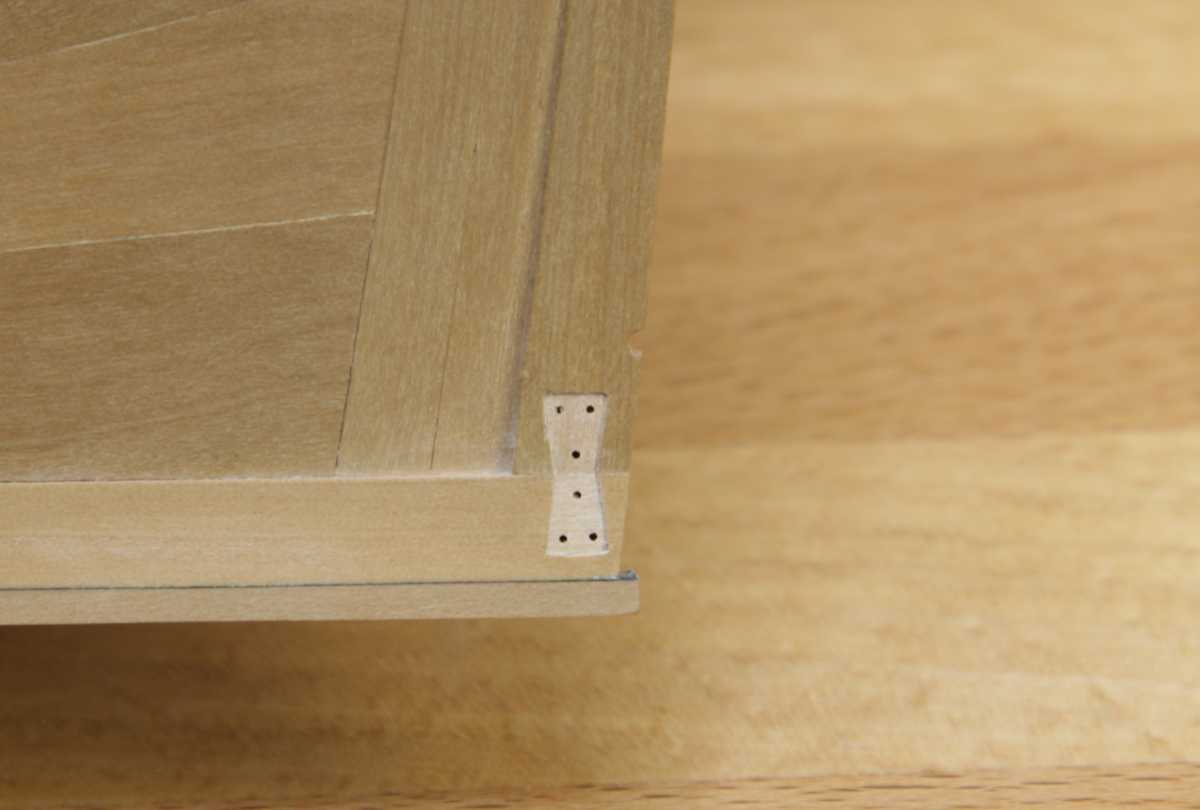
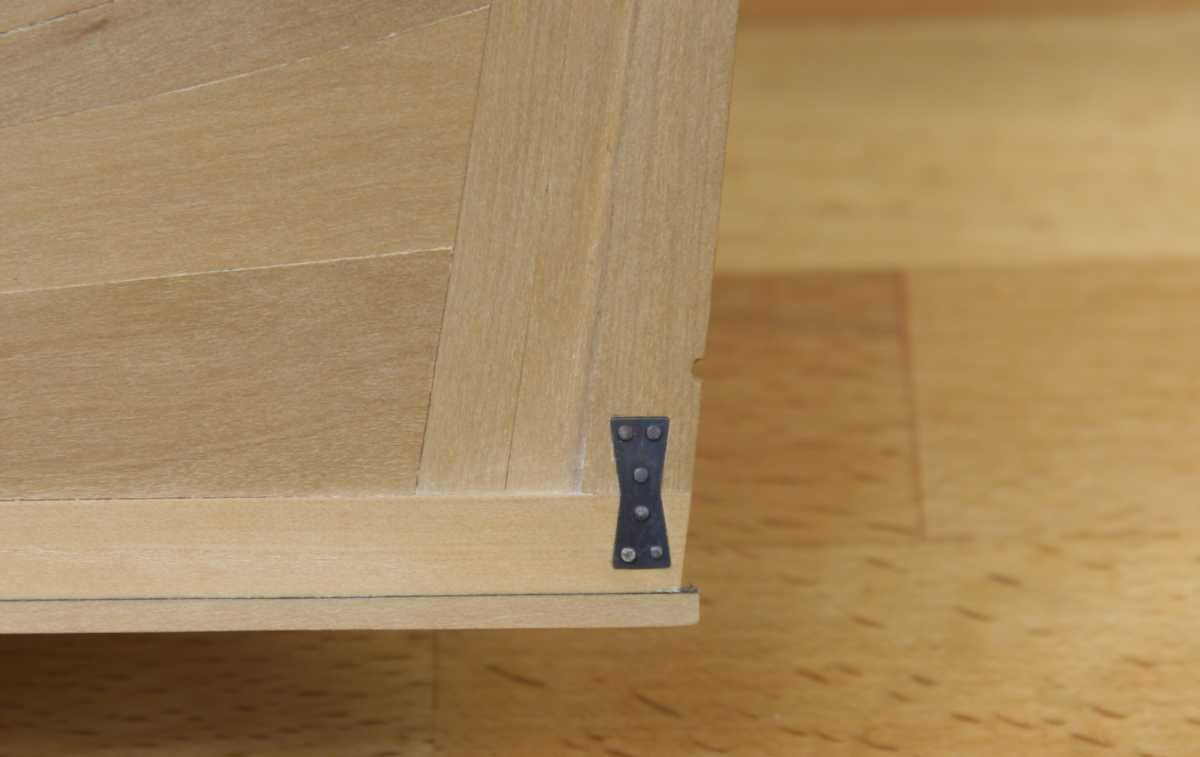
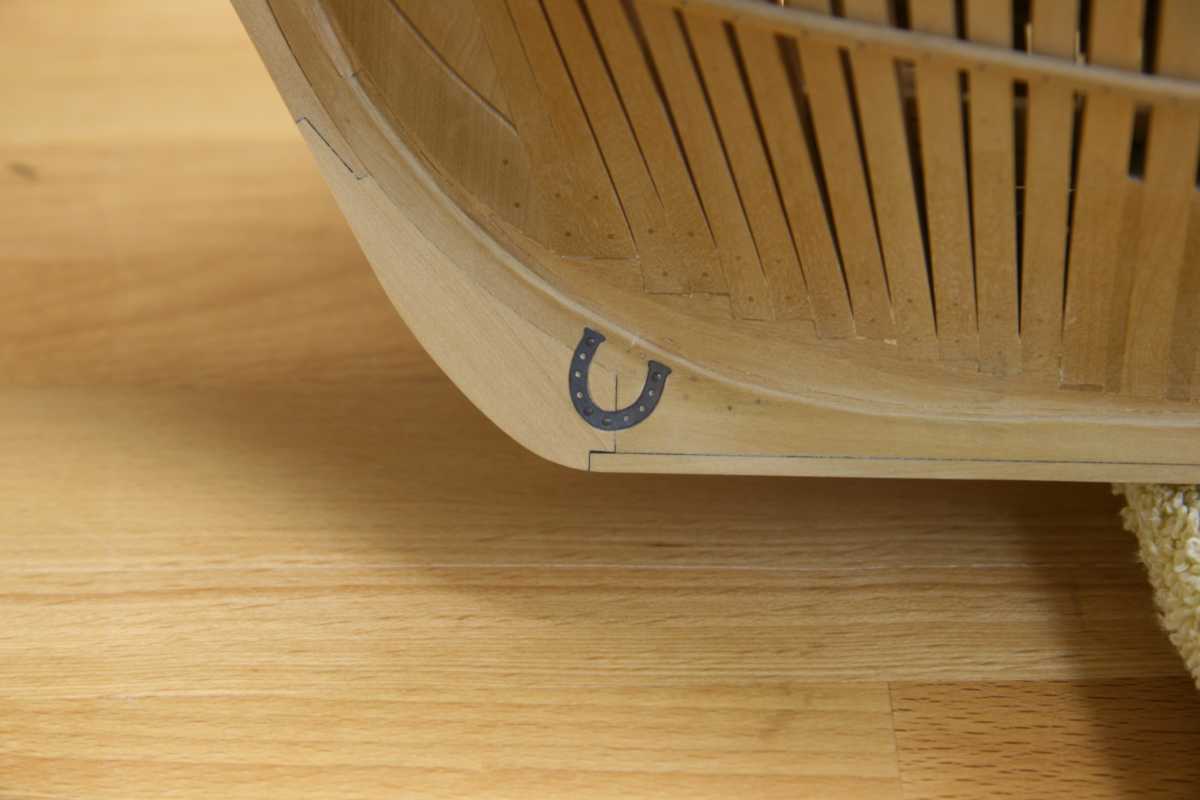
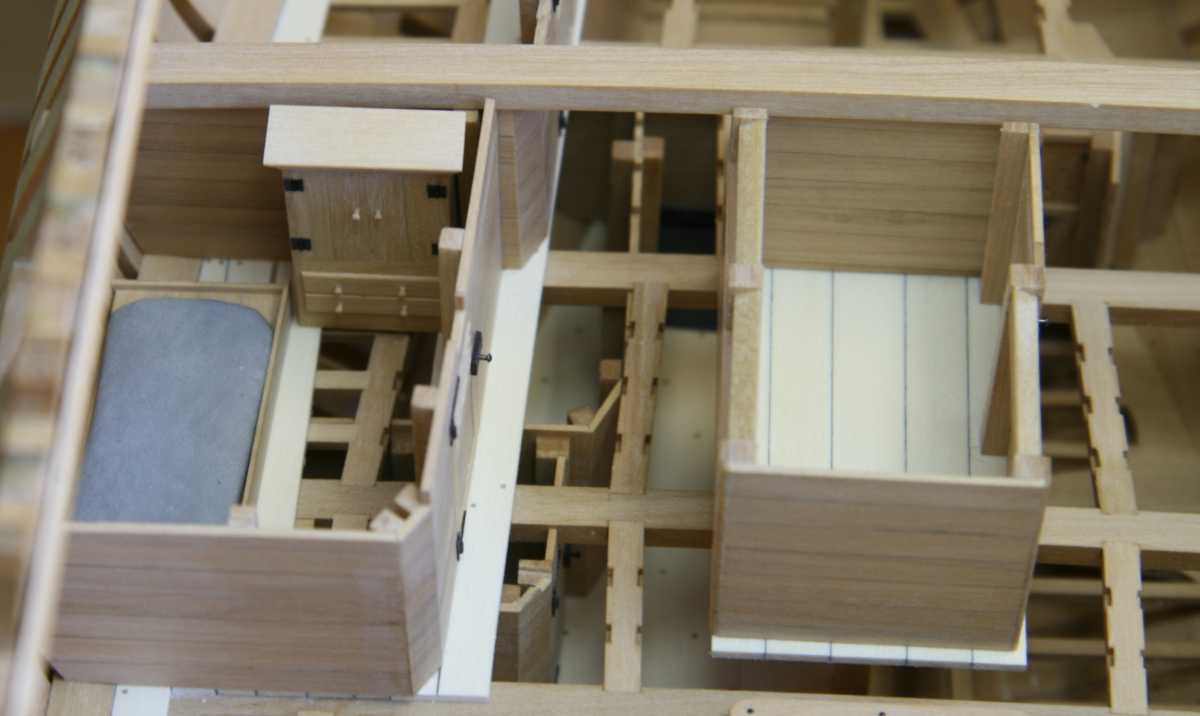
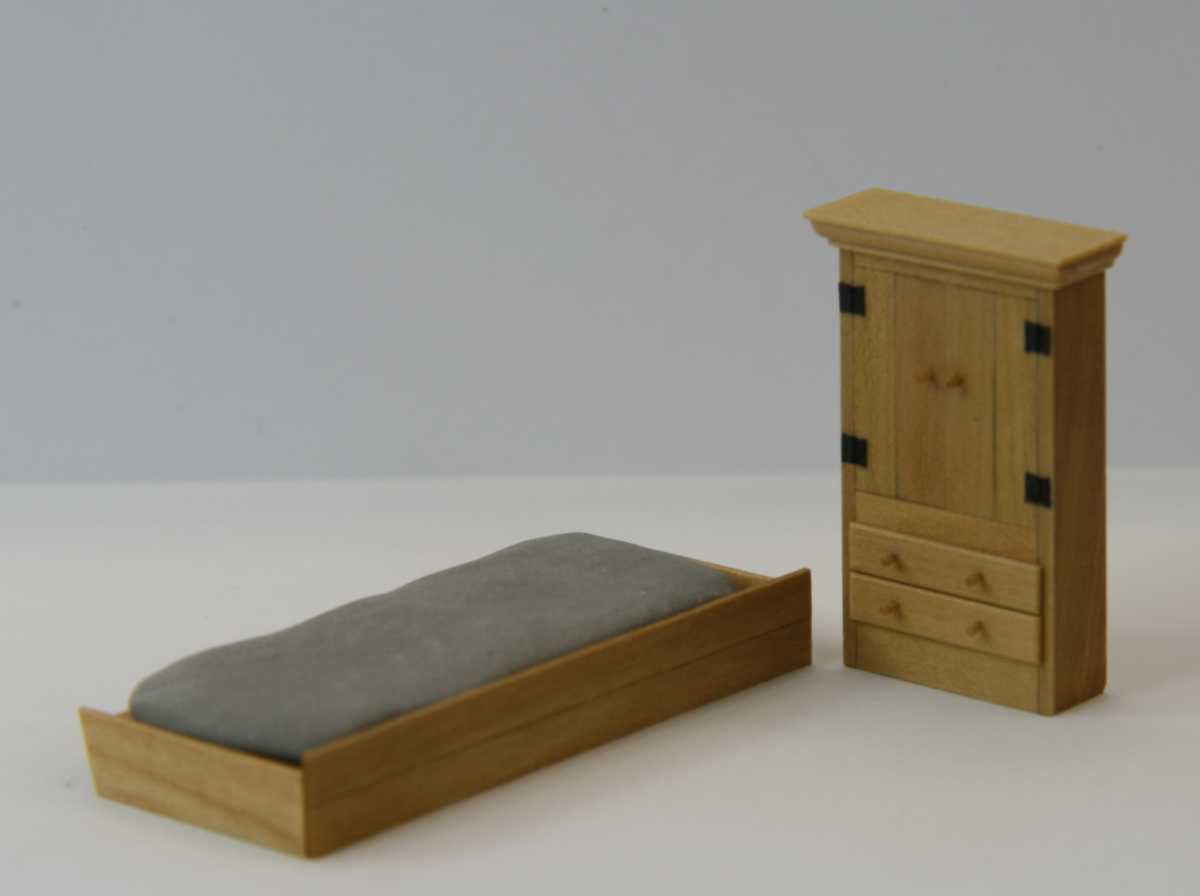
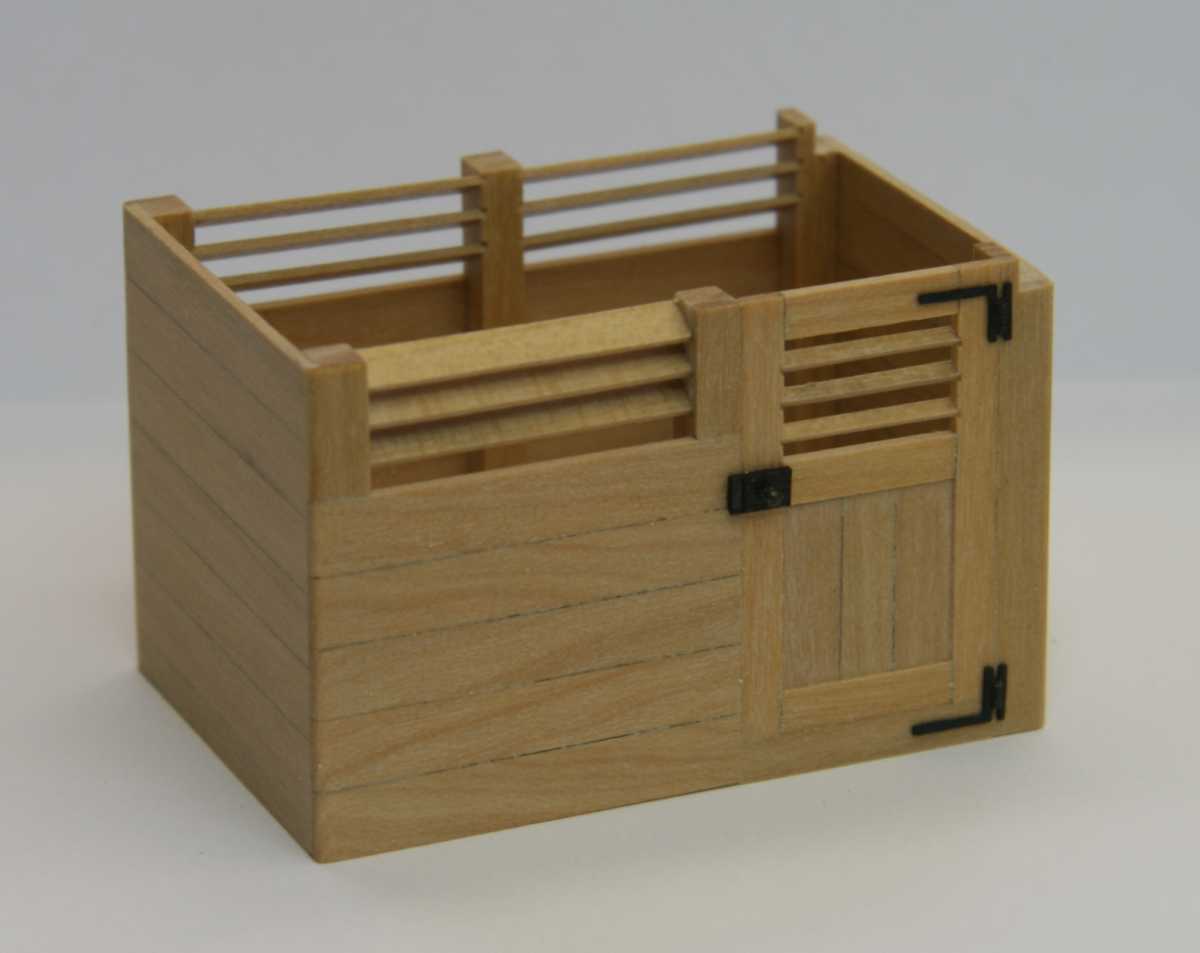
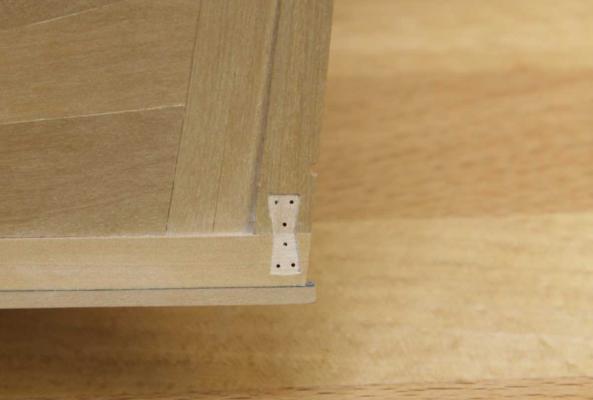
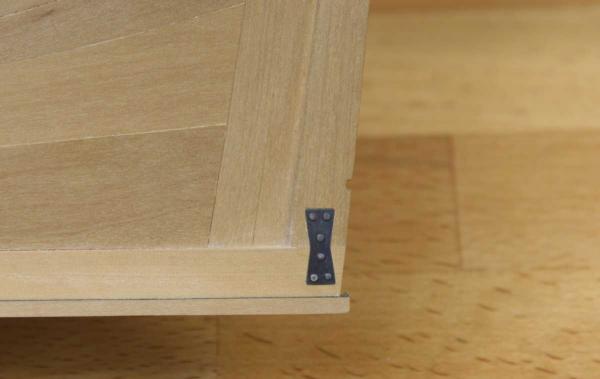
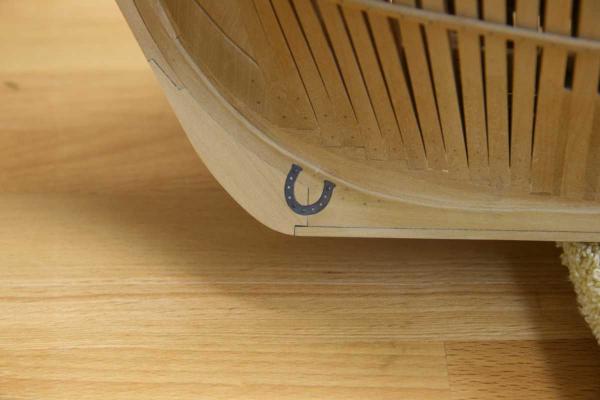
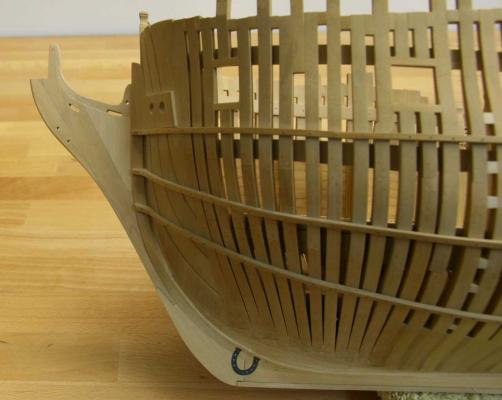
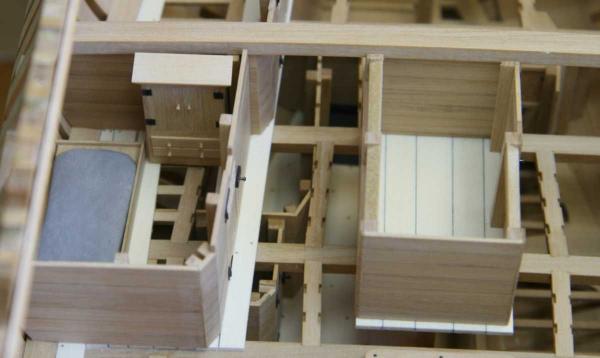
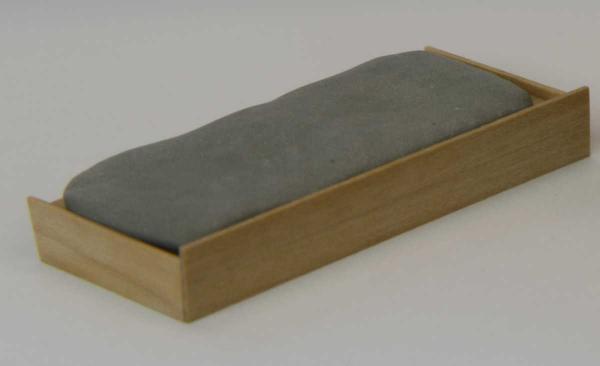
Thanks for the kind words. Maury, I had to make the door a bit longer, but now you're mentioning it, I probably better put the extension above the door. It does look a bit strange now. I fear taking the door out will damage the pantry, let me think about that. Fleas Druxey? I thought I was a step ahead of you by adding the palliasses and now your starting about fleas. Boy where does this end..... Work moved to the outside of the hull. The knee of the head (made 1,5 years back) is now permanently fitted as I had to add the iron plates to the bottom of the hull. I glued them temporarily in place to draw the outlines and then used a chisel to remove the wood so it fits flush to the hull. I'll remove them to prevent any damage to the plates. This concludes TFFM Vol 1, a bit of a milestone, this took me 4,5 years to complete and still two volumes to go......... I hope everybody is patient enough to bear with me till the end (and throwing challenges at me will make the journey longer..) Remco
- 1,215 replies
-
- 33
-
-
- sloop
- kingfisher
- (and 1 more)
-
Added a bed and a closet for one of the cabins. The palliasse, a straw filled matras, was made from sculpey. I found a picture on the internet and made one like it. The pantry was made using the same technique as the sail room Remco


- 1,215 replies
-
- 35
-
-
- sloop
- kingfisher
- (and 1 more)
-
Brilliant!!! Remco
-
I'm like 1 year of work behind Tony before I get to the hammock battens. No worries, I'll take it into consideration
-
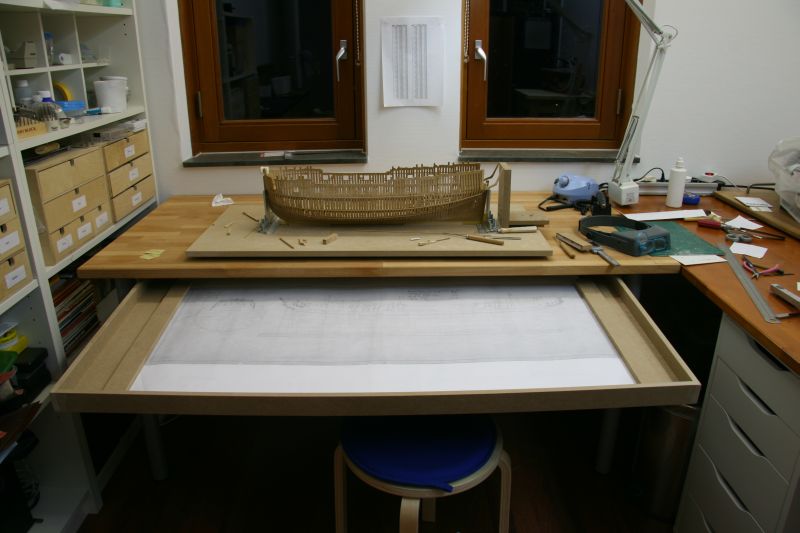
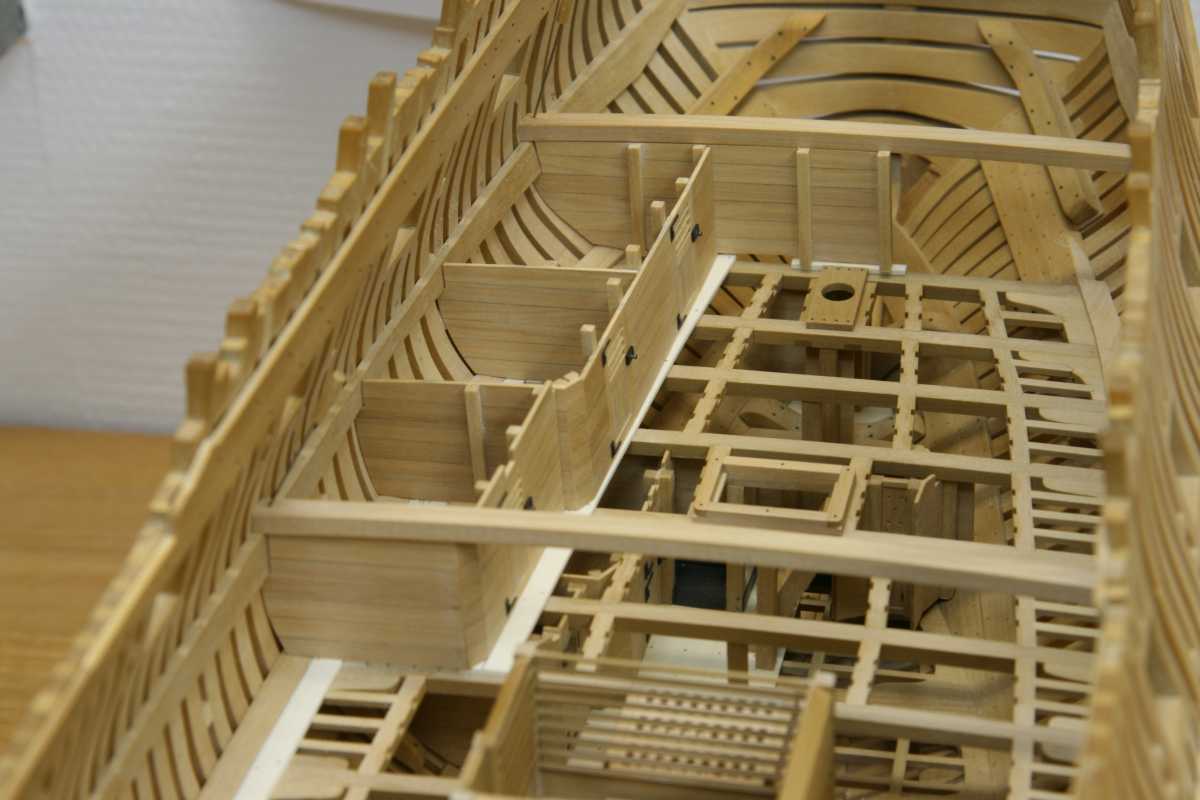
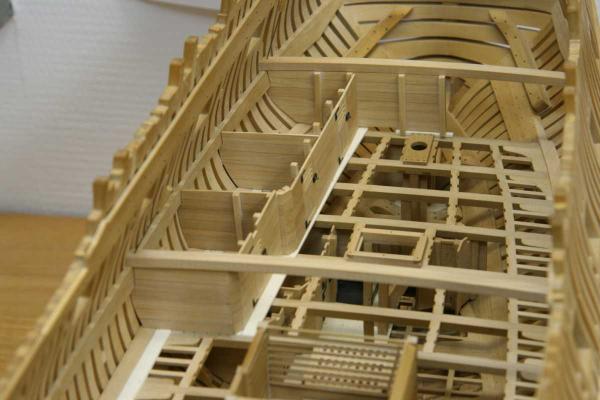
test fitting, test fitting and more test fitting. Most bulkheads are shaped in situ and than added to the overal fixture off the model.
- 1,215 replies
-
- 3
-
-
- sloop
- kingfisher
- (and 1 more)
-
Nils, your work is truly stunning. Could you explain a little bit more on how you made the depth indicators. Did you use a color printer? And photo print paper is quite thick, did you remove some of the backing paper before glueing it to the hull? Thanks. Remco
- 222 replies
-
- 1
-
-
- gorch fock
- barque
- (and 2 more)
-
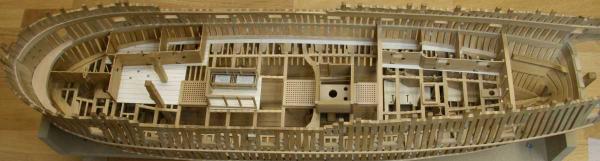
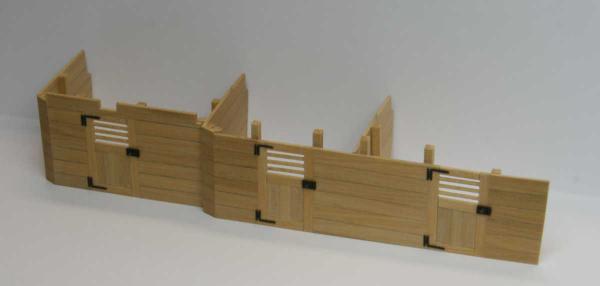
Thanks all for the kind comments. I did, at 1200 dpi it managed to keep the font readable. A couple of years back this wouldn't be possible on a home printer. So back to the more mundane cabin building. The doors have louvered openings, the rest is pretty straight forward but involved a lot of testfitting. alle the bulkheads are assembled off the model as this was easier to build. It's getting pretty crowded on the deck and there is more to come, a pantry, the bitt's and pump's Remco

- 1,215 replies
-
- 30
-
-
- sloop
- kingfisher
- (and 1 more)
-
Karl I'm curious what great parts you are going to make with this tool, looking forward to the pictures. Remco @Google translate, thanks for the laugh, 'cool tool' would be the appropriate translation for what Karl means
- 662 replies
-
- 3
-
-
- bonhomme richard
- frigate
- (and 1 more)
-
Nice little stove Bob. Can't help you on what type of base you would need. But should you decide to make a brick one, I expect them to be individually laid Remco
- 1,477 replies
-
- 1
-
-
- essex
- model shipways
- (and 1 more)
-
Looking good Rusty. It's actually a lot shorter then I had expected to be. 24 inches? Thats smaller than a 1/48 Swan class, pretty challenging to detail that. Remco